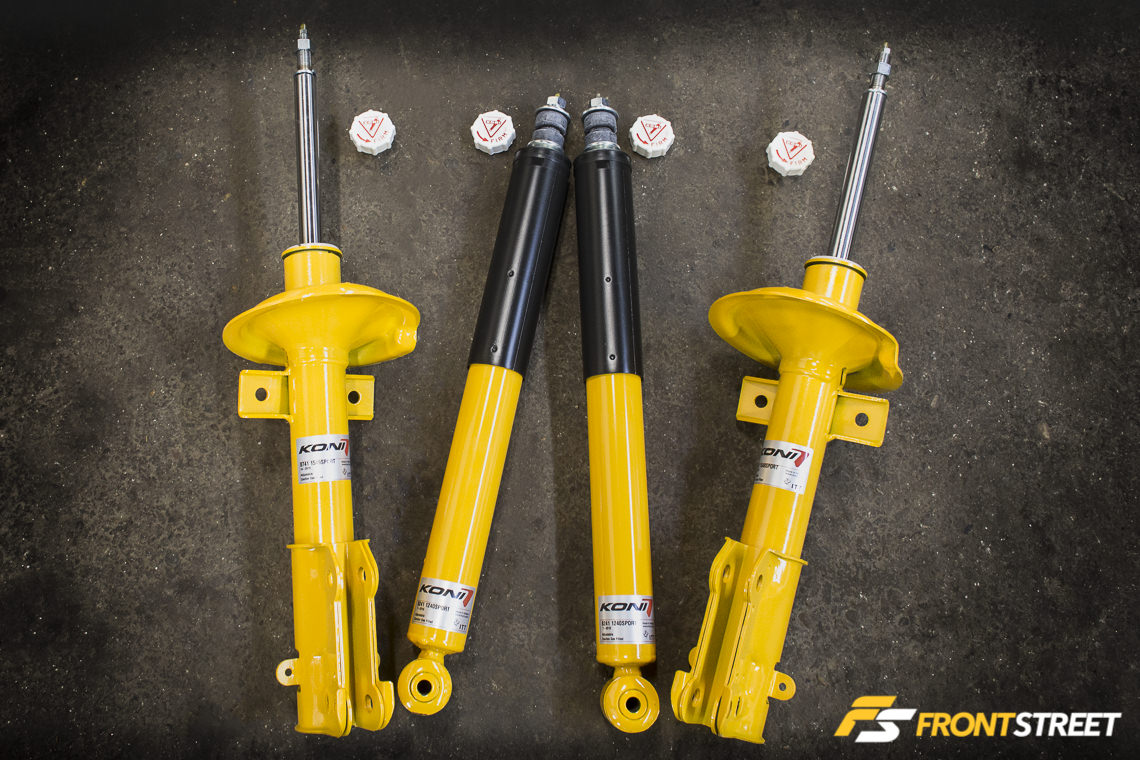
The capabilities of Koni’s Sport dampers are just what the doctor ordered for this car; the factory pieces were worn out, evidenced by an awful ride and inability to control the spring motion, especially over harsh road surfaces.
Lowering a late-model vehicle’s ride height has many advantages, chief among them better road-holding capability, reduced body roll, and improved turn-in – not to mention the vast improvement in appearance.
There are also tradeoffs; simply installing a set of lowering springs will often challenge the capabilities of the factory suspension dampers, adversely affecting handling and performance when the initial goal was to improve, not hinder it.
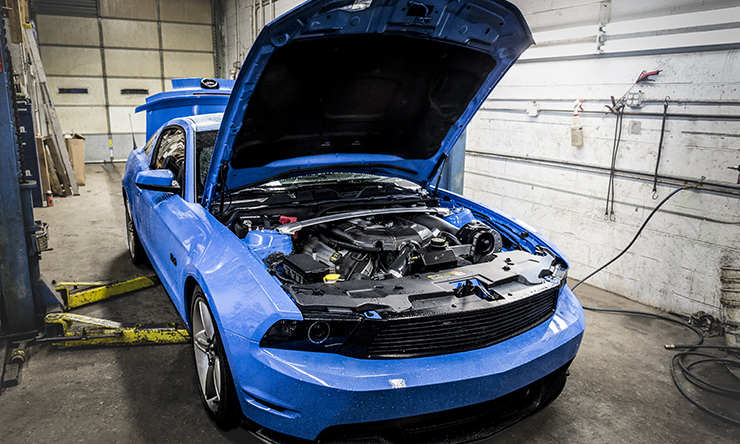
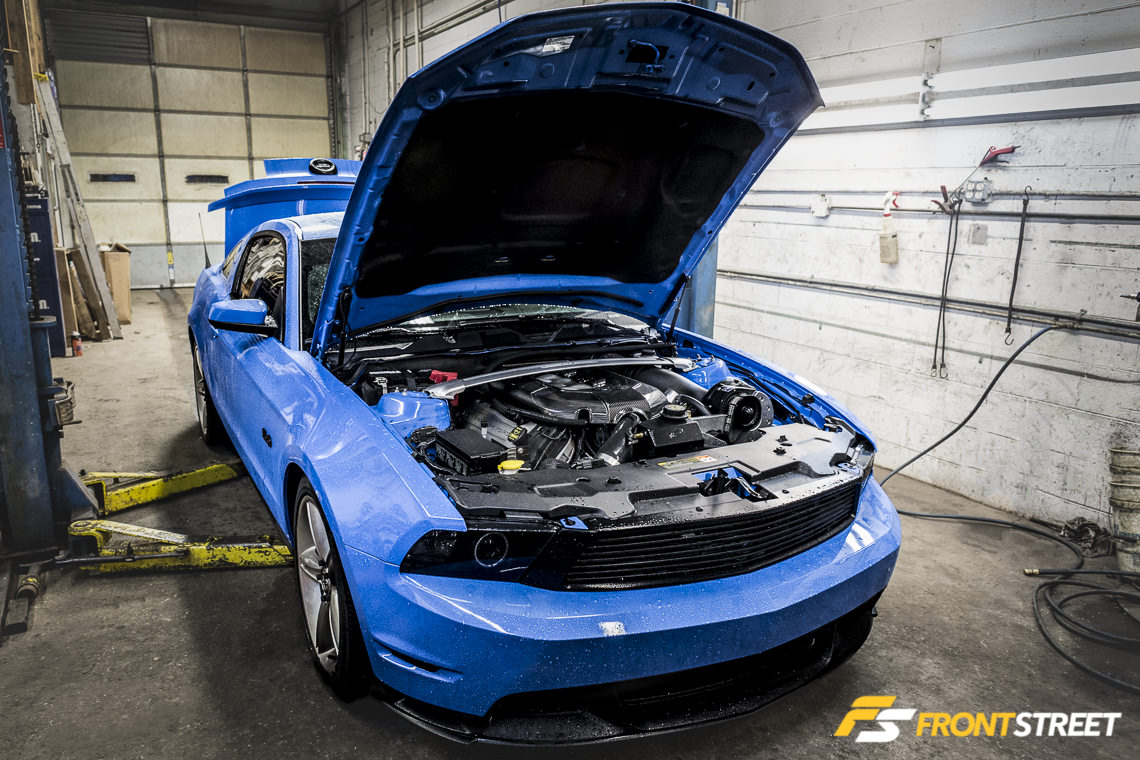
The subject of today’s installation article – a supercharged 2011 Mustang GT – was purchased with a set of lowering springs already installed. With the installation of the supercharger last summer, the intercooler, and the other related equipment, approximately 80 pounds of additional mass was placed over the front wheels.
While the existing performance lowering springs are certainly capable of handling the increased weight, the limit of the OE dampers was reached, leading us to explore a different route. Over the last several months a definite decrease in performance and handling has been noted, especially at elevated highway speeds when changing lanes, or taking off-ramps at speeds which were previously acceptable. The car just felt sloppy due to the extra weight, and the solution came in the form of a set of Koni Sport (better known as Koni Yellow) dampers at all four corners.
For every application, we get that car and drive it in a variety of situations and surfaces to be able to evaluate the factory handling and ride quality,” says Lee Grimes, Koni’s Automotive Product Manager.
“We decide what the car does well with stock dampers, what it does poorly, and where it needs improvement. We typically do this on stock springs and also on performance lowering springs if available. We have several testing machines that we can use to evaluate the car and dampers, but more important is having people with years of experience do ride development work, to drive and ride in the car on public road, real world situations. We look at things like impact harshness, insufficient or excessive body motion, platform stability, surface copying and overshoot, vehicle balance, front and rear phasing, and many more. With time, testing and focus we can refine the damping to bring out the best while getting rid of any bad habits.”
Alignment was performed on this car within the last thousand miles, so we marked the camber bolt positioning on each side for easy reinstallation.
How It Works
Without going into the technicalities of suspension dynamics that require the pages of an entire book to detail, there are a number of specifics that should be mentioned here for perspective.
In most cases, performance springs offer a higher spring rate than factory springs; this is how they are able to support a lower center-of-gravity without adversely affecting handling. With this higher spring rate comes the need for more rebound damping to control the damper’s extension.
“Our Sport dampers offer more compression force at lower piston speeds, but then become more digressive and can be softer at higher piston speeds,” says Grimes.
“This allows the car to be more responsive and supportive in slow, subtle and transitional body motions yet be more forgiving, better riding and helping promote better tire grip in higher piston speed situations when impacts and irregularities are coming up from the road surface. Too much compression force at different points in the piston speed range can very quickly translate to negative ride quality (much faster than changes in rebound will) and can also make tire grip suffer.”
The removal of the front struts is straightforward; the sway bar end-links and brake-line mount were pulled to allow strut removal.
The hydraulic damper controls the motion of the spring by converting the spring’s linear movement (kinetic energy) into heat (thermic energy). This is done by forcing the hydraulic fluid through a system of internal valves and restrictors within the damper housing; the fluid restriction slows the piston action. Ultimately, through the use of a more effective damper, the spring is better-controlled.
“A shock with more responsive, higher technology internal design will be much more aware and responsive to subtle car motions than will a lower tech shock. It will also allow for more contouring of the damping curve and be more forgiving in high piston speed situations. Low tech shocks including most OE dampers often don’t react to subtle motions, then begin building force at linear or progressive rate such that they can be quite harsh when moving fast. Although having a progressive rate spring can often be a good thing, having a progressive rate shock is definitely not a good thing,” says Grimes.
This has the benefit of improving performance through better wheel assembly management (unsprung weight) on the road or track. Unsprung weight is defined as mass that is not supported by the suspension of the car (wheels, tires, brake assemblies, and other components) and controlling this mass helps to keep the tire in contact with the ground. If the damper isn’t effective in managing spring oscillation, then handling suffers greatly as the tire can – and will – bounce up and down uncontrollably.
By increasing the damping capabilities – especially the rebound characteristics – Koni Sport dampers substantially improve performance in nearly all conditions from spirited street driving to track action, resulting in a solidly-balanced vehicle.
“We can normally make solid gains in both control and comfort simultaneously. Through a combination of driving development work and testing experience, we will refine the valving to provide the handling, ride quality and sporty performance feel that Koni is known for. With adjustable dampers, we do this at the full soft setting to provide the baseline reference point and then give the 100 percent range of adjustment (twice as firm at maximum setting as it is at the minimum setting) that allows the end users to further tune to their own personal preferences, usage, roads, other car modifications, and to compensate for wear over extended periods of time,” says Grimes.
It’s always helpful to have a strut machine at your disposal, but the springs can also be compressed with the rental tools that may be available at your local parts supplier.
In this application, the dampers are adjustable for rebound only. They offer two full turns of adjustment to allow the driver to soften the dampers for date nights, while retaining the ability to stiffen the suspension significantly for more aggressive performance action when the need arises. They are designed to offer superior road-holding control while still providing sufficient ride quality for everyday driving. Don’t skimp on understanding that point – these will not make your car ride like a Cadillac, unless it is a Cadillac. Lowered CTS-V and a ‘small’ pulley enhancement, anyone?
Each application is developed to provide the best possible performance. In fact, Koni typically recommends that when the Sport dampers are installed, they are set on the softest setting to take advantage of the balance of comfort and handling that’s been designed in by the company’s ride development engineers.
Applications where performance enhancements are previously installed – such as lowering springs and/or an optimized larger wheel and tire package – can take better advantage of the range of adjustment built into the dampers; the company says one-half to one full turn on the adjuster knob is enough to satisfy the vast majority of drivers. The company offers products for most late-model performance vehicles, from the Mustang shown here to Euro and sport compact applications among others.
Reinstallation is the reverse of removal; break out the trusty torque wrench and make it click at 148 pound-feet on the strut-to-spindle fasteners.
The Install
Installation of these particular components is straightforward and without much drama. In the front of the car, the strut and spring assembly is removed as one piece. Brandon Abbott at Midnight Auto in Feasterville, Pennsylvania supplied the expertise and equipment to perform the swap in just a couple of hours.
Firstly, the ABS sensor wire must be removed from its home on the strut, then the 10 mm brake line retaining bolt must be removed. The sway bar end links attach to the strut body; an 8 mm socket/ratchet combo works in conjunction with an 18 mm open-end wrench for removal of these pieces.
In the case of this vehicle, there is a cam adjustment bolt in the top mounting hole of each strut that was previously installed for alignment purposes; these use a 17 mm nut on the backside. Take note that the location of the cam bolt’s position was marked with a paint stick, ensuring that the alignment would remain as close as possible until we could get the car to the alignment shop for inspection and necessary correction.
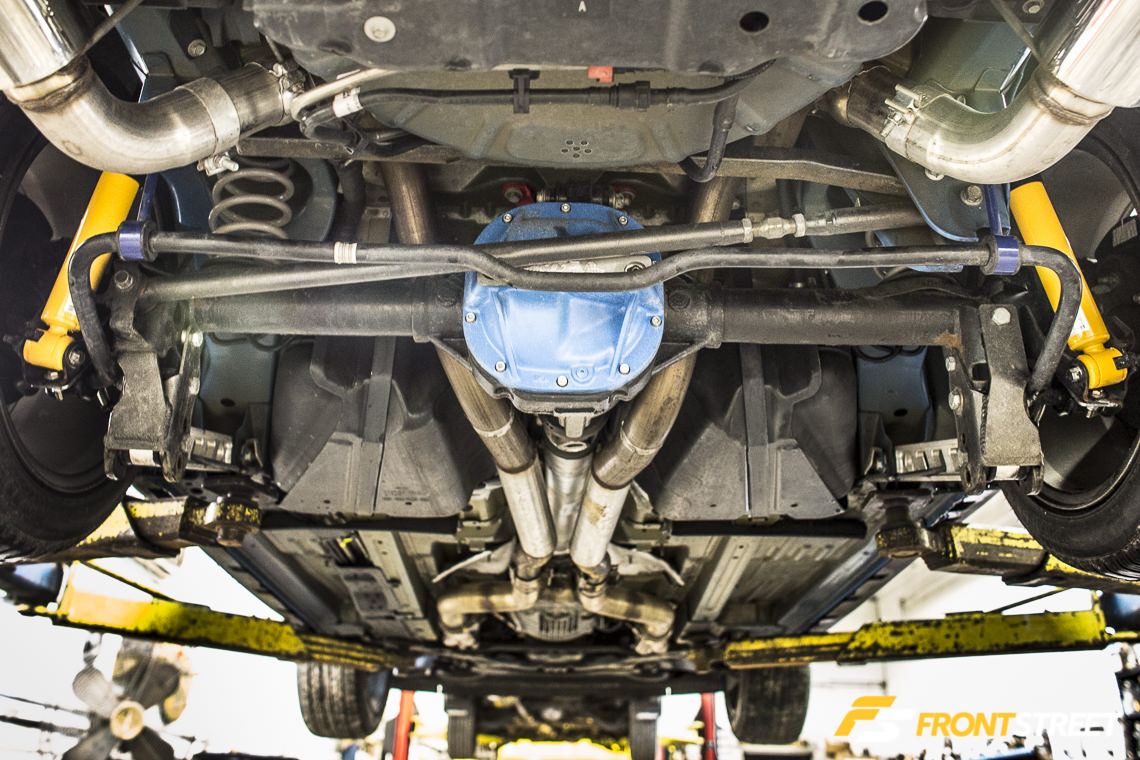
Rear shock installation is simple, just a nut at the top and the bolt on the bottom. We had to take the extra step of disconnecting the upper sway bar mounts to lower the bar. This car has a sway bar relocation kit designed to clear 15 x 10 rear wheels, which we run at the dragstrip.
The factory lower strut bolt is 18 mm, and uses a cam nut on the back side for retaining purposes; once these are removed, the spindle can be separated from the strut body. Lastly, there are four 13 mm nuts on top of the strut tower. It’s easiest to leave the bottom strut bolt in place until the strut mount fasteners are removed; this holds the strut stable until removal is imminent. Repeat the process on the other side.
Abbott took both strut assemblies – along with the new Koni bits – over to the shop’s strut machine for service. Change over the spring and mount from one strut to the other, tighten everything back down, and reverse the removal process. There is a notch on the OE strut mount that needs to be lined up with the mounting location at the bottom of the strut for proper reinstallation. Critical torque figures are as follows: 148 lb-ft on strut mounting bolts, 46 lb-ft for the top strut nuts, 85 lb-ft for stabilizer bar end links, and 26 lb-ft for strut mount fasteners.
The factory speed-nuts help to make quick work of the shock installation.
Installing the rear shocks is a straightforward process, but in this case required a bit of extra work. The vehicle has a sway bar relocation kit installed in order to fit 10-inch wide wheels for the dragstrip, and this prevents access to remove the lower shock fastener as the bar is placed right in front of it. However, removing the bolt from the upper link position at each end allowed Abbott to swivel the bar out of the way and easily remove the fasteners. During reinstallation, follow the Koni instructions and take care to not compress the new shock bushings too far.
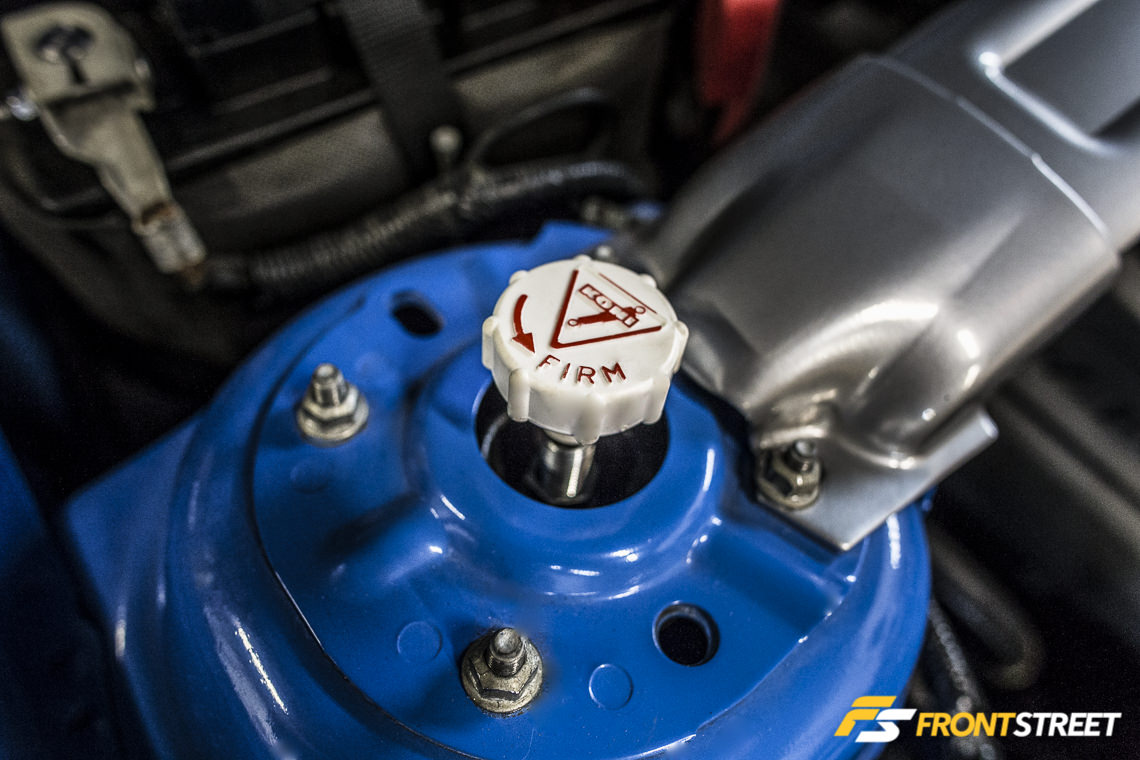
The adjustment process is simple – place the included tool on top of the damper’s adjuster screw and turn it to the desired position. Counterclockwise for firm, clockwise to soften.
In Conclusion
Currently all four dampers are set on the ‘full soft’ position, and even so, the difference between the OE worn-out pieces and the new Koni dampers is remarkable. Where the car would plow through turns before, requiring throttle lift-off to bring the understeer back in line, it now settles in and follows a nice smooth line around the loop. Although it’s still wintertime here in Pennsylvania and the car wears its winter wheels and tires, the improvement instantly made the care more fun – and more controllable – in every situation. A worthy upgrade.
