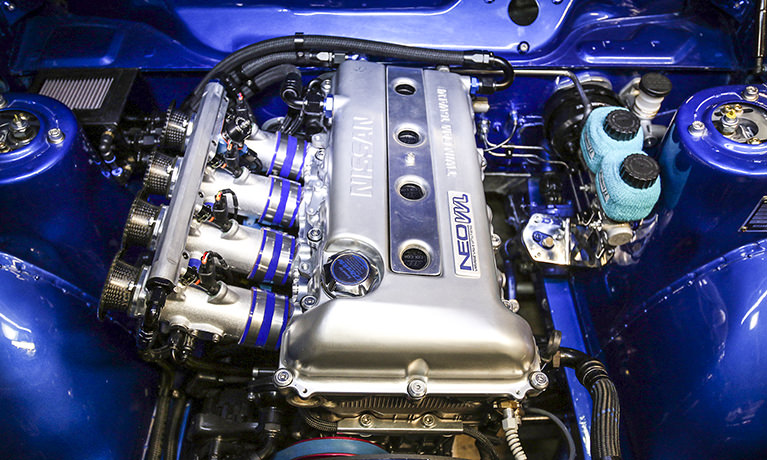
It’s been nearly three years since this project build began. Wow…has it been that long? Time sure does fly, but from the beginning, I knew that this wasn’t going to be your typical Datsun 510 set up with an SR20DET engine. The combination of a high-compression, naturally-aspirated engine with individual throttle bodies was alluring, and is something I’ve always wanted to build. Since my plan was to put it into my lightweight Datsun 510 chassis, it proved to be the perfect opportunity to turn my dreams into reality.
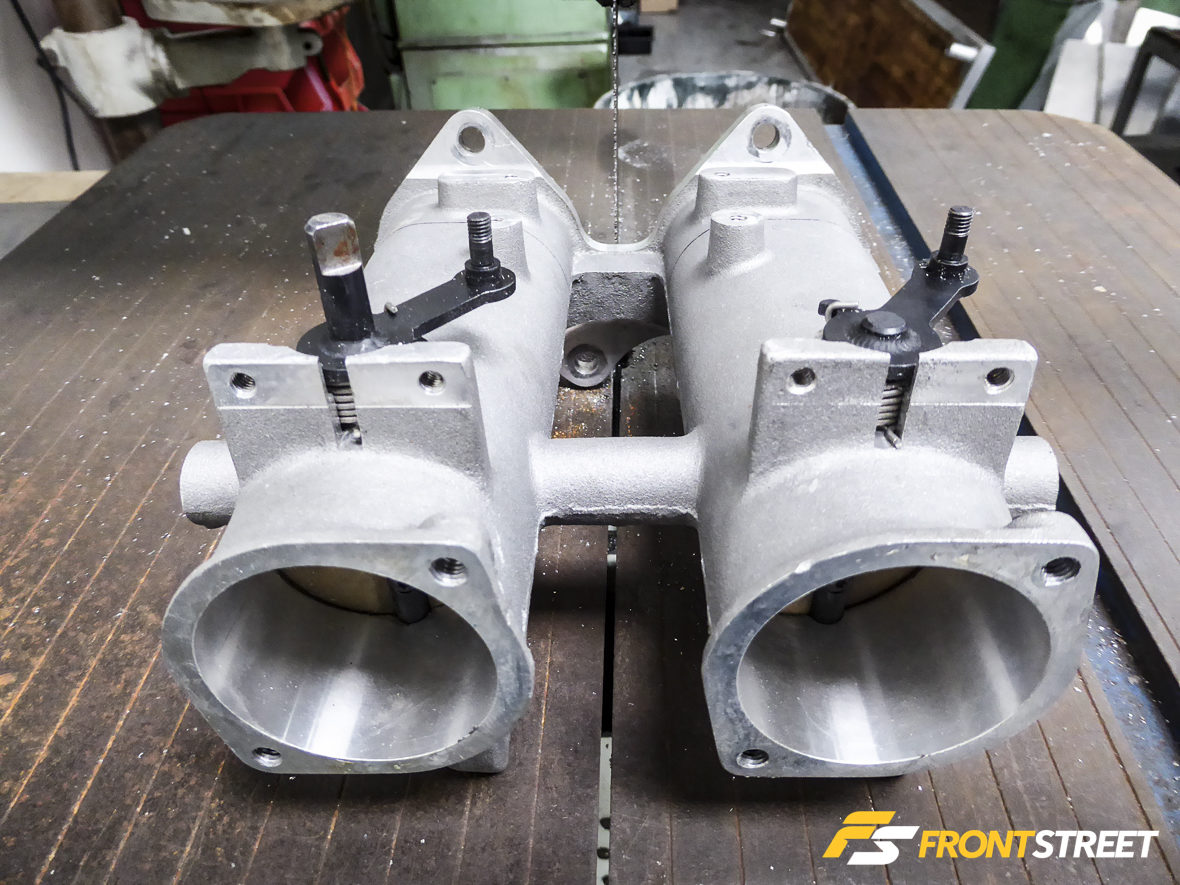
TWM Custom Individual Throttle Bodies
Upon purchasing both used SR20VE and SR20DET engines to piece together, I began searching for a simple bolt-on set of individual throttle bodies (ITB) for the SR20VE. Popular companies such as TWM, Jenvey, and Kinsler didn’t offer a bolt-on SR20VE ITB setup. I could have simply gone the easier route and cobbled together a set of GSXR motorcycle throttle bodies or Toyota 20V ITB’s but the sizing and design of these options were less than optimal for this project. When all seemed lost, I thought I had hit the jackpot when I contacted Lance Hayward of Hayward Performance to purchase their ITB system… only to find out that they had discontinued the unit and sold off their remaining sets a few months prior.
However, Gary Castillo of Designcraft Fabrication just so happened to have a set of TWM Honda S2000 F20C ITBs sitting around at his shop. I was shocked upon taking measurements that the port diameters were 52mm, and the port shape was identical to the SR20VE’s shape. As an added bonus, the throttle linkage on the TWM ITBs are fully adjustable, which allowed me to lengthen or shorten the rods to accommodate the new SR20VE bore spacing. I was sold on what I saw and decided to purchase a used ITB set from Craigslist.
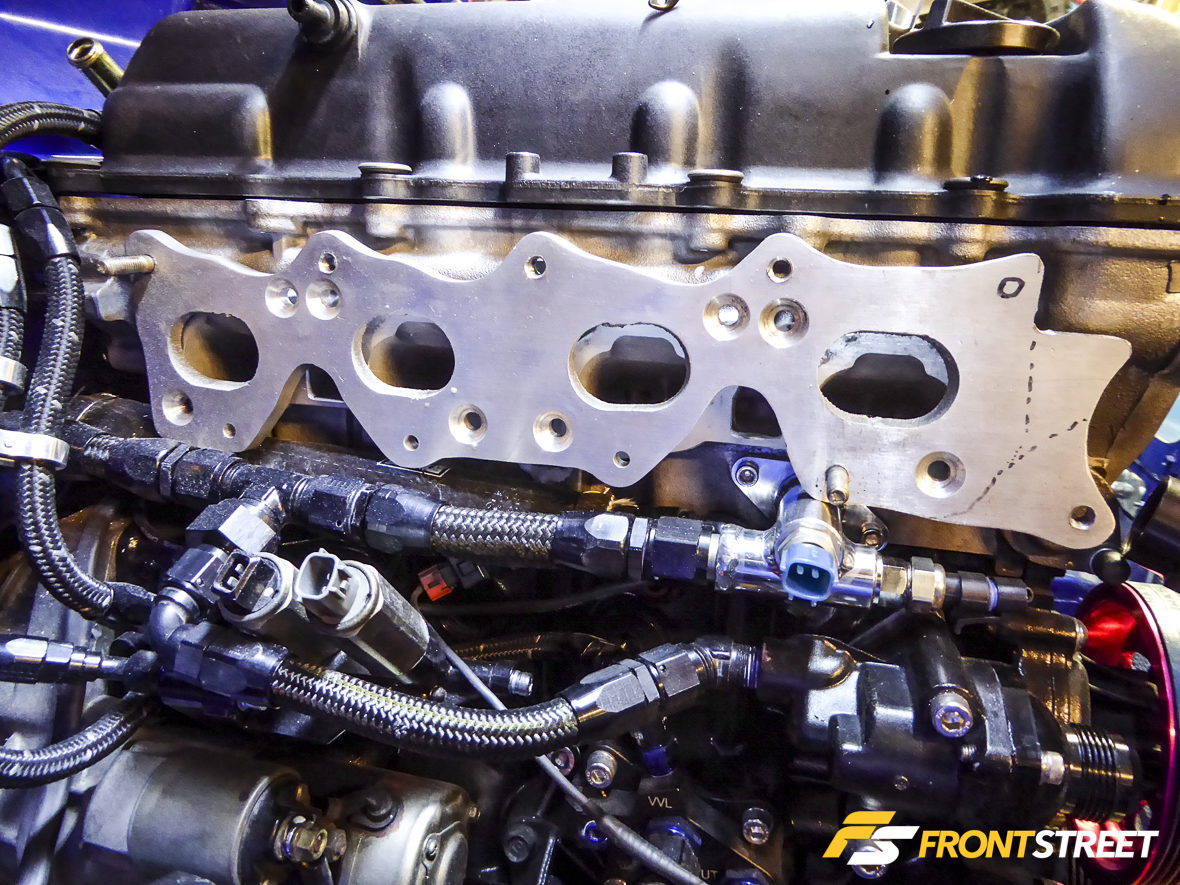
TWM V1.0
Designcraft Fabrication took diameter measurements of both the SR20VE and Honda S2000 ITB intake flanges so we could cut out an adapter flange to mate the TWM setup to the cylinder head. The setup initially bolted on, but we ran into a few issues. These included the flange interfering with the RWD conversion water neck adapter, bore spacing, which was slightly off, and the inability to bolt on the TWM setup towards the front of the cylinder head. Due to these numerous setbacks, the adapter flange setup was ultimately scrapped, which forced us to retreat back to the drawing board.
TWM V2.0
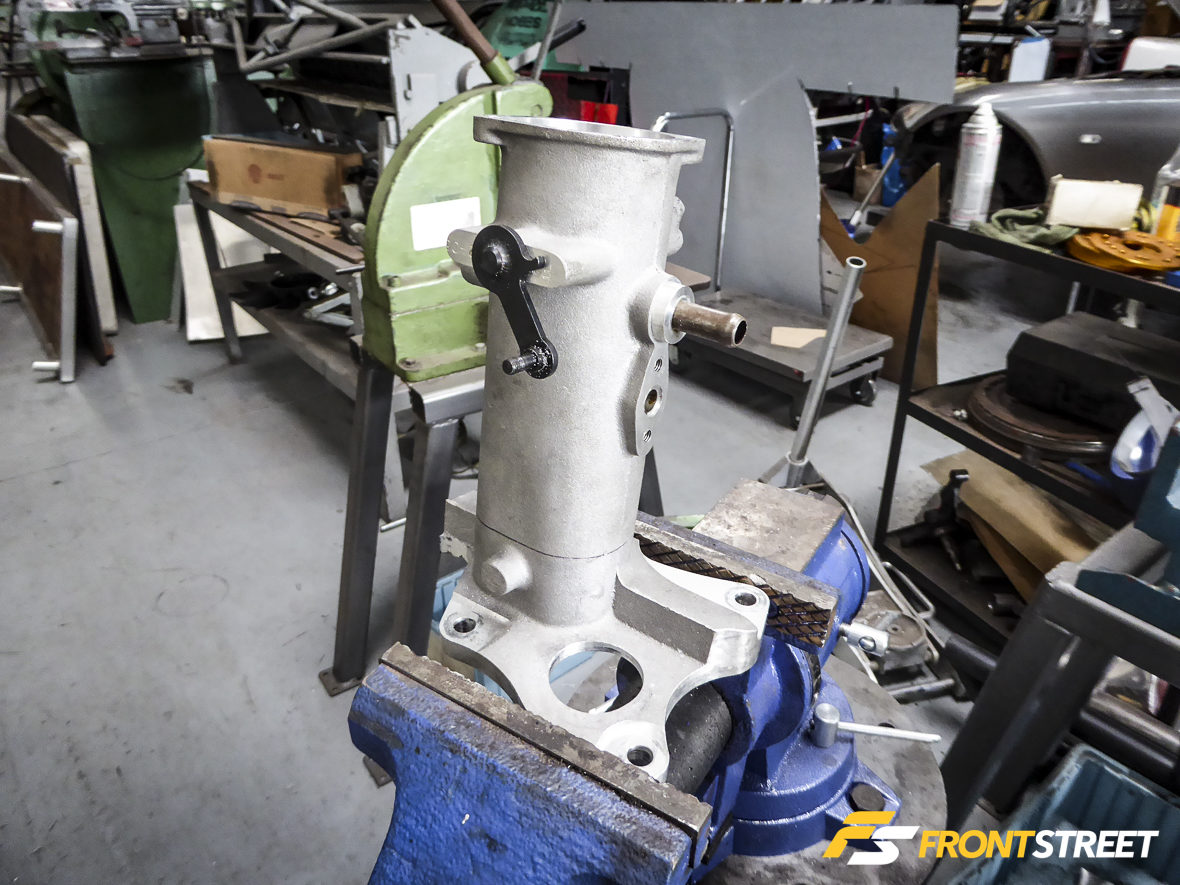
The second version was considered a “point of no return” process as I gritted my teeth and began cutting away at the flange to achieve proper bore spacing. The plan was to cut the runners off the TWM setup and mate them to a Mazworxs SR20VE billet intake flange.
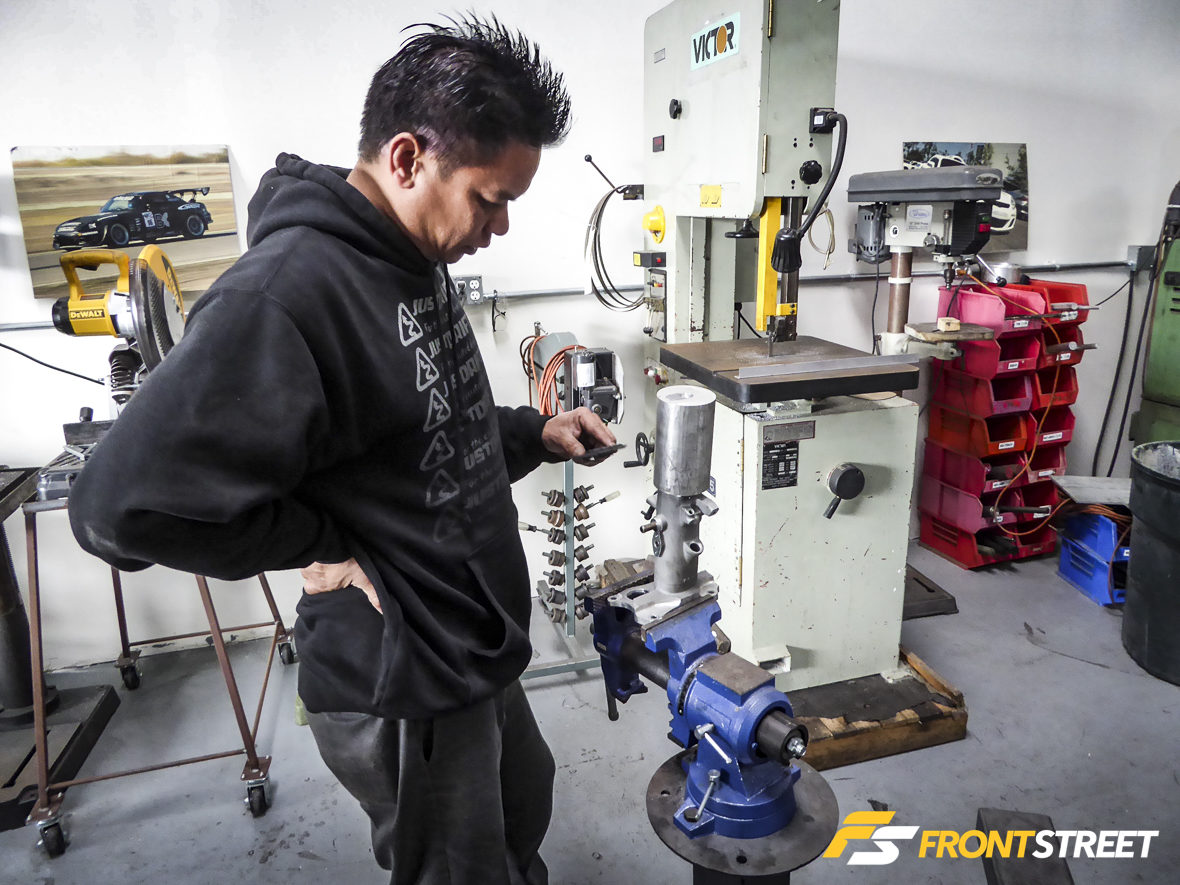
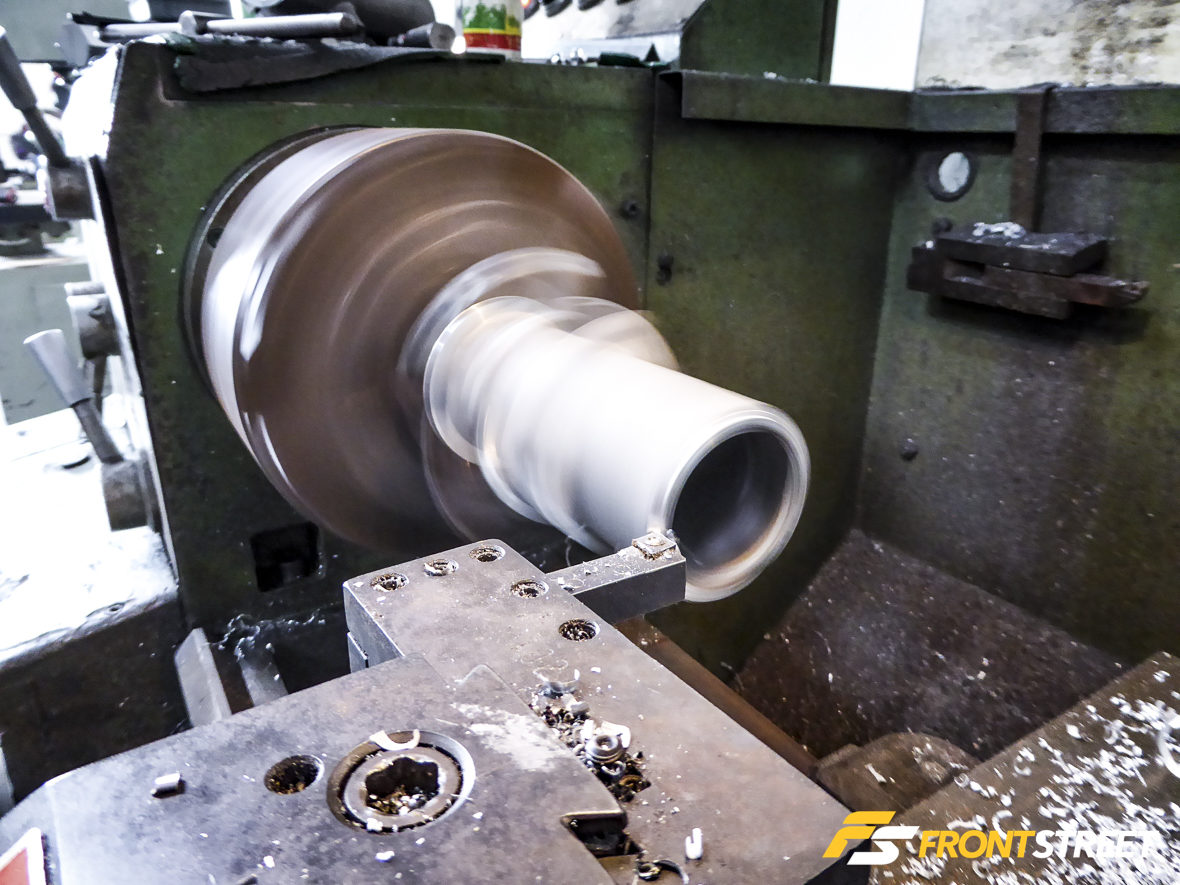
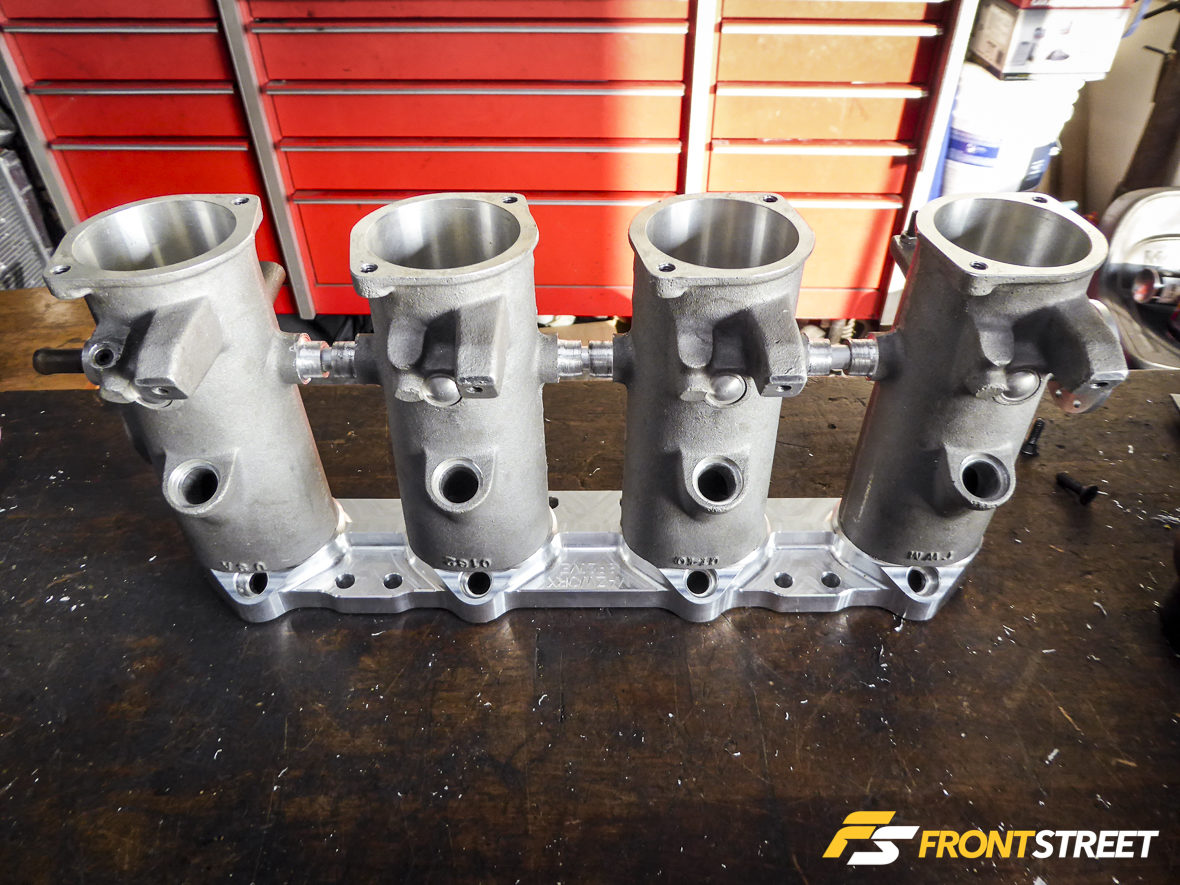
Once again, I turned to Designcraft for assistance in machining the runners to equal lengths. Castillo machined an adapter so he could cut each throttle body on the lathe. He also cut the cast vacuum port so all four could be connected with a silicone vacuum line. I consider Gary the Filipino version of MacGyver as he can take random parts and make them into a functional item.
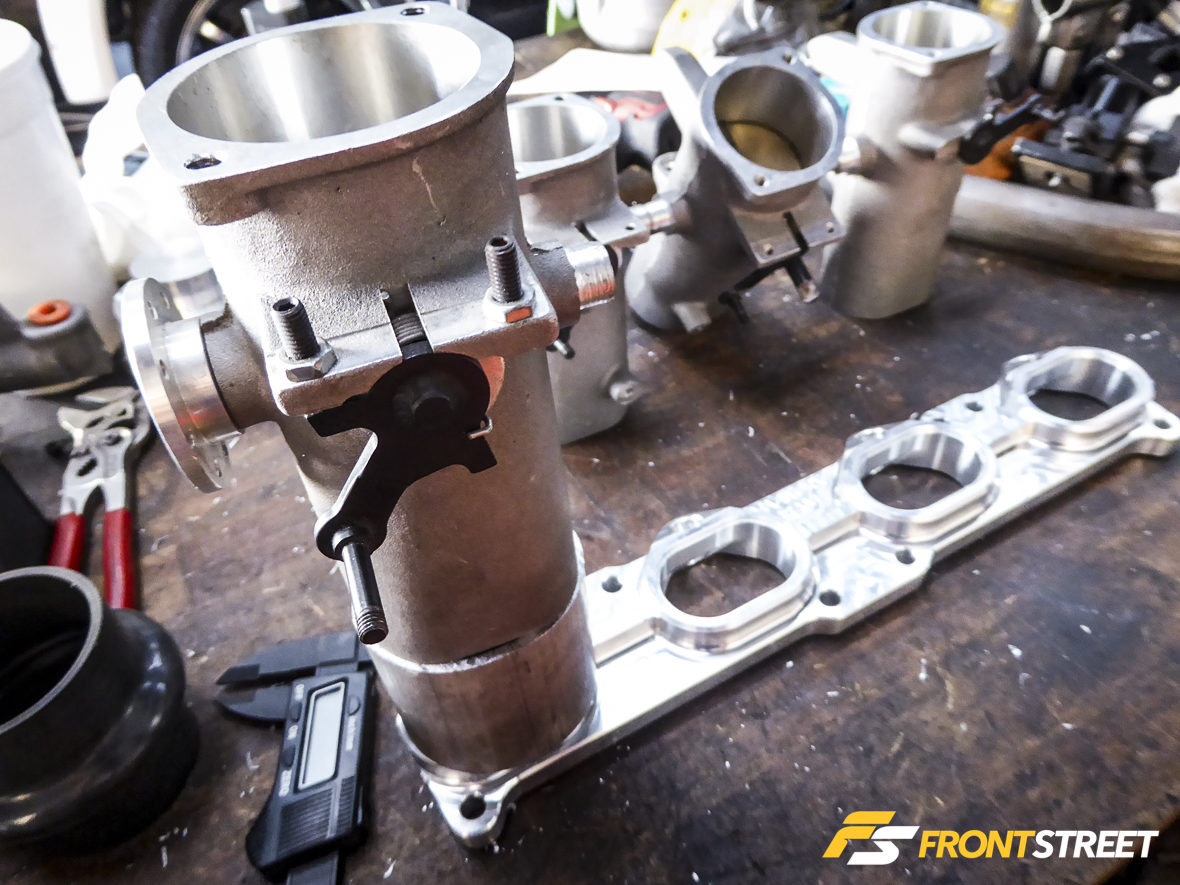
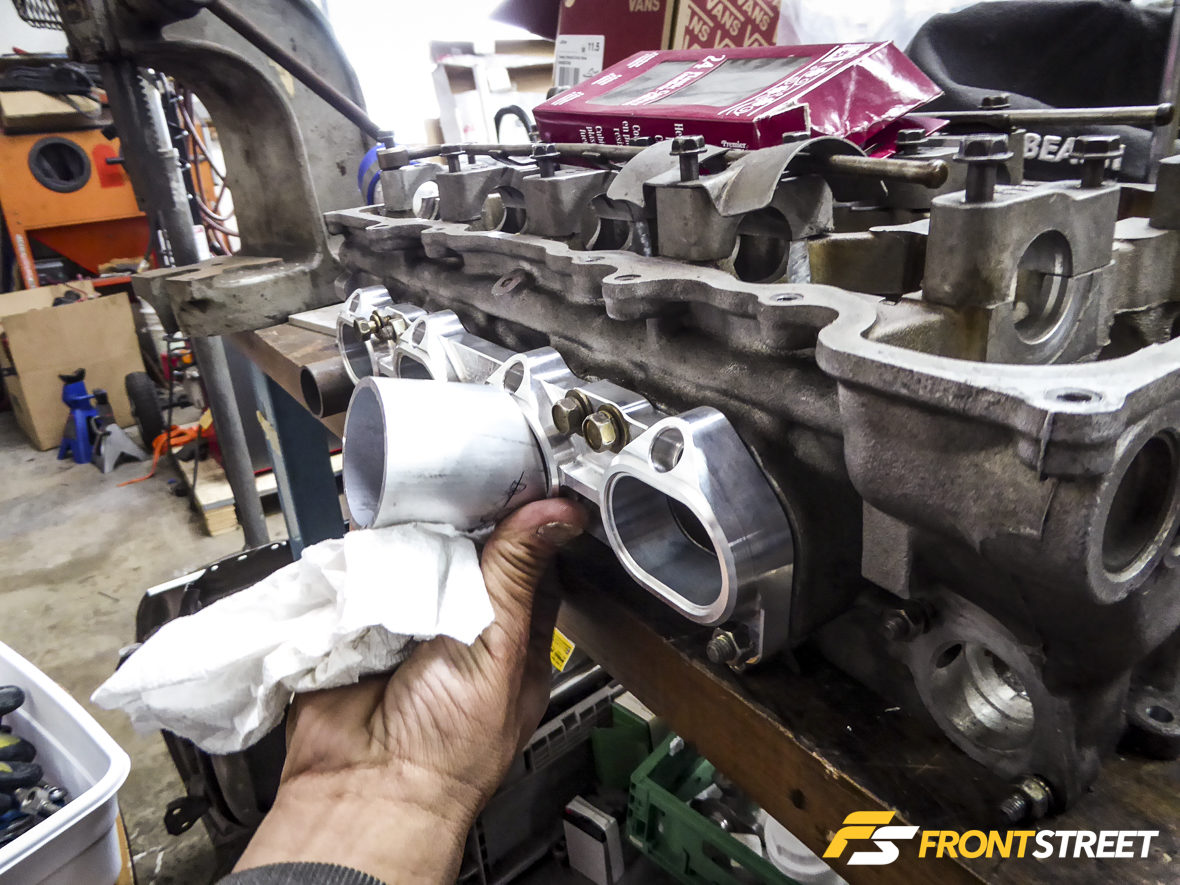
He used longer aluminum tubes, then cut and shaped them before they were welded between the flange and ITBs. The tubes were angled the same as the cylinder head port design to deliver a straight shot into the ports. Silicone couplers were used to secure the ITBs to the flange as a temporary setup, as we plan to test various runner lengths on the dyno to see what gains or losses can be achieved. The end result was pretty awesome as we had a fully functional setup that bolted on—or so we thought, until it came time to install the fuel rail.
TWM V3.0
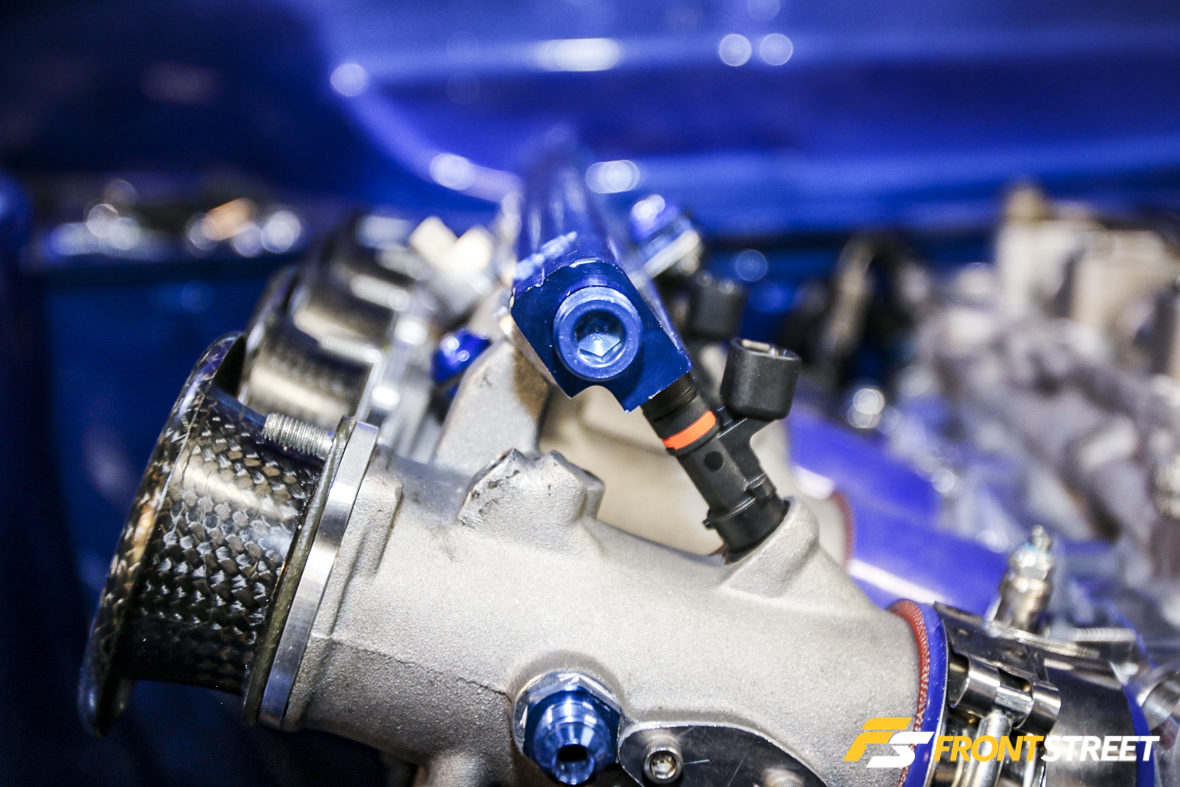
With the custom TWM throttle bodies mounted in place, we replaced the original fuel rail with a SR20DET top-feed fuel rail. Unfortunately, the spacing of the injector holes on the rail along with its angle caused the injectors to sit at an awkward position with the possibility of leaking.
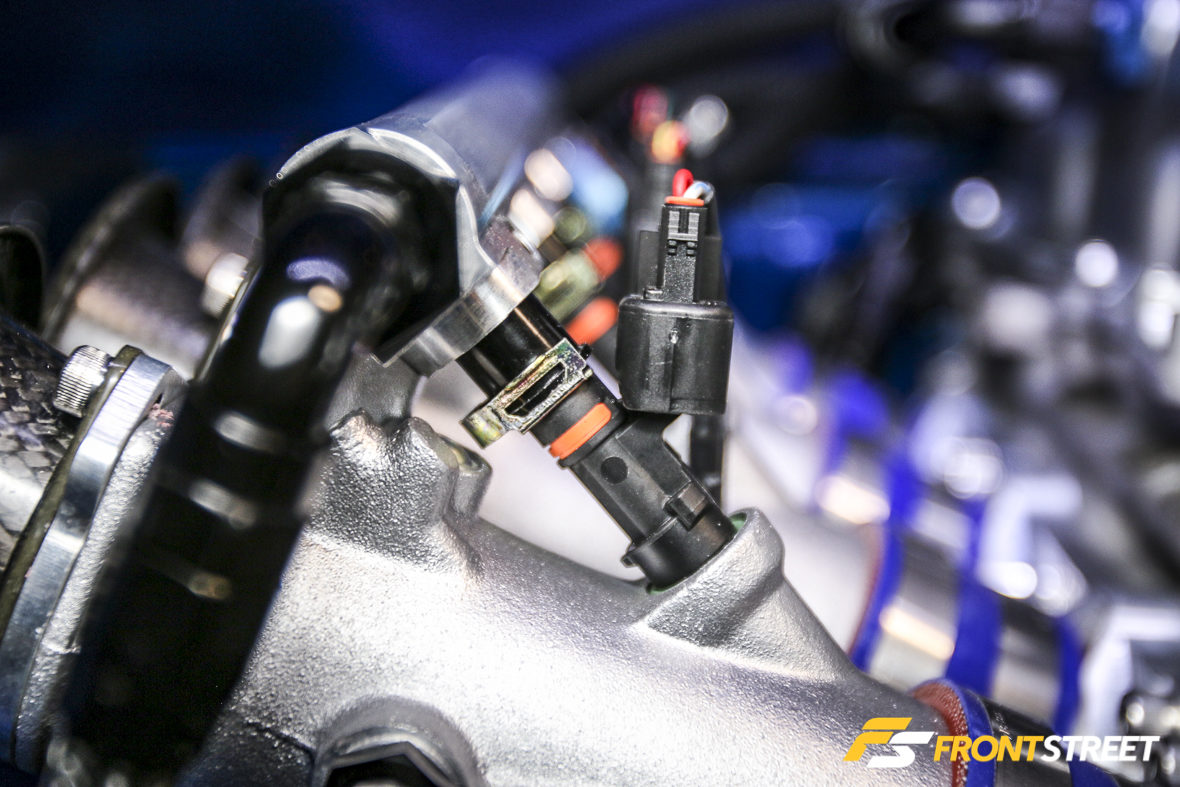
After multiple attempts to properly seat the injectors, we decided to scrap the new fuel rail and return back to the original TWM rails. In the end, things worked out perfectly as we were able to retain the intended TWM injector location while making use of the fuel rail and modifying it for a dual feed setup.
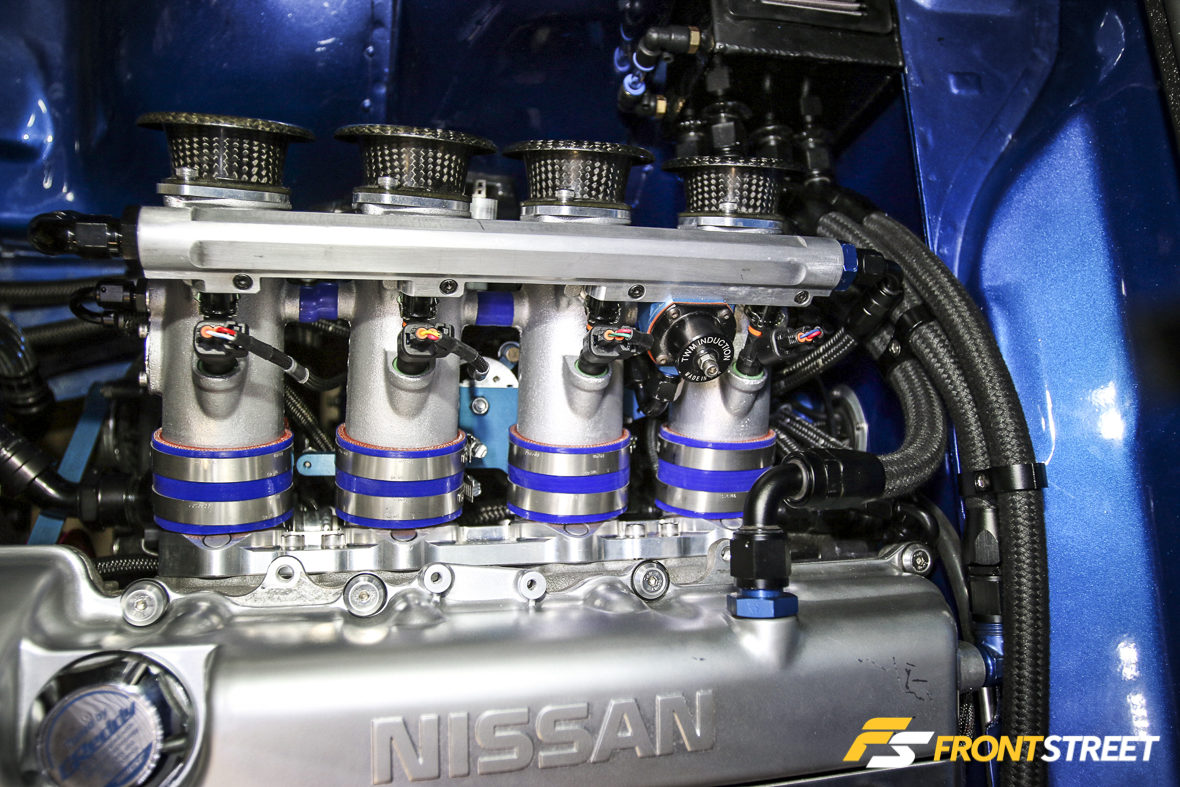
A custom throttle cable was sourced from a hot rod and put into place and the ITBs were finally on and done.
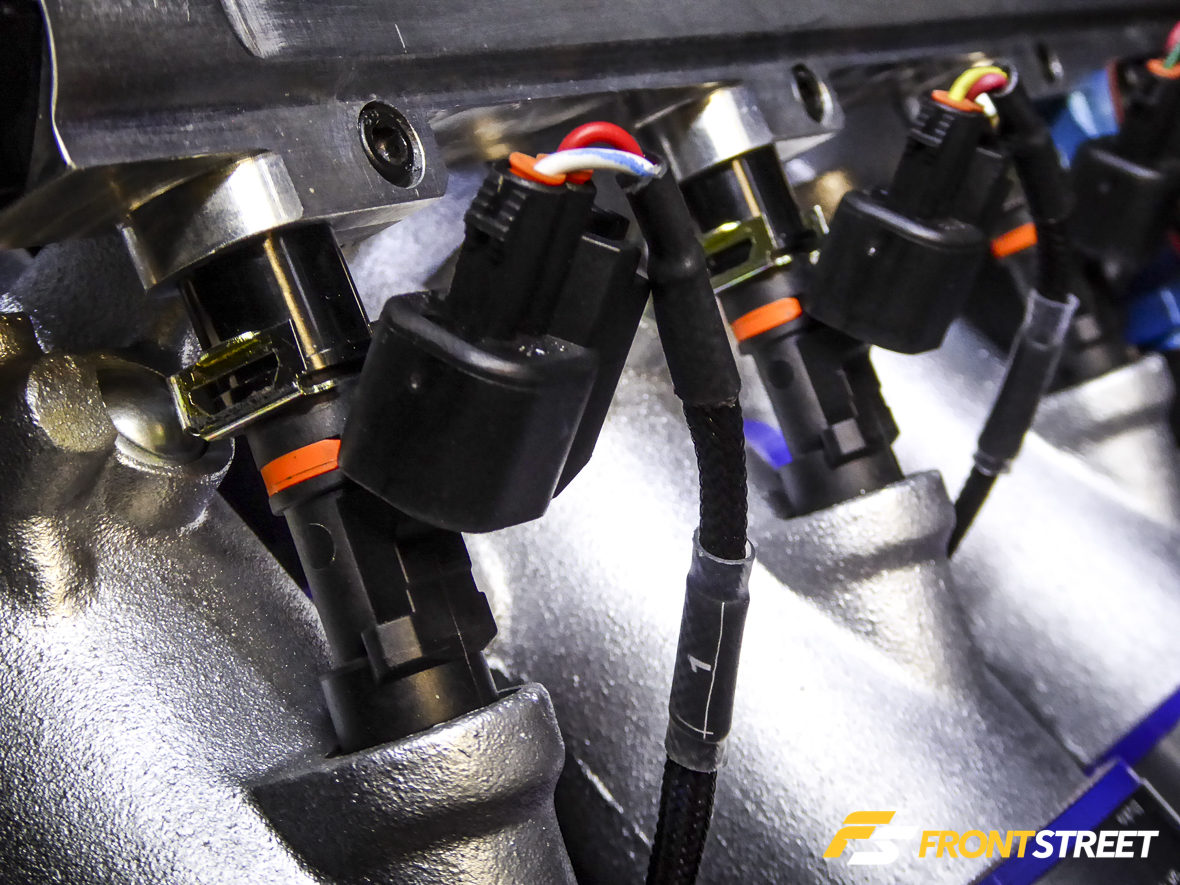
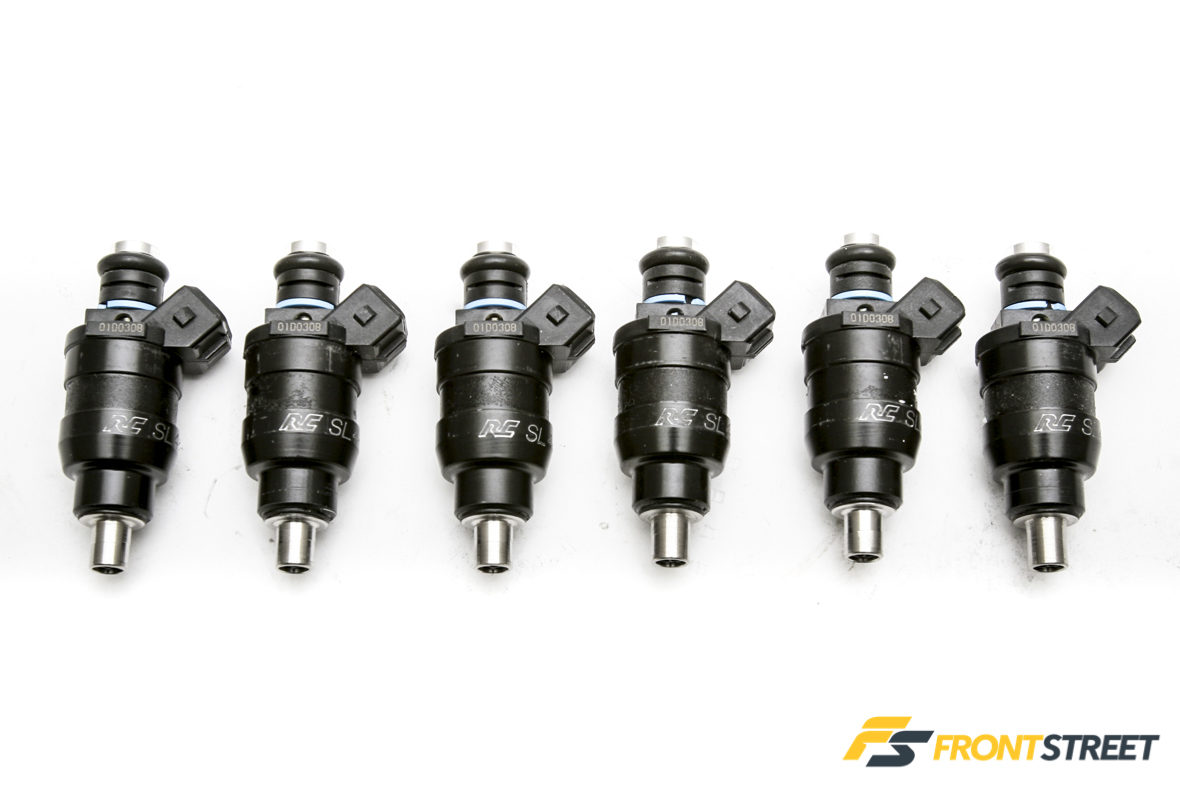
The TWM setup originally came equipped with Bosch EV1 injectors I was reluctant to use and ultimately replaced with a set of newer-style EV14 high impedance injectors. Comparing the two, the EV14 injectors offer superior low pulse width control which can be noticeable with things such as idle and low rpm driving. These injectors utilize a multi-orifice tip for improved atomization. At first glance, a set of 550cc injectors might seem a bit overkill for this engine but with the target horsepower and plans to use flex fuel, my calculations determined these to be the ideal injector size.
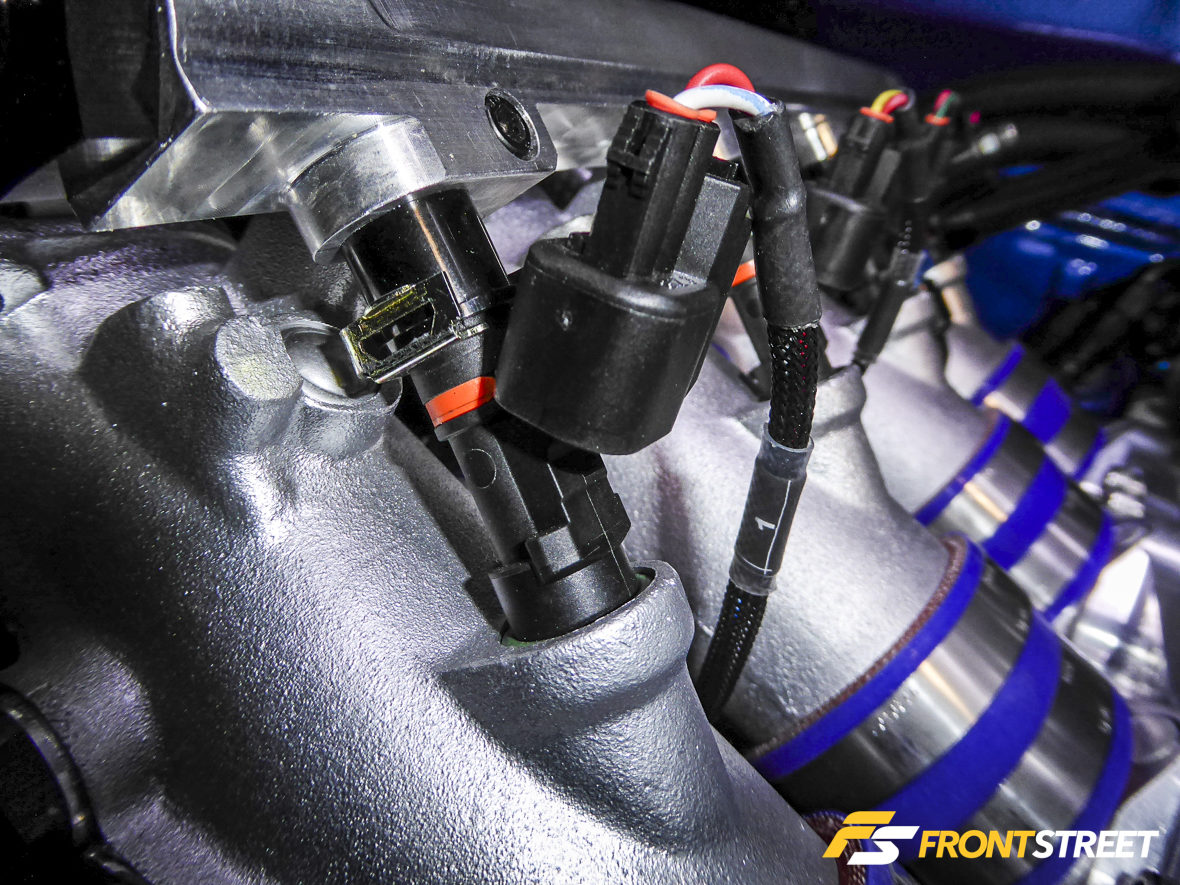
I made the error of purchasing 48mm medium sized injectors when in fact should have bought 60mm full sized injectors. To remedy the issue, I used a set of billet injector hats to increase the length and allowed the injectors to seat properly into both the fuel rail and manifold.
Ford Motorcraft injectors use a composite plastic body and are E85 compatible. I picked up a set of 52 lb-hr/550cc injectors for less than $35 each, which was a great deal. These are the same genuine Bosch injectors that are used by Ford on all 2007-2012 Ford Mustang Shelby GT500 supercharged cars. Further research revealed that these are identical to the ones sold by high performance automotive shops for well over $100 each.
Flex Fuel Conversion
It’s no secret that high-compression engines demand high-octane fuel. Unfortunately California offers piss-poor 91 octane as their highest grade and that was a cause for concern when building this engine. An alternative solution was to blend a mixture of 91 octane and race gas which would hit the wallet hard. The second was to add water injection which would only band-aid the solution. In the end, I decided to convert the vehicle to run on E85.
Because E85 is a grain alcohol that consists of 85 percent ethanol and 15 percent gasoline, it offers a higher octane rating, ranging between 105 and 113 depending on the mixture. E85 also has cooling properties that you would find when using a water/methanol injection system; it can lower intake temperatures along with engine block and cylinder head temperatures, which helps to suppress detonation. As a result, you can run leaner air/fuel ratios, add more timing and compression, and suppress knock, all of which amounts to an increase in horsepower.
However, a large drawback to using E85 is the reduction in fuel economy; it offers a 33-percent lower heating value, which means the fuel system must be able to supply that much more fuel to the engine than it would with standard gasoline. Another drawback is that over time, the fuel can dry out rubber seals, hoses and O-rings if they are not compatible with the fuel. It’s important when to ensure that all the fittings, fuel lines, fuel pump and fuel filters are labeled as E85-compatible; the fuel can also wreak havoc on rubber fuel injection lines that would otherwise be fine for gasoline.
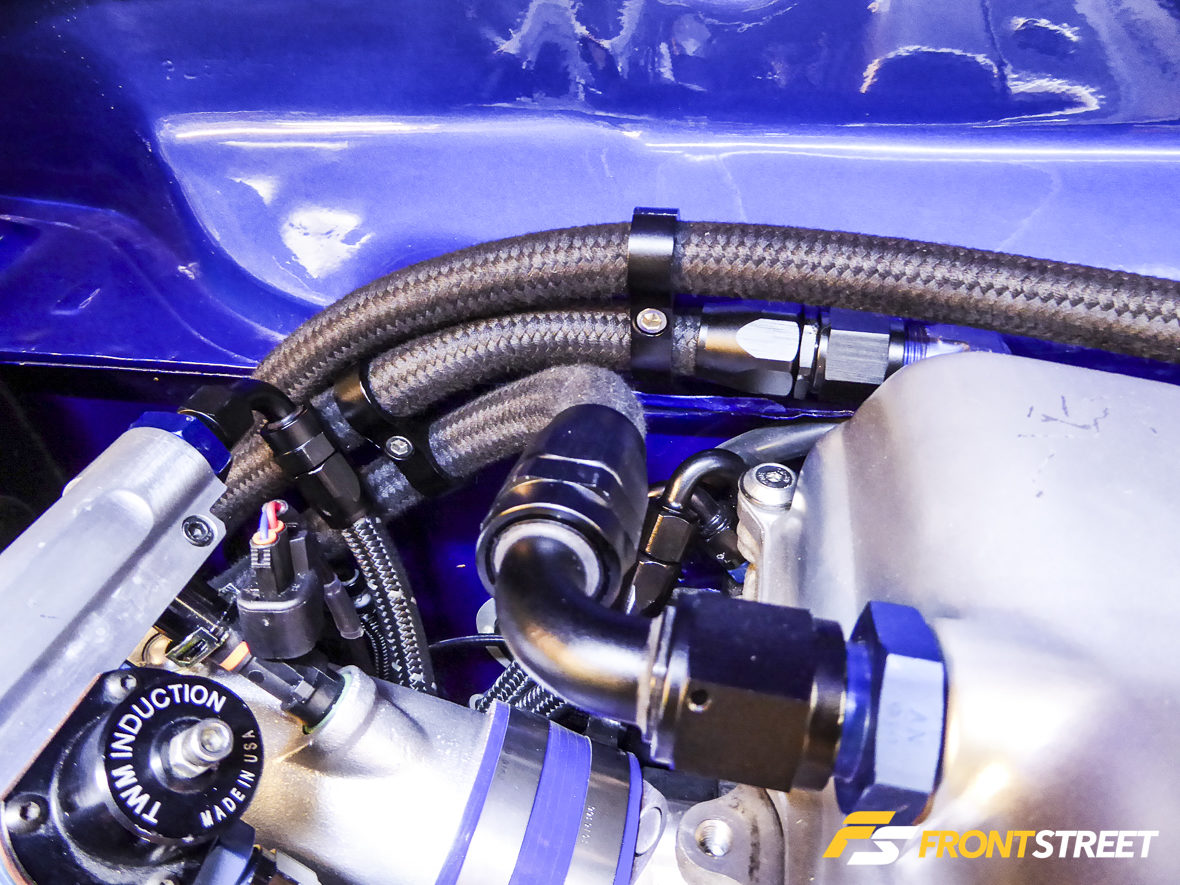
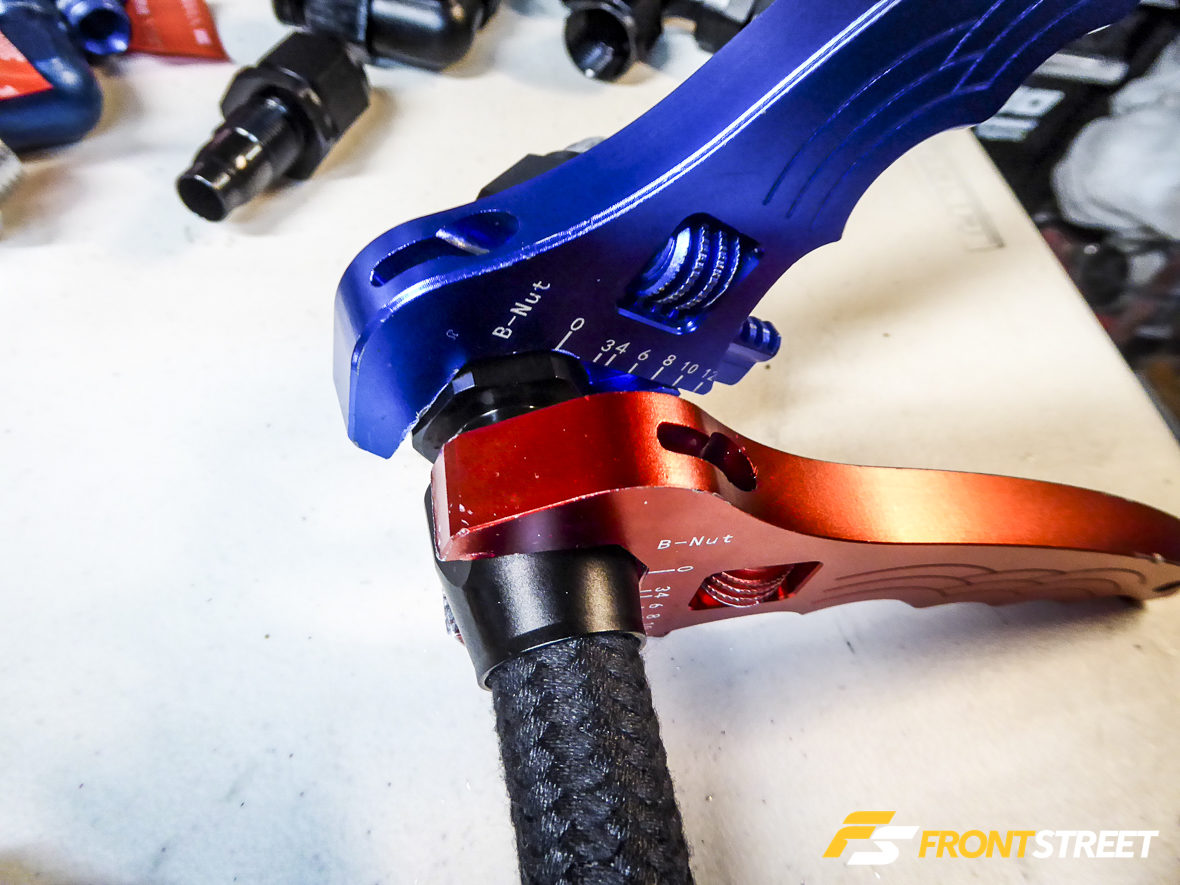
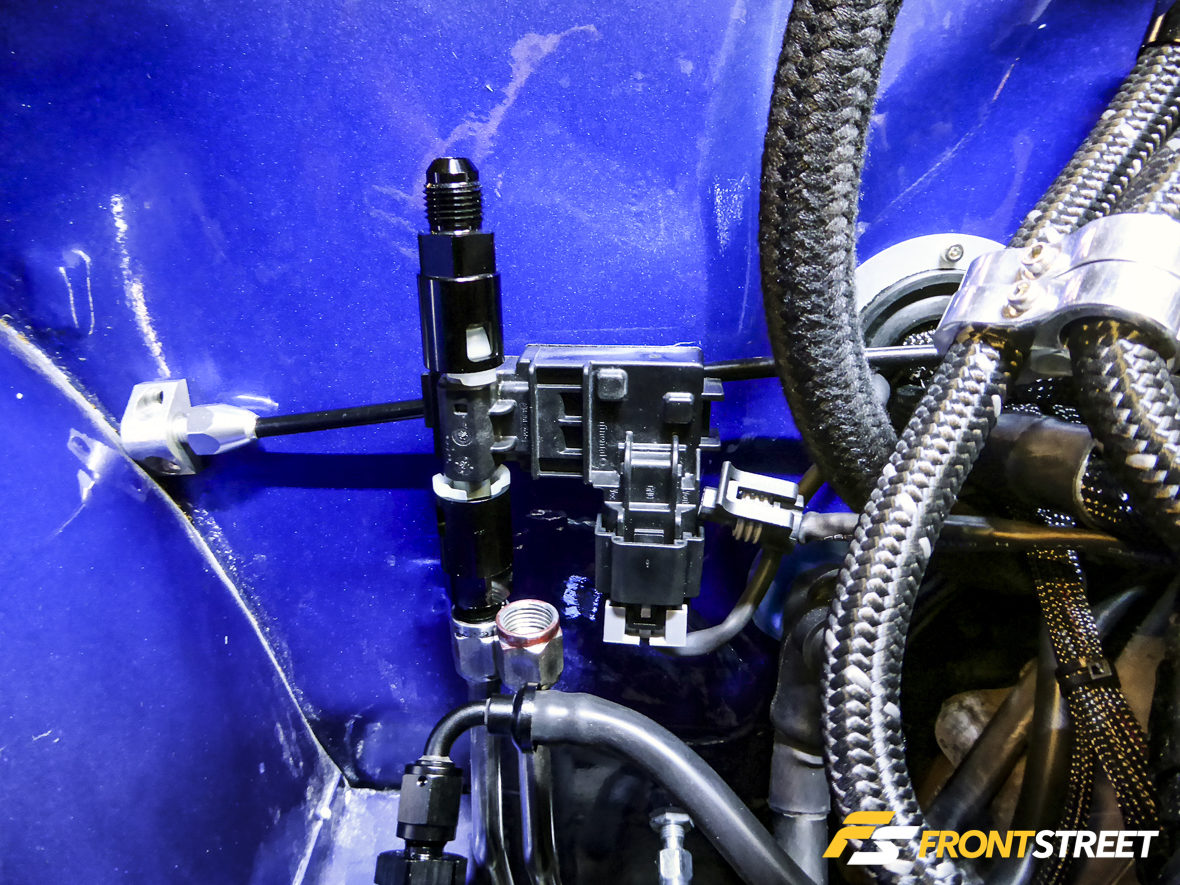
When I began plumbing the fuel system, I selected products and parts that would stand up to the ethanol fuel beginning with the stainless steel fuel lines and Viton lined braided lines. Turn 14 Distribution played a large role in providing me with a number of Vibrant Performance fittings to complete the system. Vibrant Performance fittings are hard anodized and fully E85 compatible which were ideal for our flex fuel setup. Because ethanol is known to be hygroscopic (it pulls water from the atmosphere), it can cause rusting or destroy electrical components like the fuel pump if left to sit for a long period of time. This causes a bit of concern for the steel fuel tank in the 510, but as long as I flush the fuel system with gasoline prior to storing the car, it shouldn’t be a problem.
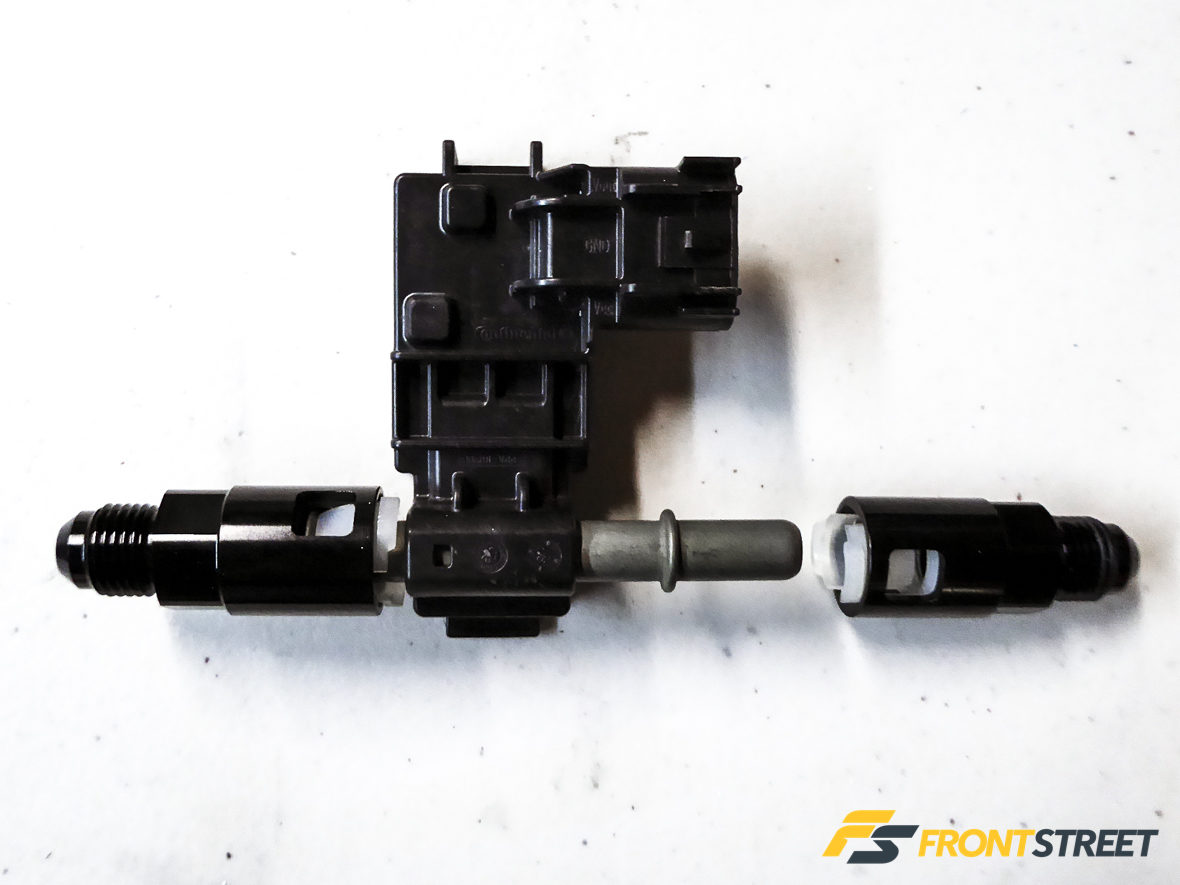
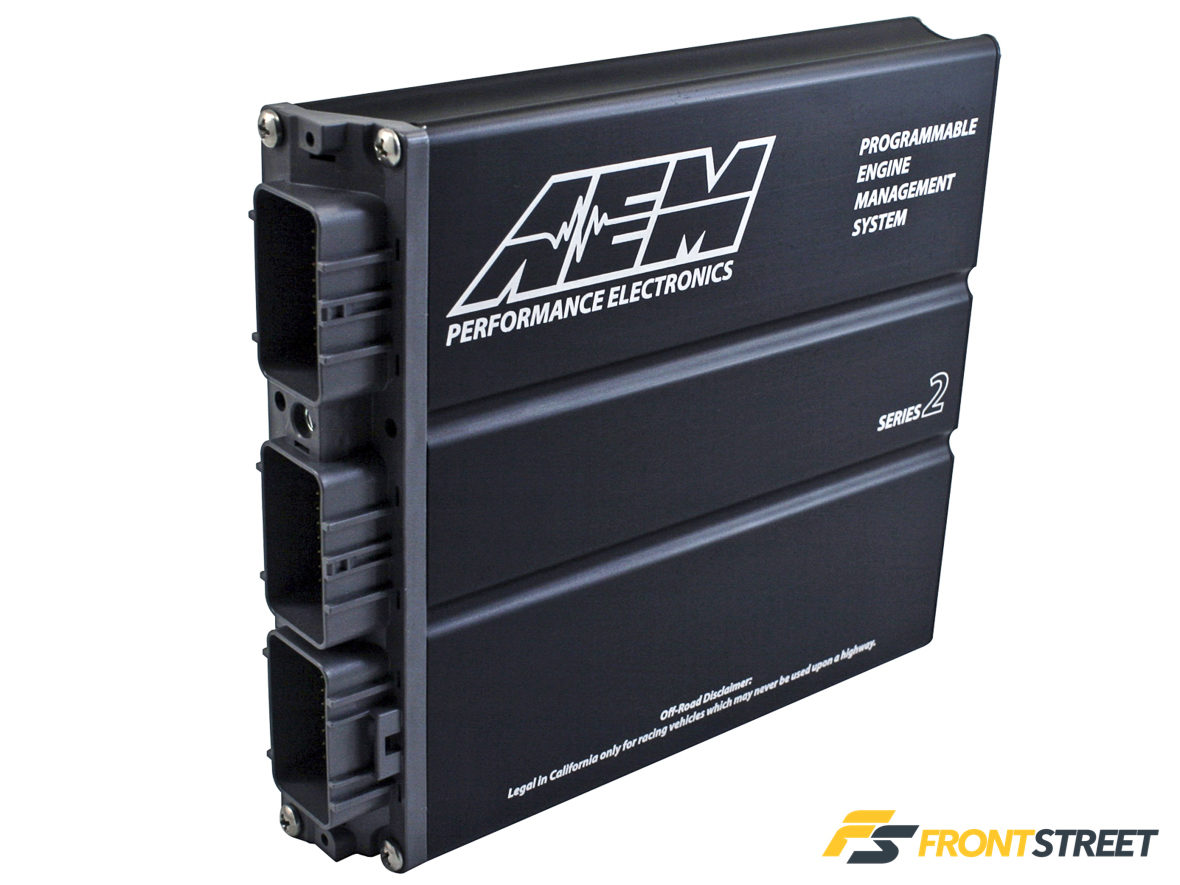
The Ethanol Sensor Kit measures the ethanol content of fuel being fed into the engine, then converts it into data that can be utilized by the car’s ECU. The AEM EMS Series 2 I’m using in this car offers flex-fuel tuning capability which I plan to take full advantage of when looking to increase horsepower.
AEM Electronics Series 2 Engine Management
The AEM Electronics EMS Series 2 plays an integral part of our tuning and electronics communications for our hybrid engine build.
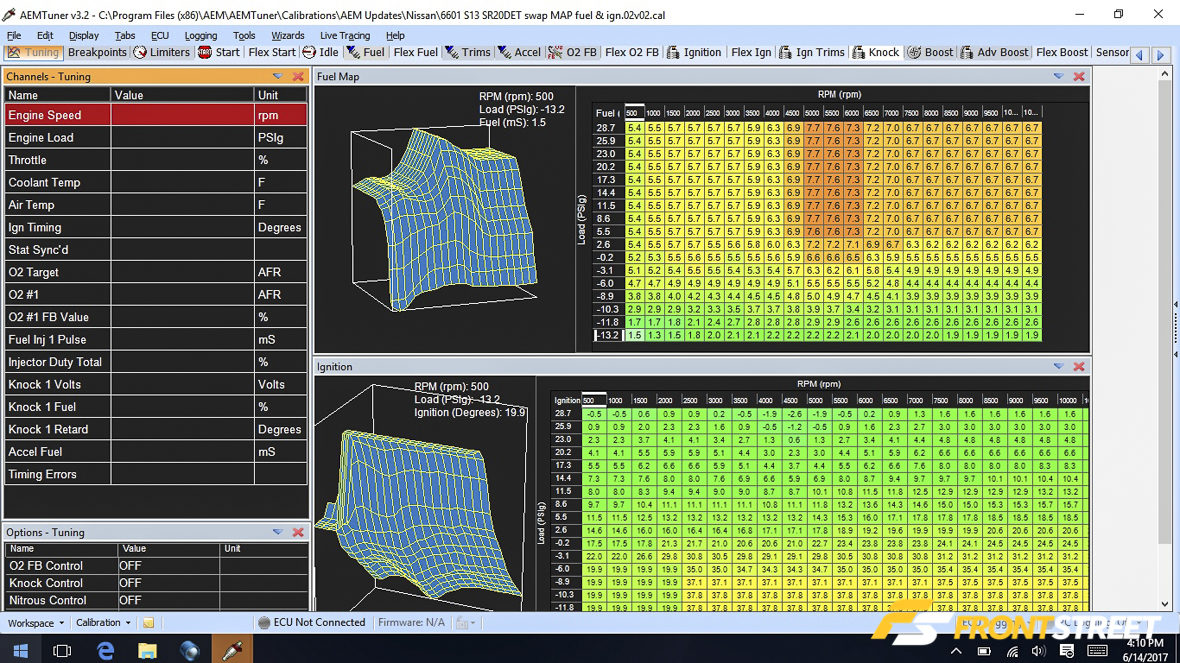
The EMS selected to run all the parameters of our engine— including our new coil on plug ignition conversion—was originally designated for use on the 91-93 Silvia S13 SR20DET. Since we are still using the S14 SR20DET block, many of the sensors still remain the same. The AEM EMS allows usage of the factory sensors, and provides inputs for additional sensors as well, to monitor a wide range of engine parameters.
AEM Electronics CanBus/4-Channel Wideband Uego
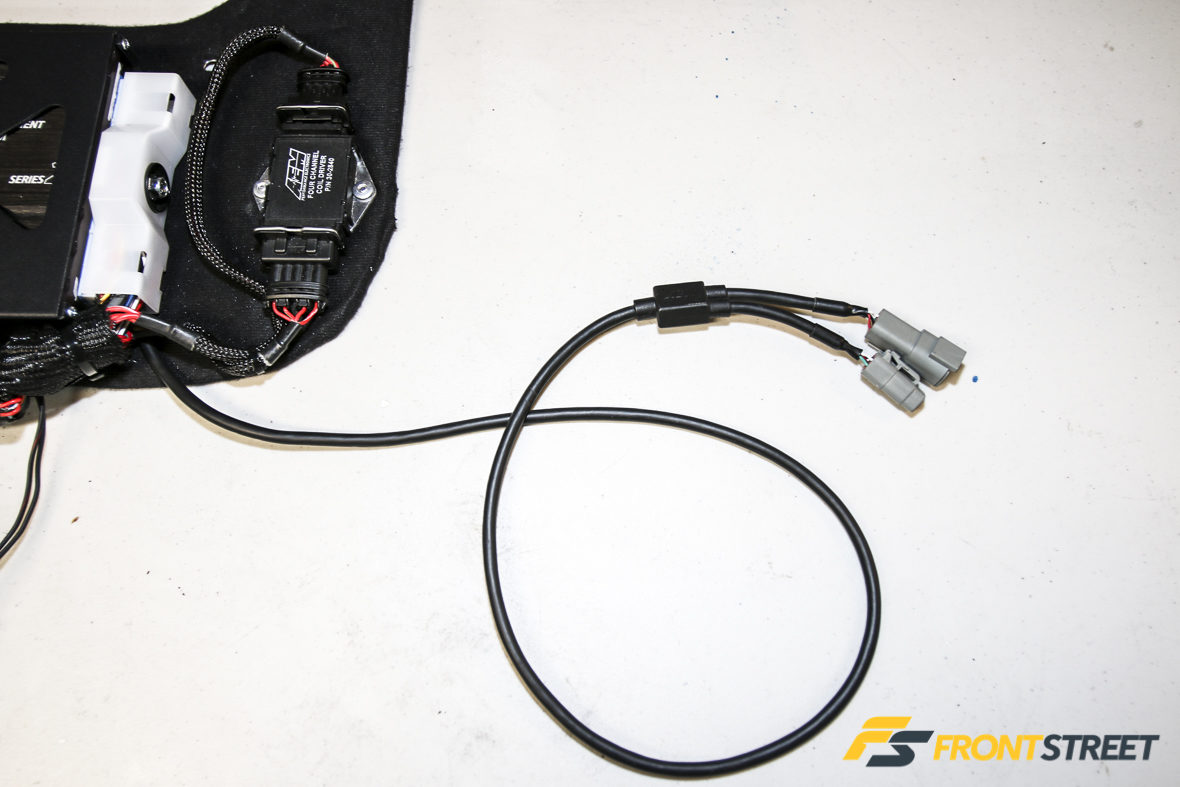
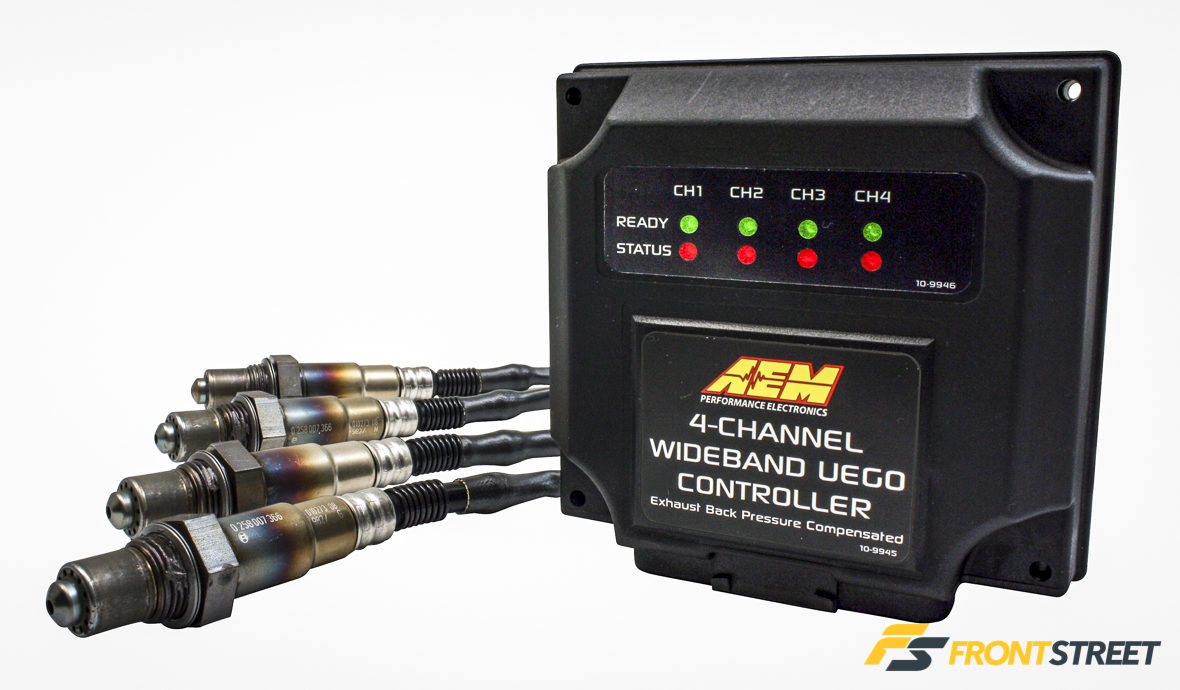
I took advantage of the AEMnet CAN 2.0 system by requesting Wiring Specialties to tie the unit into the newly-built wire harness. The AEMnet allows multiple devices to communicate with each other through a single cable. This allows me to utilize the AEM 4-channel wideband UEGO controller which transmits data and receives power through the CAN output, and interfaces directly with the EMS Series 2 engine management unit. The UEGO controller gives me the ability to monitor the air/fuel ratio on each cylinder simultaneously.
AEM recommends placing the sensor three to six inches from the exhaust header flange for consistent air/fuel measurements. The wideband controller requires no free air calibration and has the ability to read and monitor gasoline, E85, ethanol, methanol and even lambda.
Wiring Specialties
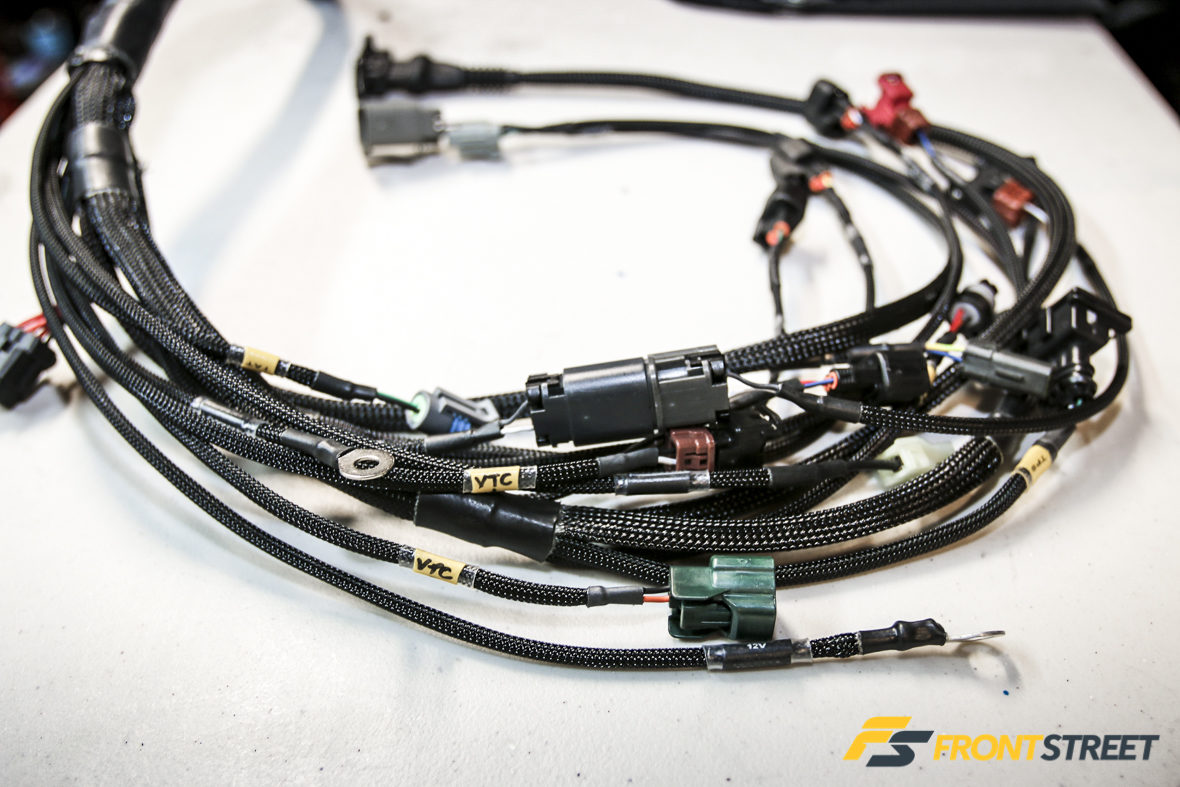
Wiring up an engine can be a nightmare, especially if you don’t know what you are doing. The team at Wiring Specialties takes the guess work out of getting your car running and offers a wide range of custom plug-and-play engine harnesses. This engine setup required plenty of custom work as it was using a cylinder head from a JDM Nissan Pulsar and a block from a S13 180sx.
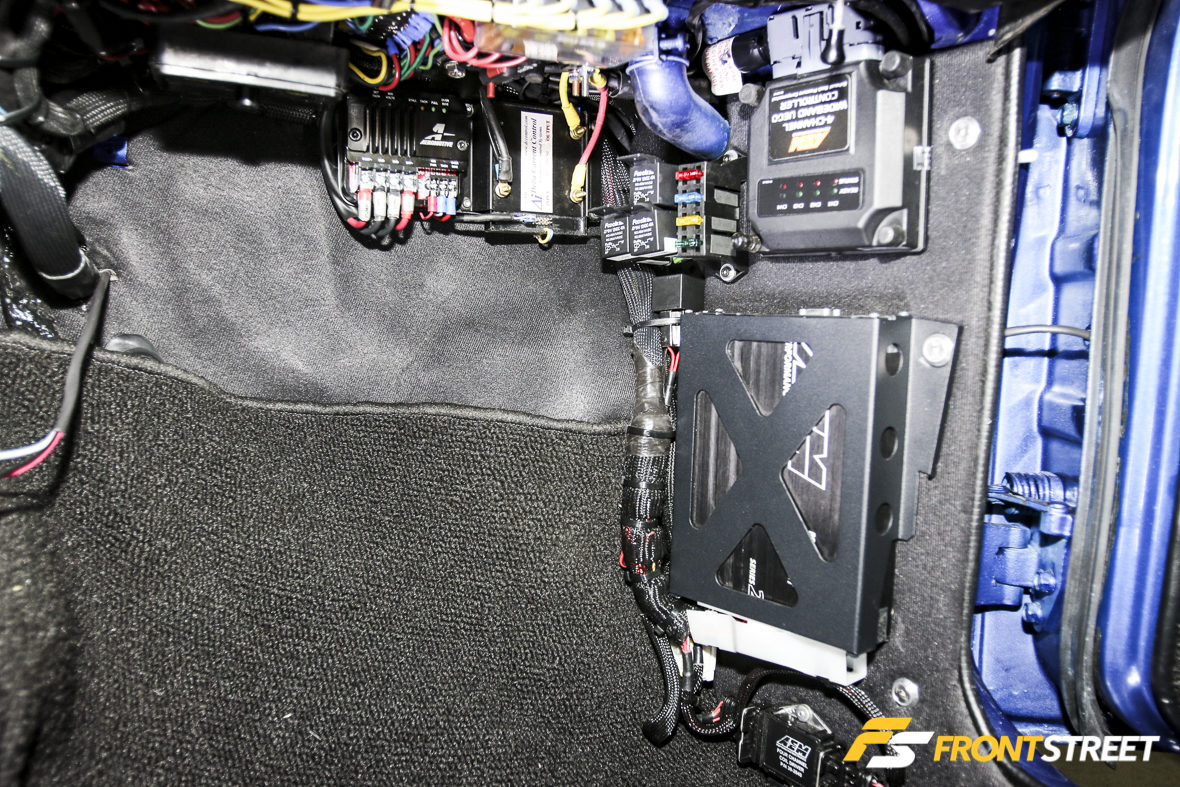
I exchanged a few emails and phone discussions with Yuri Lyalko of Wiring Specialties to determine the plan of attack. He asked a few simple questions; the type of engine management, whether the car was naturally-aspirated or running forced induction, the type of ITB setup, and whether the engine would be using any additional electronics. I sent an Excel spreadsheet of what sensors would be used and the placement of where I wanted the harness to exit from the firewall, and Yuri and the team took over from that point on. Within a few weeks, I received a package on my doorstep that contained a Wiring Specialties Pro Series harness that was designed from the ground up specifically for the universal Datsun installation and was plug-and-play compatible for my SR20VE hybrid.
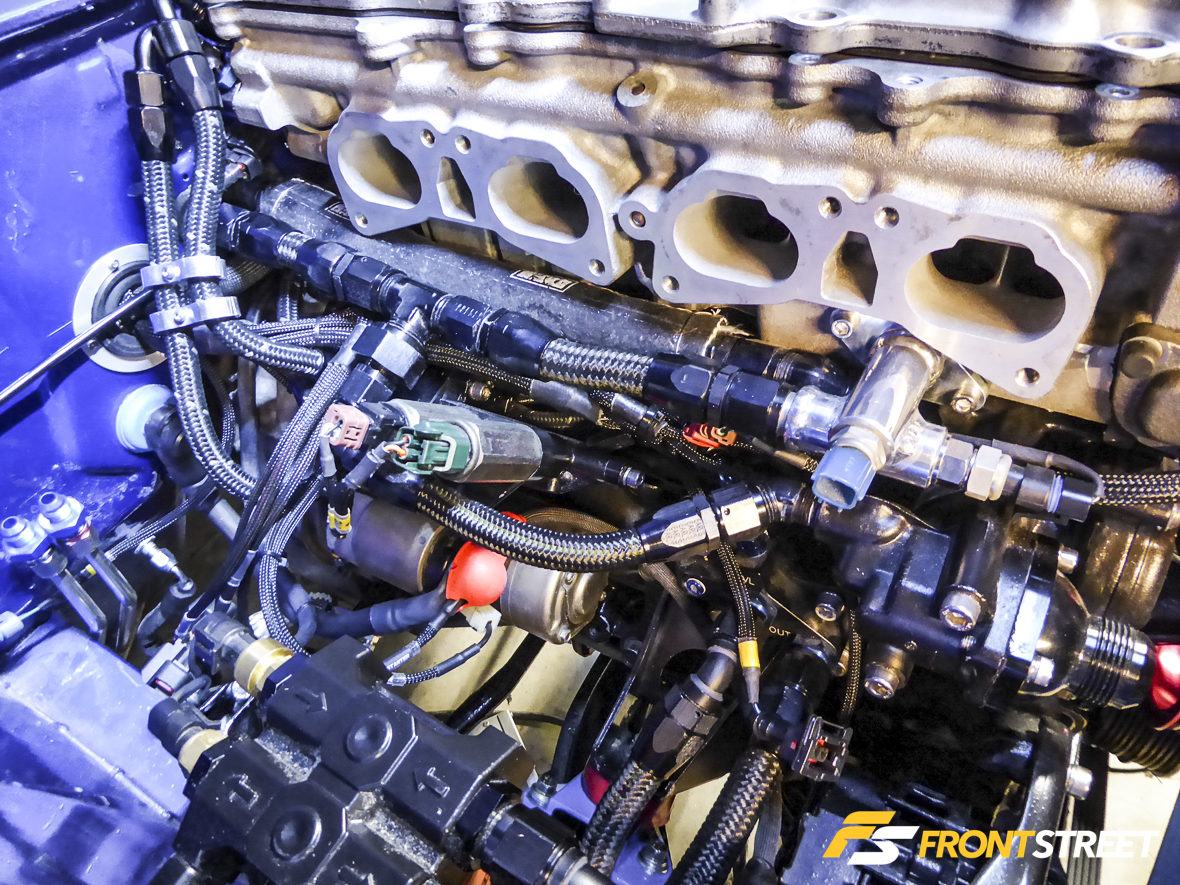
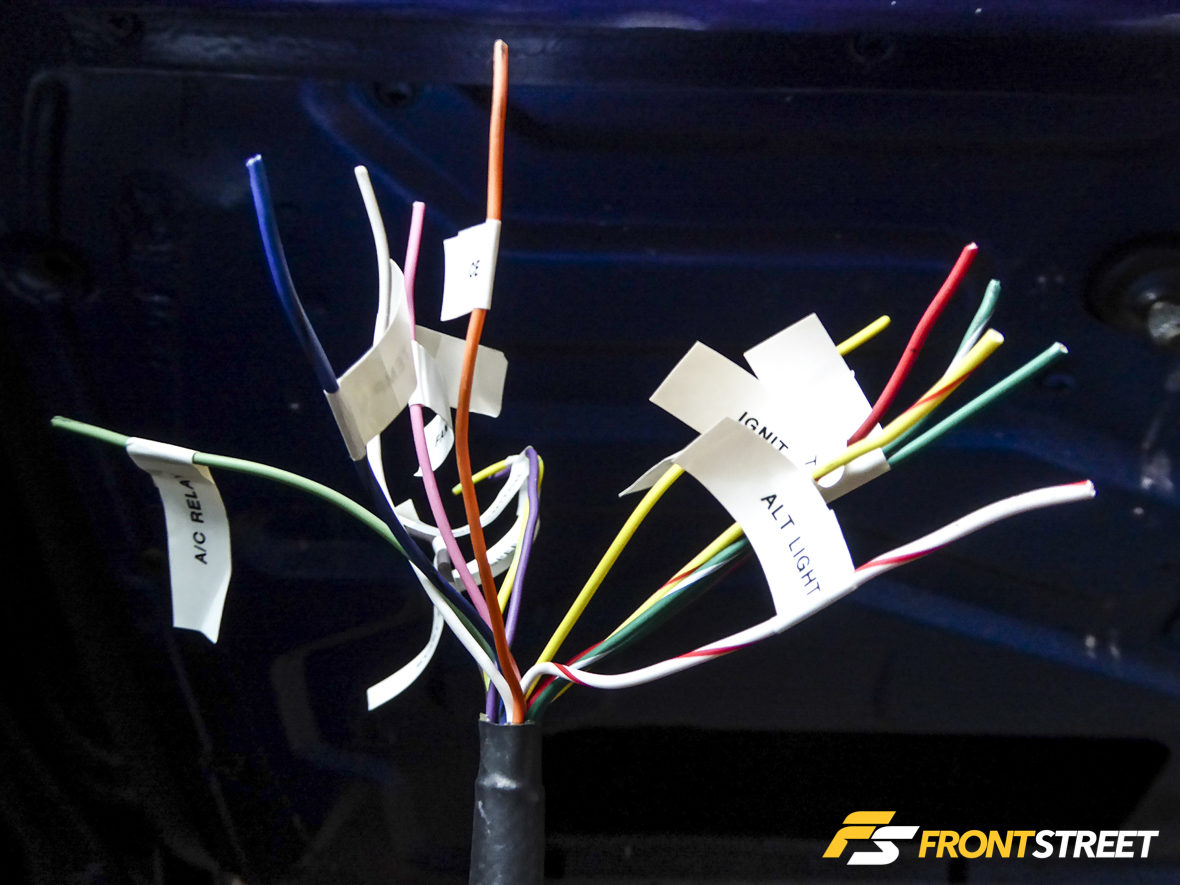
The harness kit removed any unnecessary wiring for a cleaner look and install and came with all the connectors labeled for easy installation Also integrated into the wiring is a fuse block for the ignition, fan and fuel pump, along with flying leads to connect the vehicle’s electrical items for a true turn-key installation. By simply hooking up the detailed wires—alternator light, engine check light, tach, fuel pump, fan, start signal and ignition power—the car was ready to fire up.
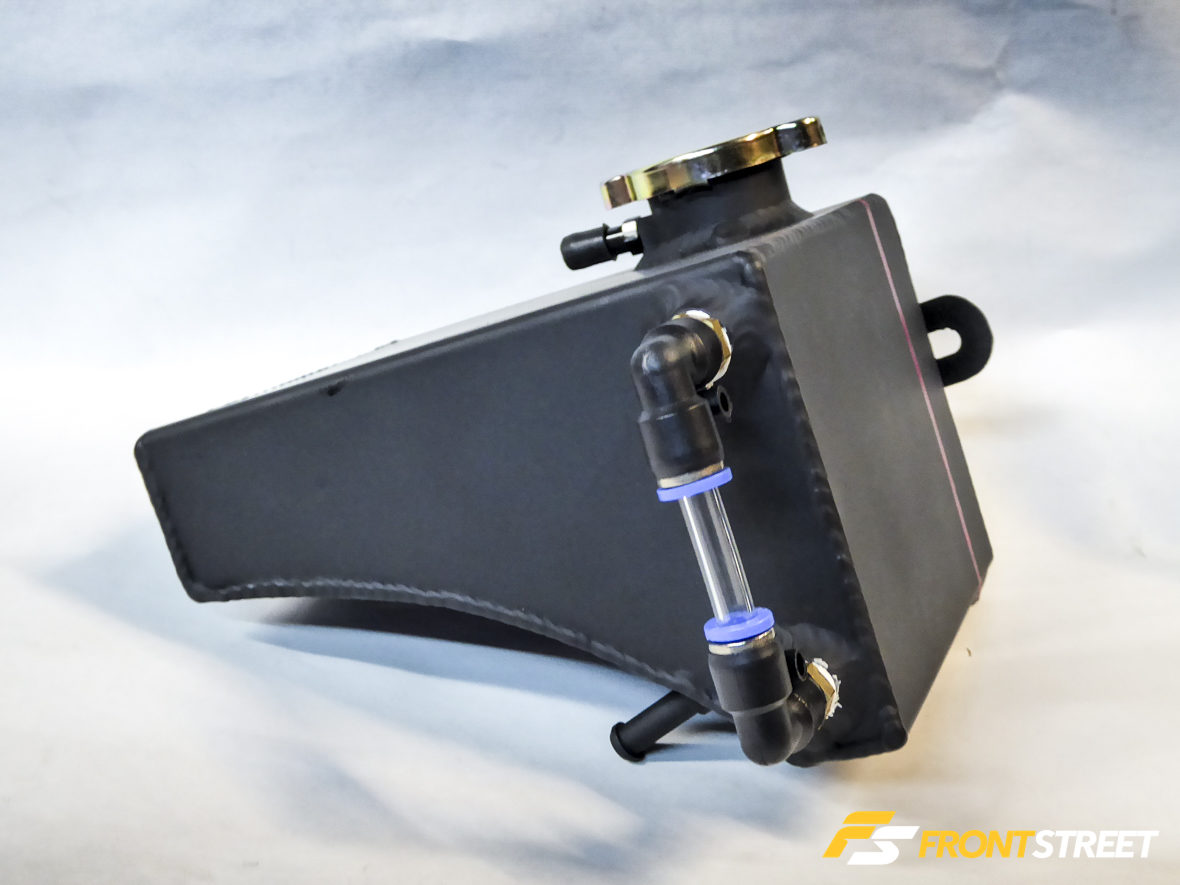
Custom Catch Can
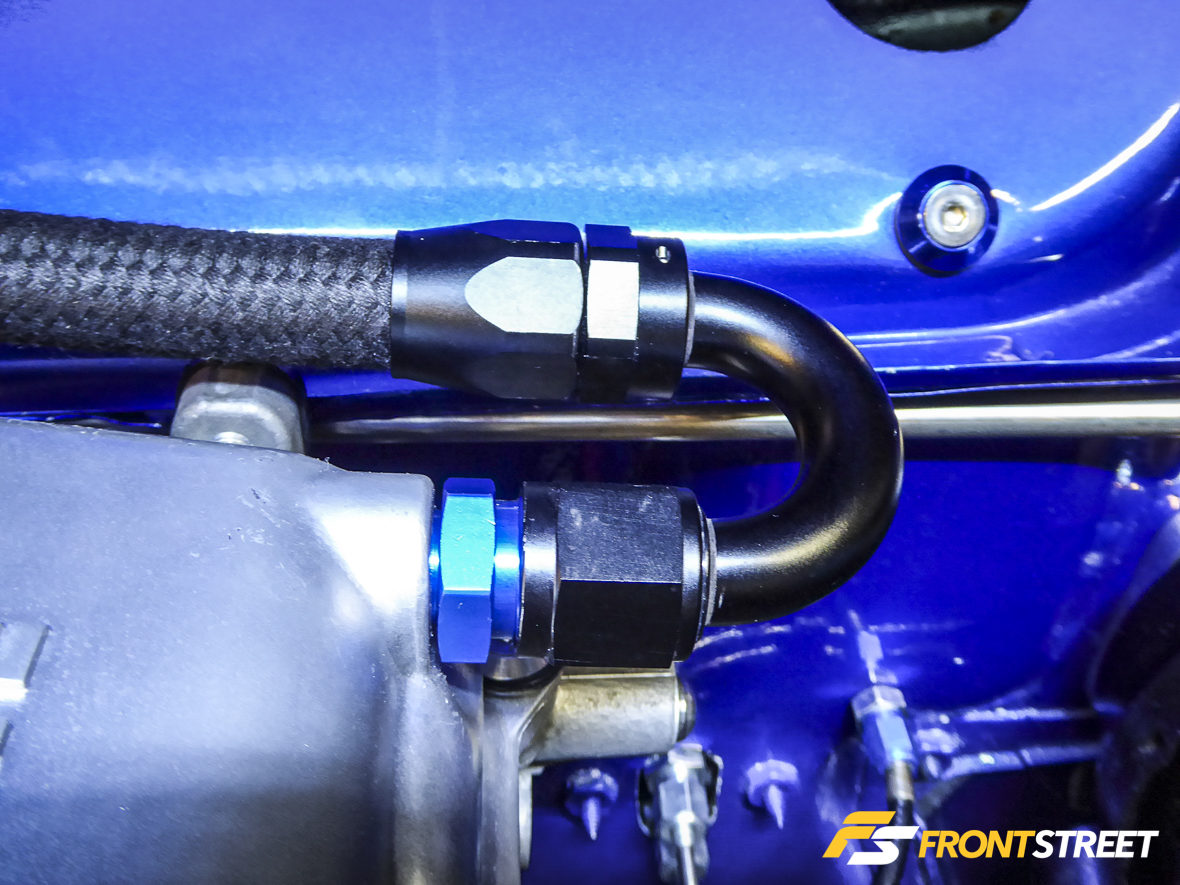
A S13 240SX coolant reservoir was chopped up and welded together to form an oil catch can. The setup was plumbed using Vibrant Performance -10AN fittings and hose dividers supplied to us by Turn 14 Distribution.
The SR20DET has been notorious for blow-by contamination through the intake tract, which can cause carbon solids to form and reduce fuel octane levels.
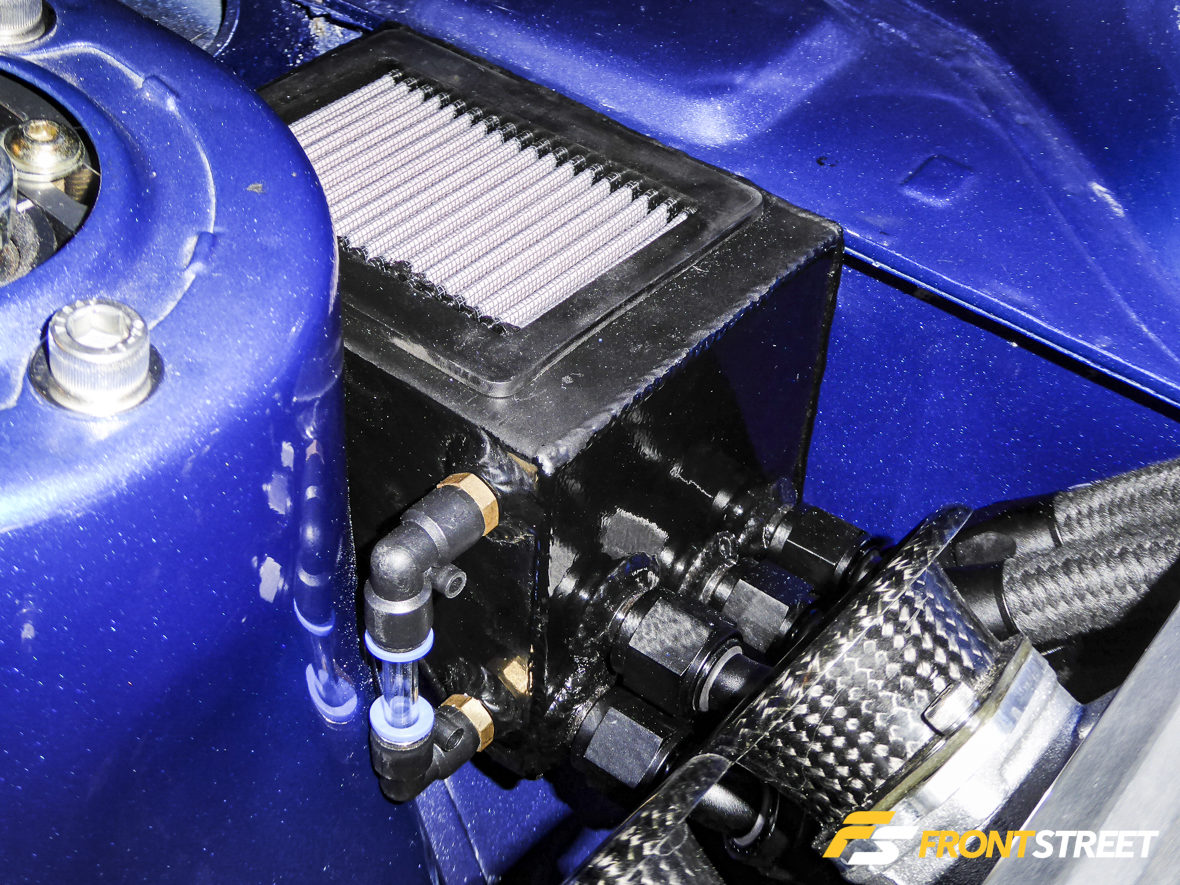
By implementing a catch can, we give these heavy solids and contaminants a place to collect without returning back into the engine. Water absorption from E85 fuel combined with crankcase moisture can form into a milky substance, and quickly fill up a catch can. To combat this issue, I added an additional -8 AN fitting bung on the bottom of the tank to be used as a drain; it leads to the exhaust, which acts as a scavenging system to pull any remaining fluids out from the catch can.
Exhaust Header Fabrication
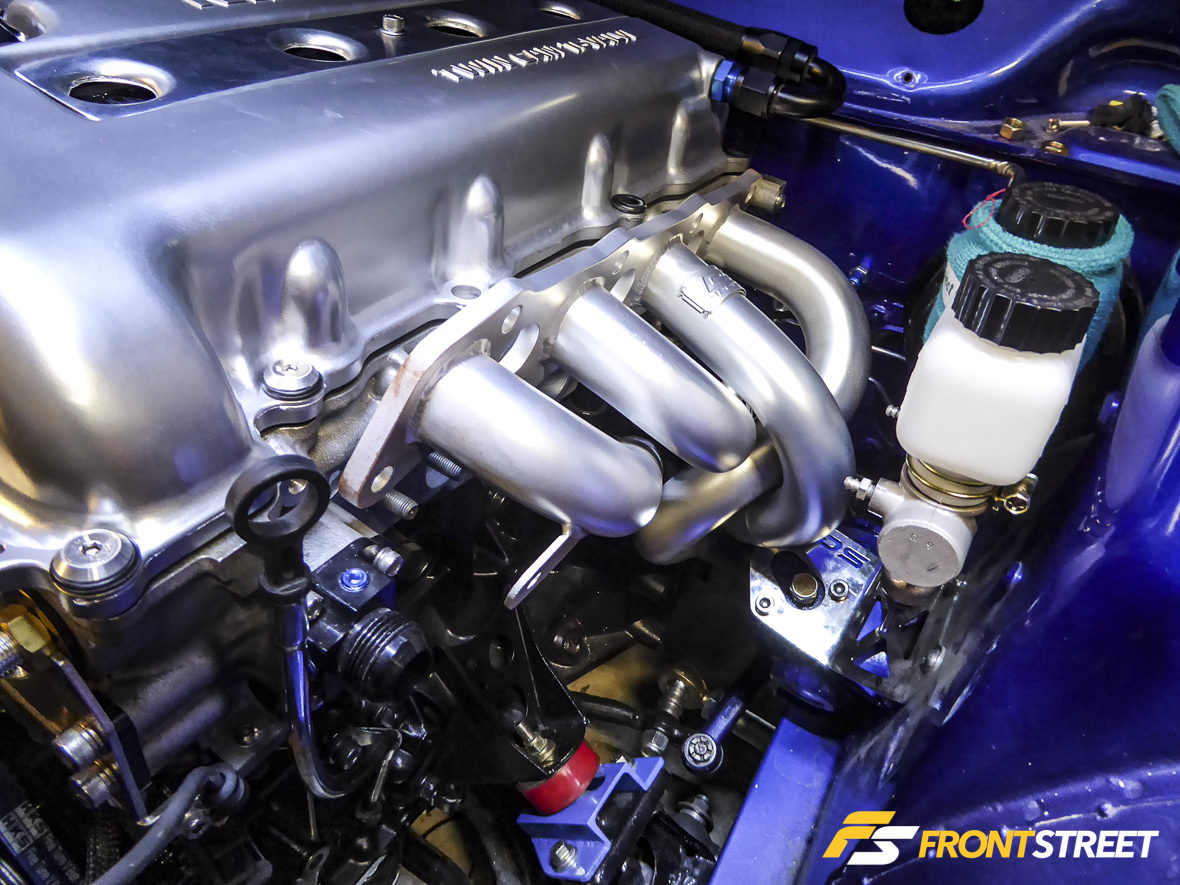
Fabricating a custom exhaust header requires a special skill set that the average enthusiast doesn’t have. Simply cutting and welding on a bunch of tubes seems like a simple task, but in reality, designing a header with the wrong diameter primary tubes or too long or short in length will ultimately affect the engines overall performance.
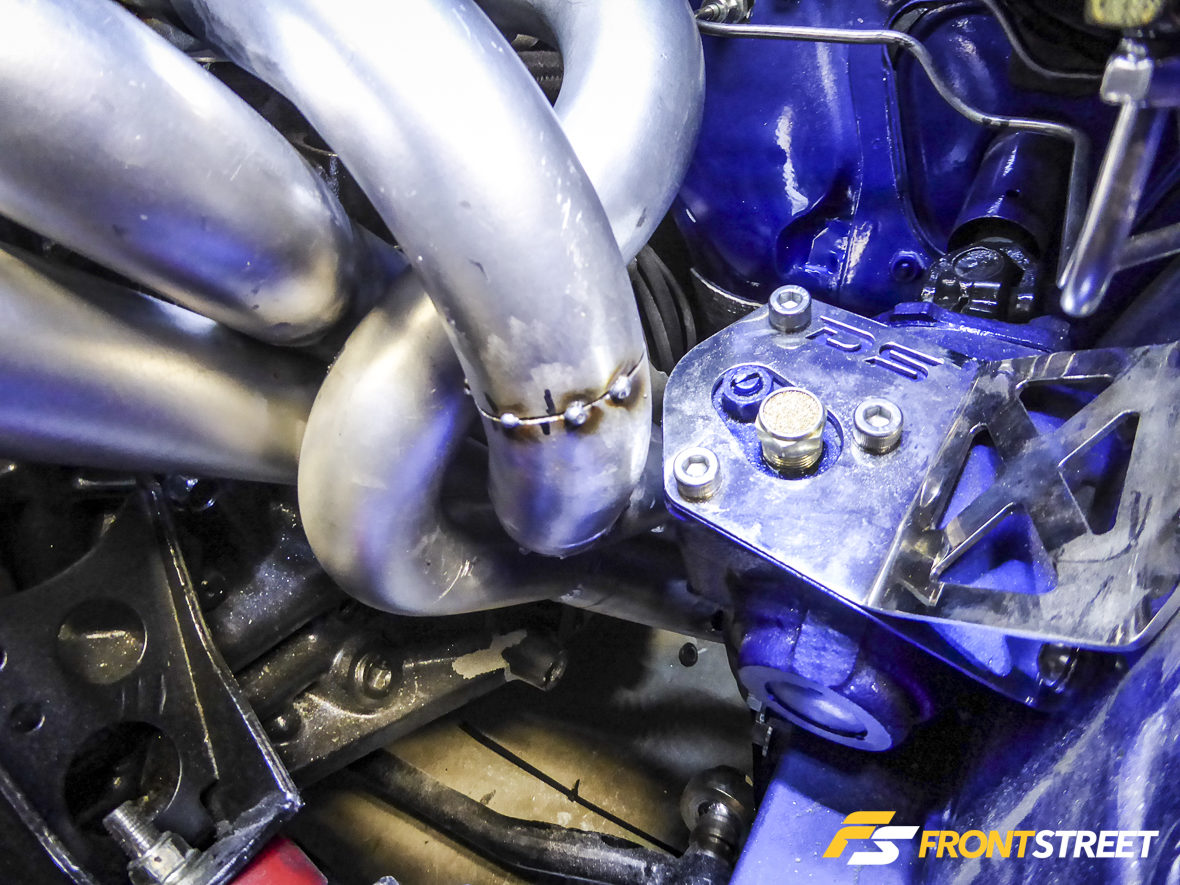
Rather than reinventing the wheel, I decided to take an existing header designed for a Nissan KA24DE/240SX fitment and make a few modifications to it. A quick mockup revealed the exhaust port spacing between the KA24DE and SR20VE were nearly identical; this header was initially designed to fit the tight area around the 240SX S13 steering rack. Ultimately, we determined it would work perfectly for my Datsun with just a few modifications.
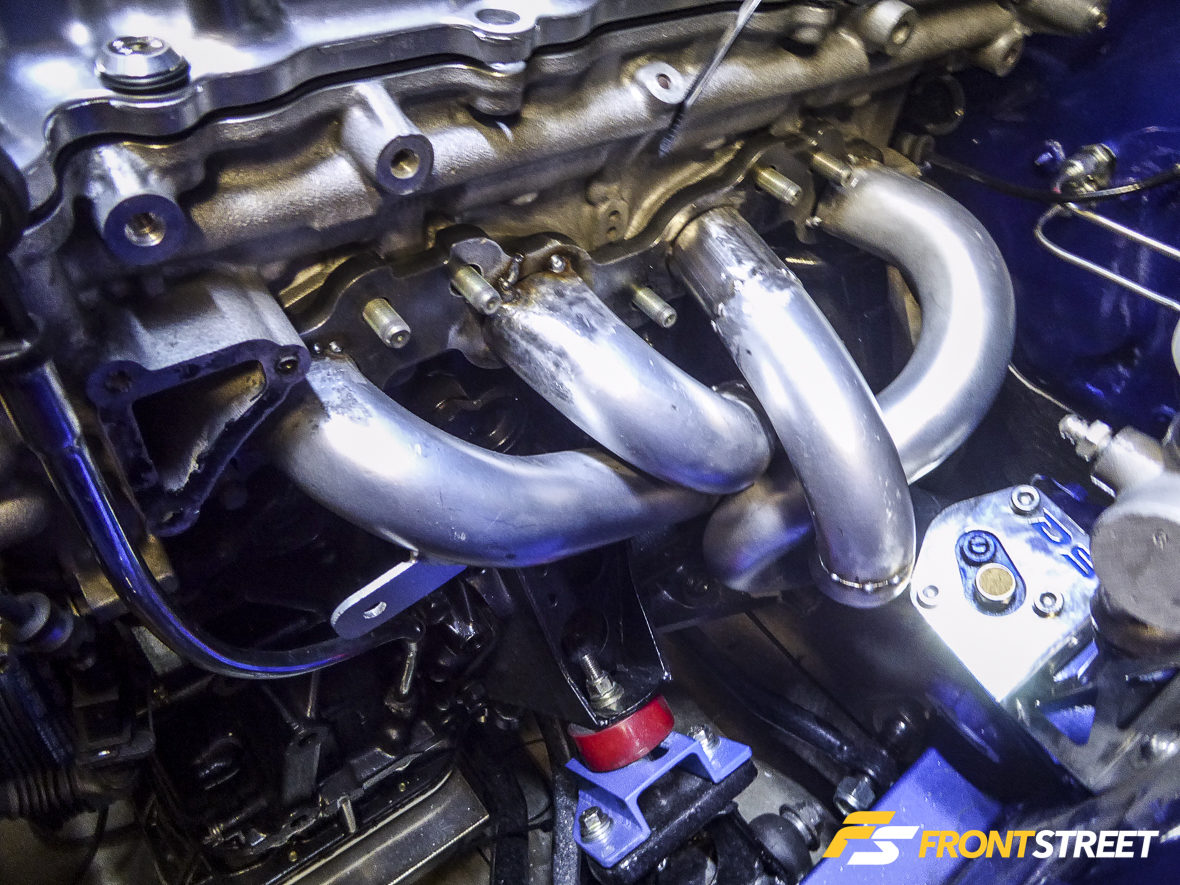
We removed the header flange and tack-welded a SR20VE mild steel flange I purchased from Taarks. Sectioning the pipes and making a few cuts to reshape the areas around the steering box allowed us to create a functional 4-to-2-to-1 Tri-Y header, while retaining the original equal length primaries. As I finish writing this story up, Designcraft Fab is scheduled to weld the pieces together and install the AEM Uego 4 Channel bungs.
The Light is at the End of the Tunnel
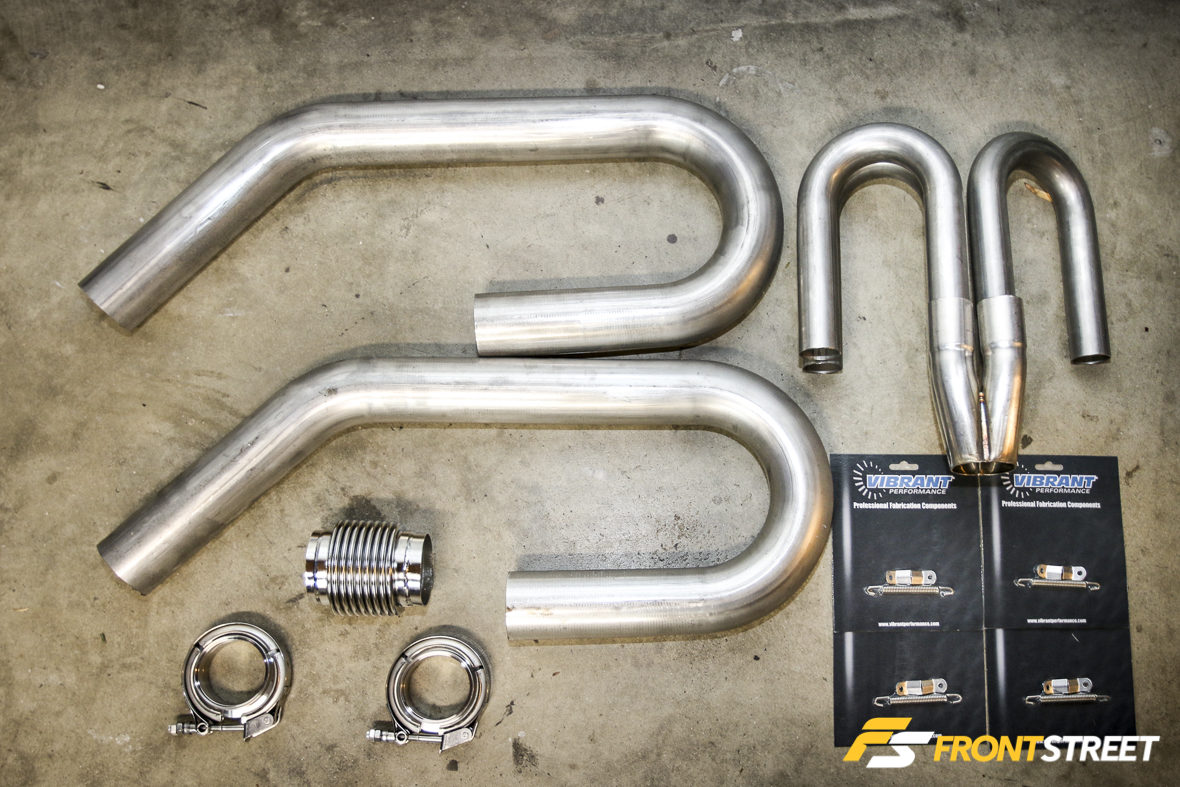
The final step to firing up this beast is to fabricate an exhaust system which will consist of parts we received from Turn 14 Distribution, including 2.5-inch diameter piping, stainless steel bellows assembly and Vibrant Performance stainless-steel V-Band fittings to allow easy installation and removal. I’ve used these Vibrant Performance fittings in the past and like their leak-free, gasket-free seal, especially when compared to dealing with a typical flange and gasket setup.
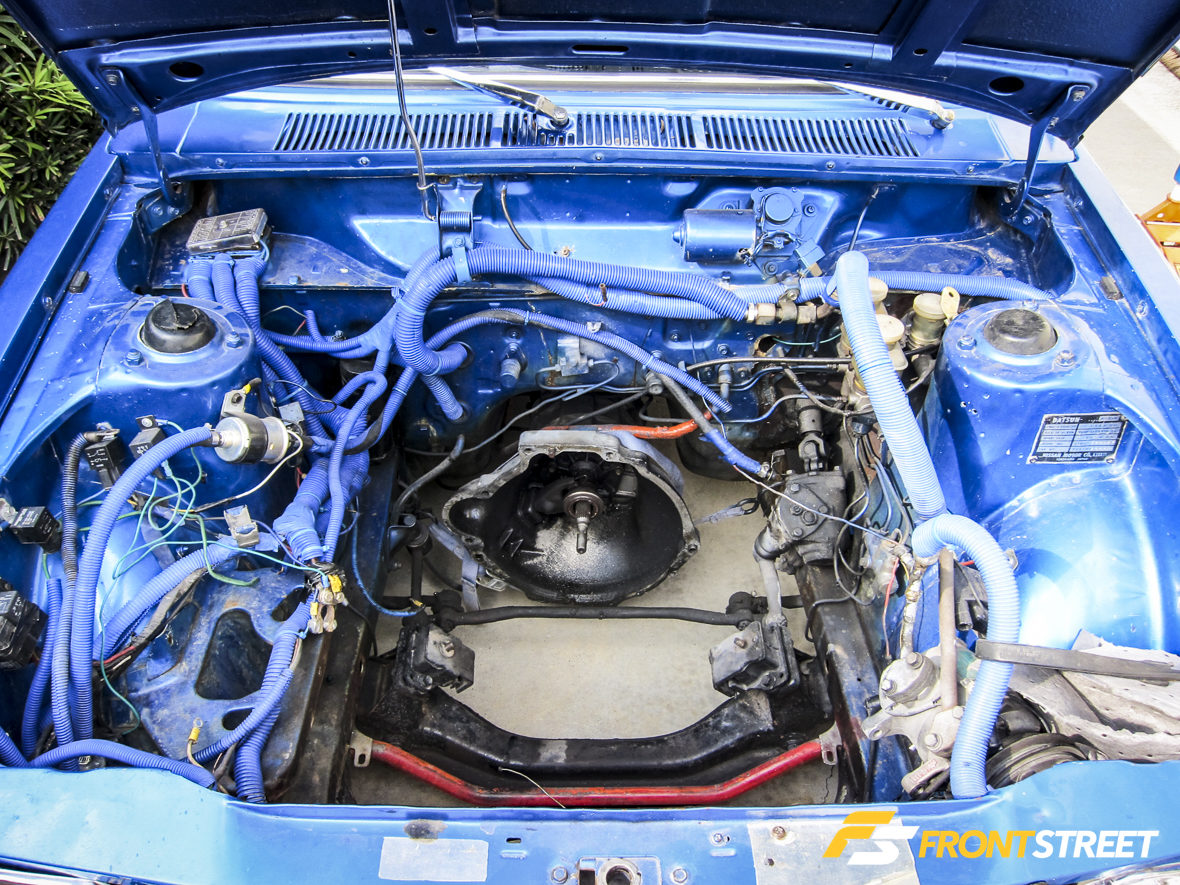
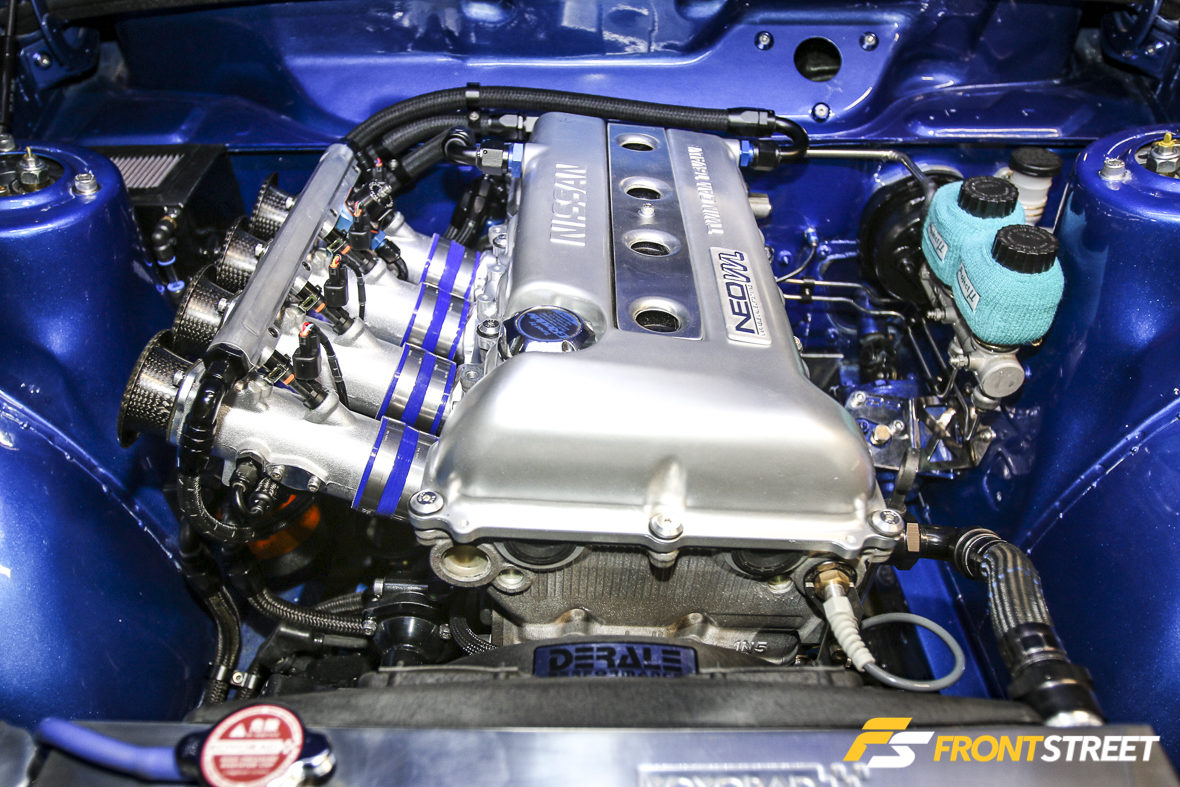
It’s been a long road with plenty of ups and downs along the way but in the end, I believe all of the hard work has paid off, and this car will be a blast to drive once Evasive Motorsports fine-tunes the fuel management system. If I had a chance to do it all over again would I? The answer is a resounding hell yeah!
Check out the other parts of this build series right here.


