One of the most important parts of your car’s interior is the steering wheel. You use it every time you drive your car and because it’s used so often, it can get pretty dirty. If you are like many of us, you’ve probably neglected to properly maintain your steering wheel by using leather conditioner or simply cleaning it. Over time, the dirt and oil accumulated from your hands combined with the sun’s harmful rays will wreak havoc on the leather material causing it to deteriorate, fade, or even worse, crack and tear.
Peeling or cracked leather on your steering wheel can feel disturbingly unpleasant and also ruin the appearance of an otherwise show quality or fully restored vehicle.
So, when the inevitable wear happens, what are your options? The most logical solution is to throw that old piece away, and purchase a newly manufactured or new old stock wheel. However, what if it’s a rare collector’s item, or a piece that has long been discontinued and has sentimental value? You can send it off to a specialist for restoration, but they often command prices that are beyond the reach of what most are looking to spend.
Whether you’re looking to customize your steering wheel, restore an old steering wheel, enhance what you love about your current wheel, or simply want it to look and feel fresh again, we found the perfect solution that can be done in the comfort of your own garage. If you’re talented enough to repair dents in sheet metal, and paint a panel or two, you’re skilled enough to repair a steering wheel yourself.
Enter Leatherique, a popular leather restoration solution, which has a long proven history dating back to 1963. Their products have withstood the test of time and continue to be used by auto enthusiasts around the world to help restore leather to an almost-new state.
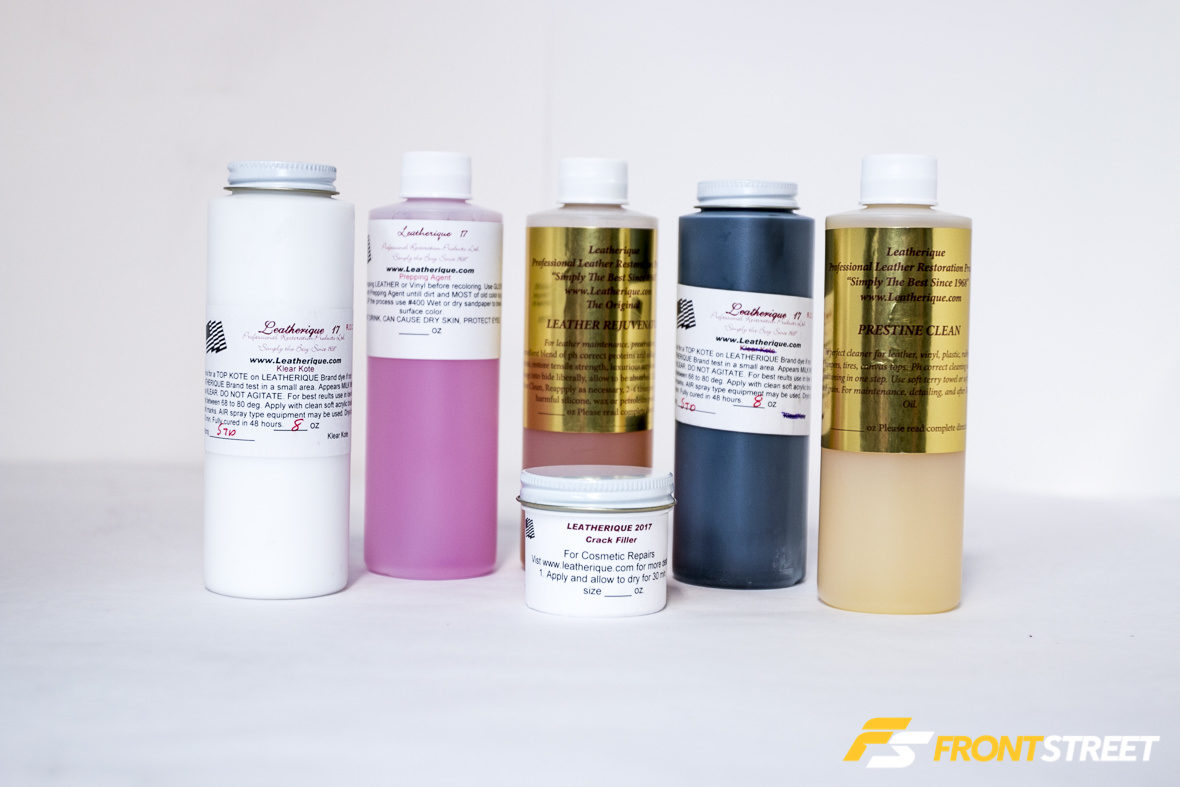
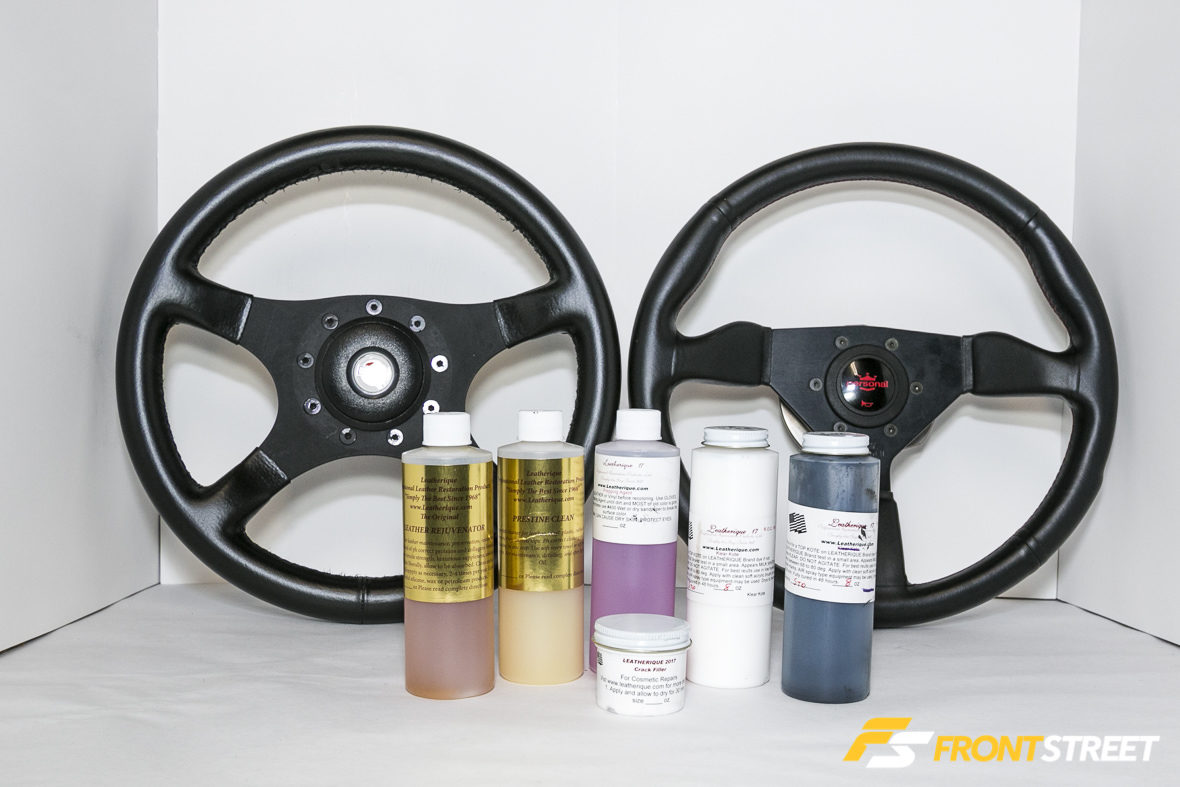
Leatherique offers a DIY steering wheel restoration kit for both leather and vinyl steering wheels. The $25 kit includes a 4 oz. bottle of each of the following: Black dye, Super Prepping Agent, and Klear Kote. We also purchased their 8 oz. Leather Rejuvenator, Pristine Clean, and a 2 oz. container of crack filler compound.
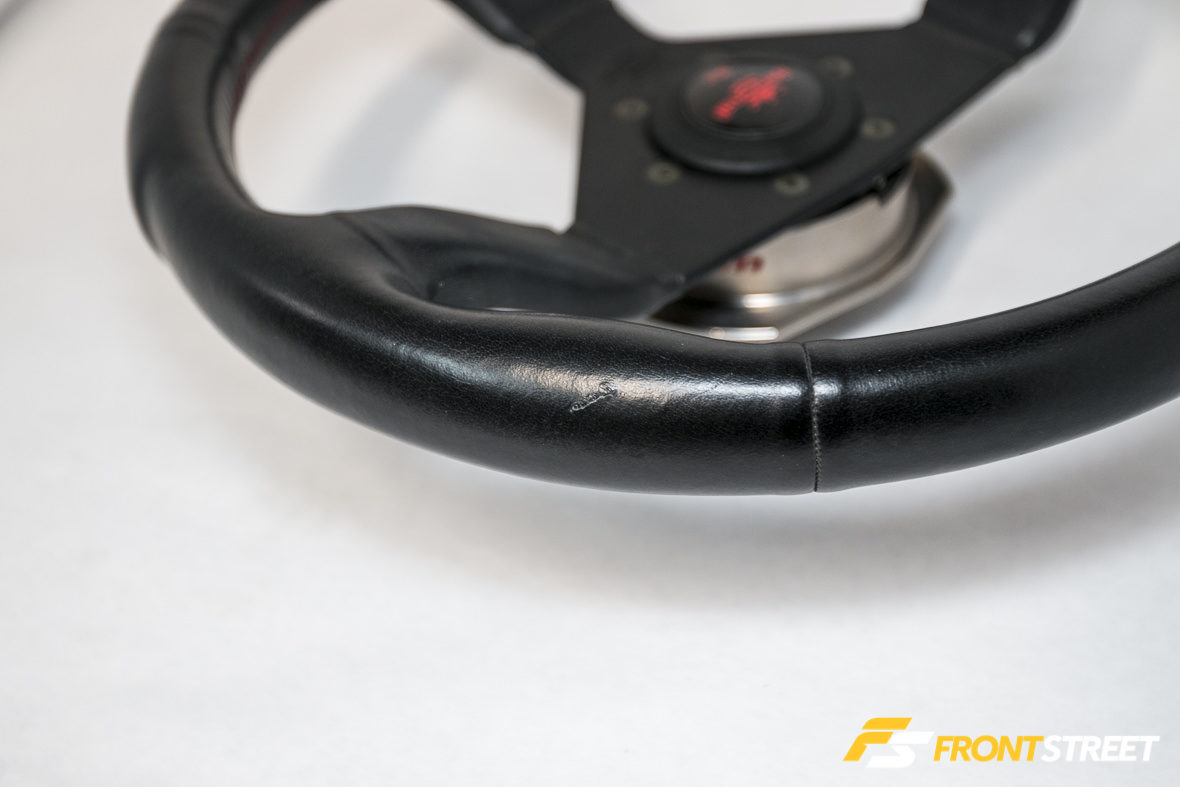
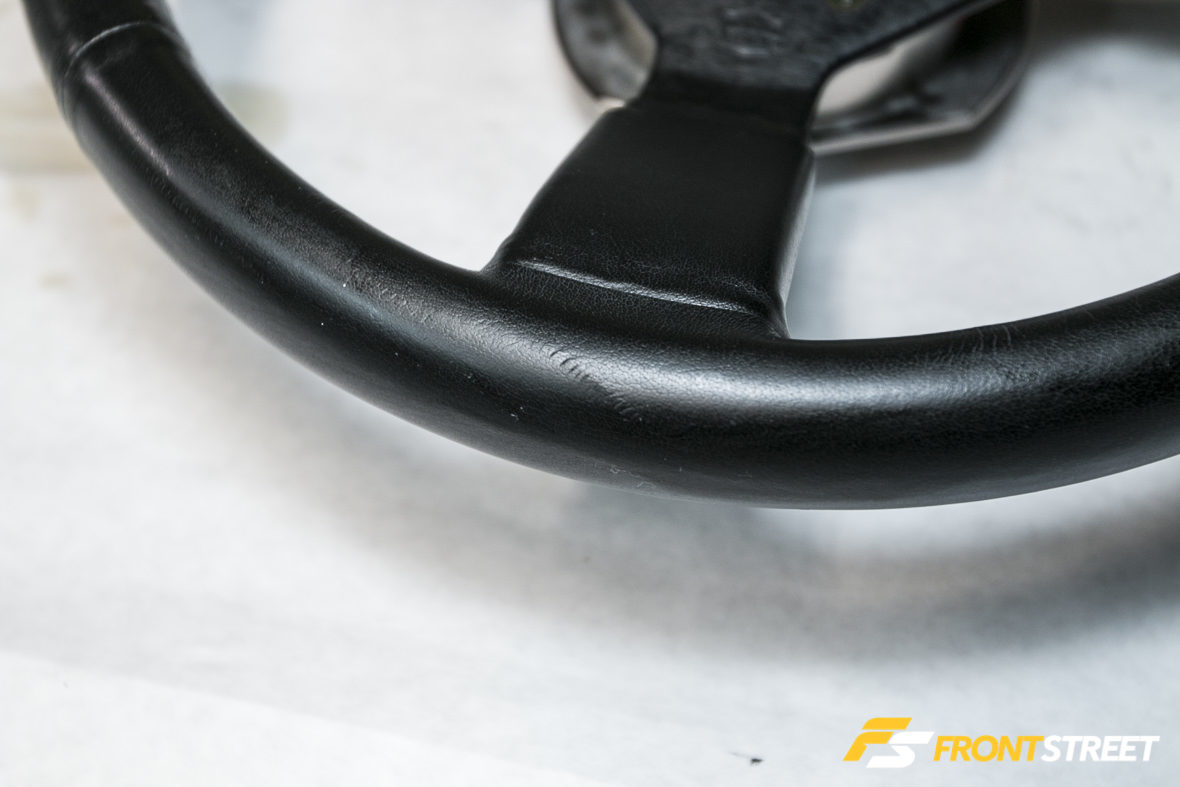
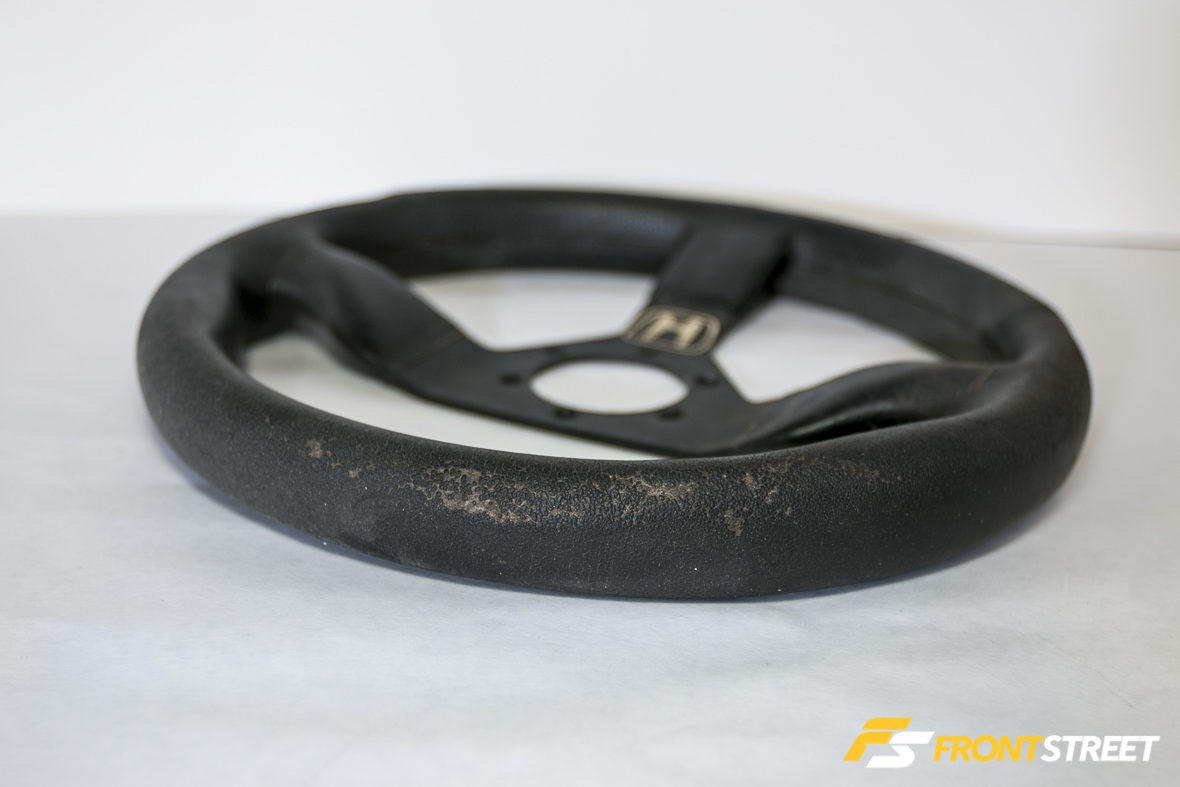
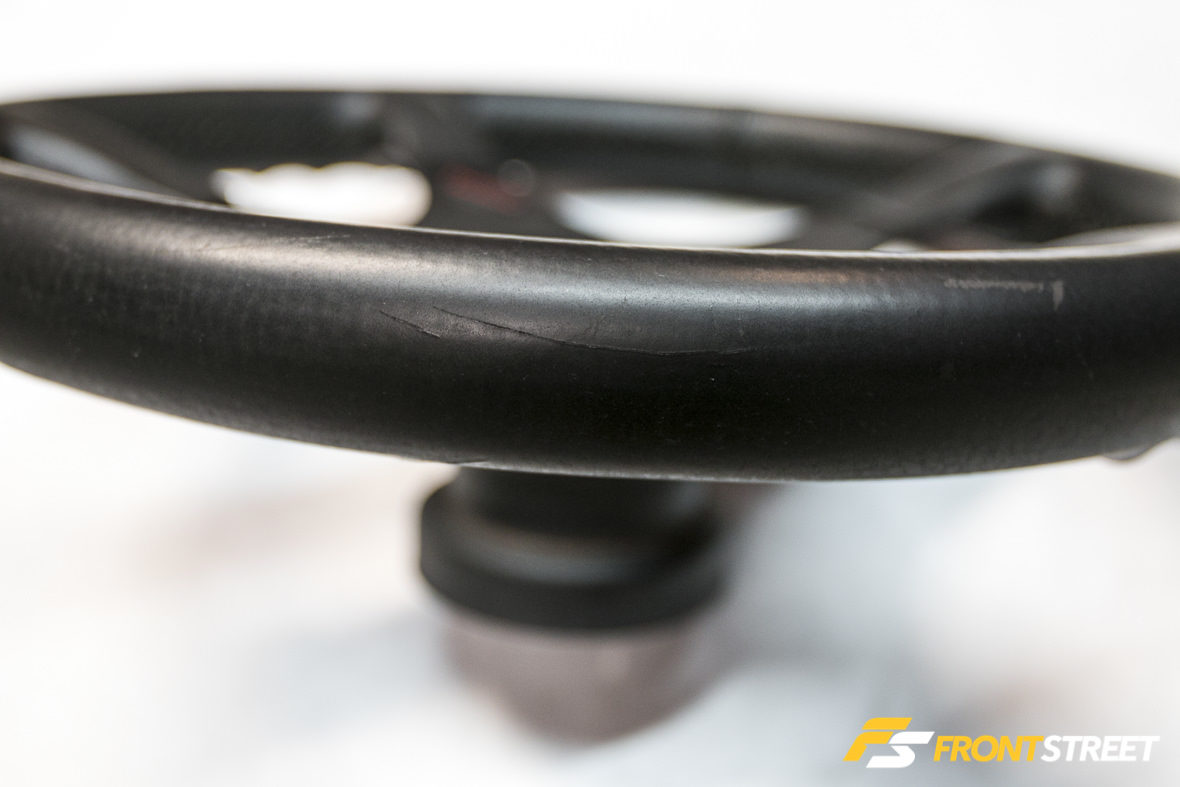
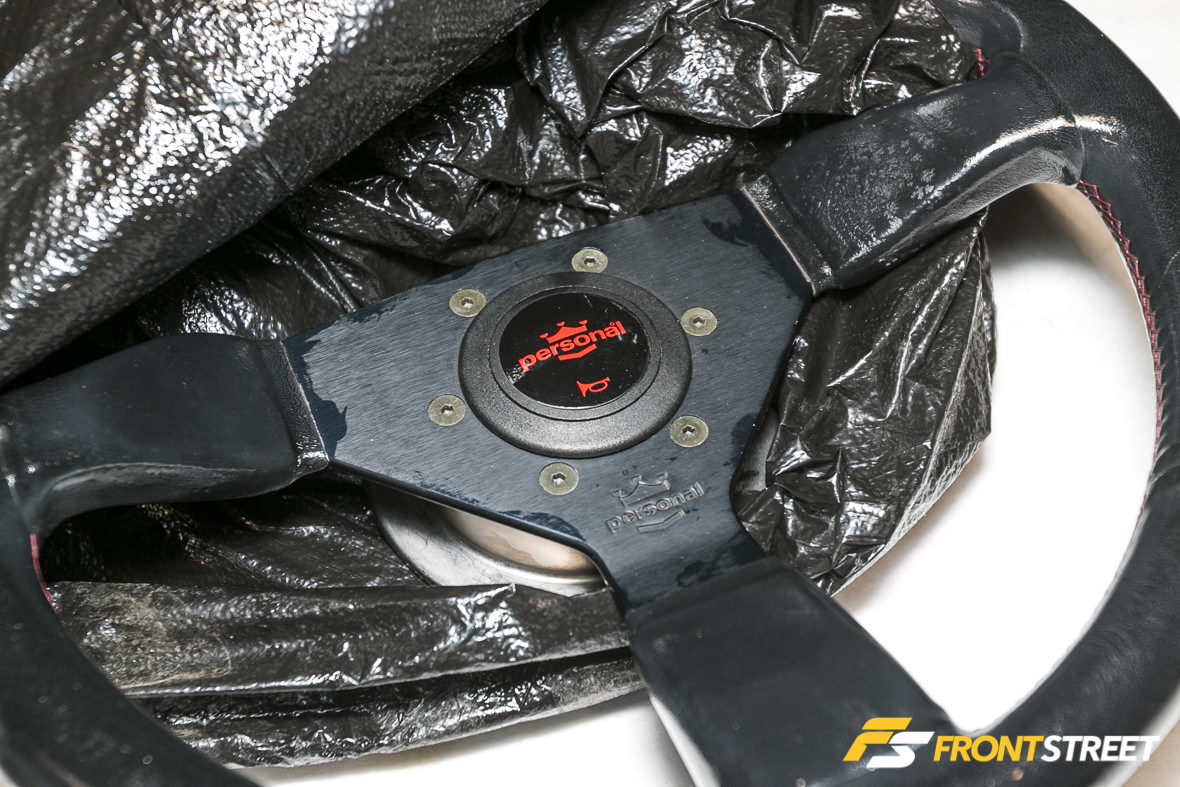
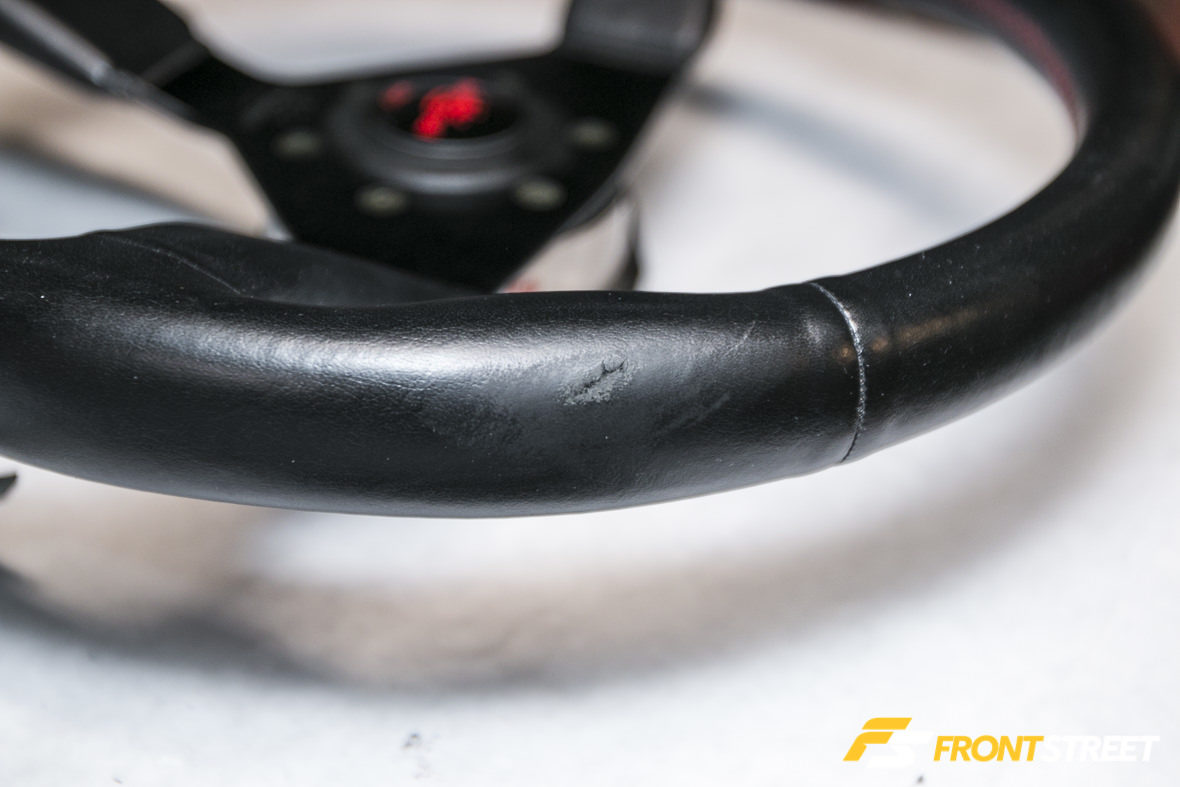
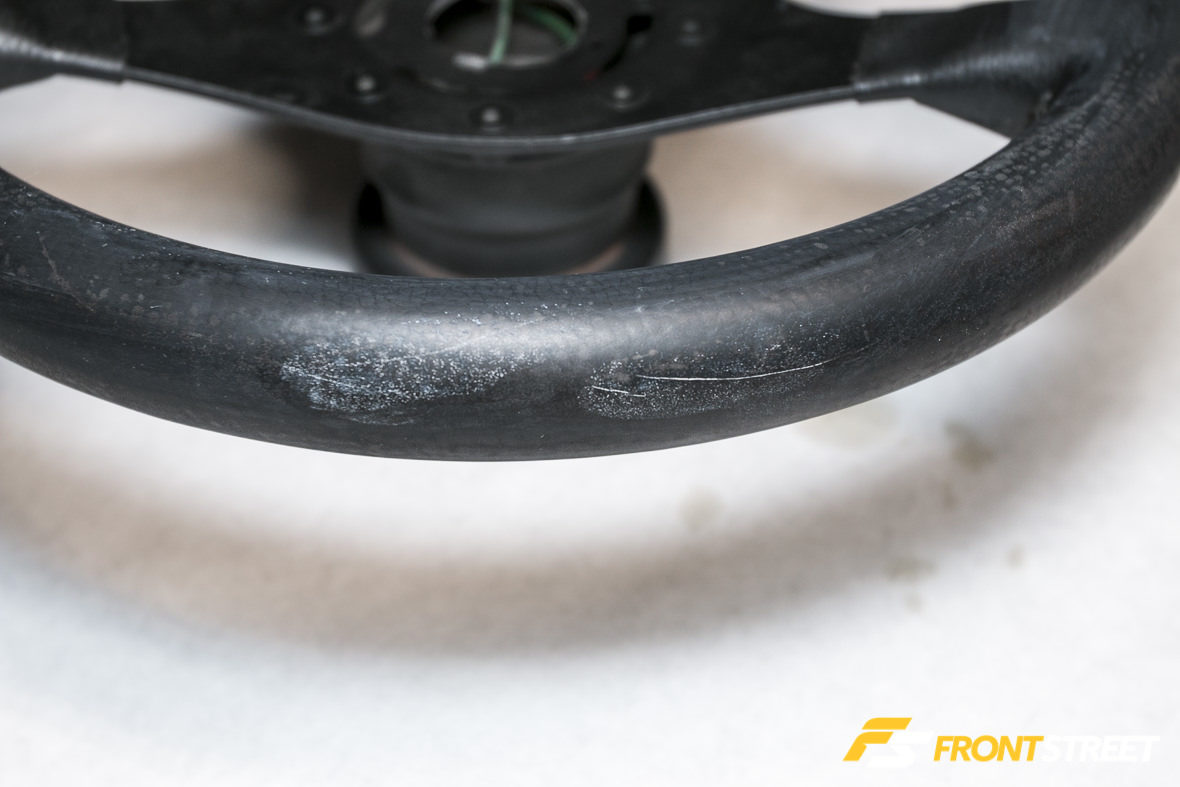
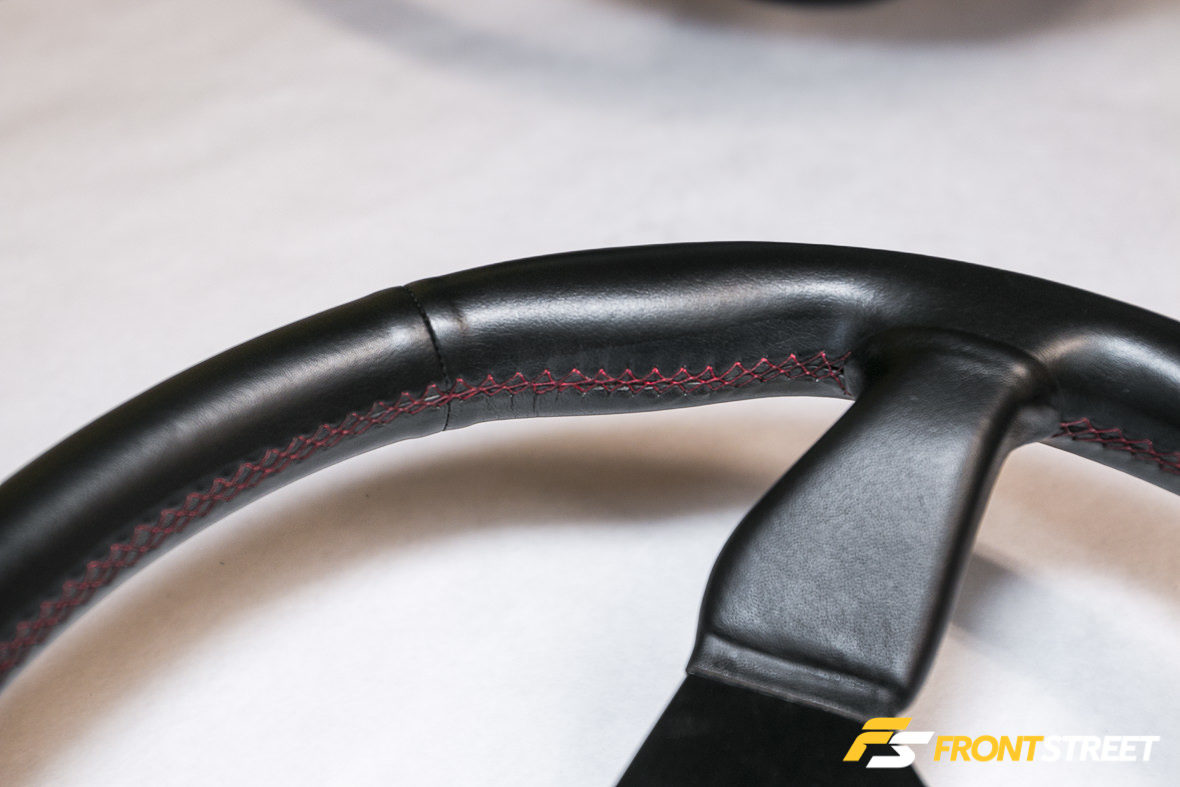
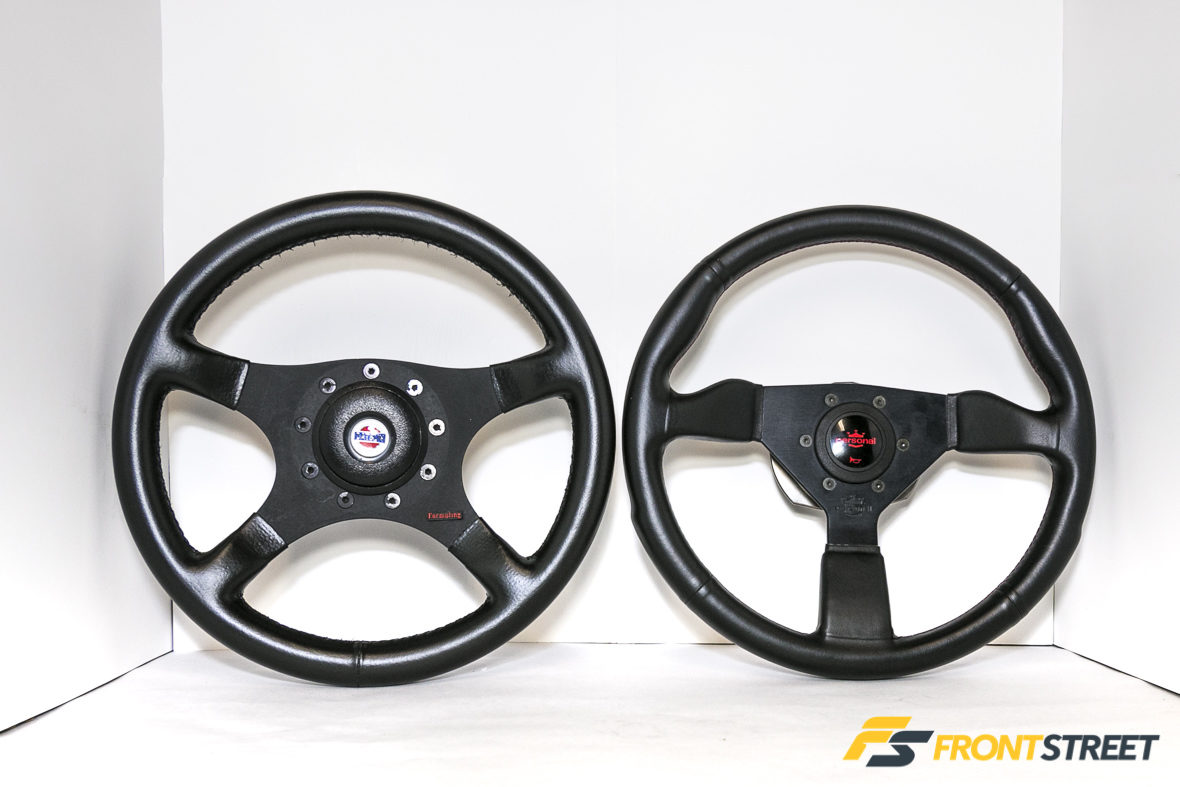
For our first restoration piece, I pulled a Personal steering wheel out from my wife’s Mitsubishi EVO IX. Looking at the condition of the wheel, I was sure the scratches and deep gouges on the leather surface were caused by ring-finger damage. While the flaws were relatively minor, it was noticeable and right in the driver’s line of sight, not to mention they were big enough to notice by feel.
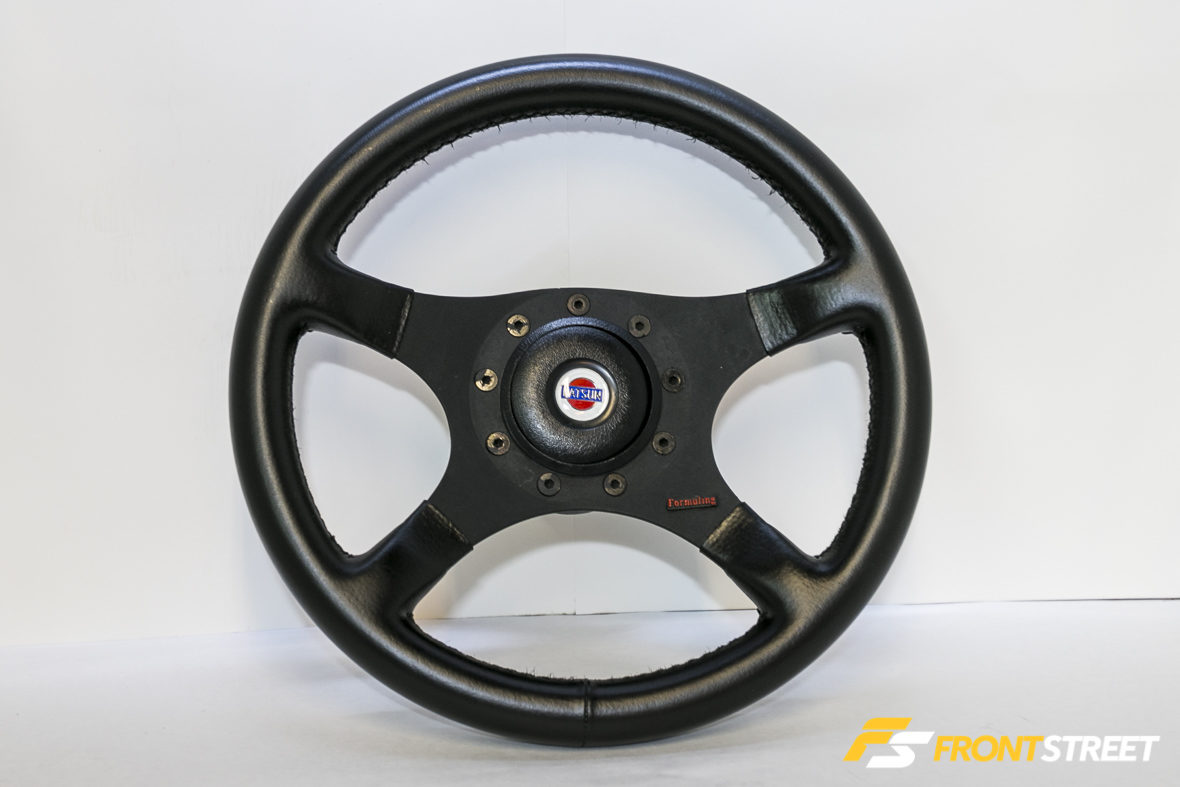
The second steering wheel is a vintage four-spoke Formuling steering wheel. Formuling was a popular brand in the ’70s and the company is no longer around. This particular wheel exhibited some severe leather damage, tears, and surface cracks along multiple areas.
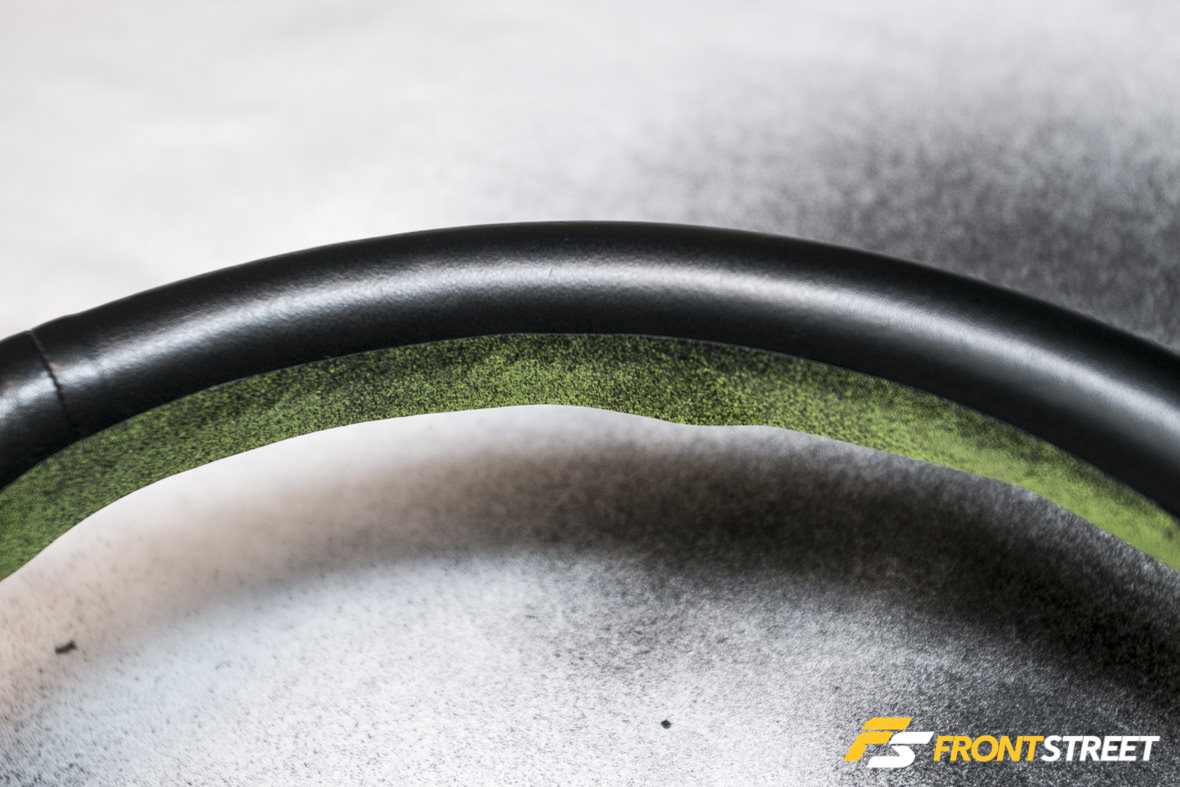
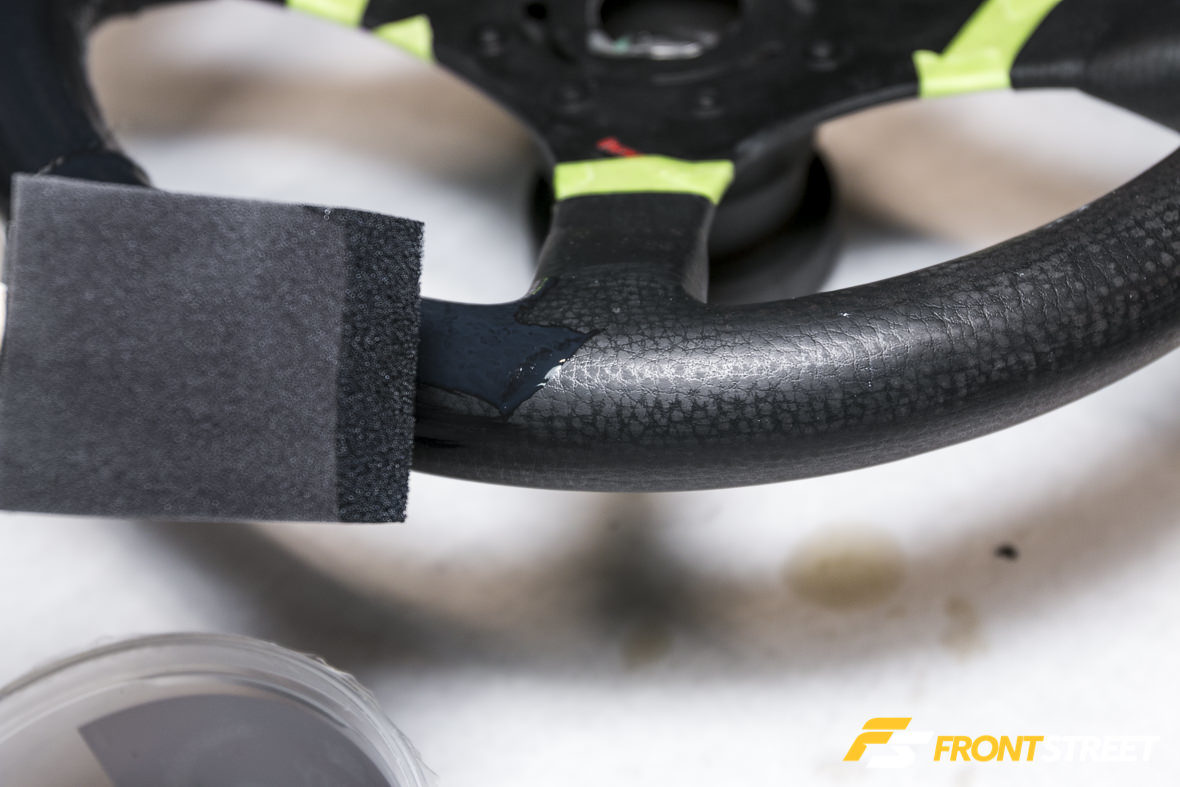
Prior to repairing both steering wheels, I applied a liberal amount of Rejuvenator Oil. Leatherique Rejuvenator Oil restores oils and proteins that are naturally found in leather to soften up even the stiffest leather.
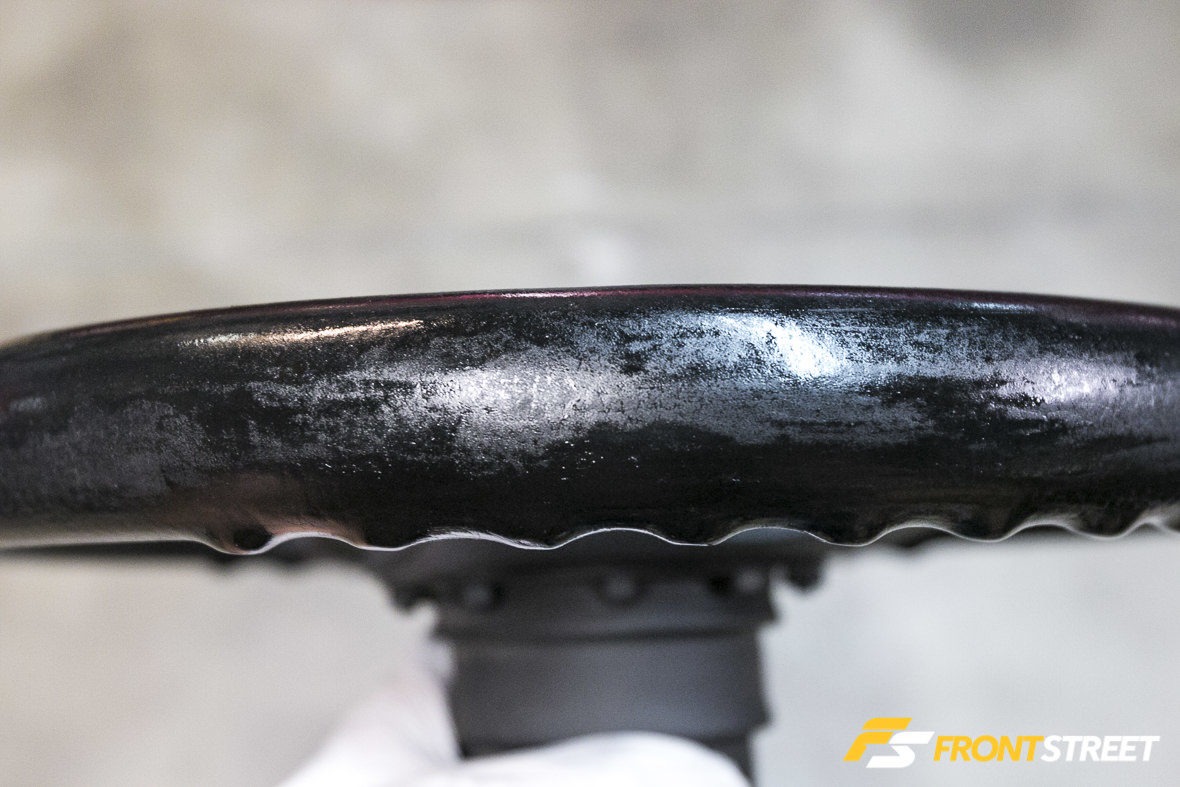
While applying the Rejuvenator, we immediately noticed the dry leather quickly absorbing the oil as indicated by the matte areas shown in the photo.

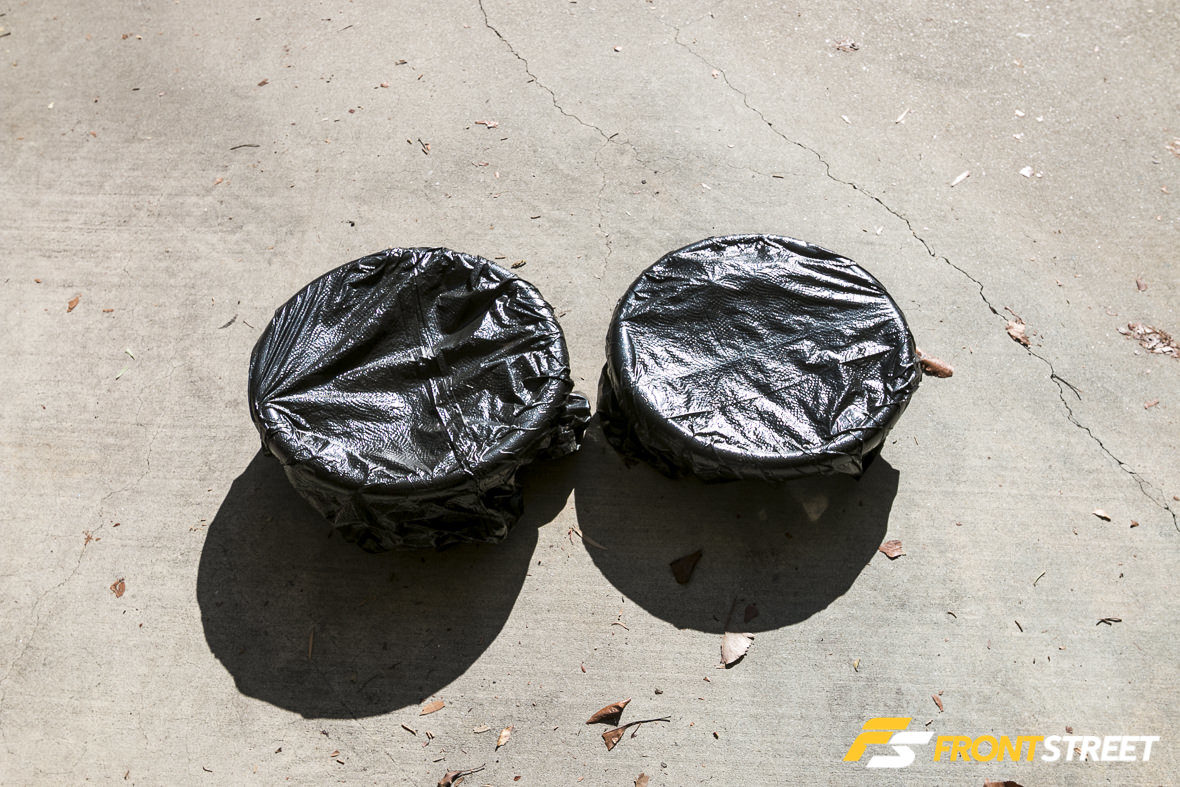
Rejuvenator oil works best when allowed to penetrate and absorb into the leather for up to 48 hours, ideally in the heat. The leather surface on both steering wheels was rock hard and required a more aggressive approach to restore. In order the tackle this issue, we wrapped both wheels in plastic bags and allowed them to sit under the sun. This not only brought up the temperature, but also sweats the leather into submission.
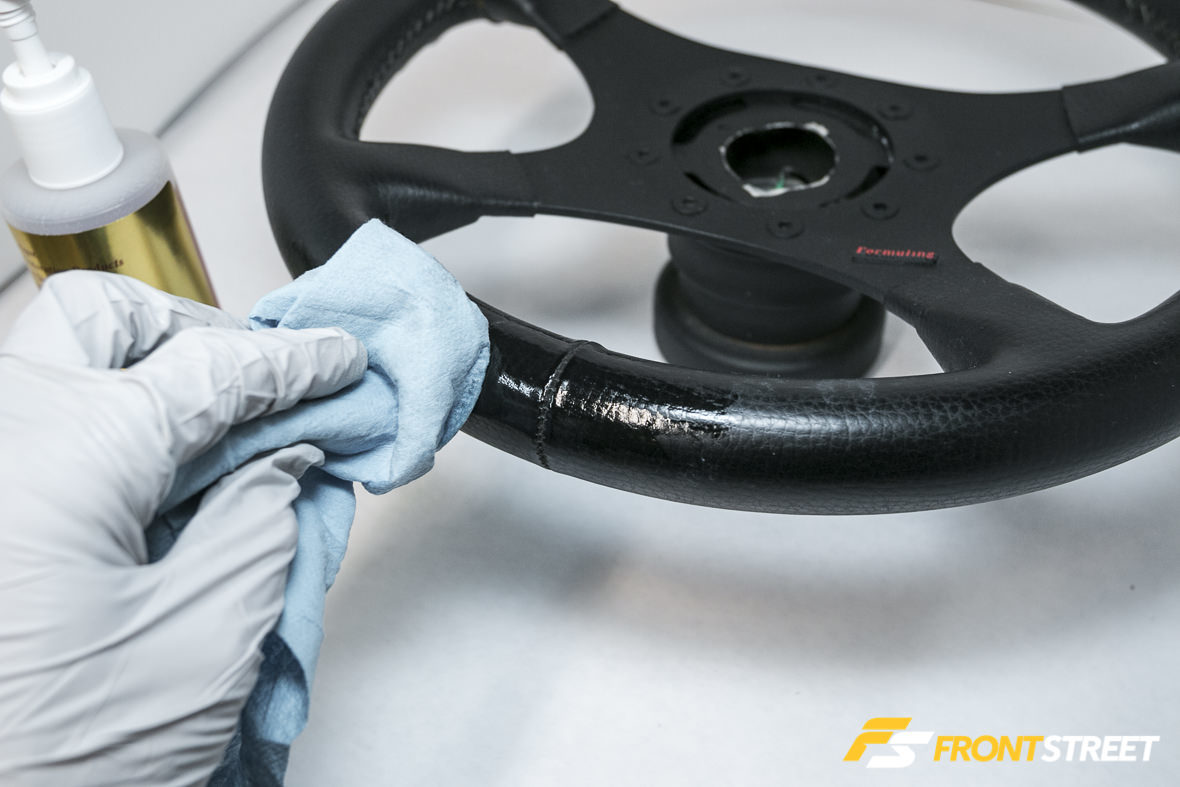
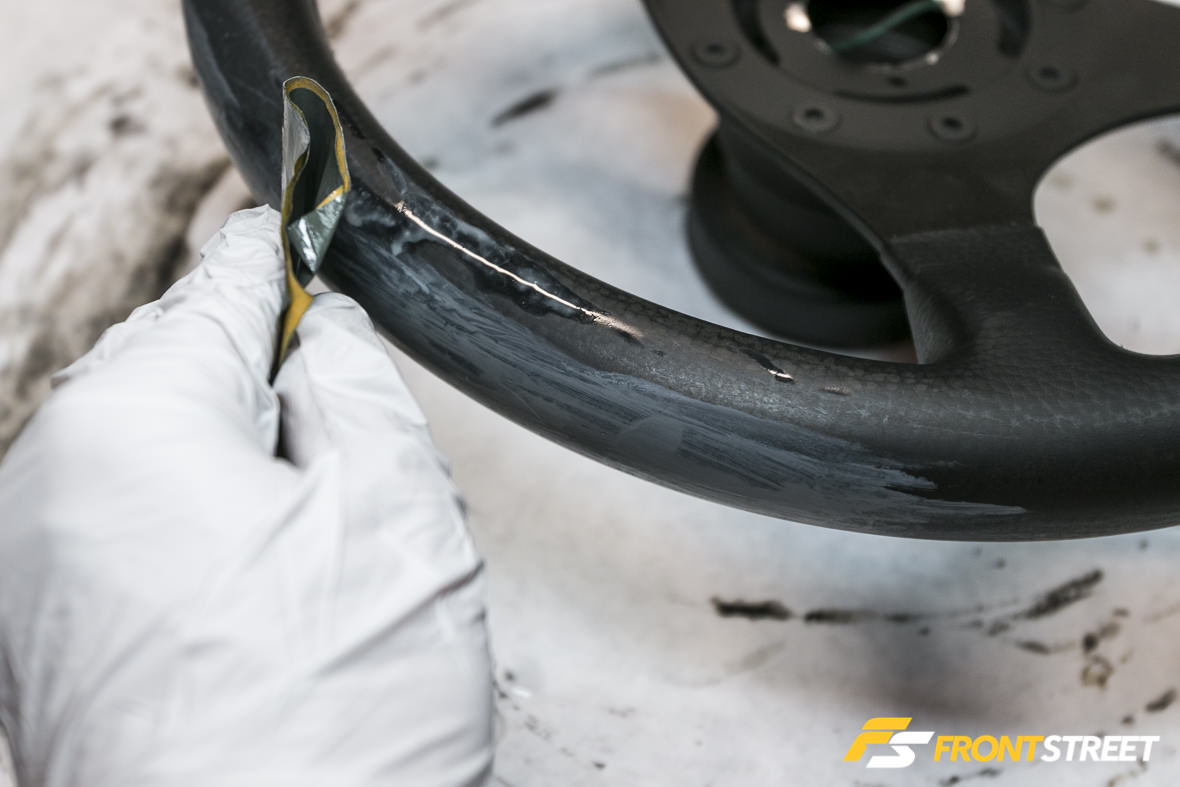
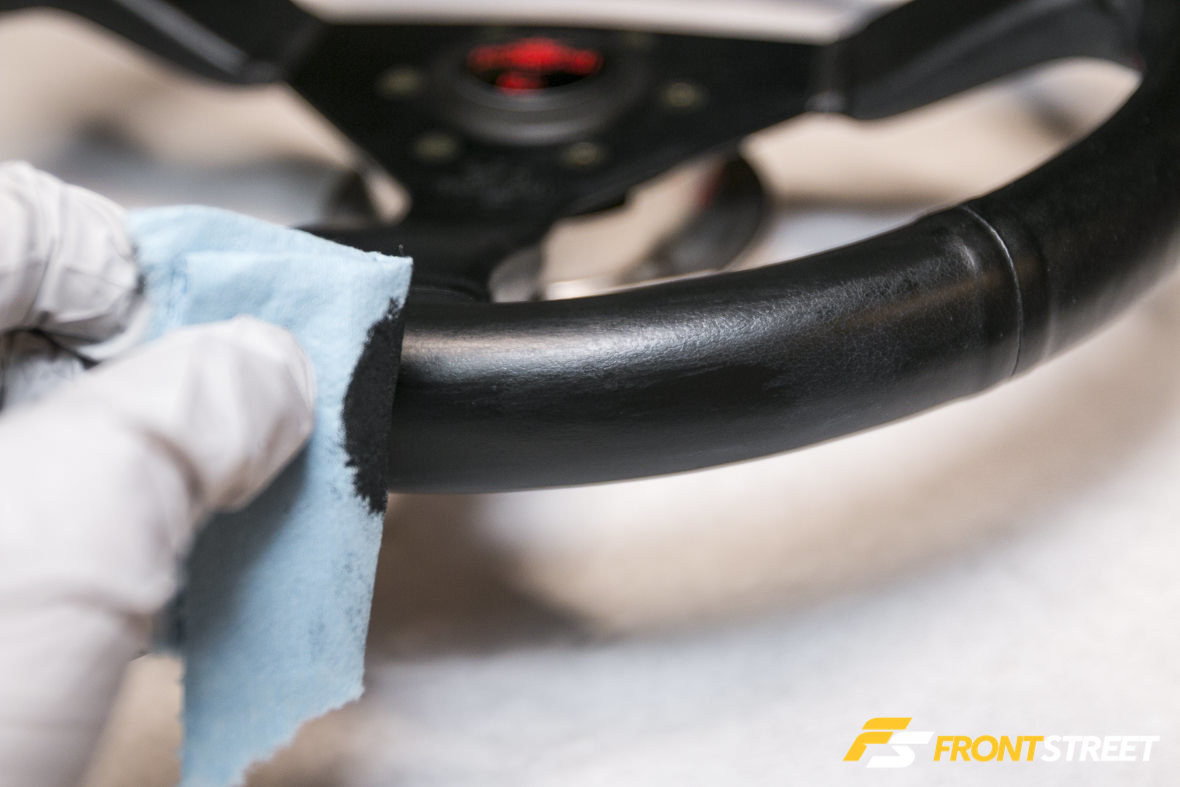
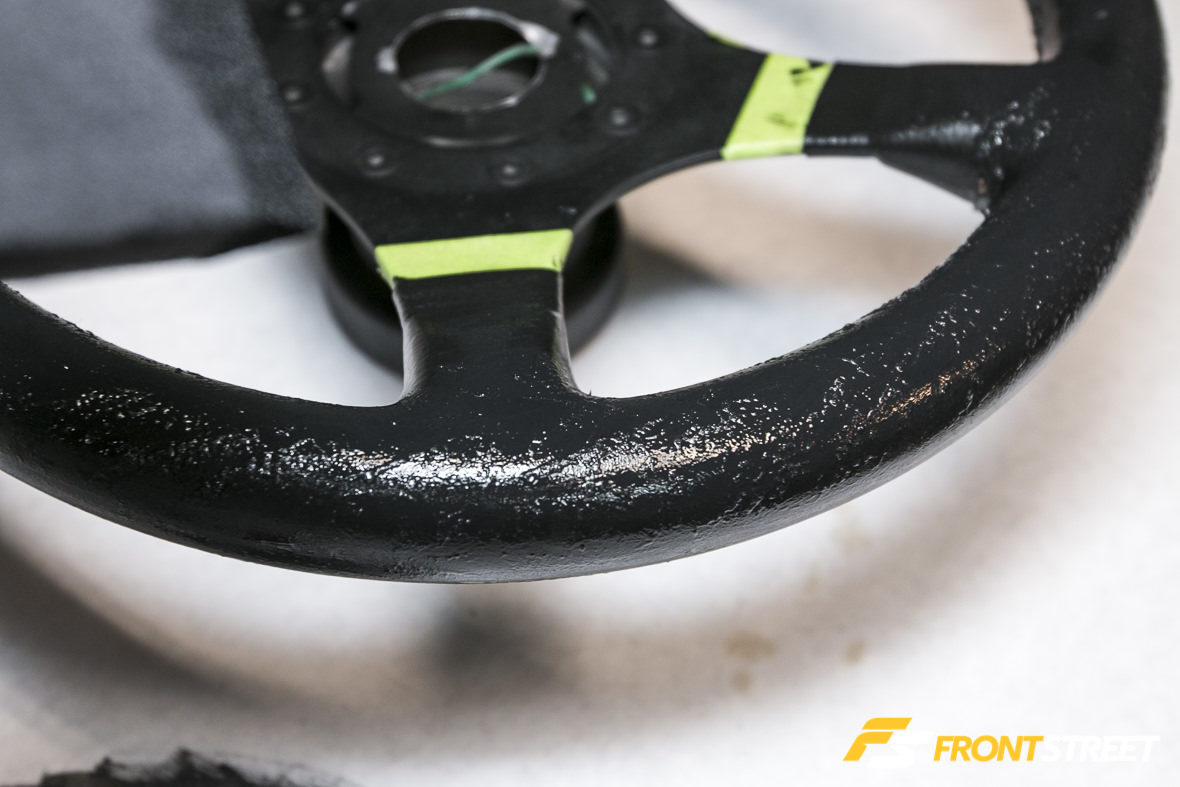
After sitting outdoors for three days, we unwrapped the wheels and wiped off the excess residue with Pristine Clean. Carefully following this process prior to the final dye is important, in order to extend the life of the leather on the steering wheel, and expel all the impurities that settle there.
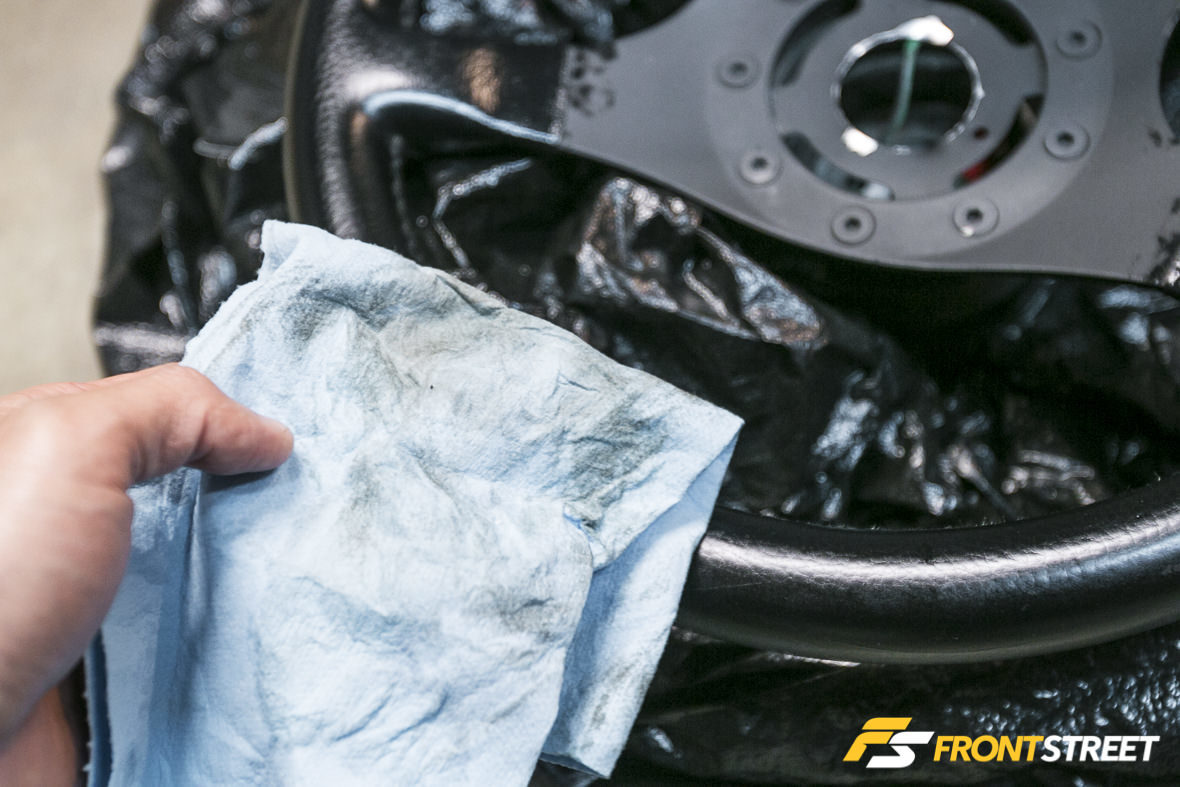
Look at all the oil and dirt we lifted off the steering wheel during the cleaning process! Once the wheel is fully dry, carefully inspect the surface and check for any imperfections such as nicks or cracks for repair.
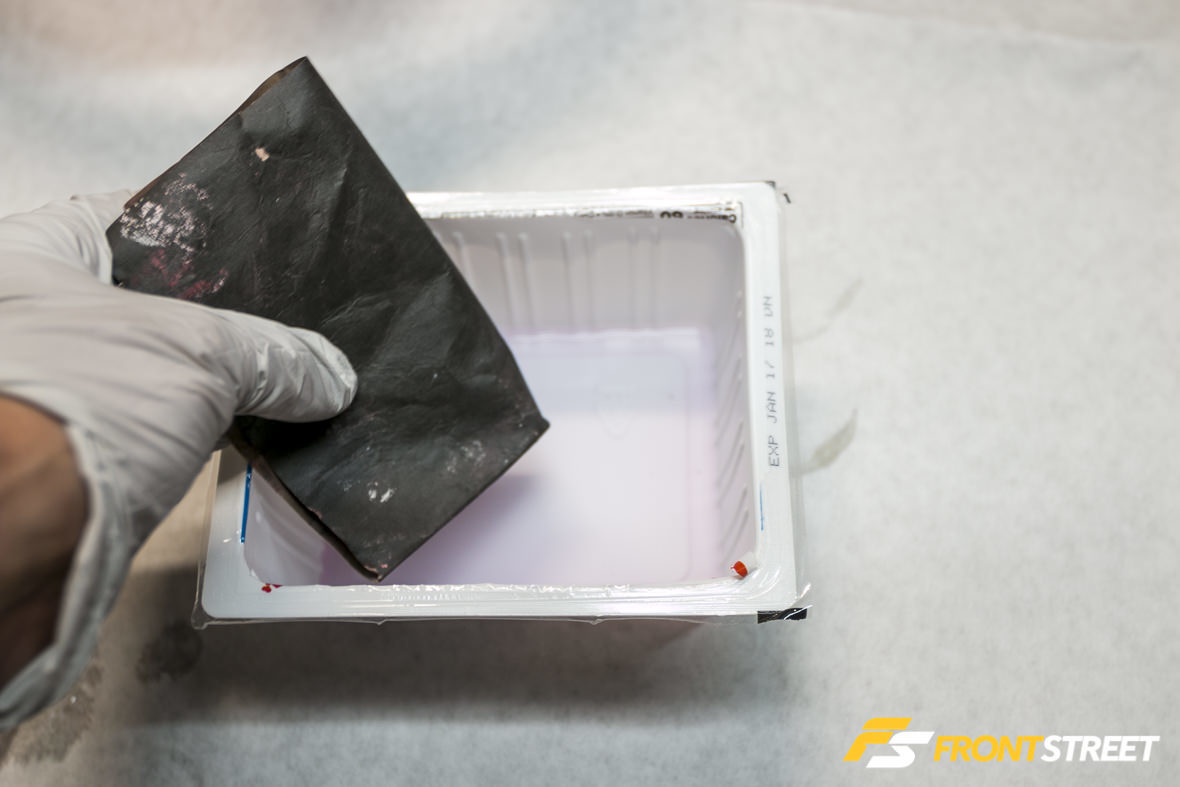
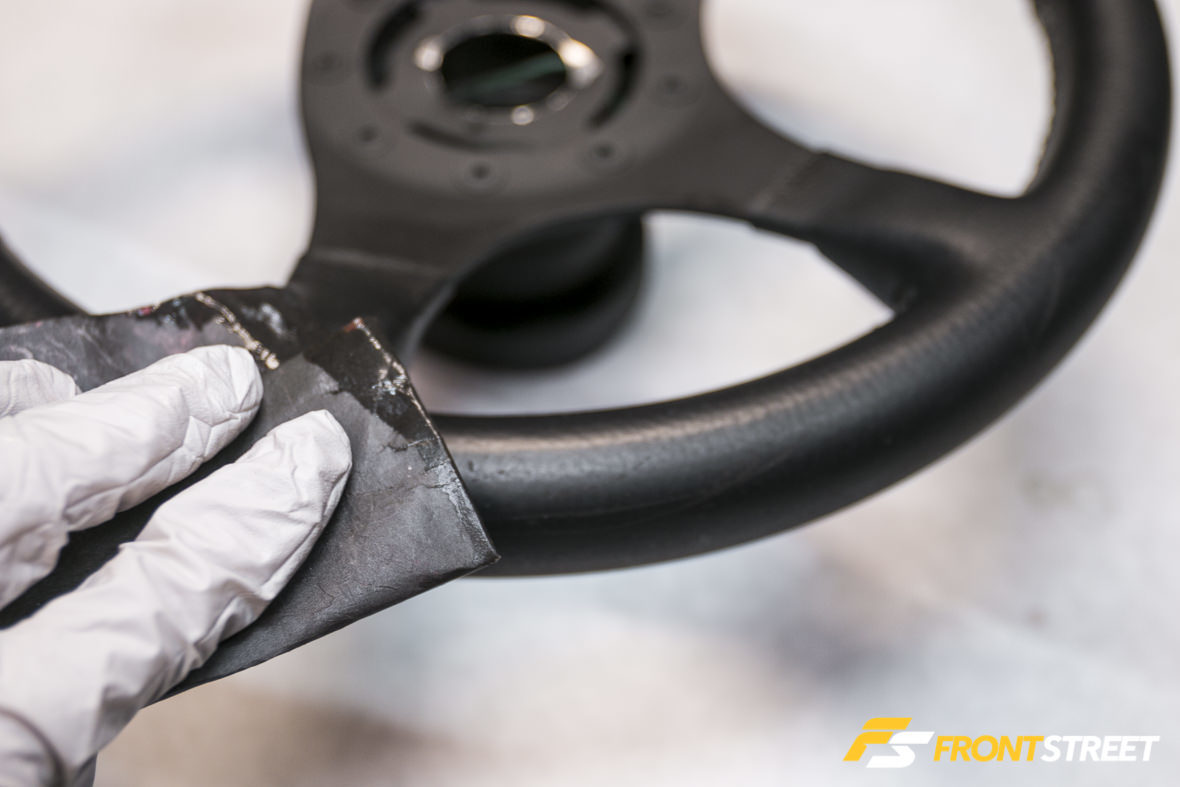
Depending on the condition of your steering wheel and the amount of glaze, oil, and old dye coating the surface, a more abrasive removal process may be required. Use 600-grit wet/dry sandpaper soaked in Leatherique Super Prepping Agent prior to lightly rubbing the surface. This biodegradable agent is used for leather prep prior to dyeing or heavy duty cleaning, to remove silicone sealers, petroleum distillates, wax and grease.
If your steering wheel exhibits a grain texture, focus the sanding process on the damaged areas. Proceed with 600-grit, move onto 1000-grit, then to 1500-grit sandpaper to smooth the surface.

Apply the crack filler onto the damaged areas using a plastic body filler applicator and let it cure for one to two hours. The unique composition of the crack filler offers a flexible, permanent solution for cracks, cigarette burns, scratches, and scuffs. Leatherique representatives state that crack filler can also be mixed with a small amount of their dye to match the original steering wheel color if necessary.
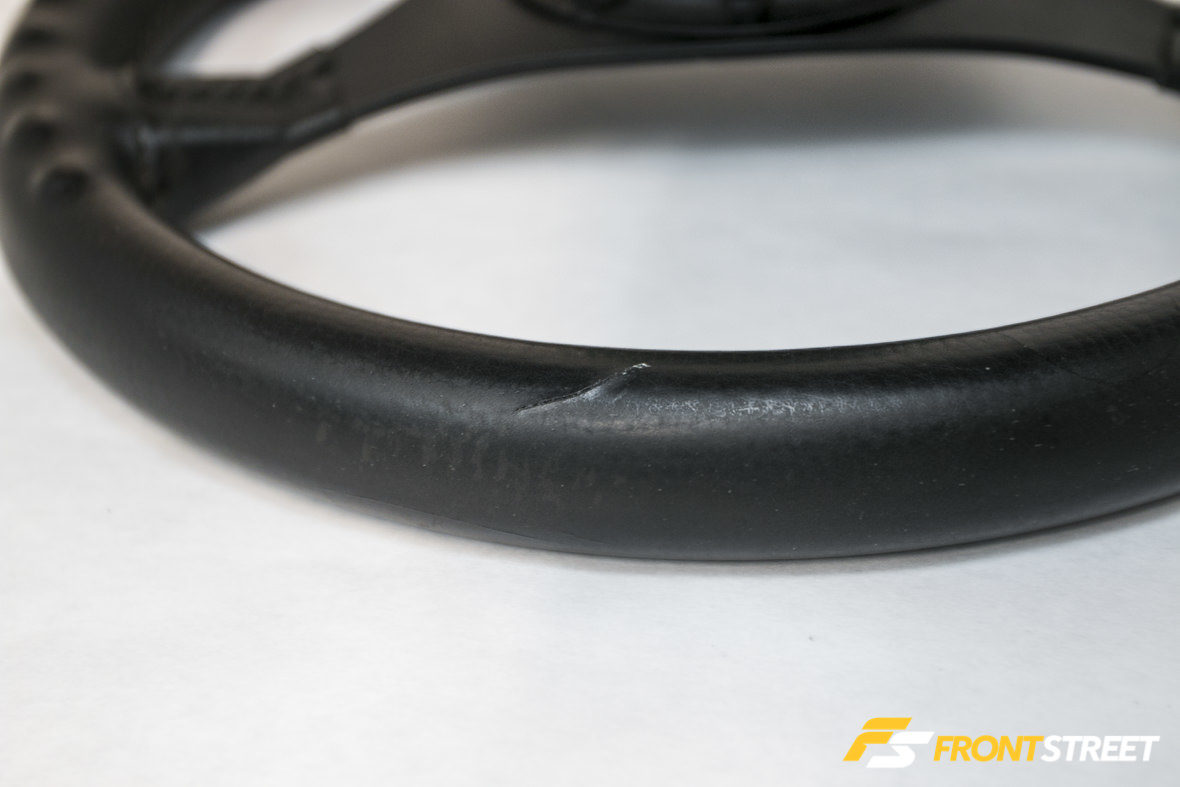
Crack filler can also be used to repair leather gouging or rips as shown on our Personal steering wheel.
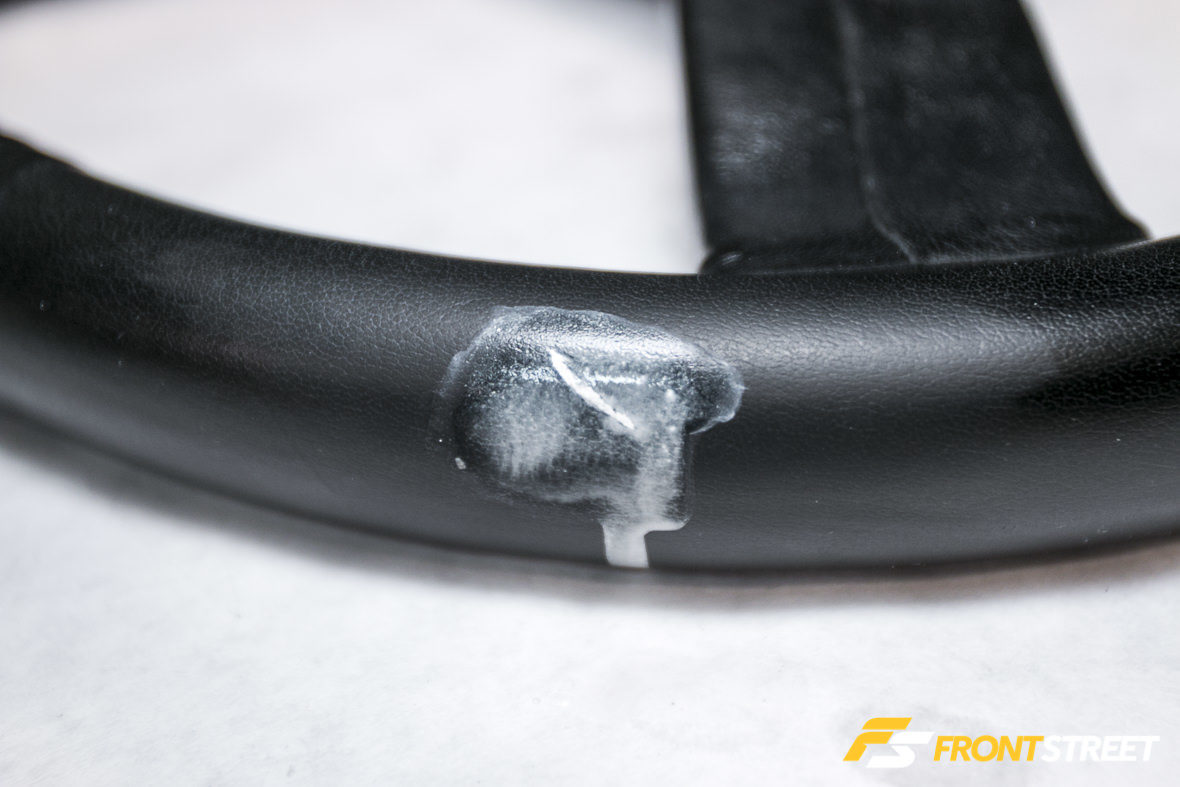

Once the filler is fully cured, use 1000-grit sandpaper soaked in water to gently sand the area down to a smooth finish. Refill the flawed area with filler as necessary to level out any areas that show damage.
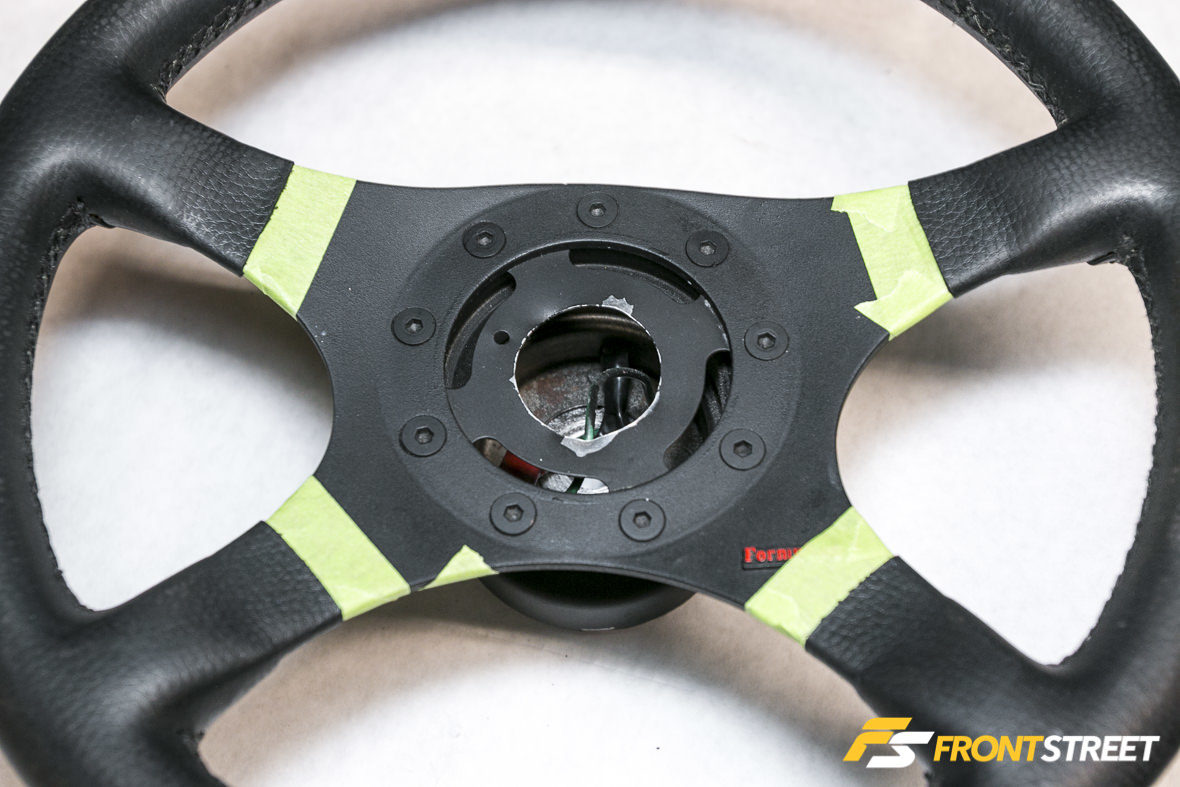
Let the sanded area dry before masking off the center hub and any areas that you don’t want the dye to penetrate.
We also masked off the Personal steering wheel’s red stitching using some painters tape.
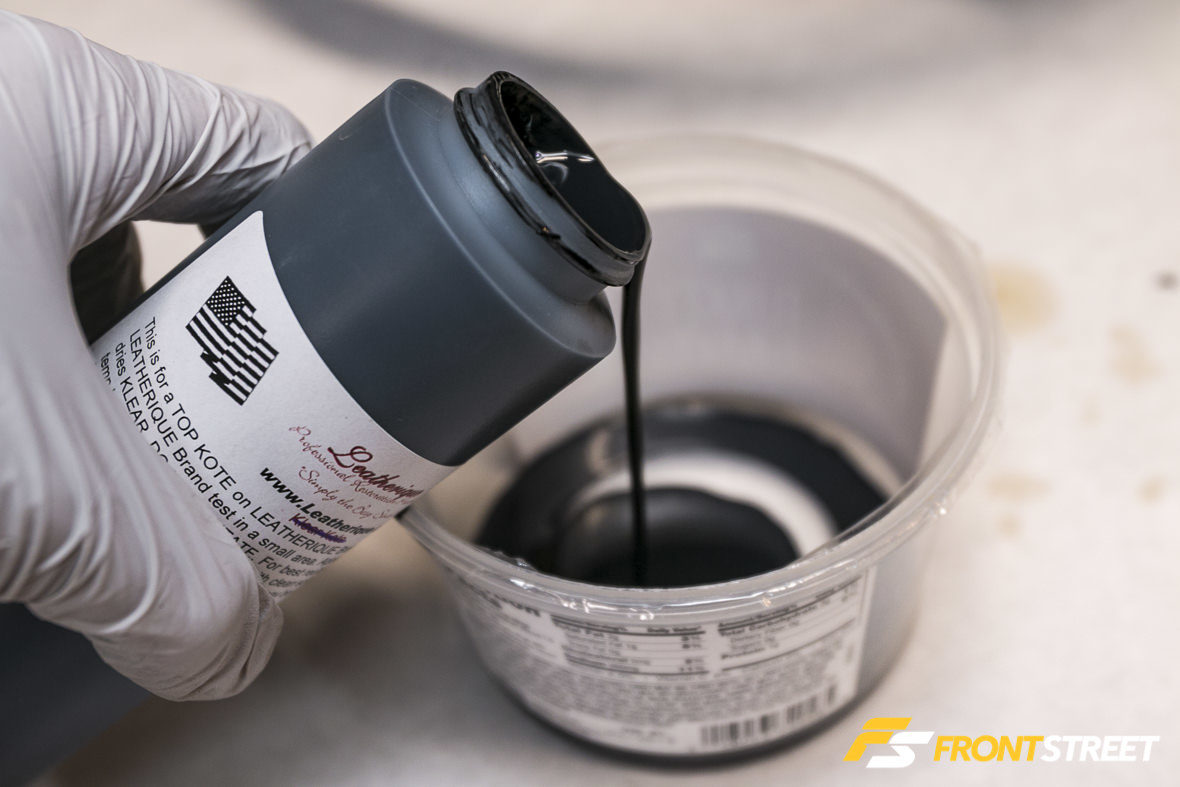
Per Leatherique’s directions you can wipe the dye on, but we decided to spray the dye for a more consistent professional finish.
If you don’t own a spray gun, the wiping/blotting technique can be used but be forewarned that you want to use very thin coats as the dye will build up very fast and leave nasty streaks. How do we know this? We learned the hard way. Laying the dye too thick can be problematic for steering wheels that have a grain texture.
Using the blotting technique can simulate the original leather grain. We tried this on our Formuling steering wheel but found the texture to look more like the popcorn finish you typically find on your bedroom ceiling. We’re not saying this can’t be done, but it requires practice and plenty of experience—of which we have neither.
If you screw up, don’t worry. You can always sand the finish again, and start over. If streaking occurs while wiping the dye onto the wheel, Leatherique recommends using 1500-grit sandpaper to smooth out the finish.
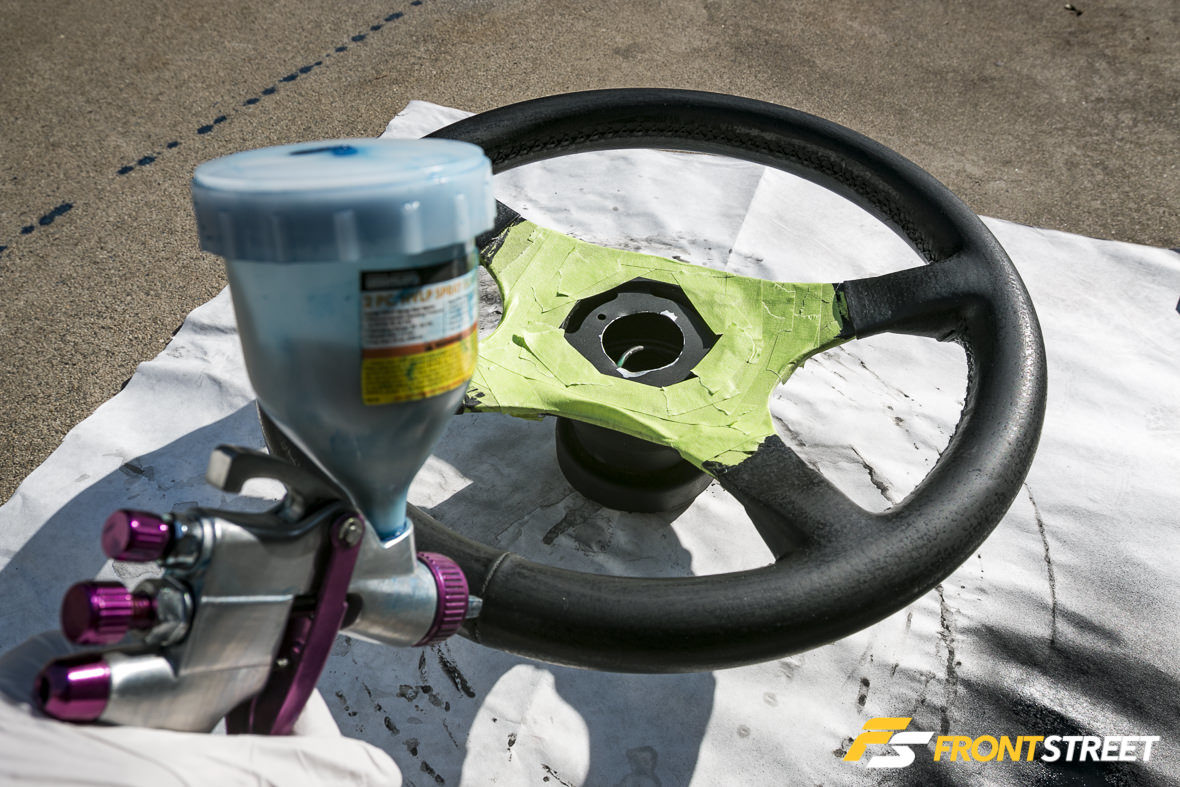
We sprayed three light coats of the dye using our HVLP spray gun, and were pleasantly surprised with the results. If you don’t have a spray gun, an airbrush kit can also be used. The unsightly marks and filler repairs on both our steering wheel were easily covered up and hard to distinguish from bad to good.

Let the freshly dyed steering wheel sit for 24 hours before applying the final Klear Kote product using a soft acrylic brush, or (clean/lint free) T-shirt. Be careful to do so in a uniform way, in an effort to reduce buildup and streaks.
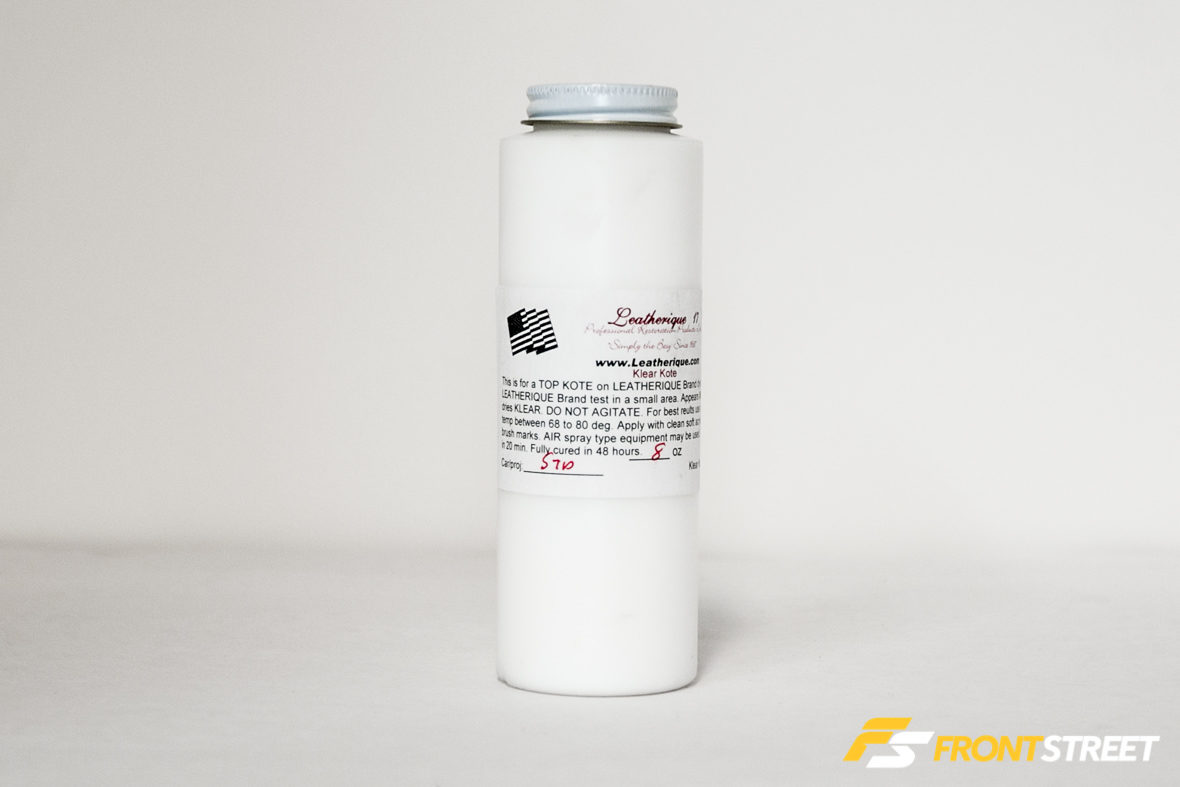
Klear Kote provides extra protection against wear, dirt, ultraviolet rays and can be applied over any finish. The only drawback of Klear Kote is that it will cure with a glossy finish, which some may not prefer. We opted not to apply the finish in order to maintain the original matte look for both of our steering wheels.
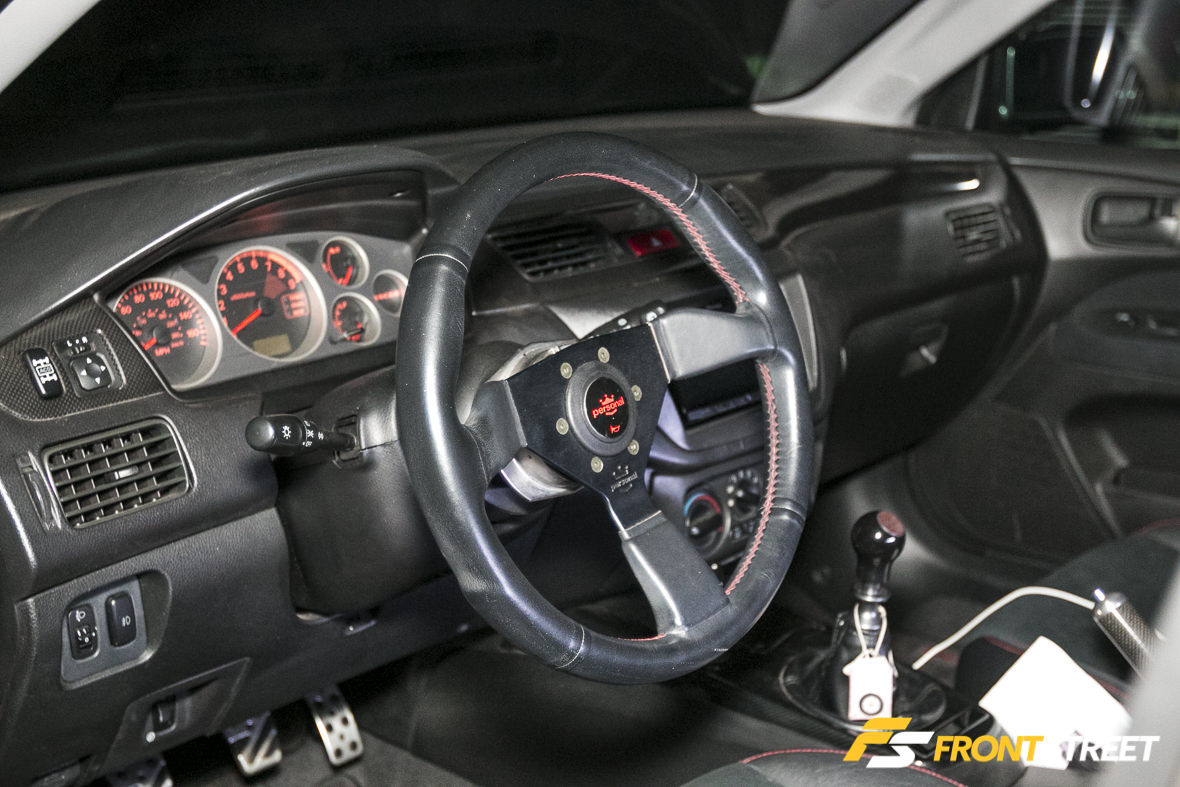
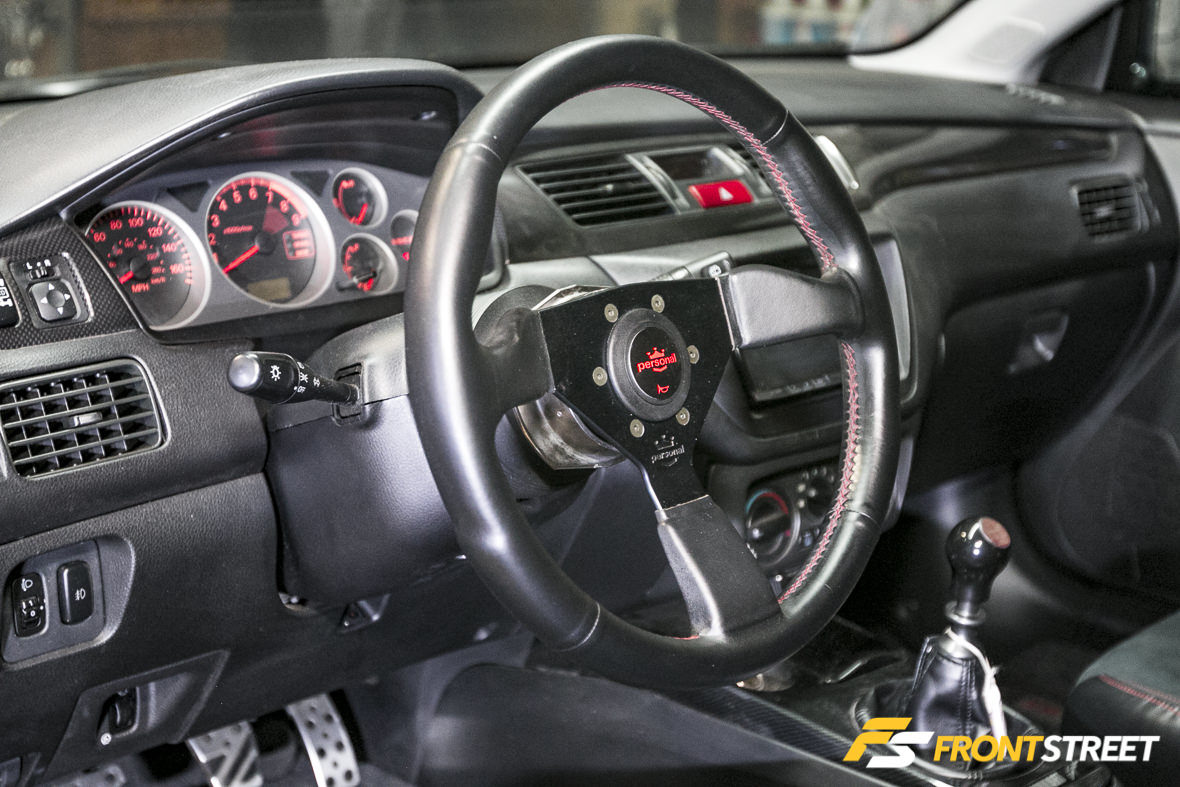
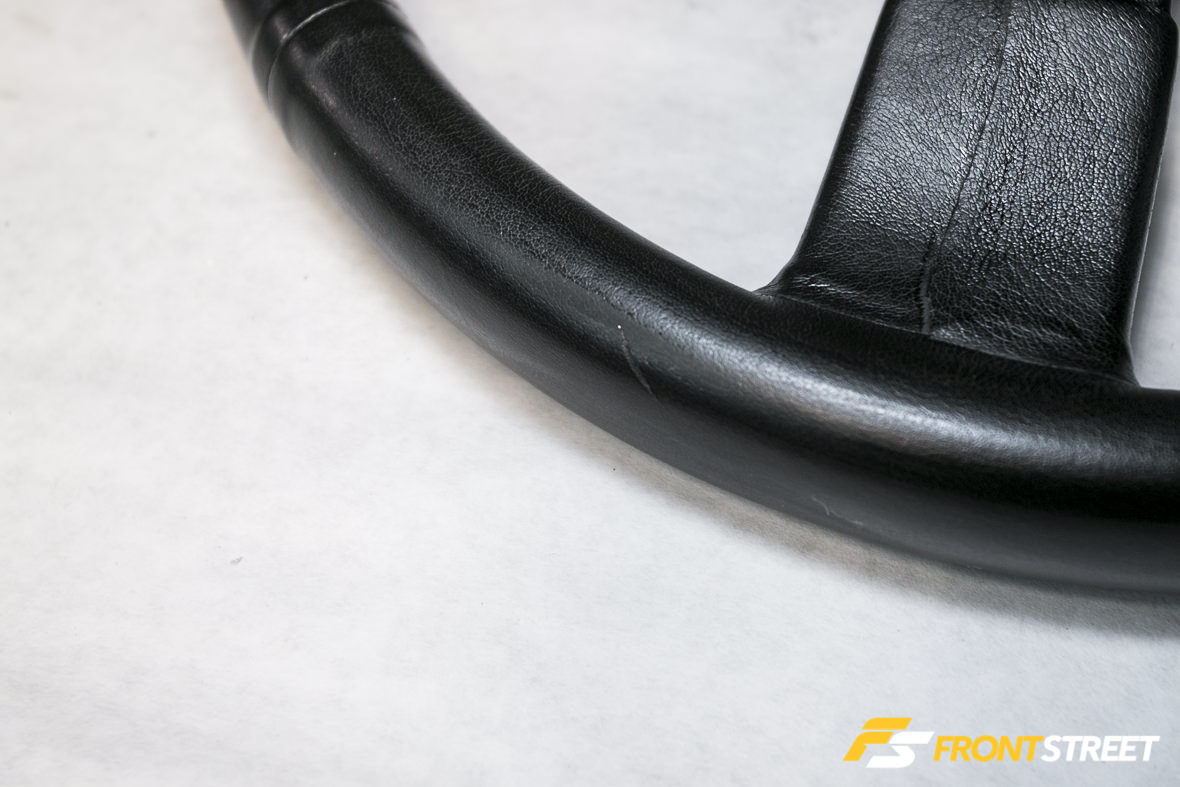
Here’s a comparison of before and after the restoration process.
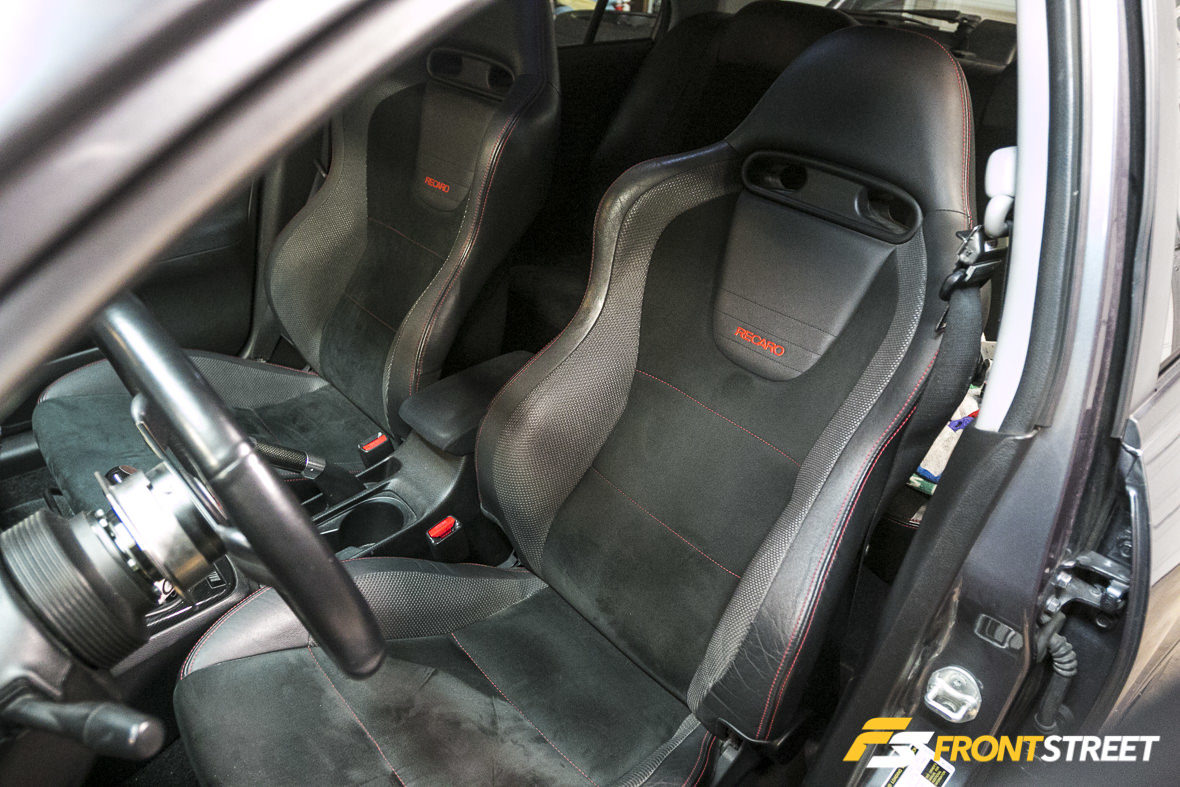
With both of our steering wheels fully restored and looking brand new, we focused our attention towards conditioning a set of highly neglected EVO seats as an added bonus.
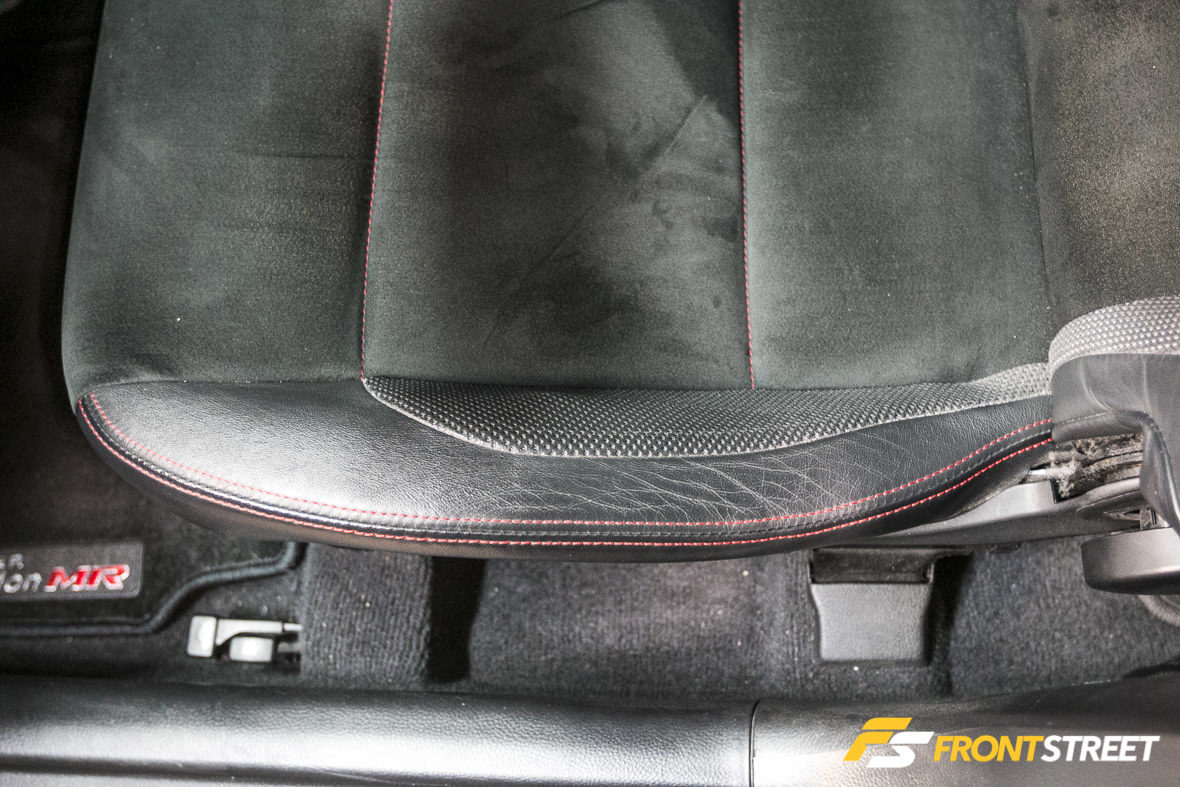
Thanks to lackluster maintenance over the years, the leather portions of the seats were dry and stiff to the touch like cardboard. We also noticed a number of creases on both the bolster and lumbar supports. The creases were not only unsightly, but also a telltale sign that the leather was actually bending and hinging all the pressure your body applies to the leather seat. If the leather is left untreated, over time the pressure separates the leather fiber braids to a point of tearing and eventually cracking—not good.
We applied the Rejuvenator oil then covered both seats in a plastic bag and parked the car outside to bake under the sun for three days.
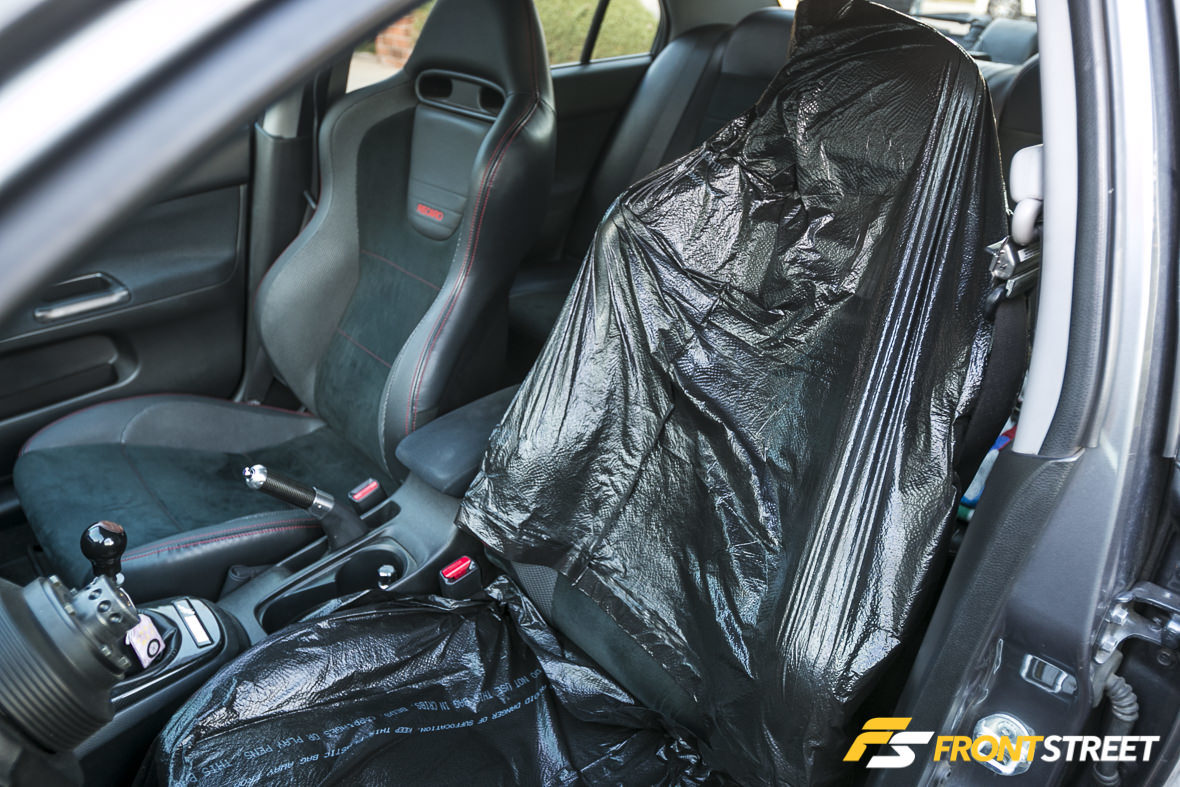
During the baking process, we reapplied the oil every 24 hours to quench the leather. Once complete, we removed the plastic covers and cleaned up any remaining residue using the Pristine Clean.
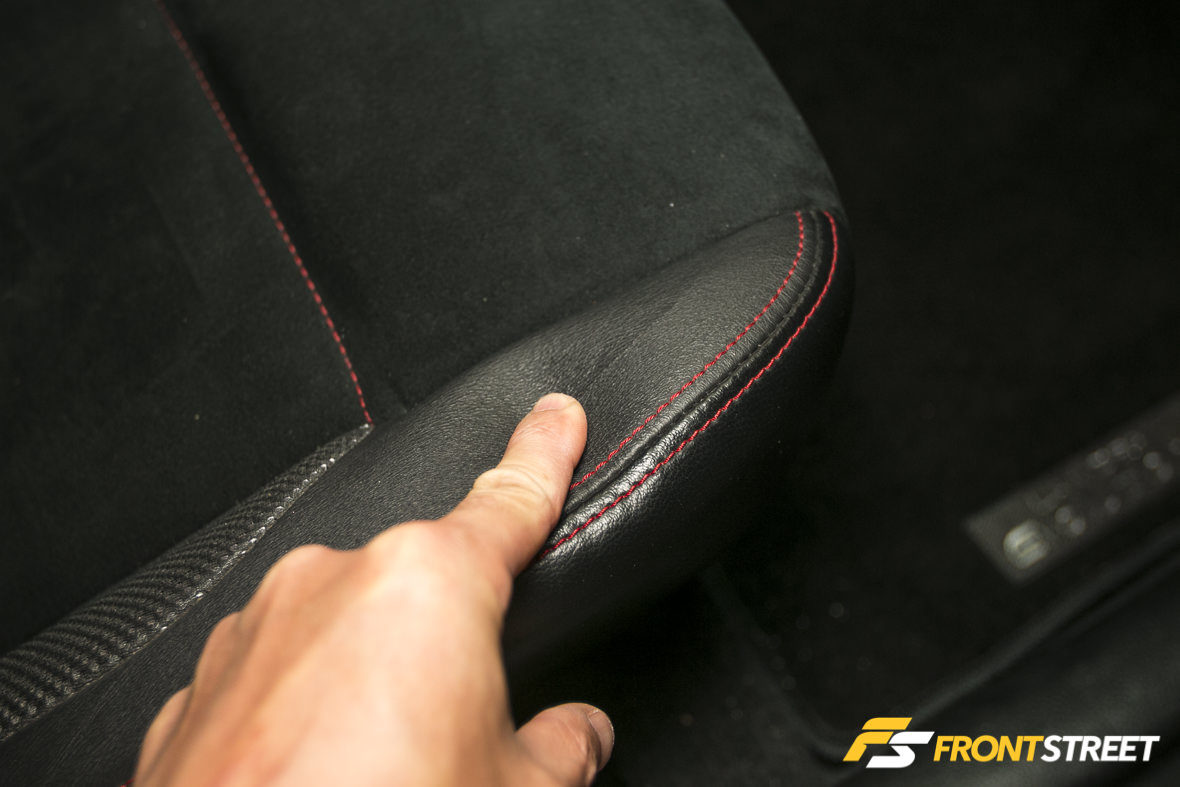
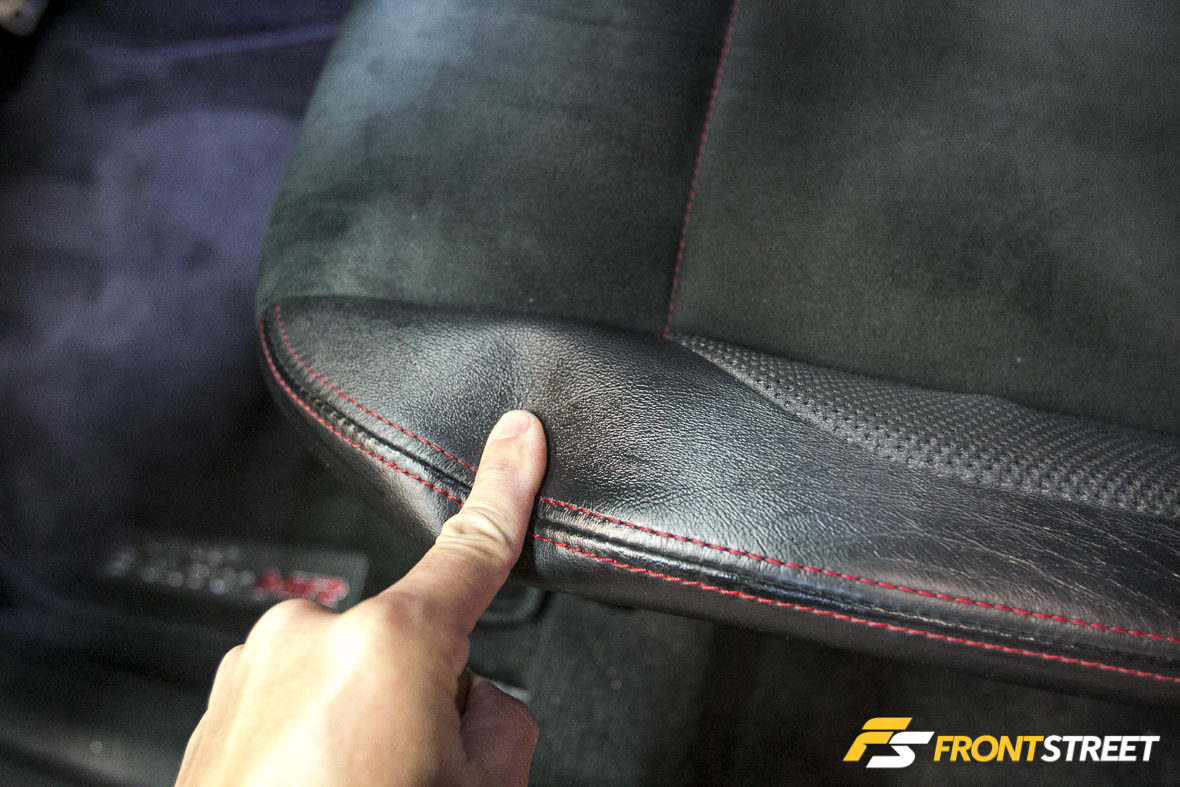
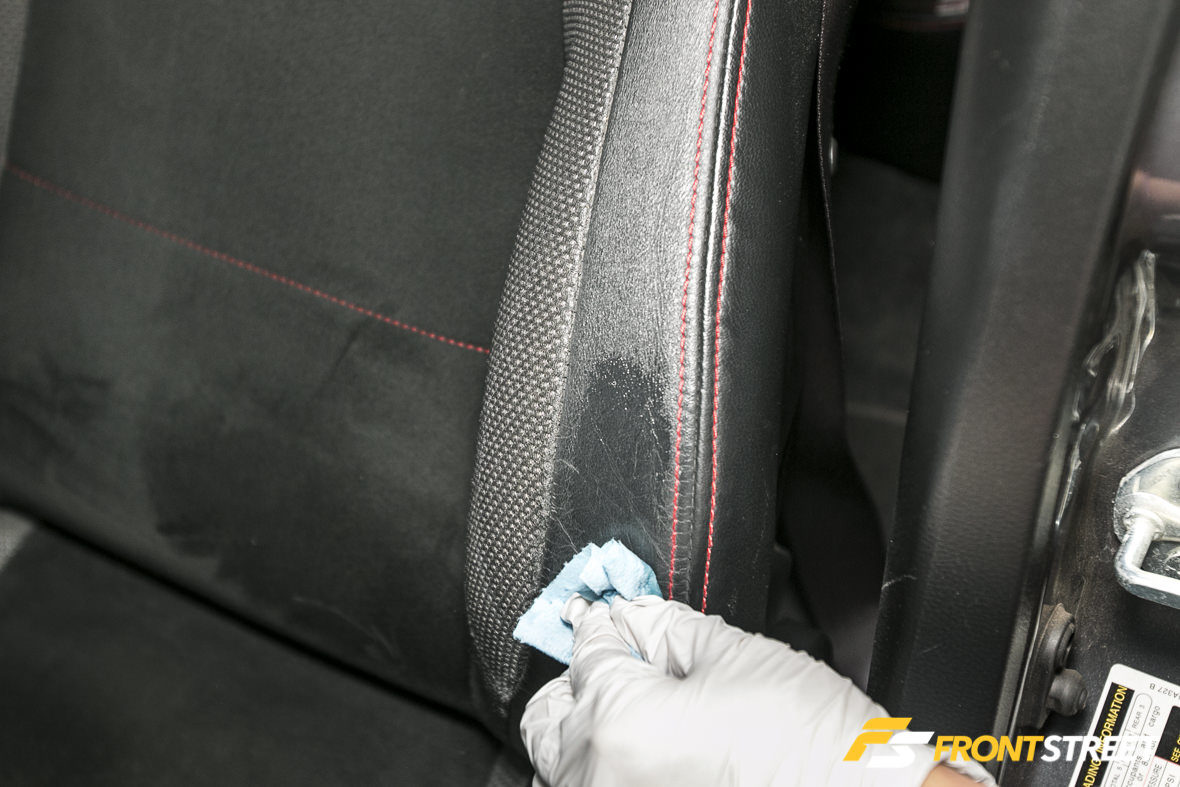
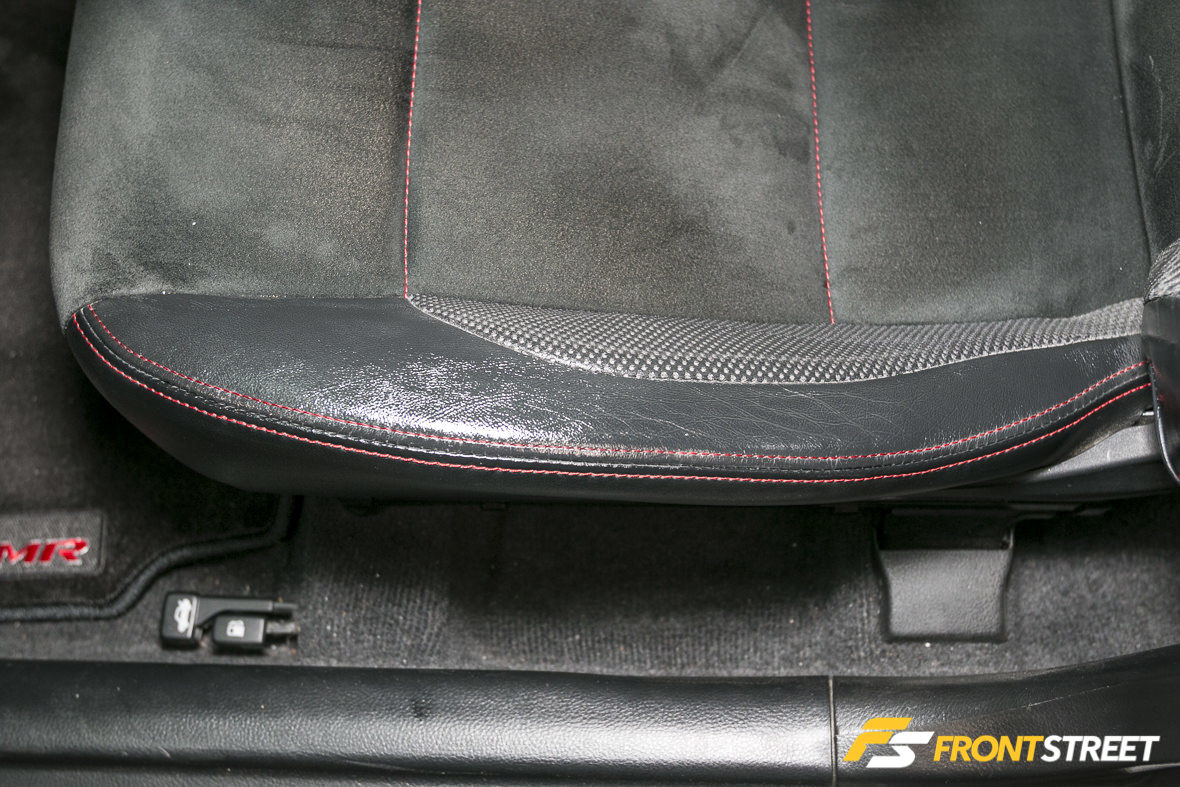
Notice our comparison photos of the treated driver’s seat versus the untreated passenger seat using my finger as a pressure test. The comparison shows how much softer and pliant the driver’s side leather has become. More importantly, when pressing down on the leather, the indentation now doesn’t follow the bends of the crease lines and that’s definitely a good thing.
With periodic treatment and maintenance we’re confident that the leather will begin to return to its original condition and those crease lines will begin to fade. So here are our words of wisdom: Don’t wait until it’s too late to restore your steering wheel or interior upholstery. With proper maintenance you can prevent the dreaded time when they deteriorate beyond repair, which forces you to live with the damage or purchase new items.
OFFICIAL PARTNERS


OFFICIAL PARTNERS