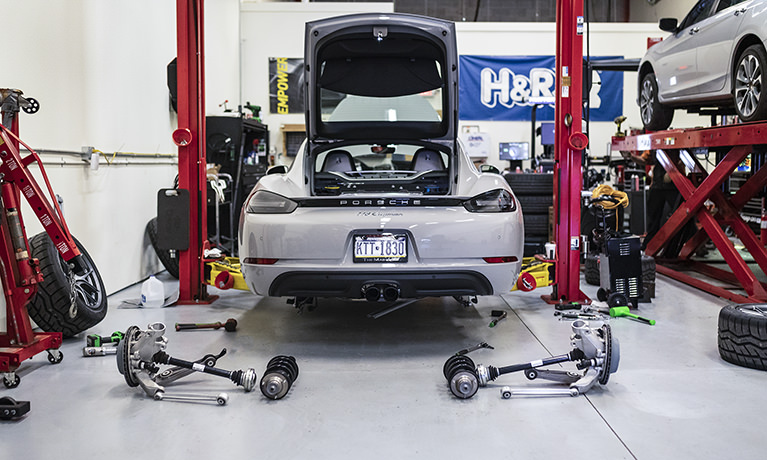
Over the last couple of years, we’ve established a solid working relationship with our friends Tom Lang and Marcus Congdon of Gear One Performance in West Chester, PA. They’ve worked on several of our personal vehicles and contributed to Front Street articles, whether from an installation or advice perspective. When I heard that Tom picked up a brand-new 2019 Porsche 718 Cayman, I asked him to keep us in mind so that we could follow along with the modification journey as he picks parts and pieces to improve the car’s performance.
So here we are: the first mod is simple: a set of H&R Special Springs lowering coil springs to replace the stockers and bring the car’s ride height down to earth. You might also catch a glimpse of Soul Performance’s cat-back exhaust under the car. This car was the prototype subject for the development of that piece, which we hope to show you in a future article.
When designing a vehicle, OE manufacturers build the suspension for the majority of buyers. The suspension must tackle bumps and potholes with ease, and not jar any fillings loose in the process. But for the performance enthusiast, lowering springs have long been the fashionable choice for those looking to gain a performance edge and improve the handling of a vehicle. They lower the center of gravity and reduce body roll, firm up the ride quality, provide a taut road feel, and give the driver a better sense of connection with the car and its dynamic properties.
The Gear One team wanted to establish a road map to follow for their customers. The plan is to be able to offer them several different levels of performance improvements, with real-world feedback available since they’ve personally used the products. We realize that most Porsche owners won’t be doing this swap in the driveway, but thought an overview of the process would be beneficial. It’s not like swapping springs on an old Honda Civic.
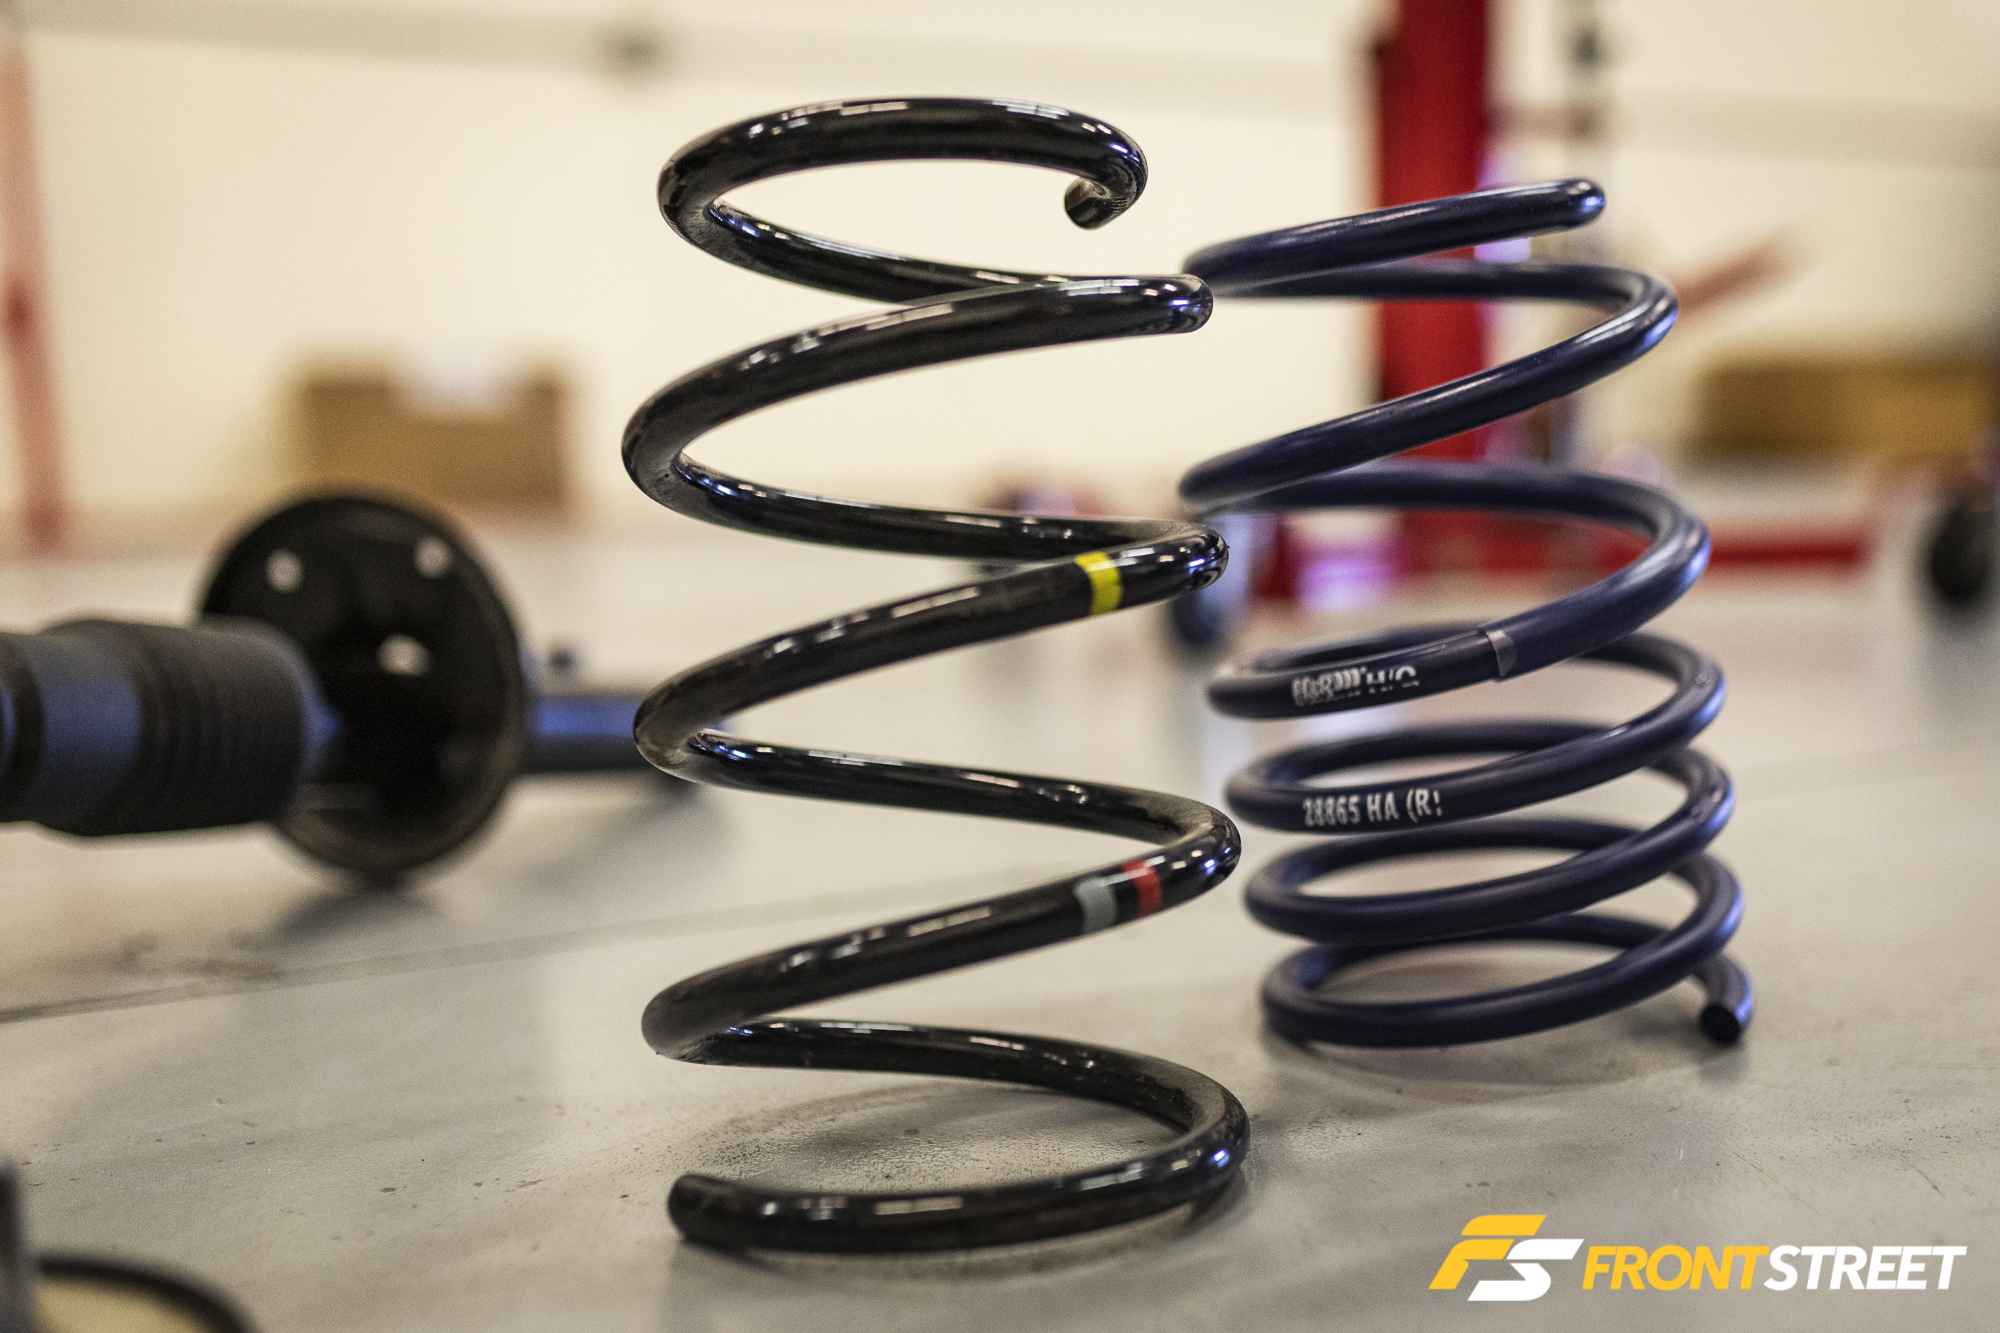
Selecting H&R’s Sport Springs was an easy choice; Lang says the company’s quality control has proven itself in many customer cars over the years. The 28665-1 spring kit lowers the Cayman approximately 1.8 inches at each end (this depends on engine and options) to bring the car down to the ground. As you will see from the “before” photo in the comparison at the bottom of the article, the factory ride is… high. Kind of surprising for a Porsche, but we have to consider that the potential customer for a Cayman is not the same customer who will be purchasing a 911 GT2 RS—far from it, in fact. It’s not surprising that Porsche has spec’d the car more for comfort, but Lang wants to get a good handle on the improved dynamics before he hits the track later this season, so H&R it is.
Removal And Reinstallation
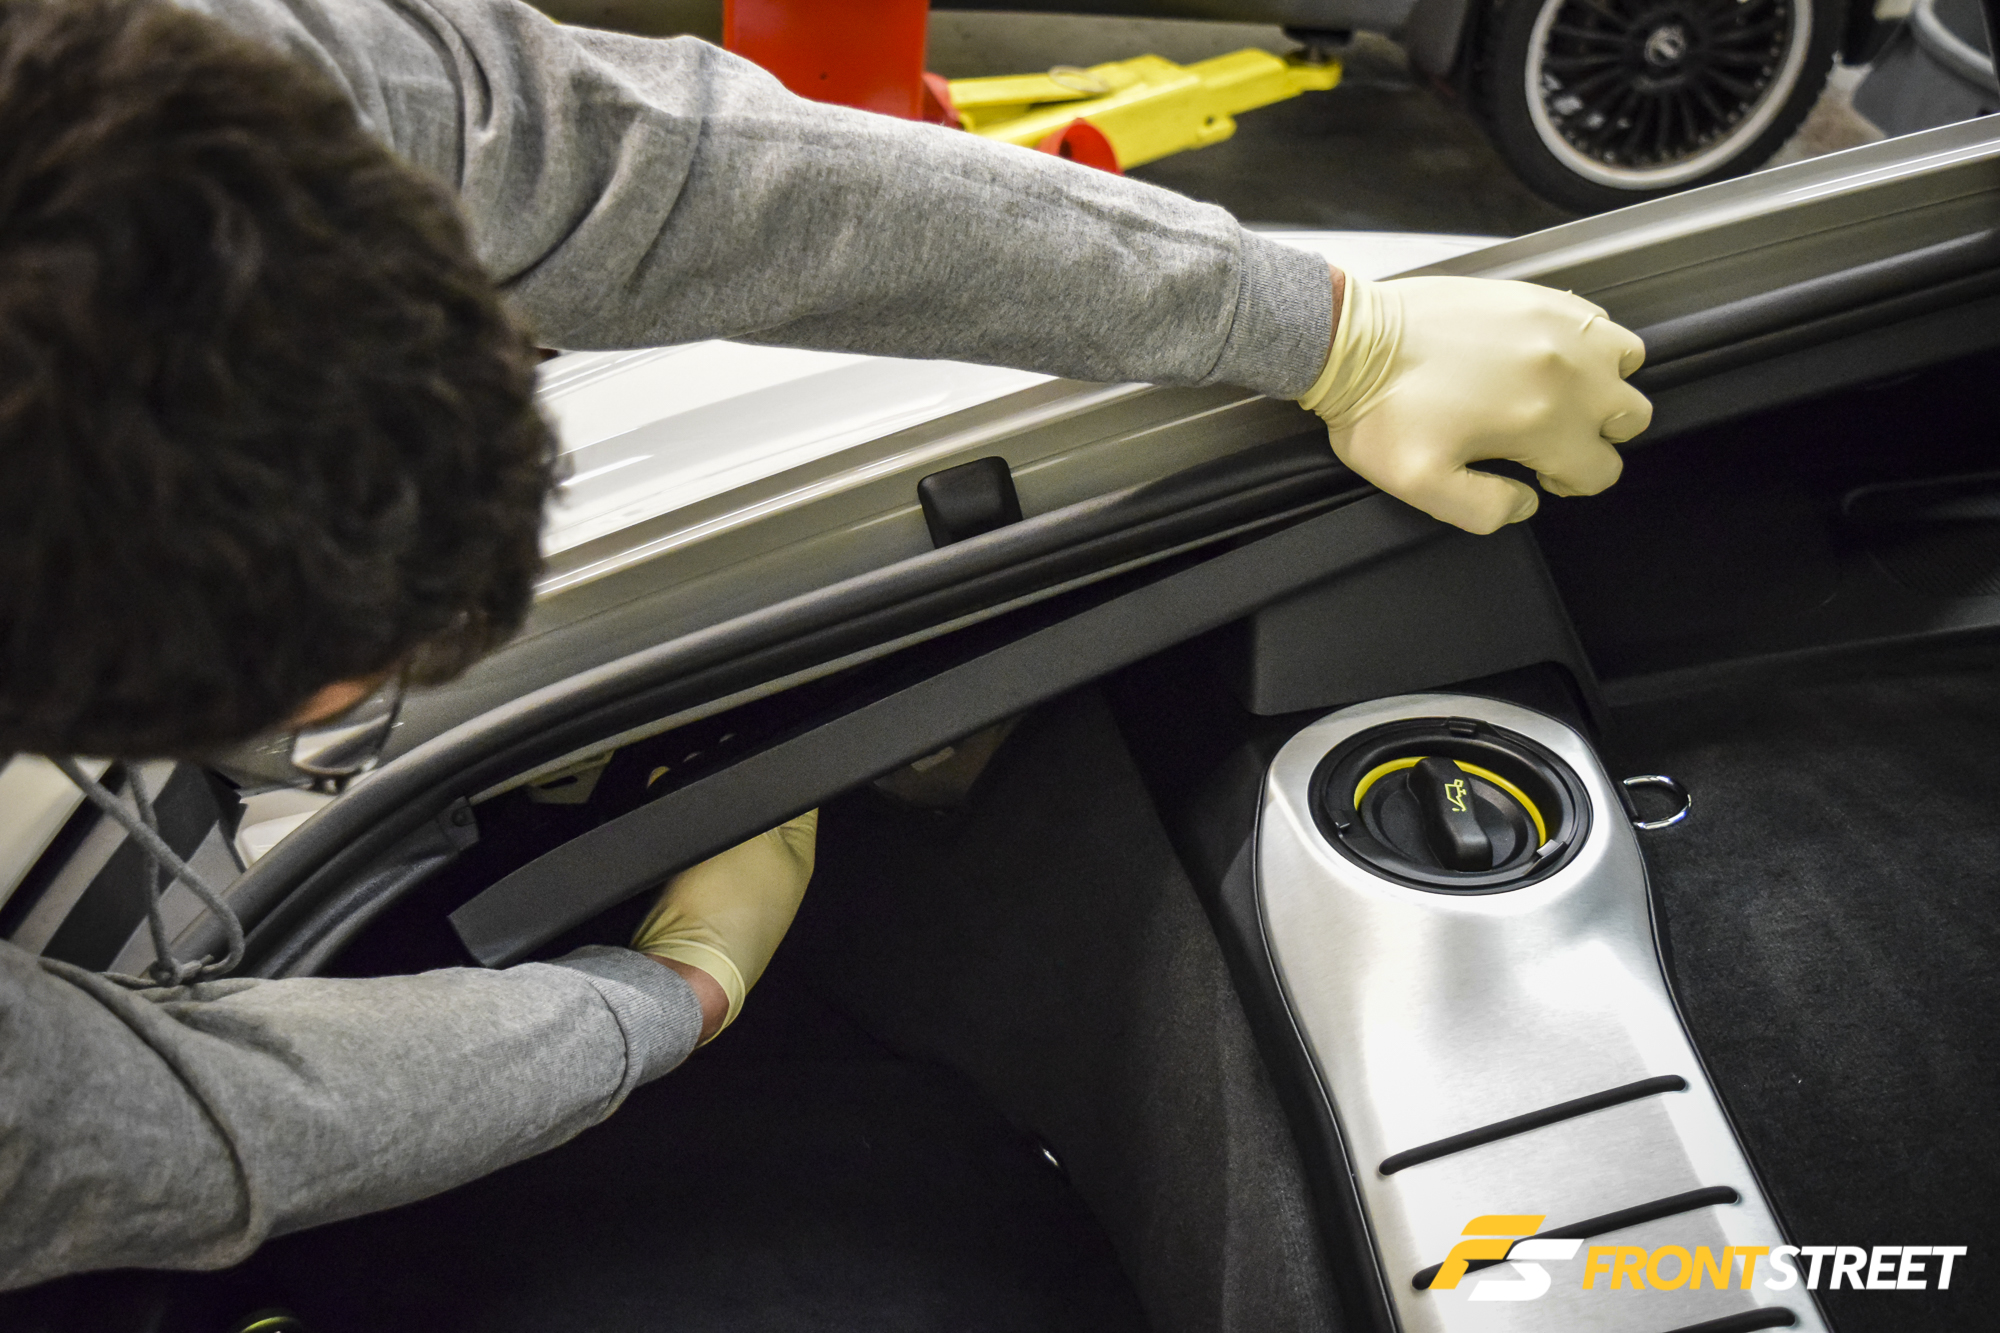
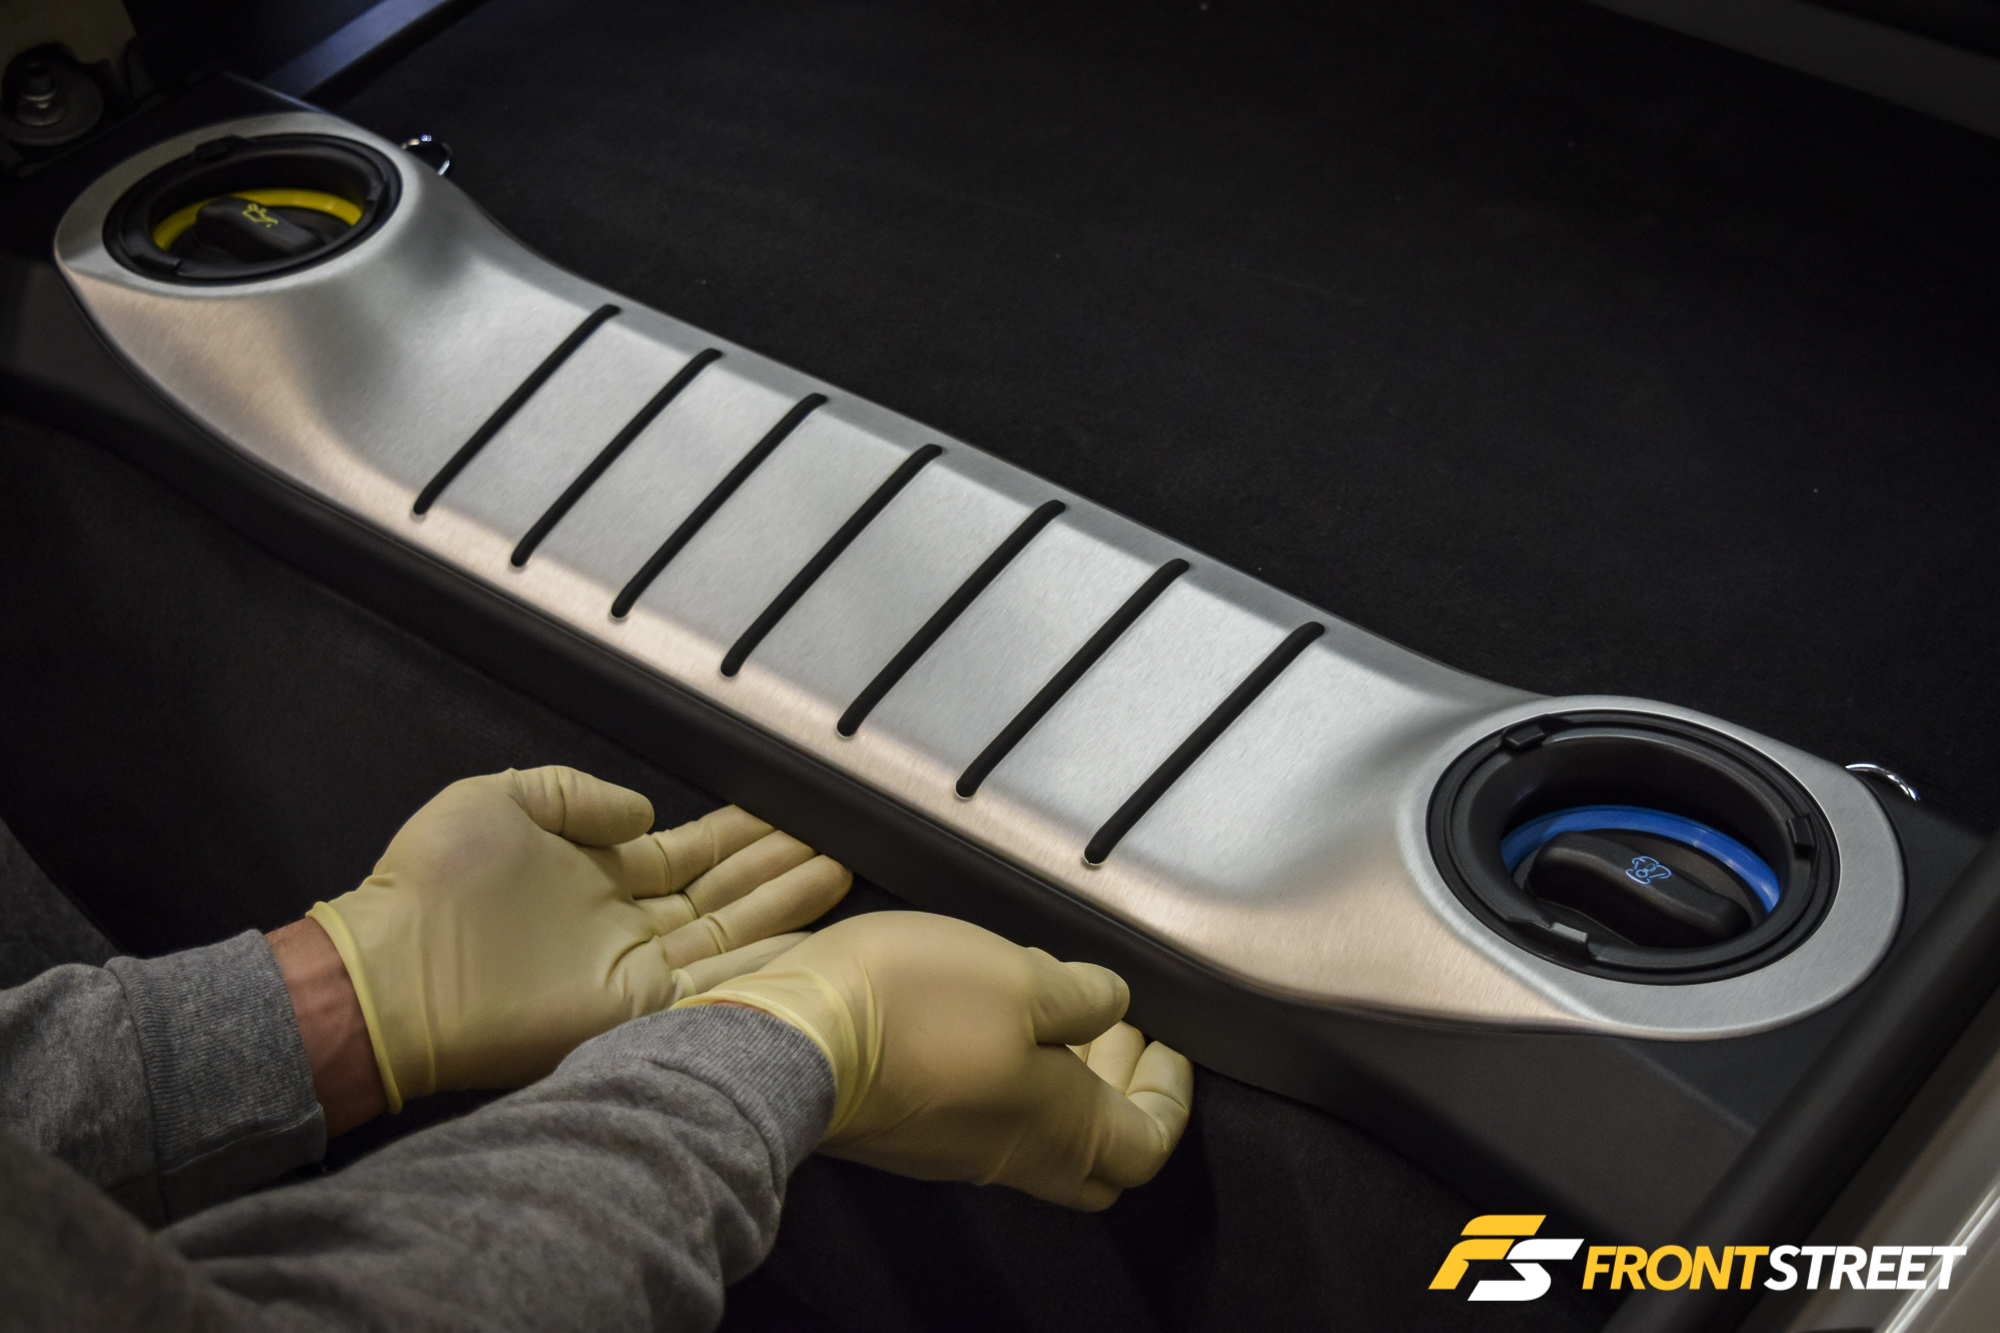
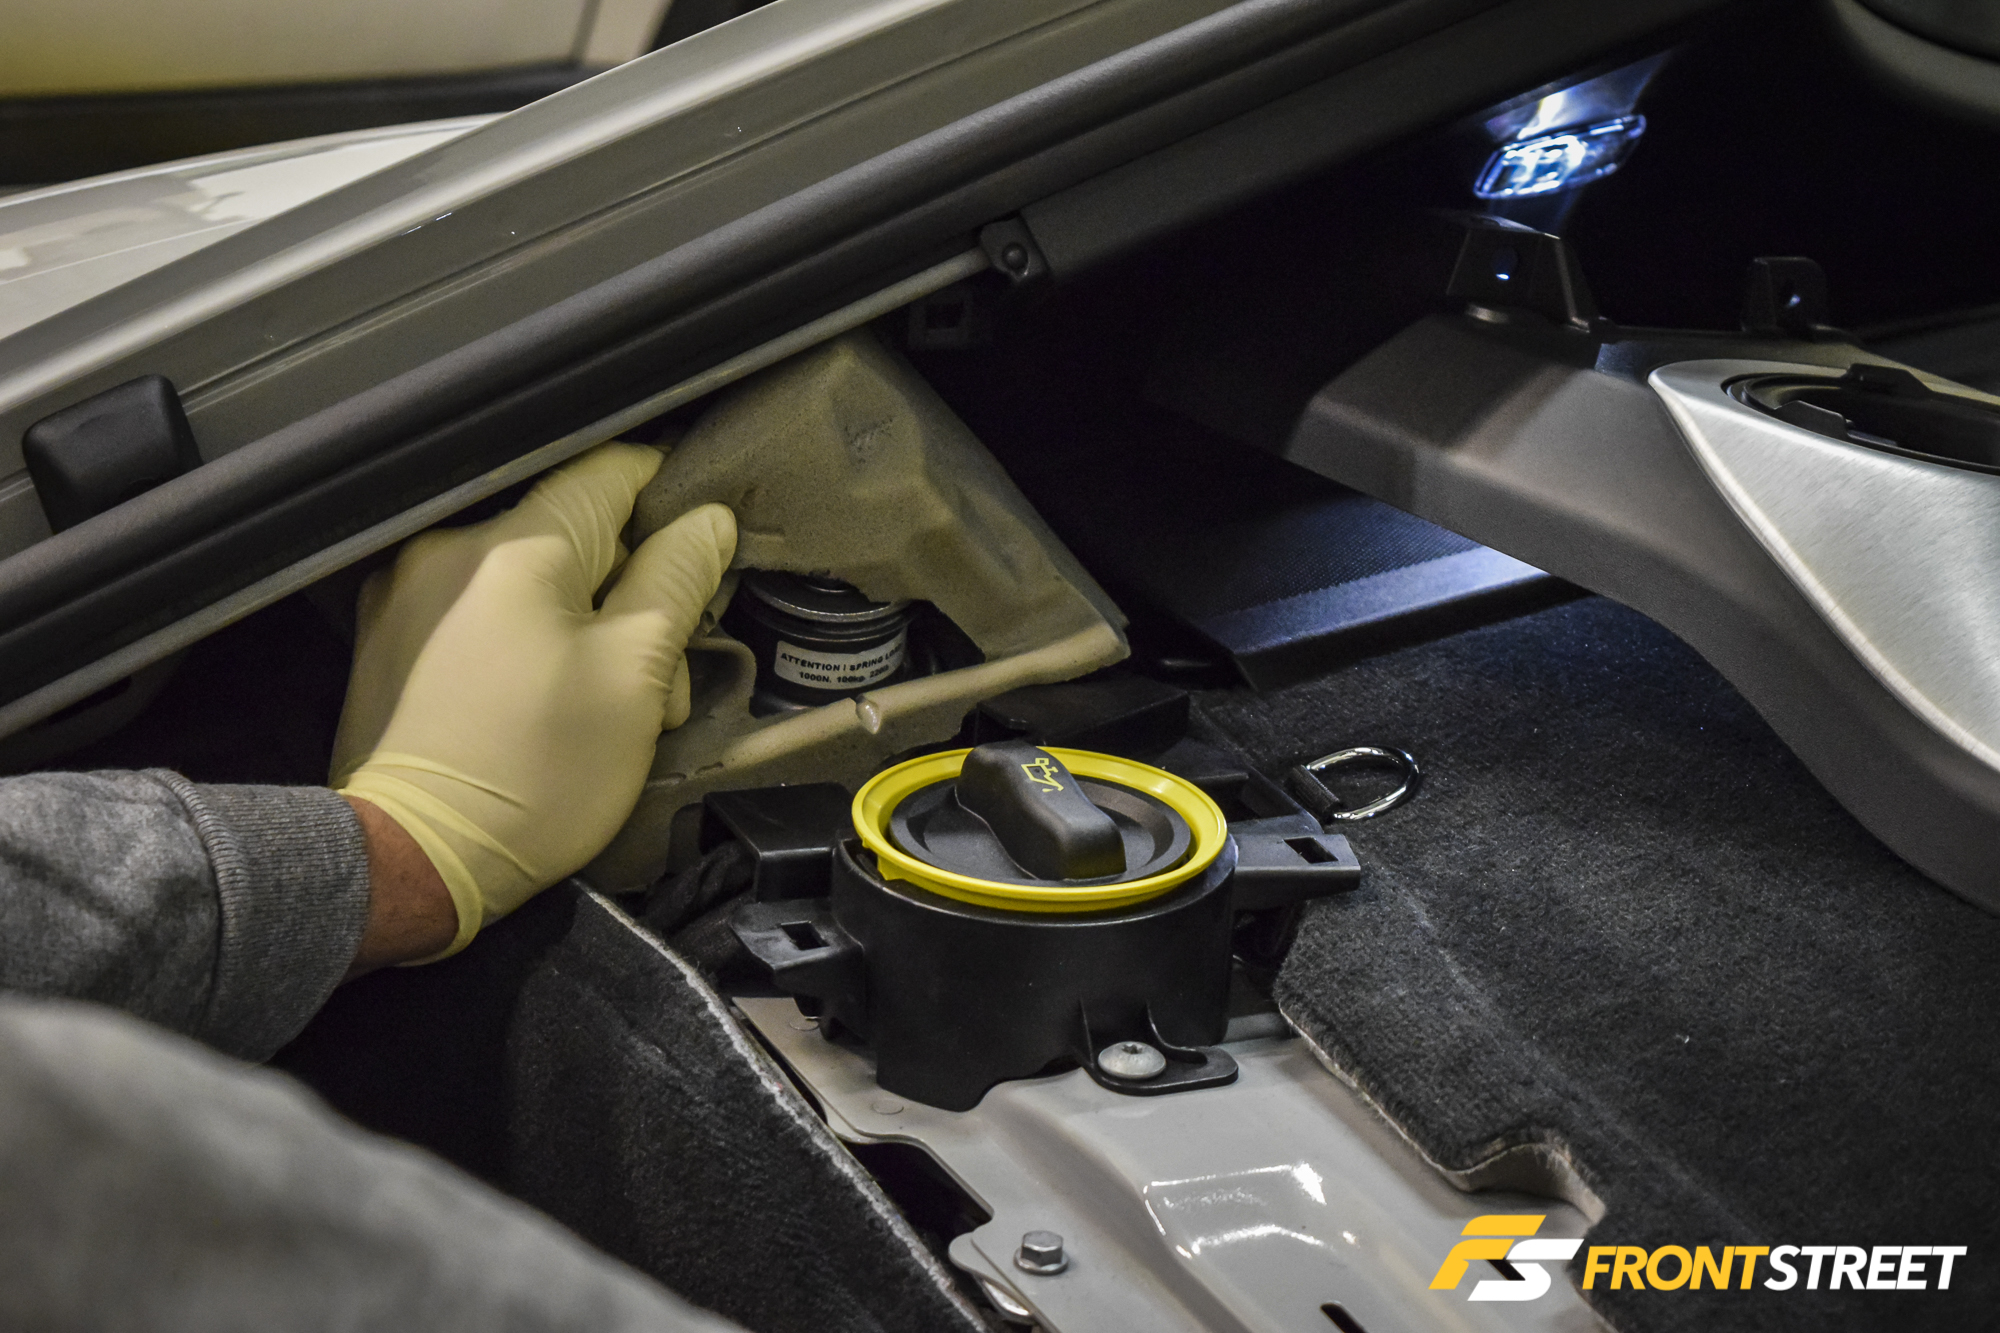
Changing these out isn’t terribly difficult from a mechanical perspective, but it’s also not the kind of thing I’d recommend you do in the garage. It took the better part of a day to complete the job, and required complete removal of the rear suspension along with the axles just to get the rear struts out of the car.
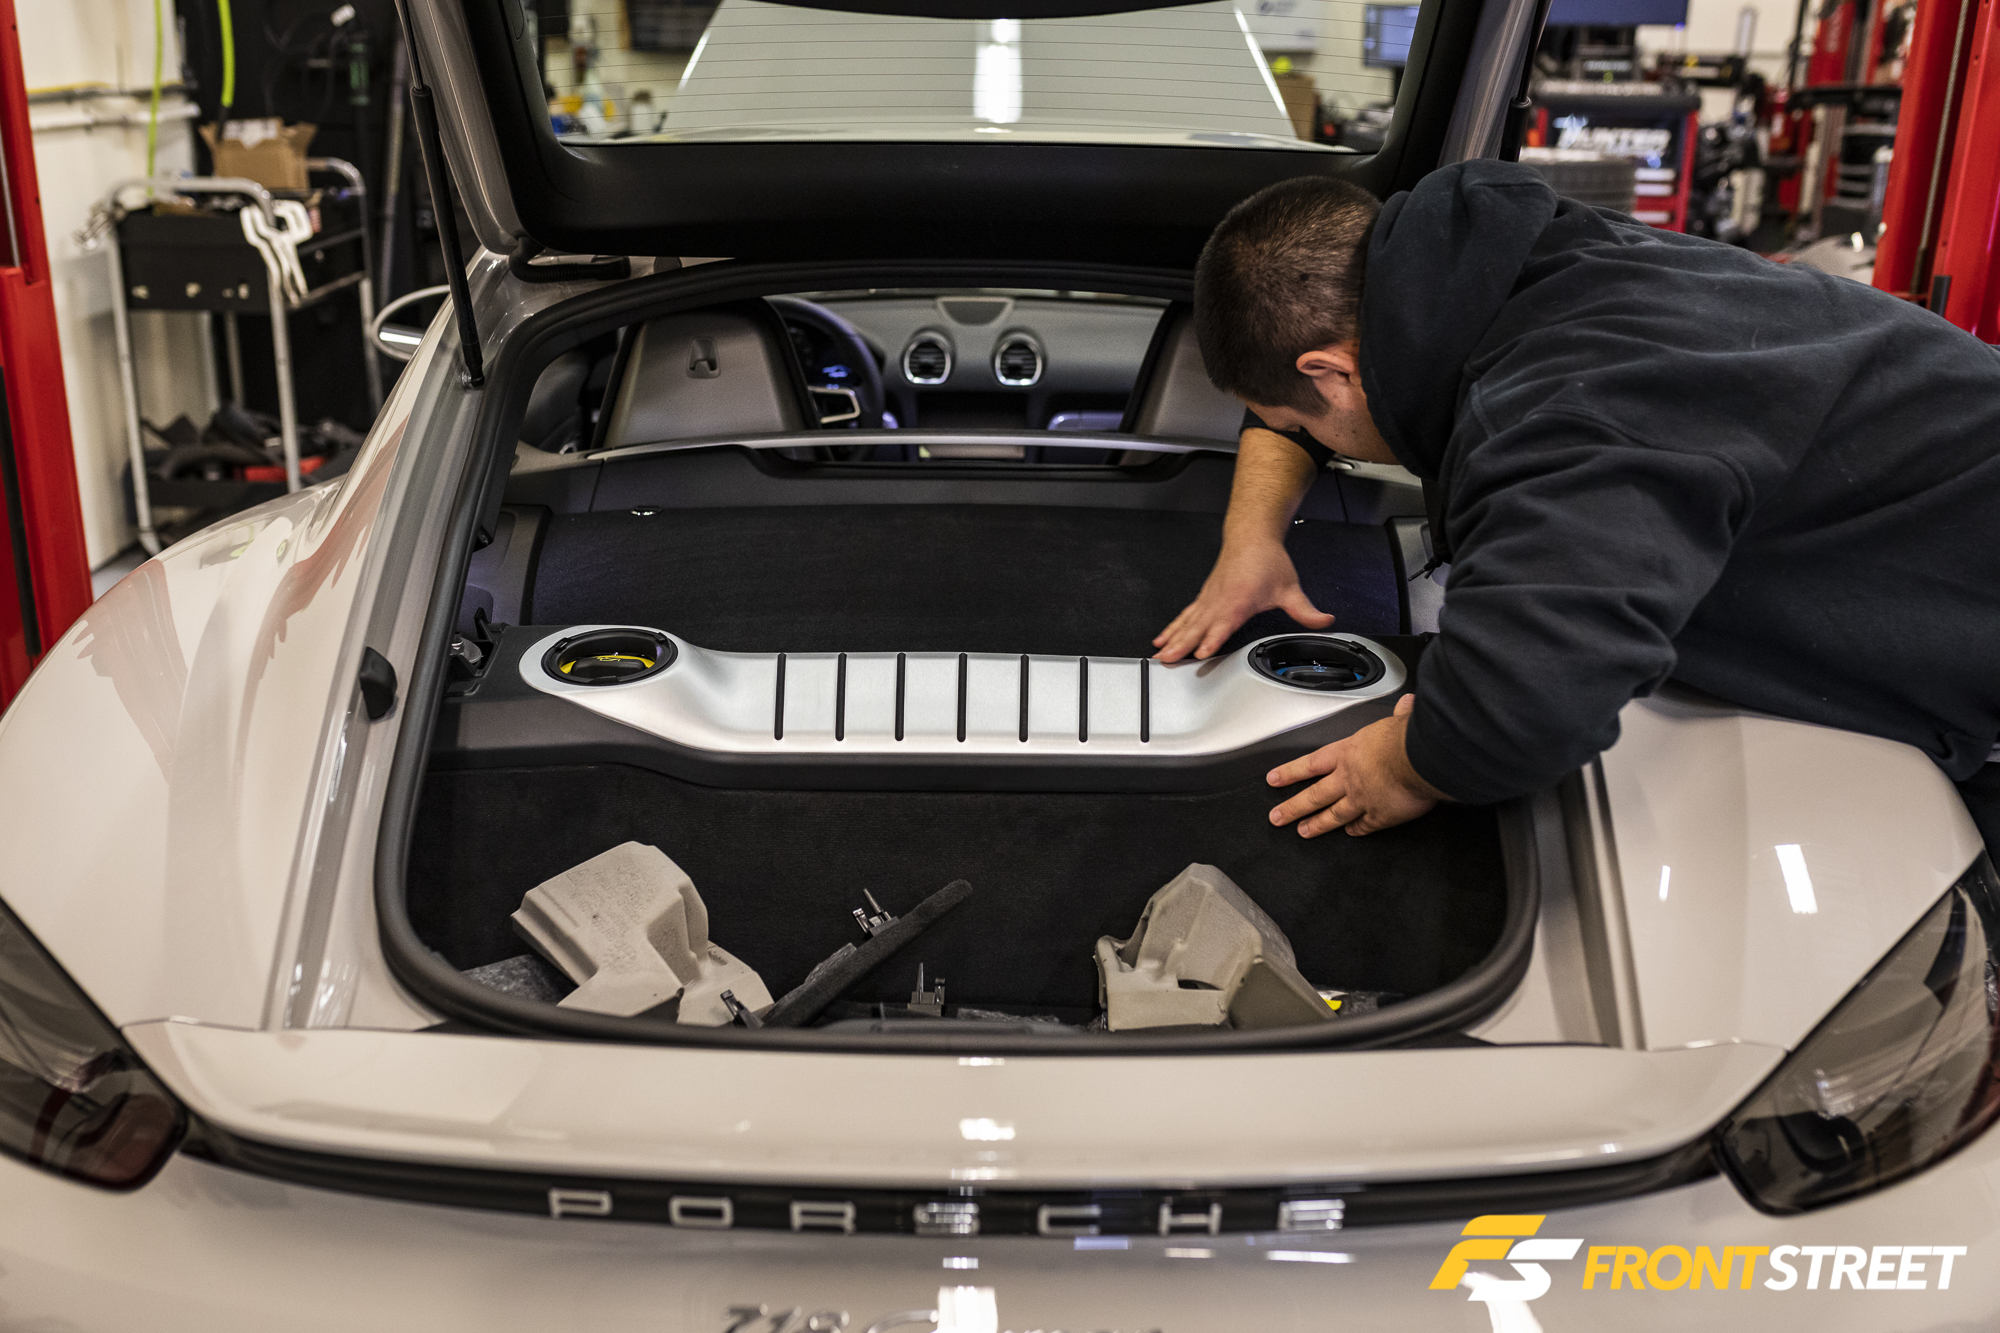
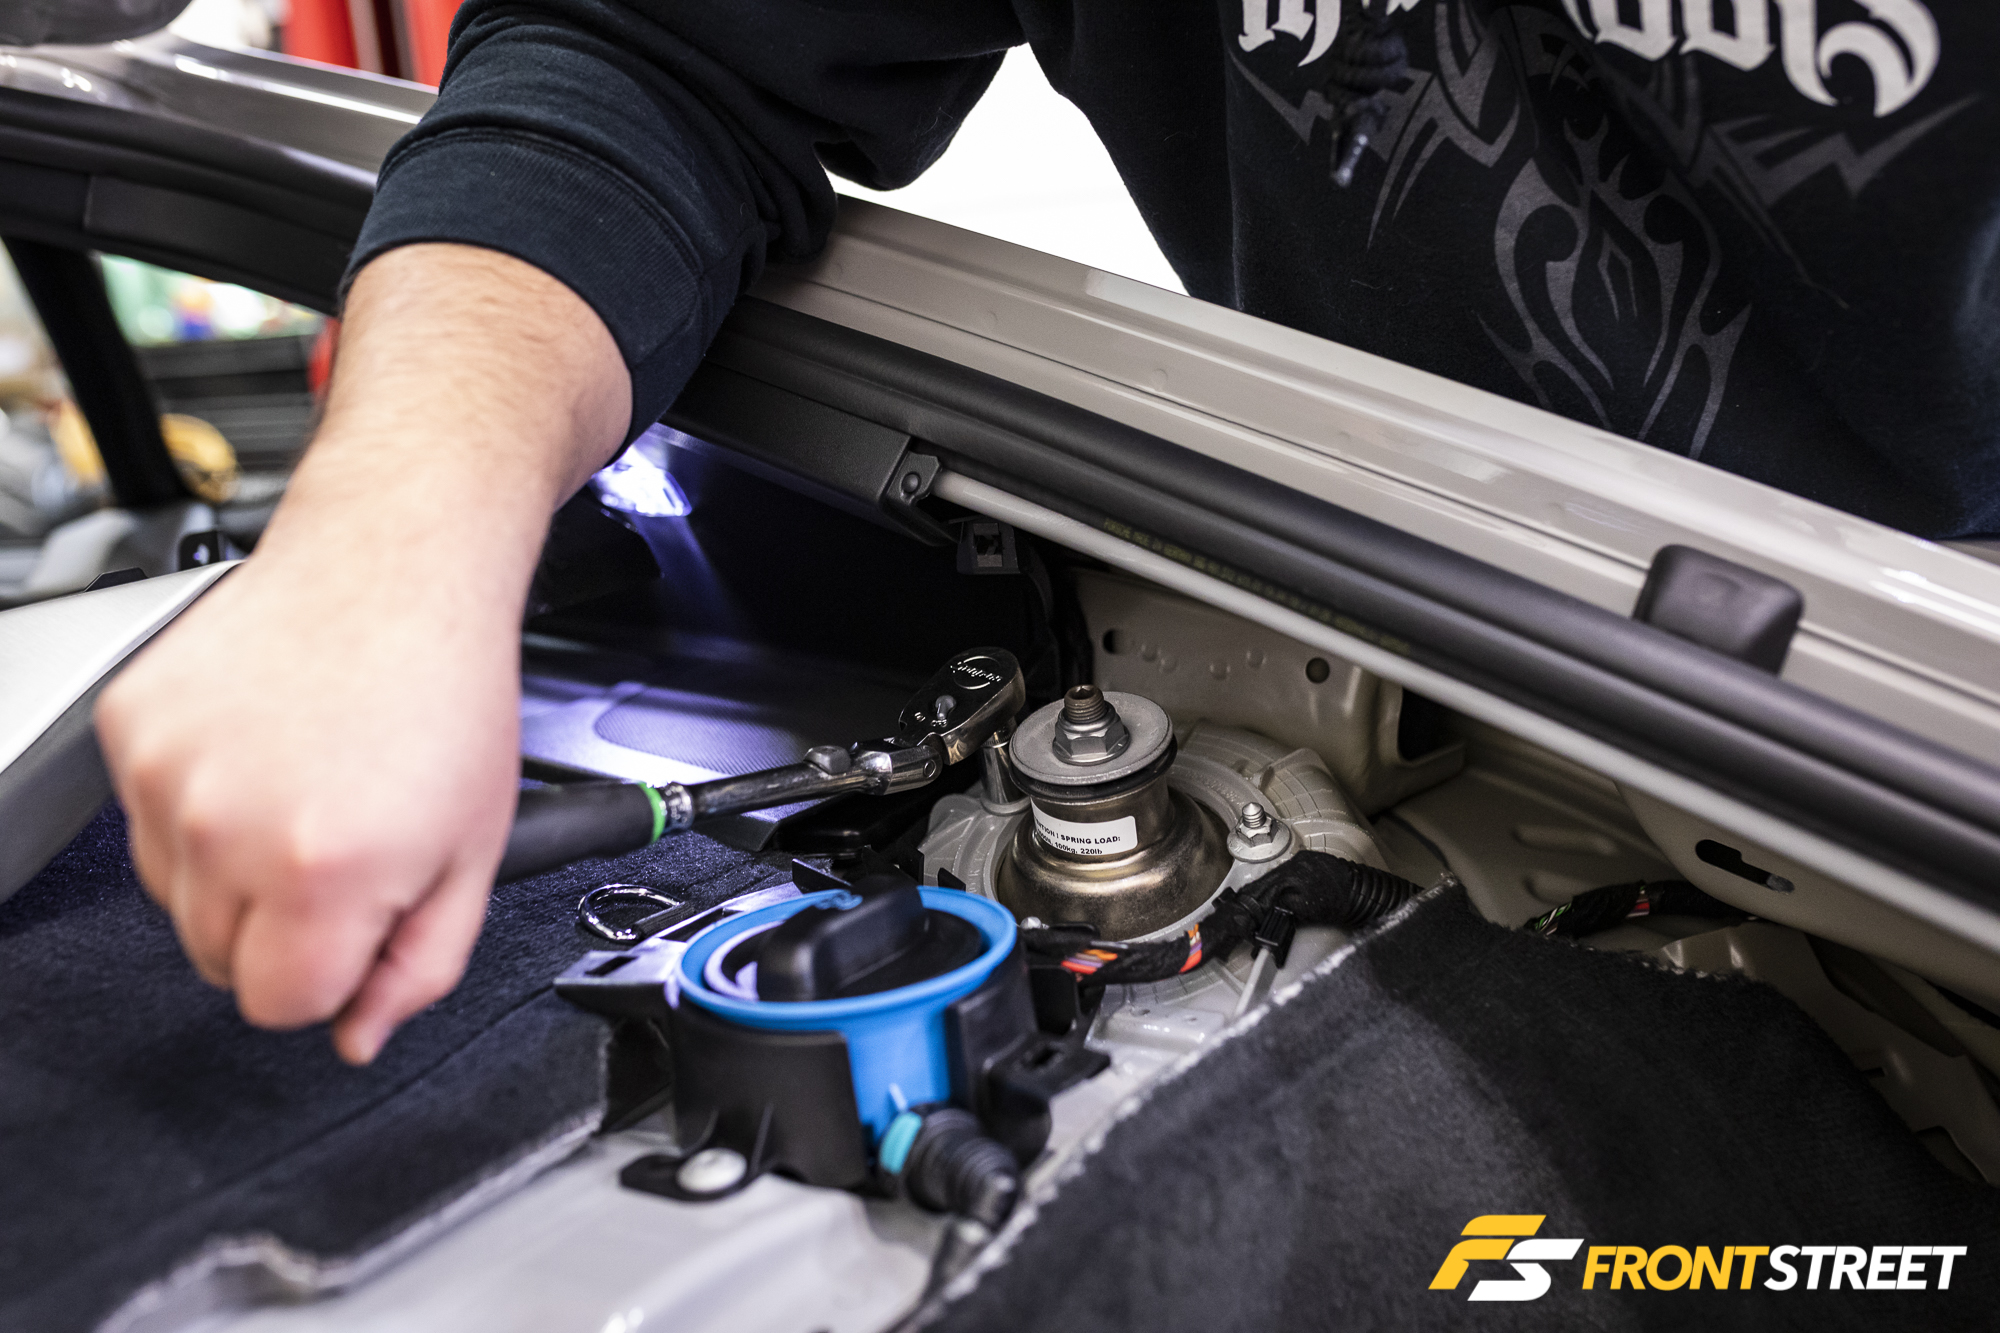
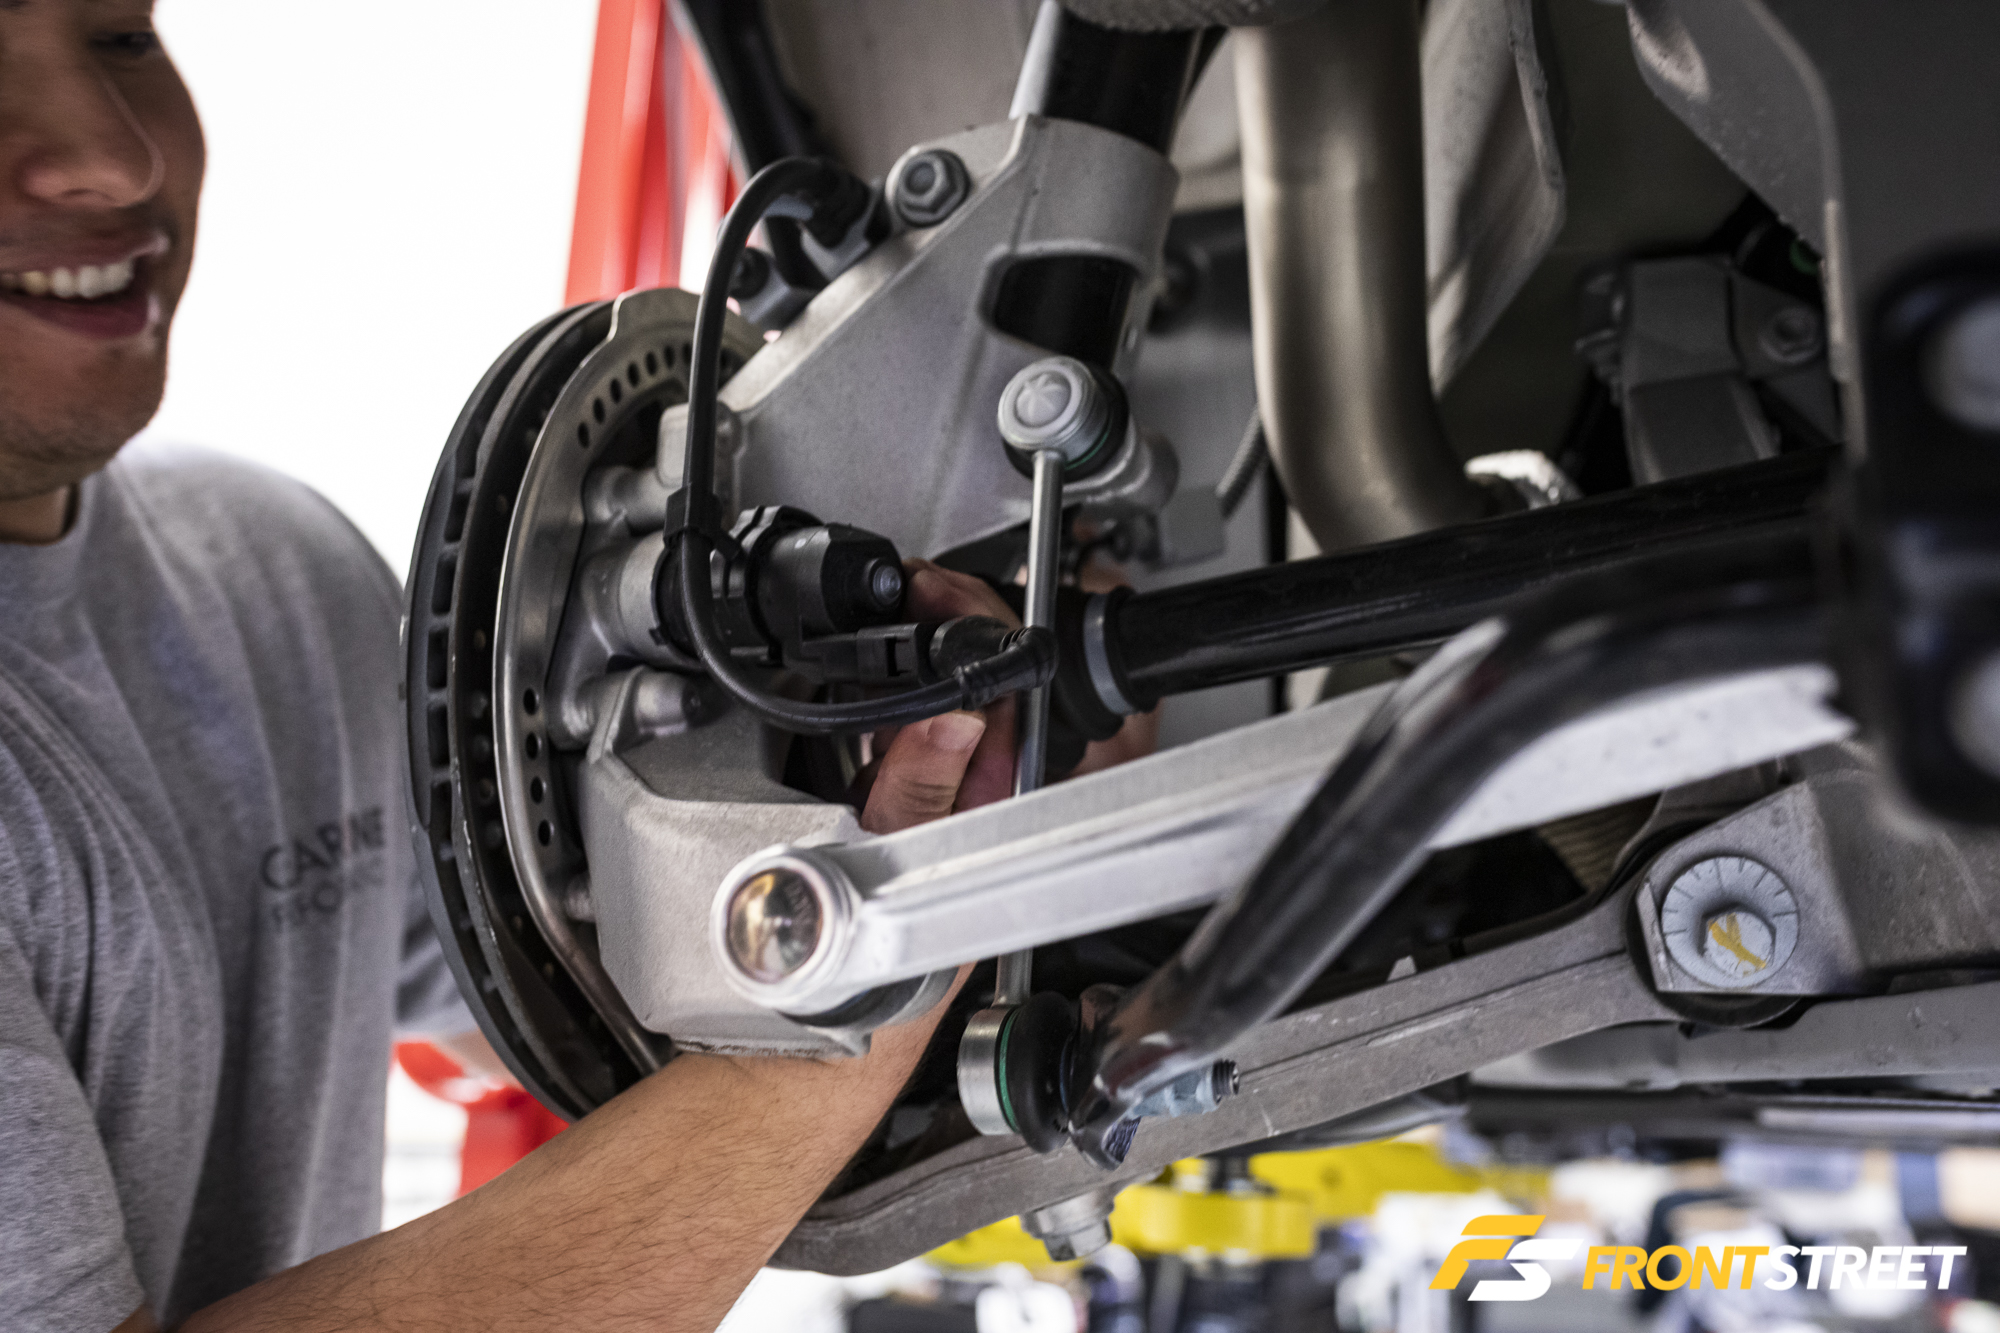
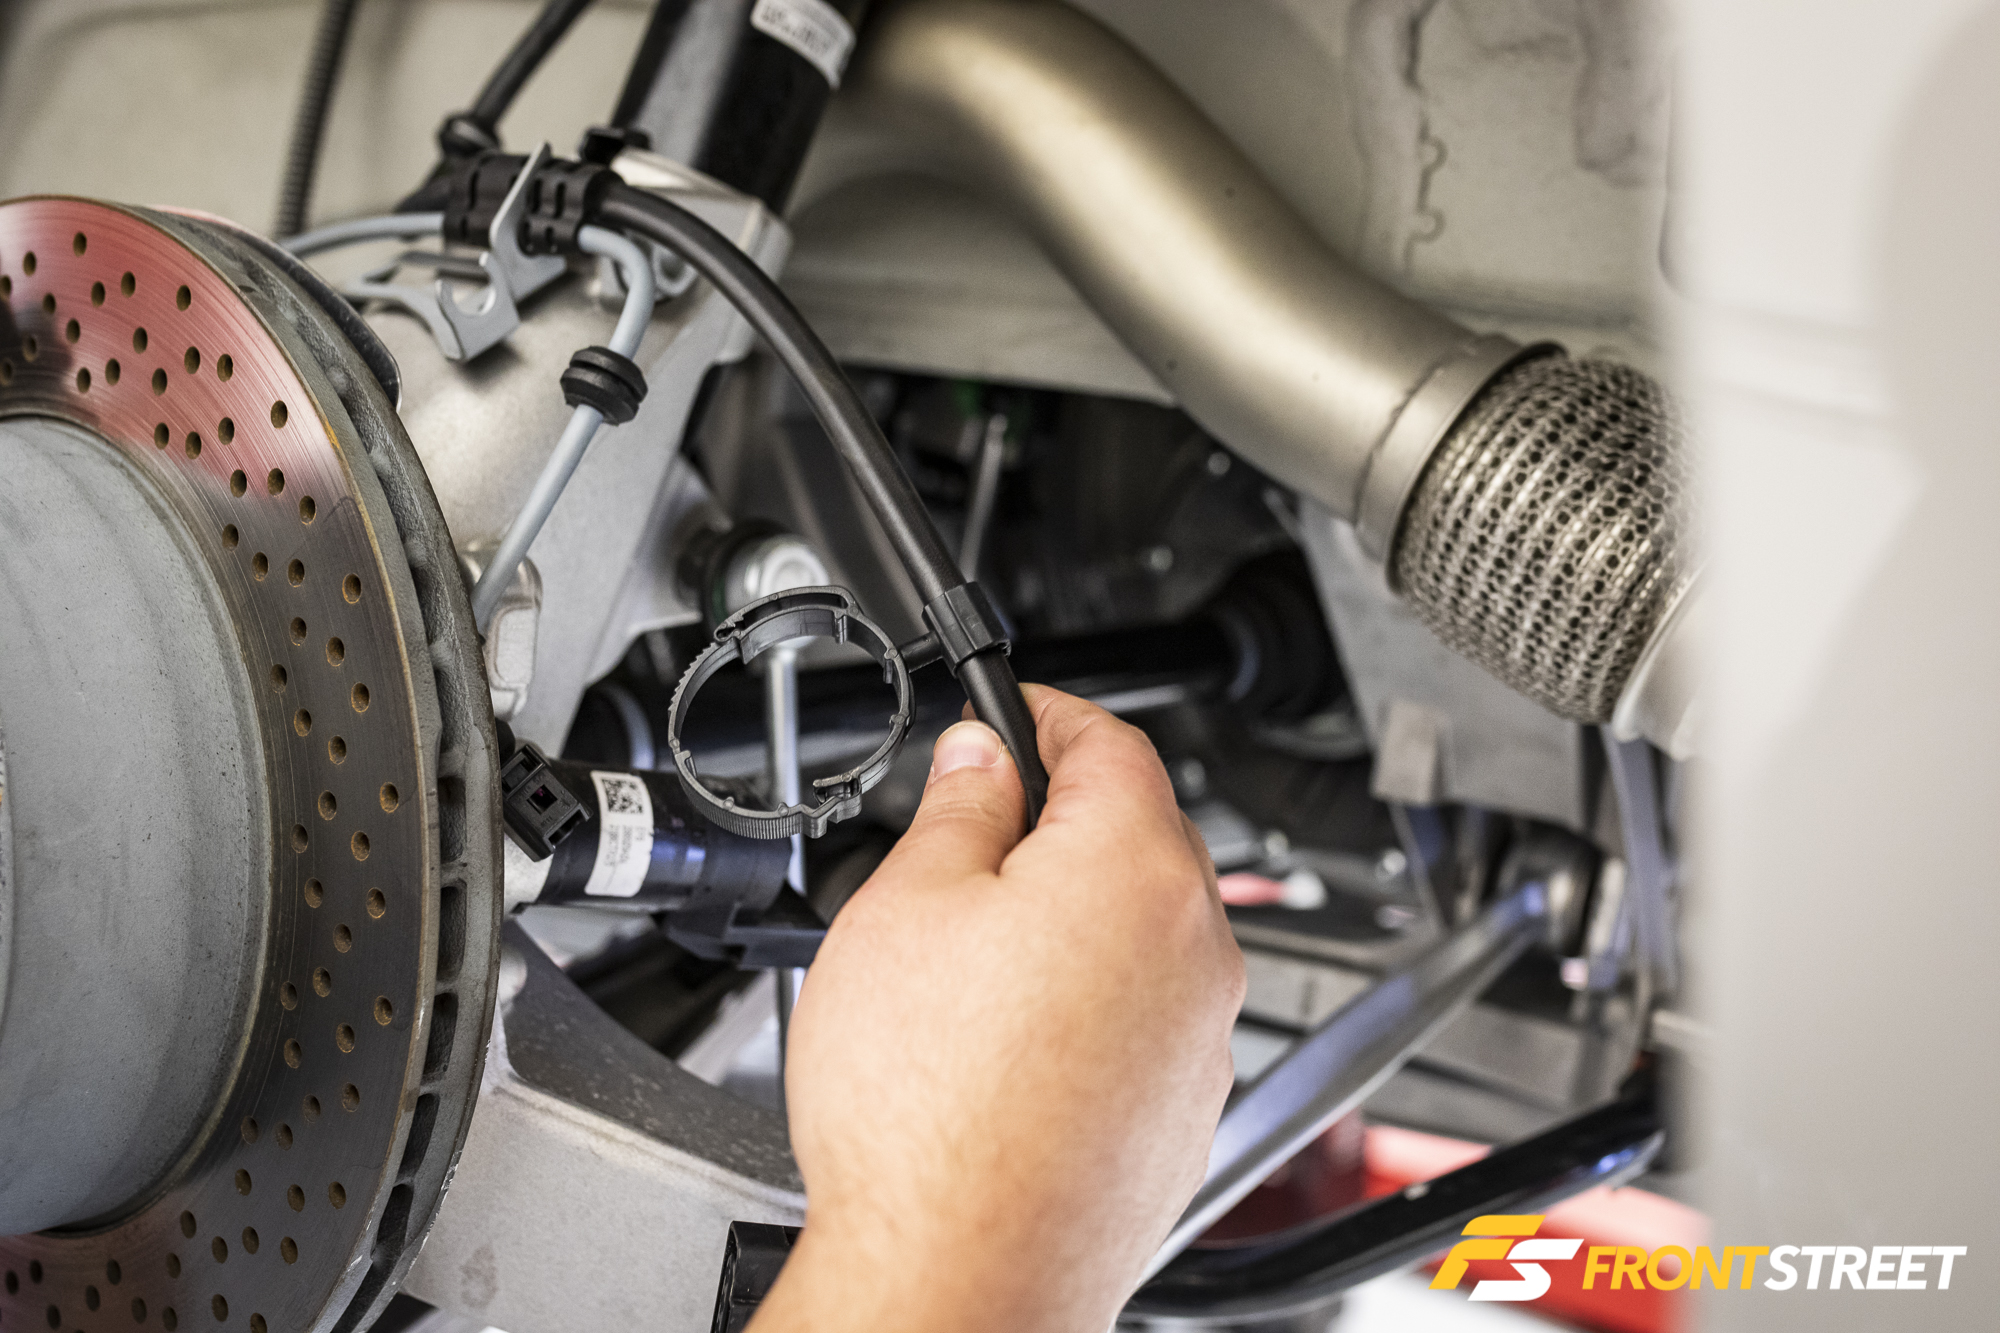
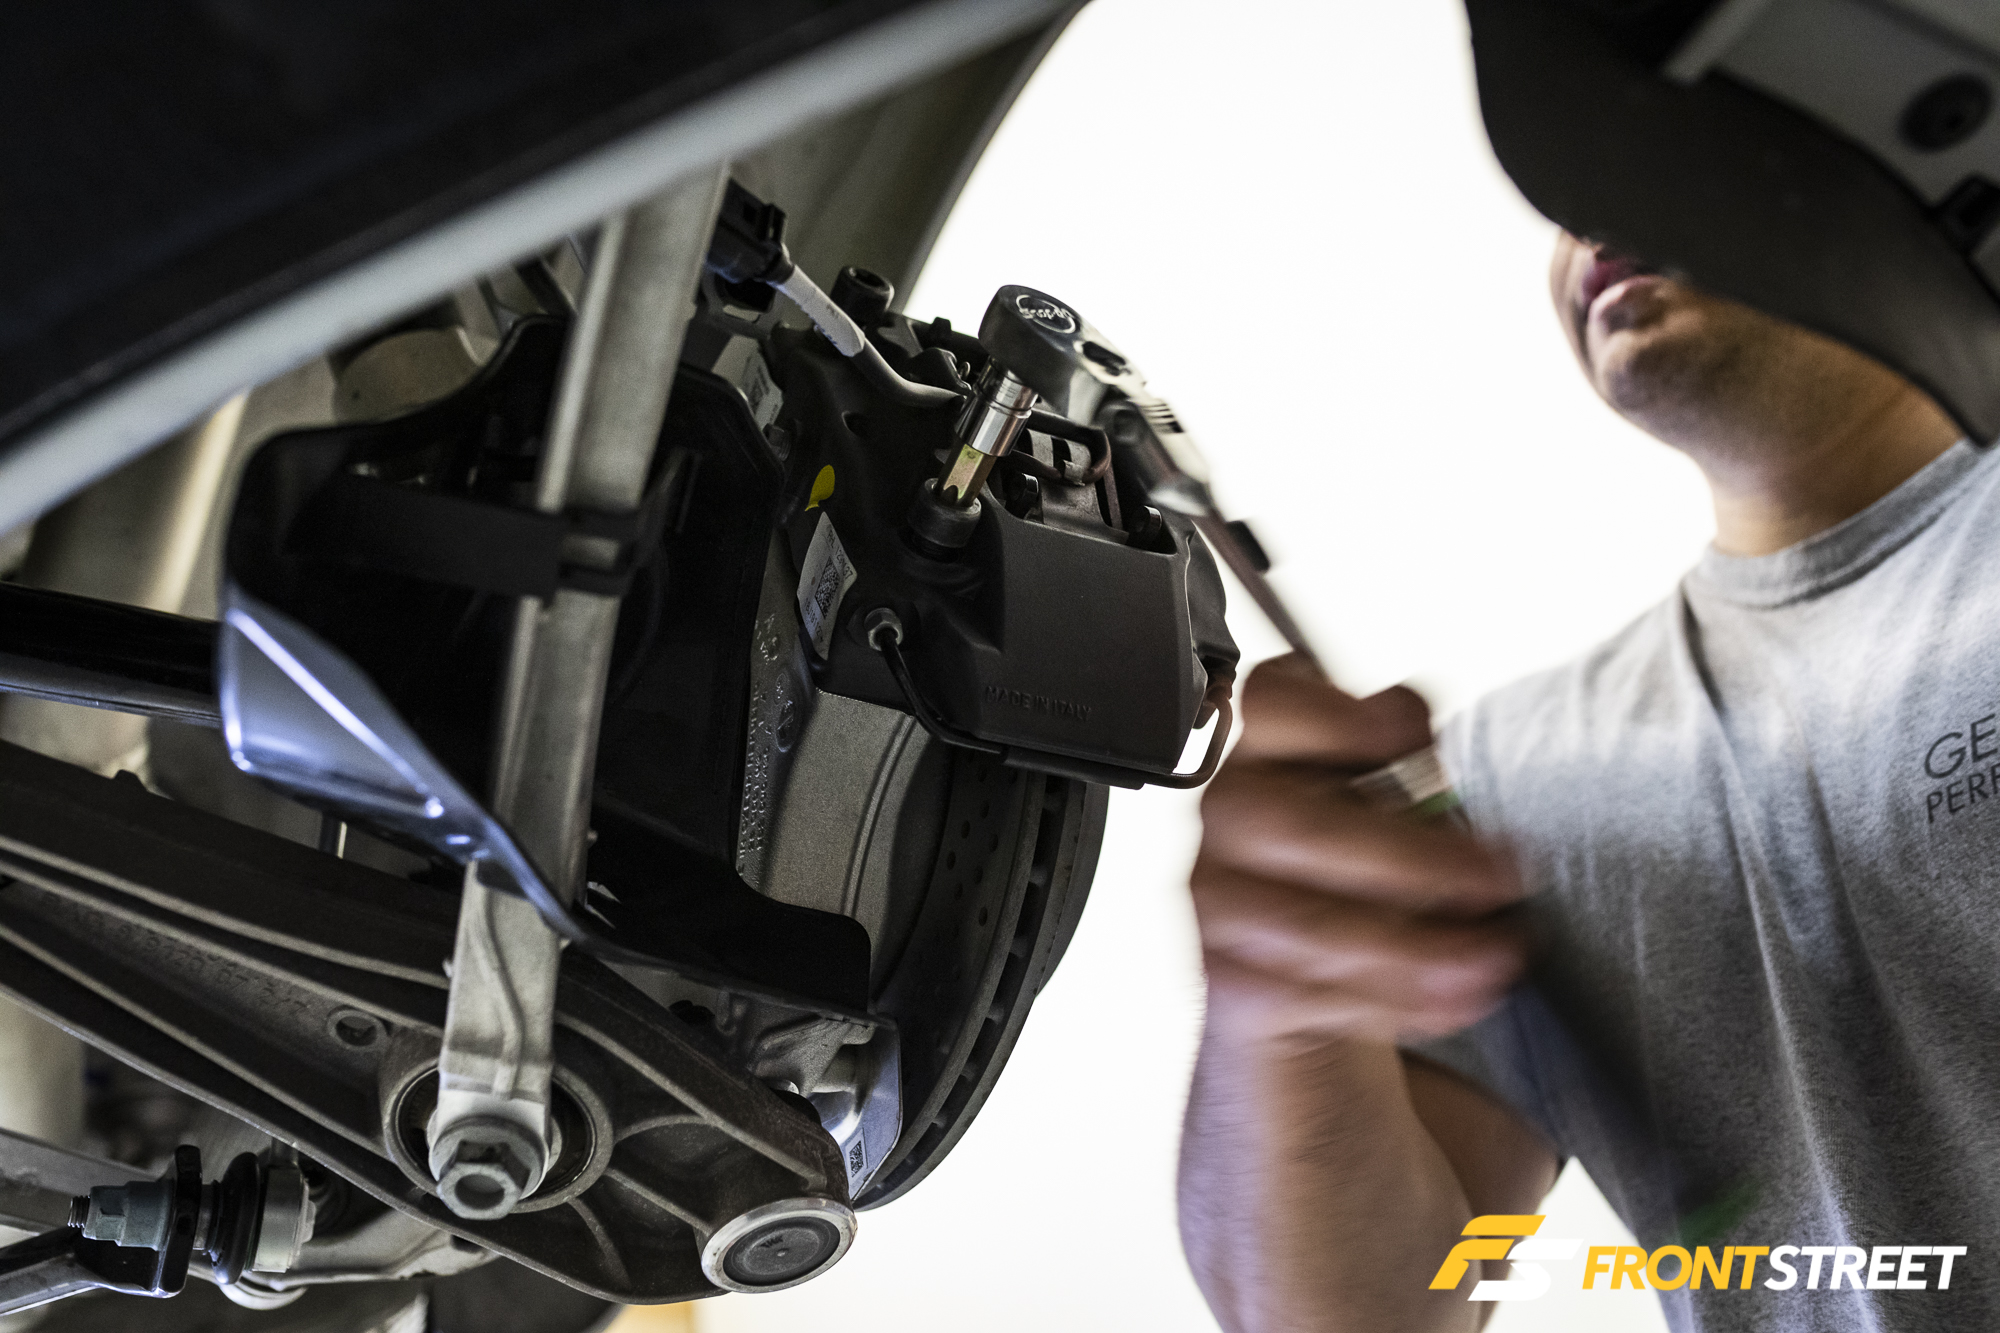
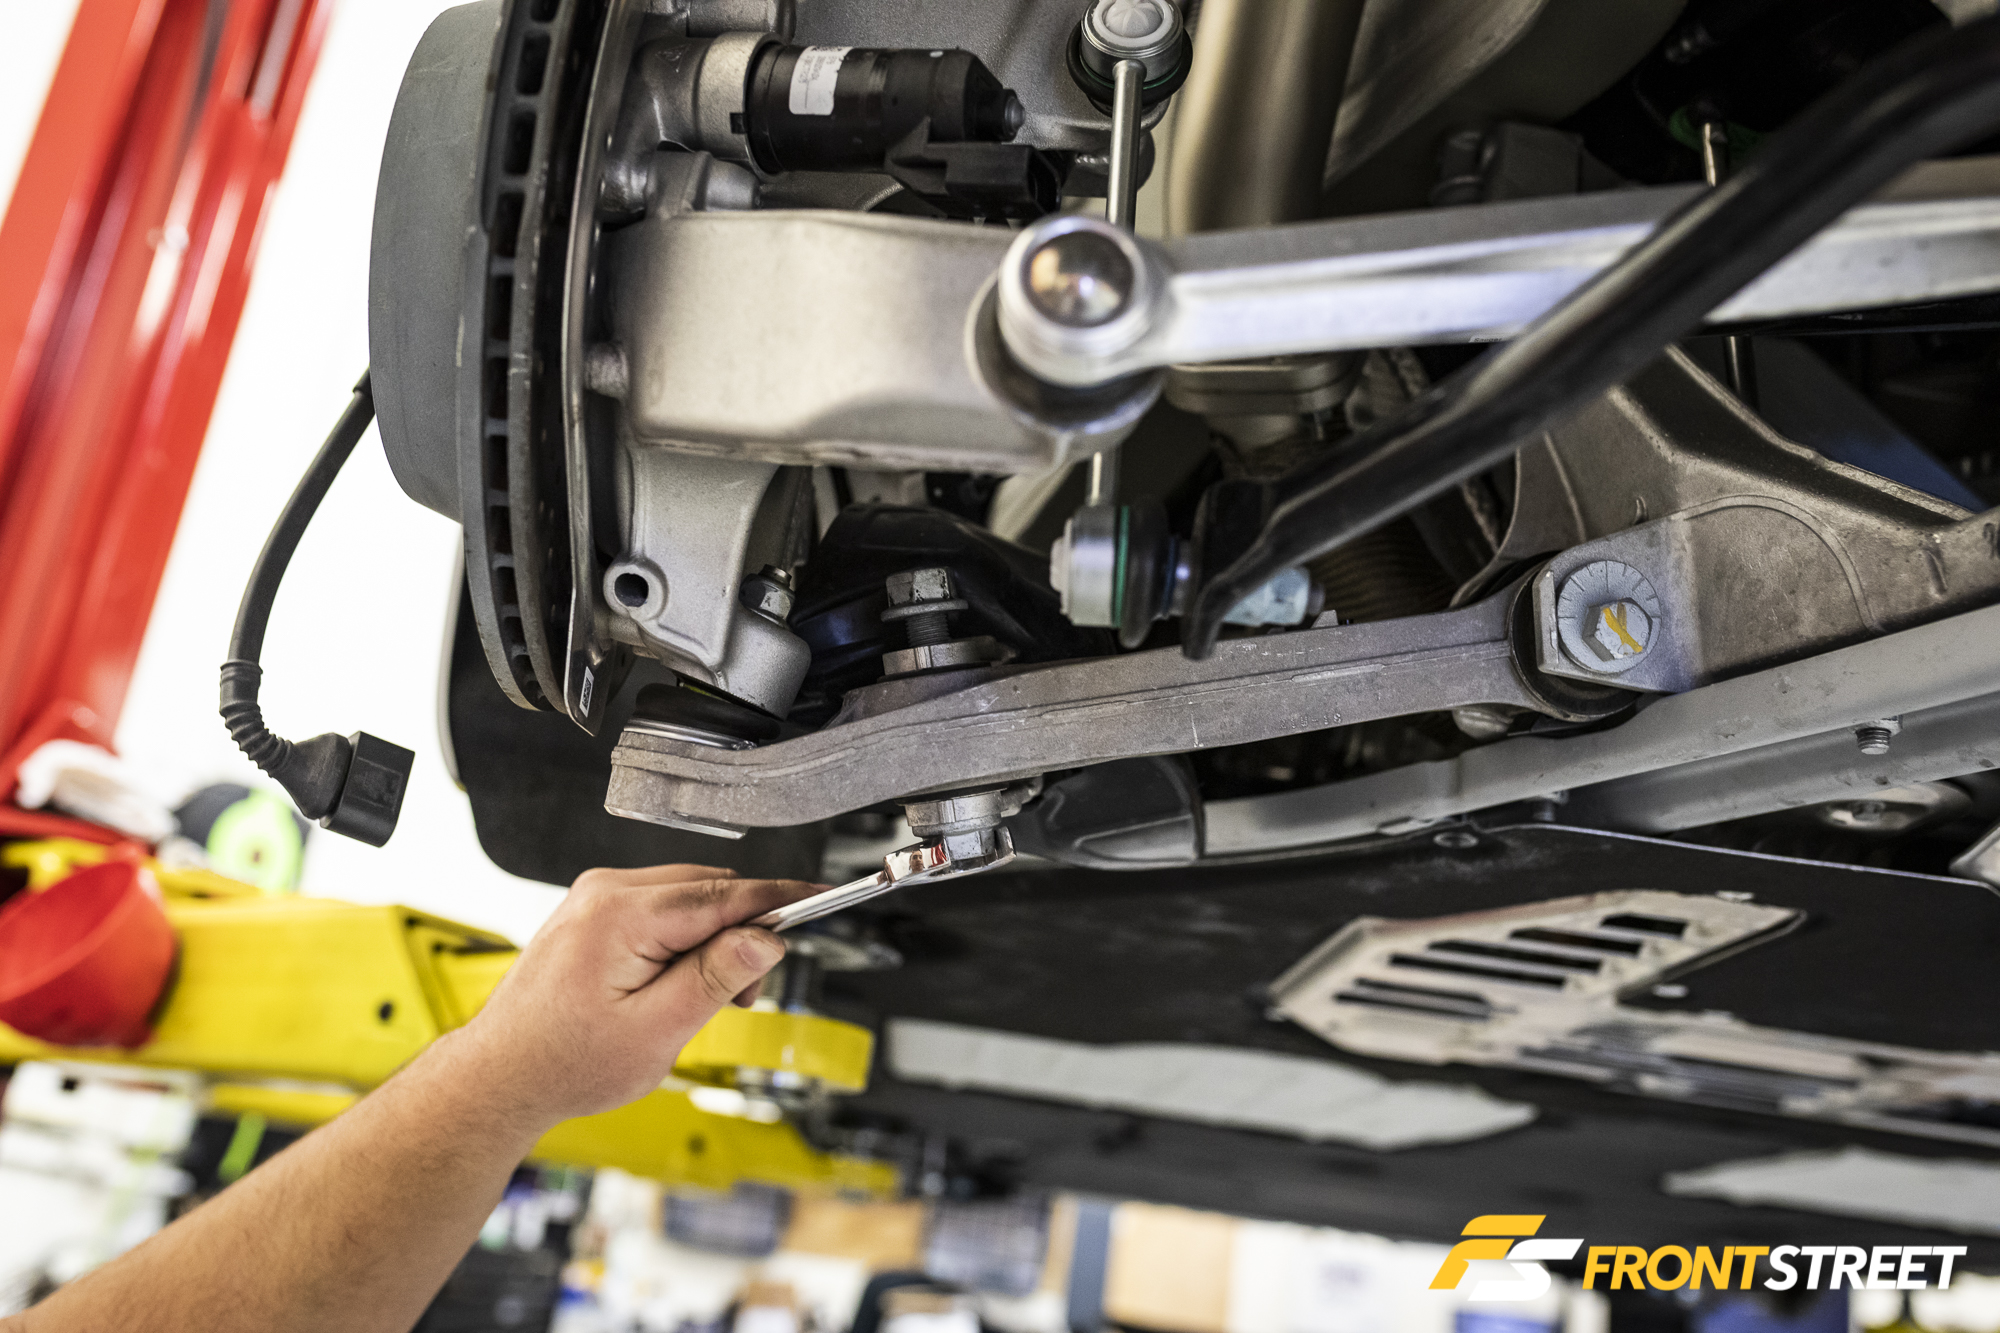
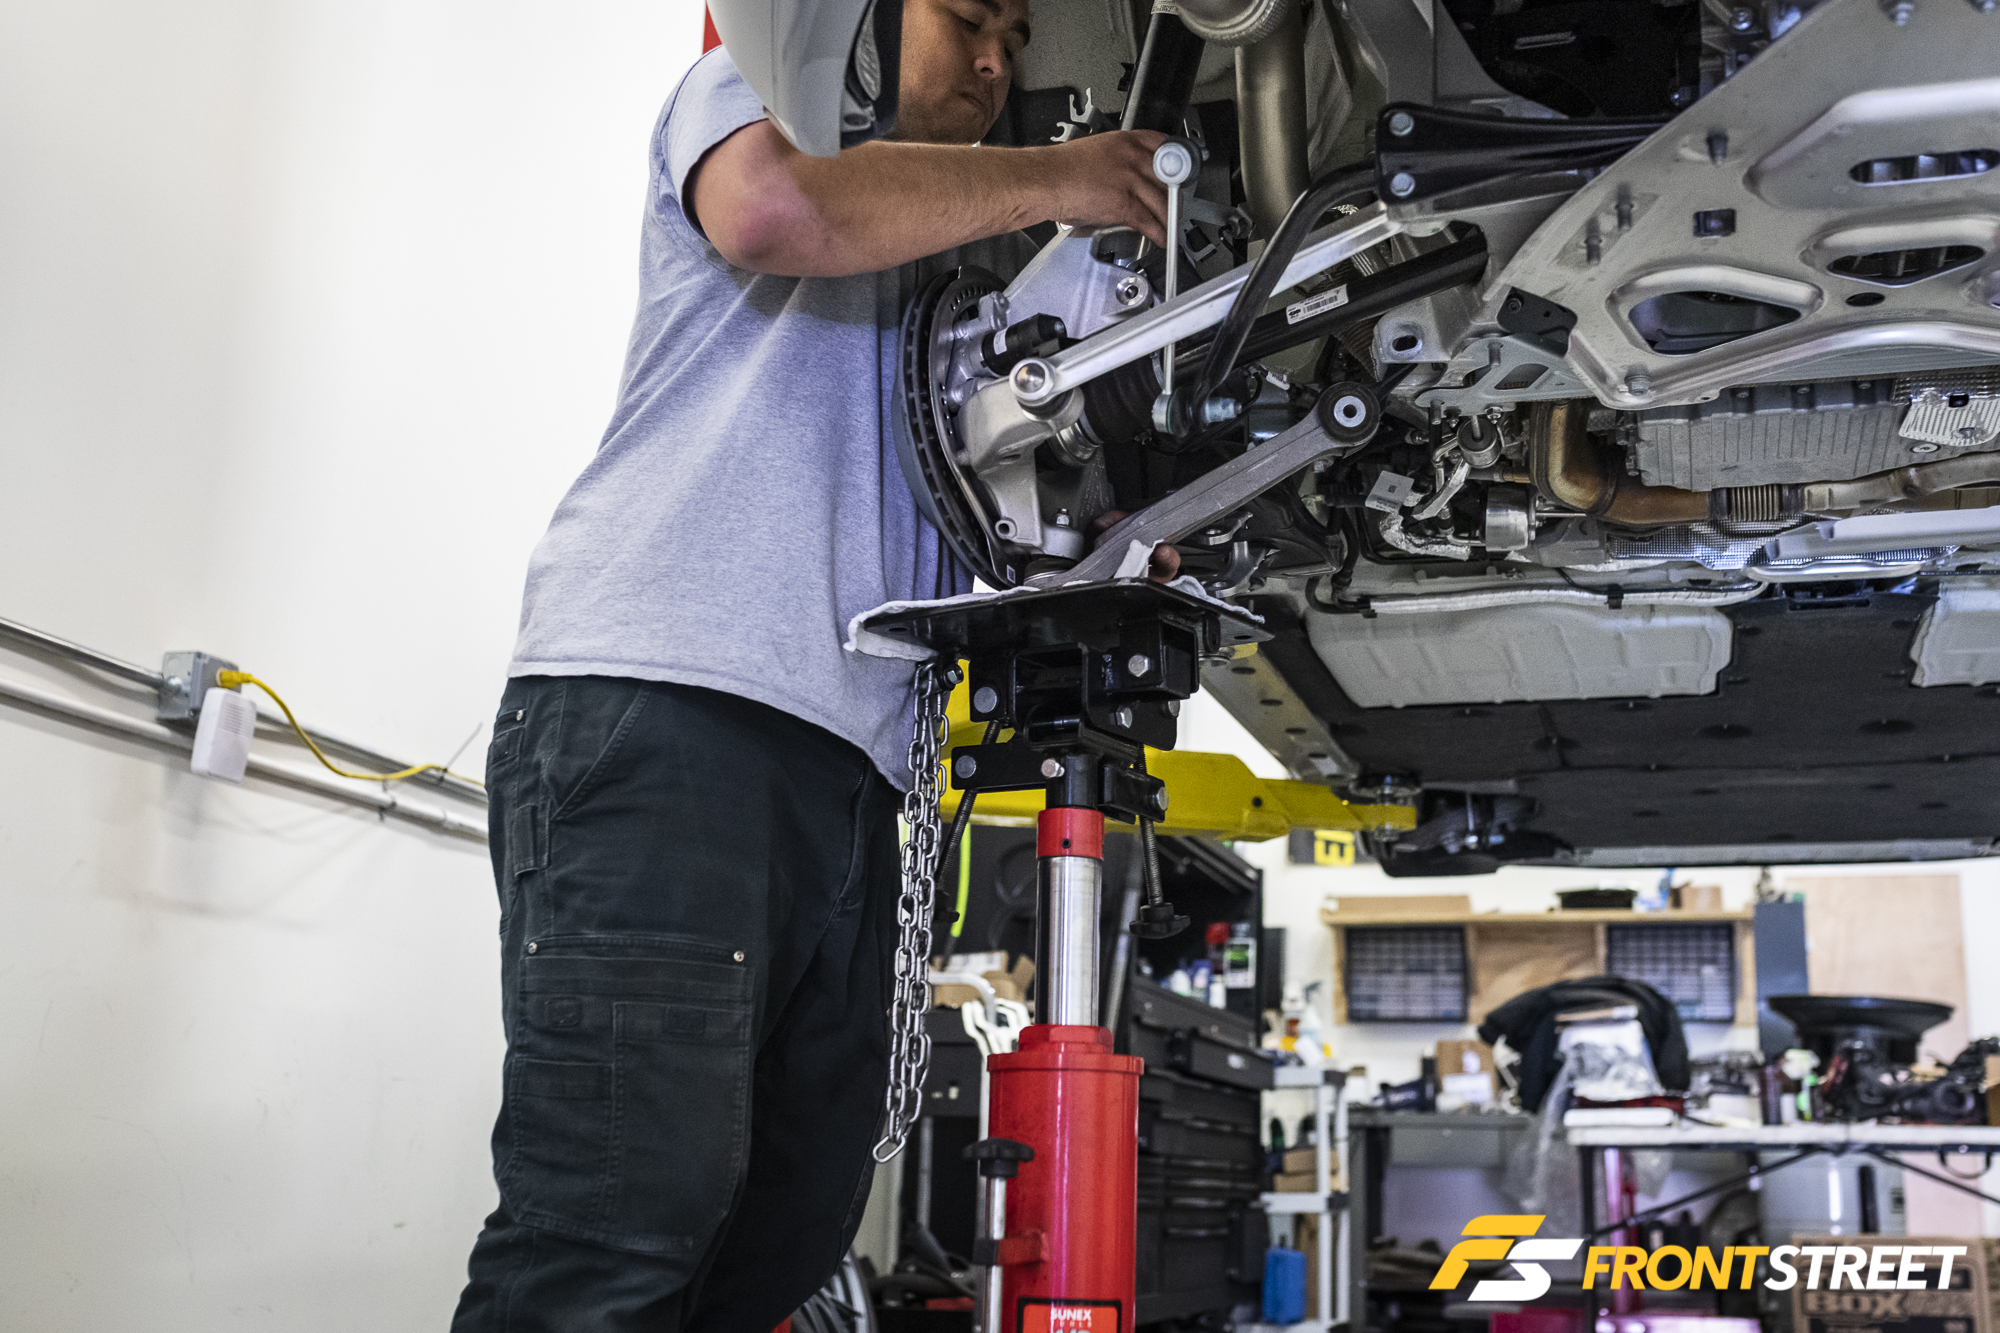
There are several things to note during the removal process of the rear suspension. The interior parts must be removed to access the top of the strut mounts, but more importantly, the brake calipers have to come off and each of the suspension links is disconnected. This is so the strut assembly can be pulled from the car in one piece, otherwise there is not enough room to disconnect the assembly from the spindle and get it out of the Cayman’s fenderwell.
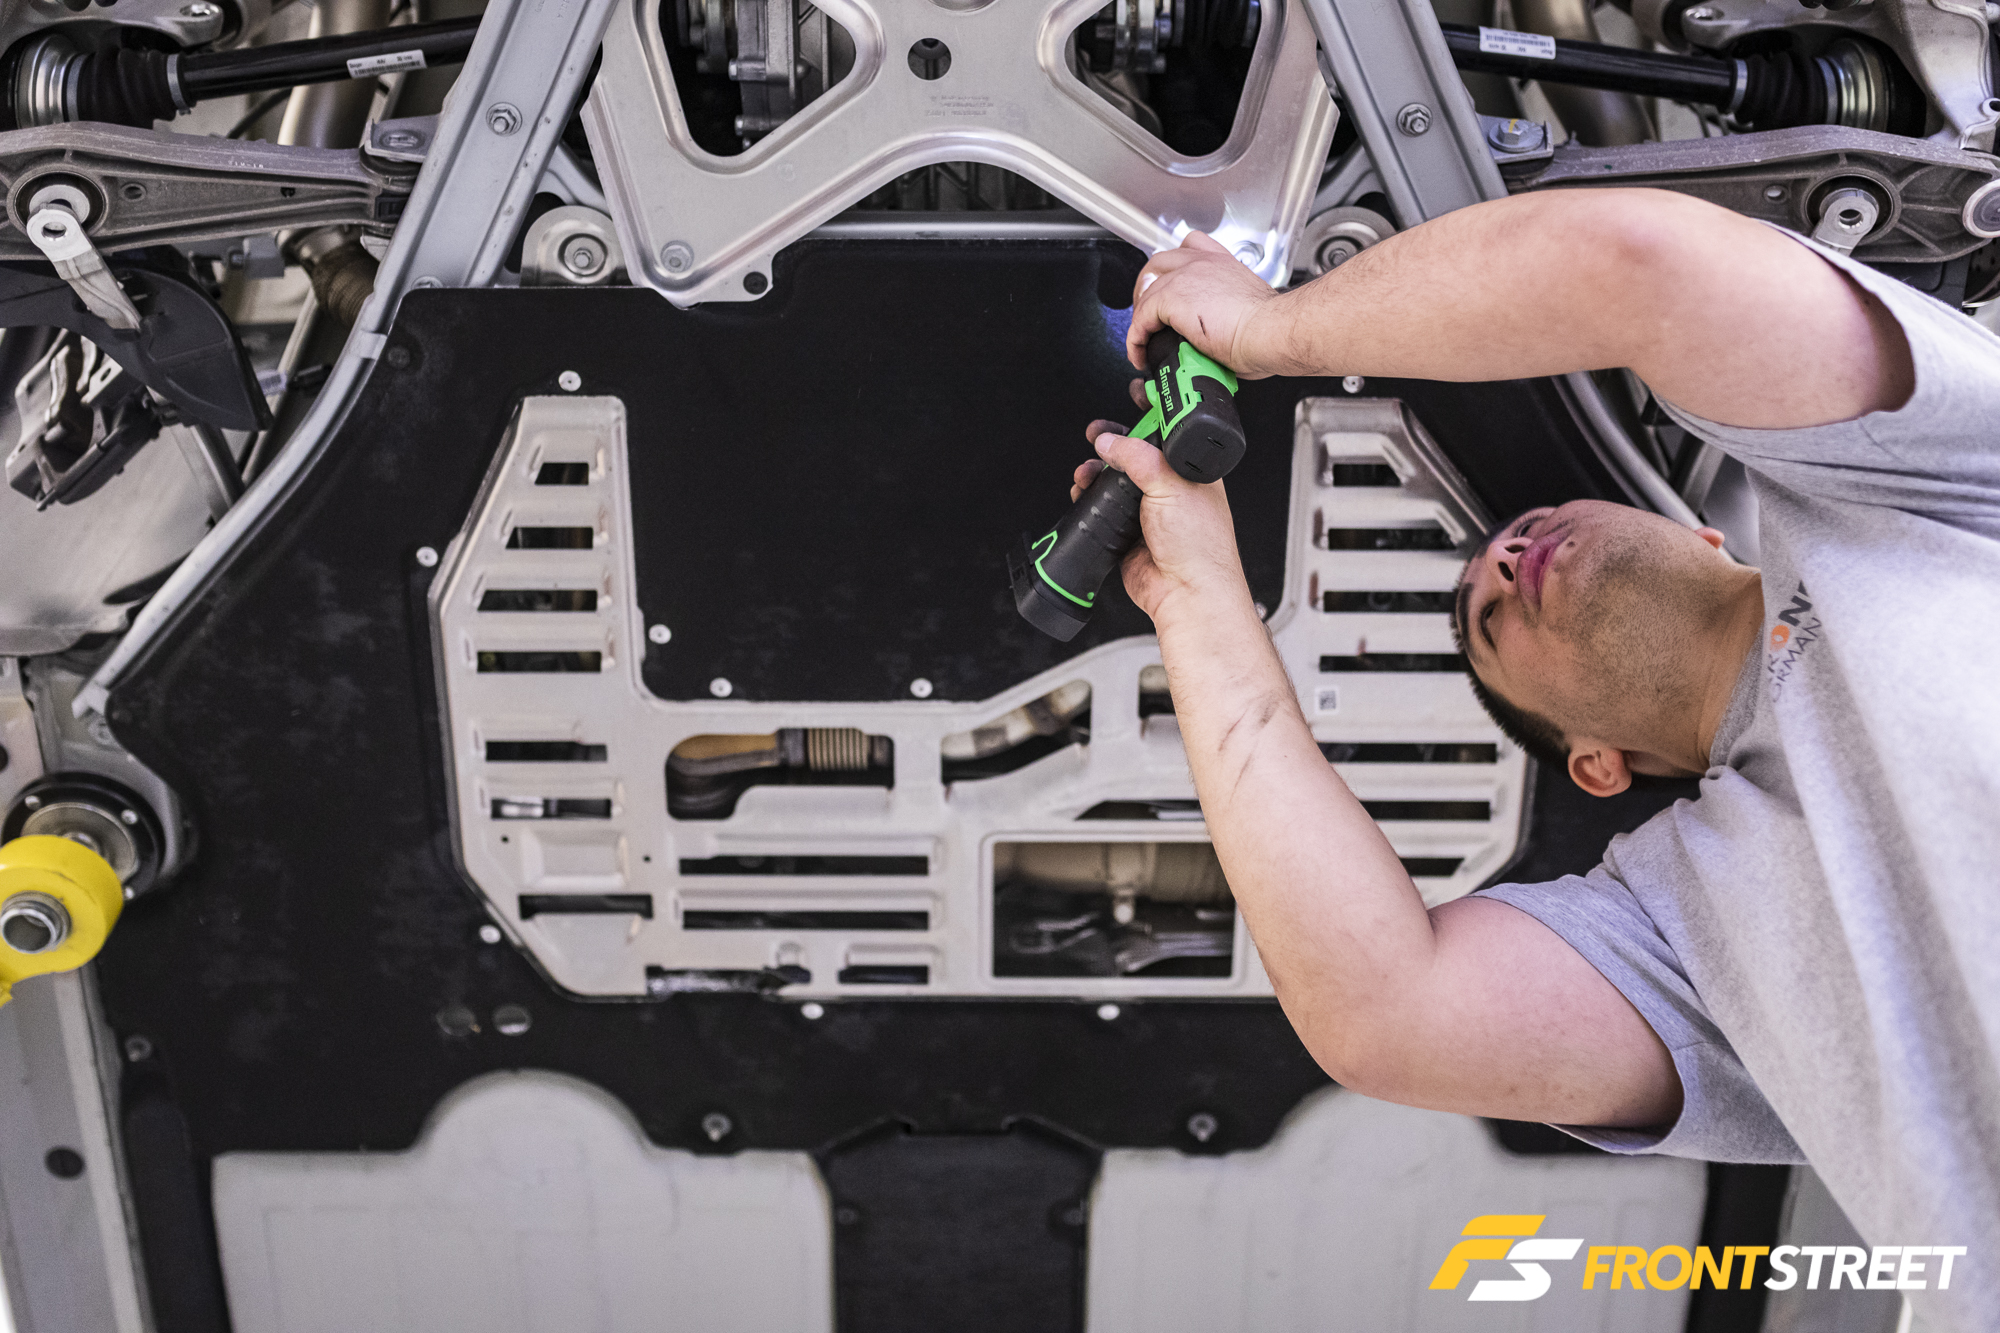
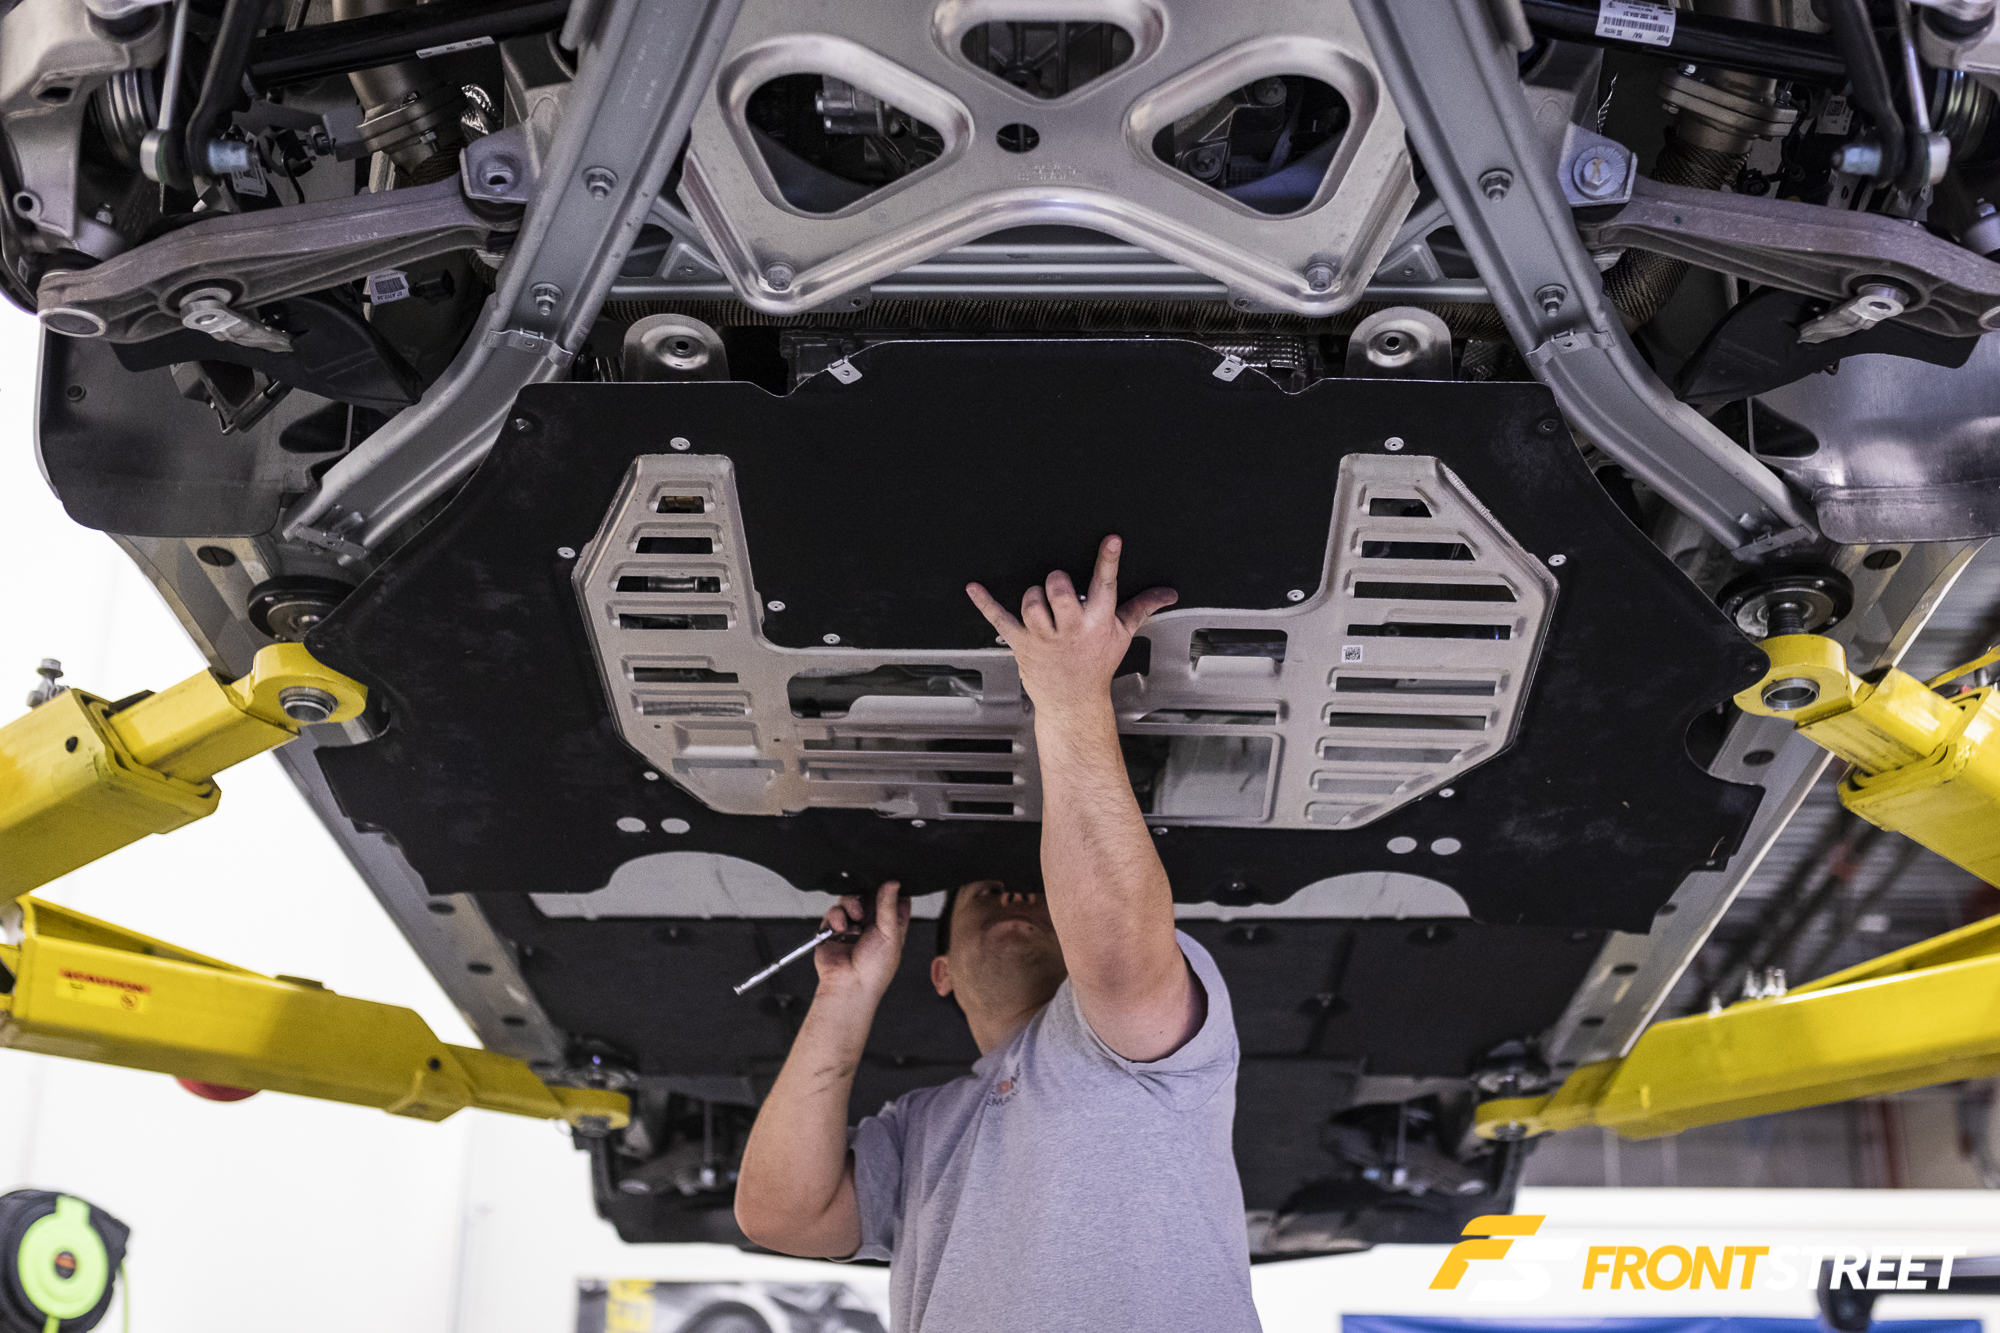
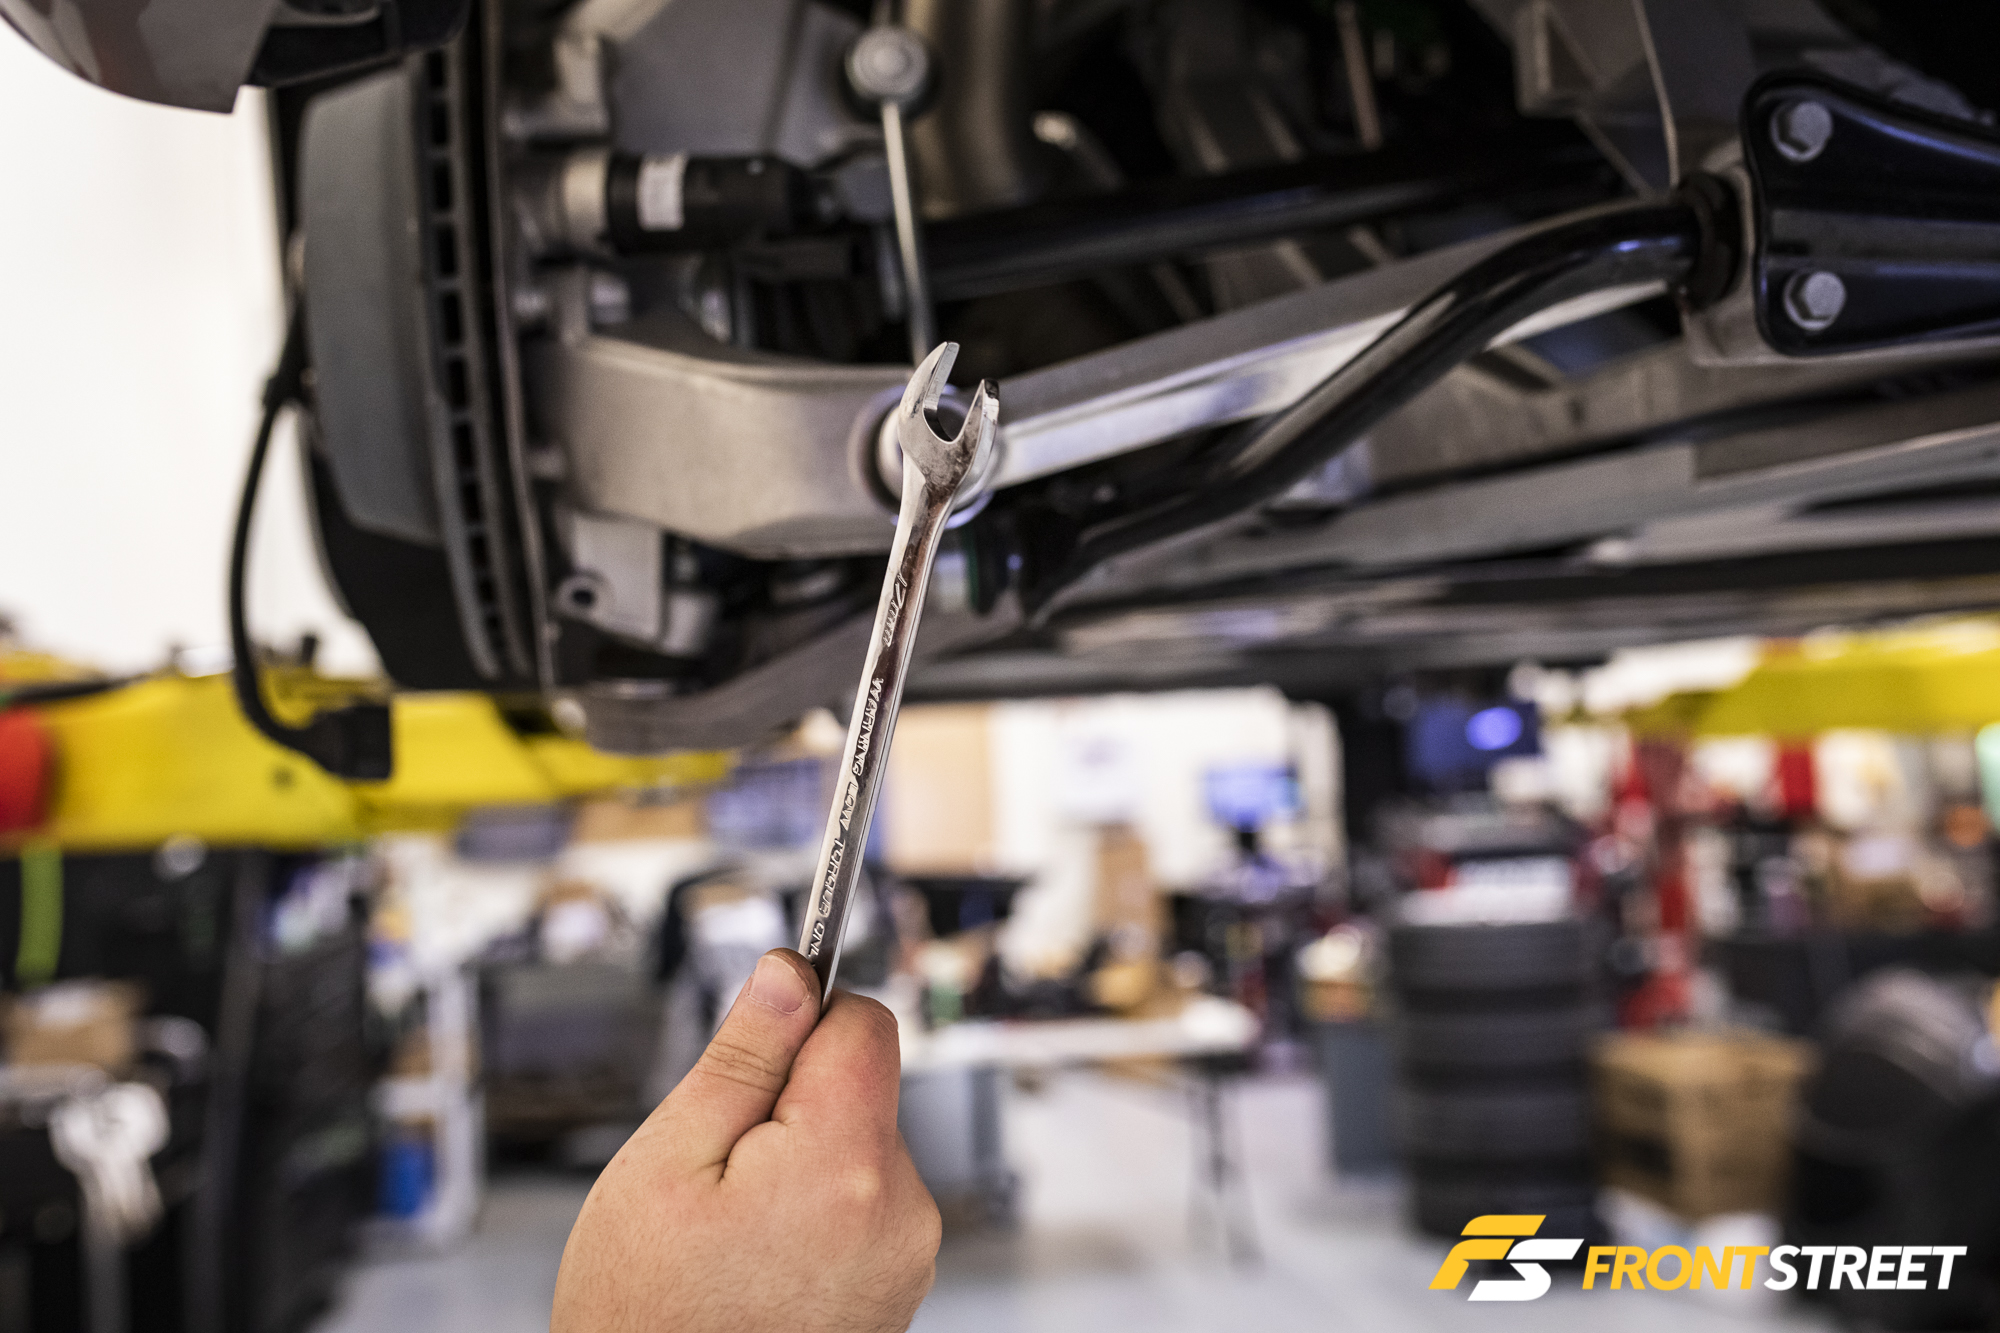
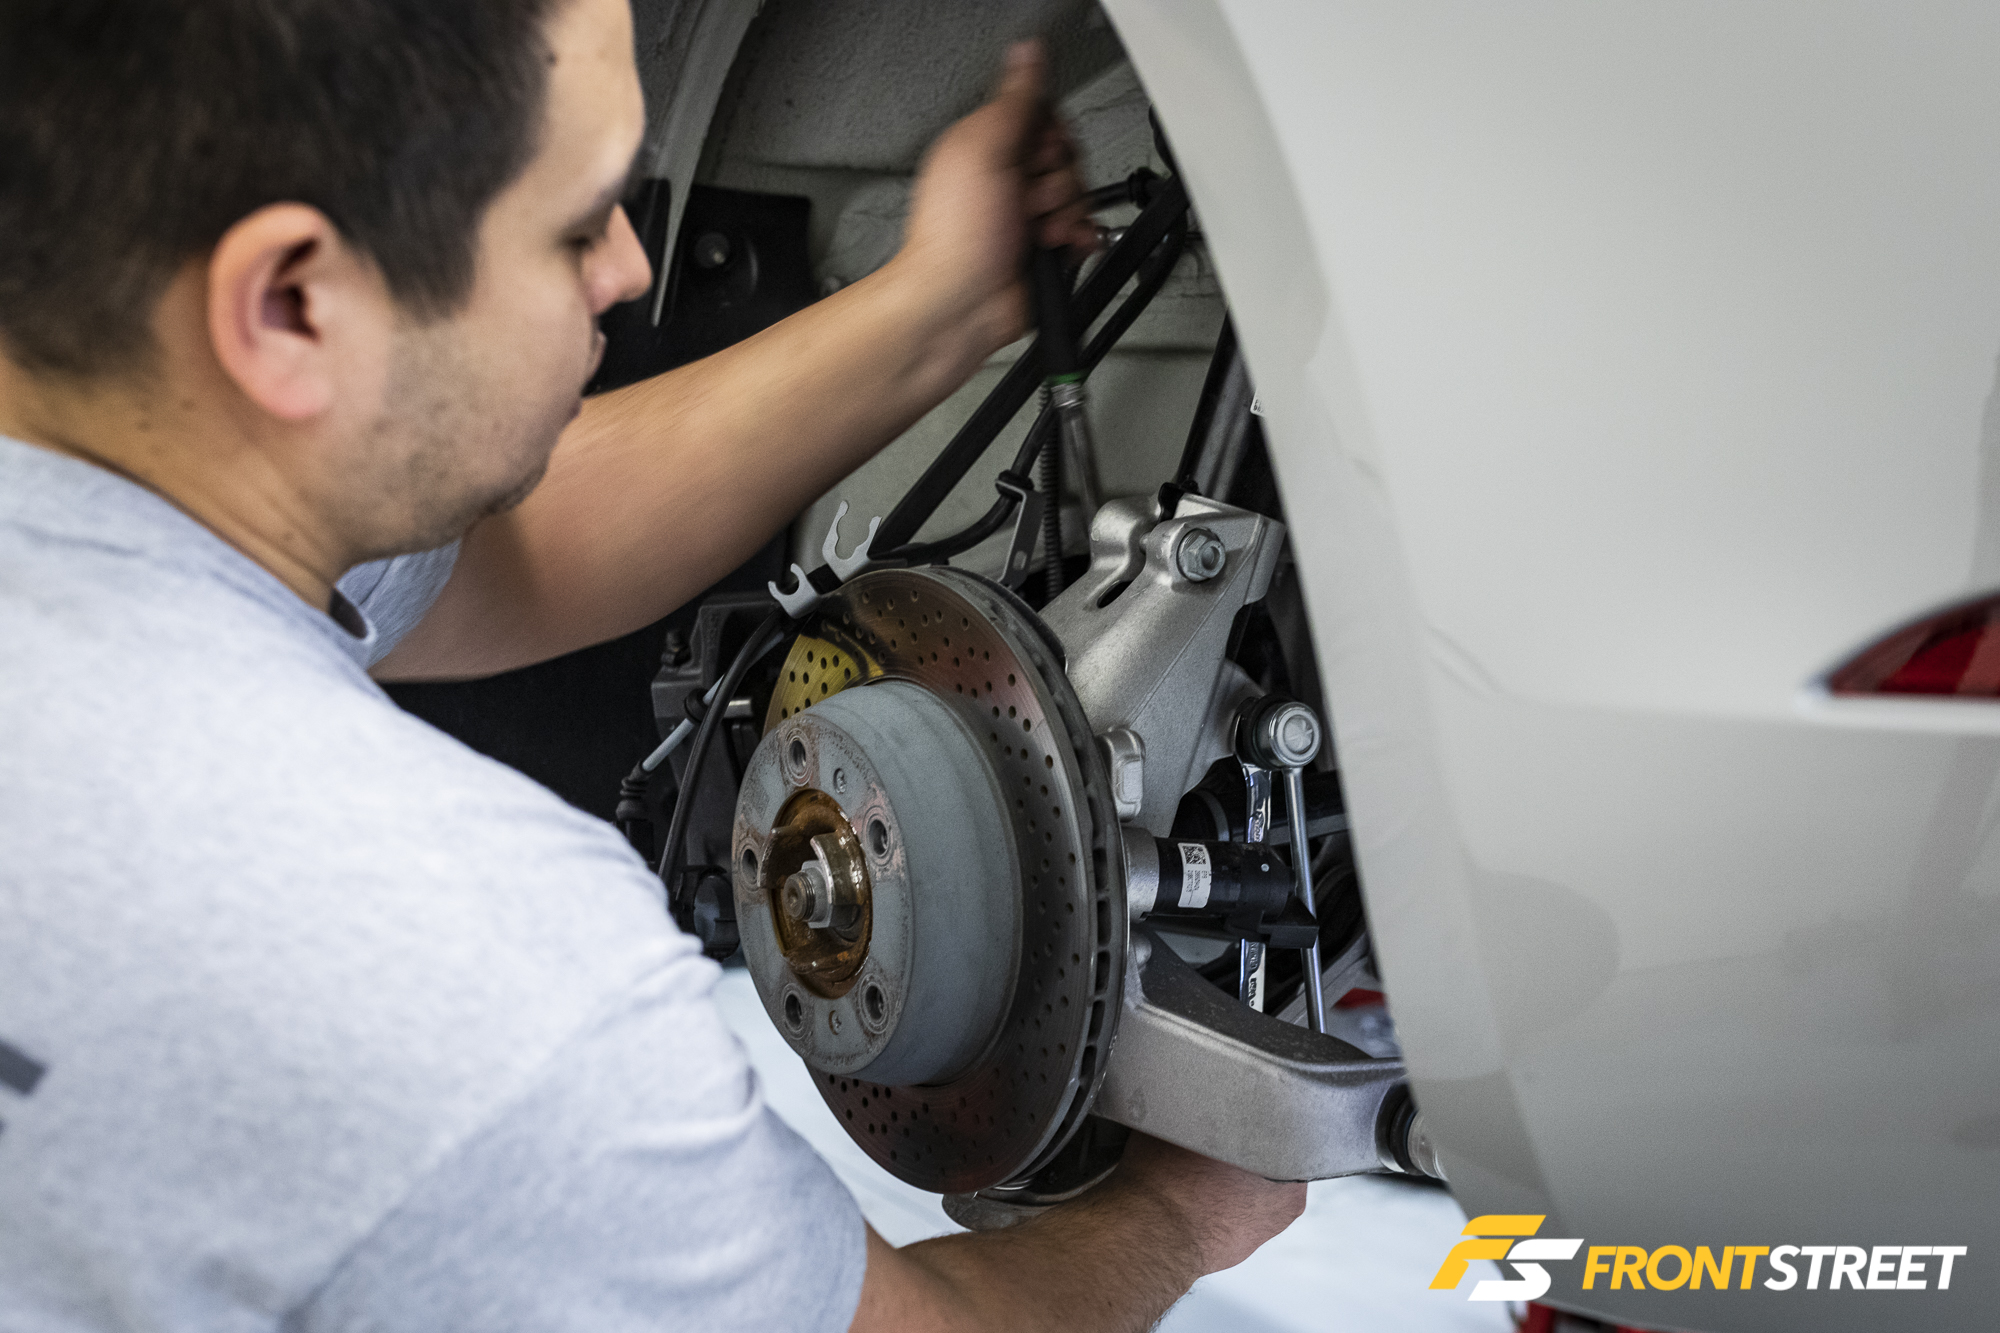
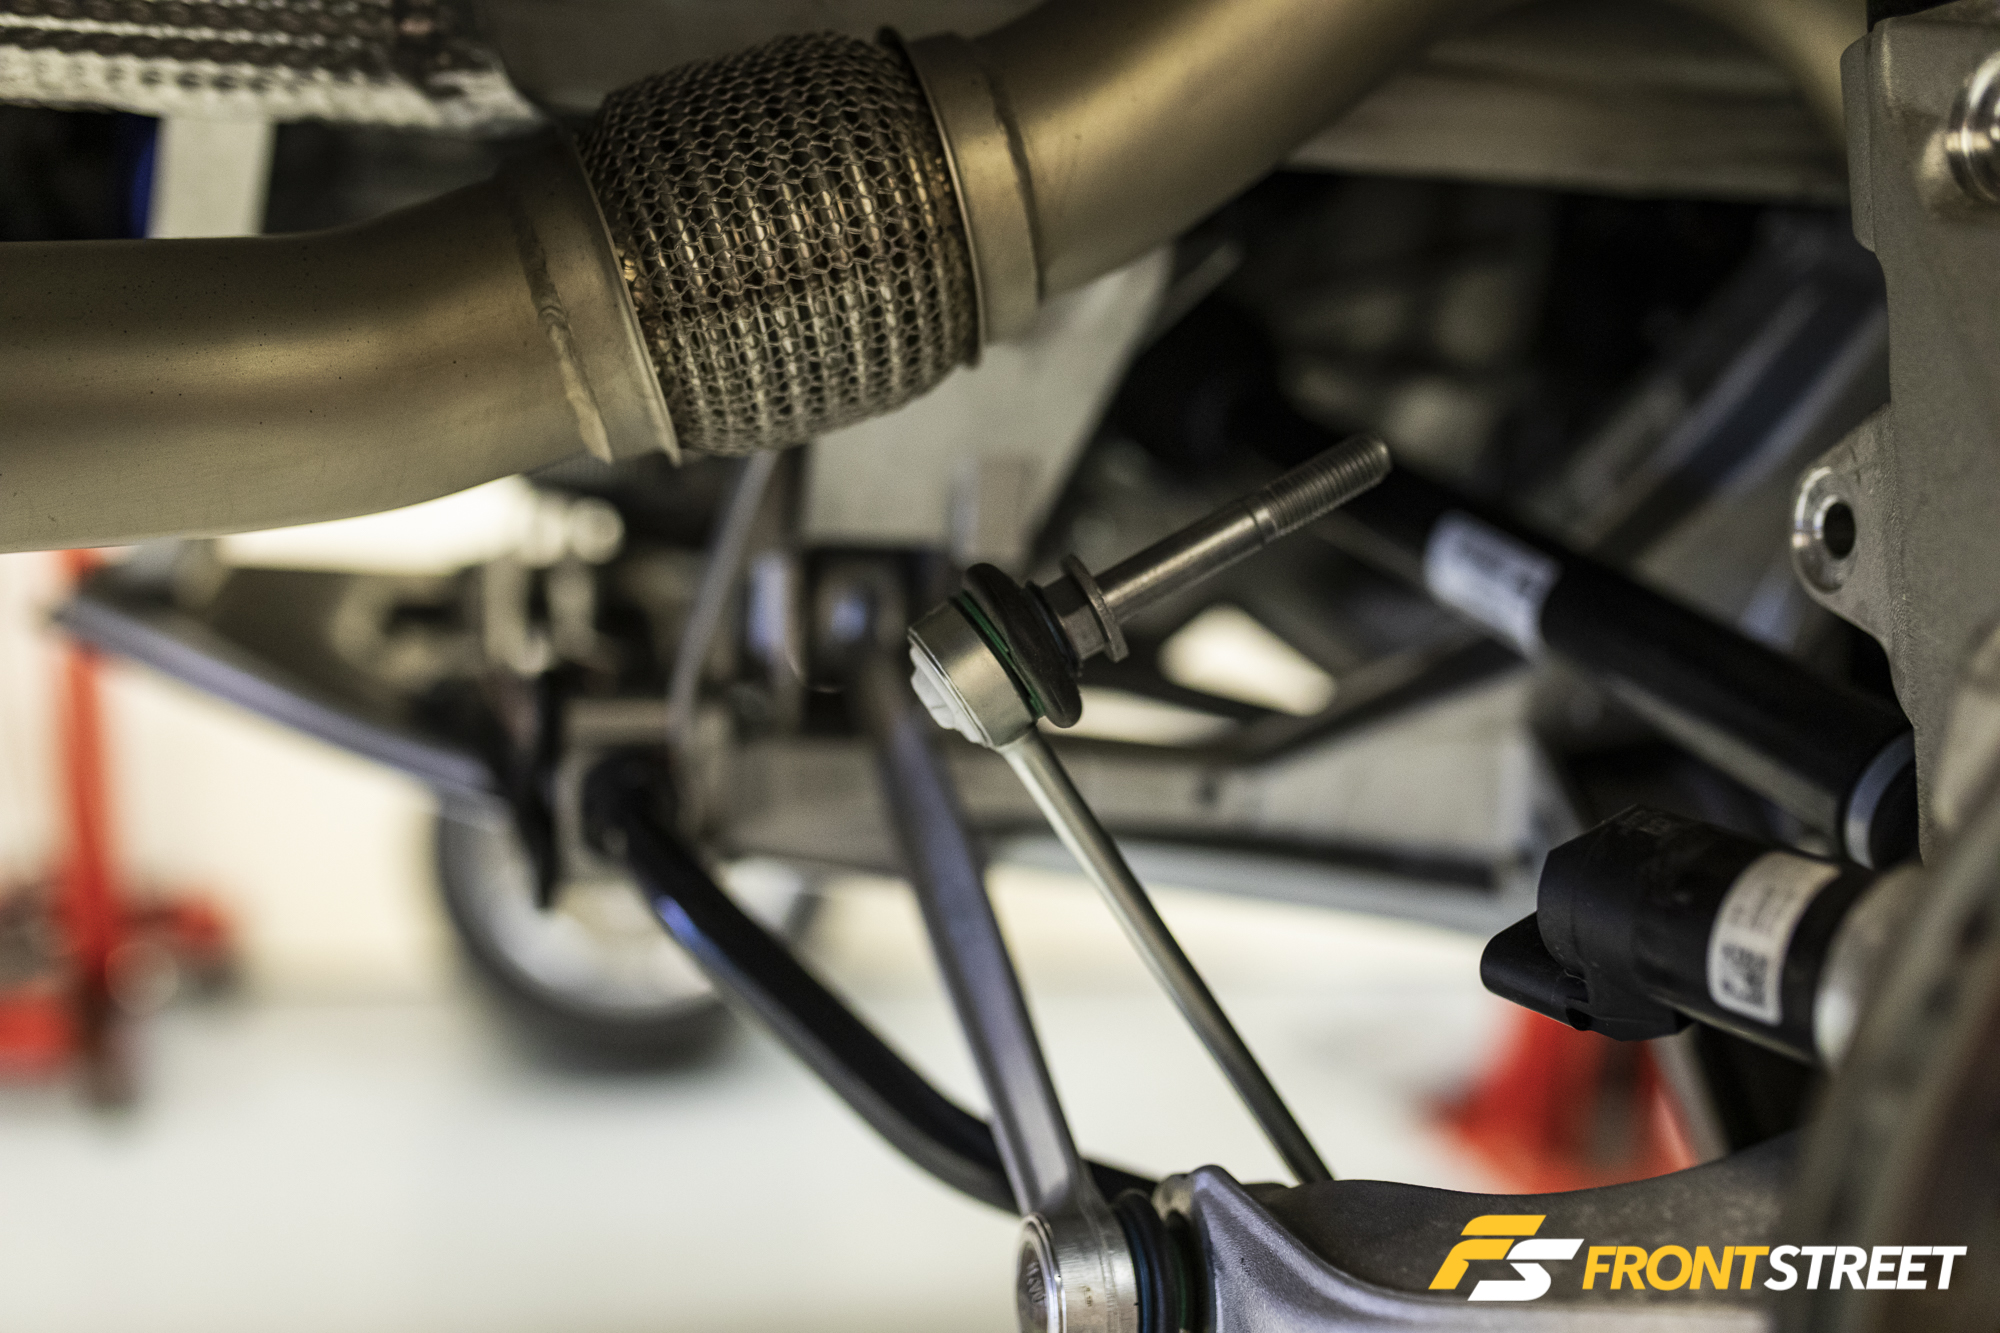
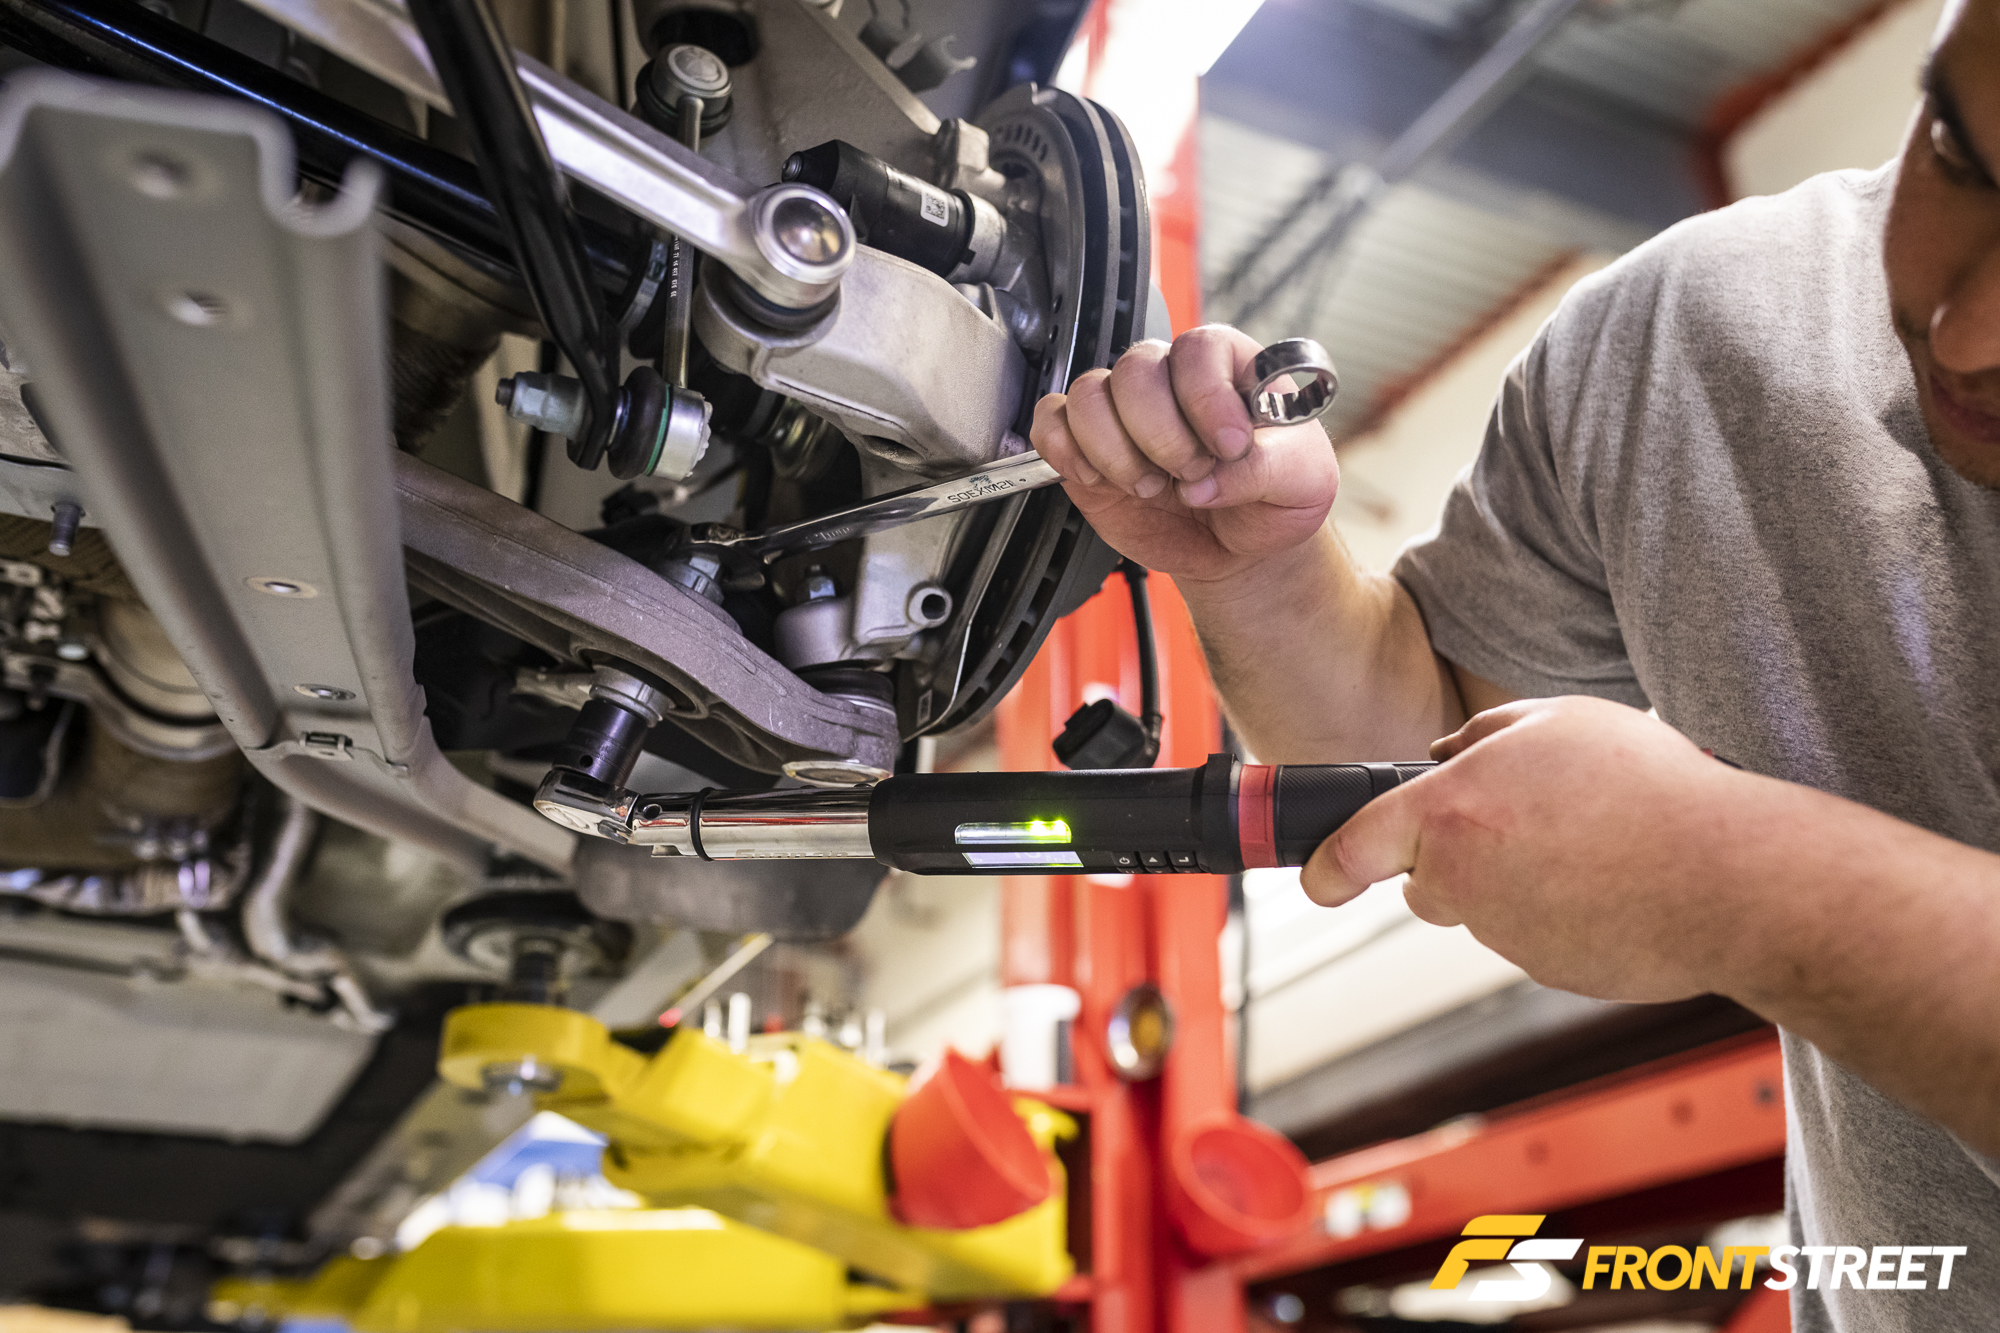
The underbody tray must be removed to access some of the suspension fasteners, and there are two suspension braces which must be removed for access. The upper strut bolt configuration is interesting as it’s tied in as the sway bar link’s upper attachment point. To access it, Lang ordered a brand-new set of long-reach, extra thin wrenches from Snap-On prior to our arrival. There’s a nut on the back side of the spindle, but the wrench flats are sandwiched between the link and the spindle and are extremely difficult to access without this wrench.
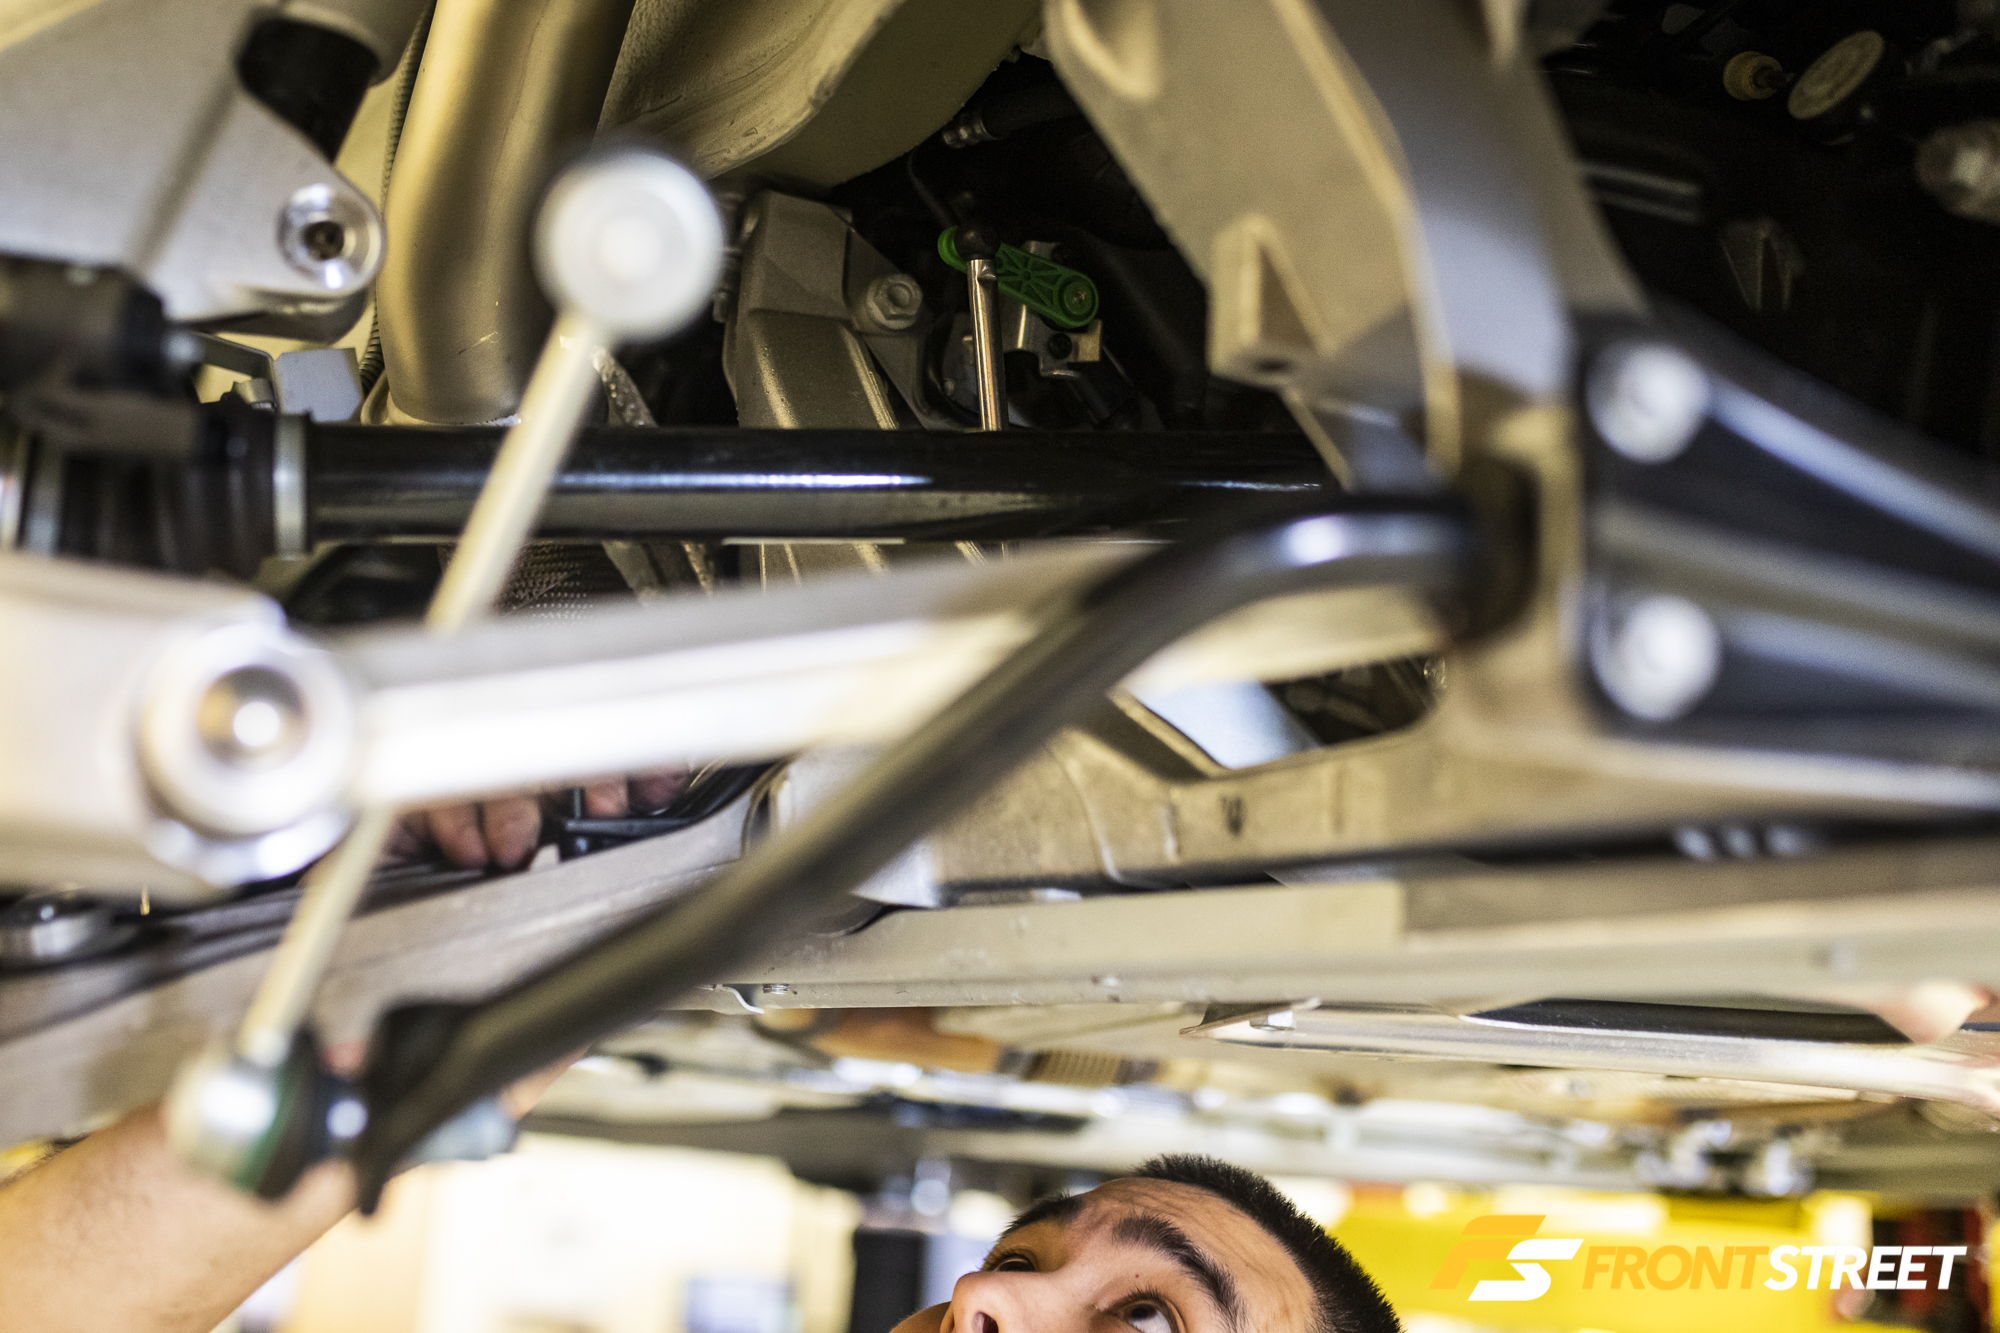
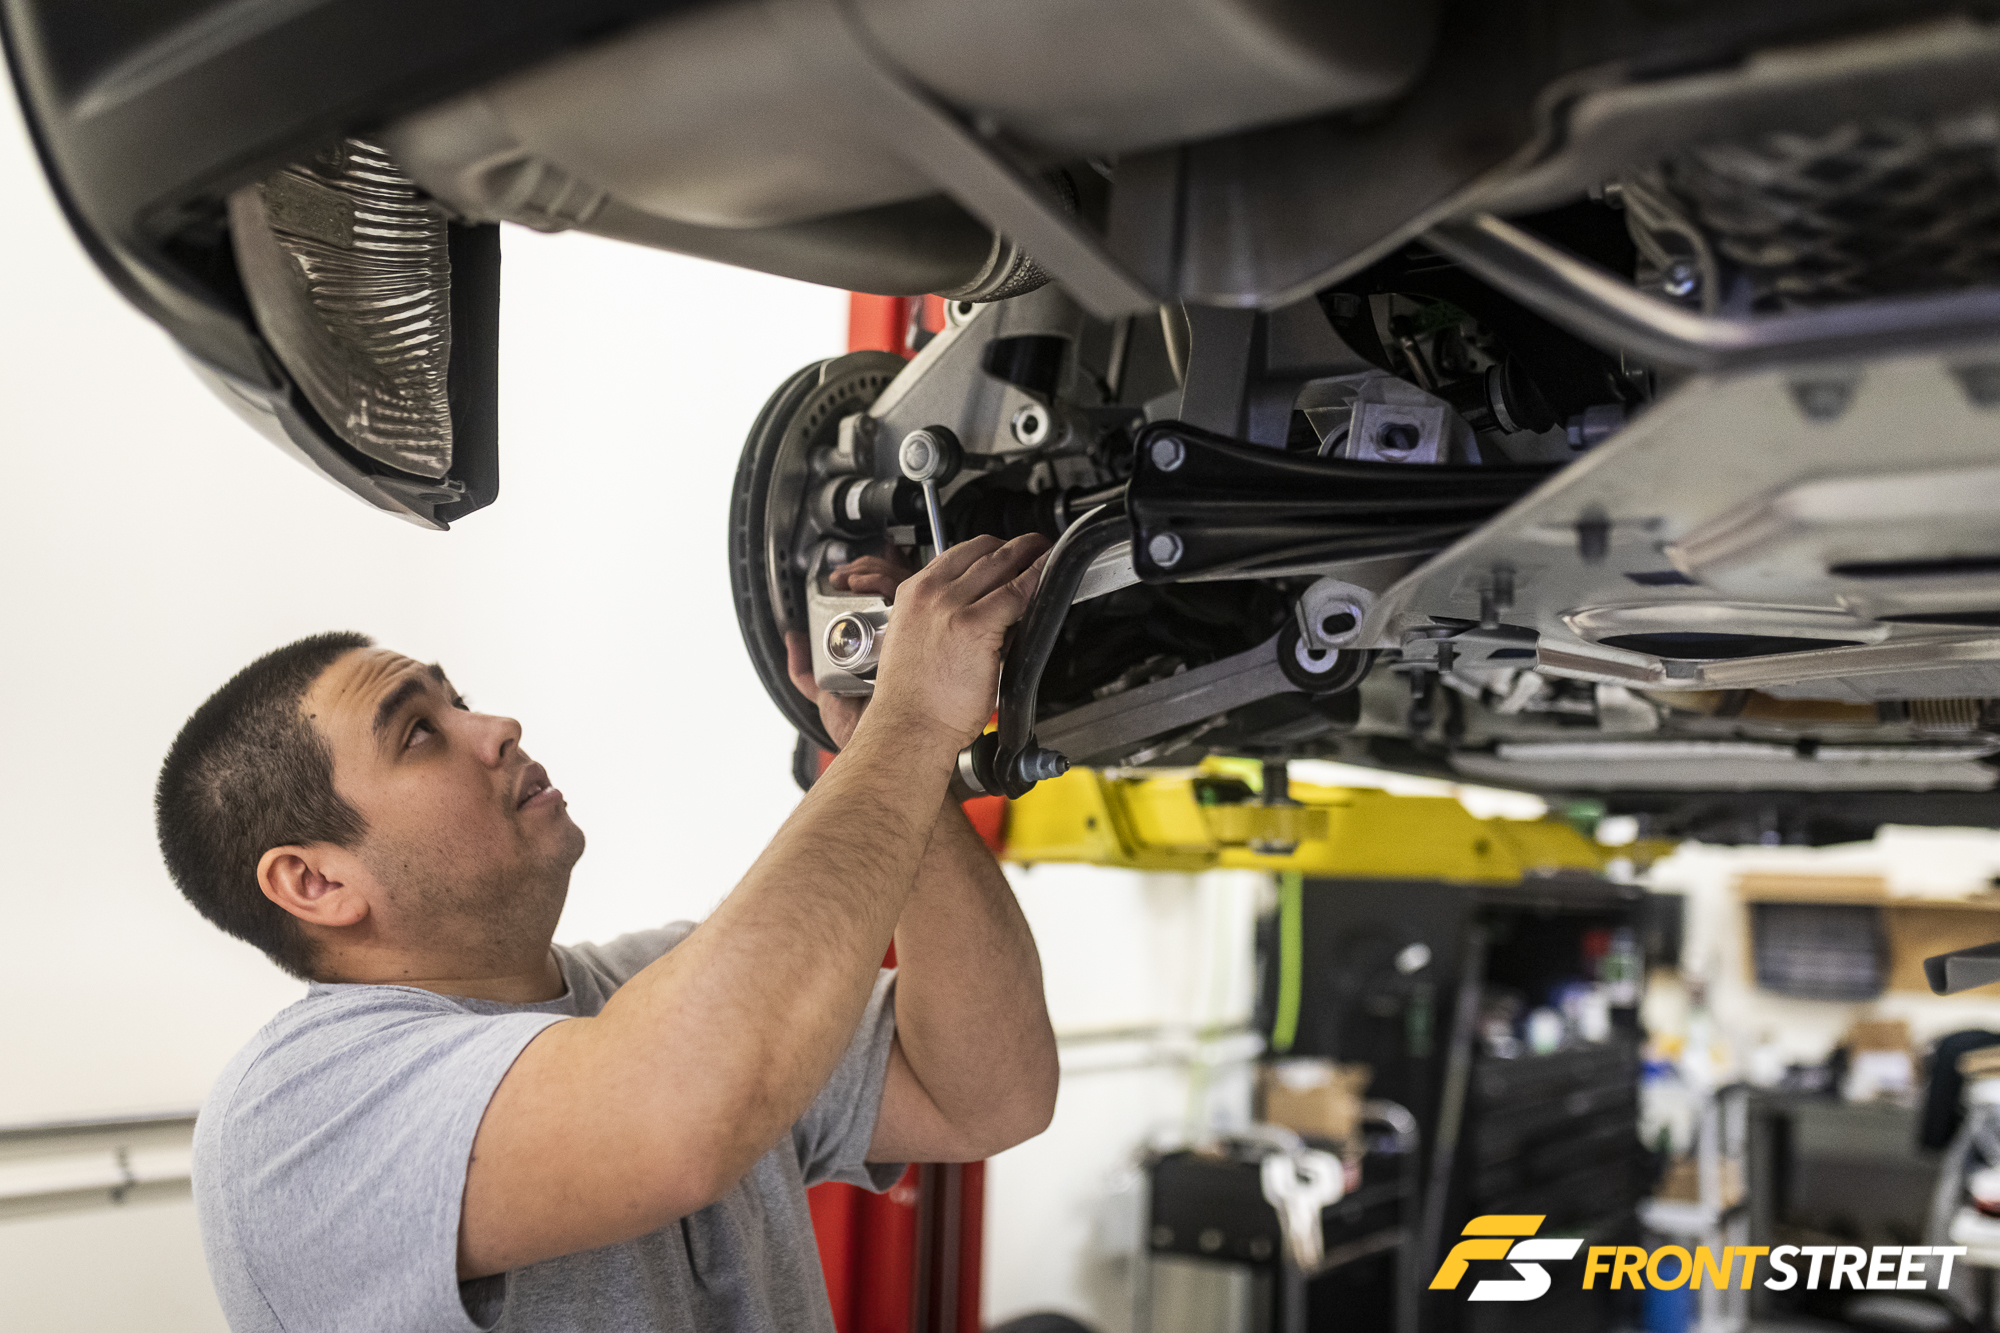
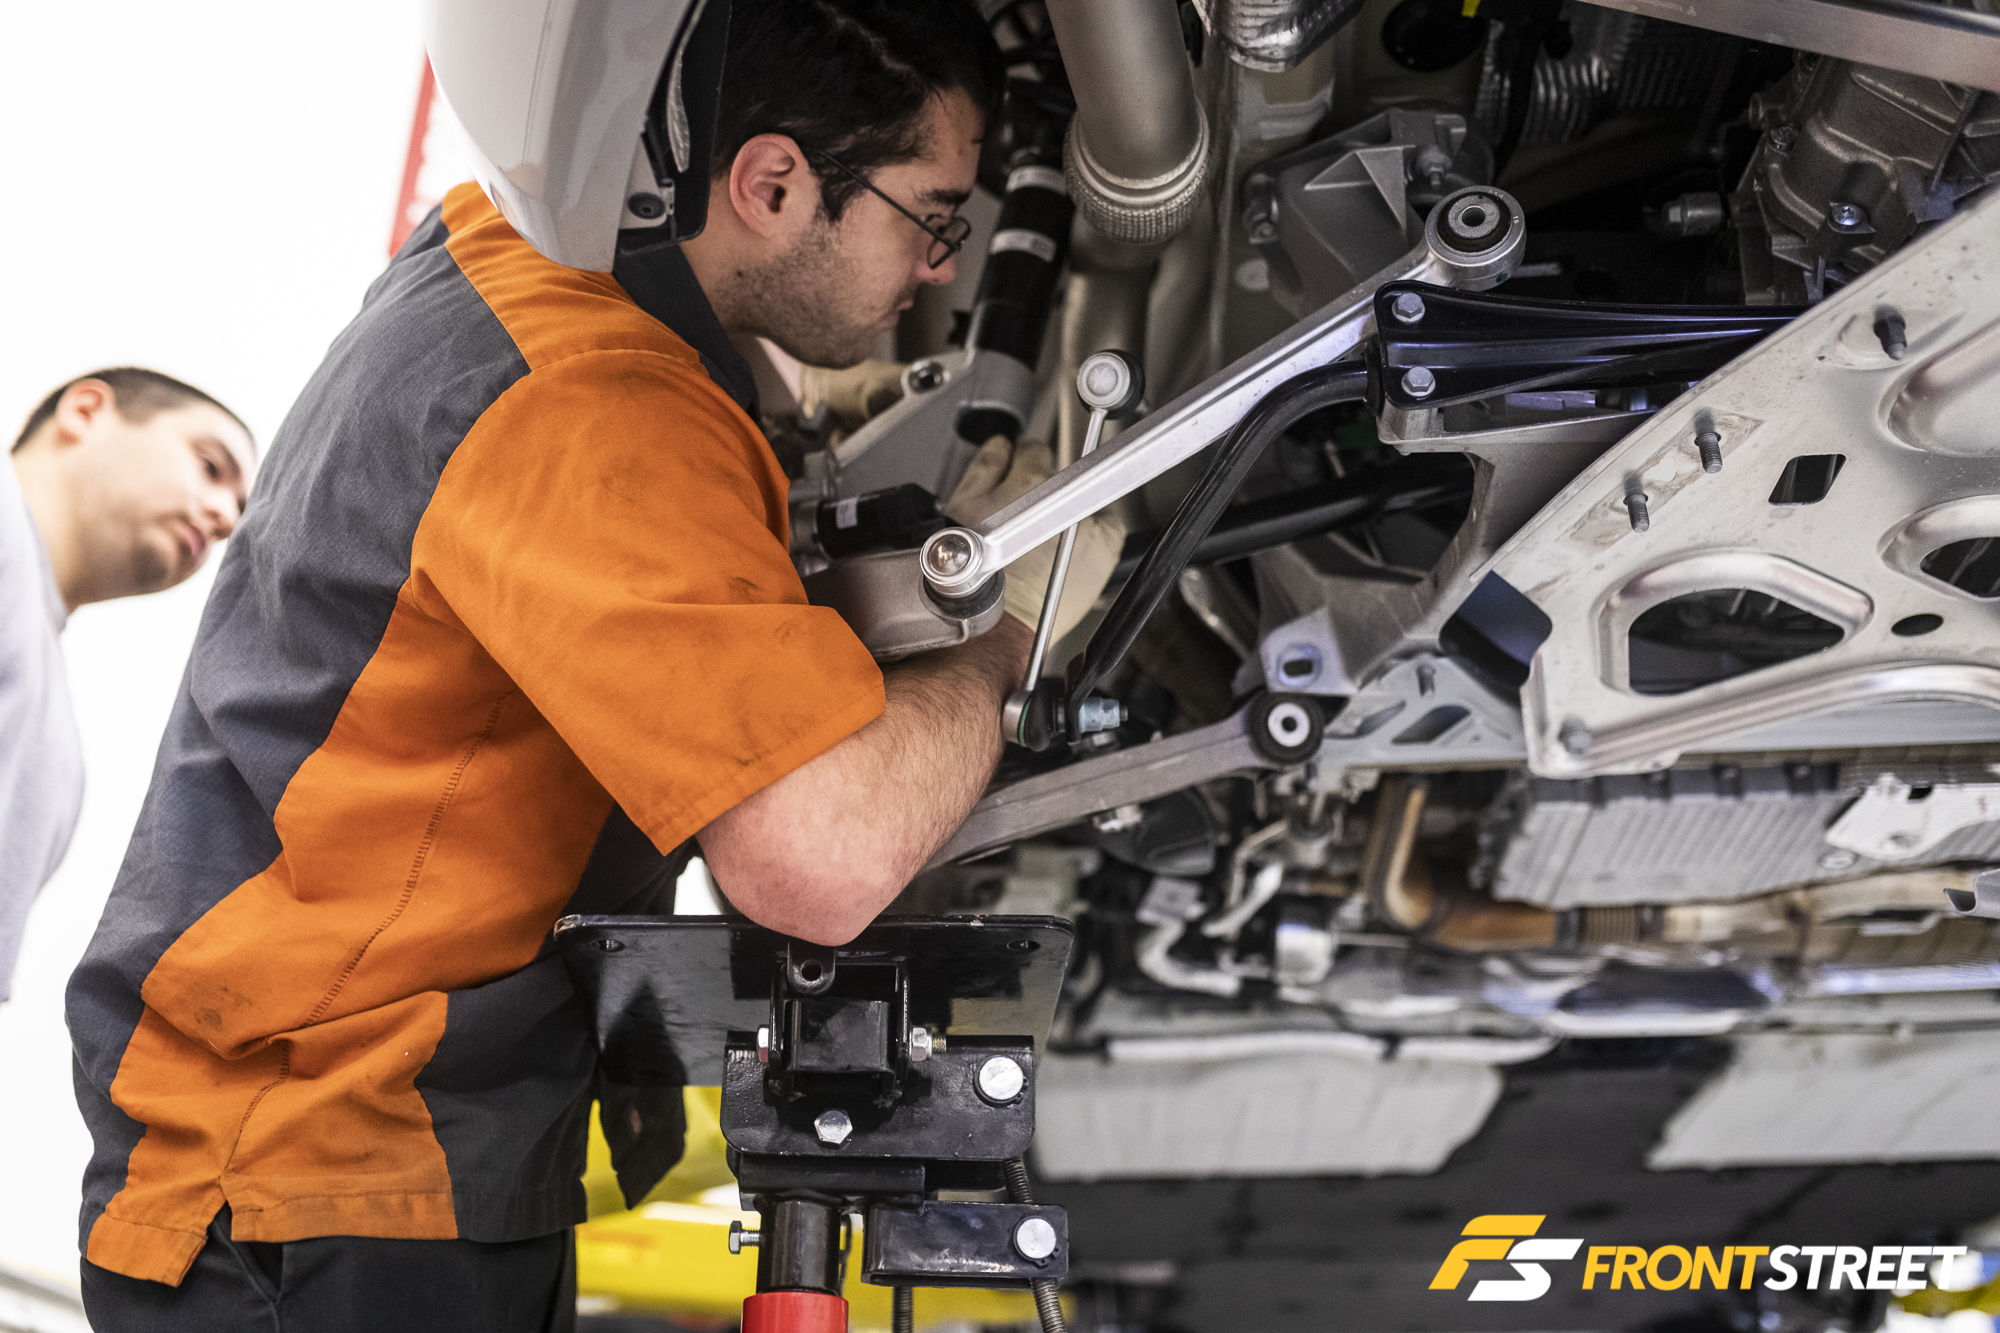
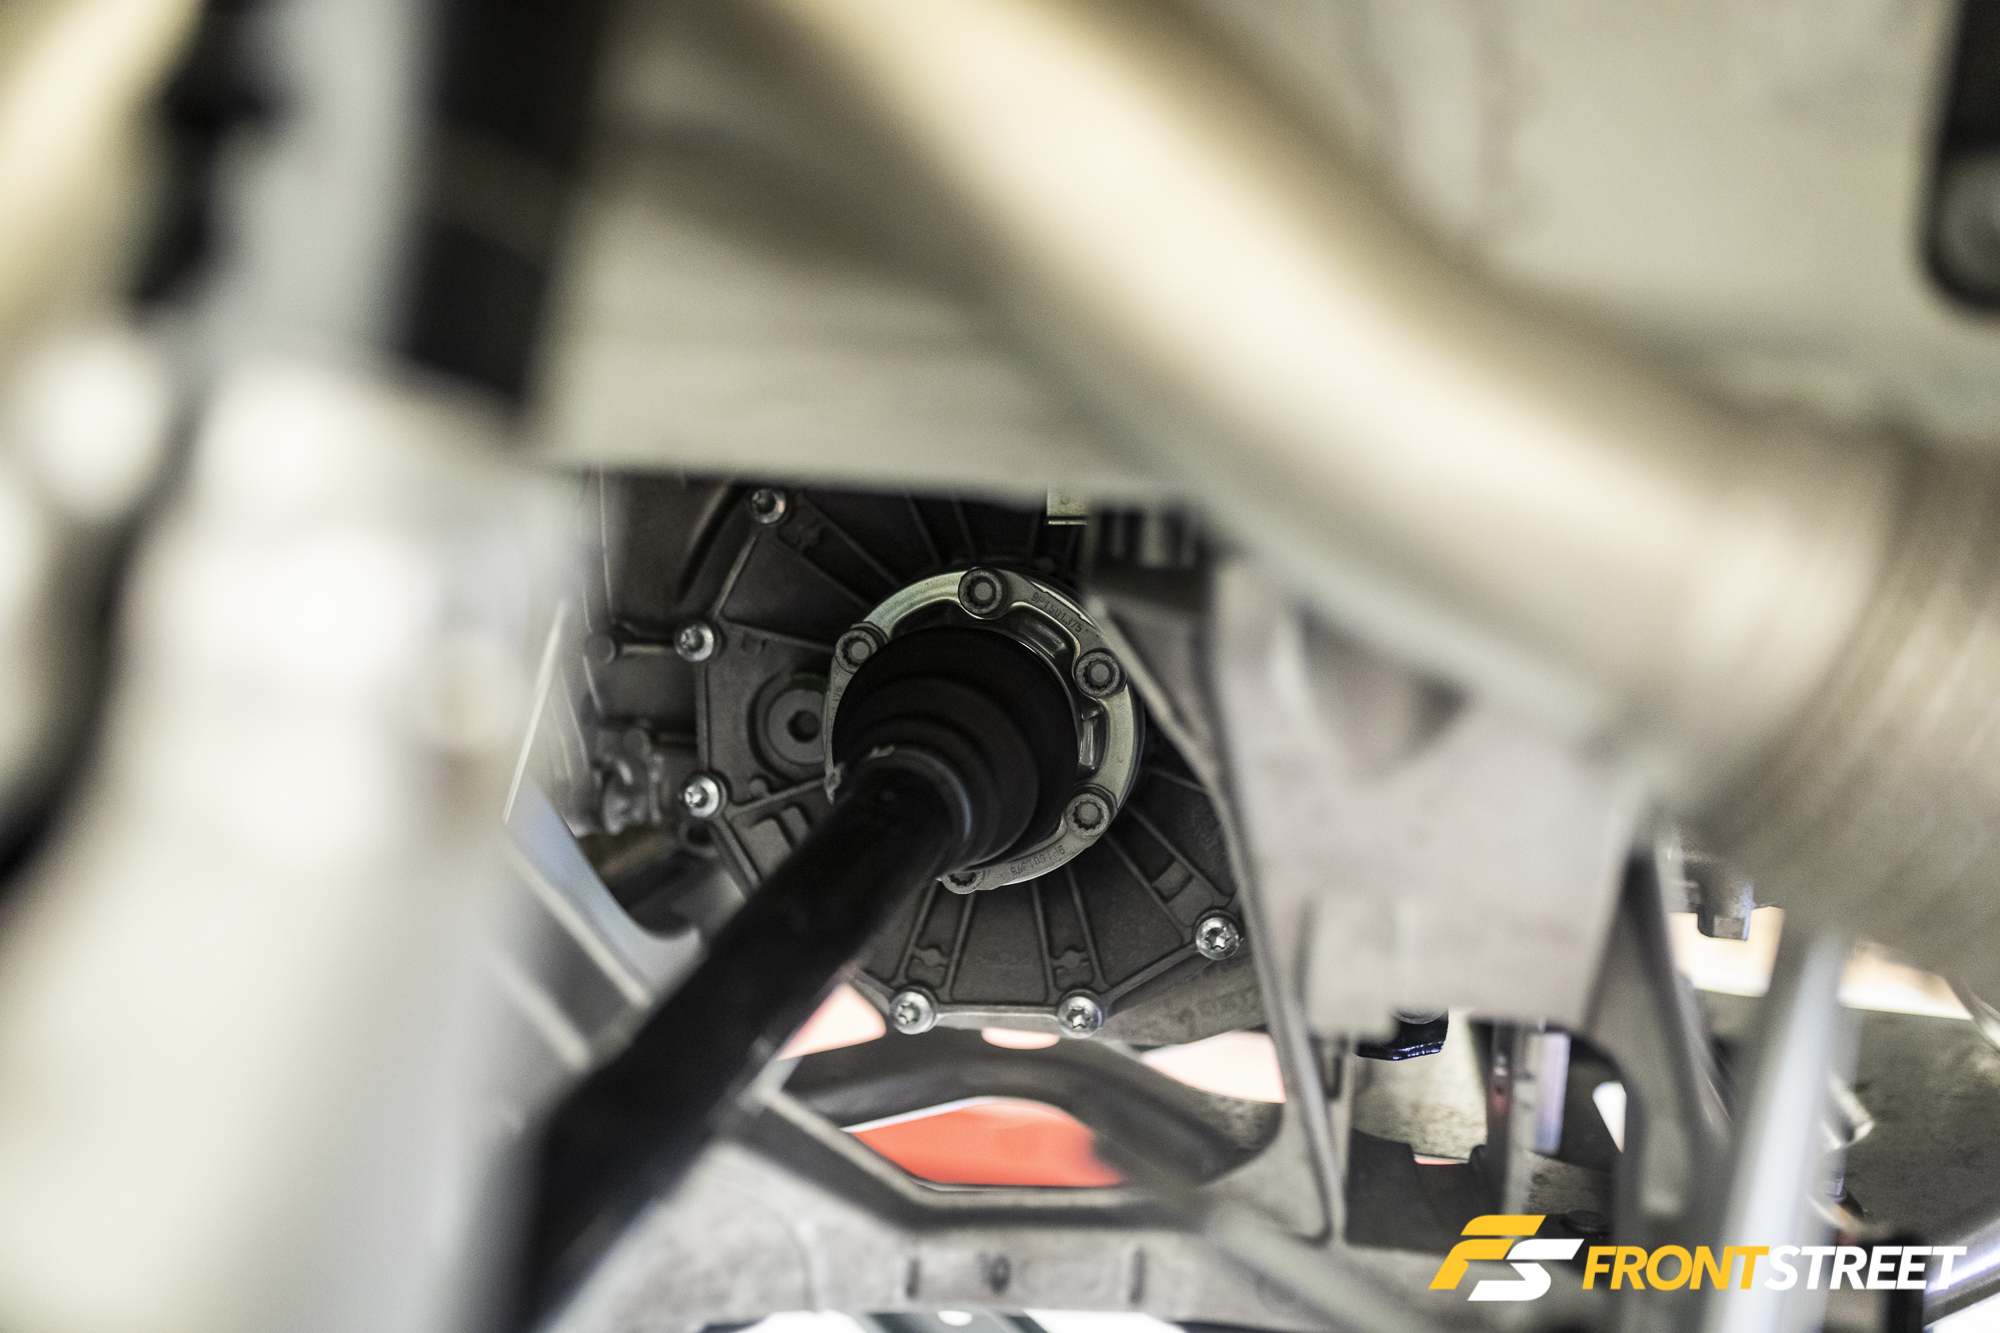
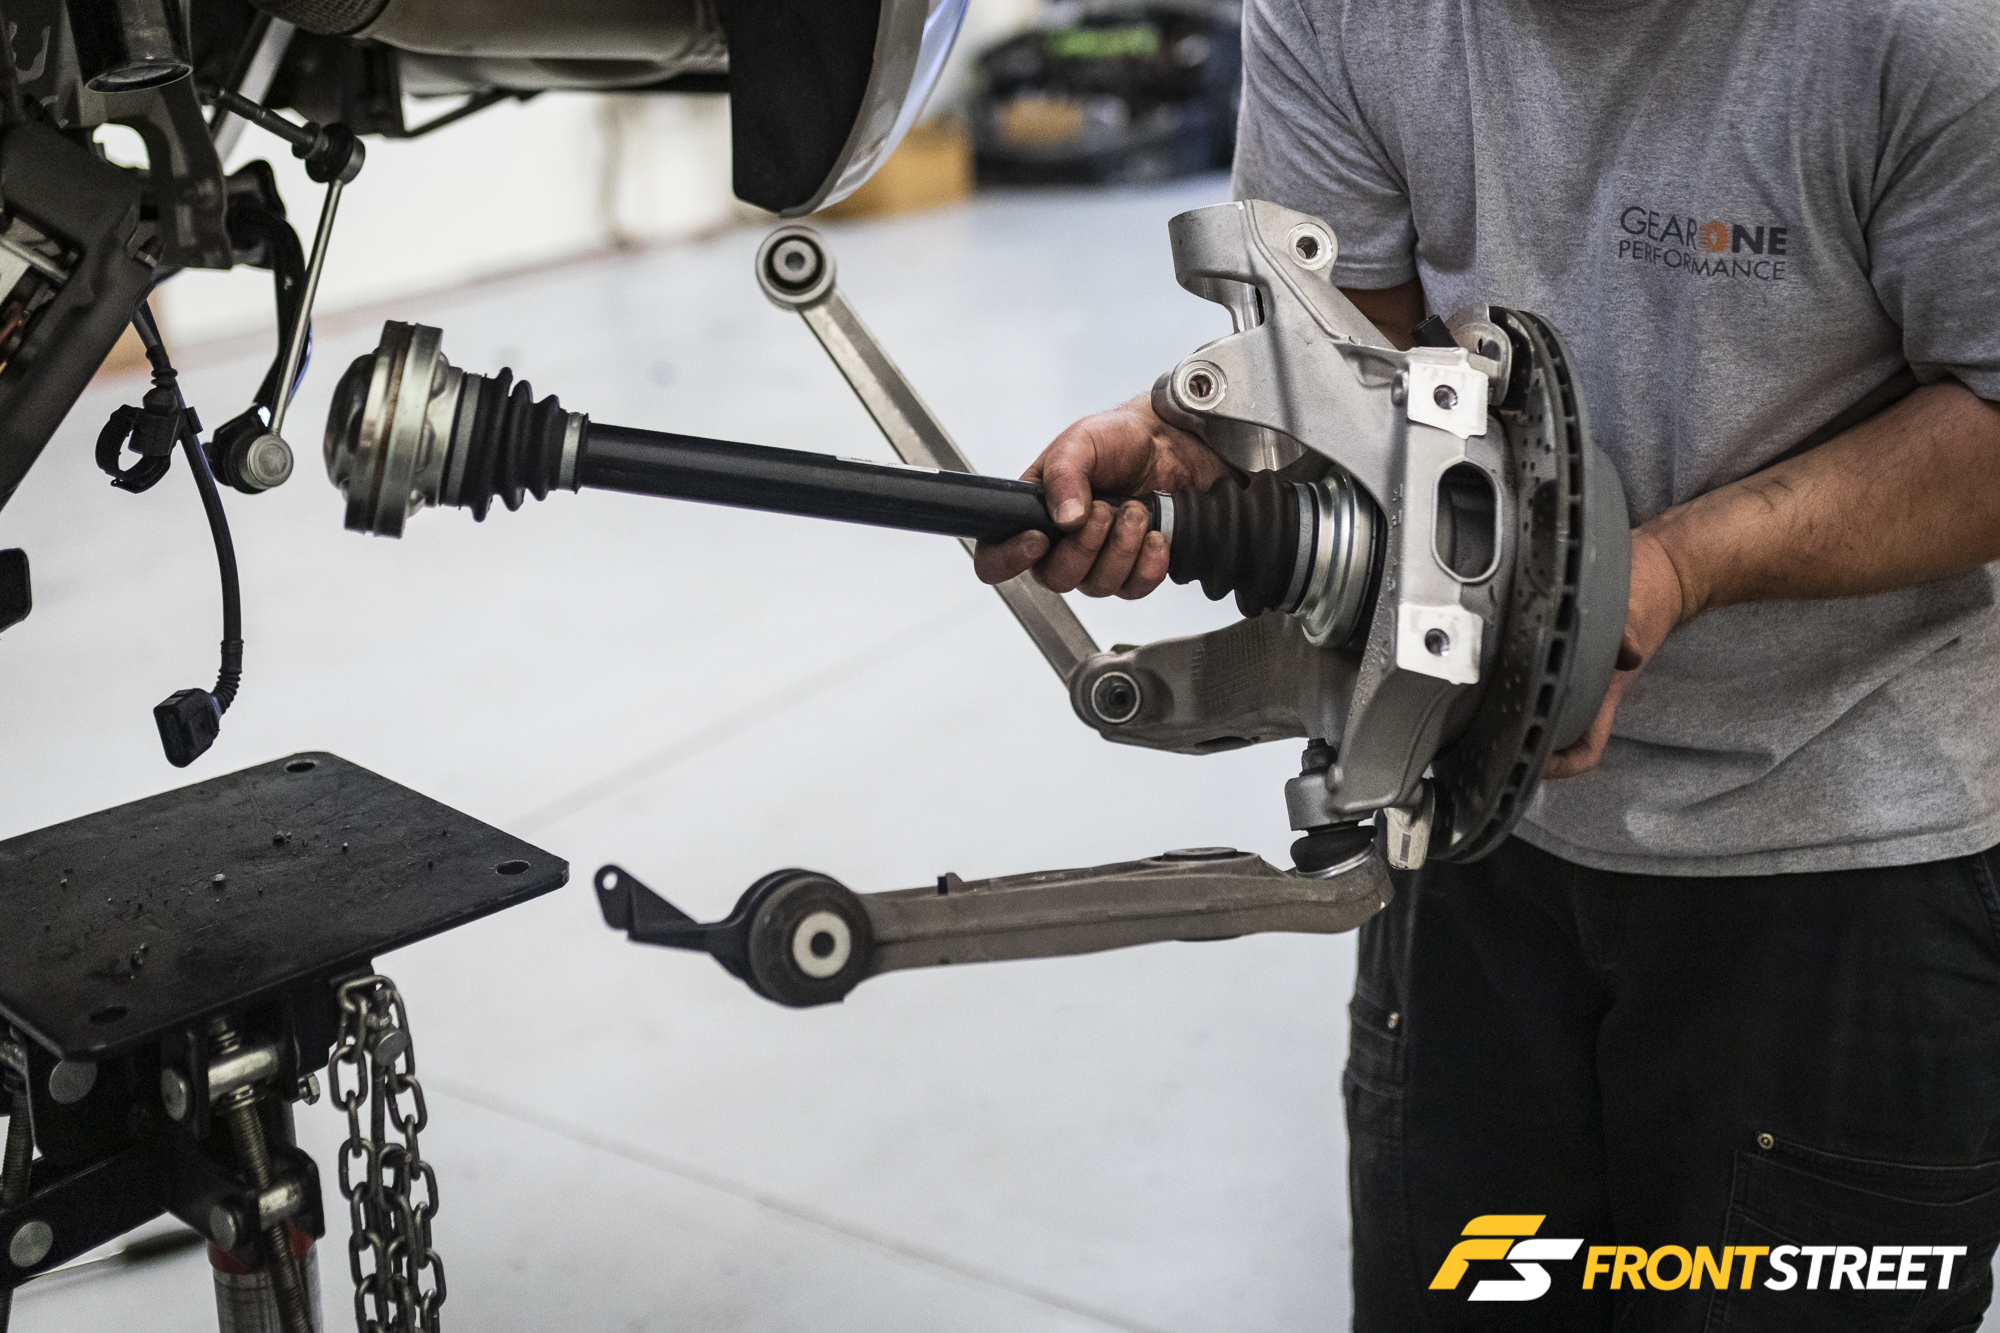
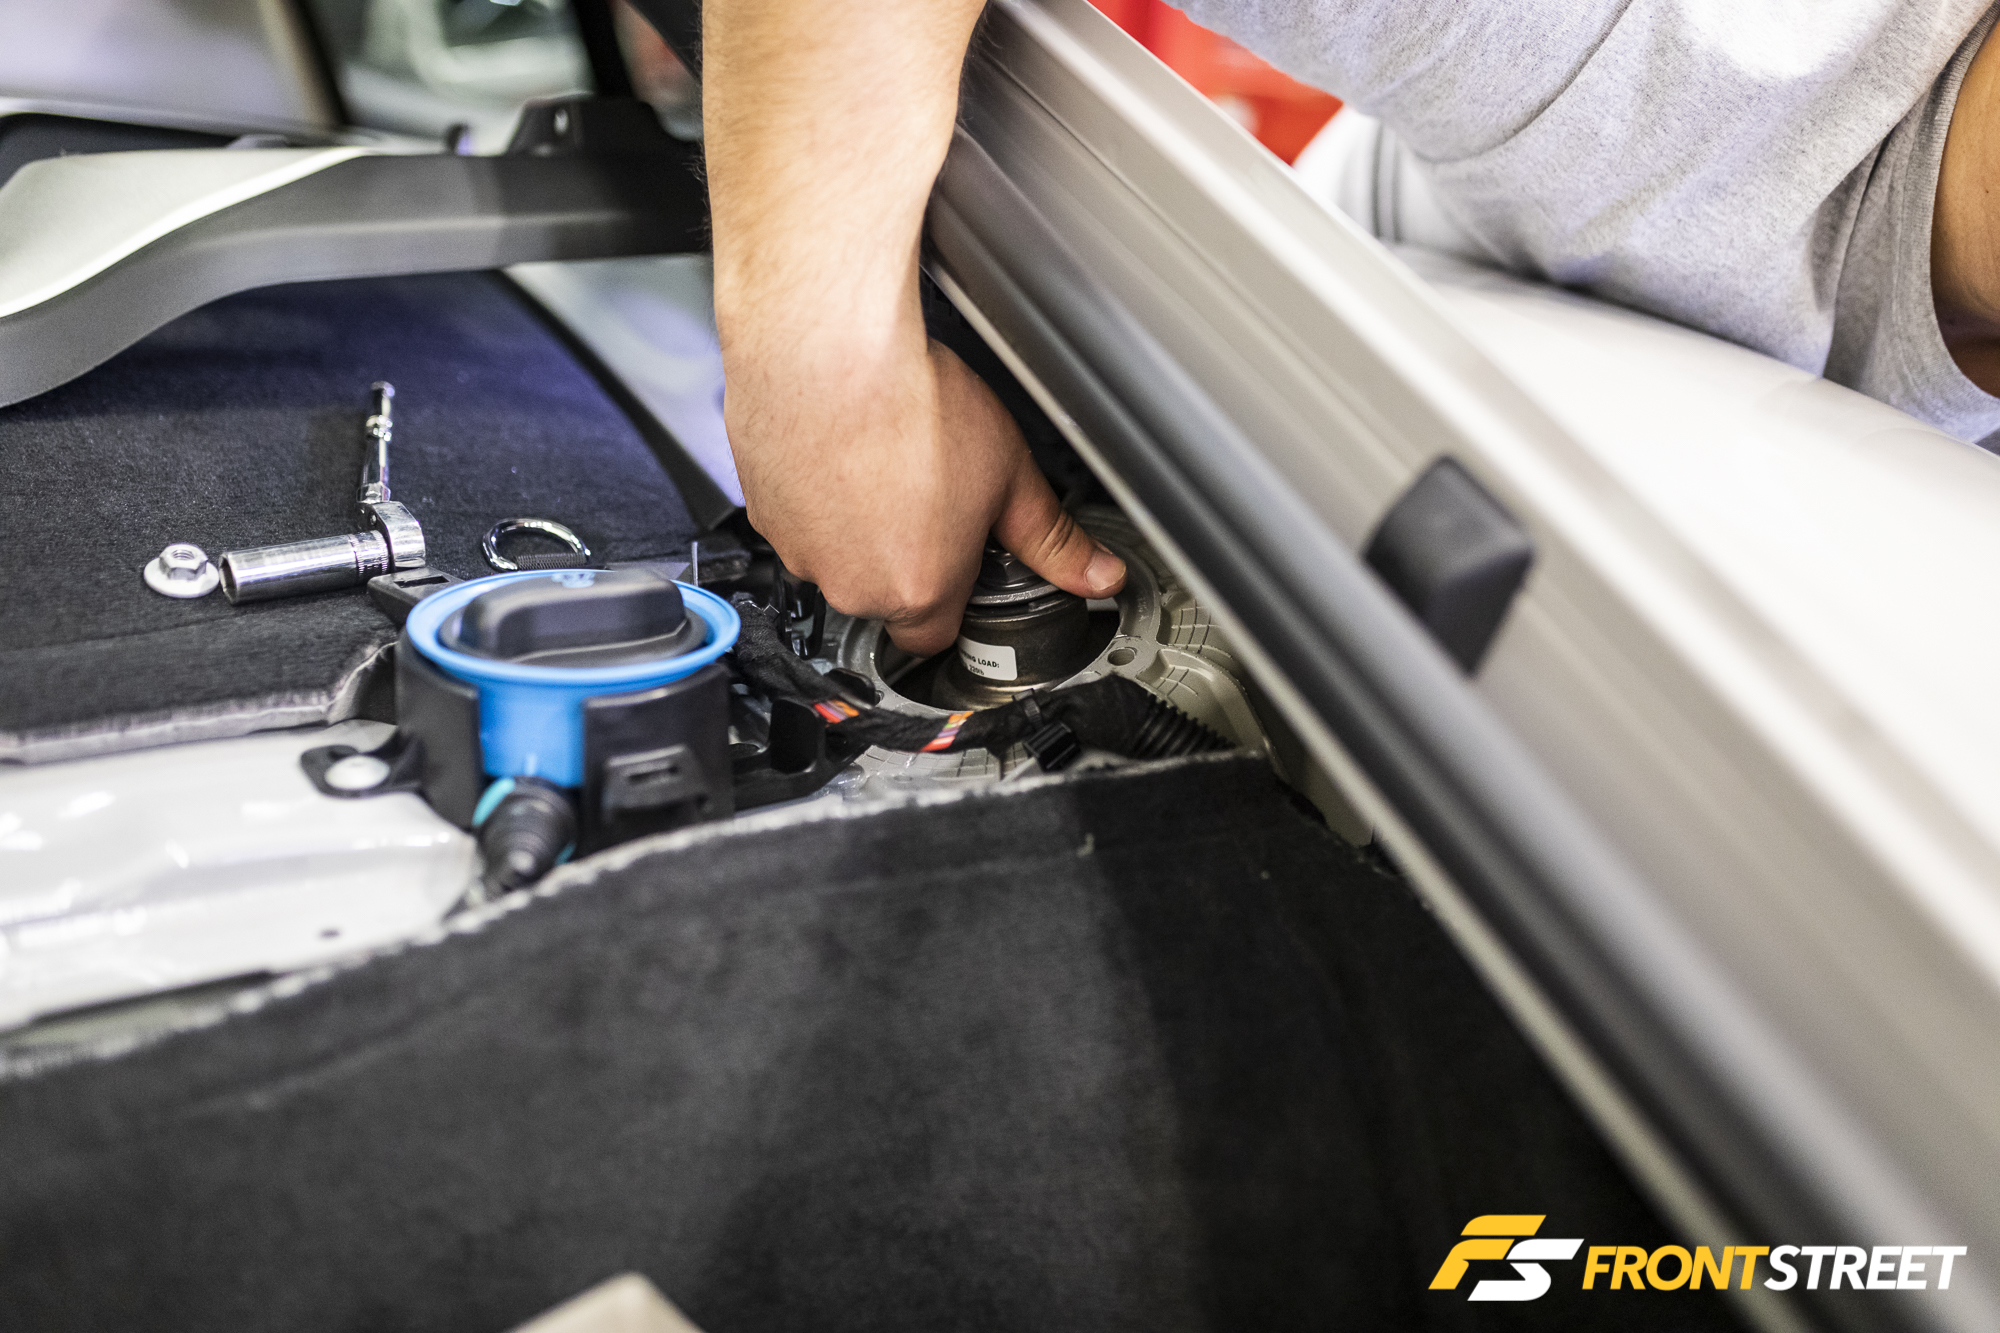
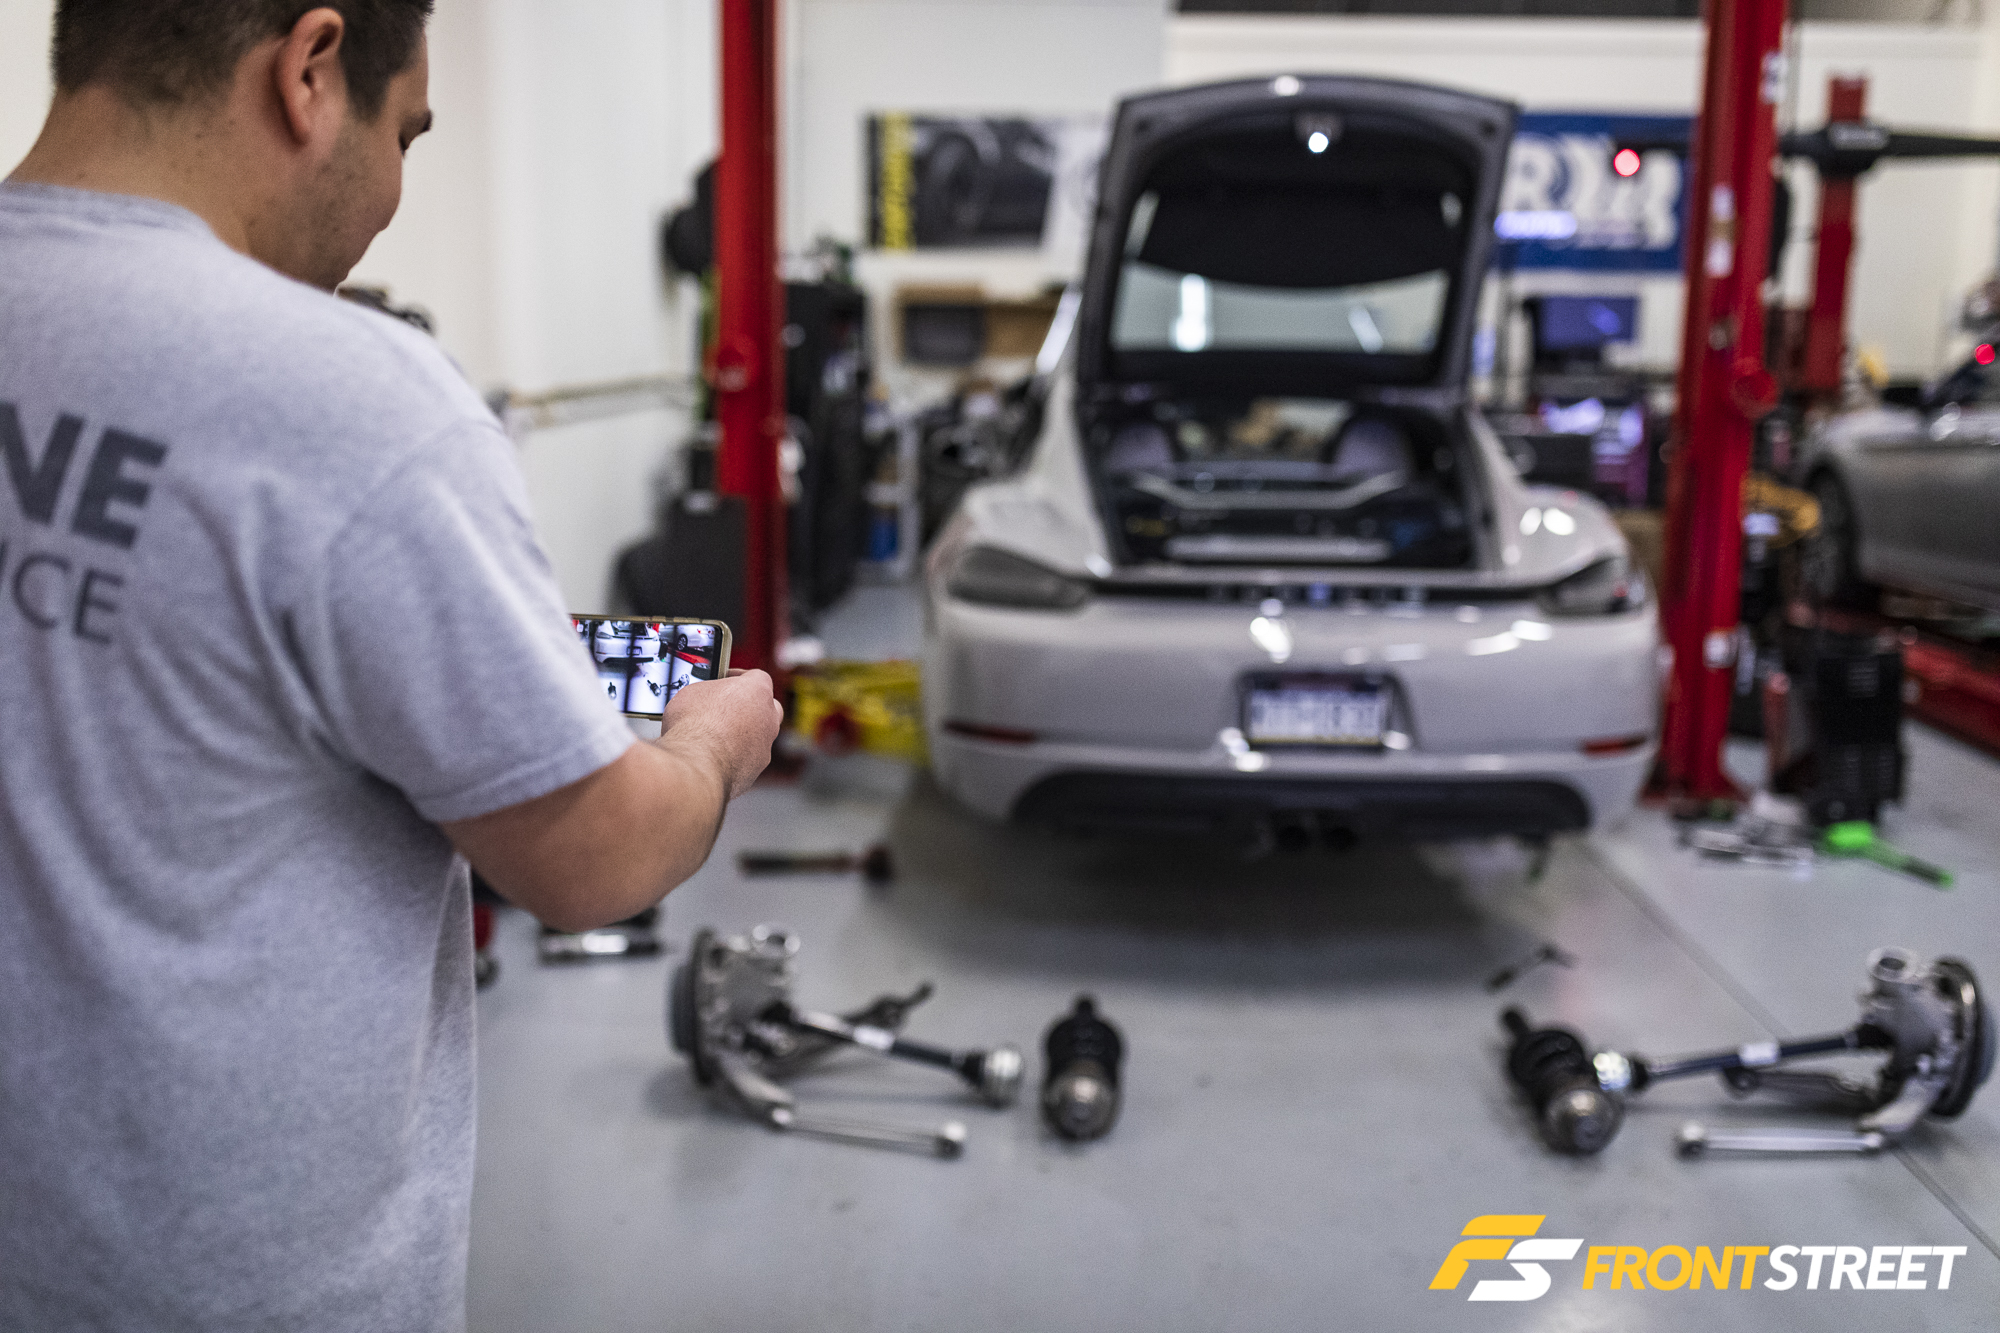
The removal process has to be done carefully, as you can’t get one piece of the puzzle where it needs to be without the preceding step occurring first. The ride height sensor gets disconnected and the upper and lower control arms are unhooked from their corresponding body mounts. The axle is unbolted from the transaxle, and the spindle can finally be pulled from the car with all of these pieces attached. Note that the strut is still in the car at this point. Finally, the upper strut mount retaining nuts are pulled and the strut assembly is removed as one piece.
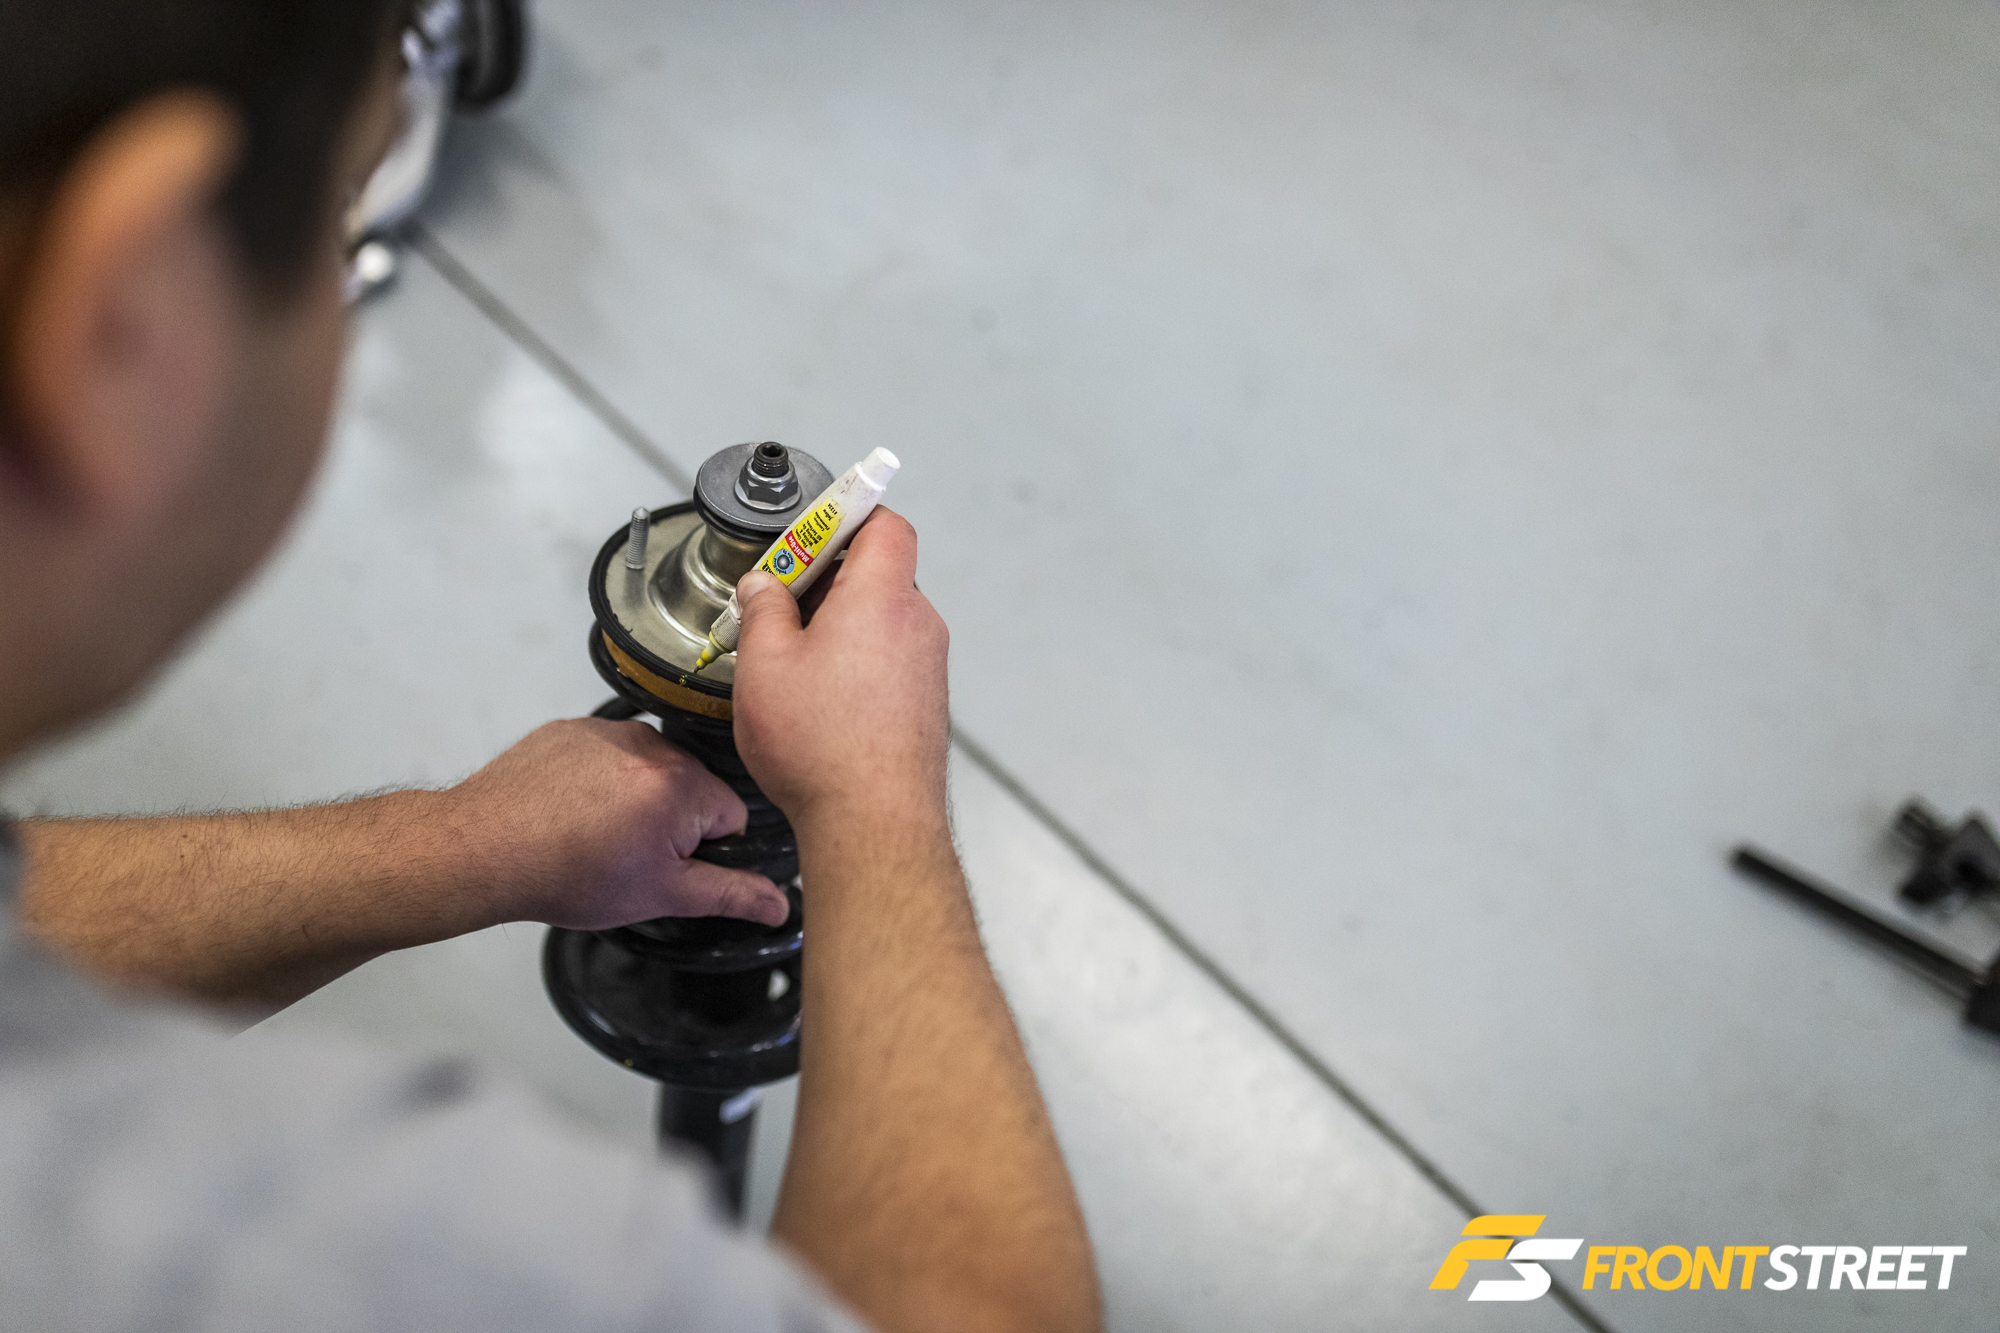
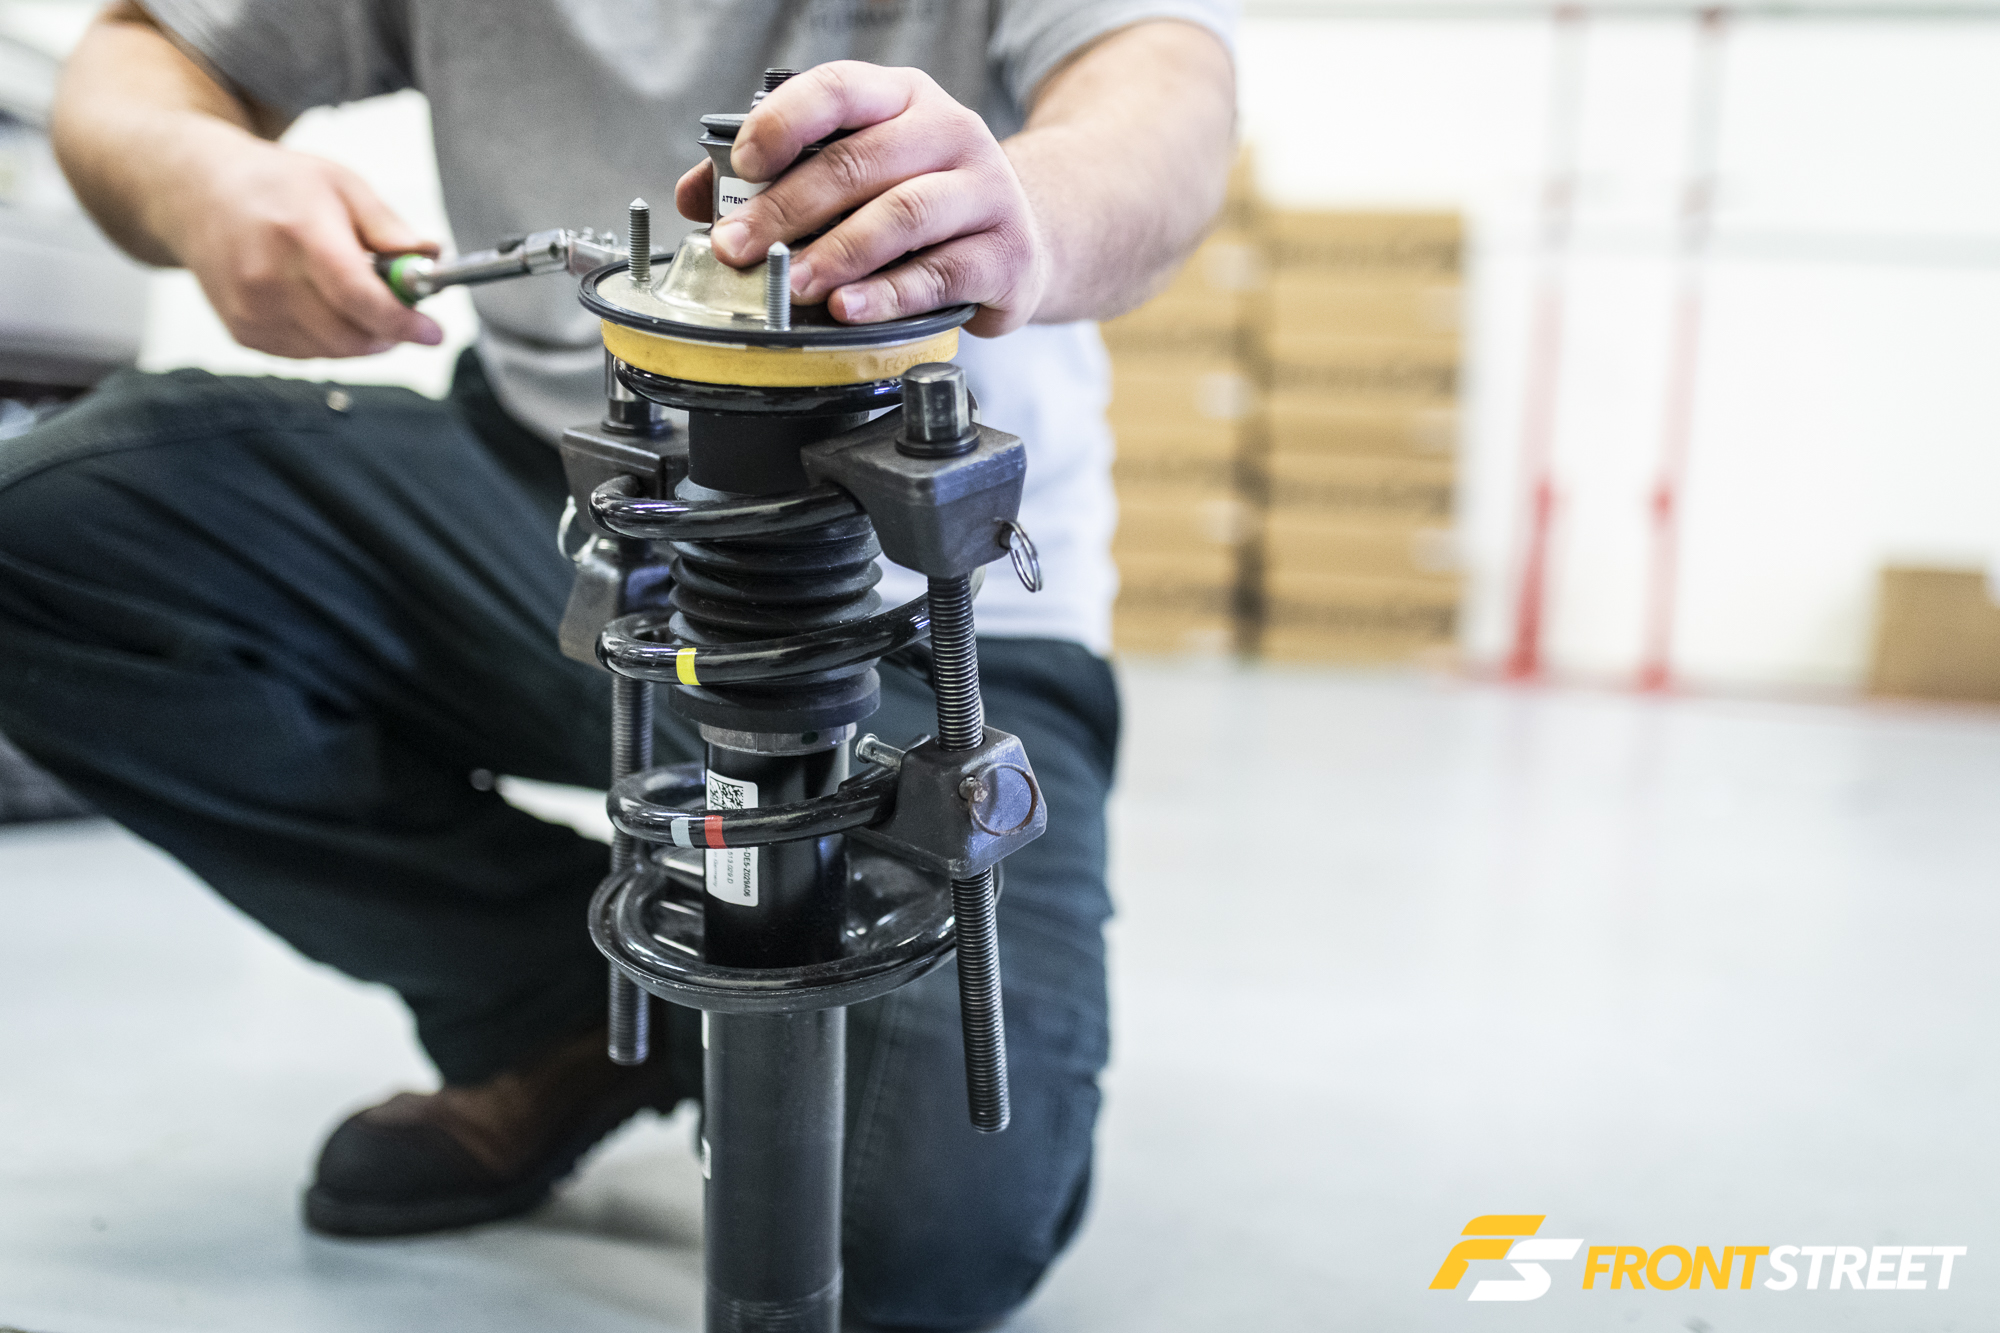
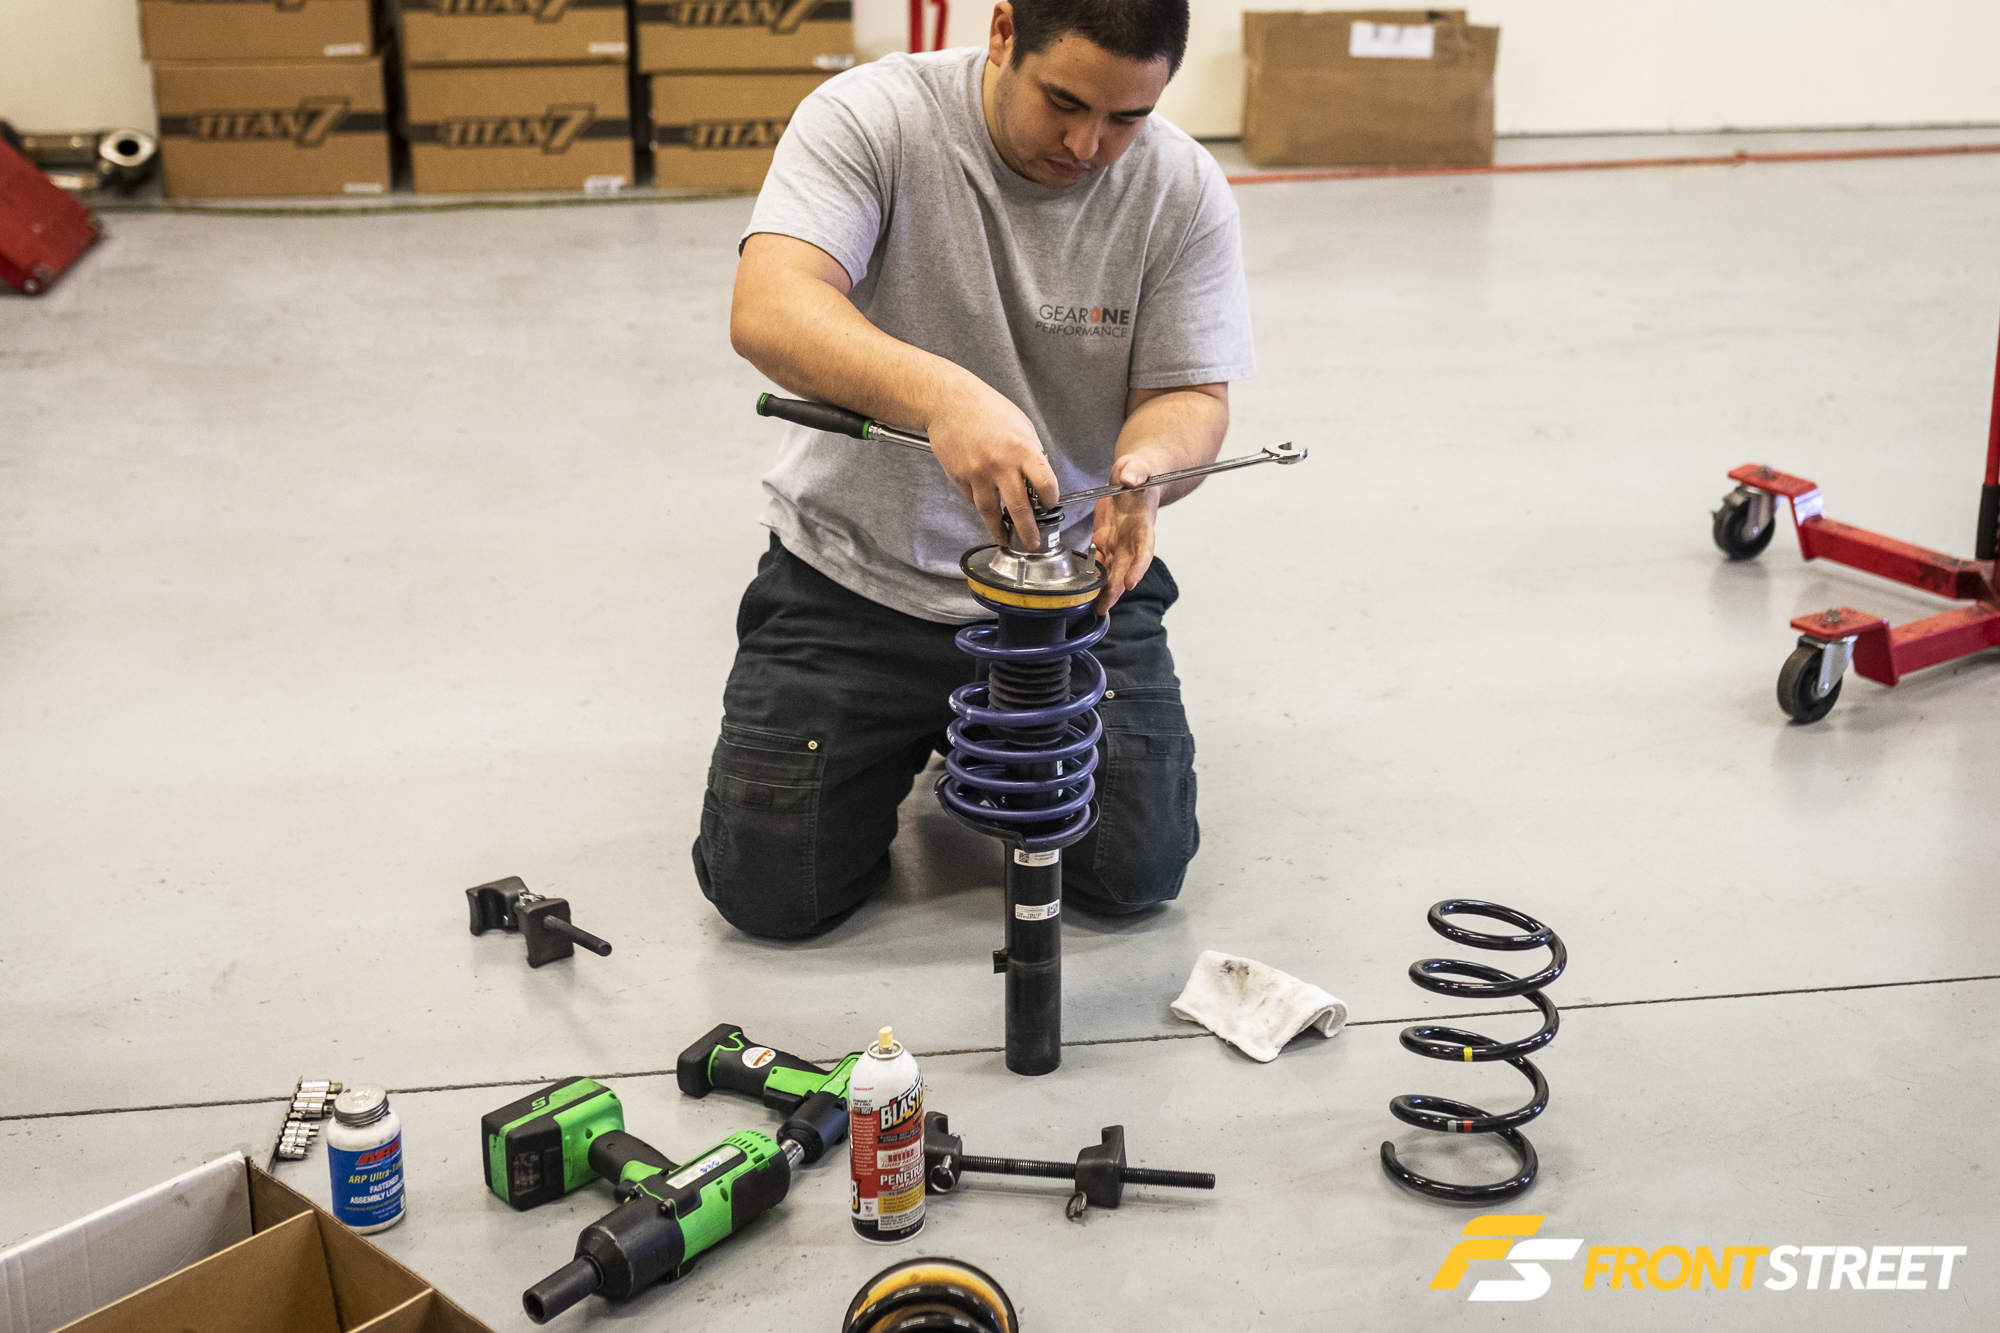
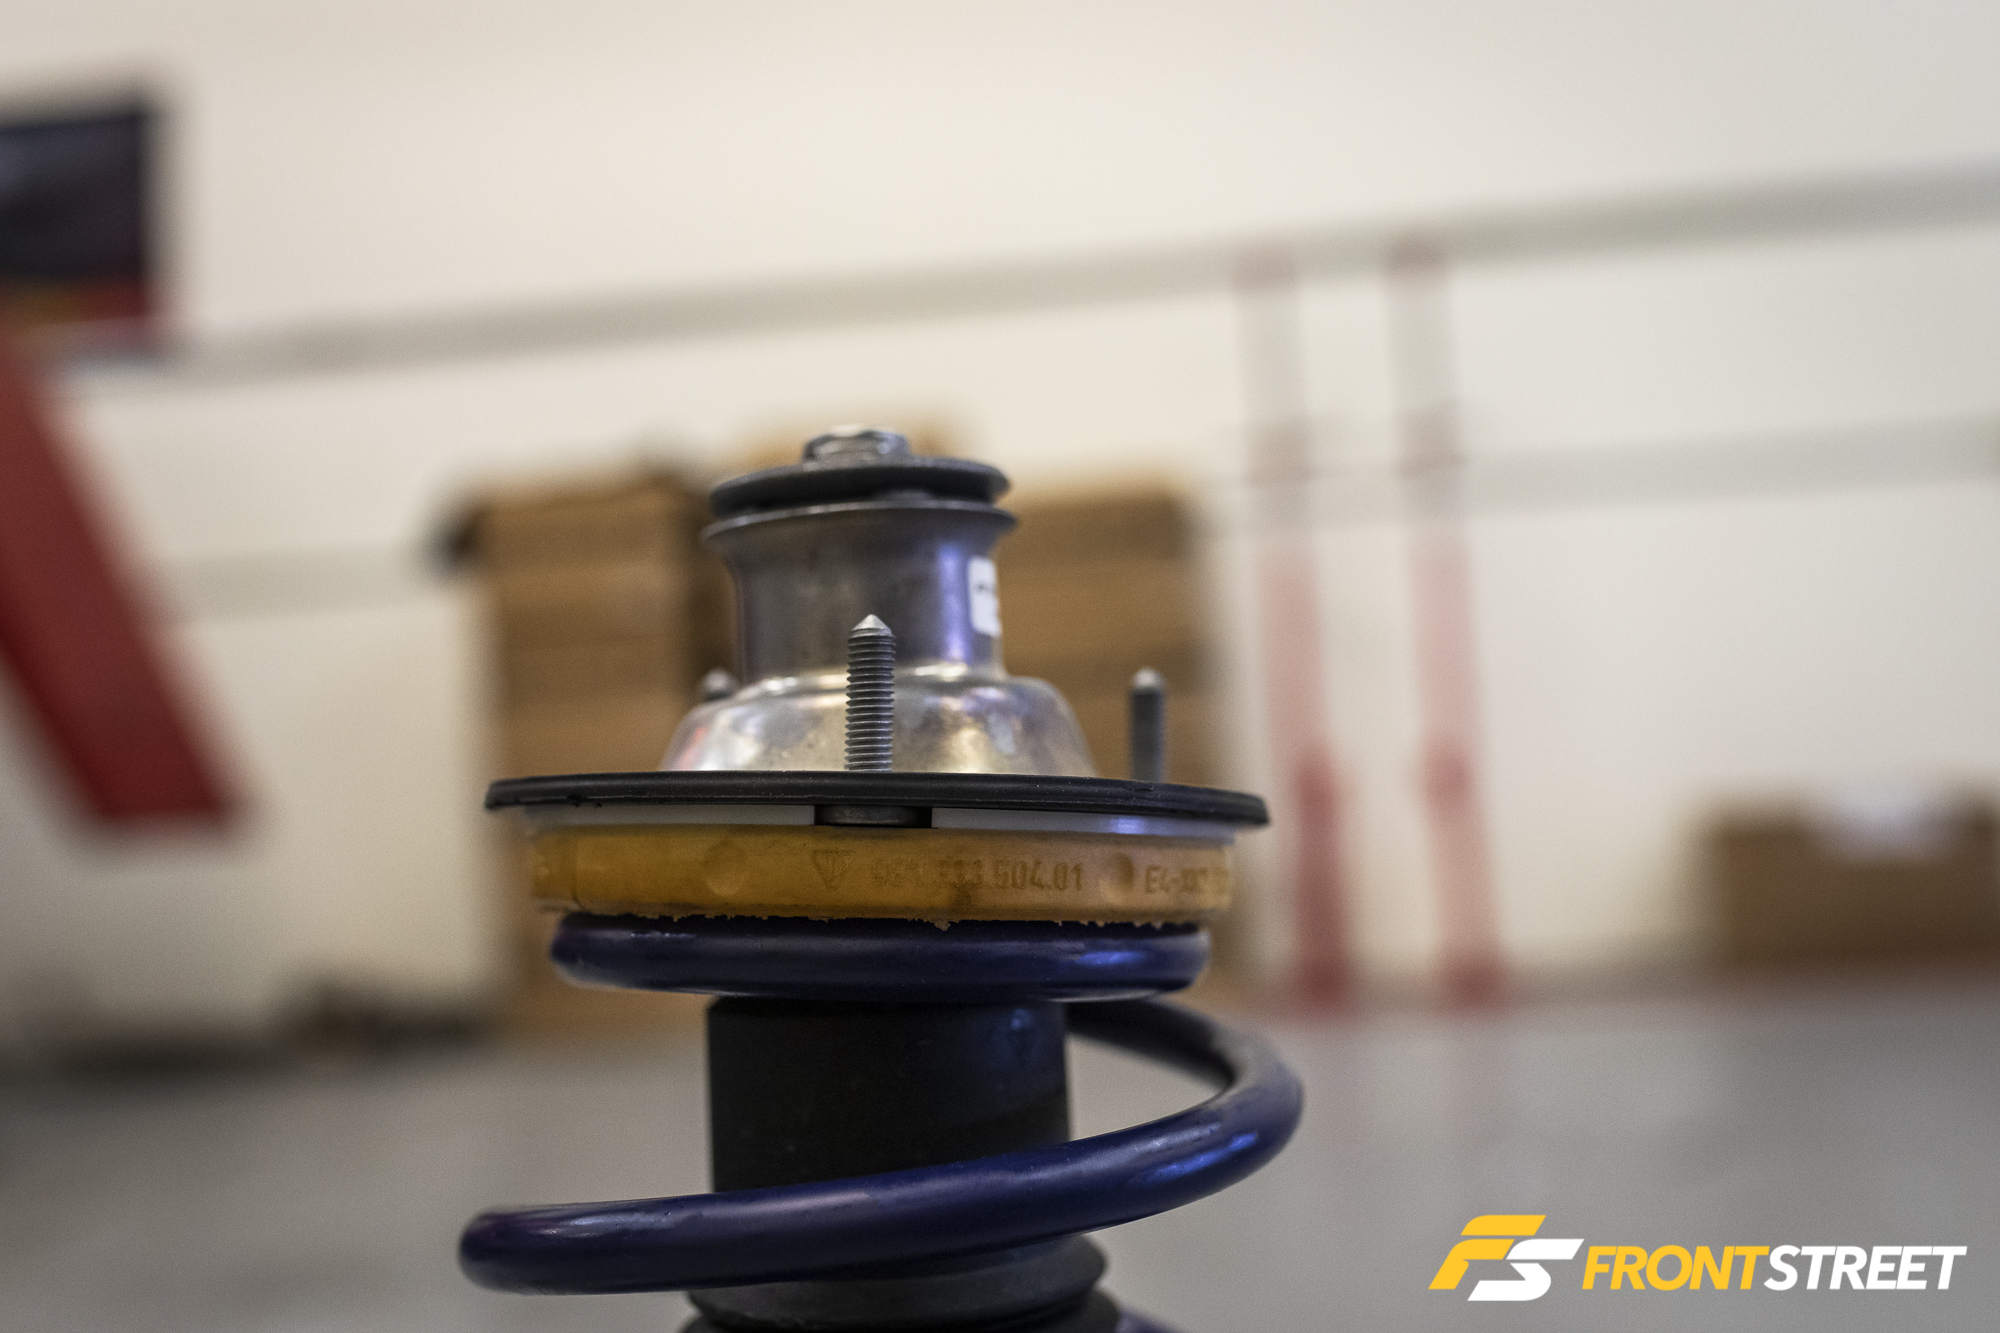
To ensure the strut top is aligned properly once the new spring is installed, Lang marks the body of the strut and the top of the mount with a paint pen. Spring compressors—or widowmakers, as he likes to call them—are necessary to pull the old springs down far enough to remove the top. The new springs are short enough that the compressors are not necessary to install them. It is important, however, to ensure that the plastic shim is installed with the recess under the mount studs so everything sits properly with the top hat installed.
“I prefer them on some applications with softer springs or smaller diameter springs. The widowmakers can be quicker to use, and most of all, are easier to work with on narrower springs,” says Lang.
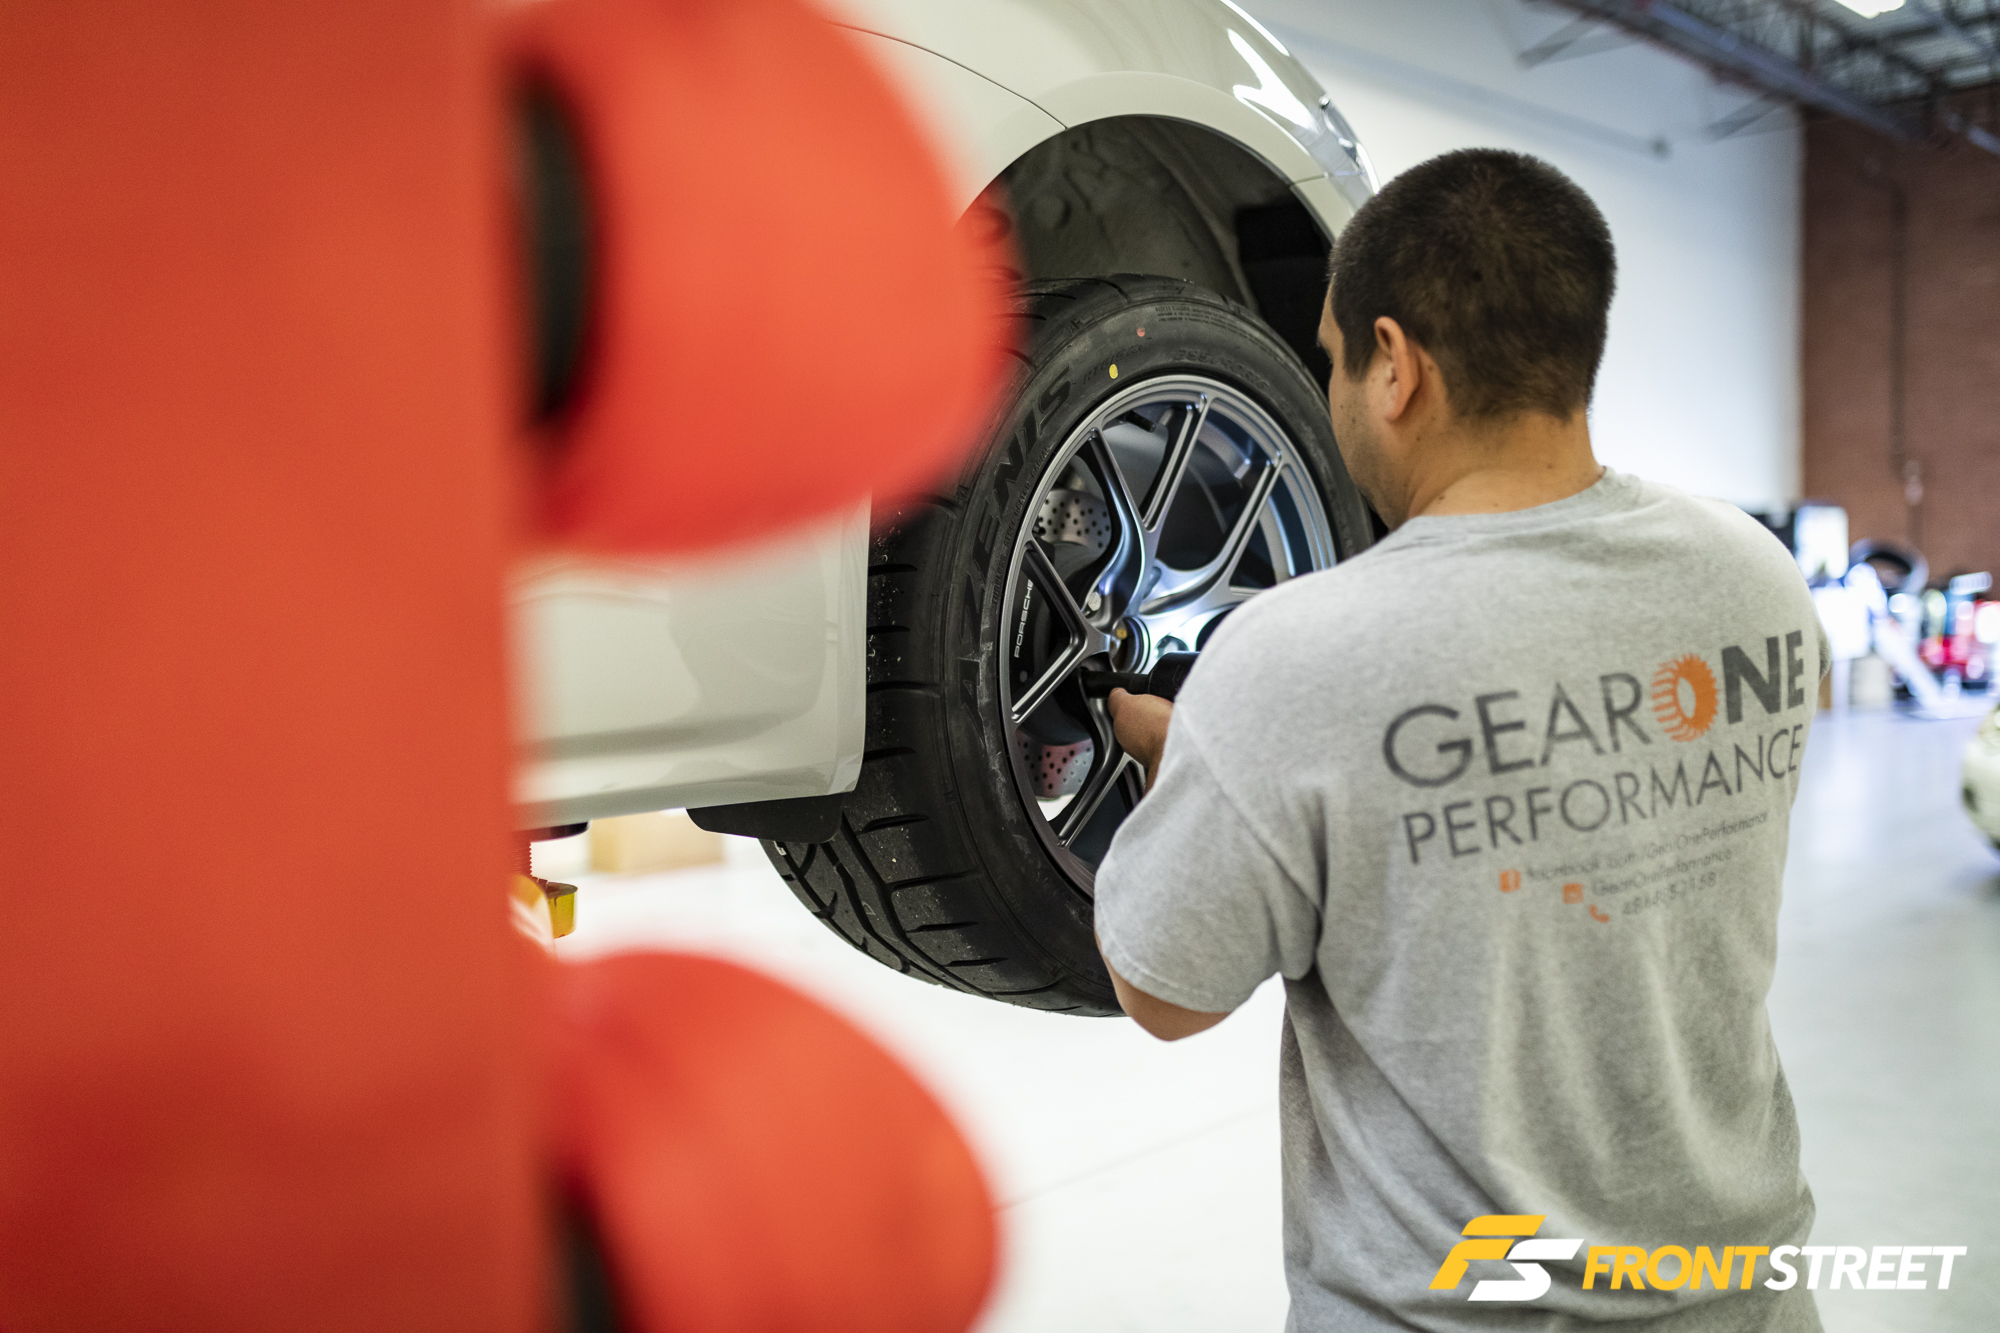
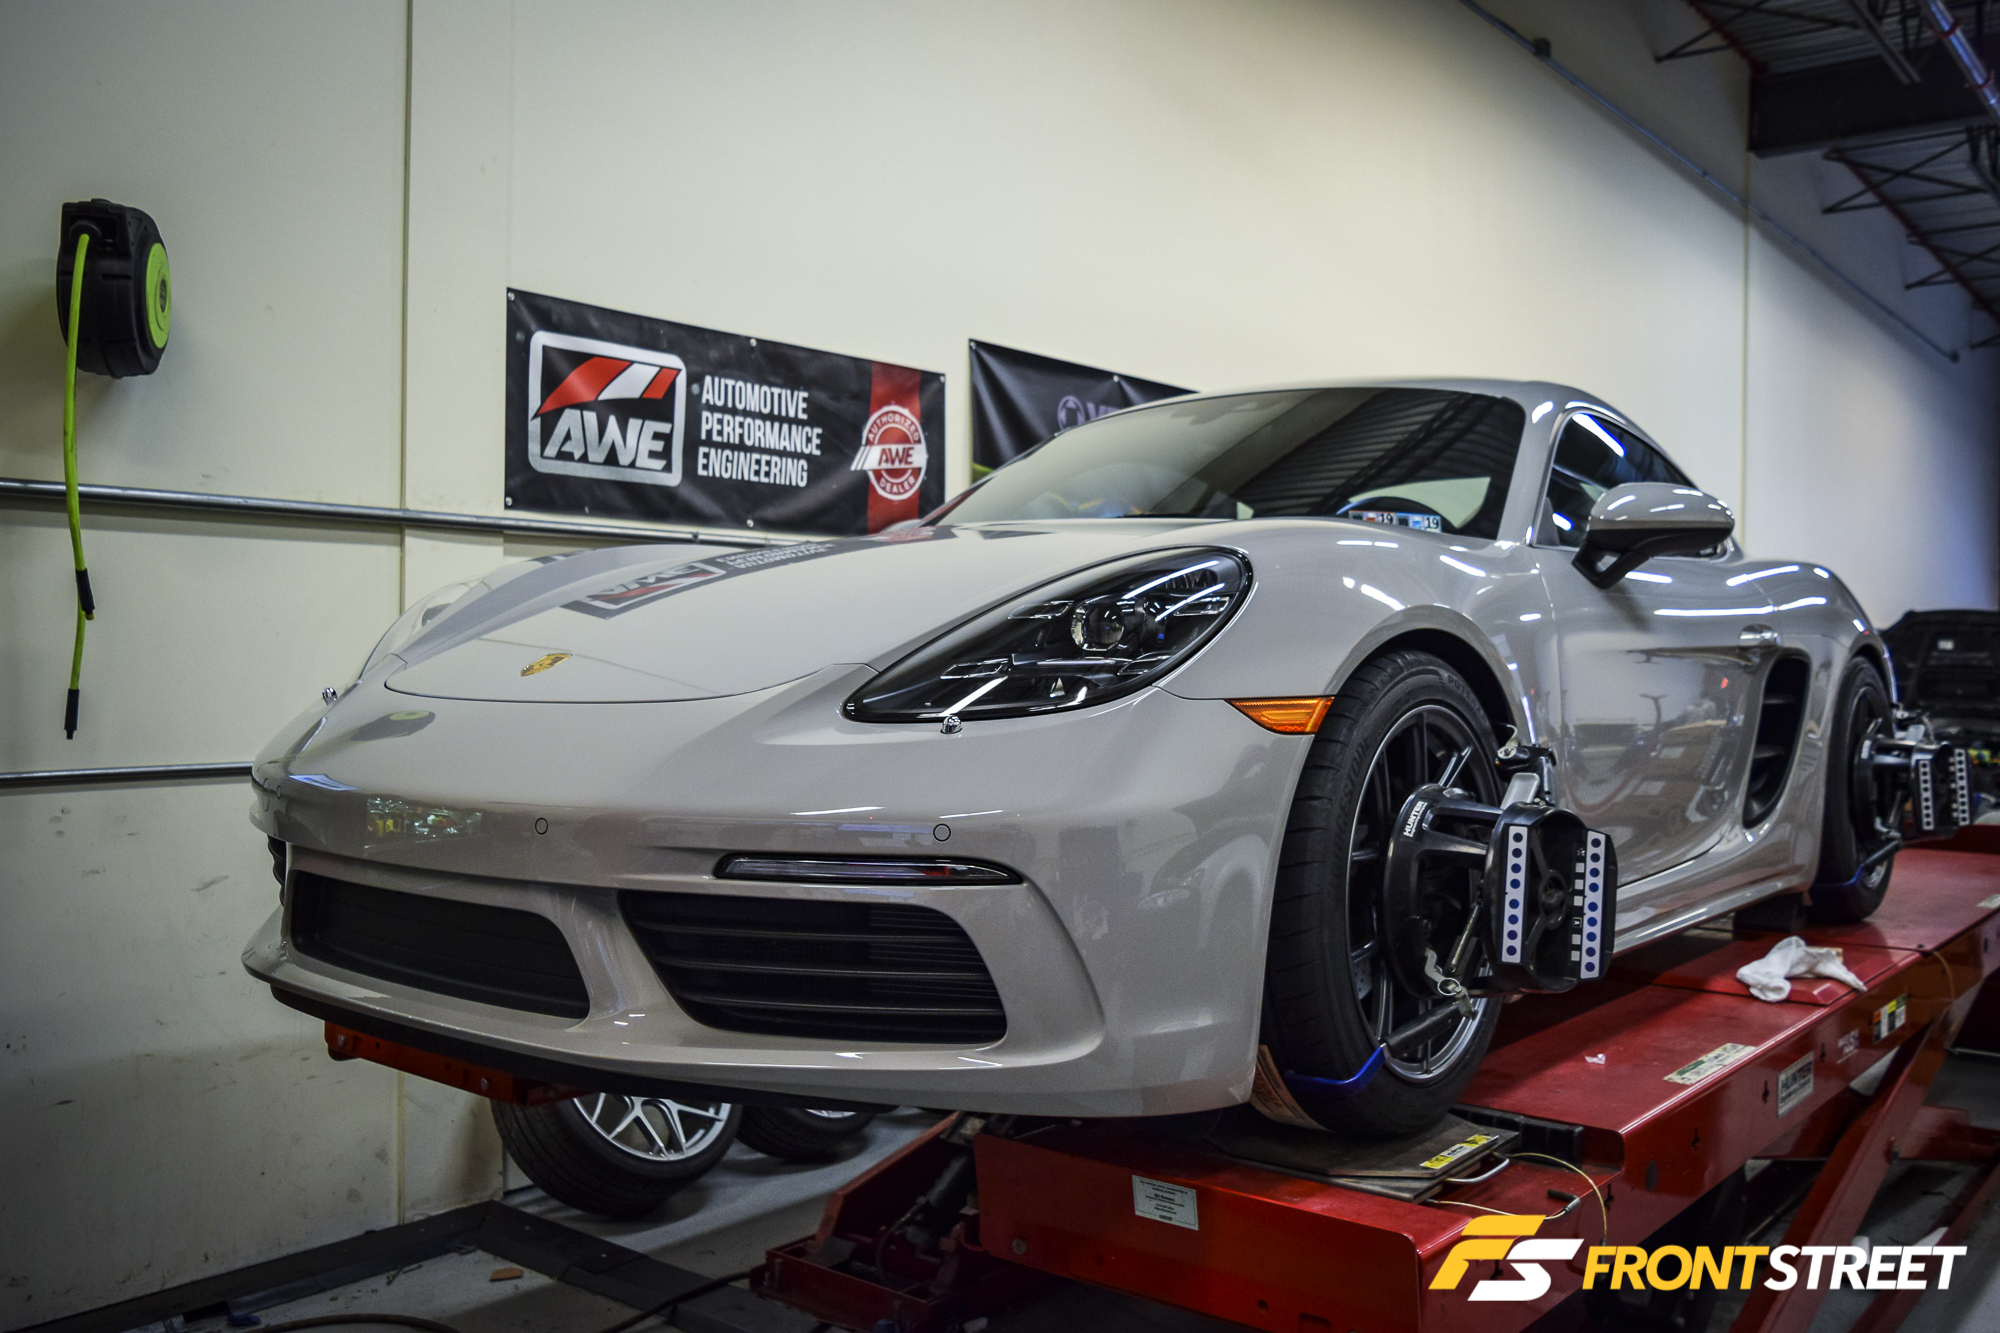
Once the springs were swapped onto each strut, he just reversed the process and re-installed everything, with each fastener torqued to factory specifications. One thing to note is that the car will require an alignment with the lower ride height to ensure no abnormal tire wear.
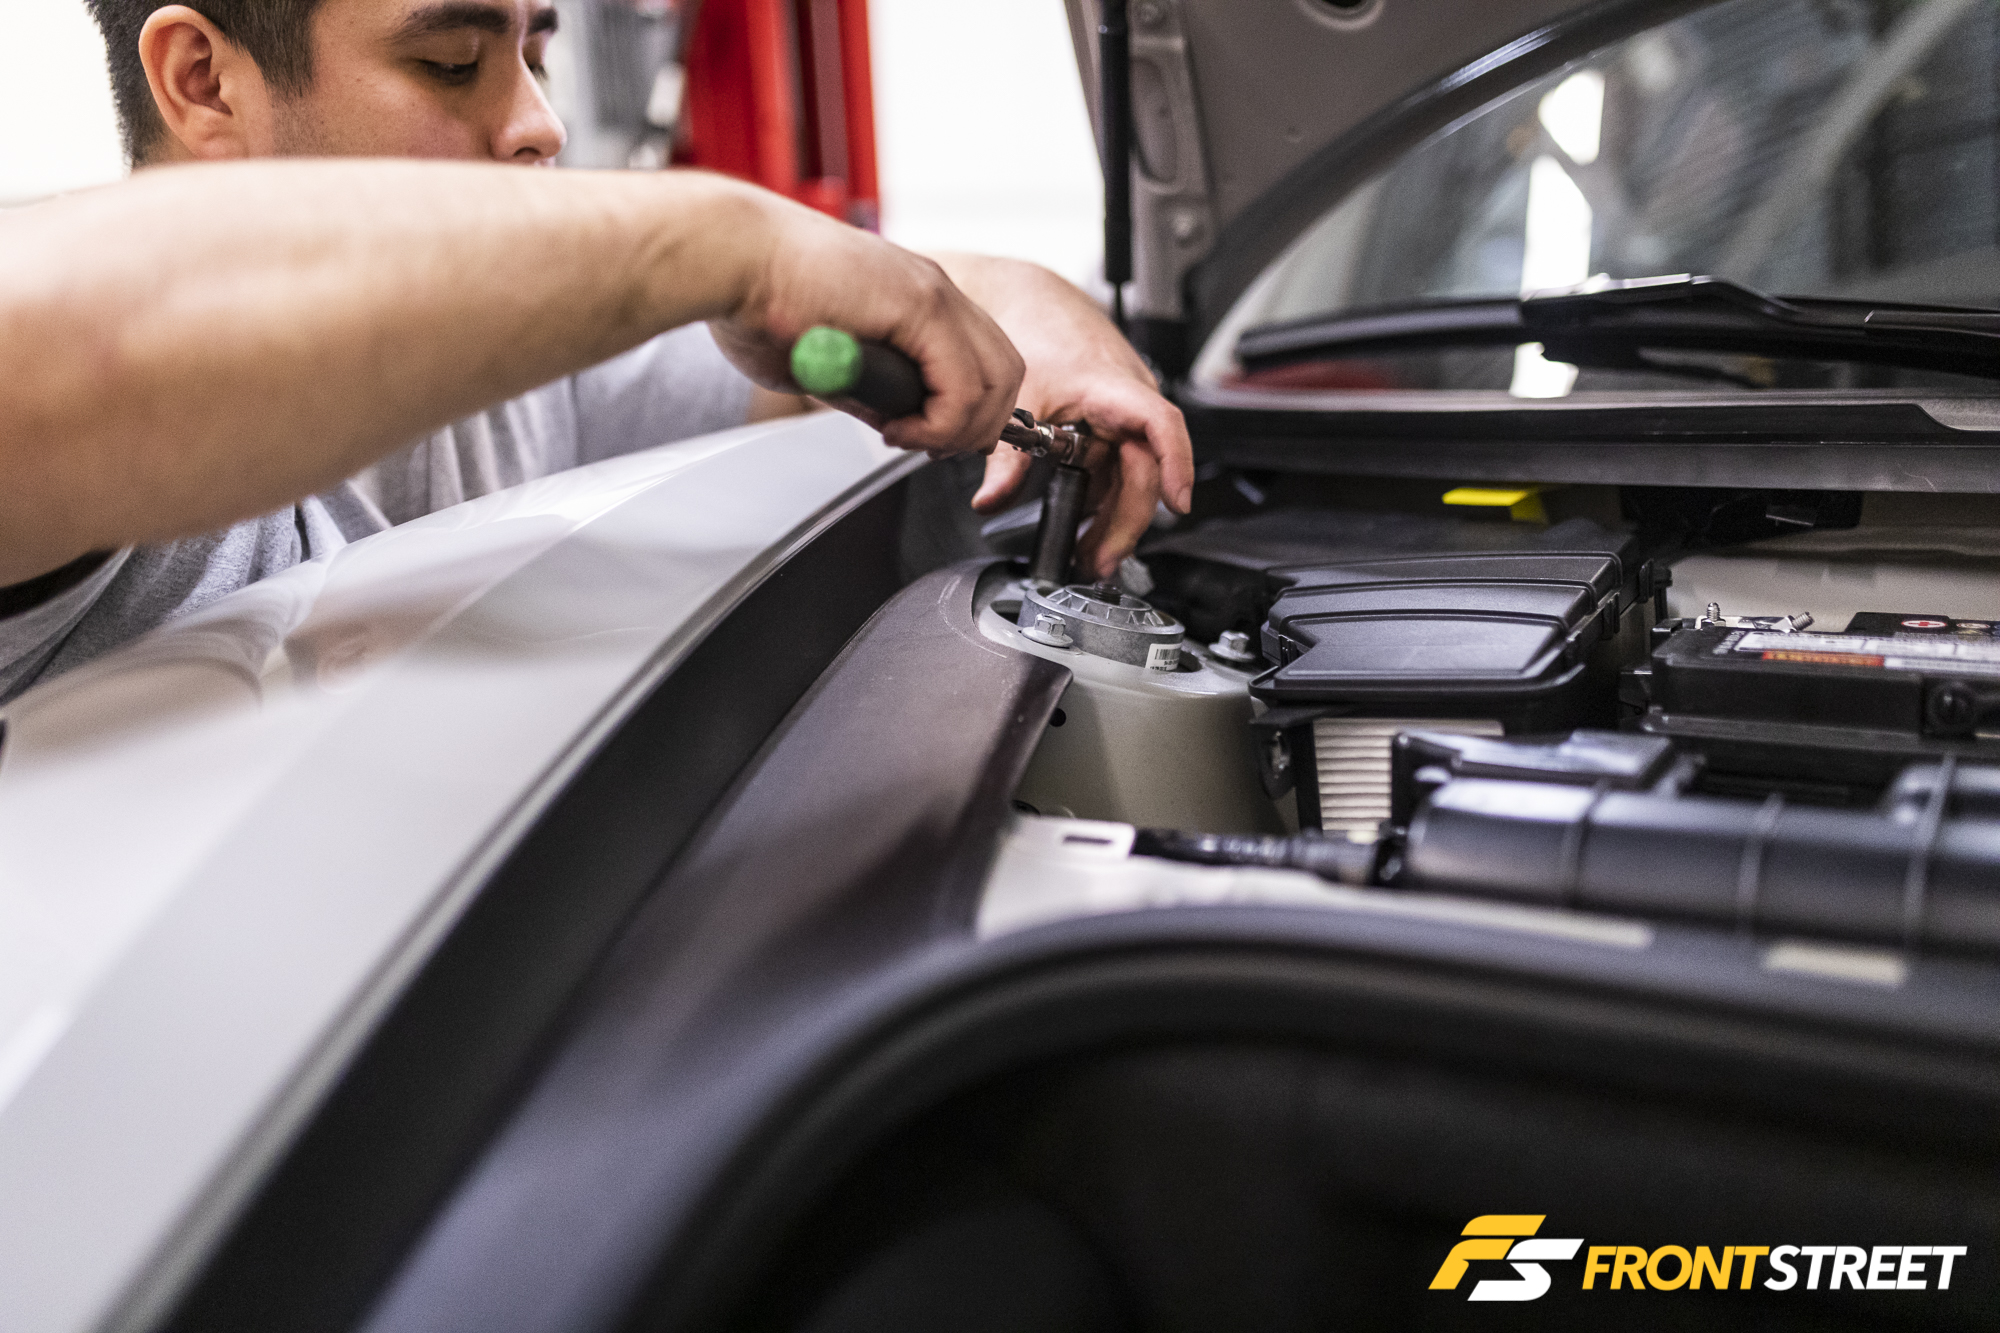
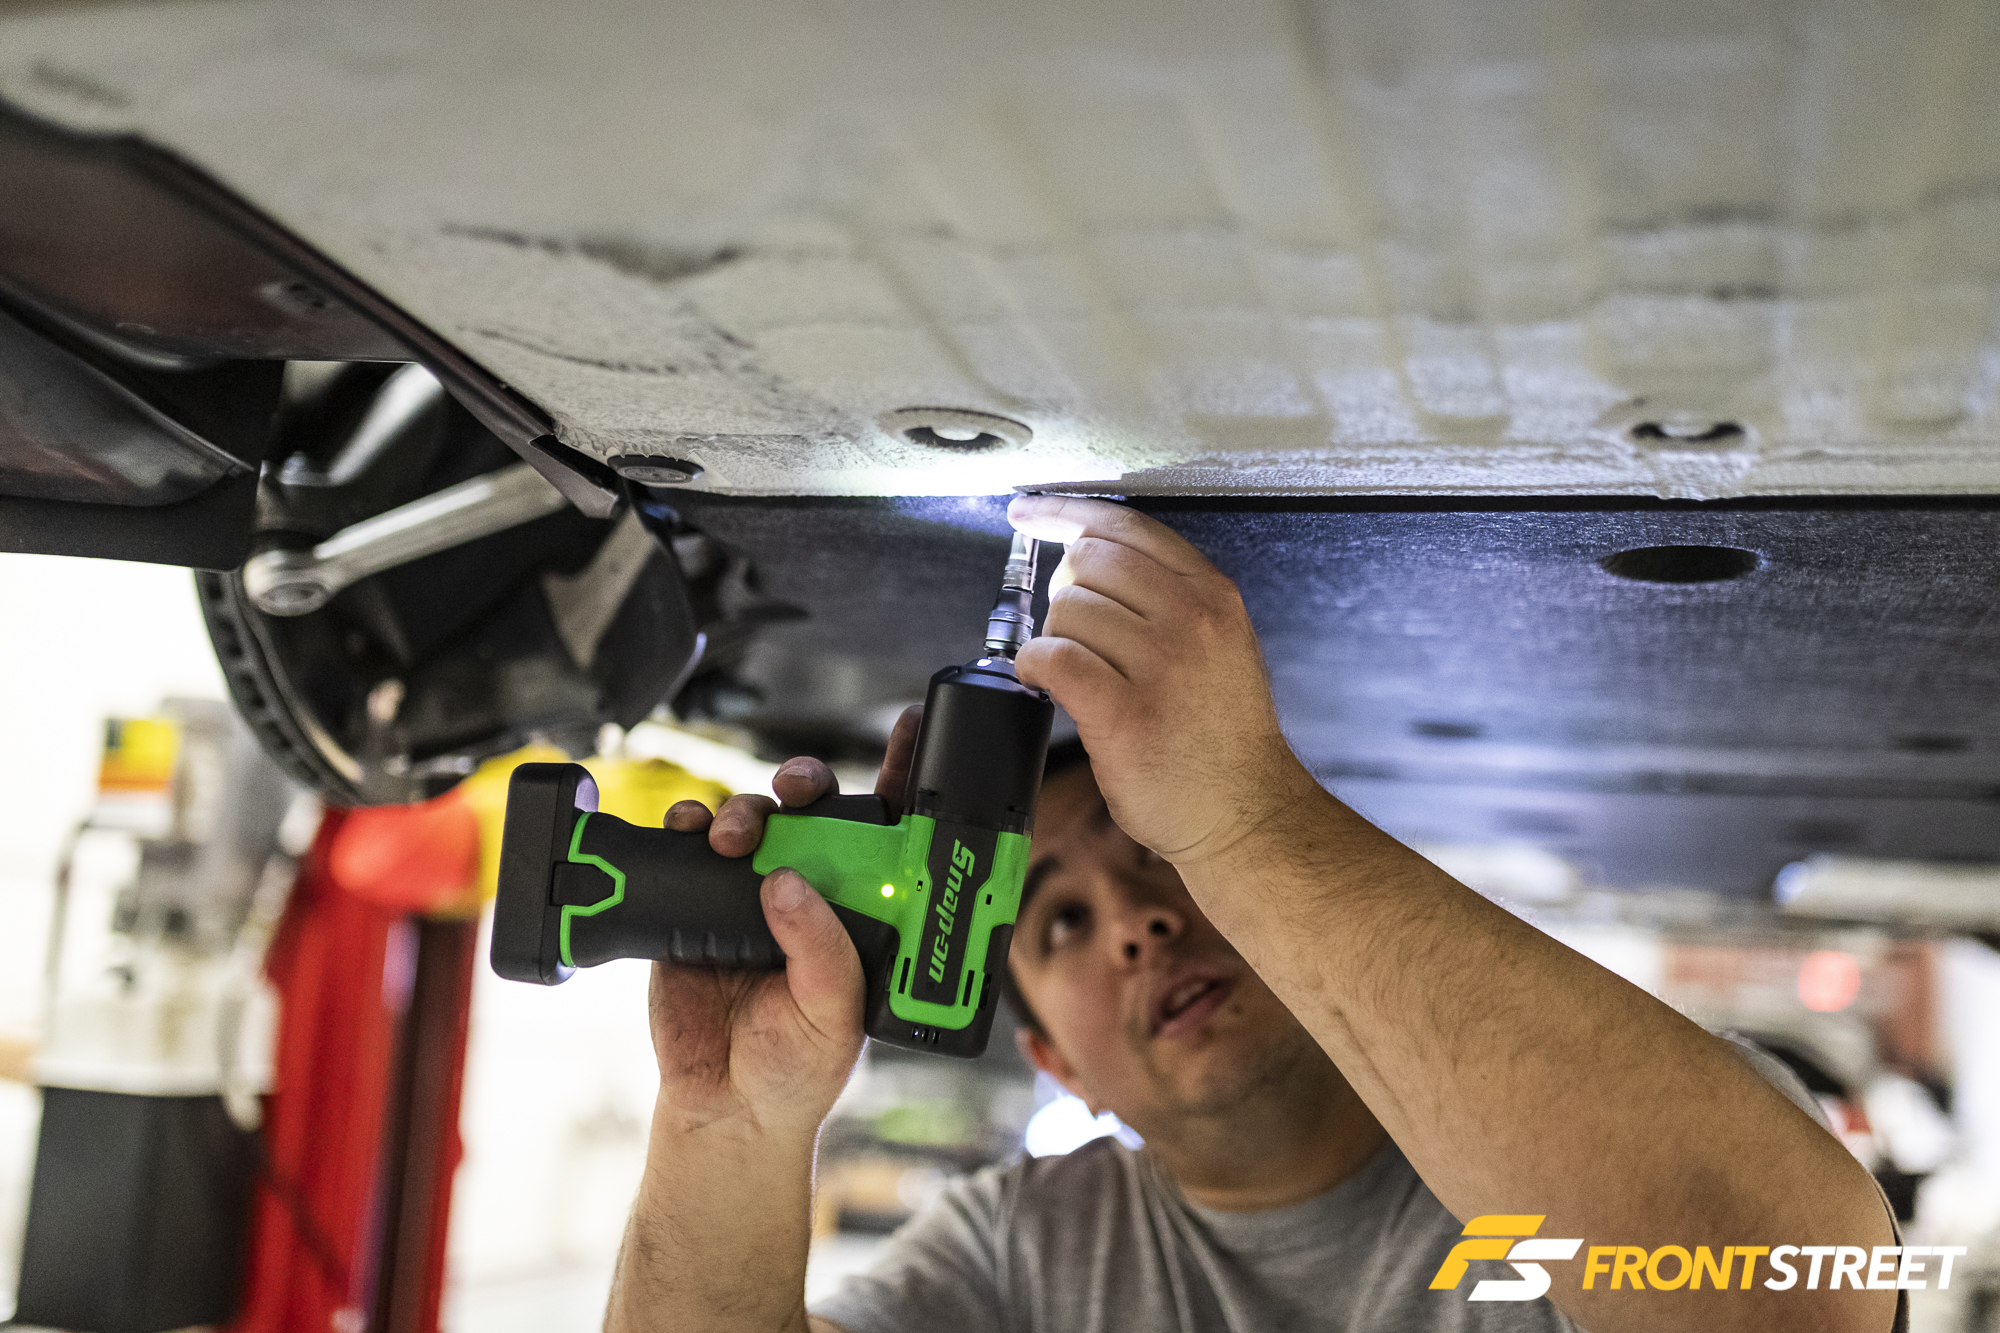
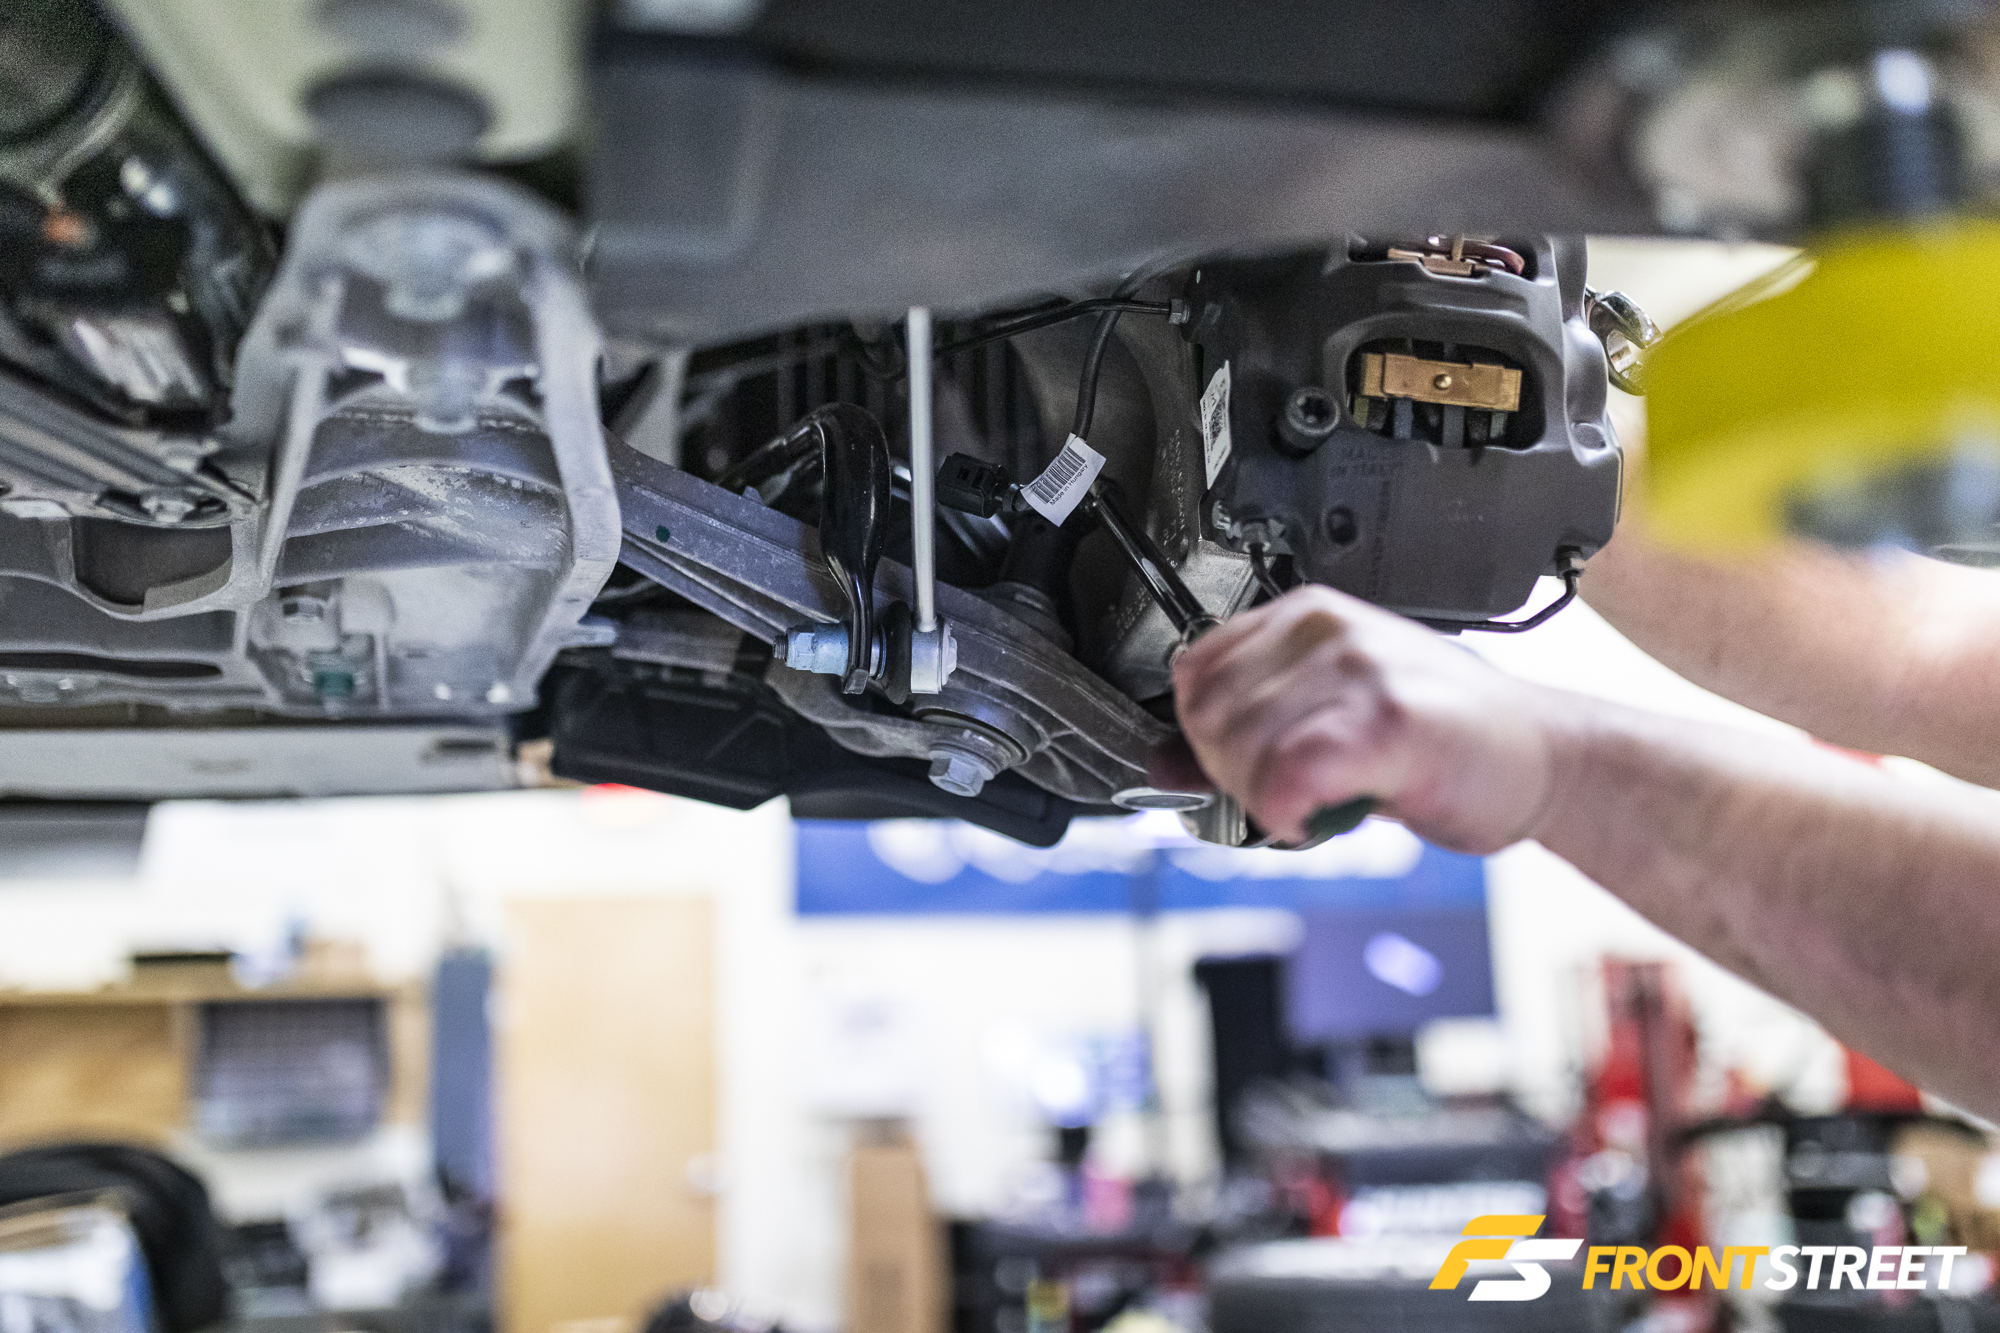
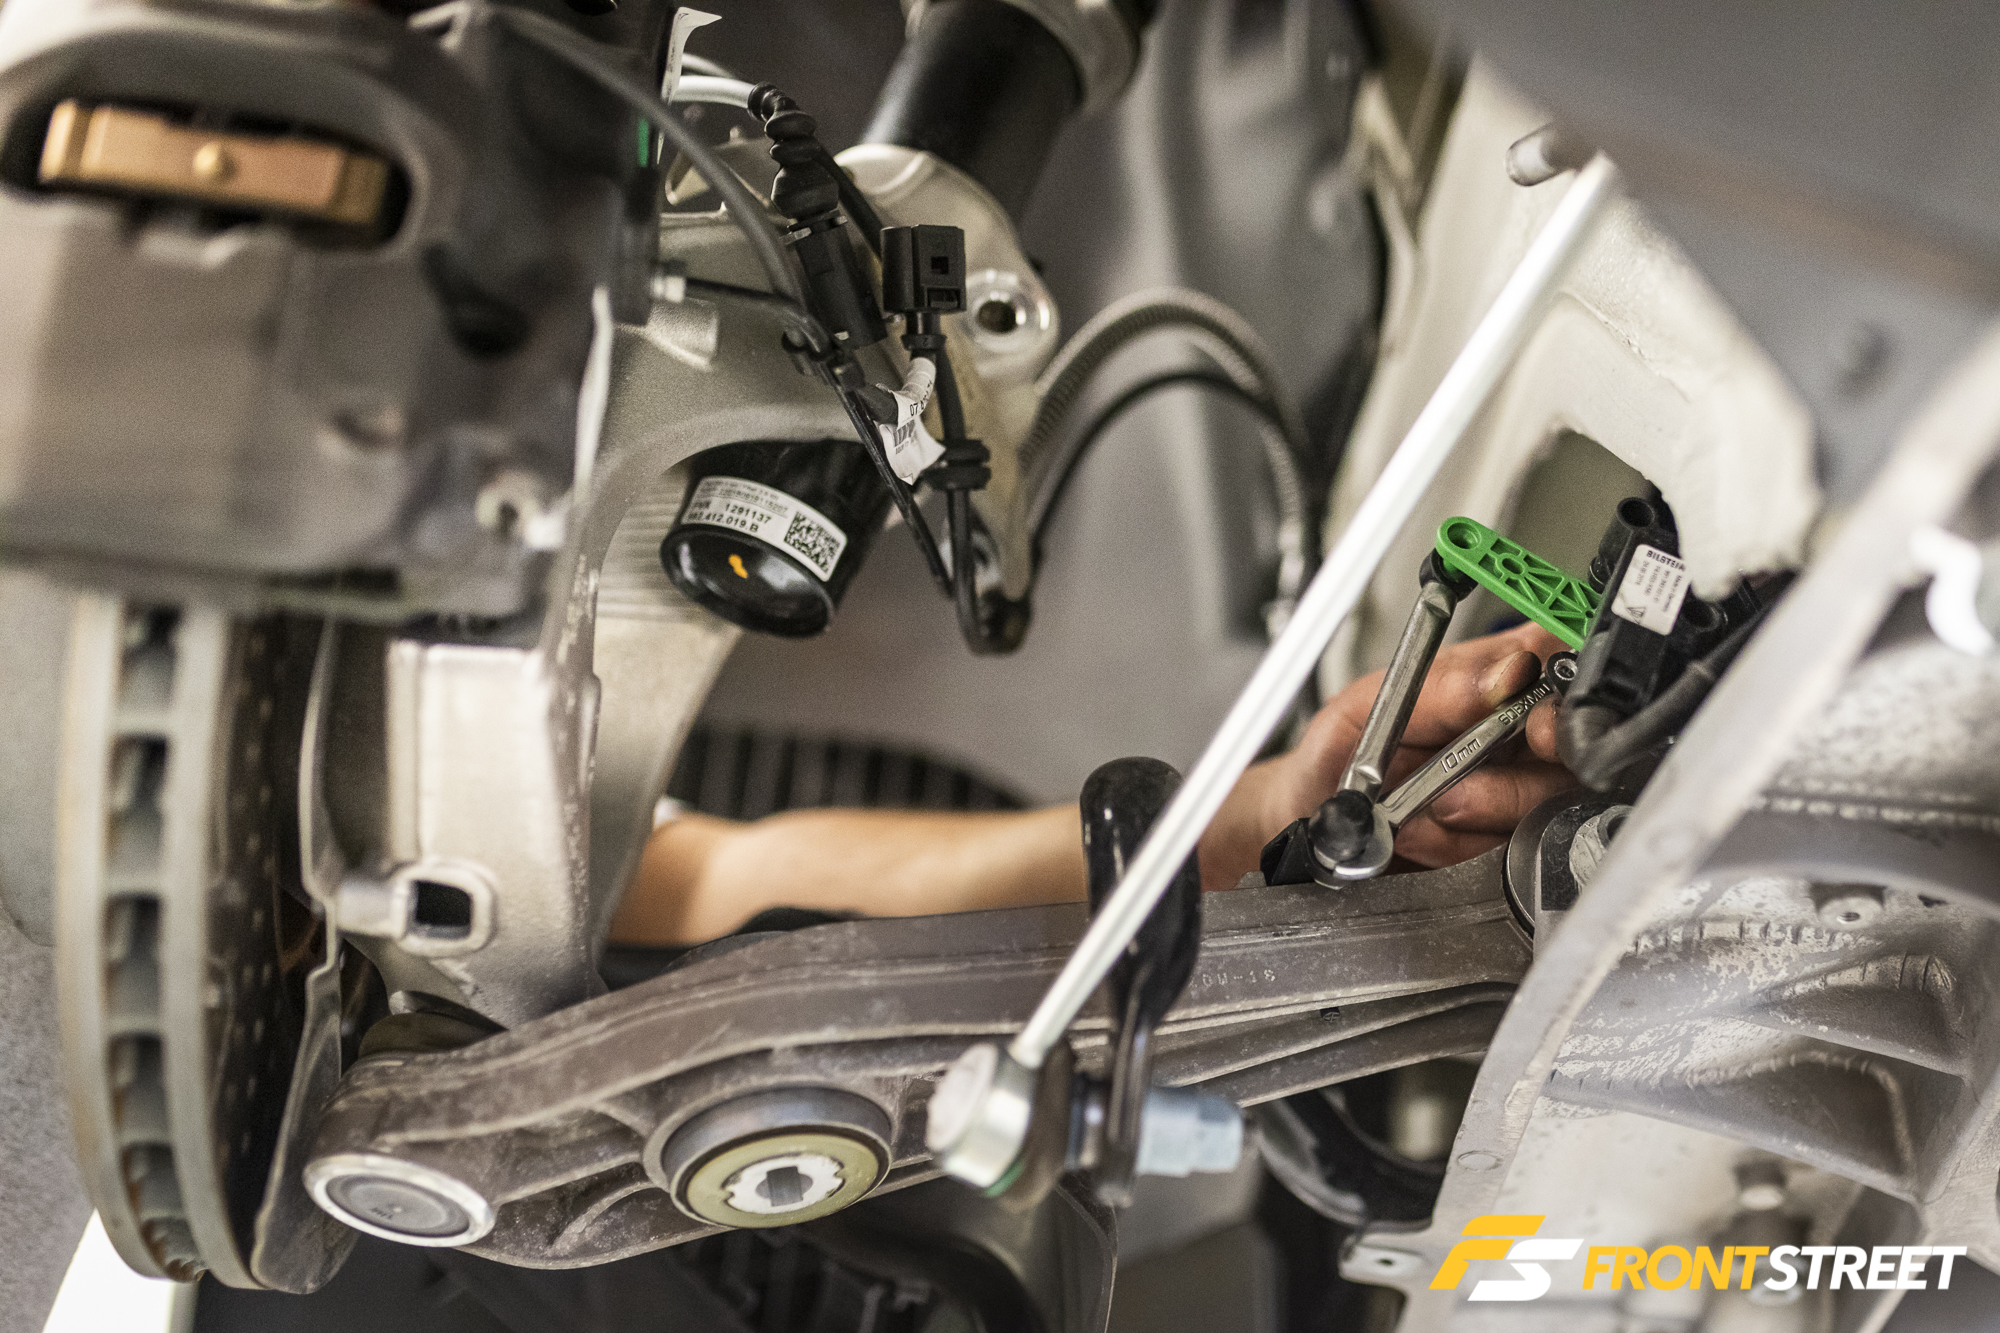
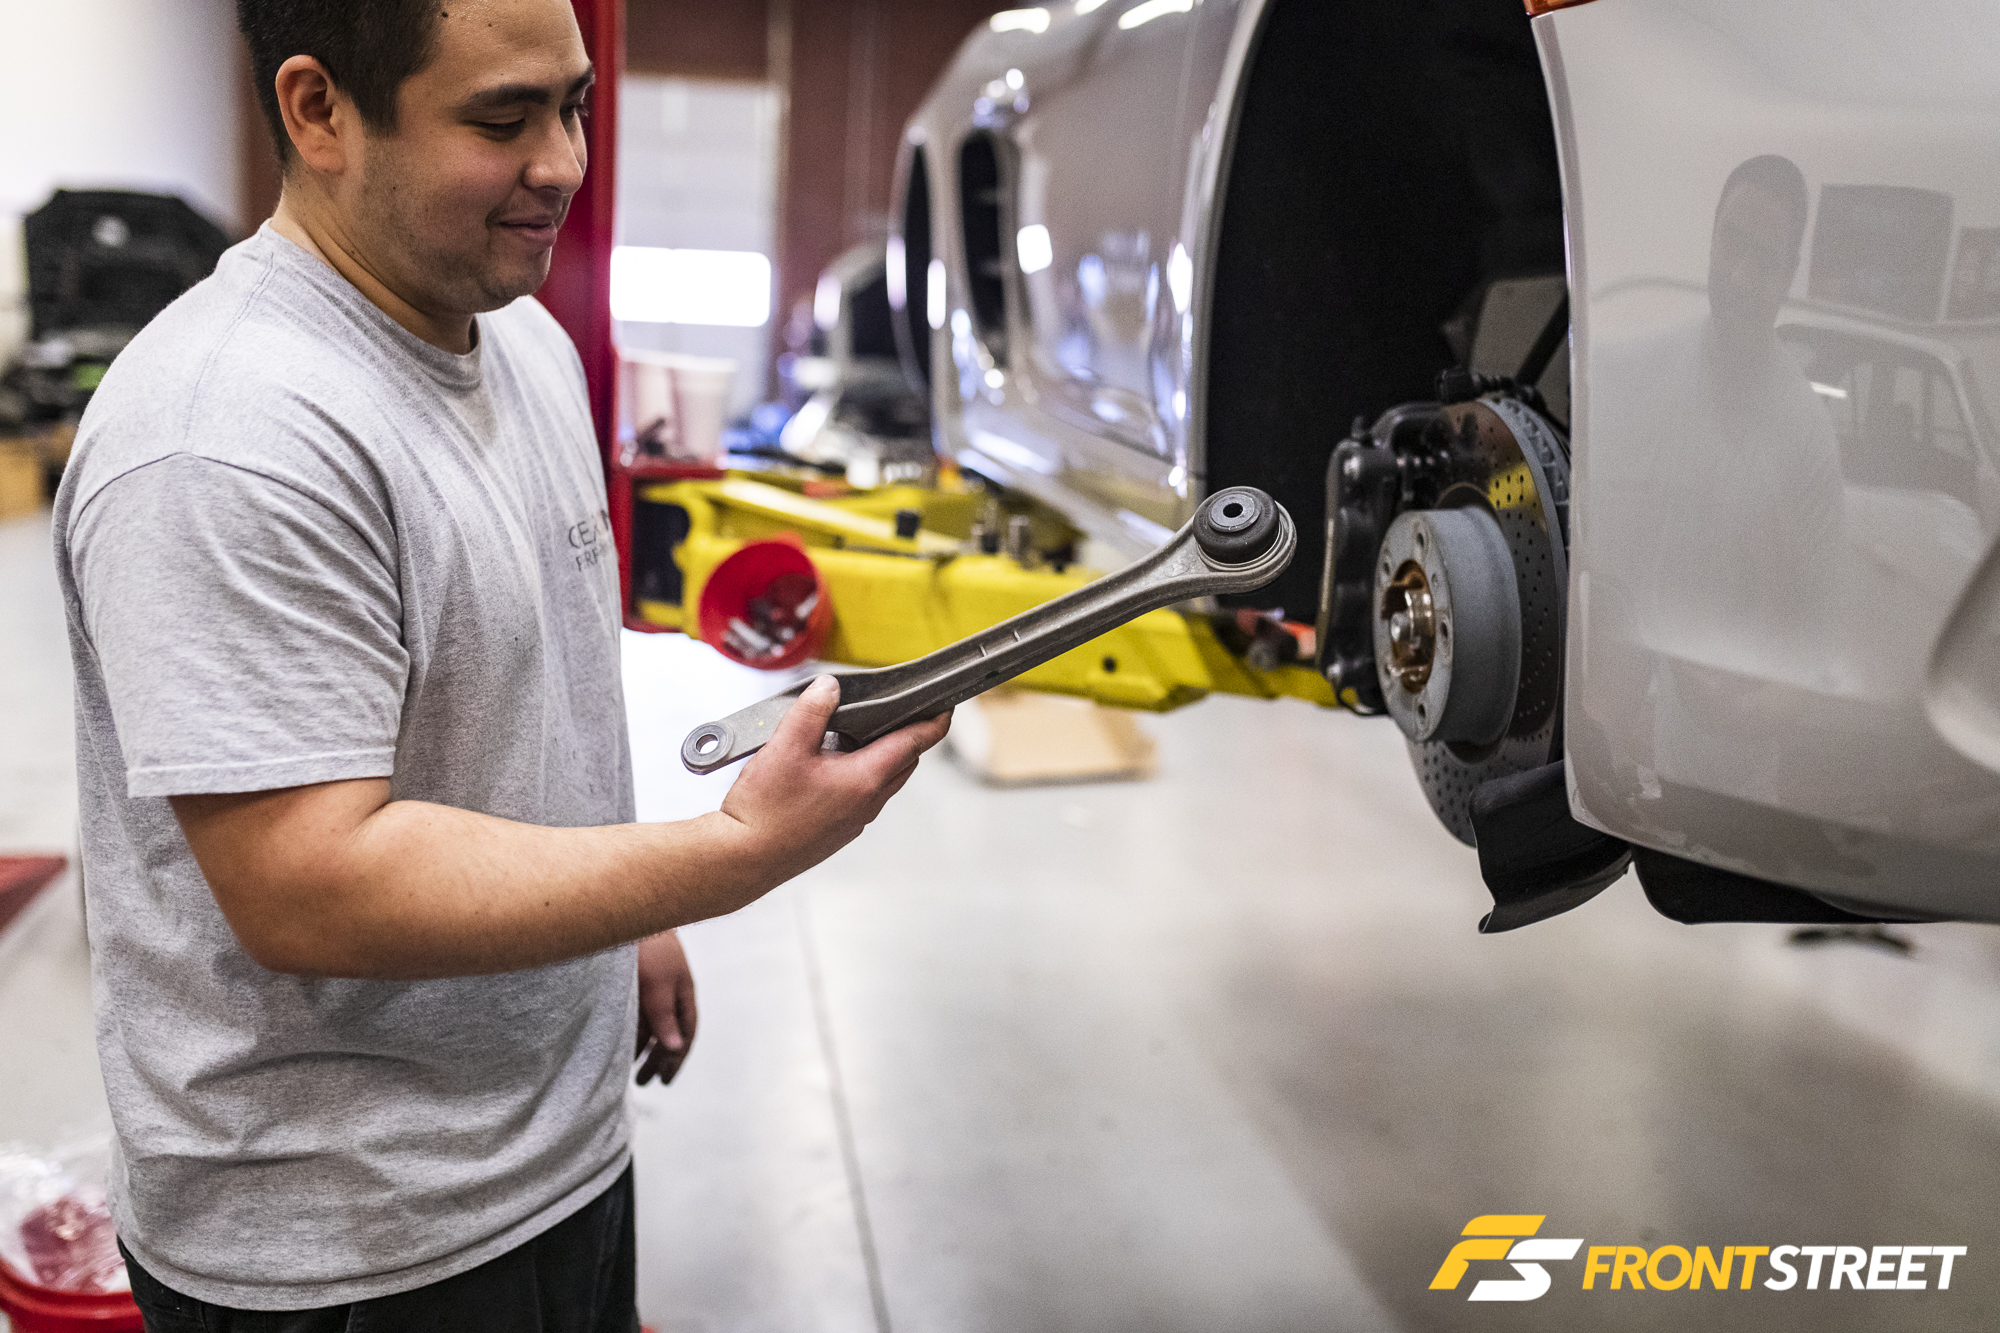
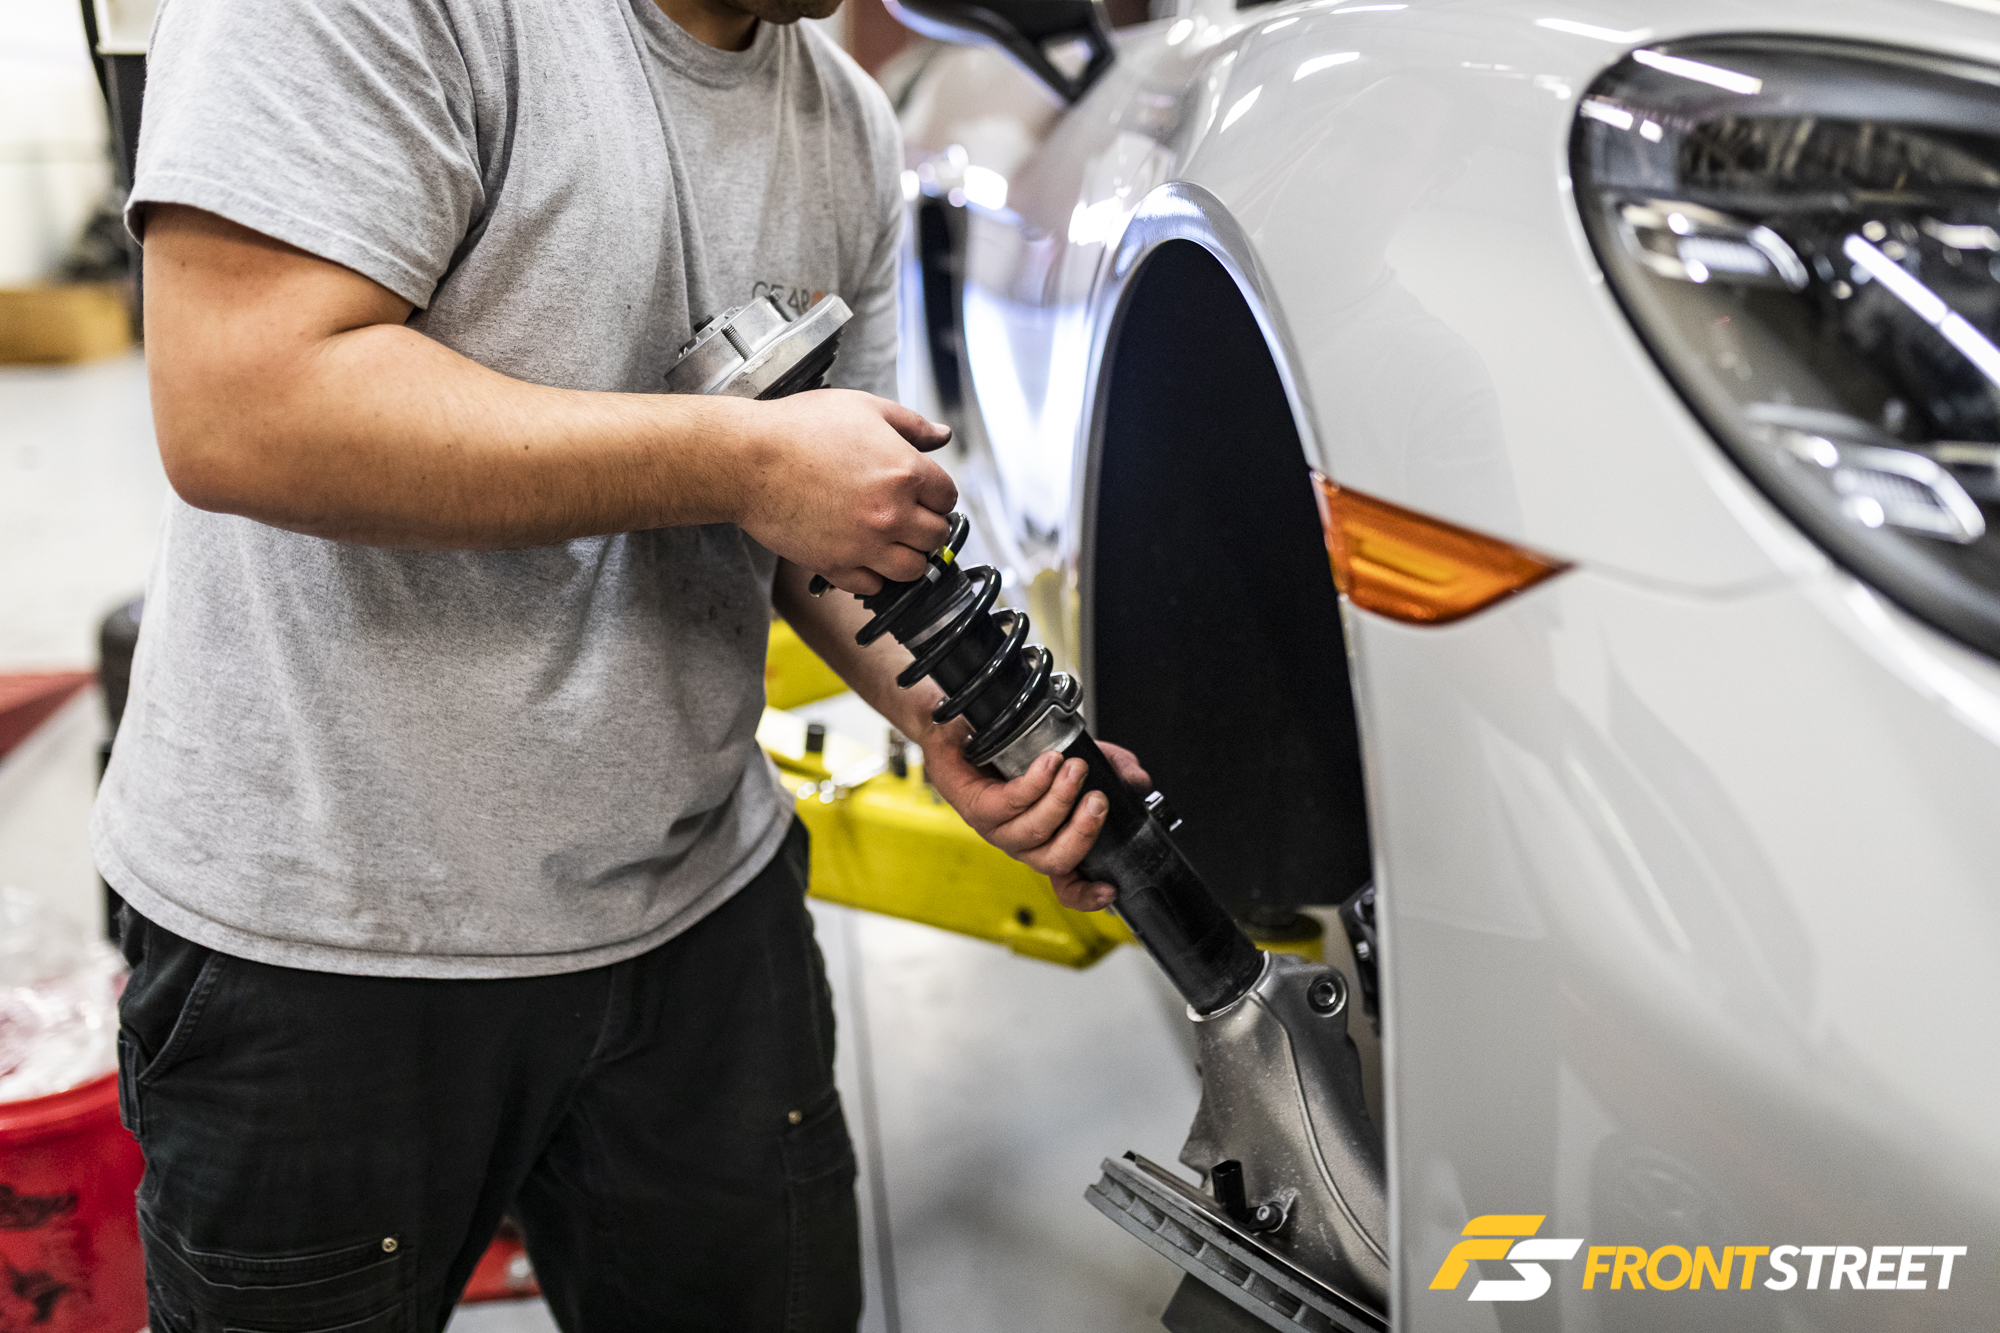
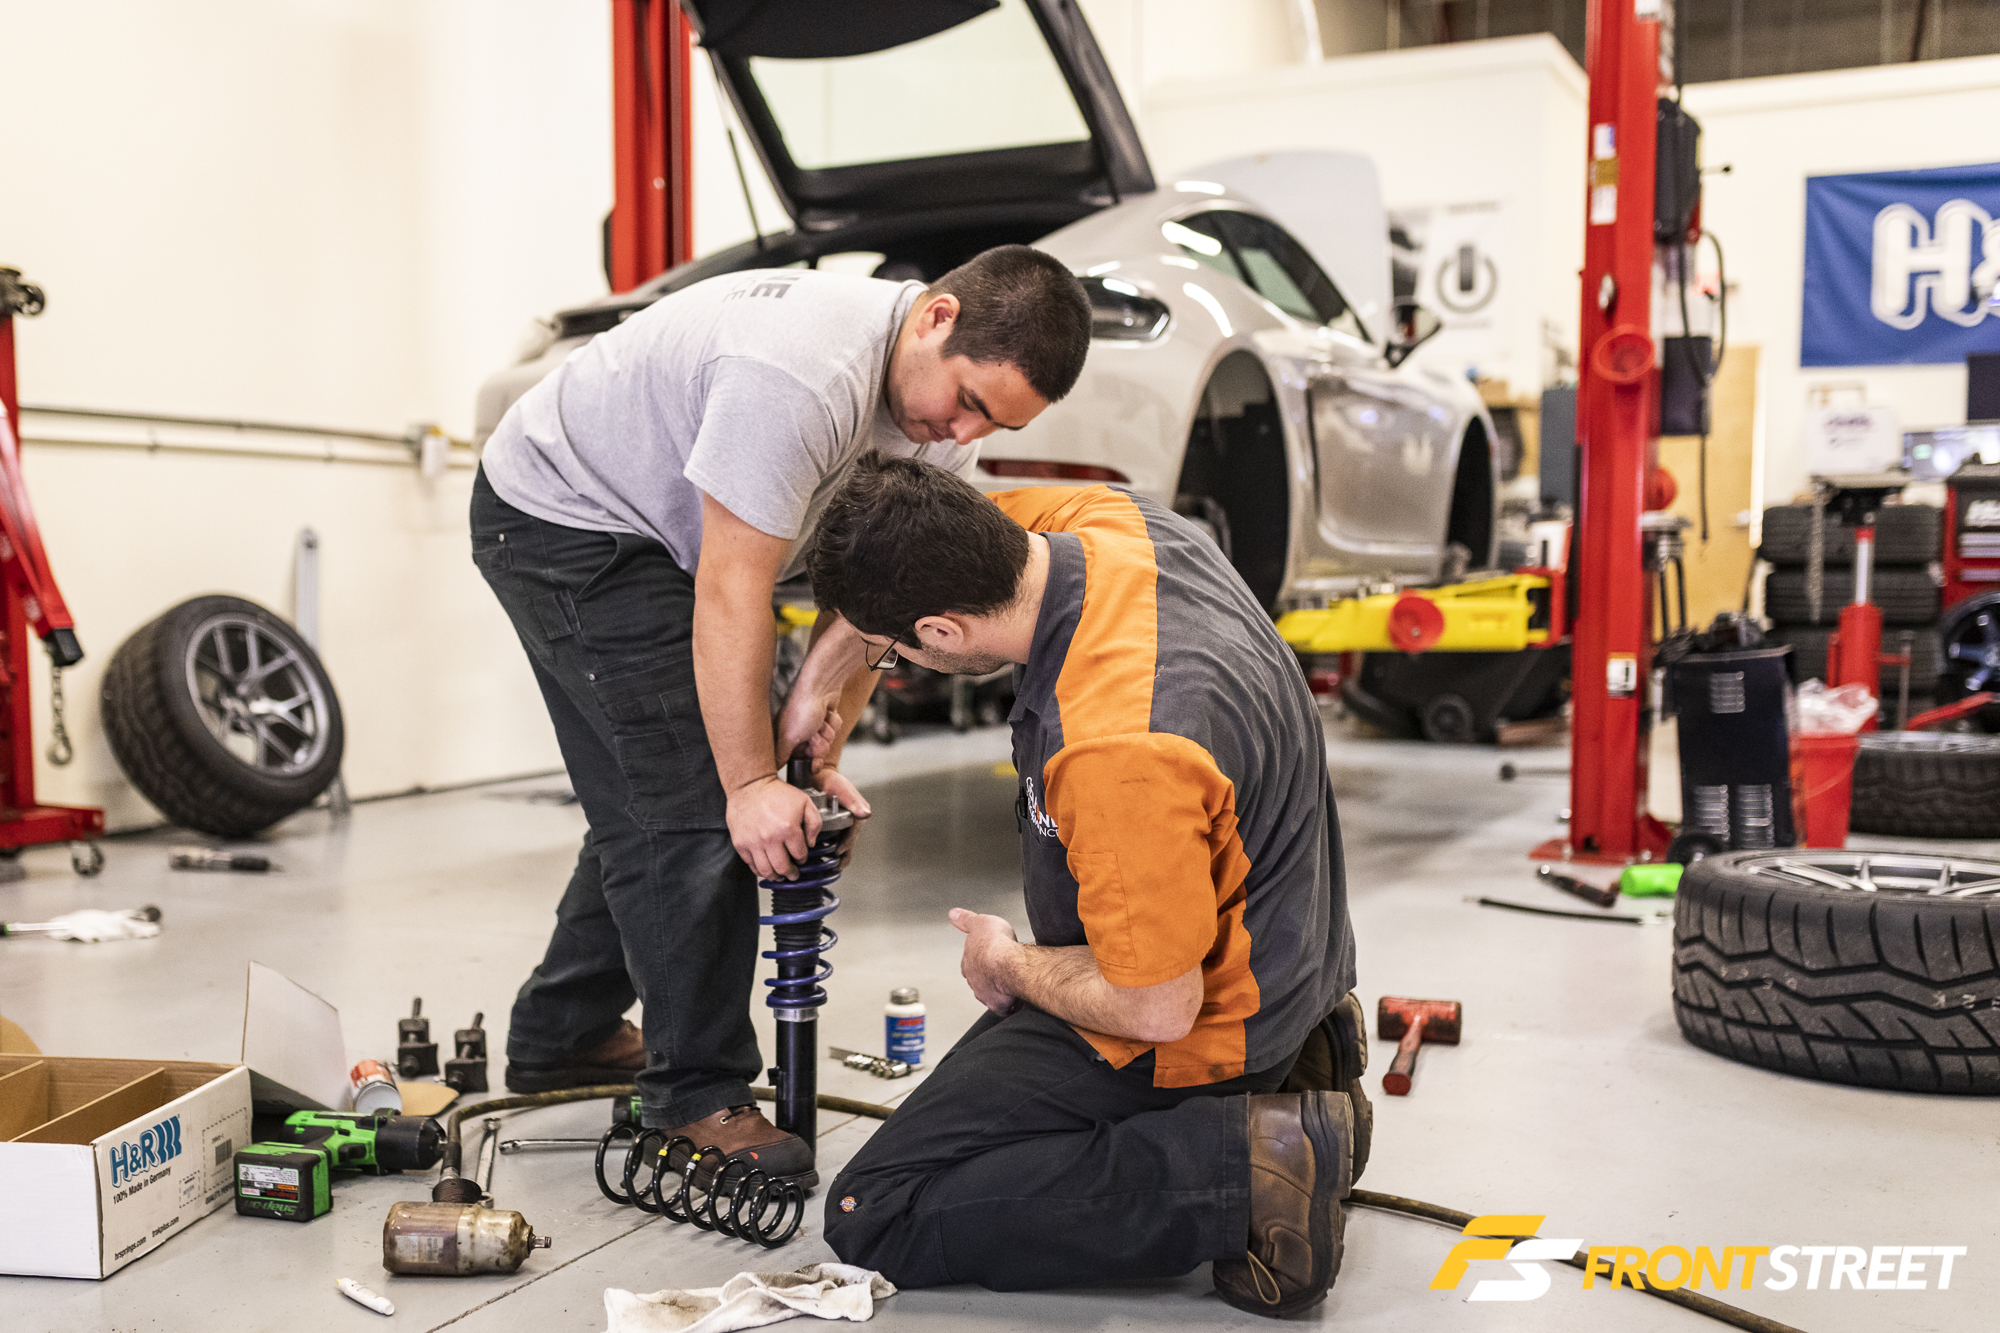
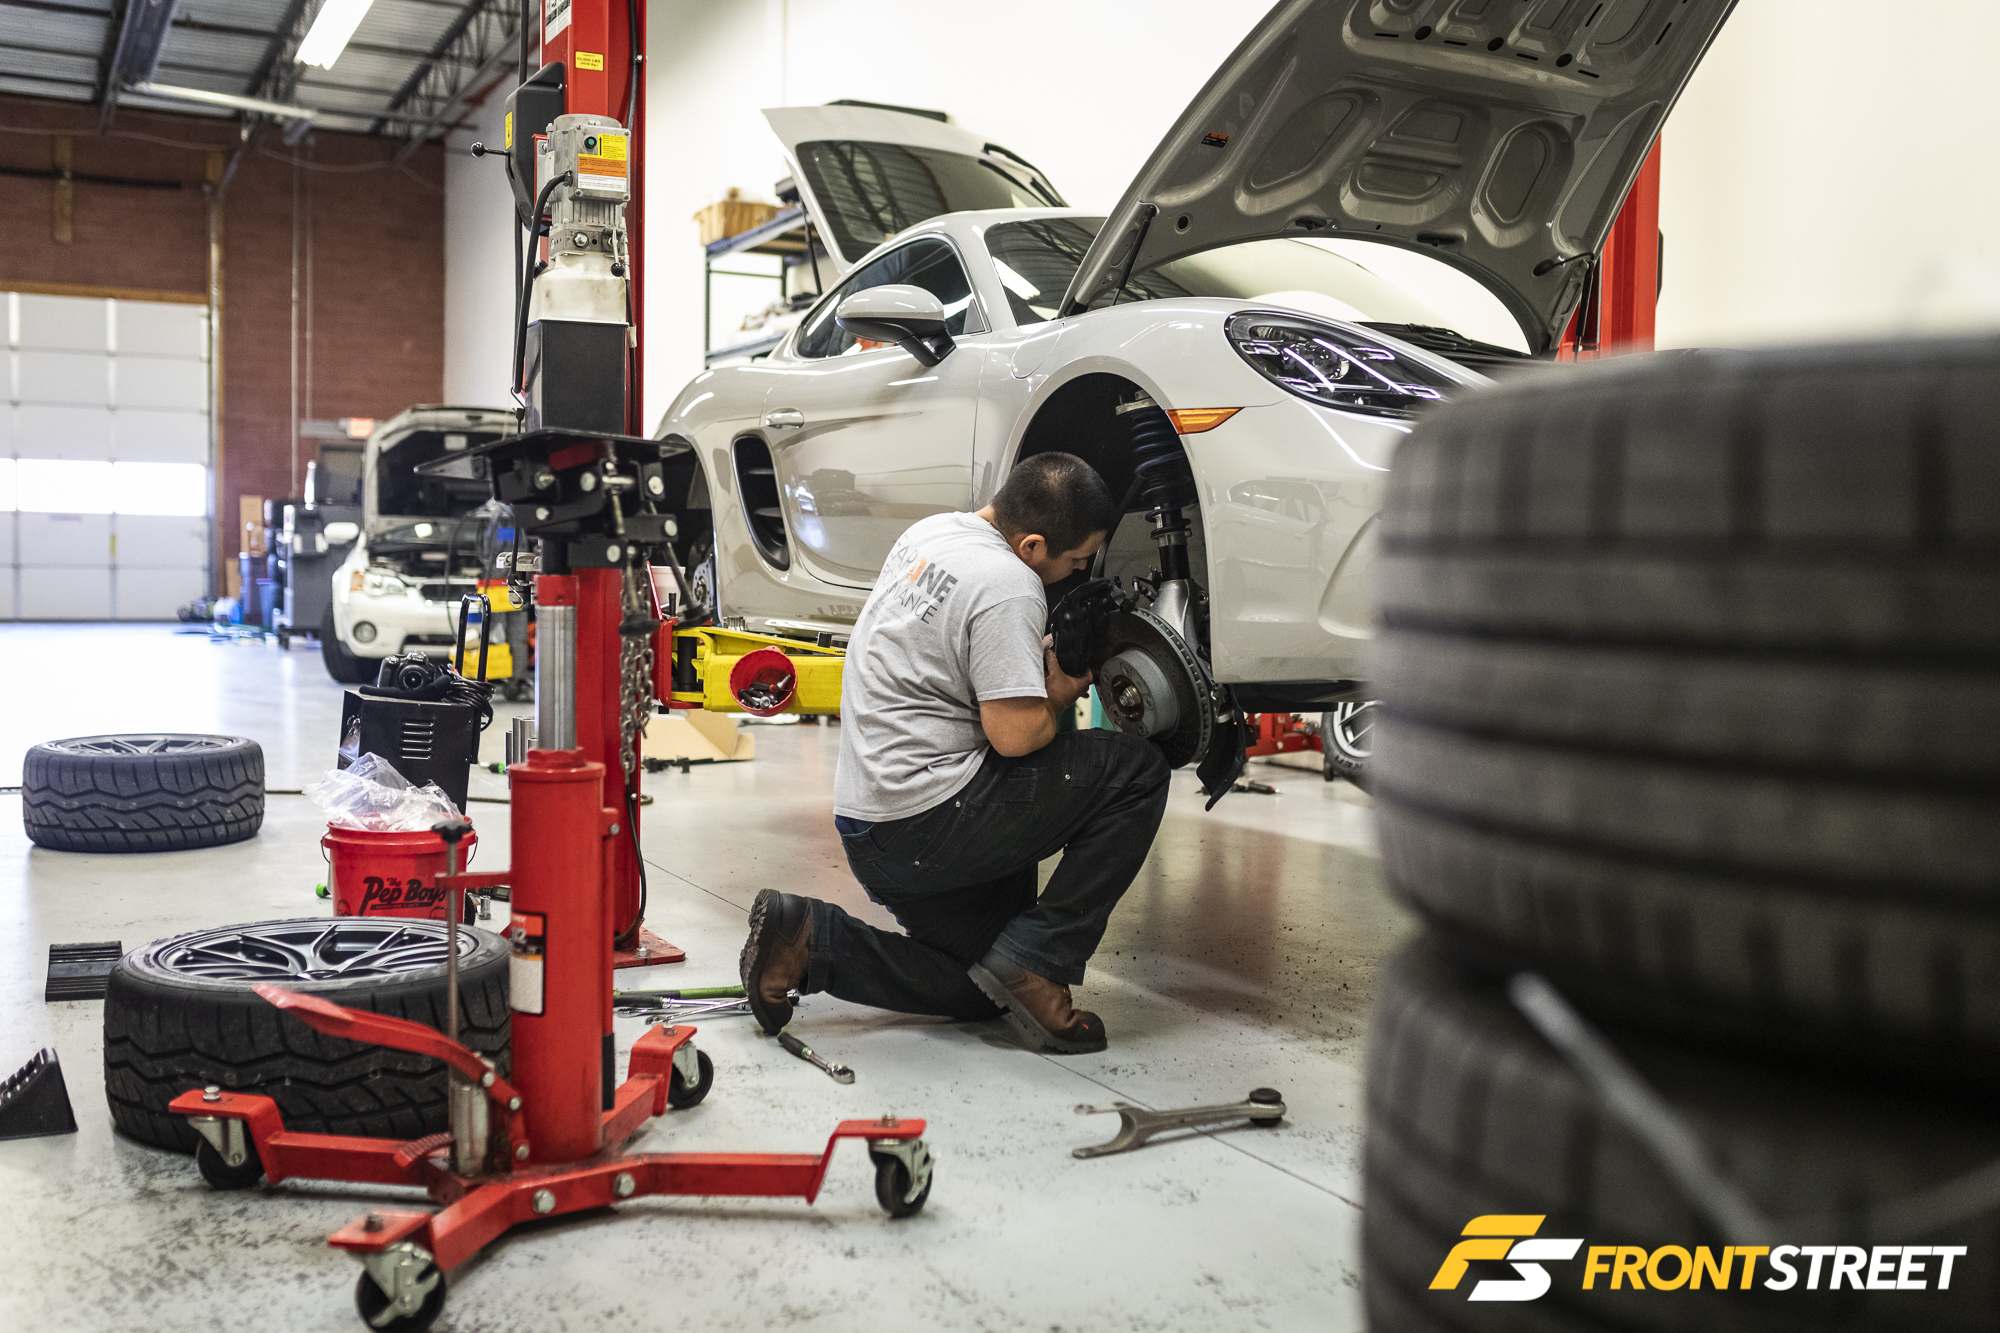
In the front of the car, the process isn’t much different, with one caveat—not everything has to come out of the car. The Cayman’s underbody tray is removed for access, and the forward link is removed so that the spindle can be pushed down. This allows the top of the strut to clear the fenderwell. The ride-height sensor is also unbolted to give the lower control arm enough free-swing to push it down. The spring change is the easy part. It’s getting everything else out of the way that makes it so time-consuming.
In Conclusion
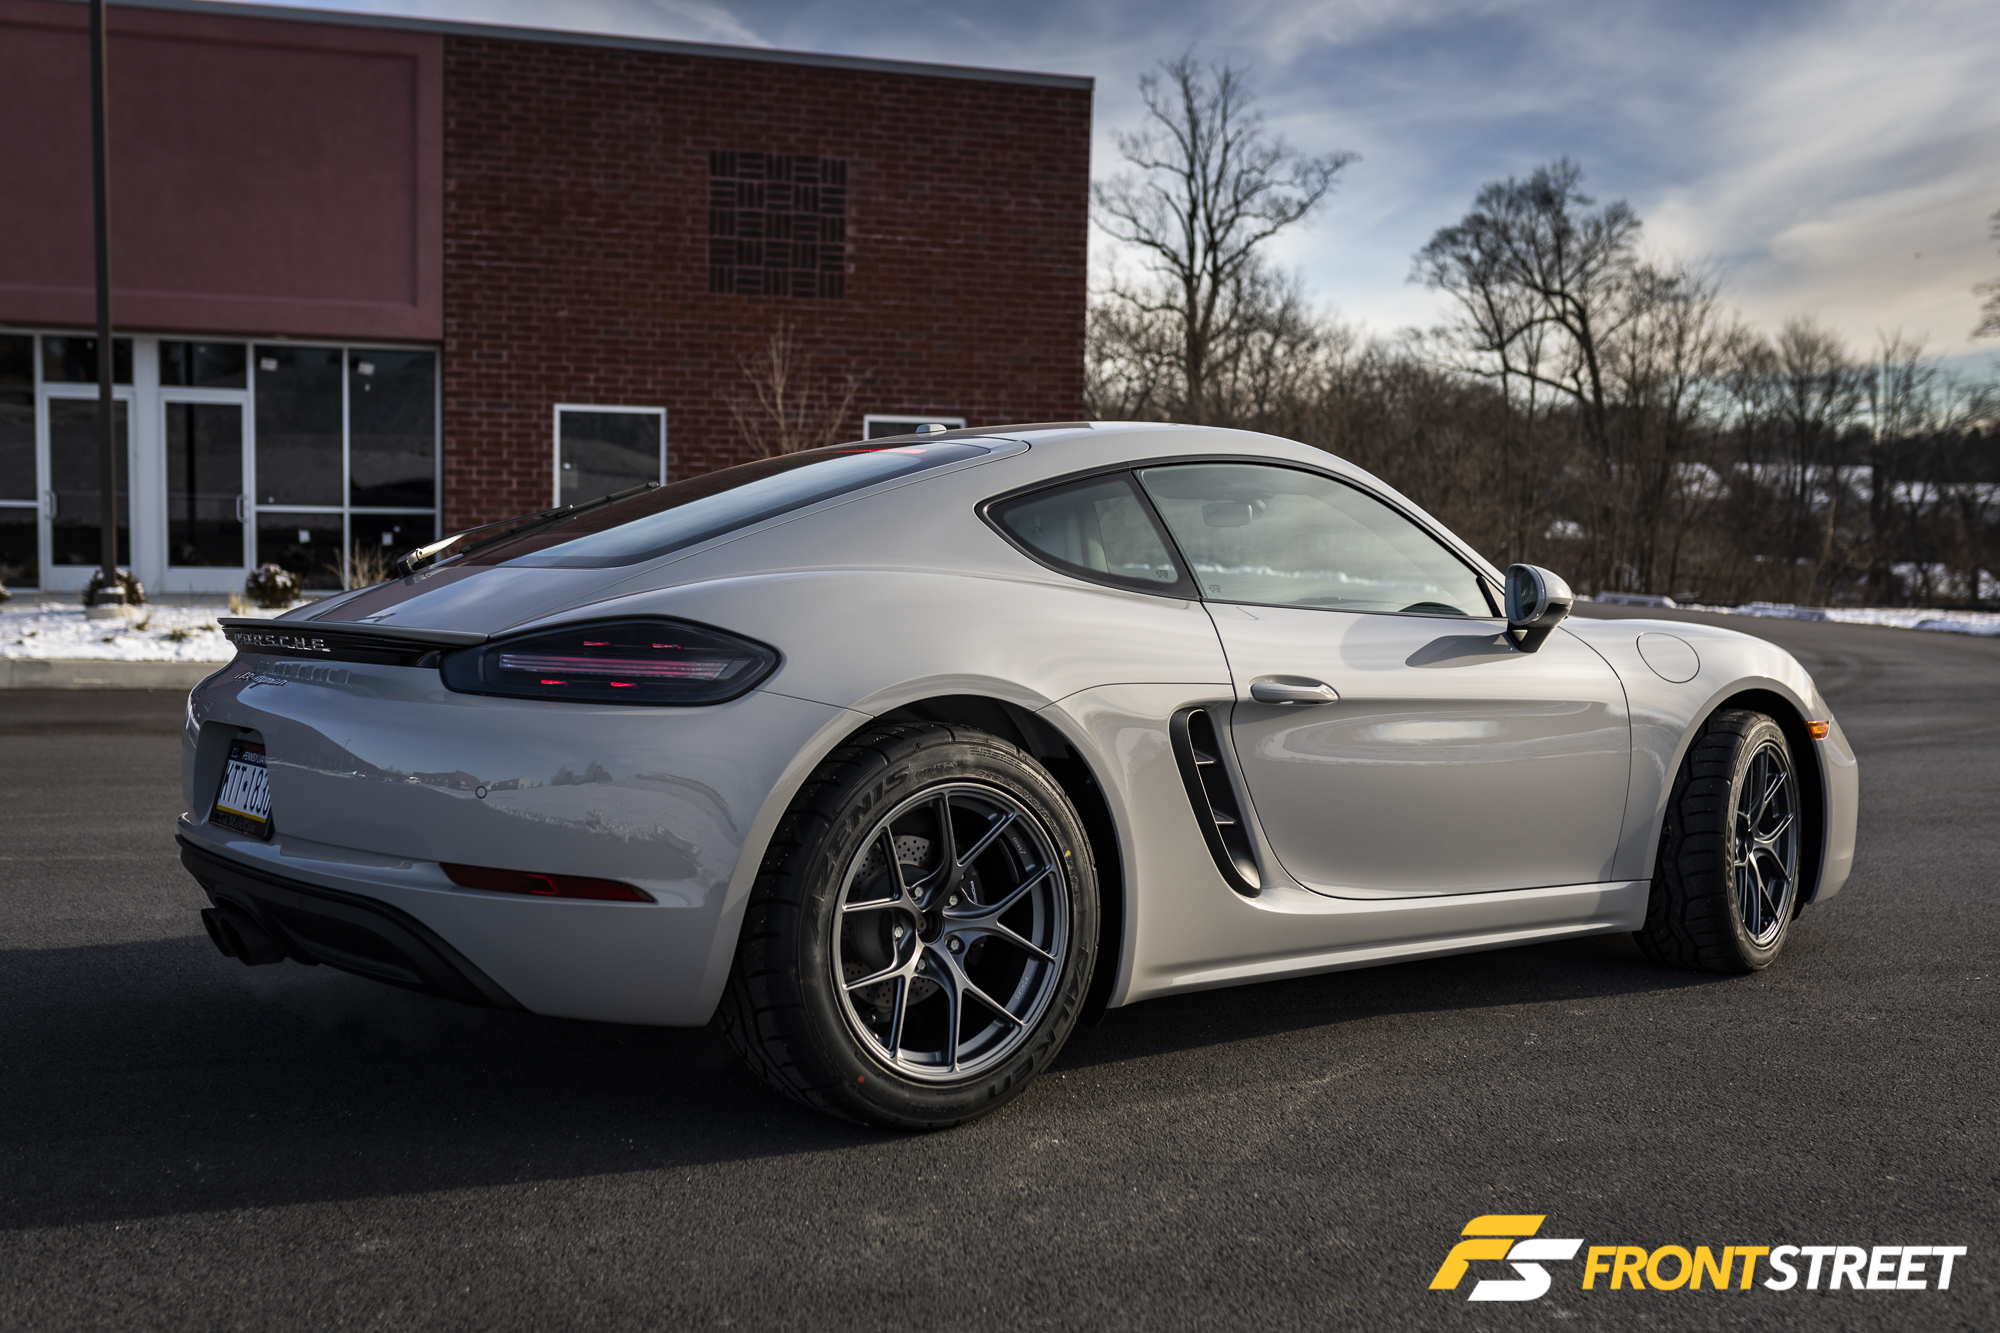
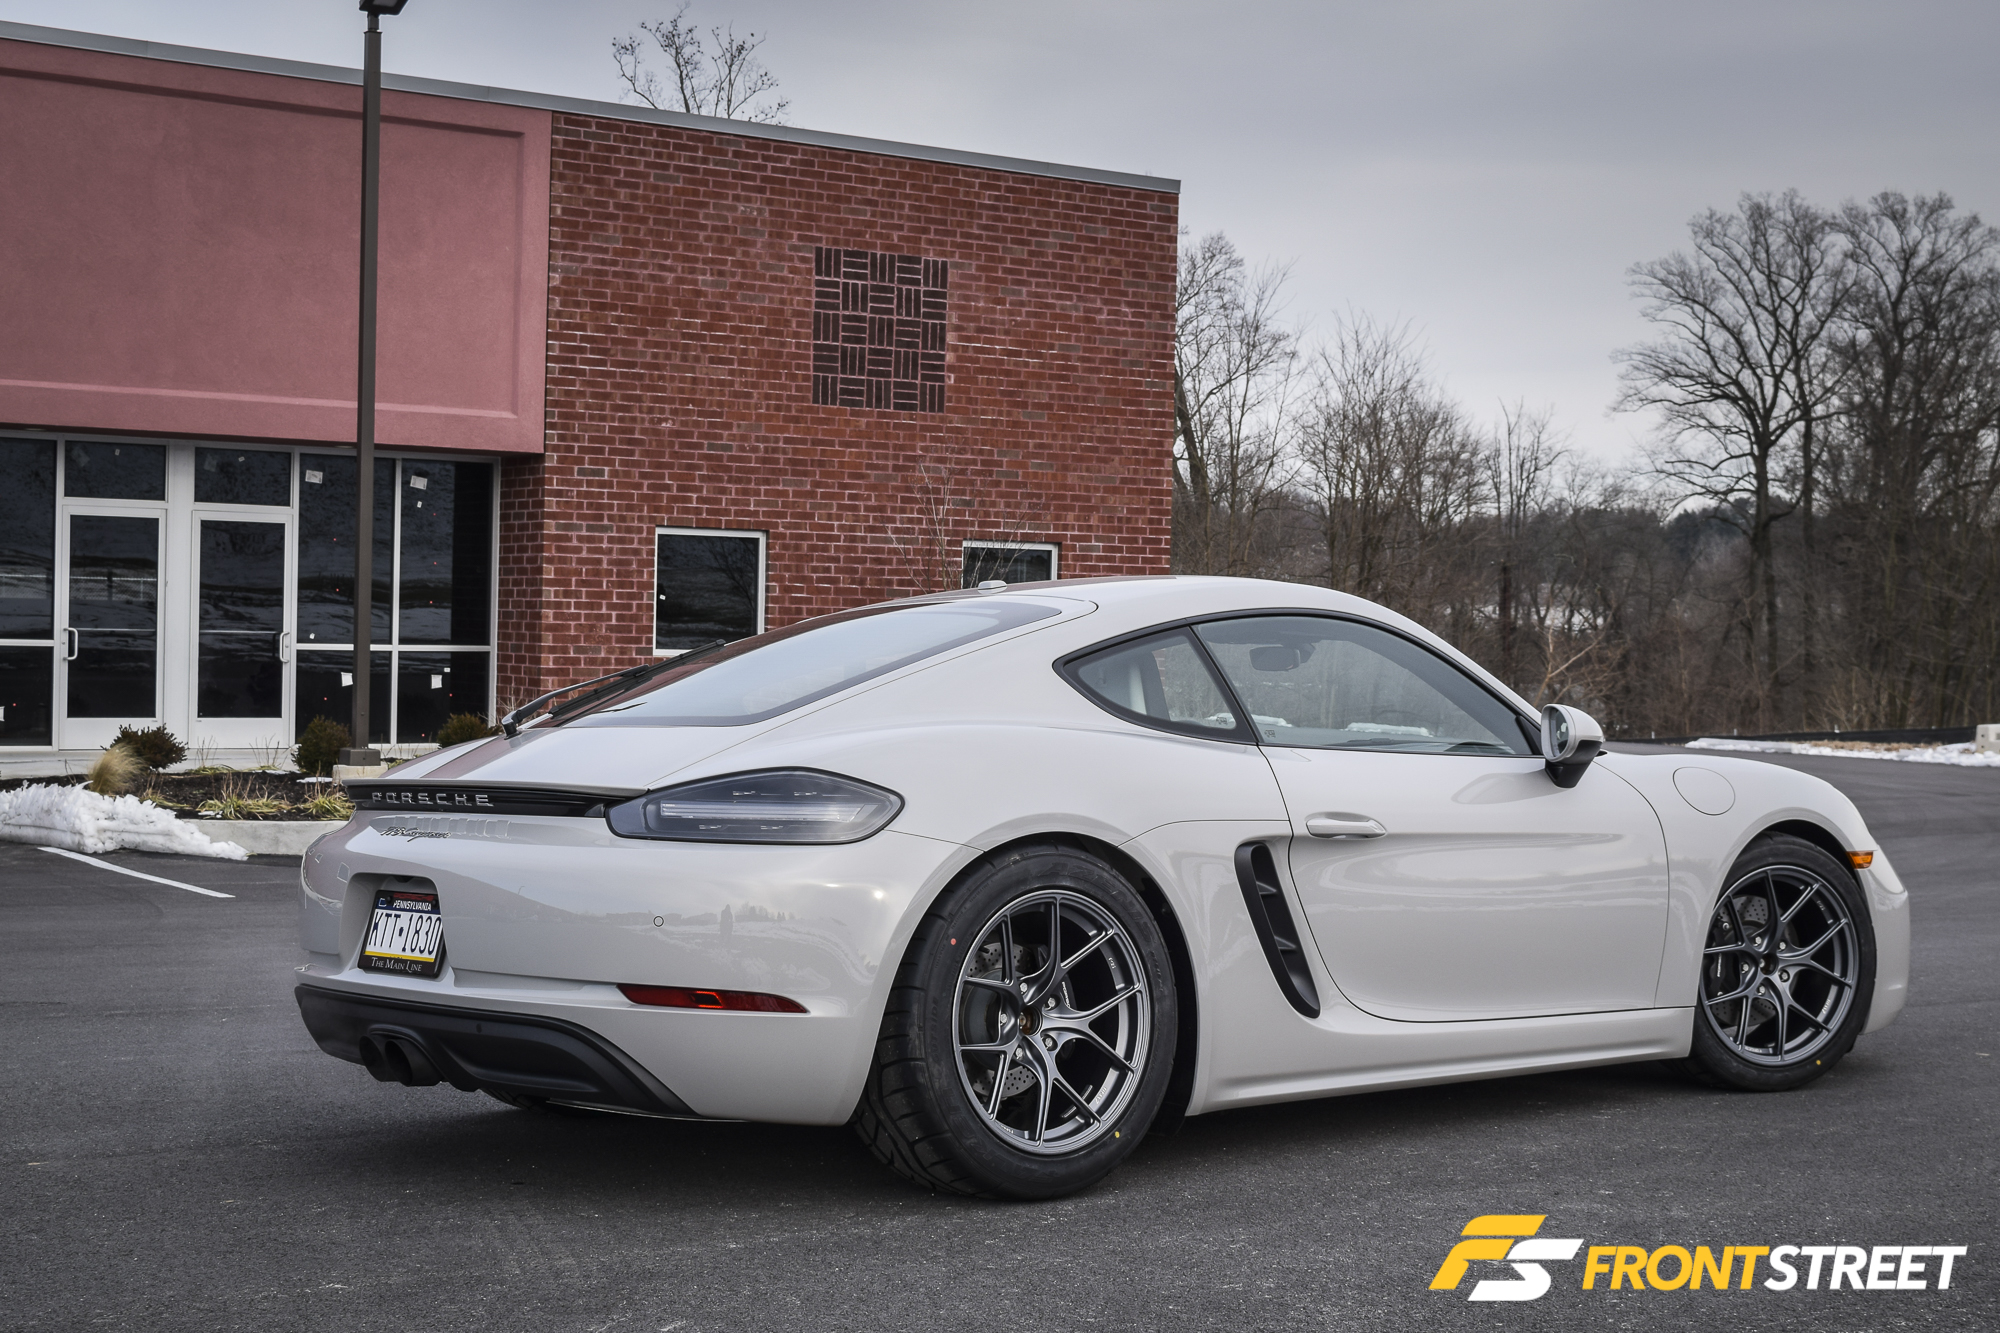
A before-and-after of the car with the new H&R Super Sport coils installed. As you can see, the fender gap has been reduced substantially. The tire fills the wheelwell more effectively and the car’s attitude is markedly improved. All in all, a solid improvement in appearance. Since Tom’s driving it every day, it’s his impression which matters most. Now, we’ve ridden in plenty of cars that don’t ride nicely after they’ve been spring-swapped, but he says that’s not the case.
To note: in the before photo, the car has 255/40-18 (F) and 295/40/18 (R) Falken Azenis tires on it. After setting the car back down on the ground and taking a look at it, Lang decided they were just a smidge too tall in the back with the springs installed (middle photo). Subsequently, a set of Bridgestone Potenza 255/40-18 and 275/40-18 S007 tires were set into place, seen in the photo of the car on the alignment rack.
“The car feels more stable at higher speeds, turn-in feels slightly crisper, and the springs don’t seem to mess with the OEM ride quality too much. Nothing over the top, which is what I wanted,” says Lang.
All in all, swapping in these new springs are a relatively inexpensive upgrade—this is a Porsche, after all, with typical Porsche labor costs—that pays decent dividends from the driver’s seat.

