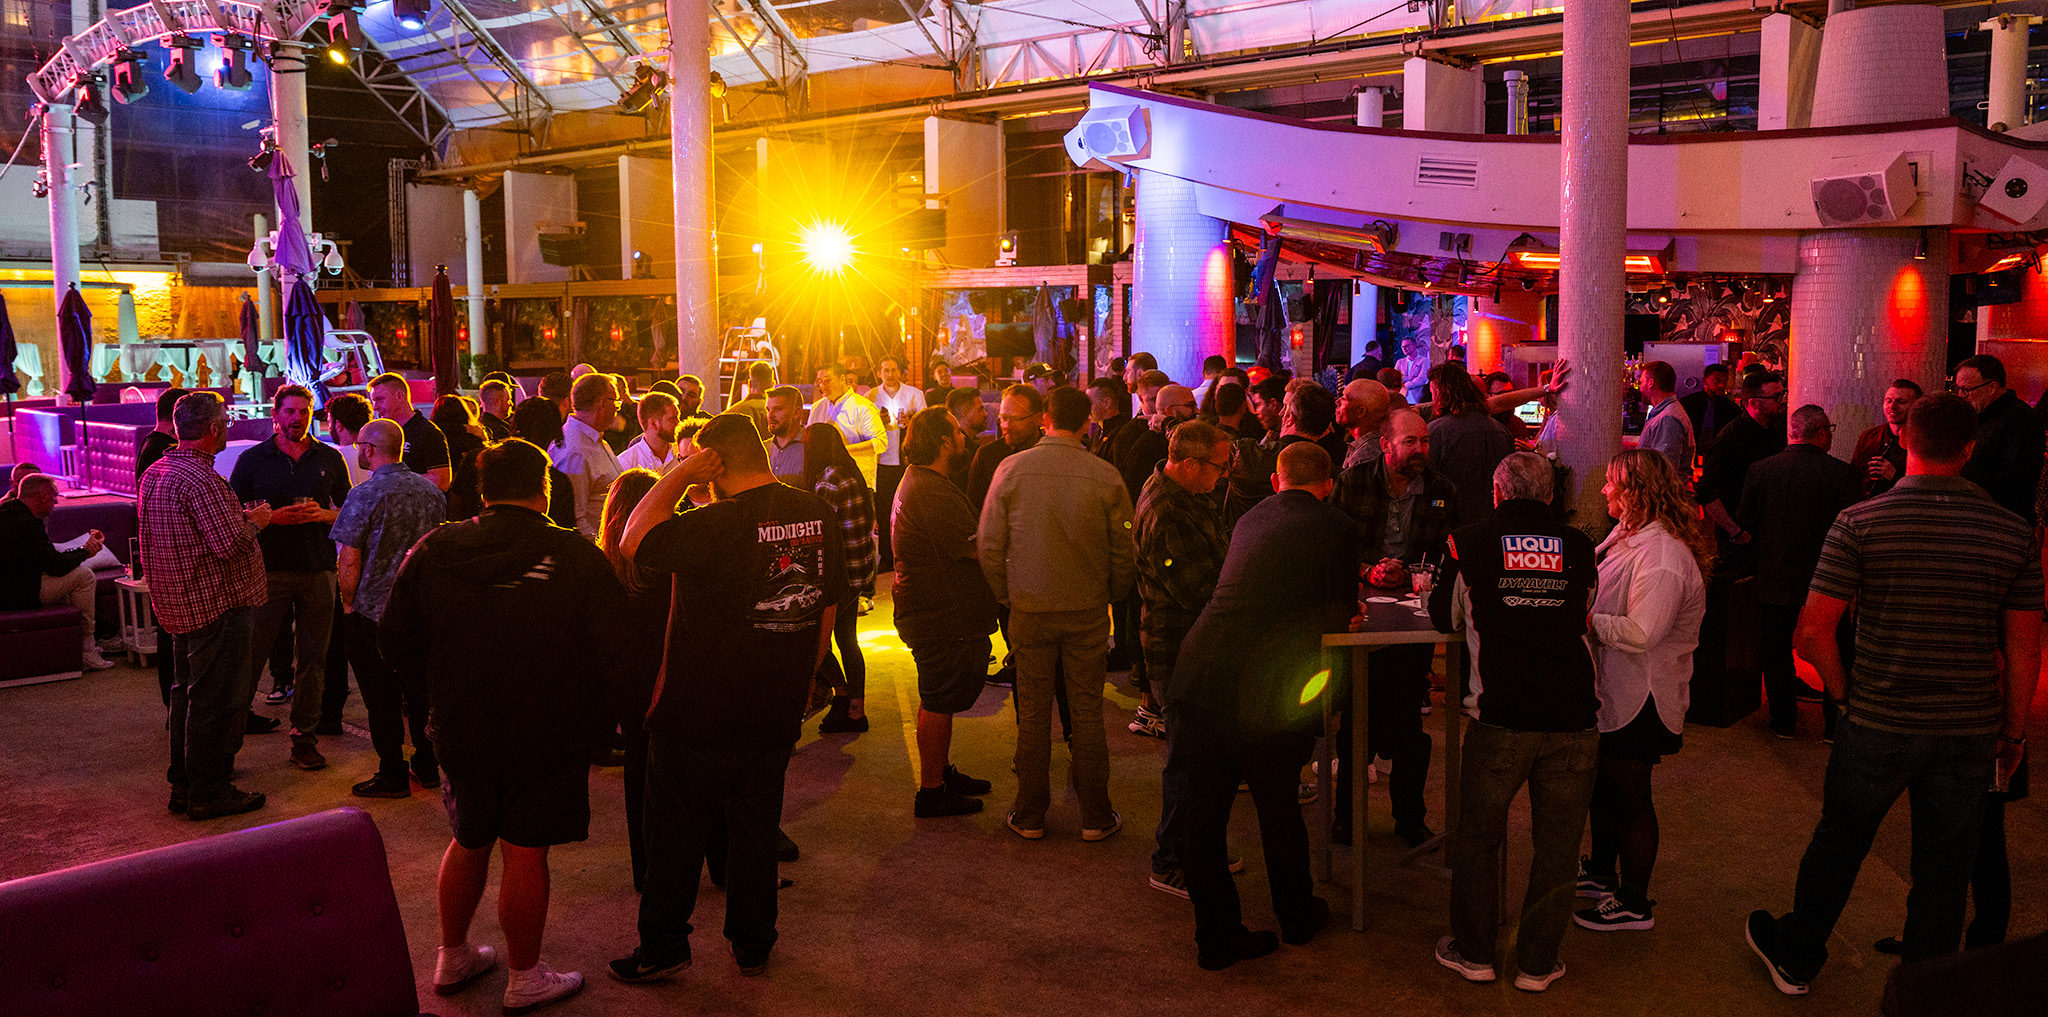
We all enjoy automobiles, right? They enrich something inside of us. Why we proceed to bankrupt ourselves isn’t explainable to someone who isn’t enamored with the hobby, as we dedicate every spare moment to working on them or thinking about them, and yet, we keep doing it year after year. Eventually our cars become so darn specialized that we need to purchase yet another car or truck to help traverse us through our normal commute. And thus, the daily driver is born.
These daily drivers are the backbone of our enthusiast community. The workhorses. They all start out the same way, and we all tell ourselves the same sad story. This one, I’m keeping stock. I’m not going to touch it. Really!
These delusions of grandeur only last so long, because eventually we all cave—we need to scratch the modifying itch, and an alternate money pit starts to take shape—as if we weren’t already struggling to keep up with our main project.
So we embark on a mission to specialize our practical vehicle, usually to the point where it becomes much less versatile than originally intended. We’ll no longer be able to park it places we could have before. We won’t be able to pick up certain cargo that previously would have been no issue. And as moronic as it seems to every non-enthusiast we communicate with, we keep doing it, because it makes our lives just that much better.
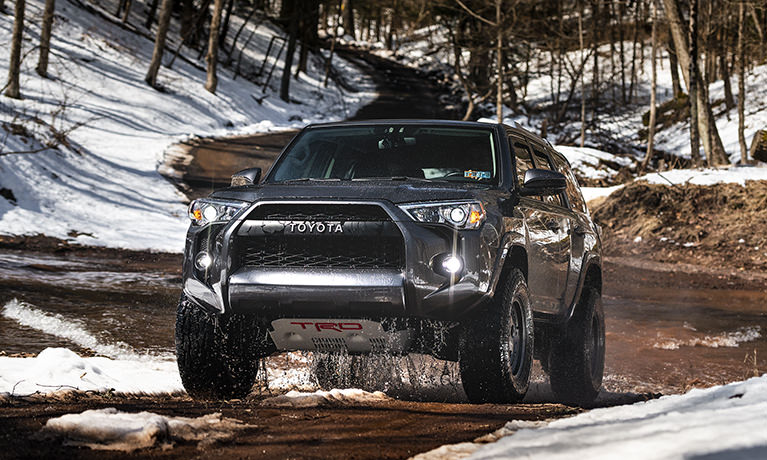
Our friend Jesse Rivera, whom only our most dedicated readers will remember as the owner of one of our very first feature cars—this Scion FR-S—has since moved on to greener, more German pastures with an E46 M3. To handle the daily workload of life, and deal with the many rigors of home ownership, he recently purchased a stock 2015 Toyota 4Runner to be used daily driver.
In keeping with the theme above, it was only a matter of time before the first lot of parts was on order, and the plans for the truck were altered. And so it began…
The Parts Pile And Bumper Removal
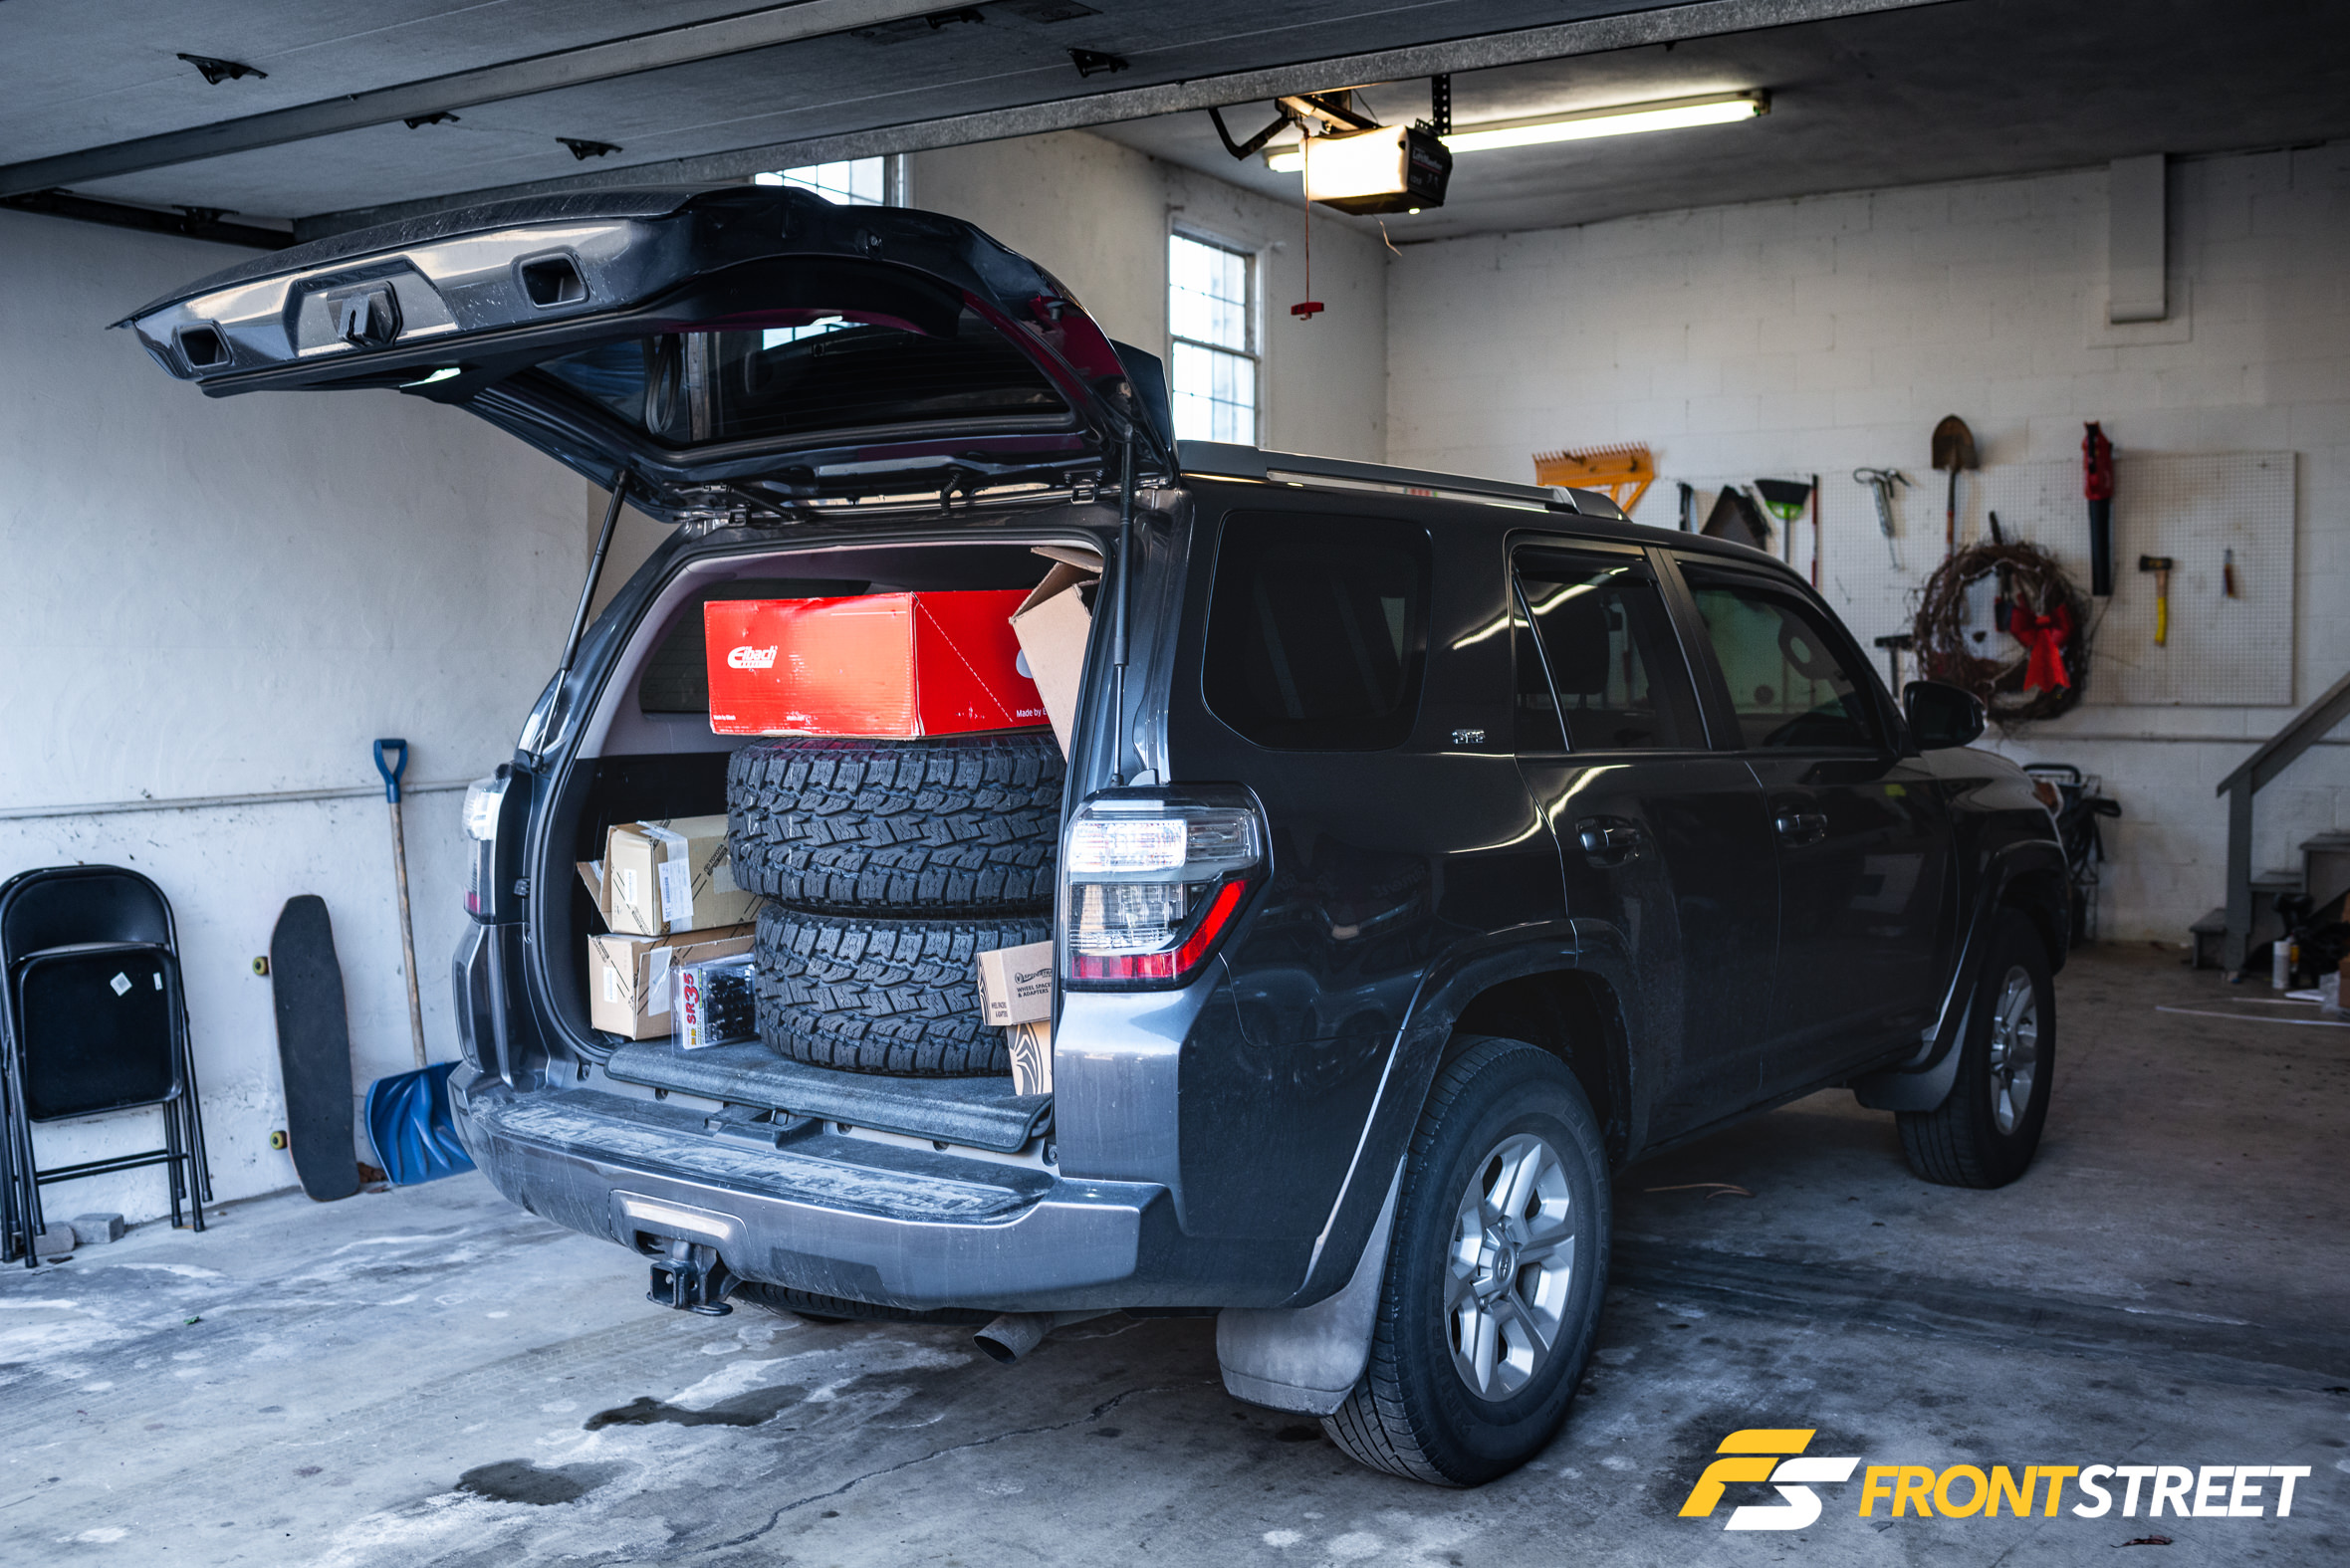
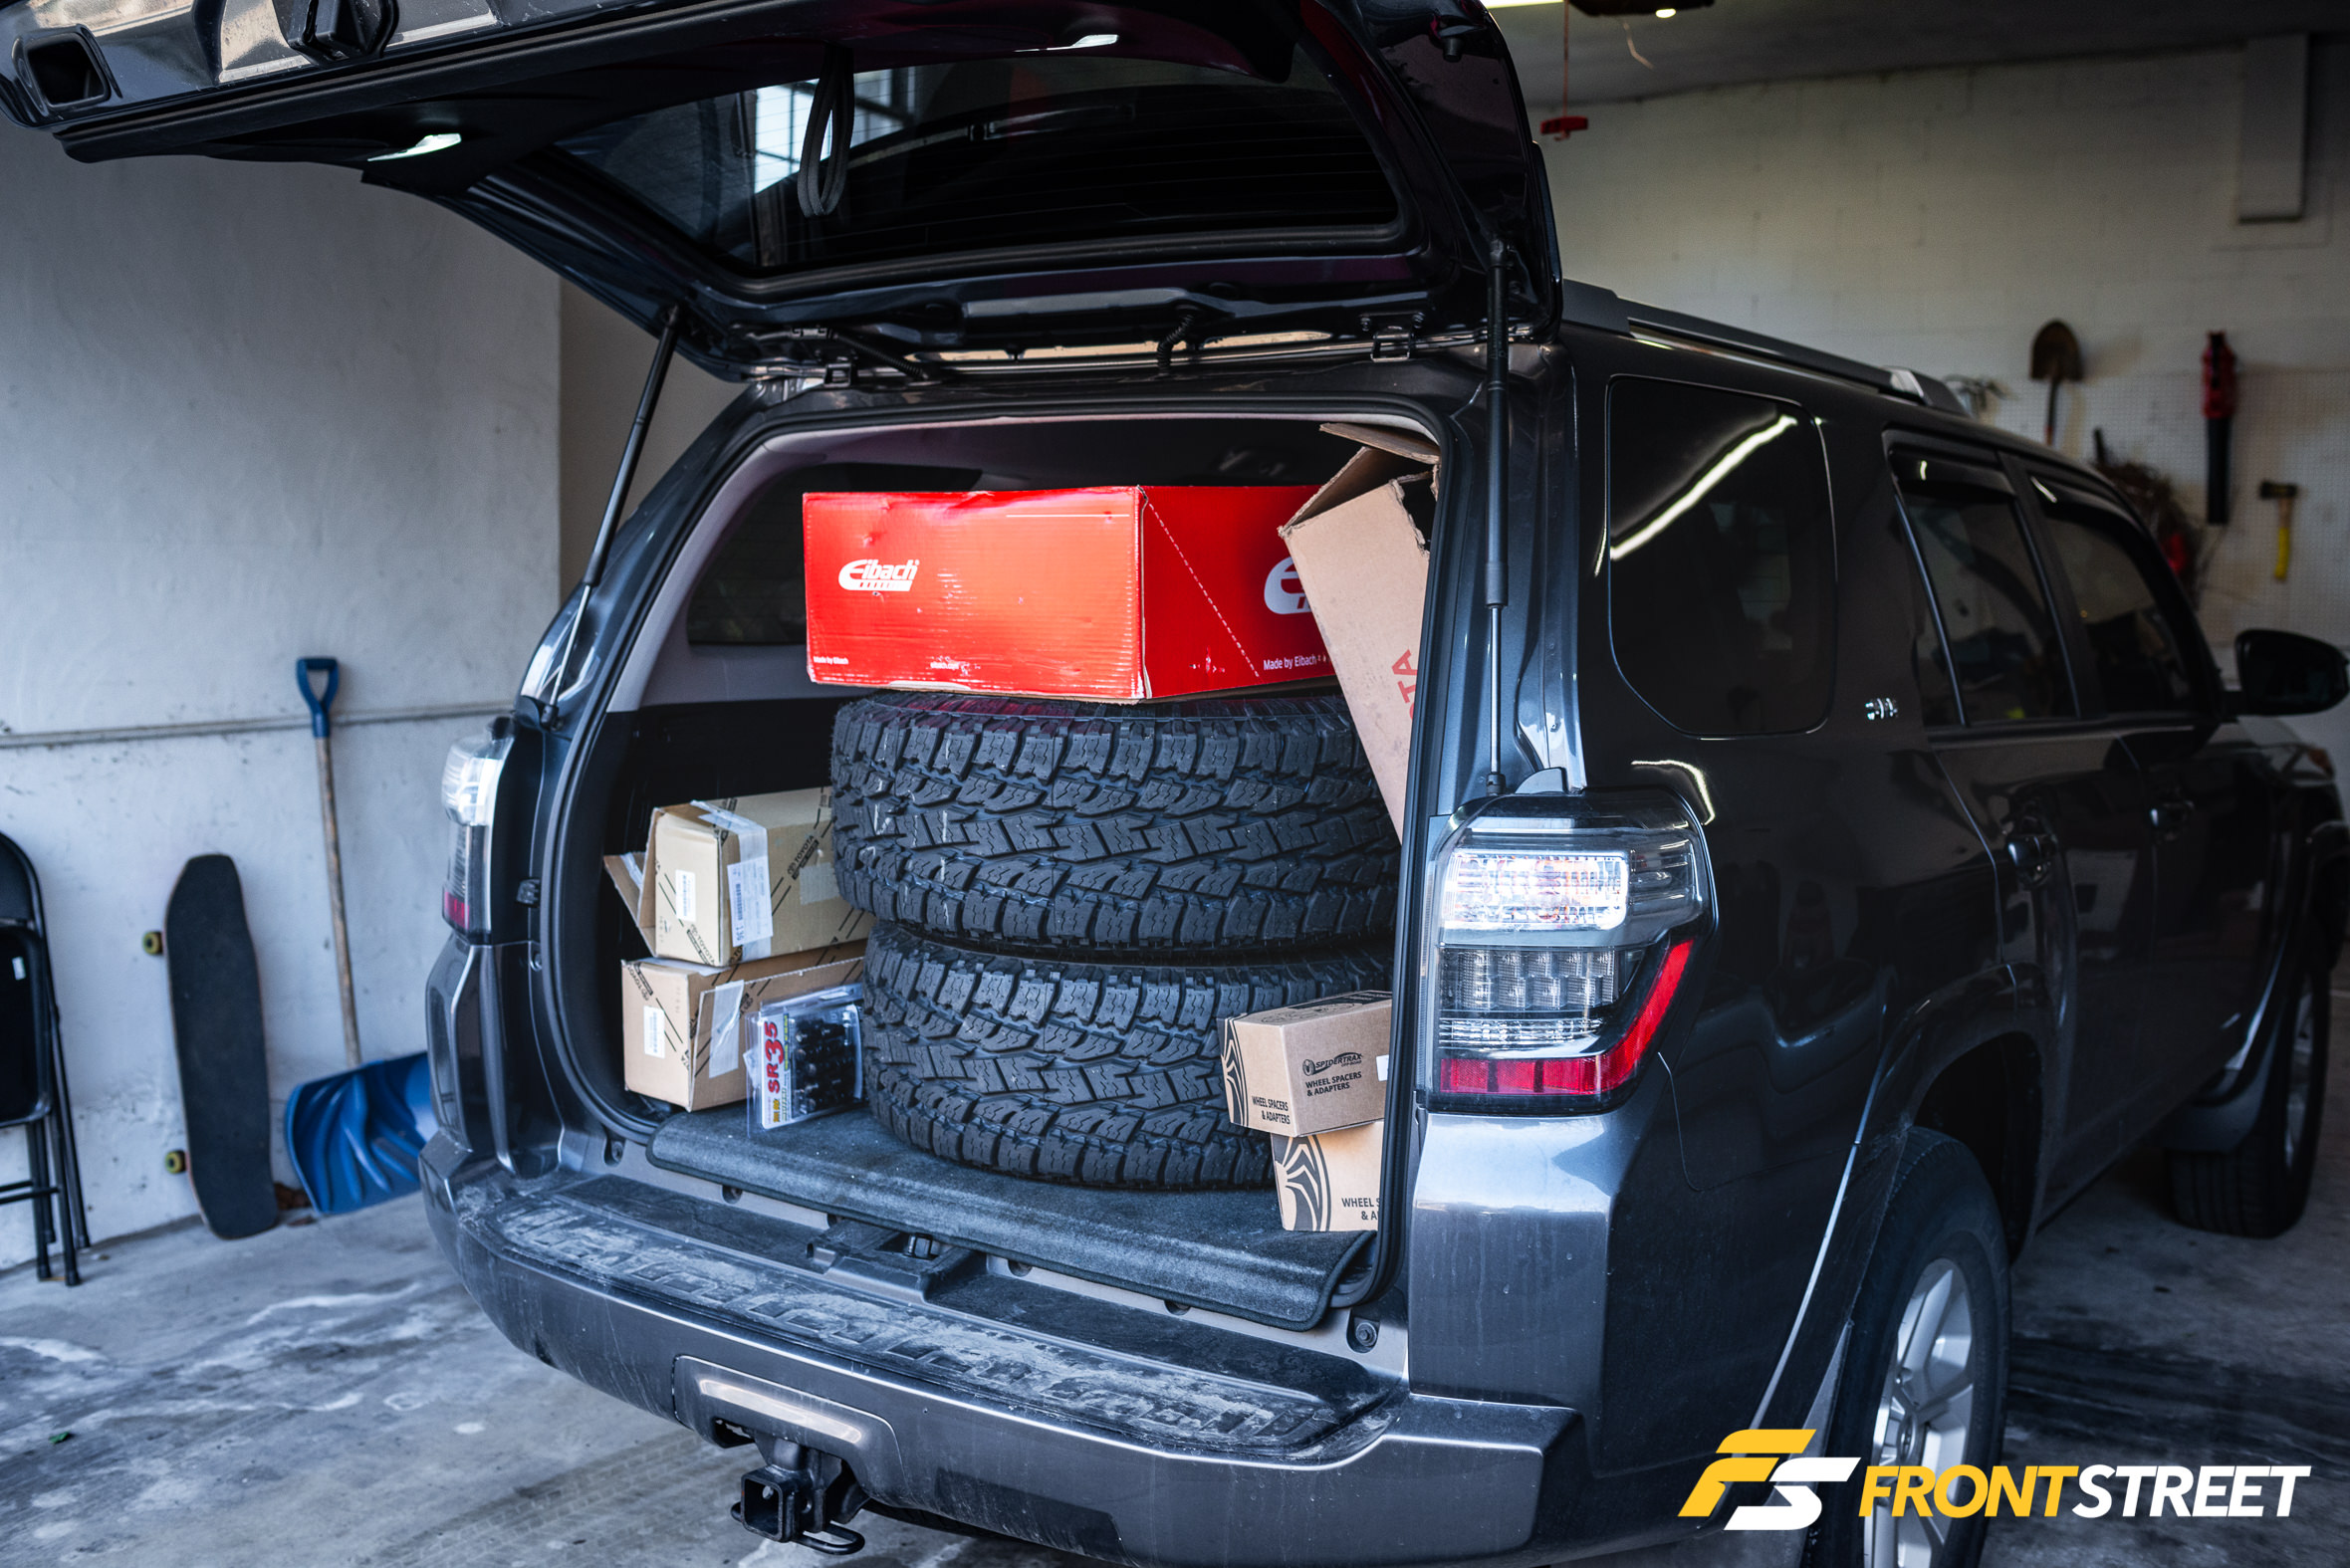
There are more than a few positives for modifying an SUV or truck, one of which is the ability to haul all your new modifications in the very vehicle you’re about to outfit. Must be nice…
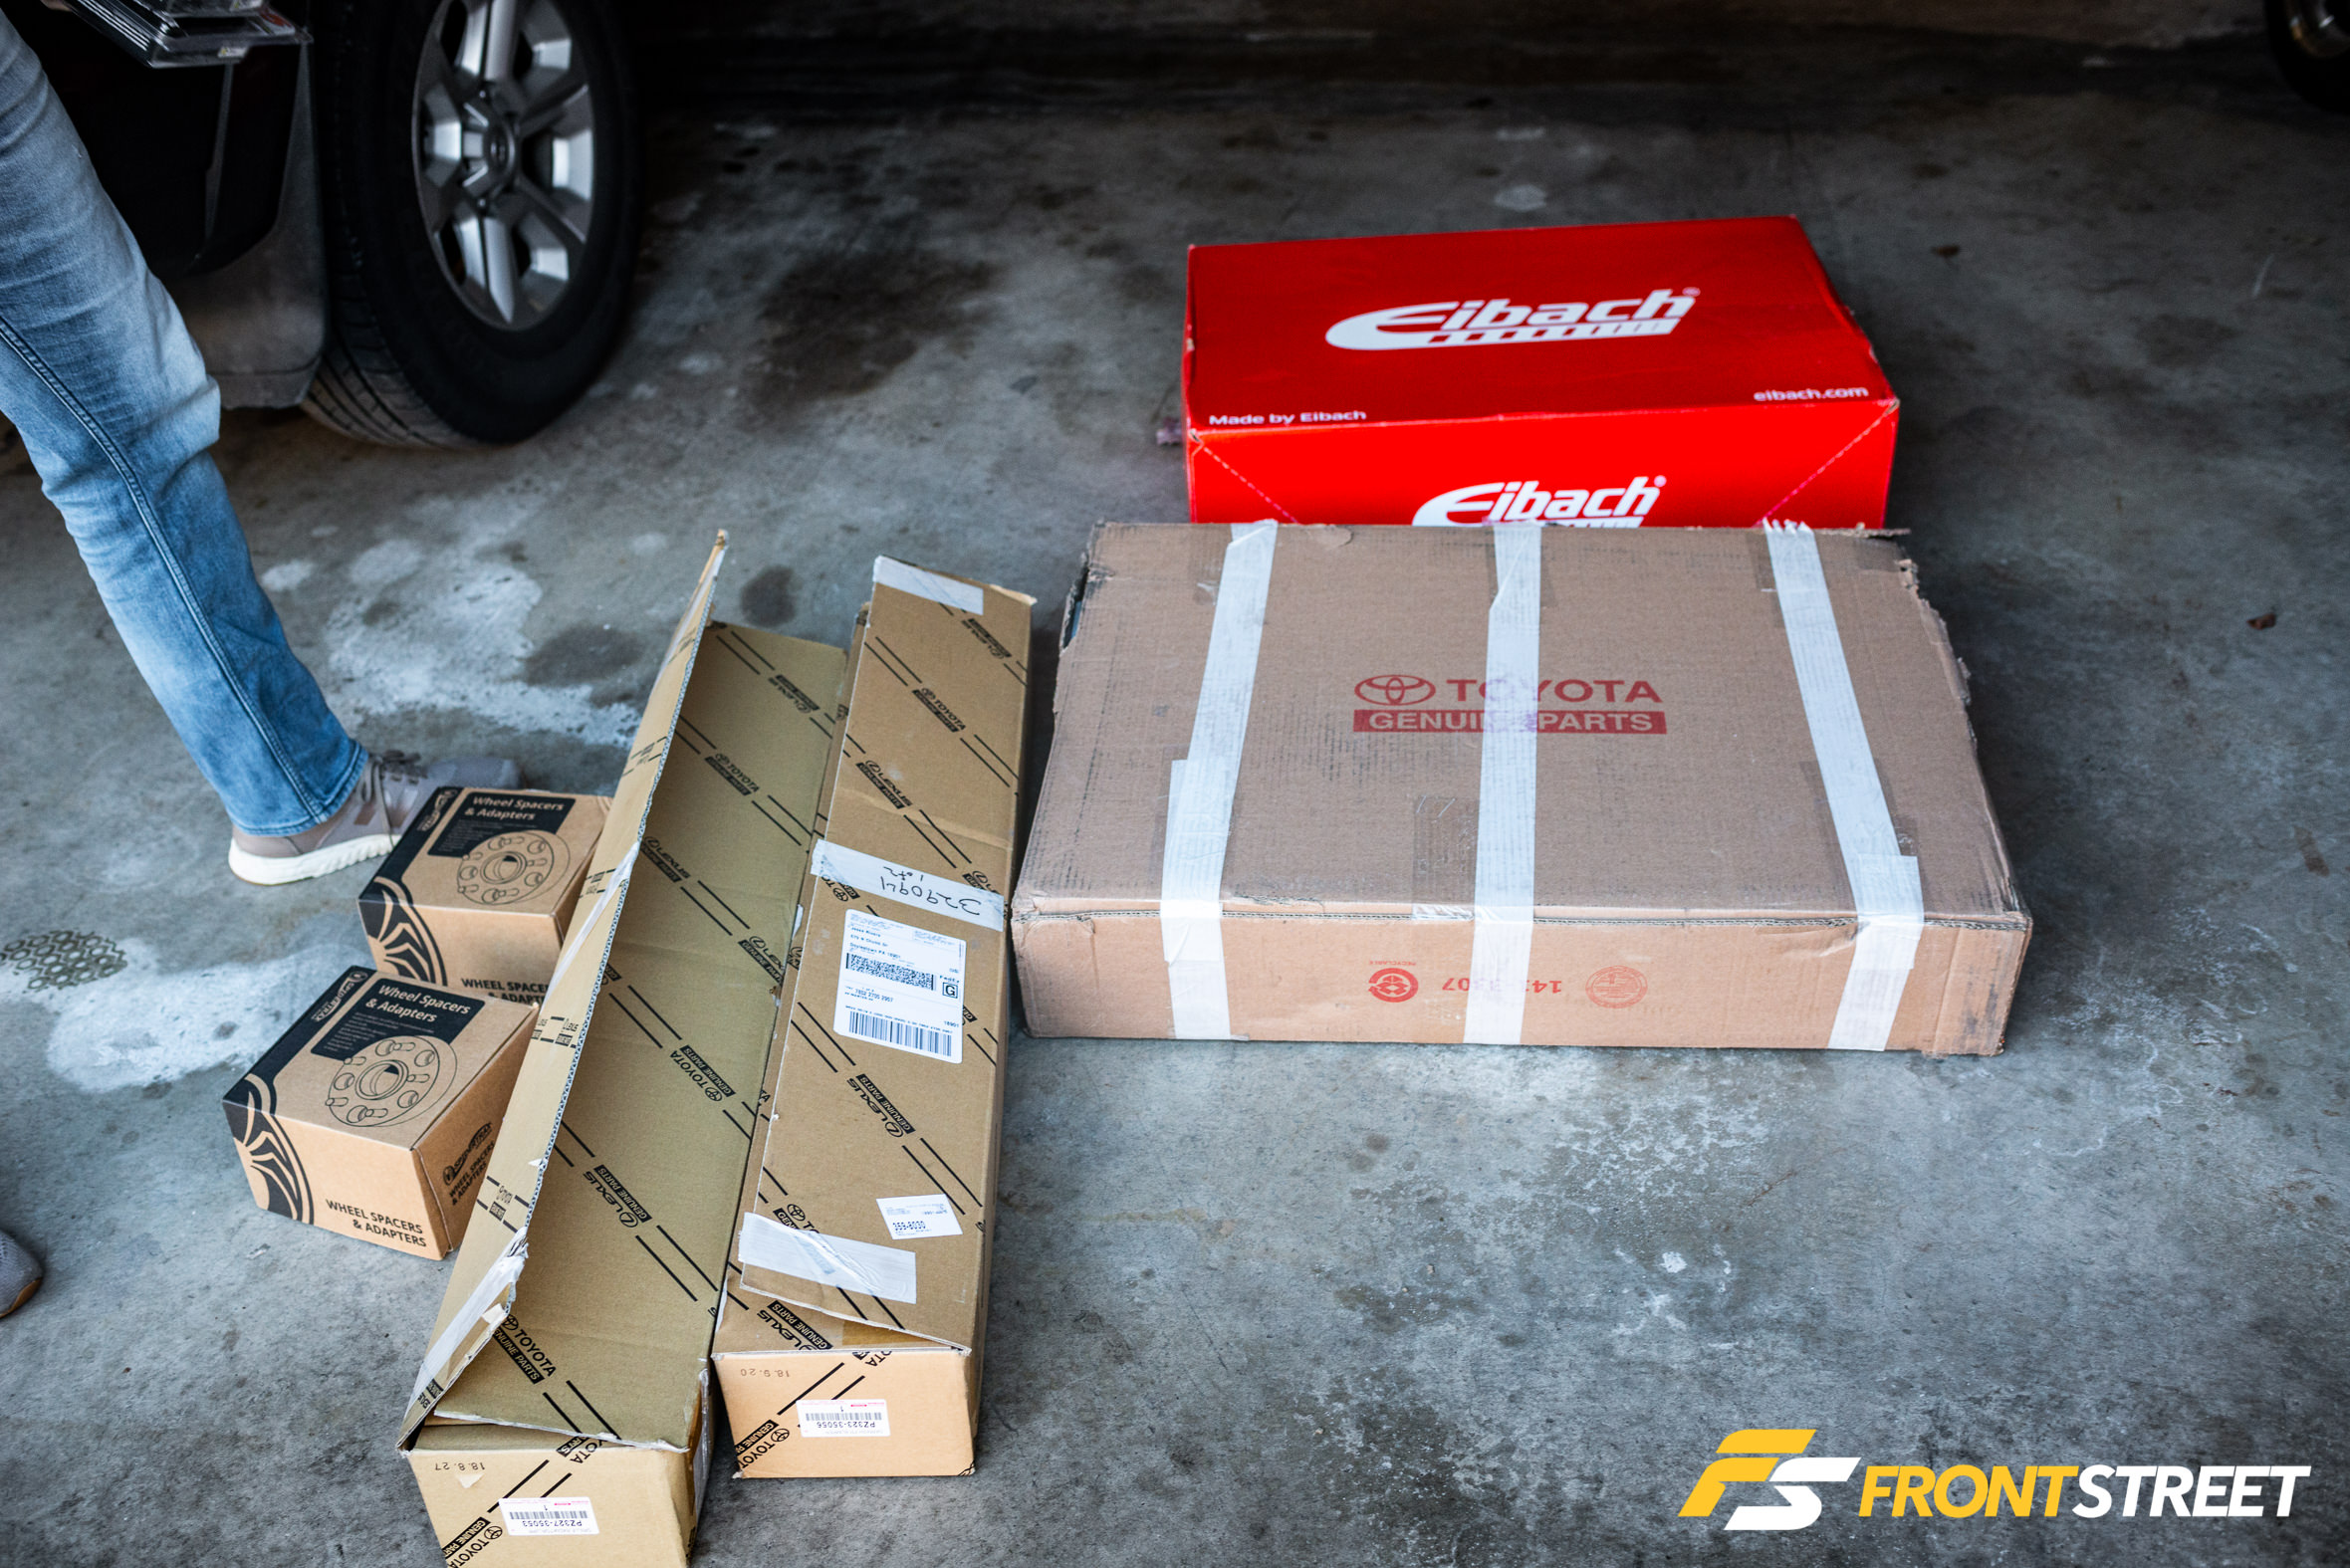
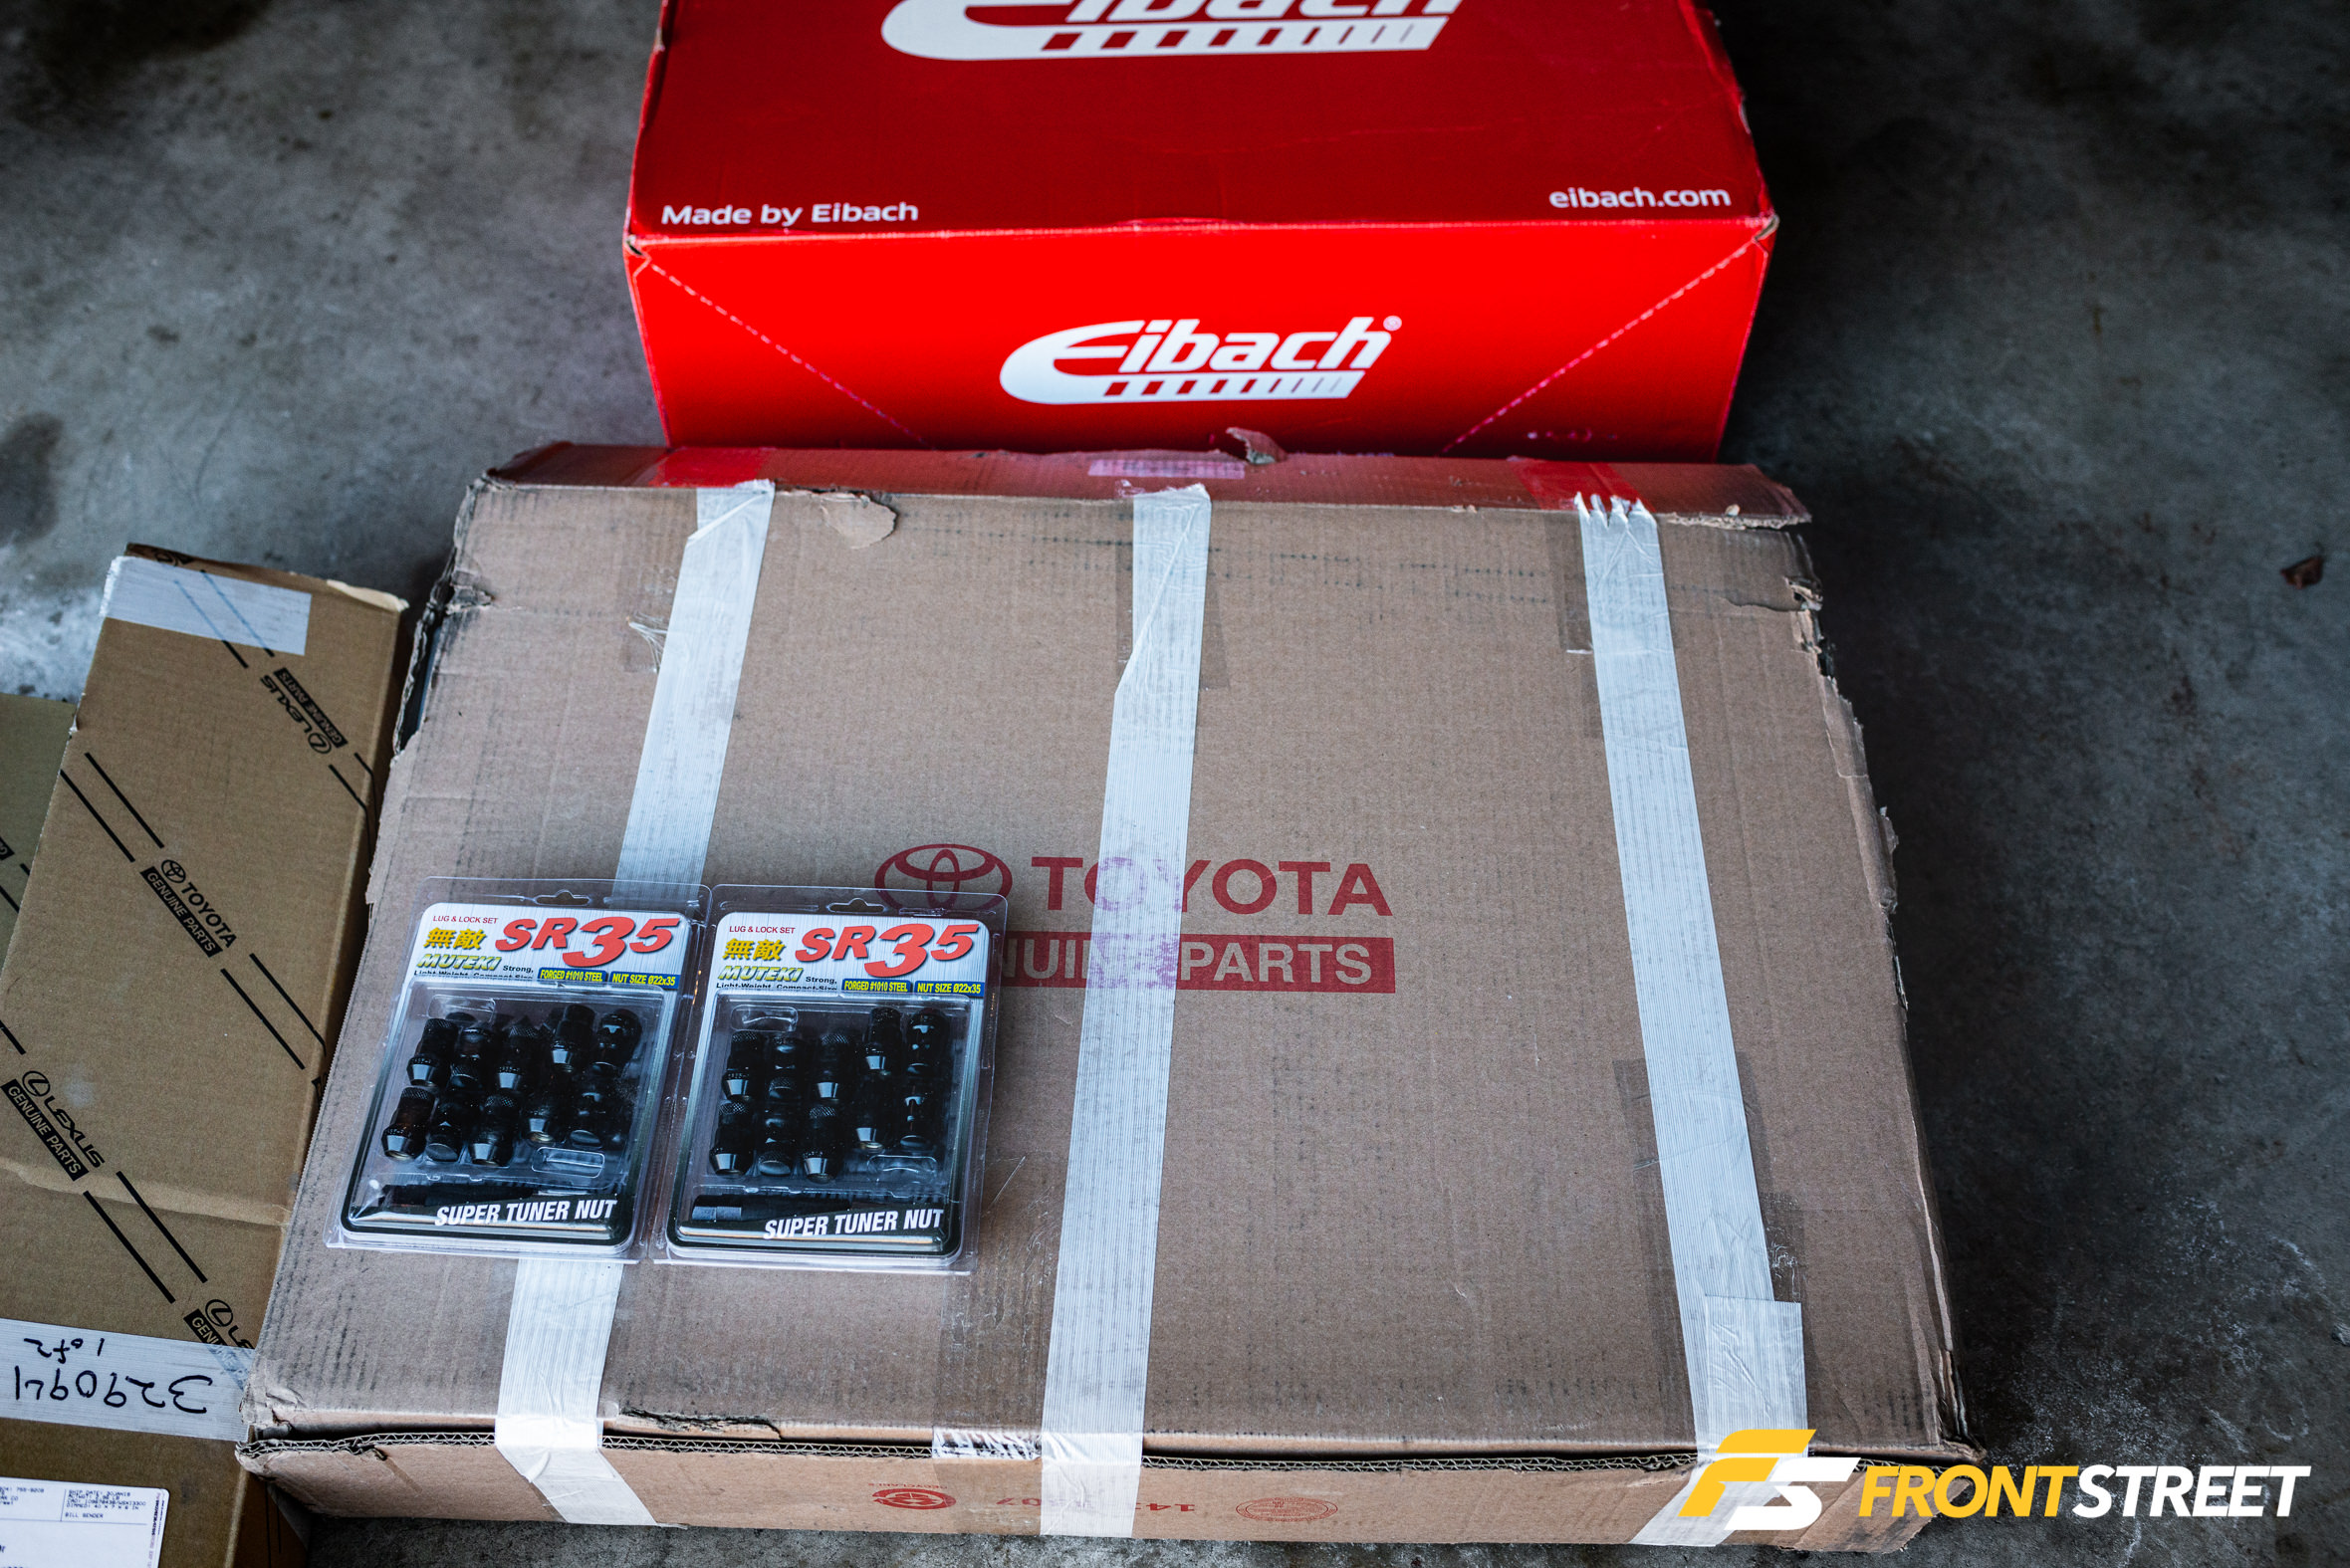
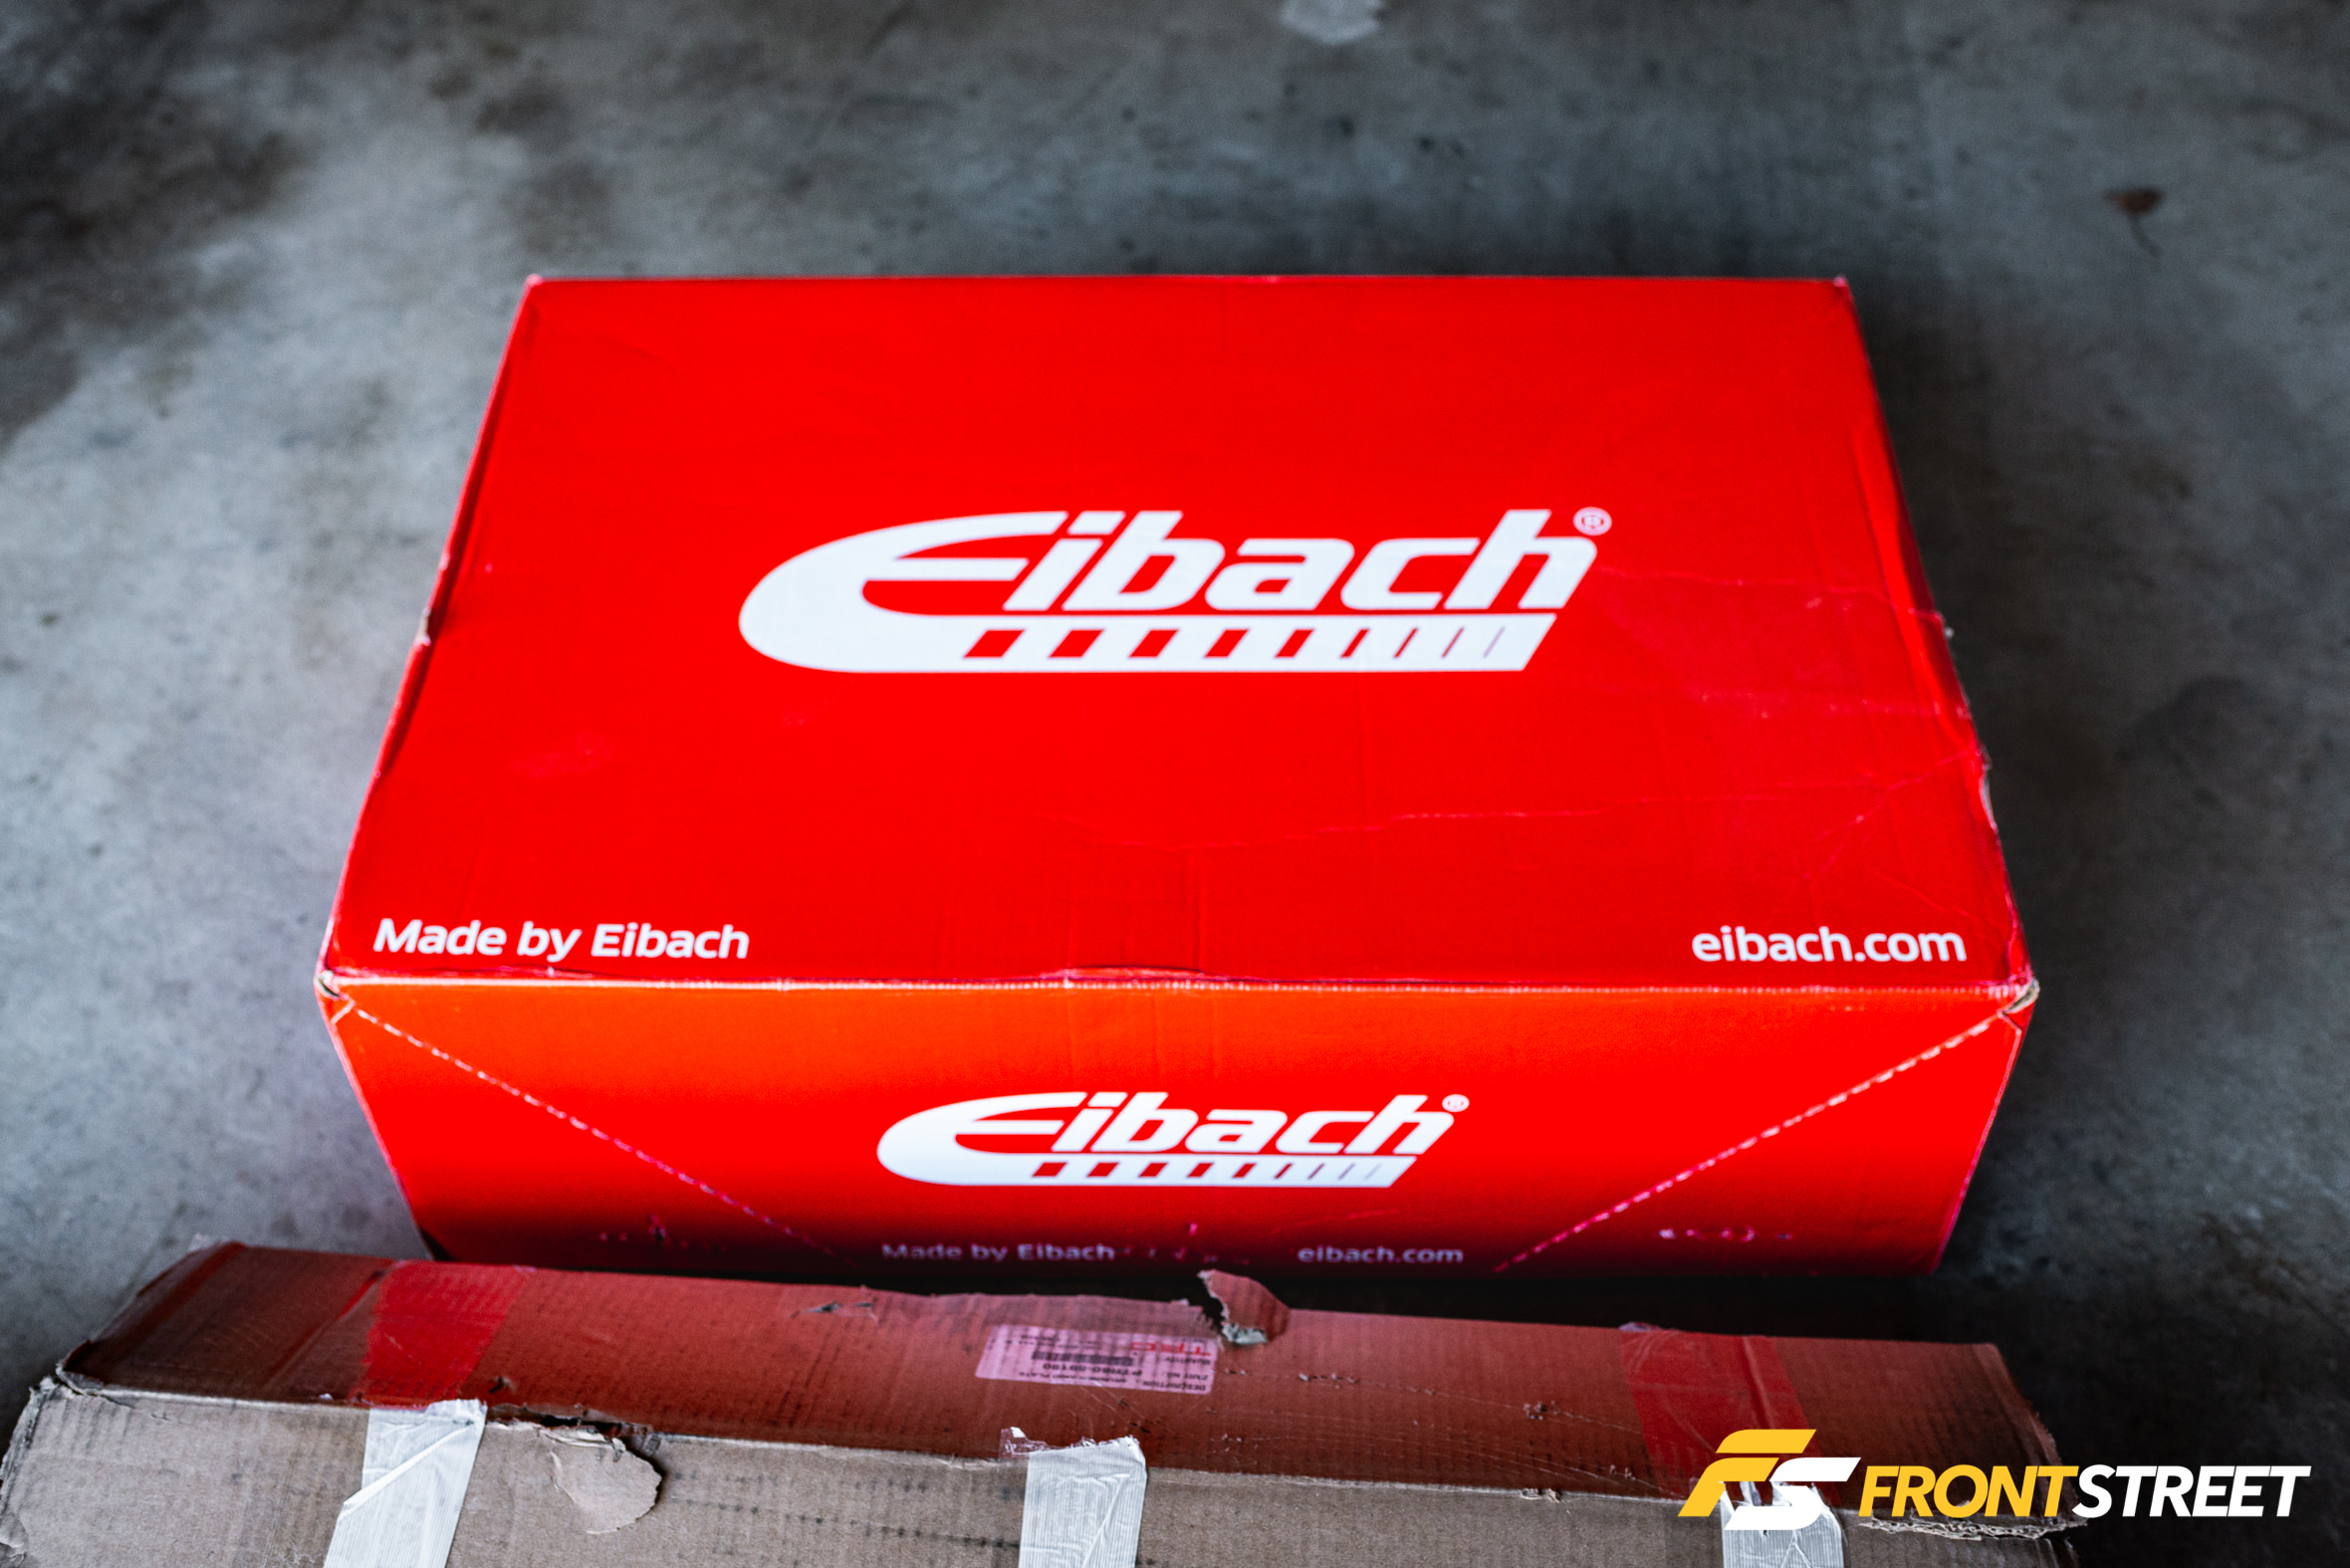
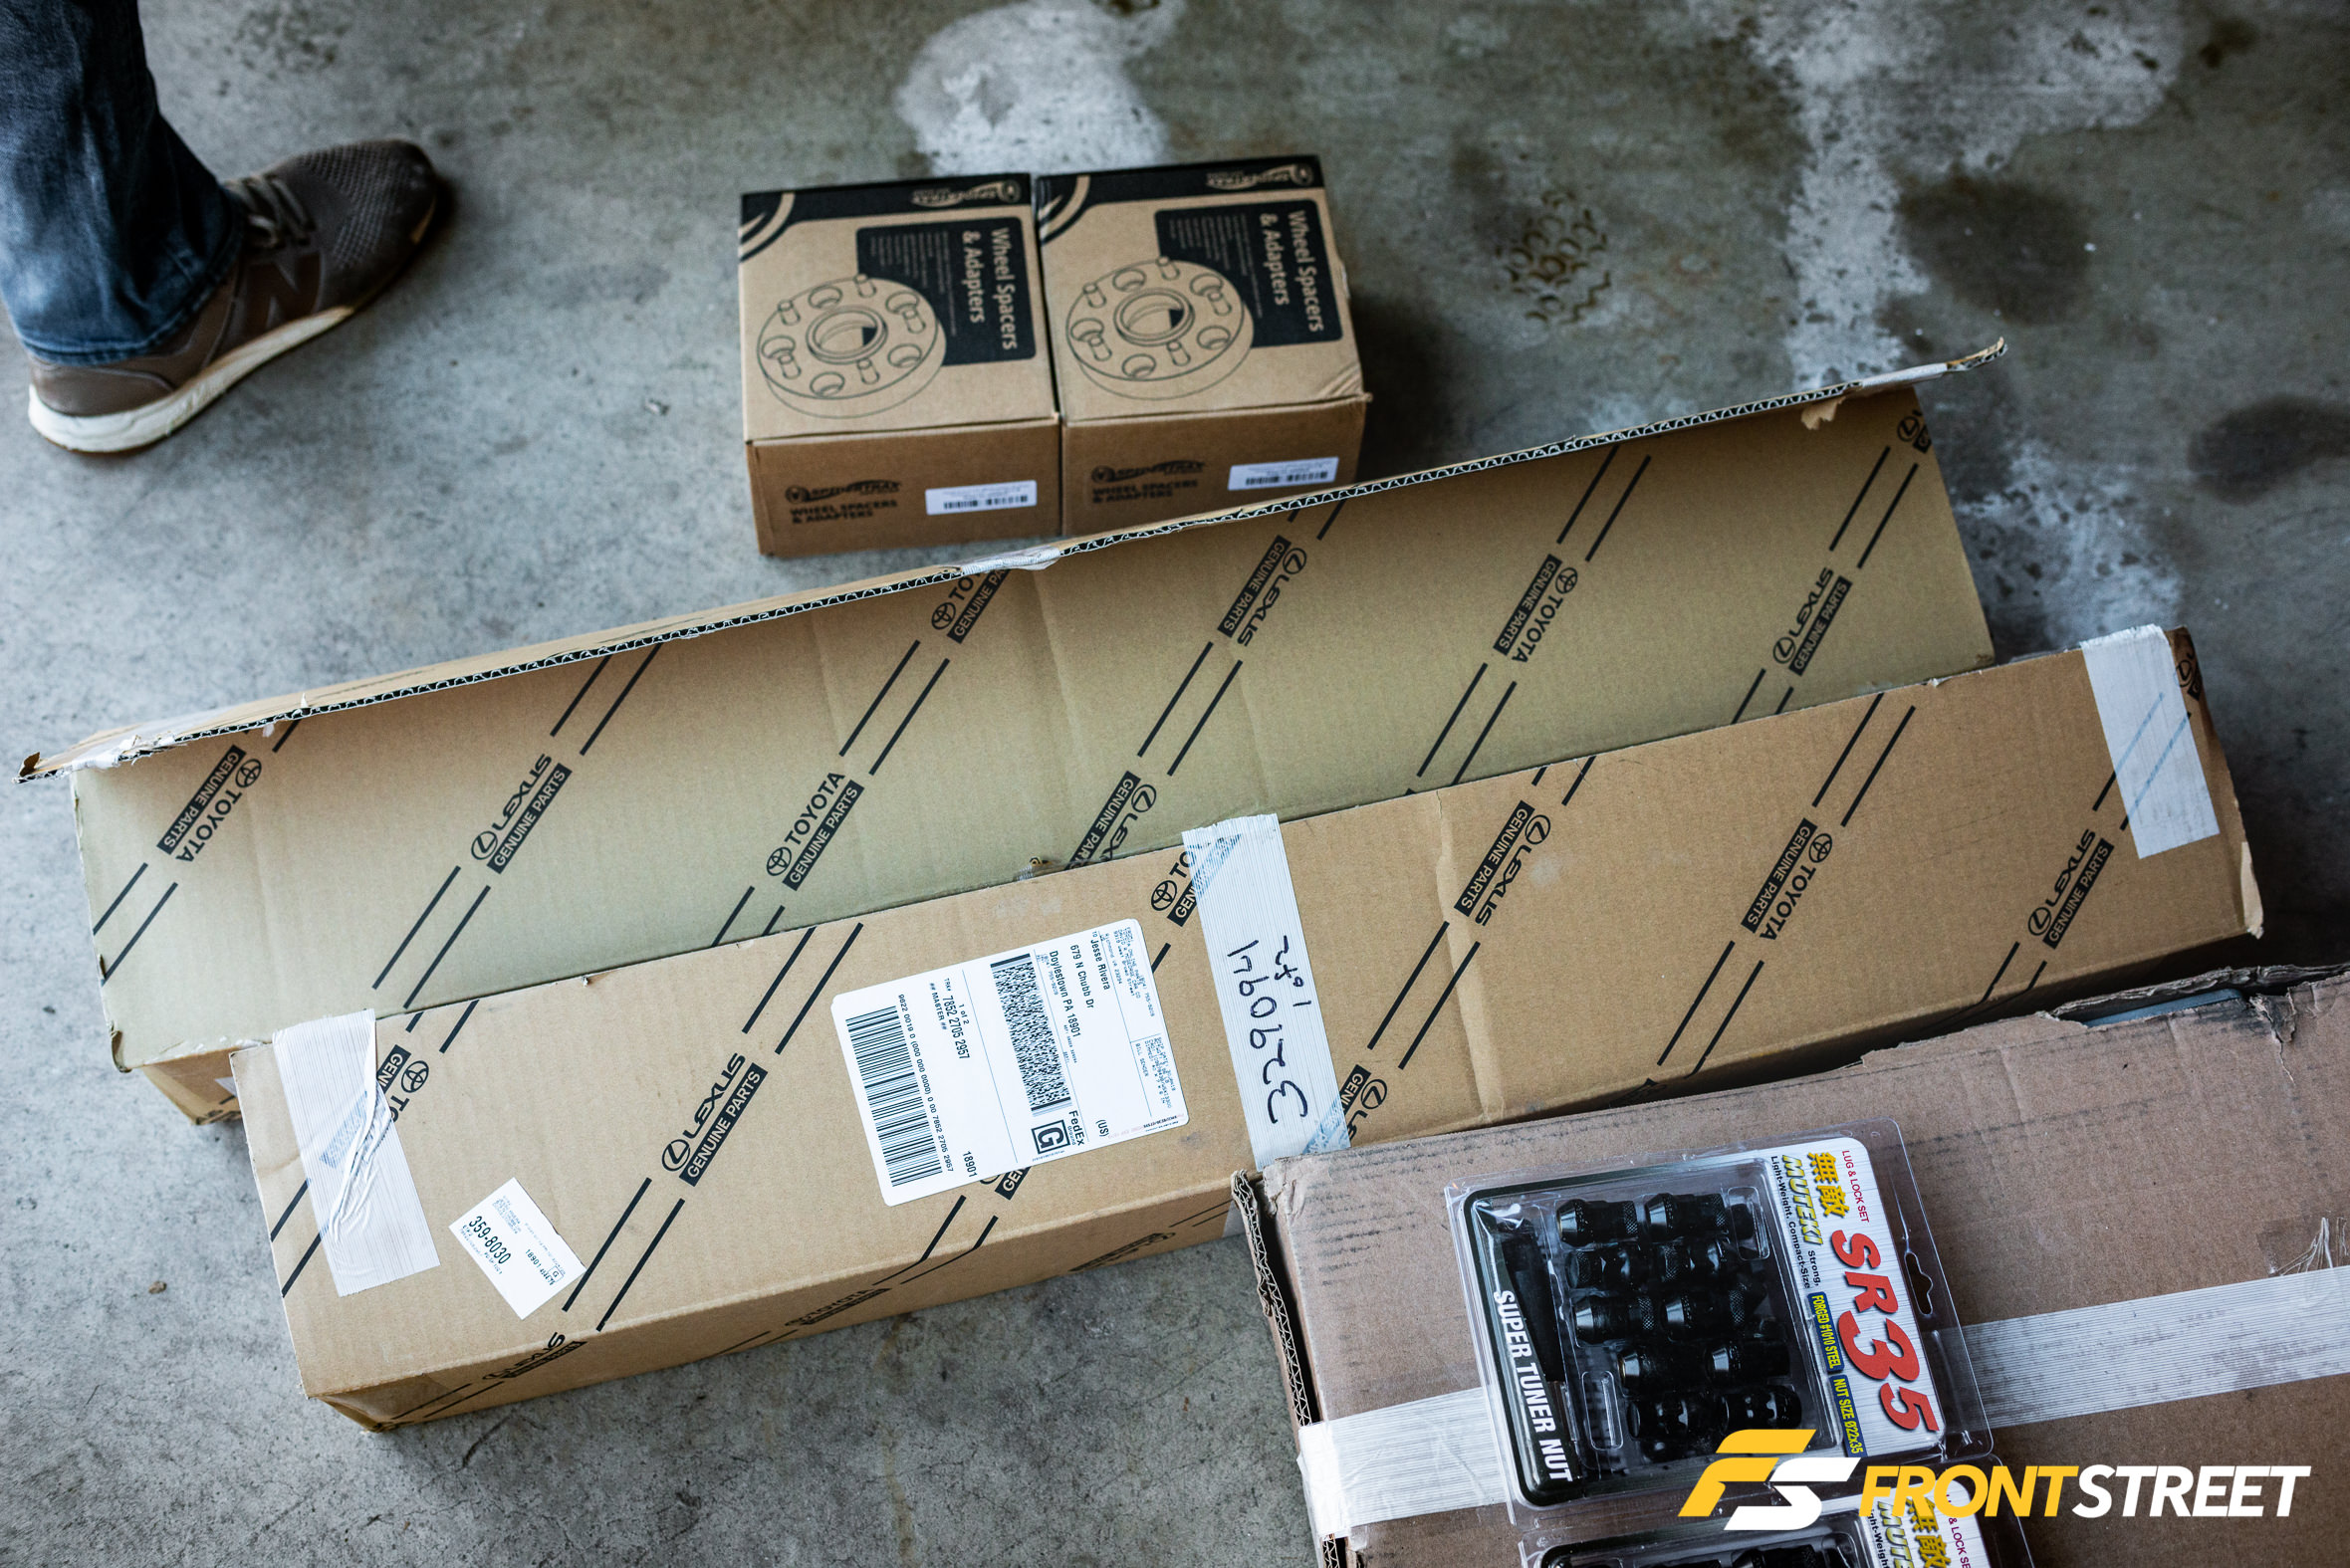
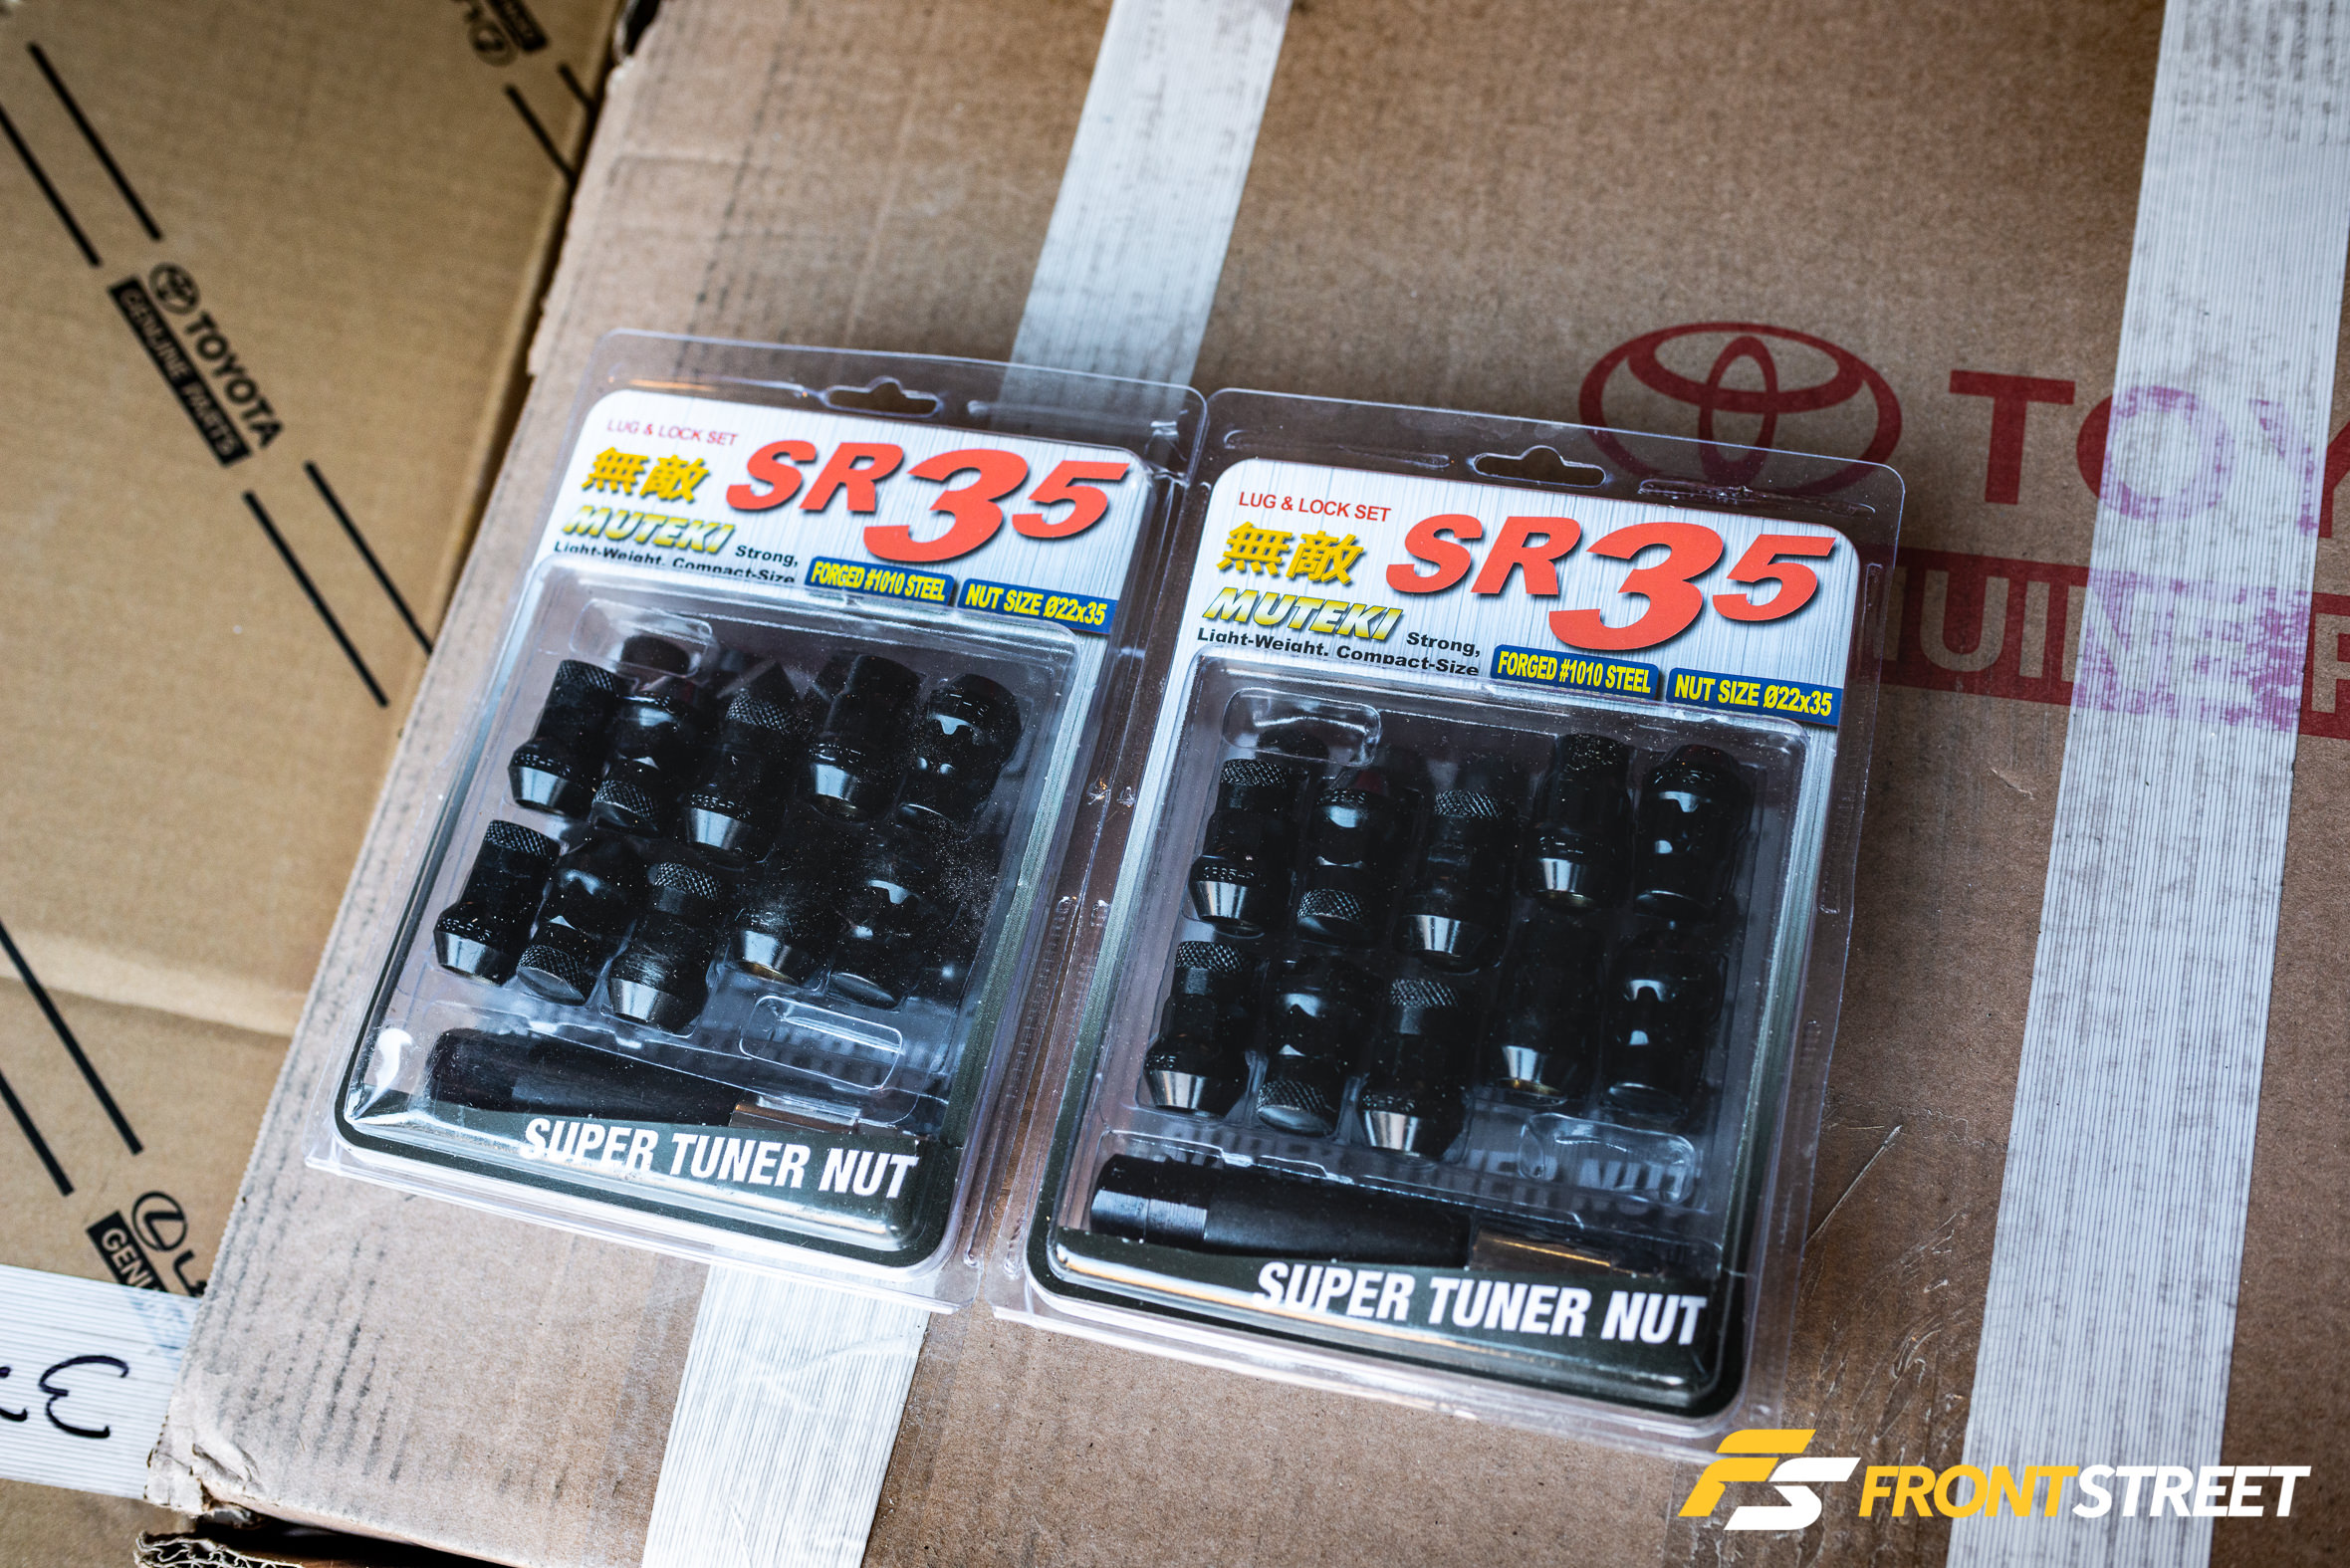
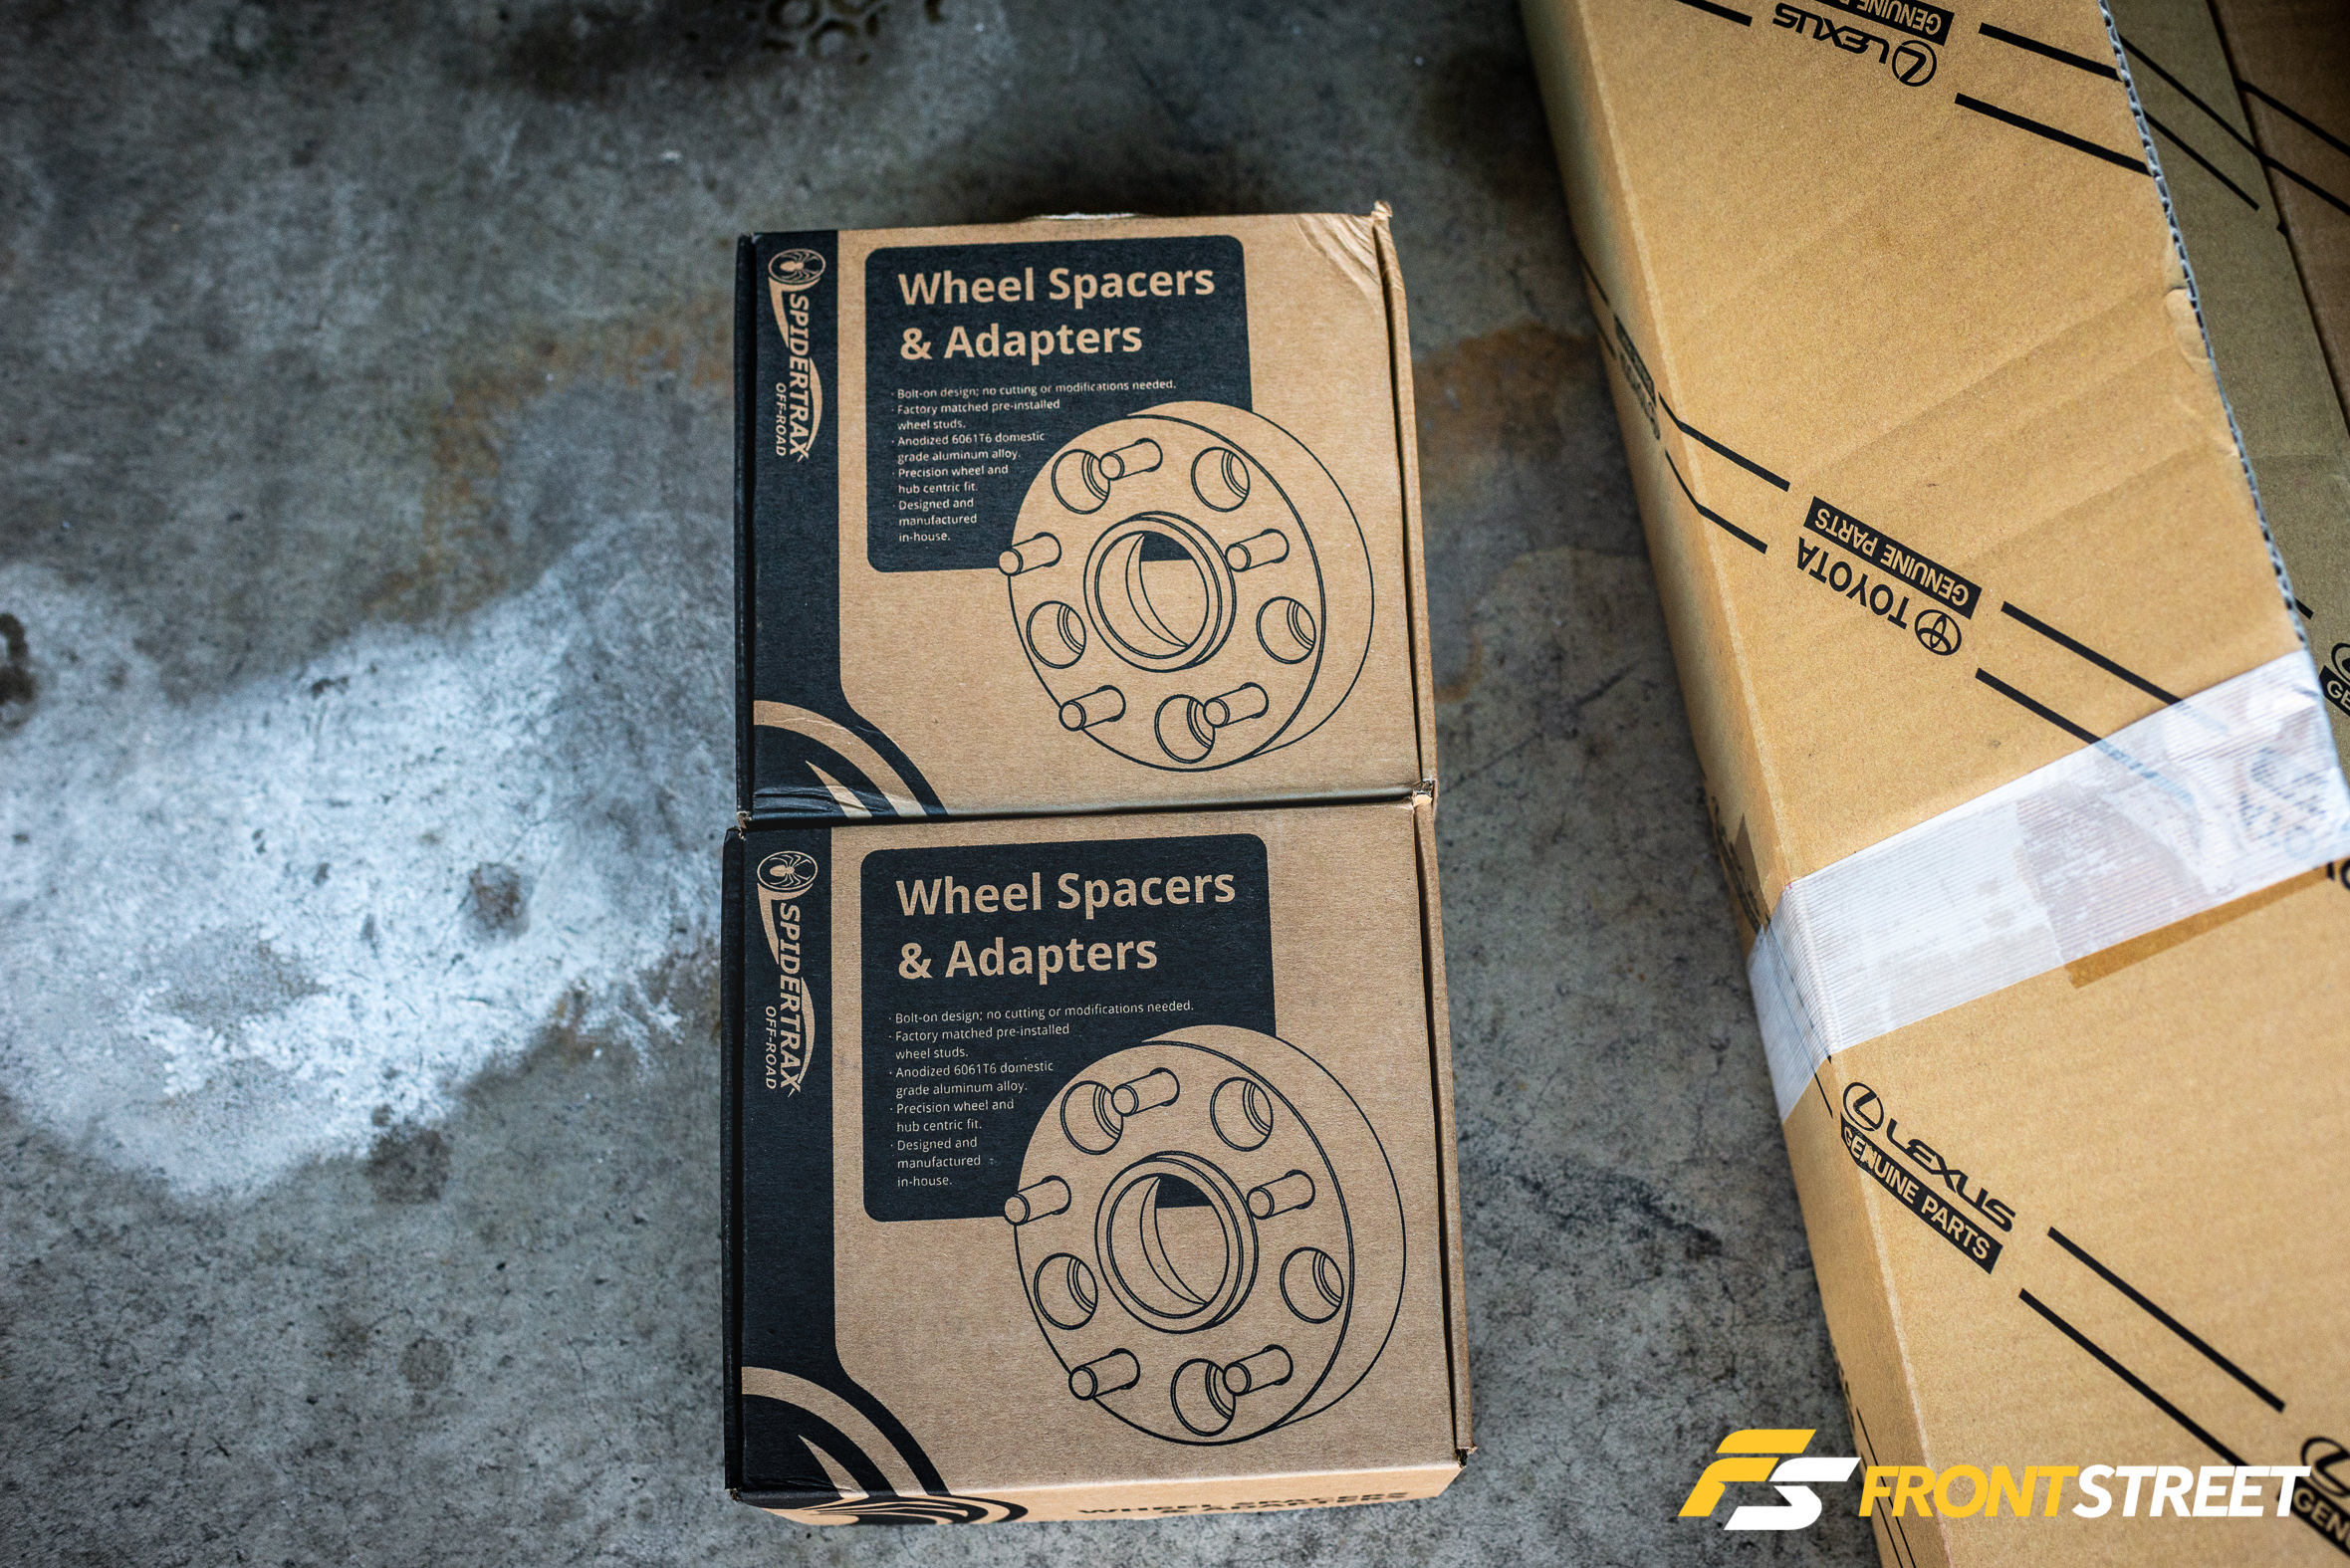
On the list for this project is one of Eibach’s Stage 1 PRO-TRUCK LIFT SYSTEM, Muteki SR35 lug nuts, Spidertrax 1.25-inch wheel spacers, and a few genuine OEM Toyota pieces including a TRD Front Skid Plate, TRD PRO Upper Grill, and Bumper Garnish.
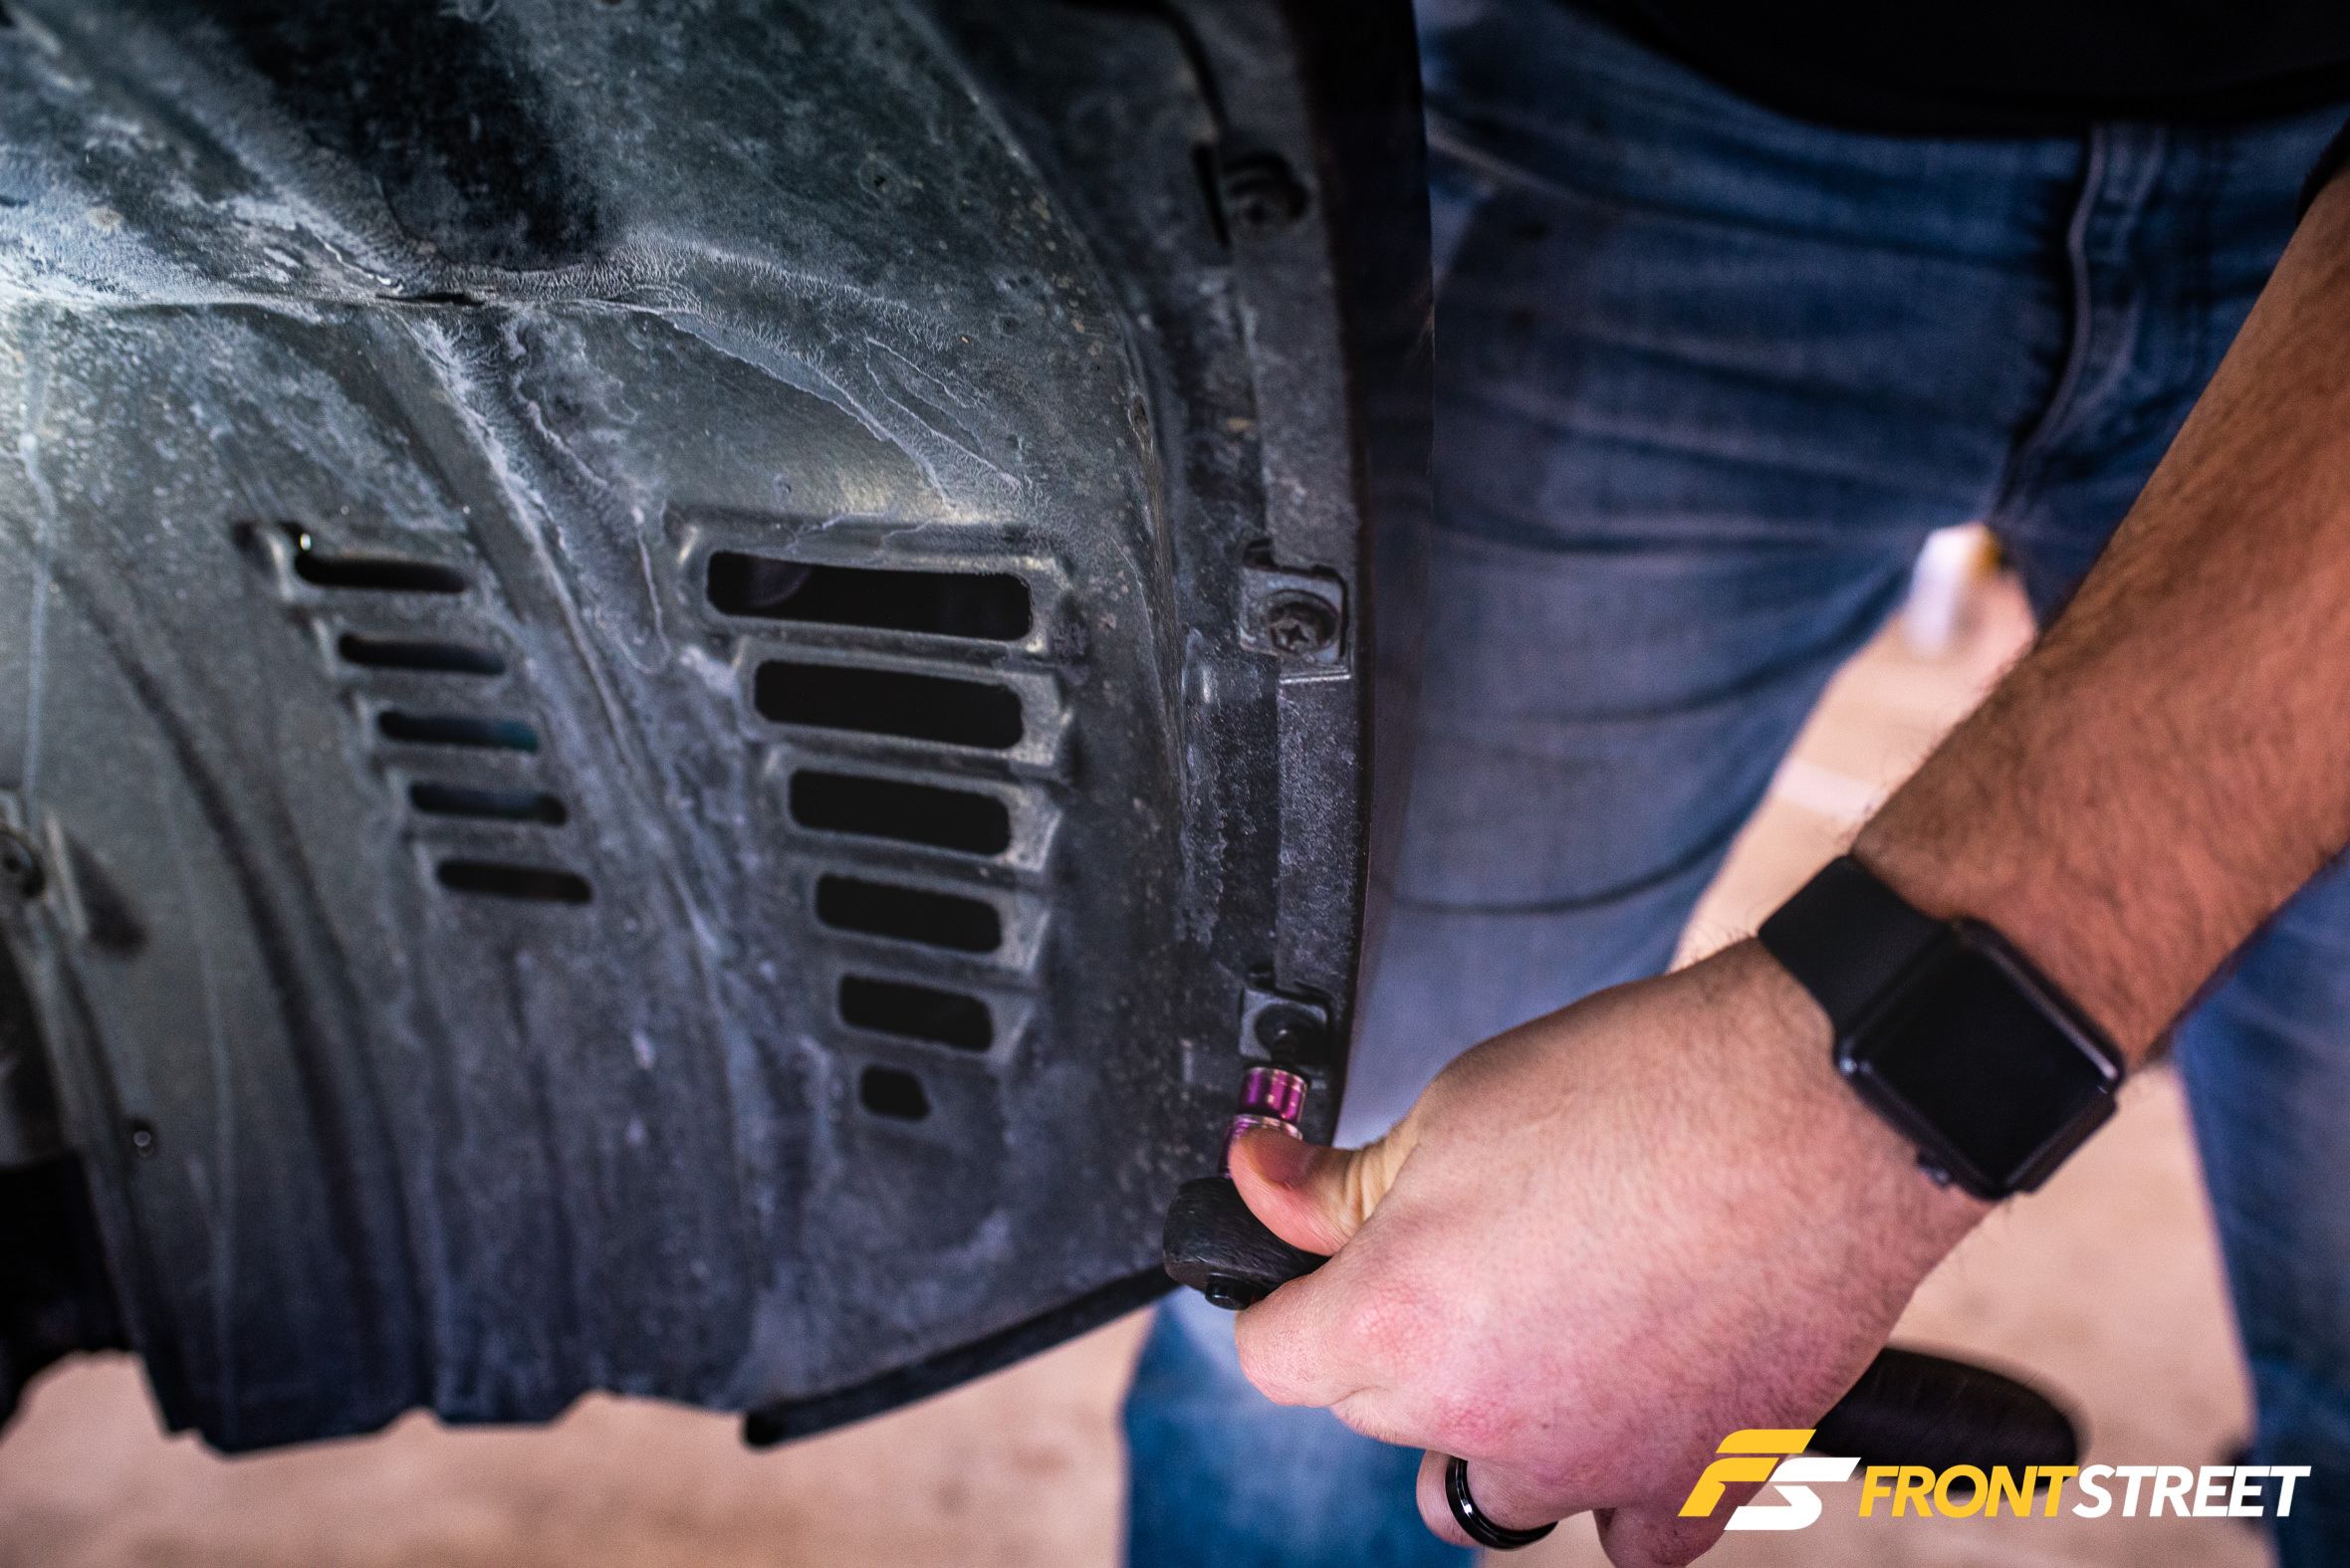
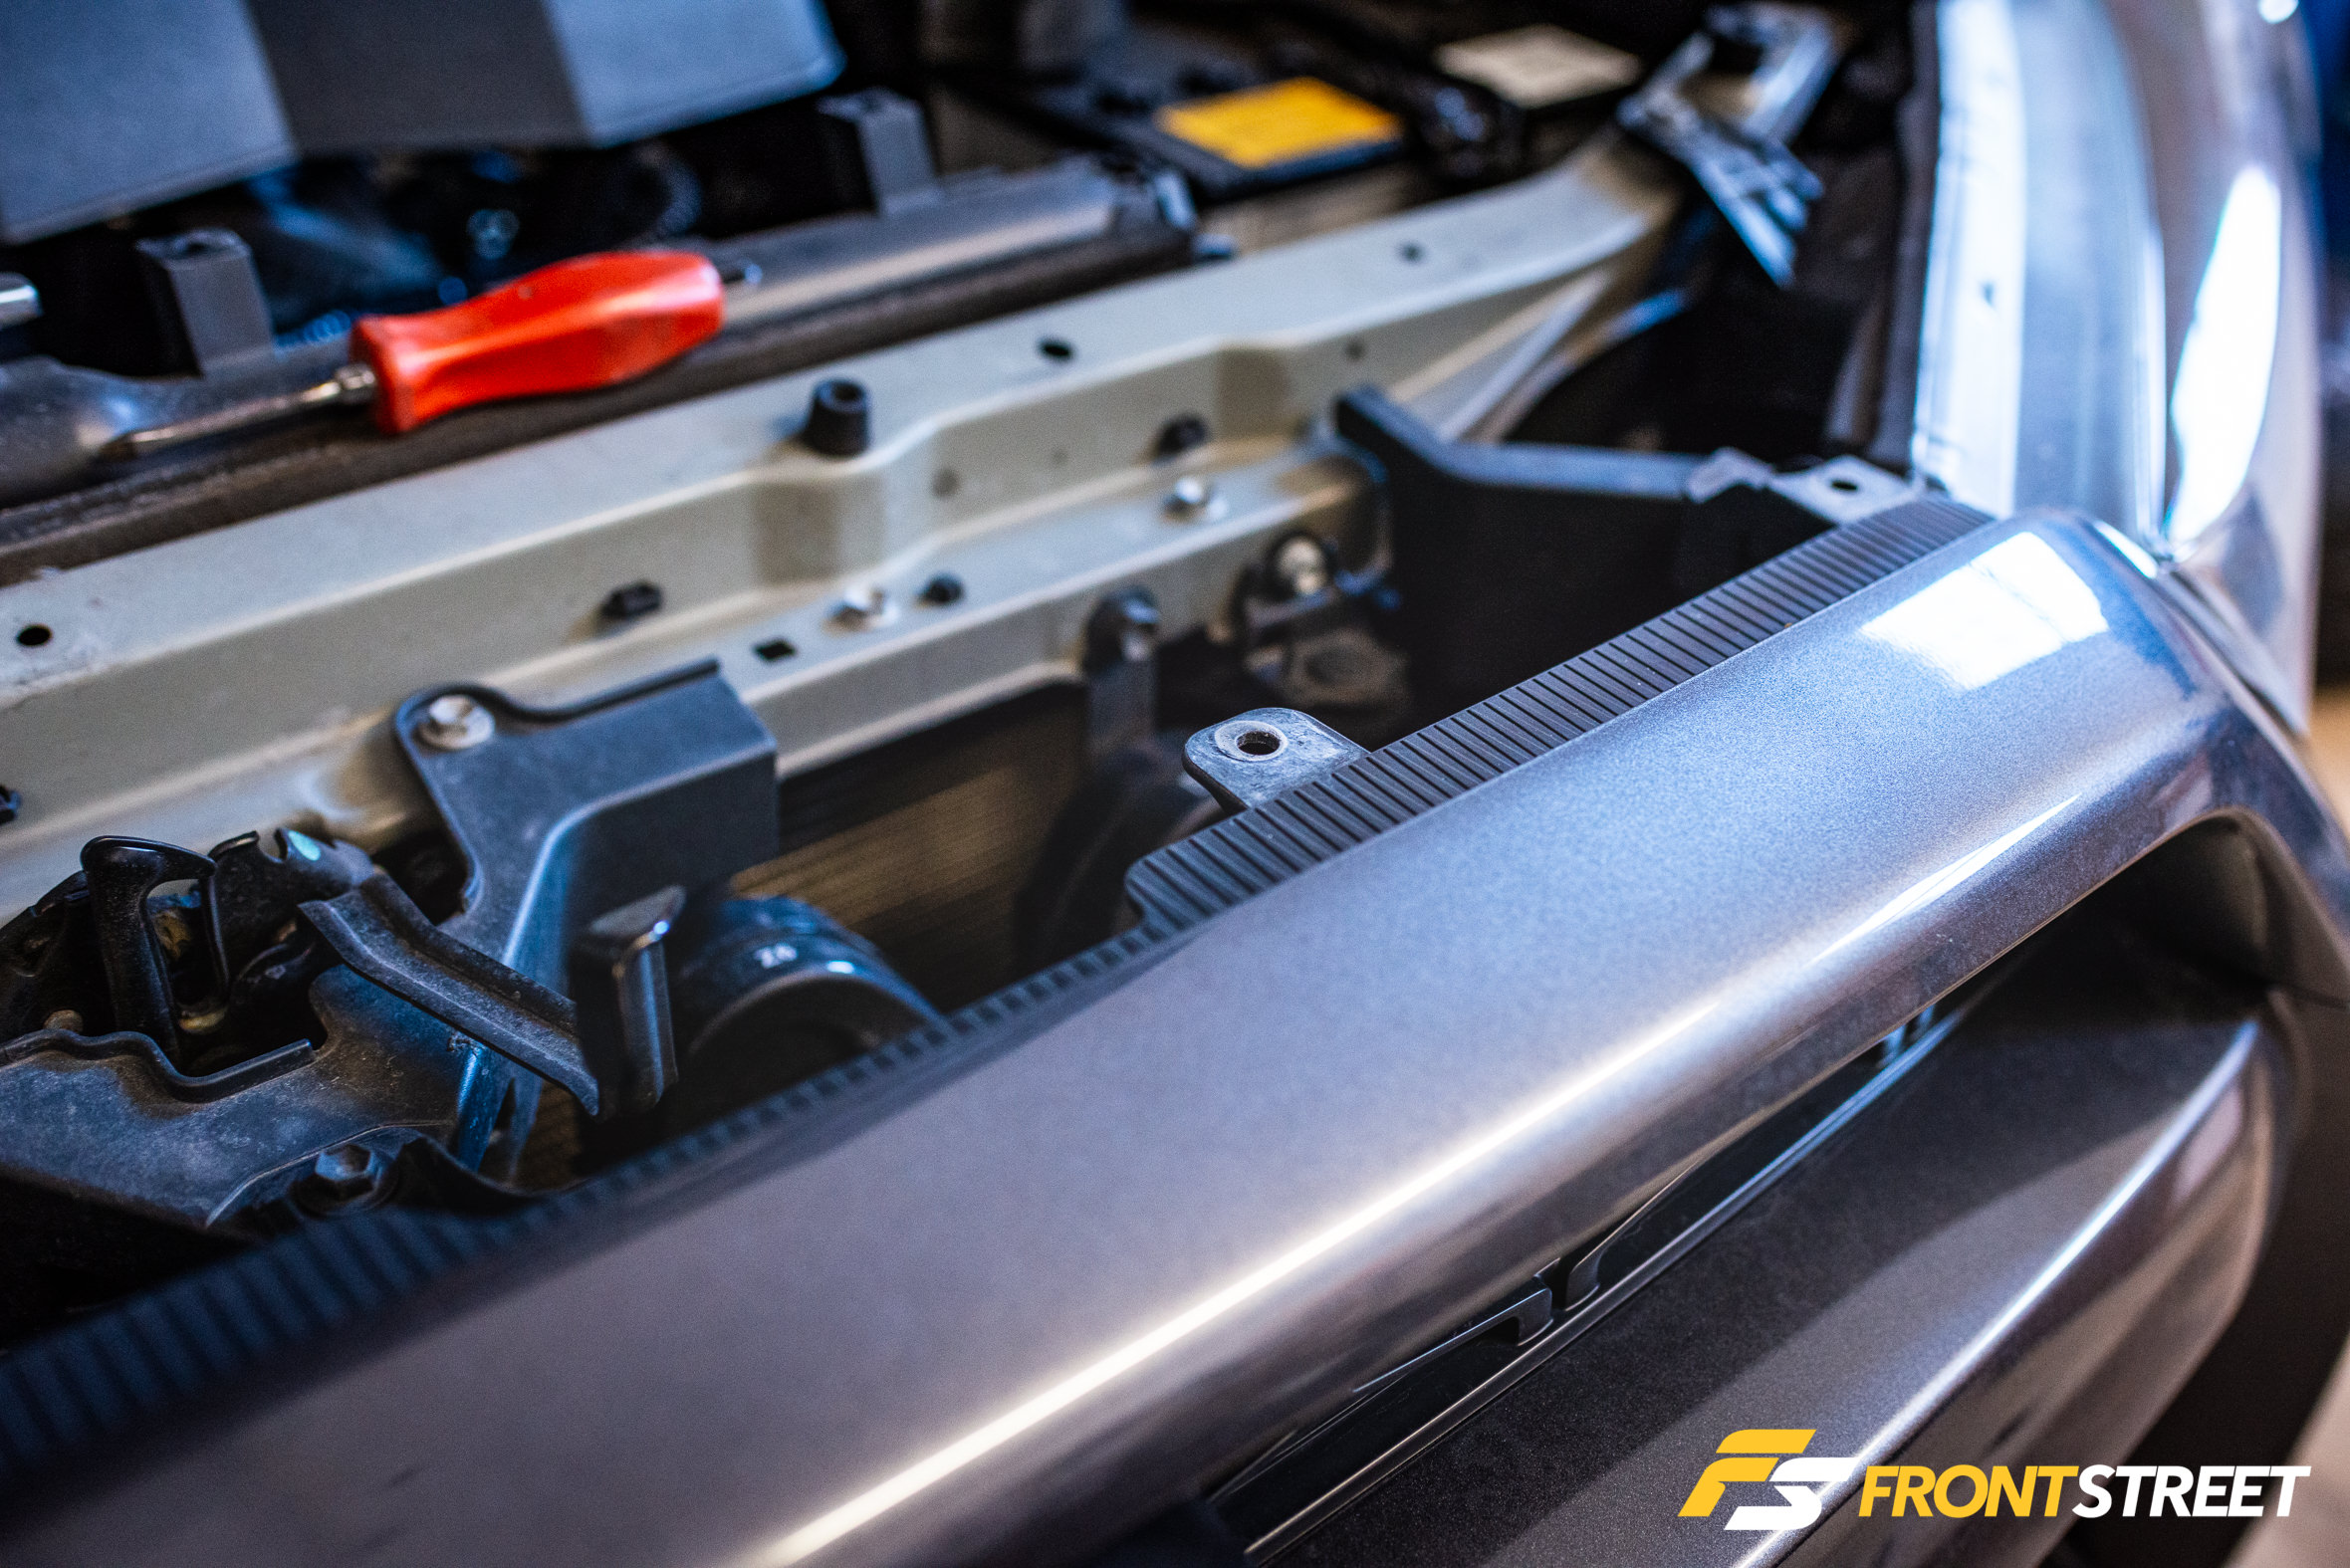
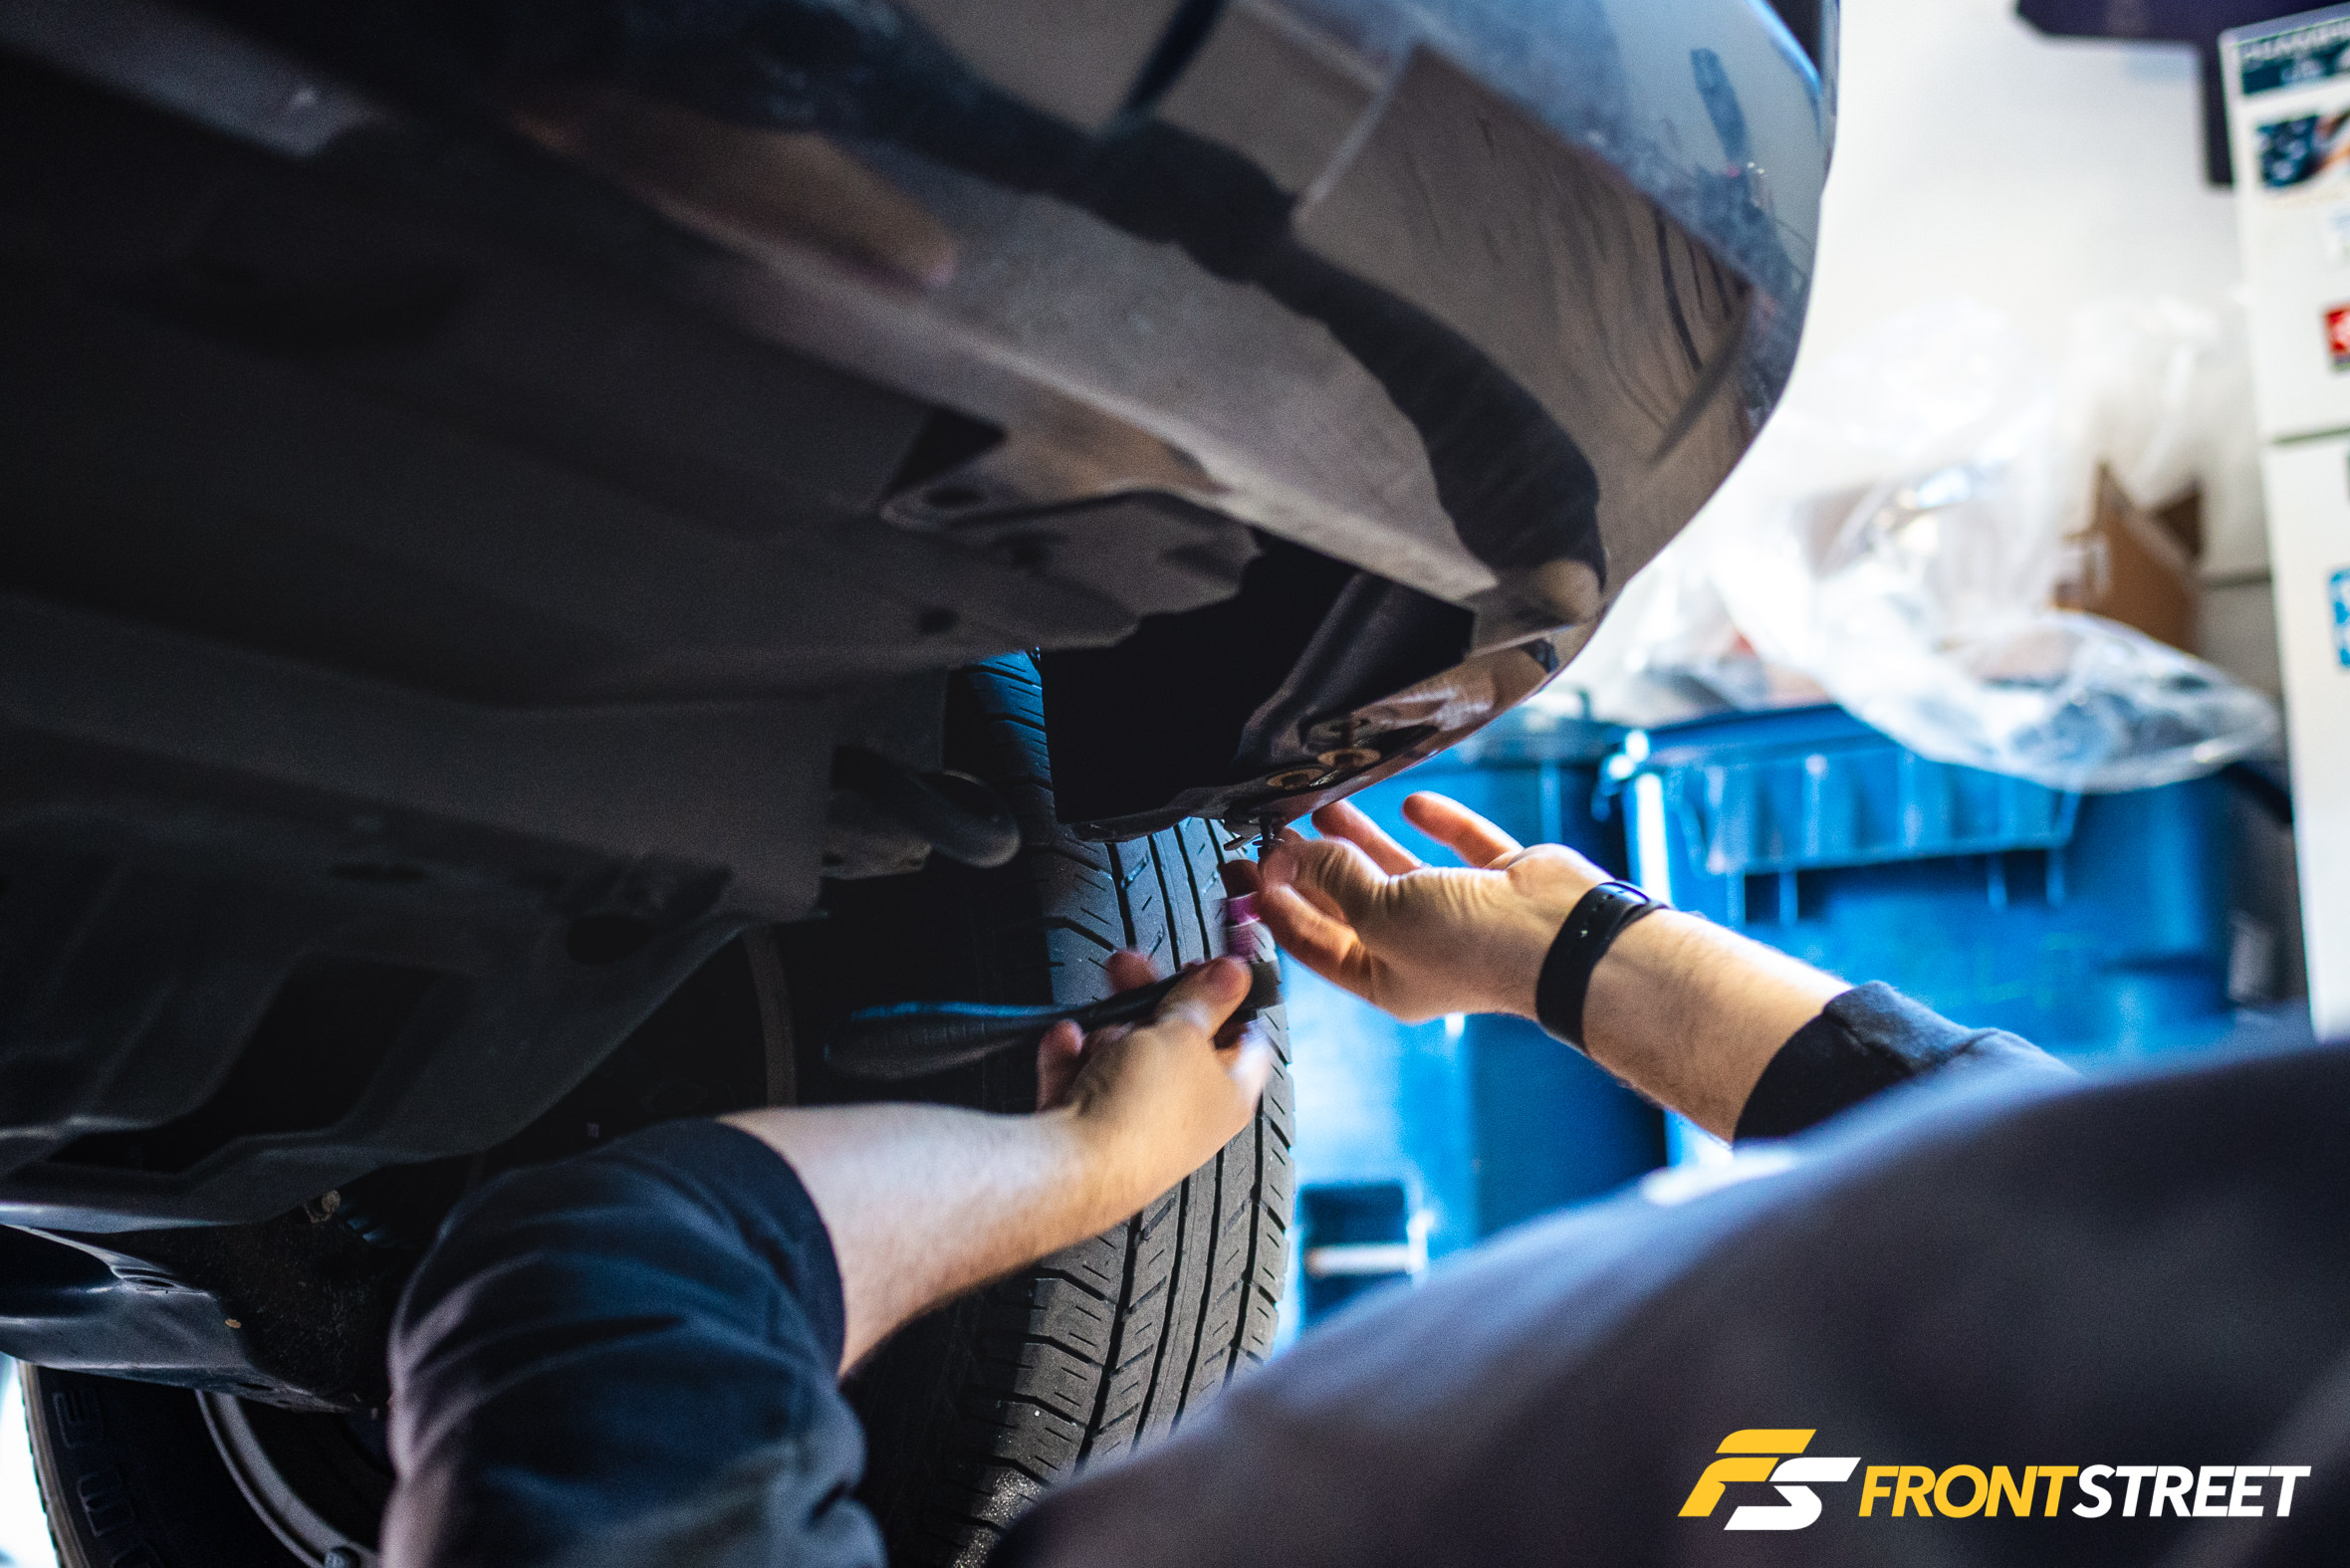
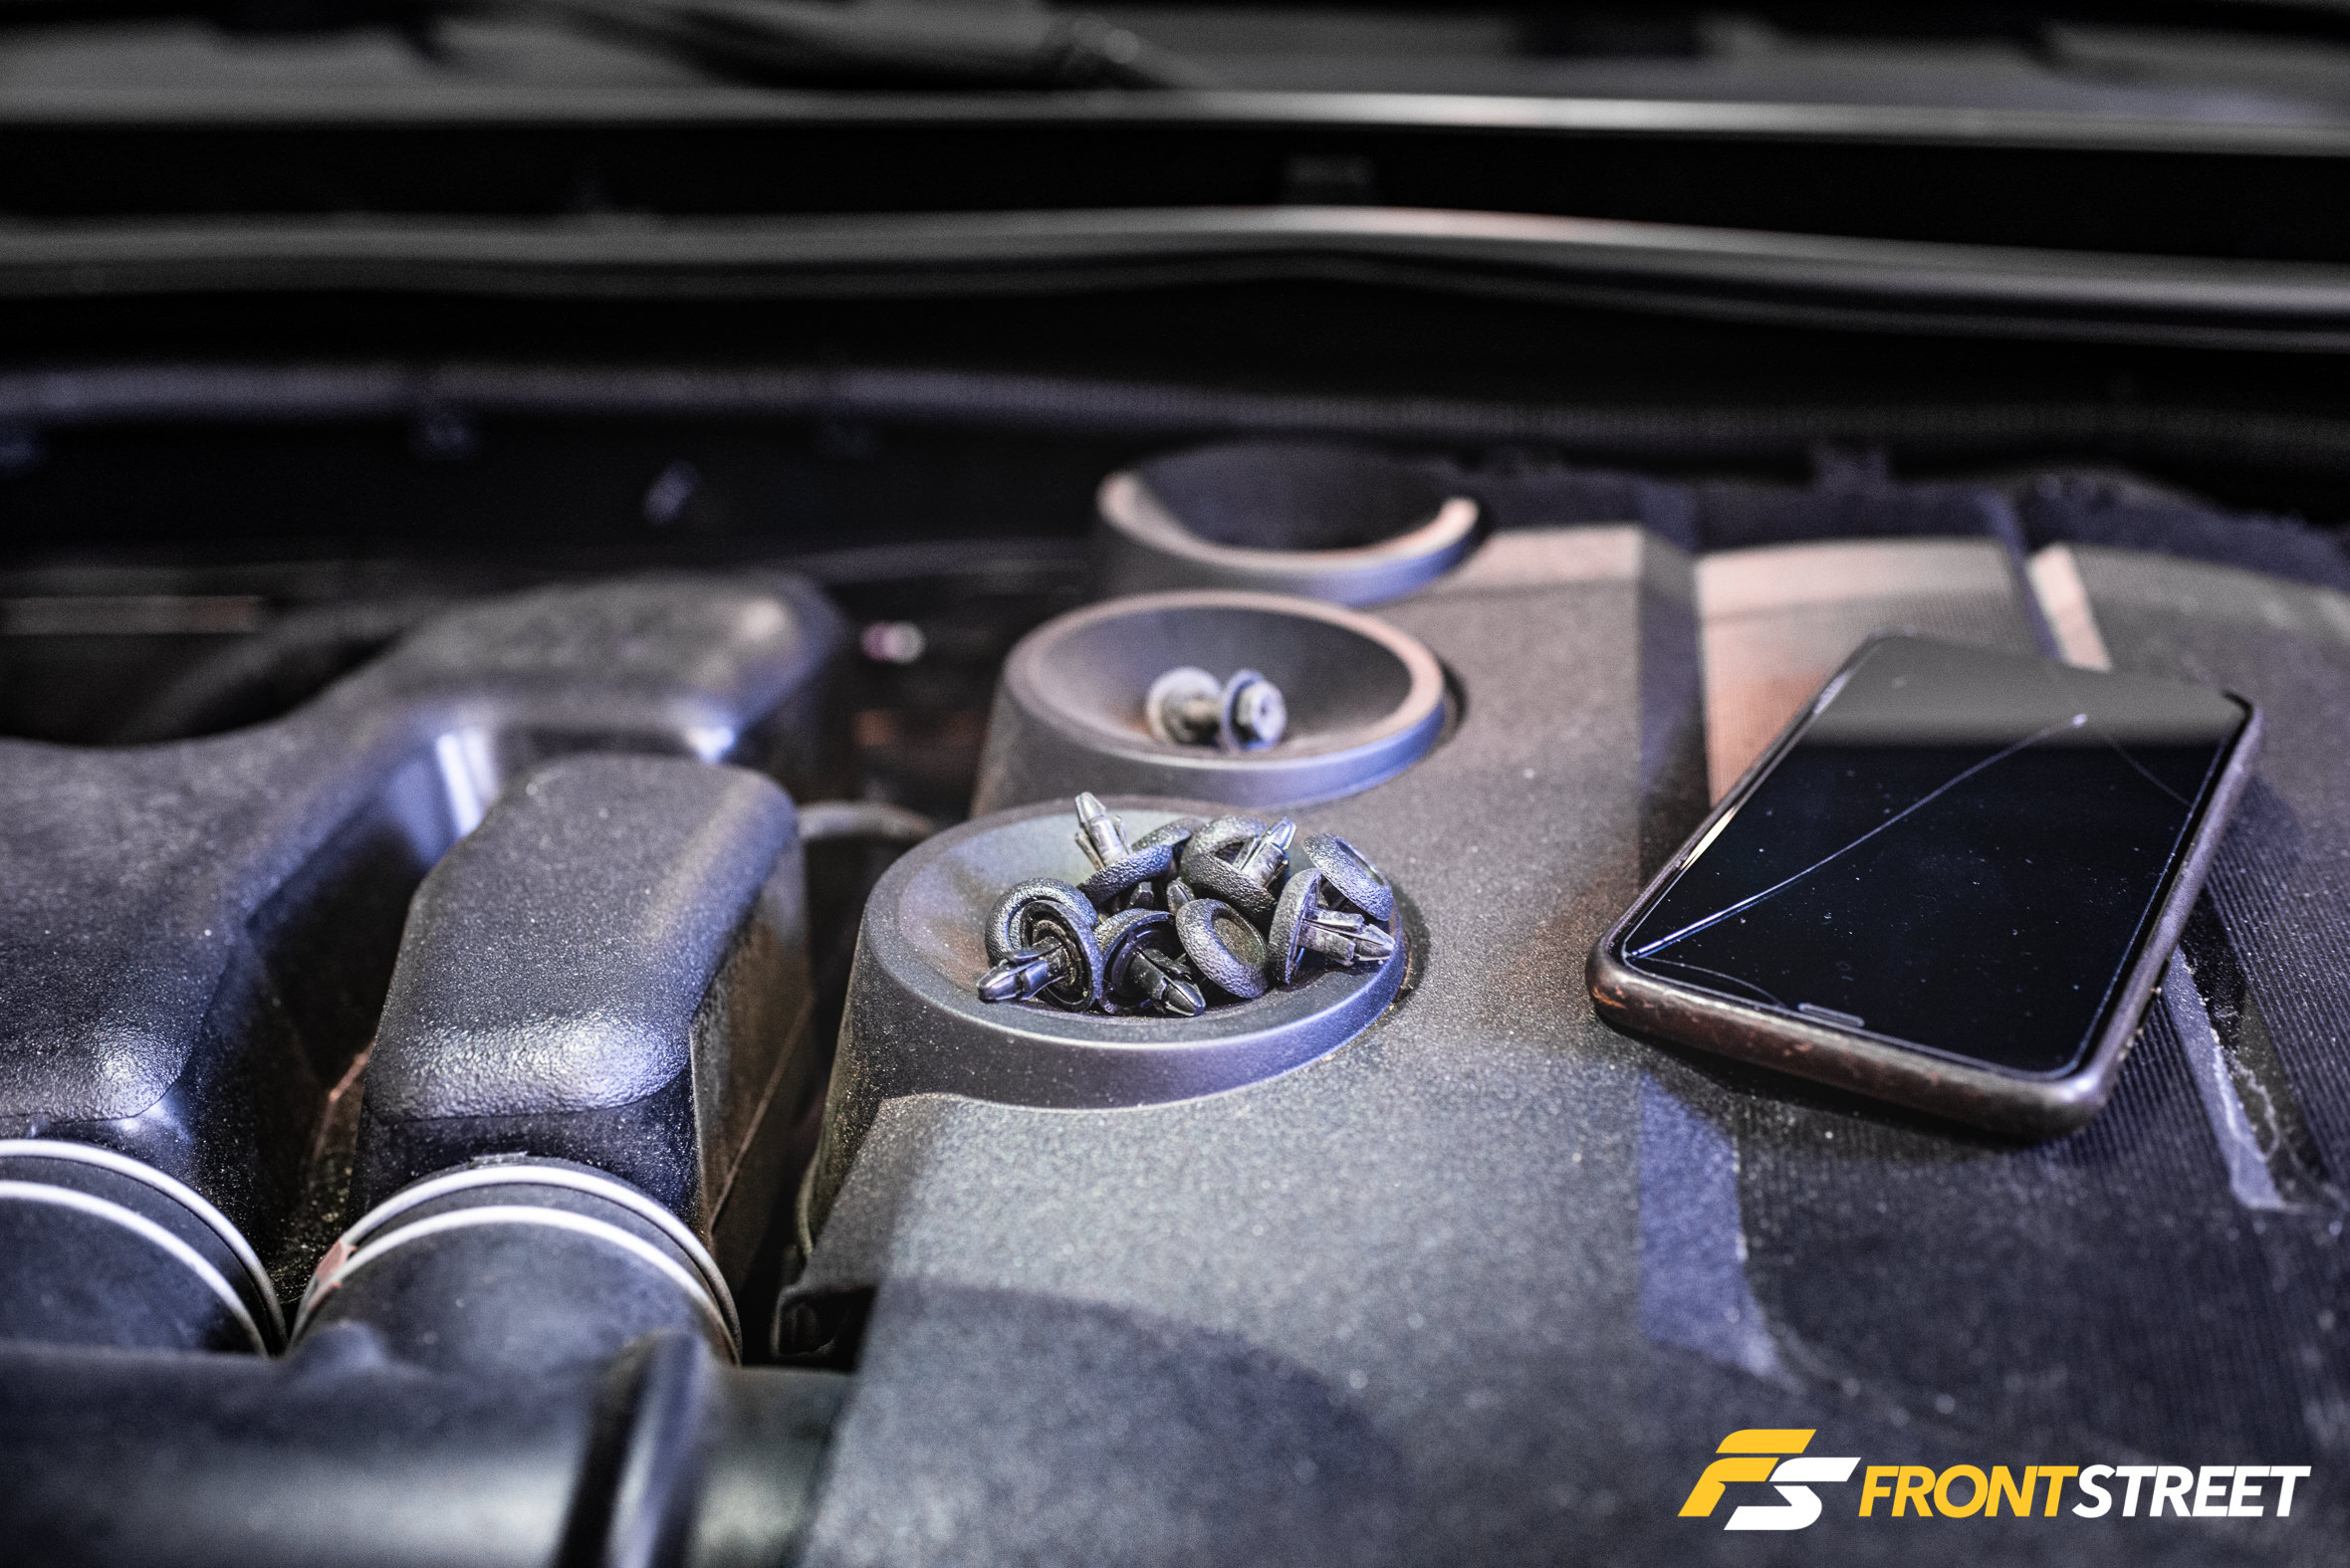
It was time to get to work as we had a lot to accomplish, and we were losing daylight pretty quickly. We began by removing all of the nuts, bolts, and clips holding the front bumper on, including disconnecting the projector LED fog lights.
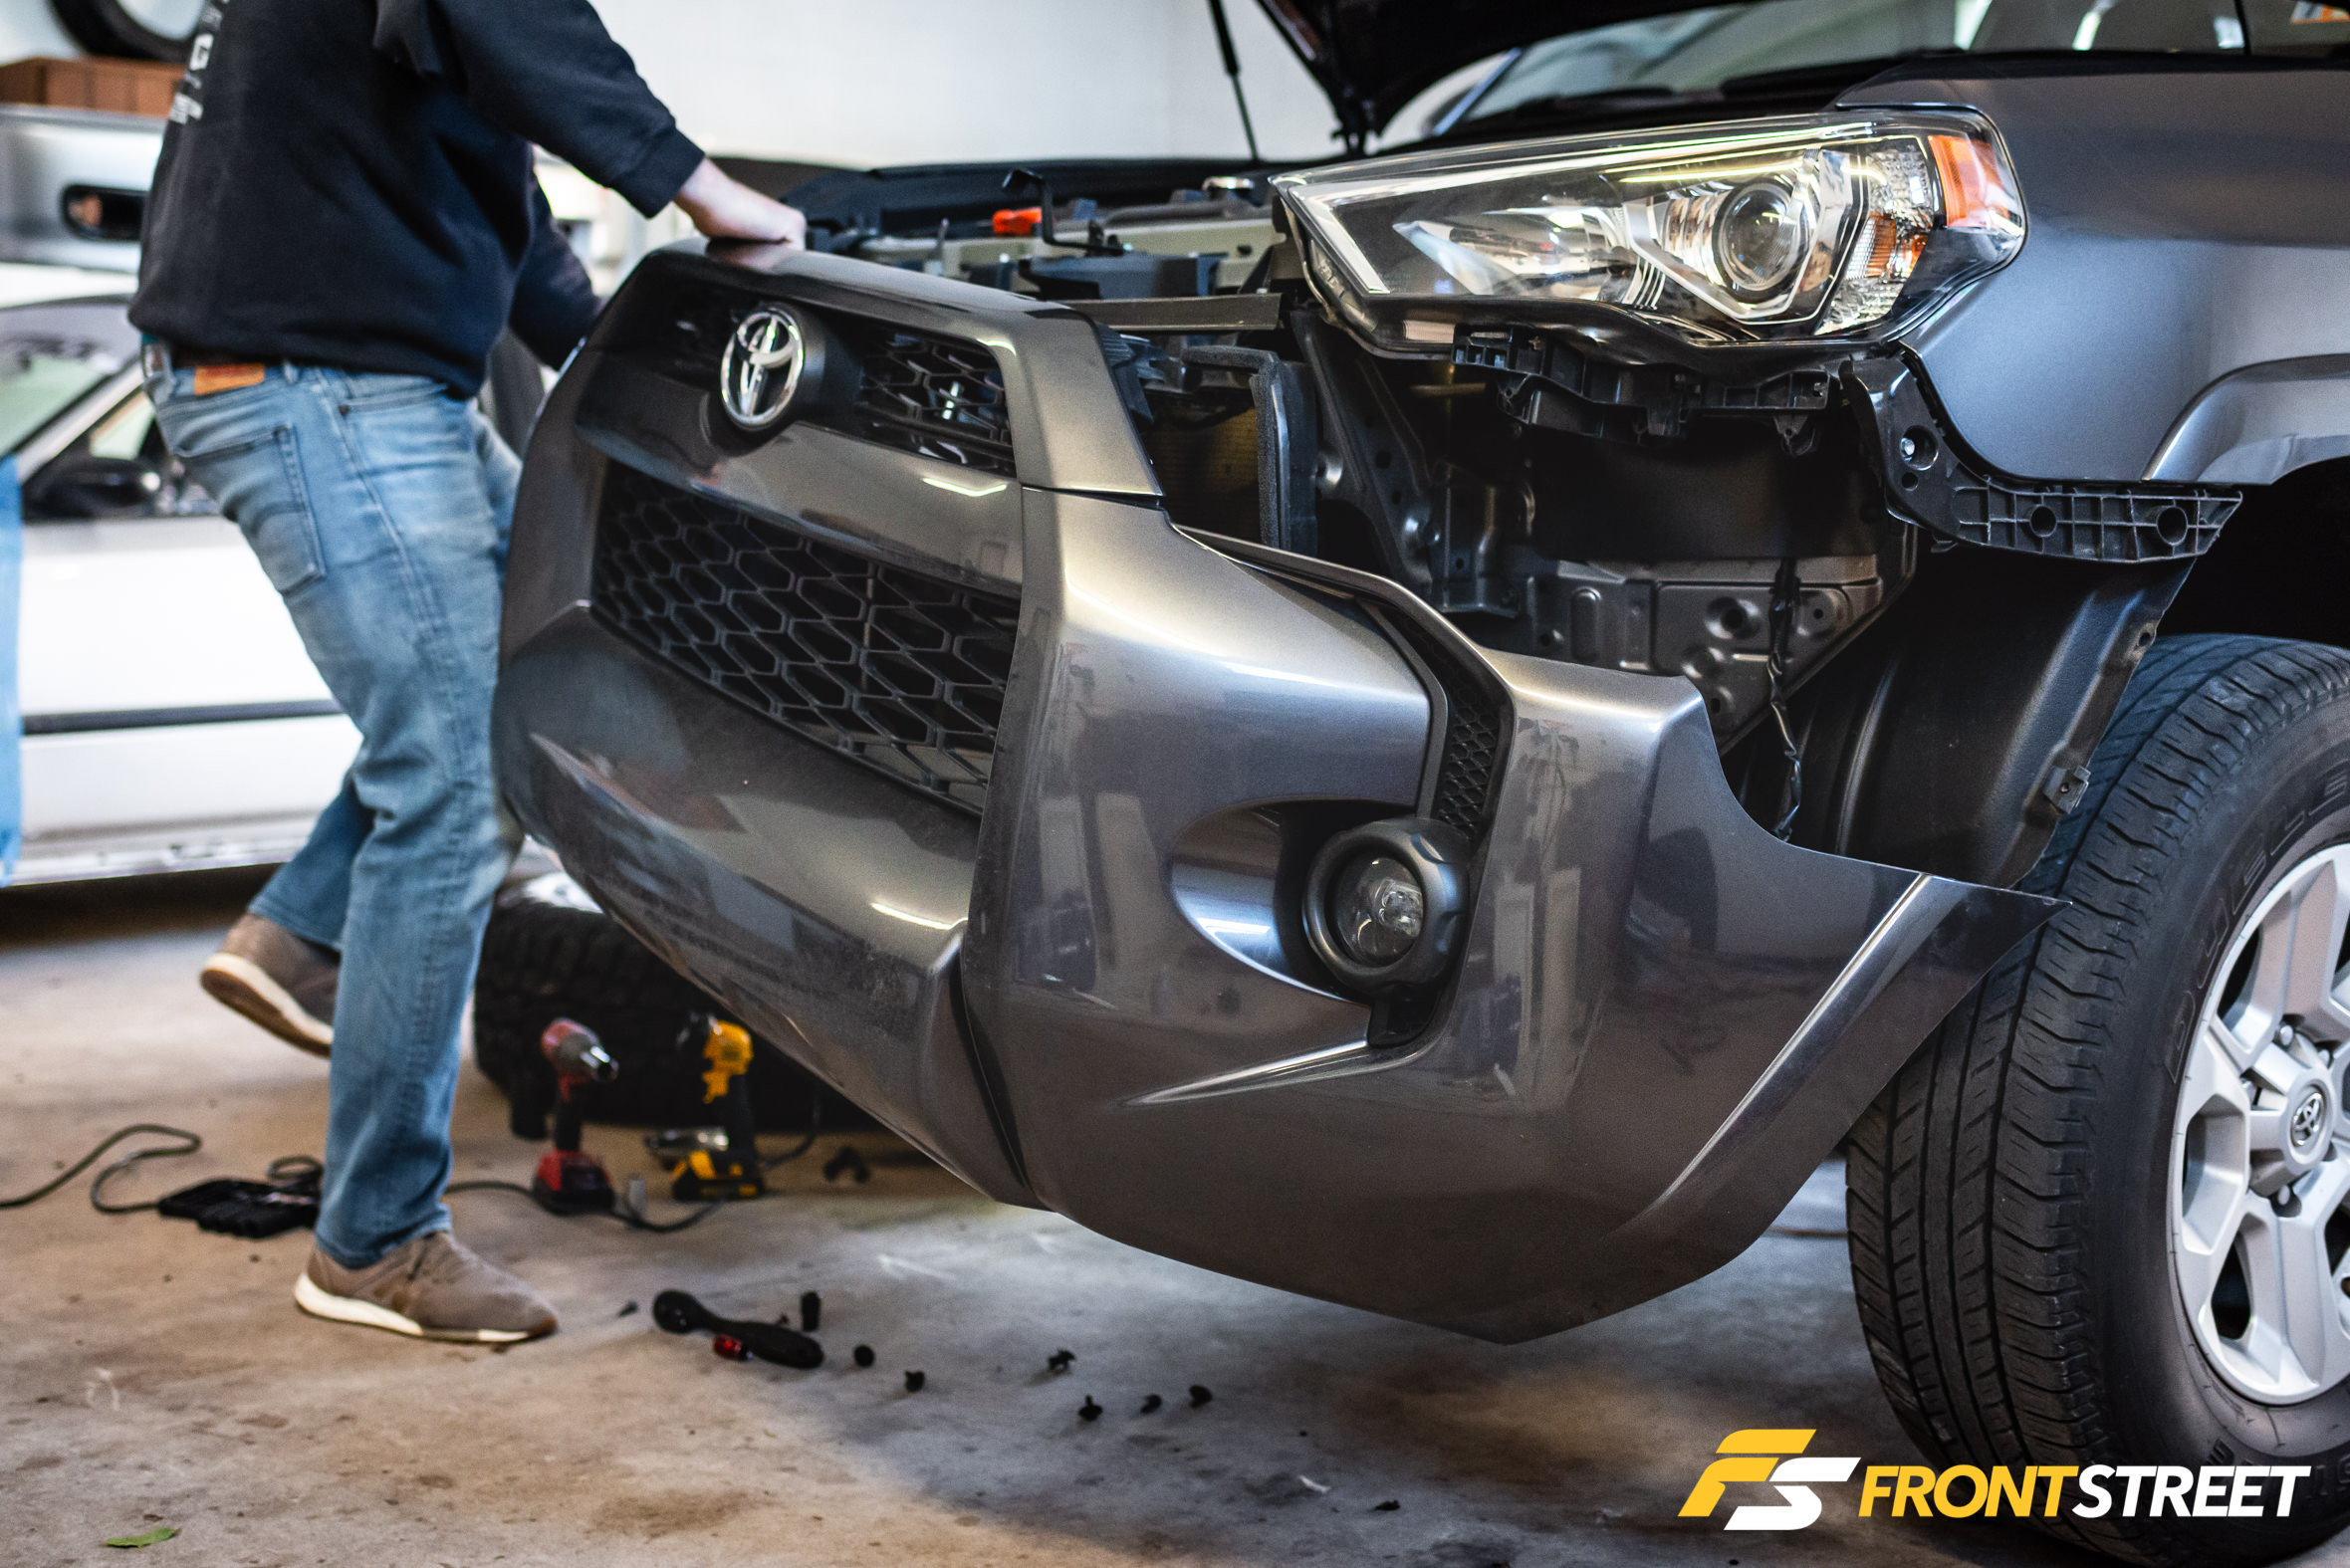
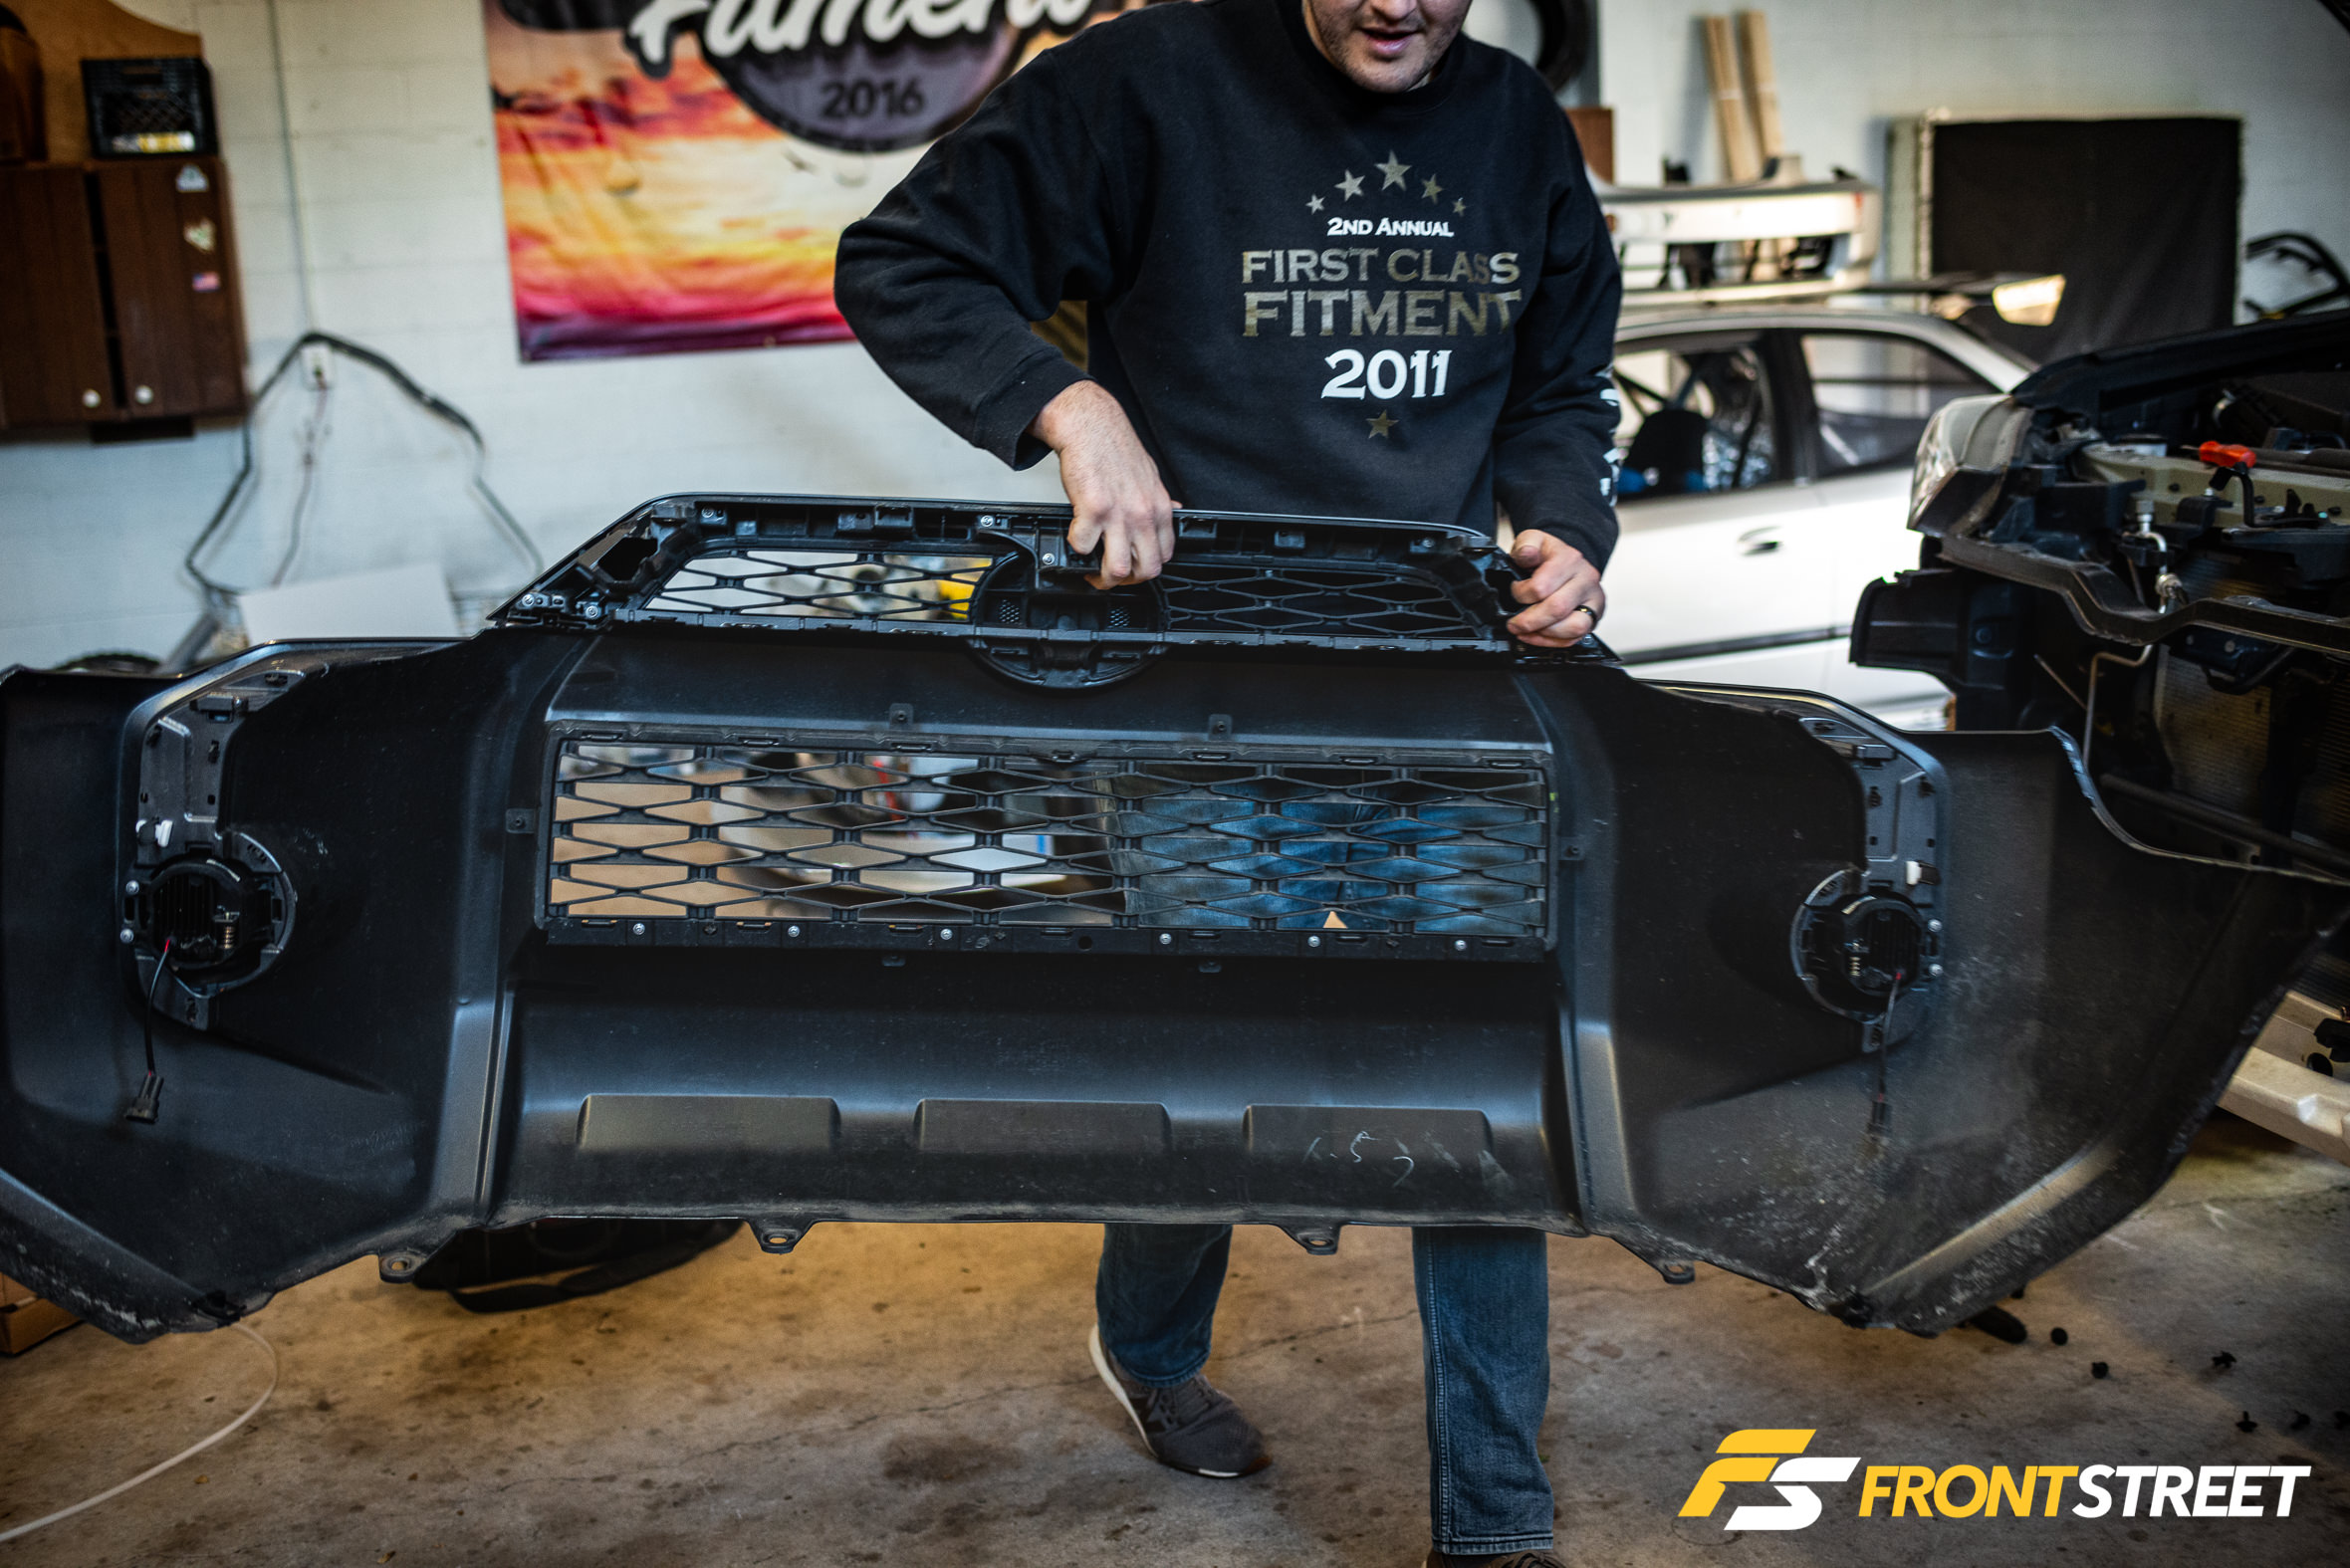
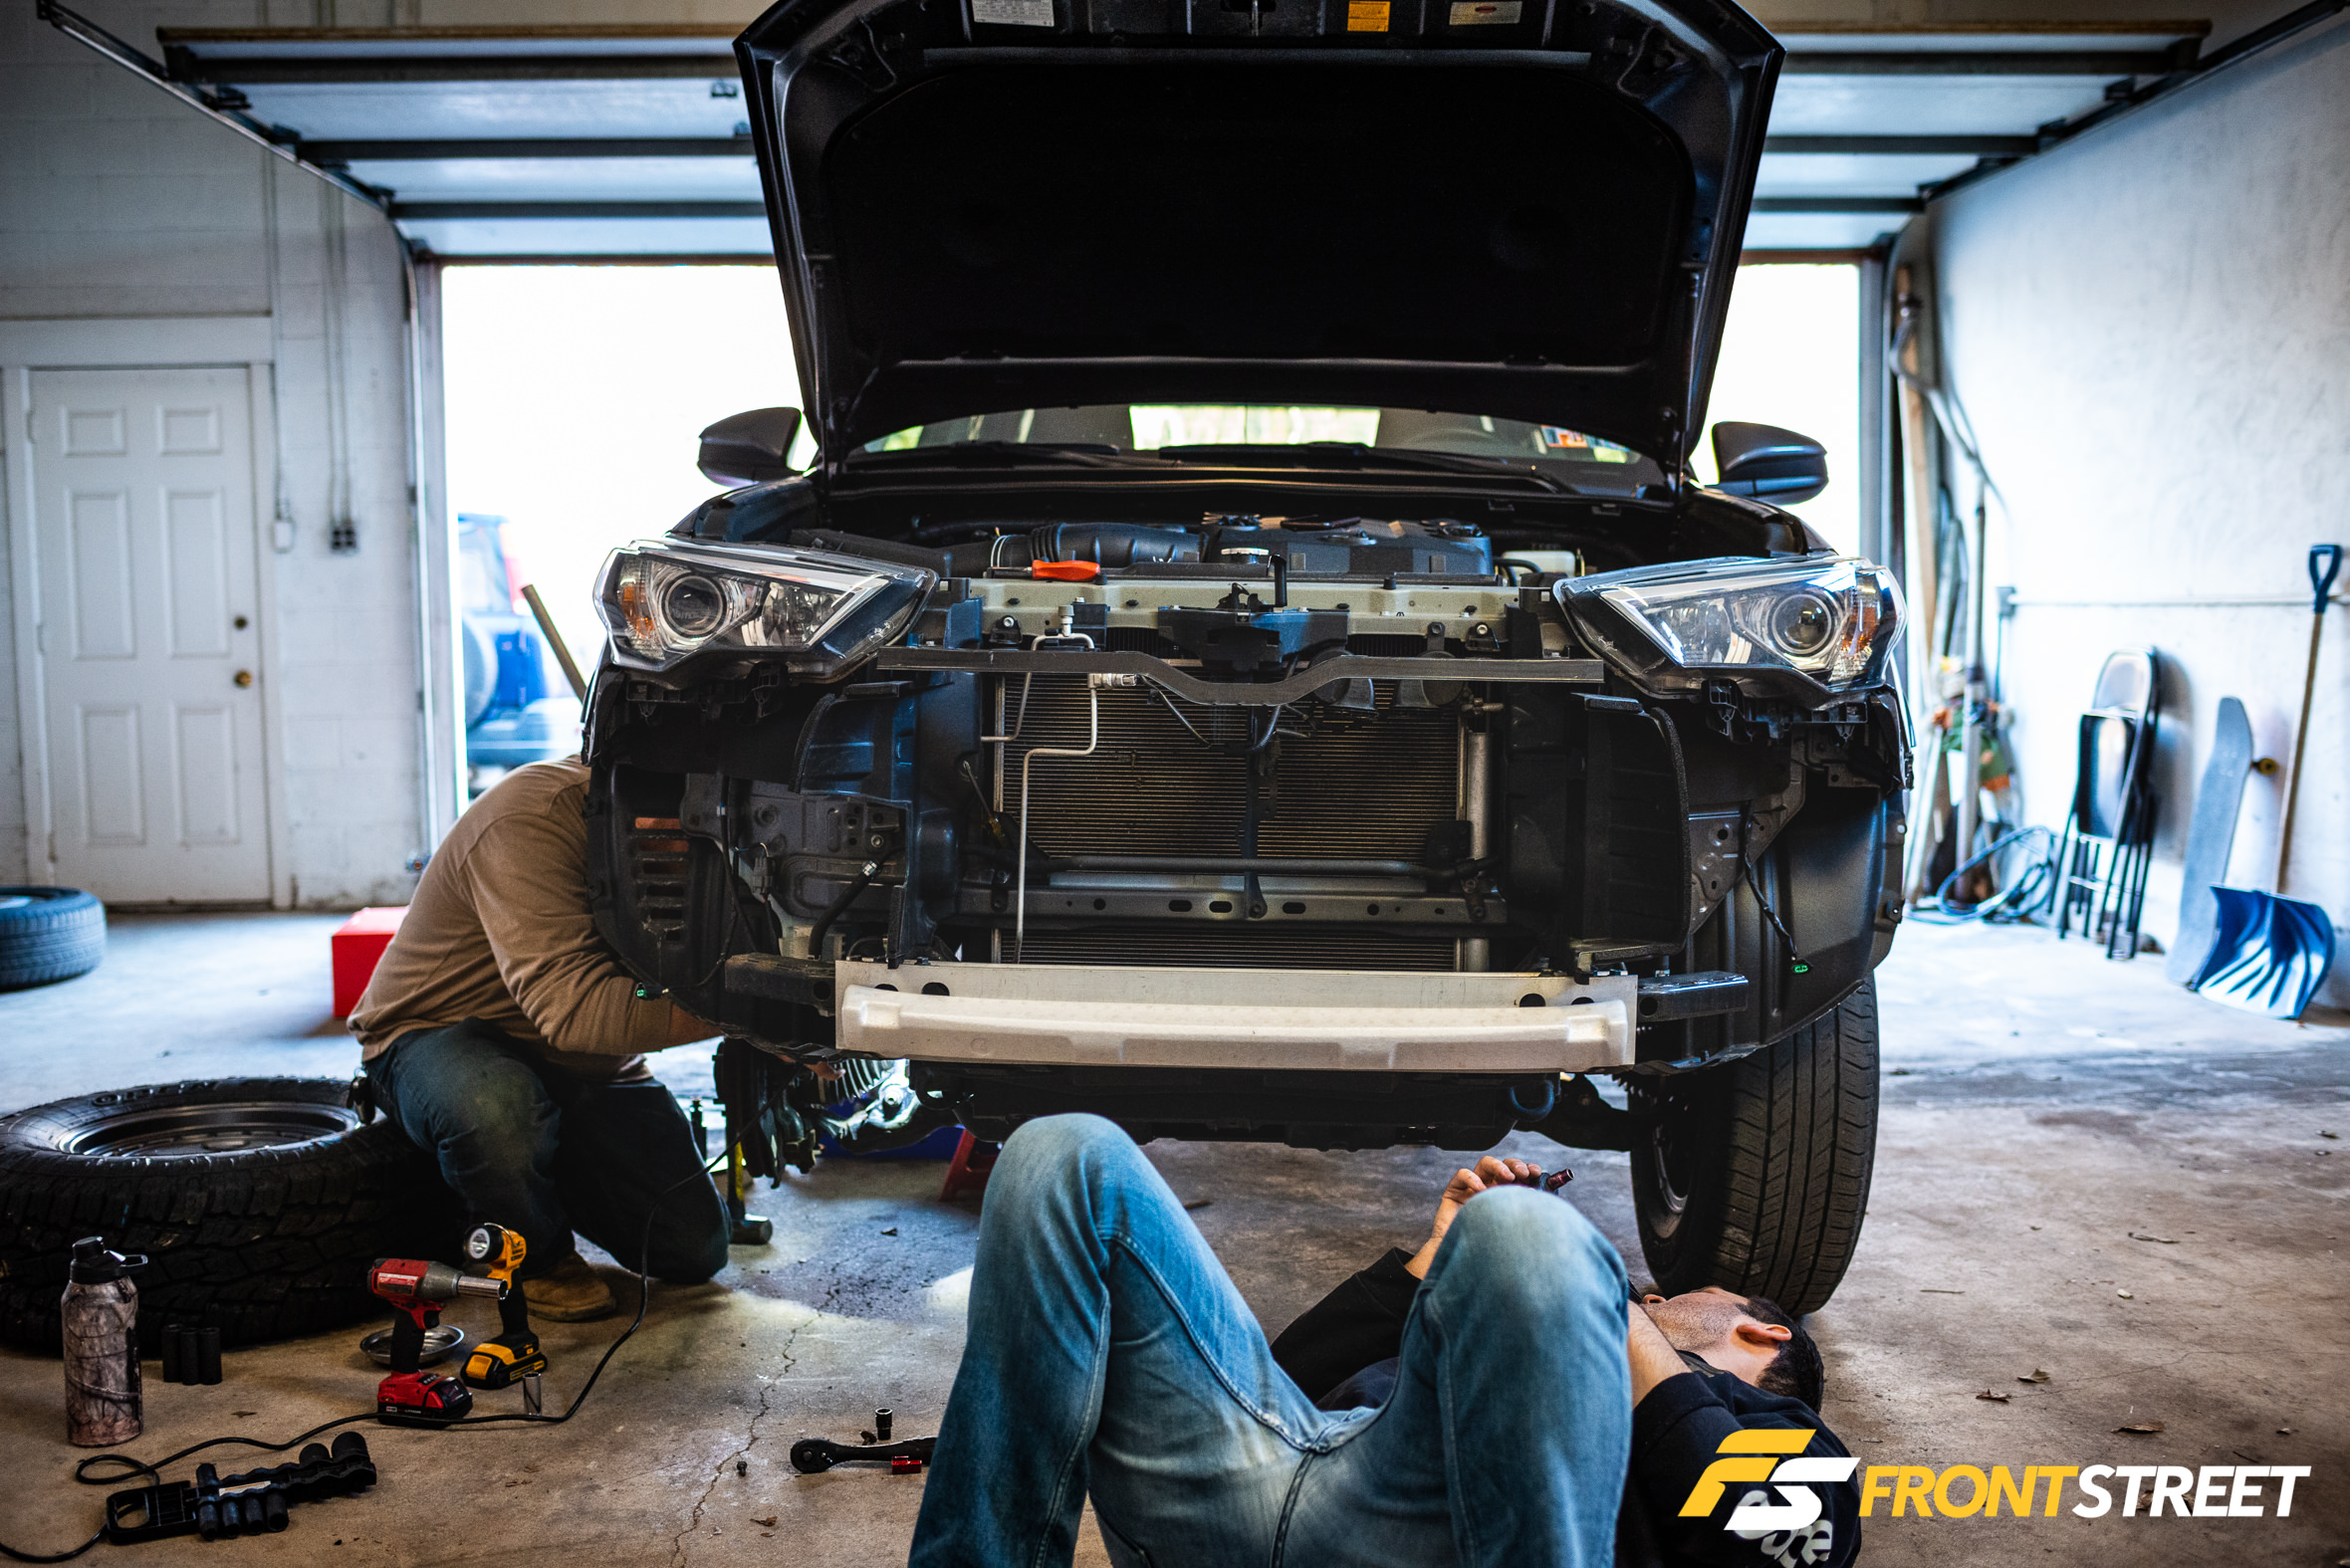
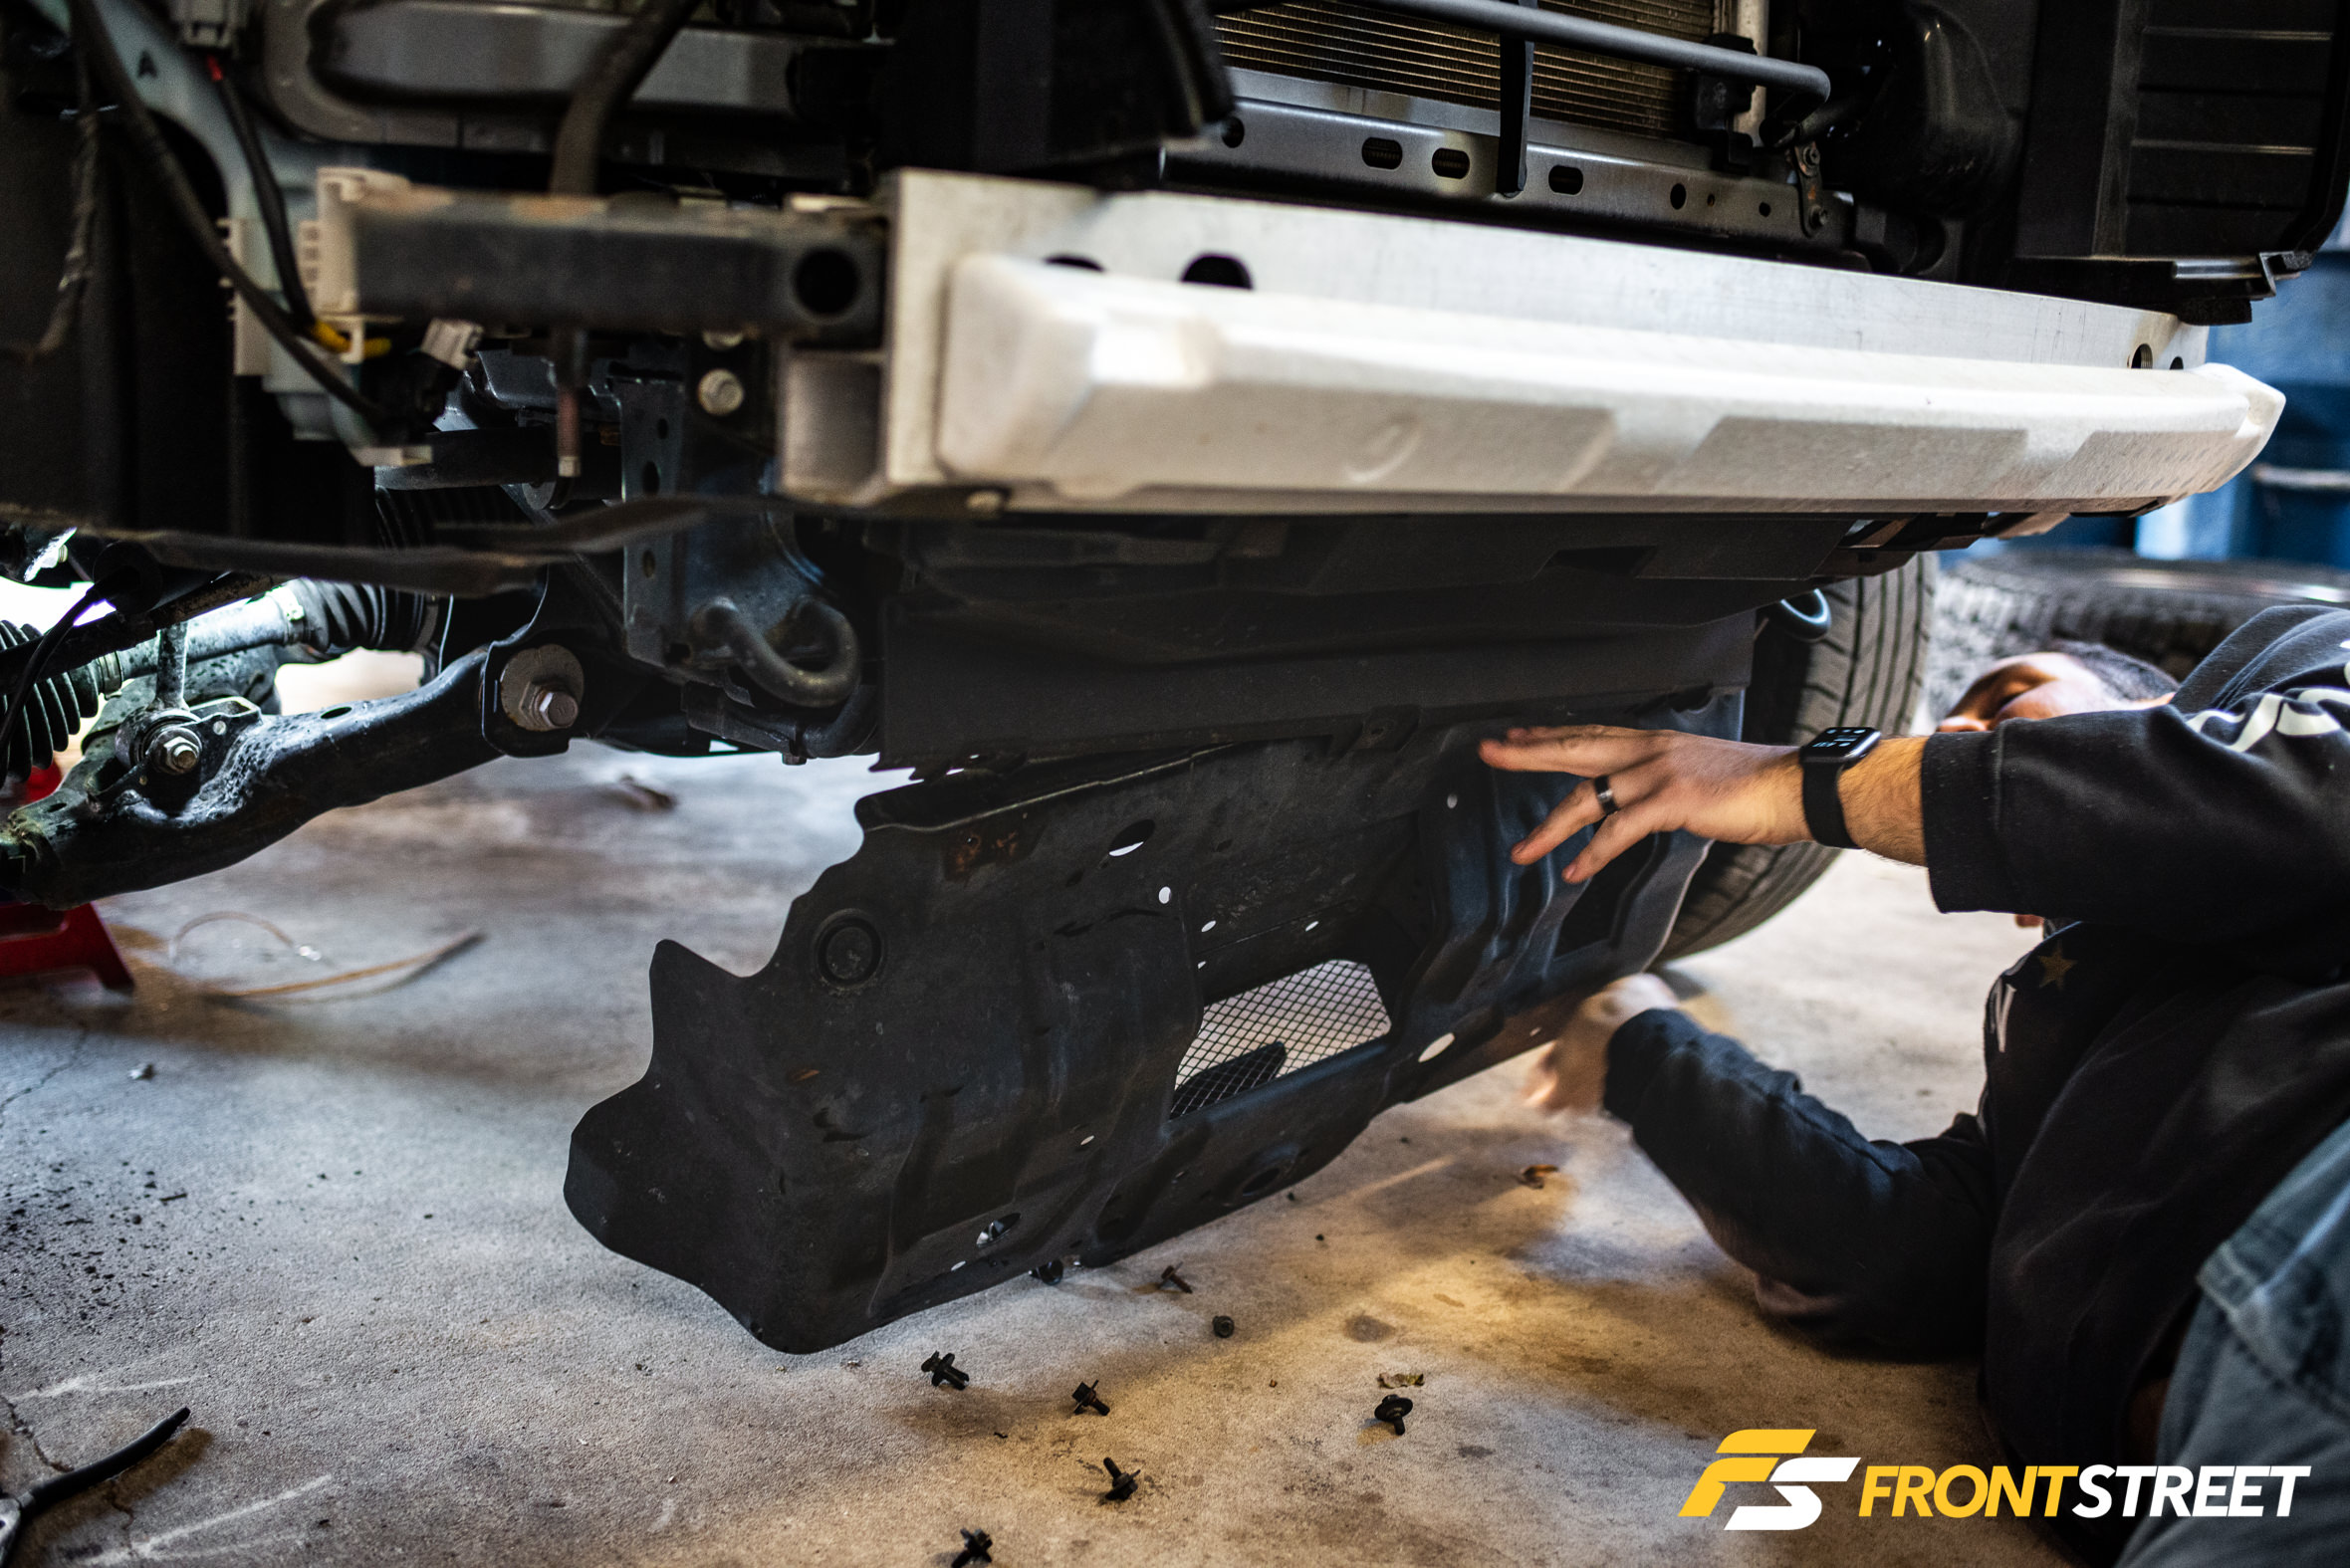
With the bumper removed, the next step was to take off the factory plastic skid plate. These steps aren’t necessary for the suspension install, but since the truck was getting a facelift, it needed to be done.
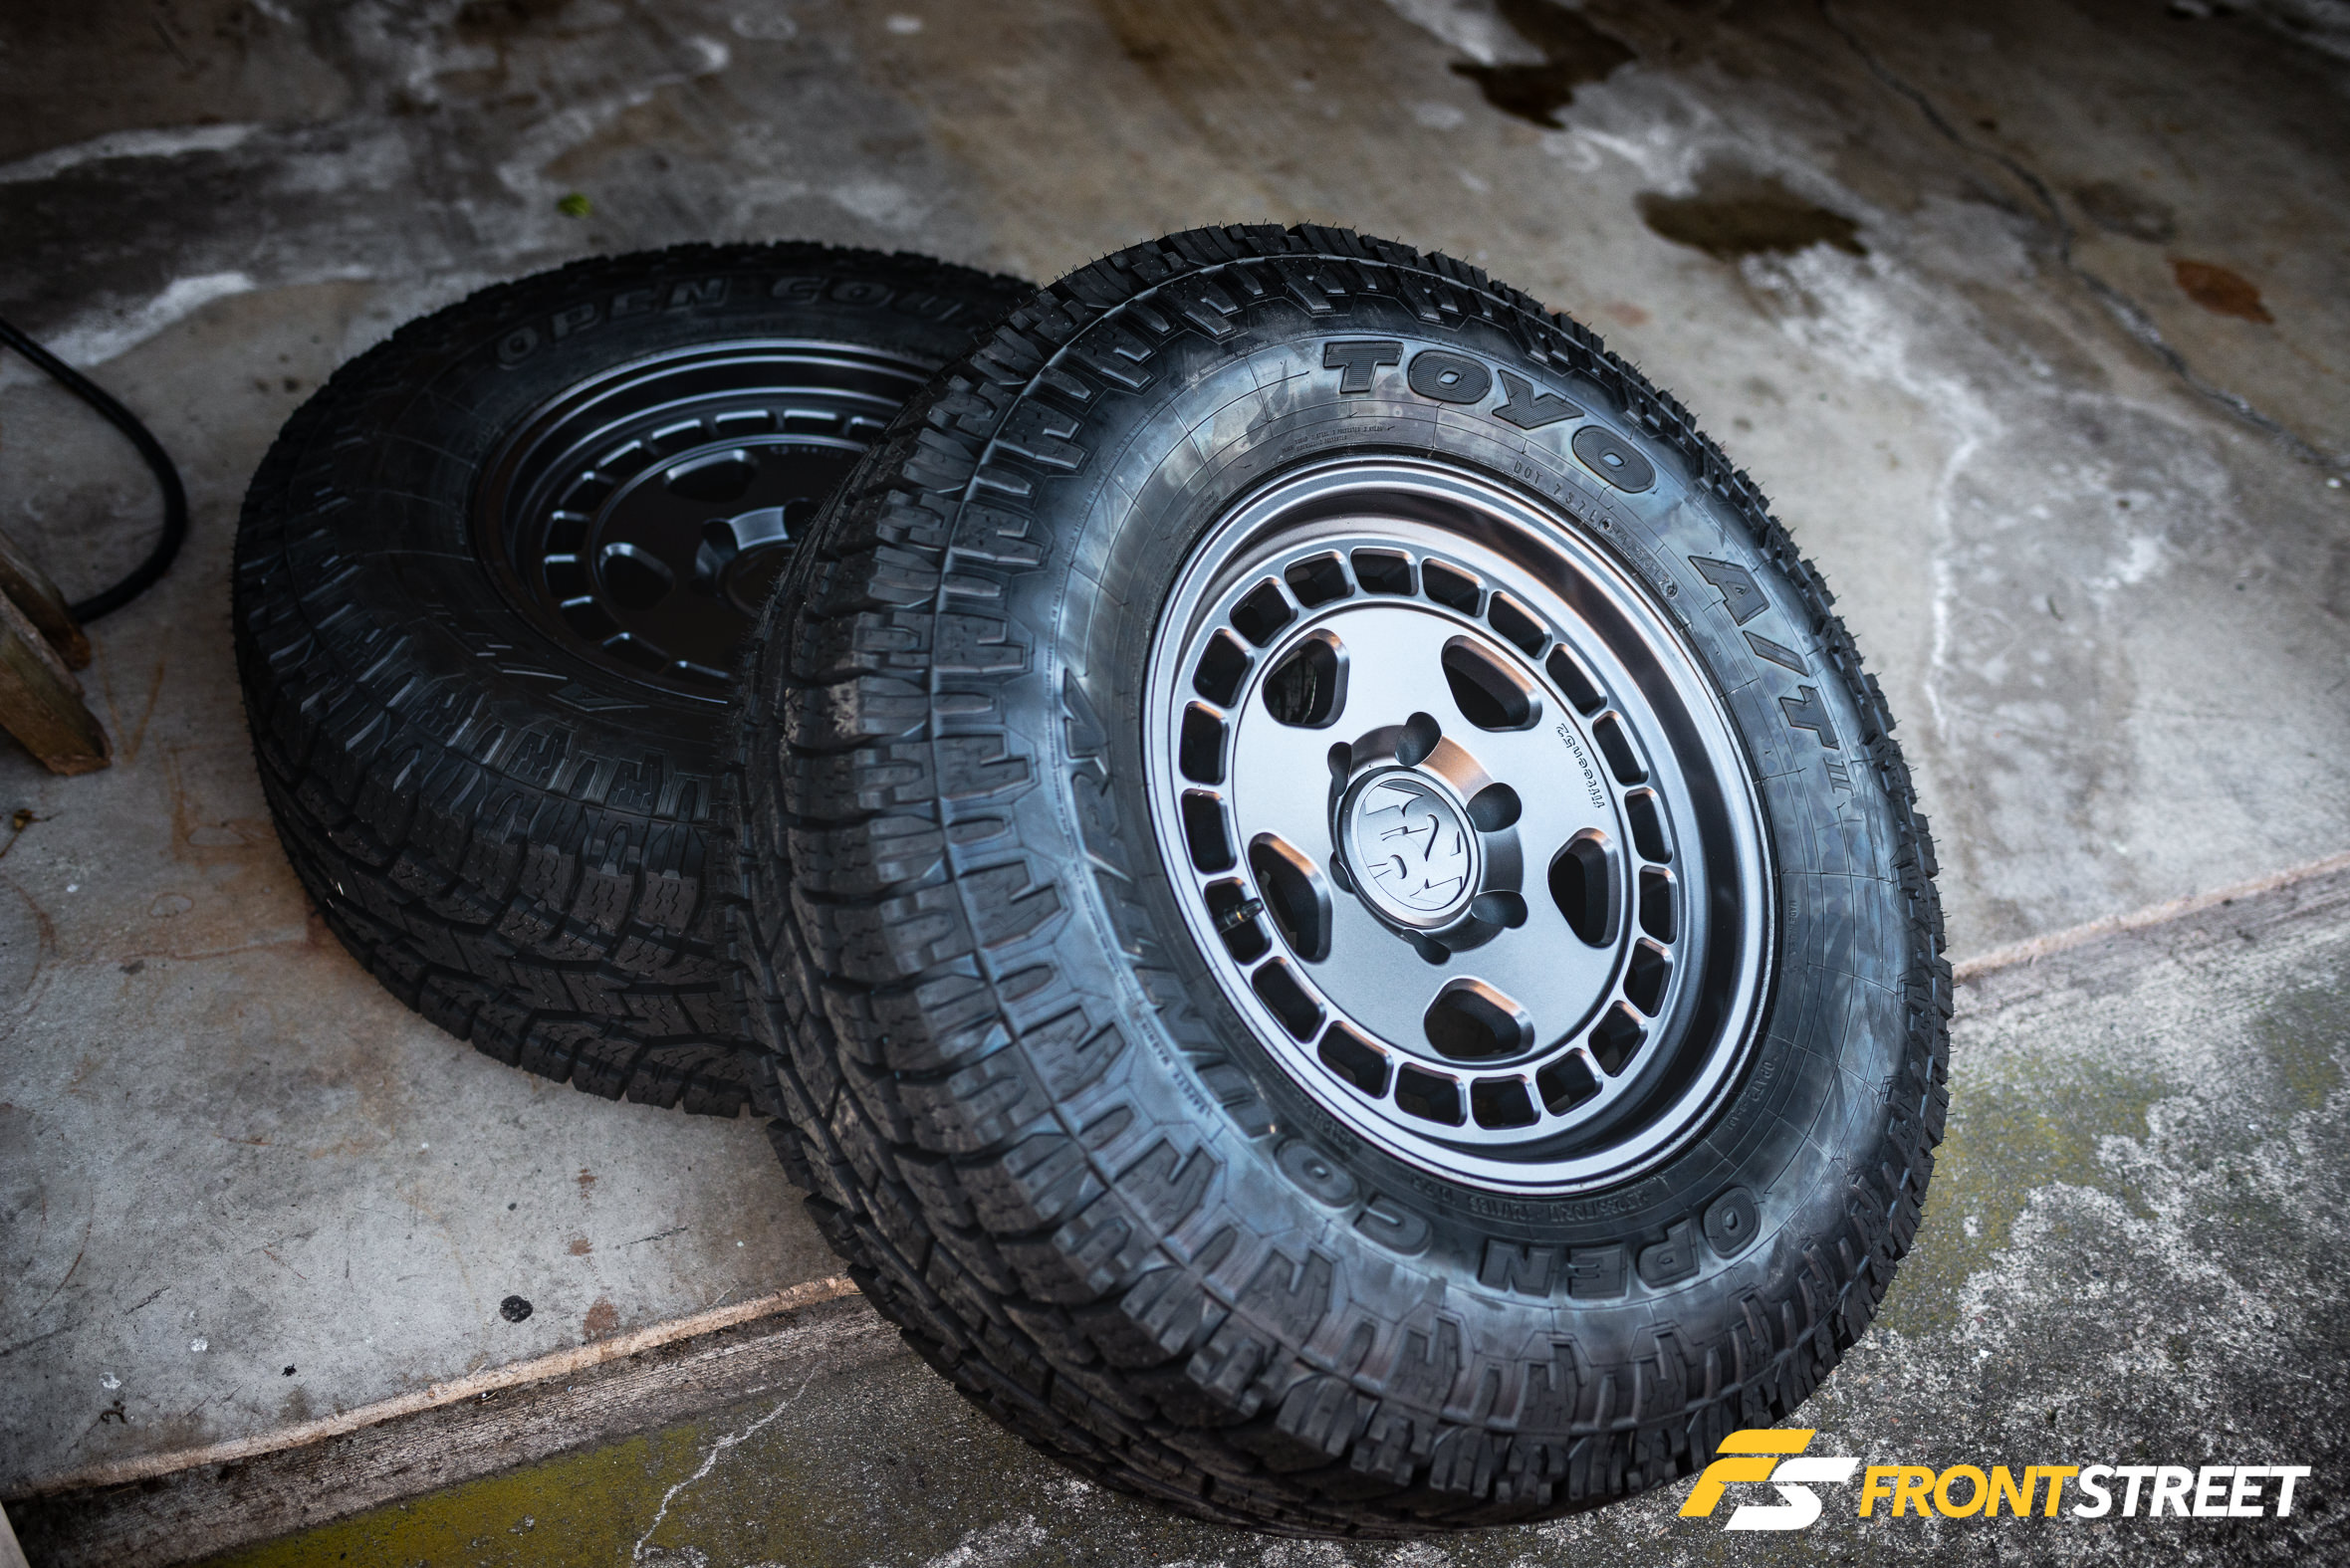
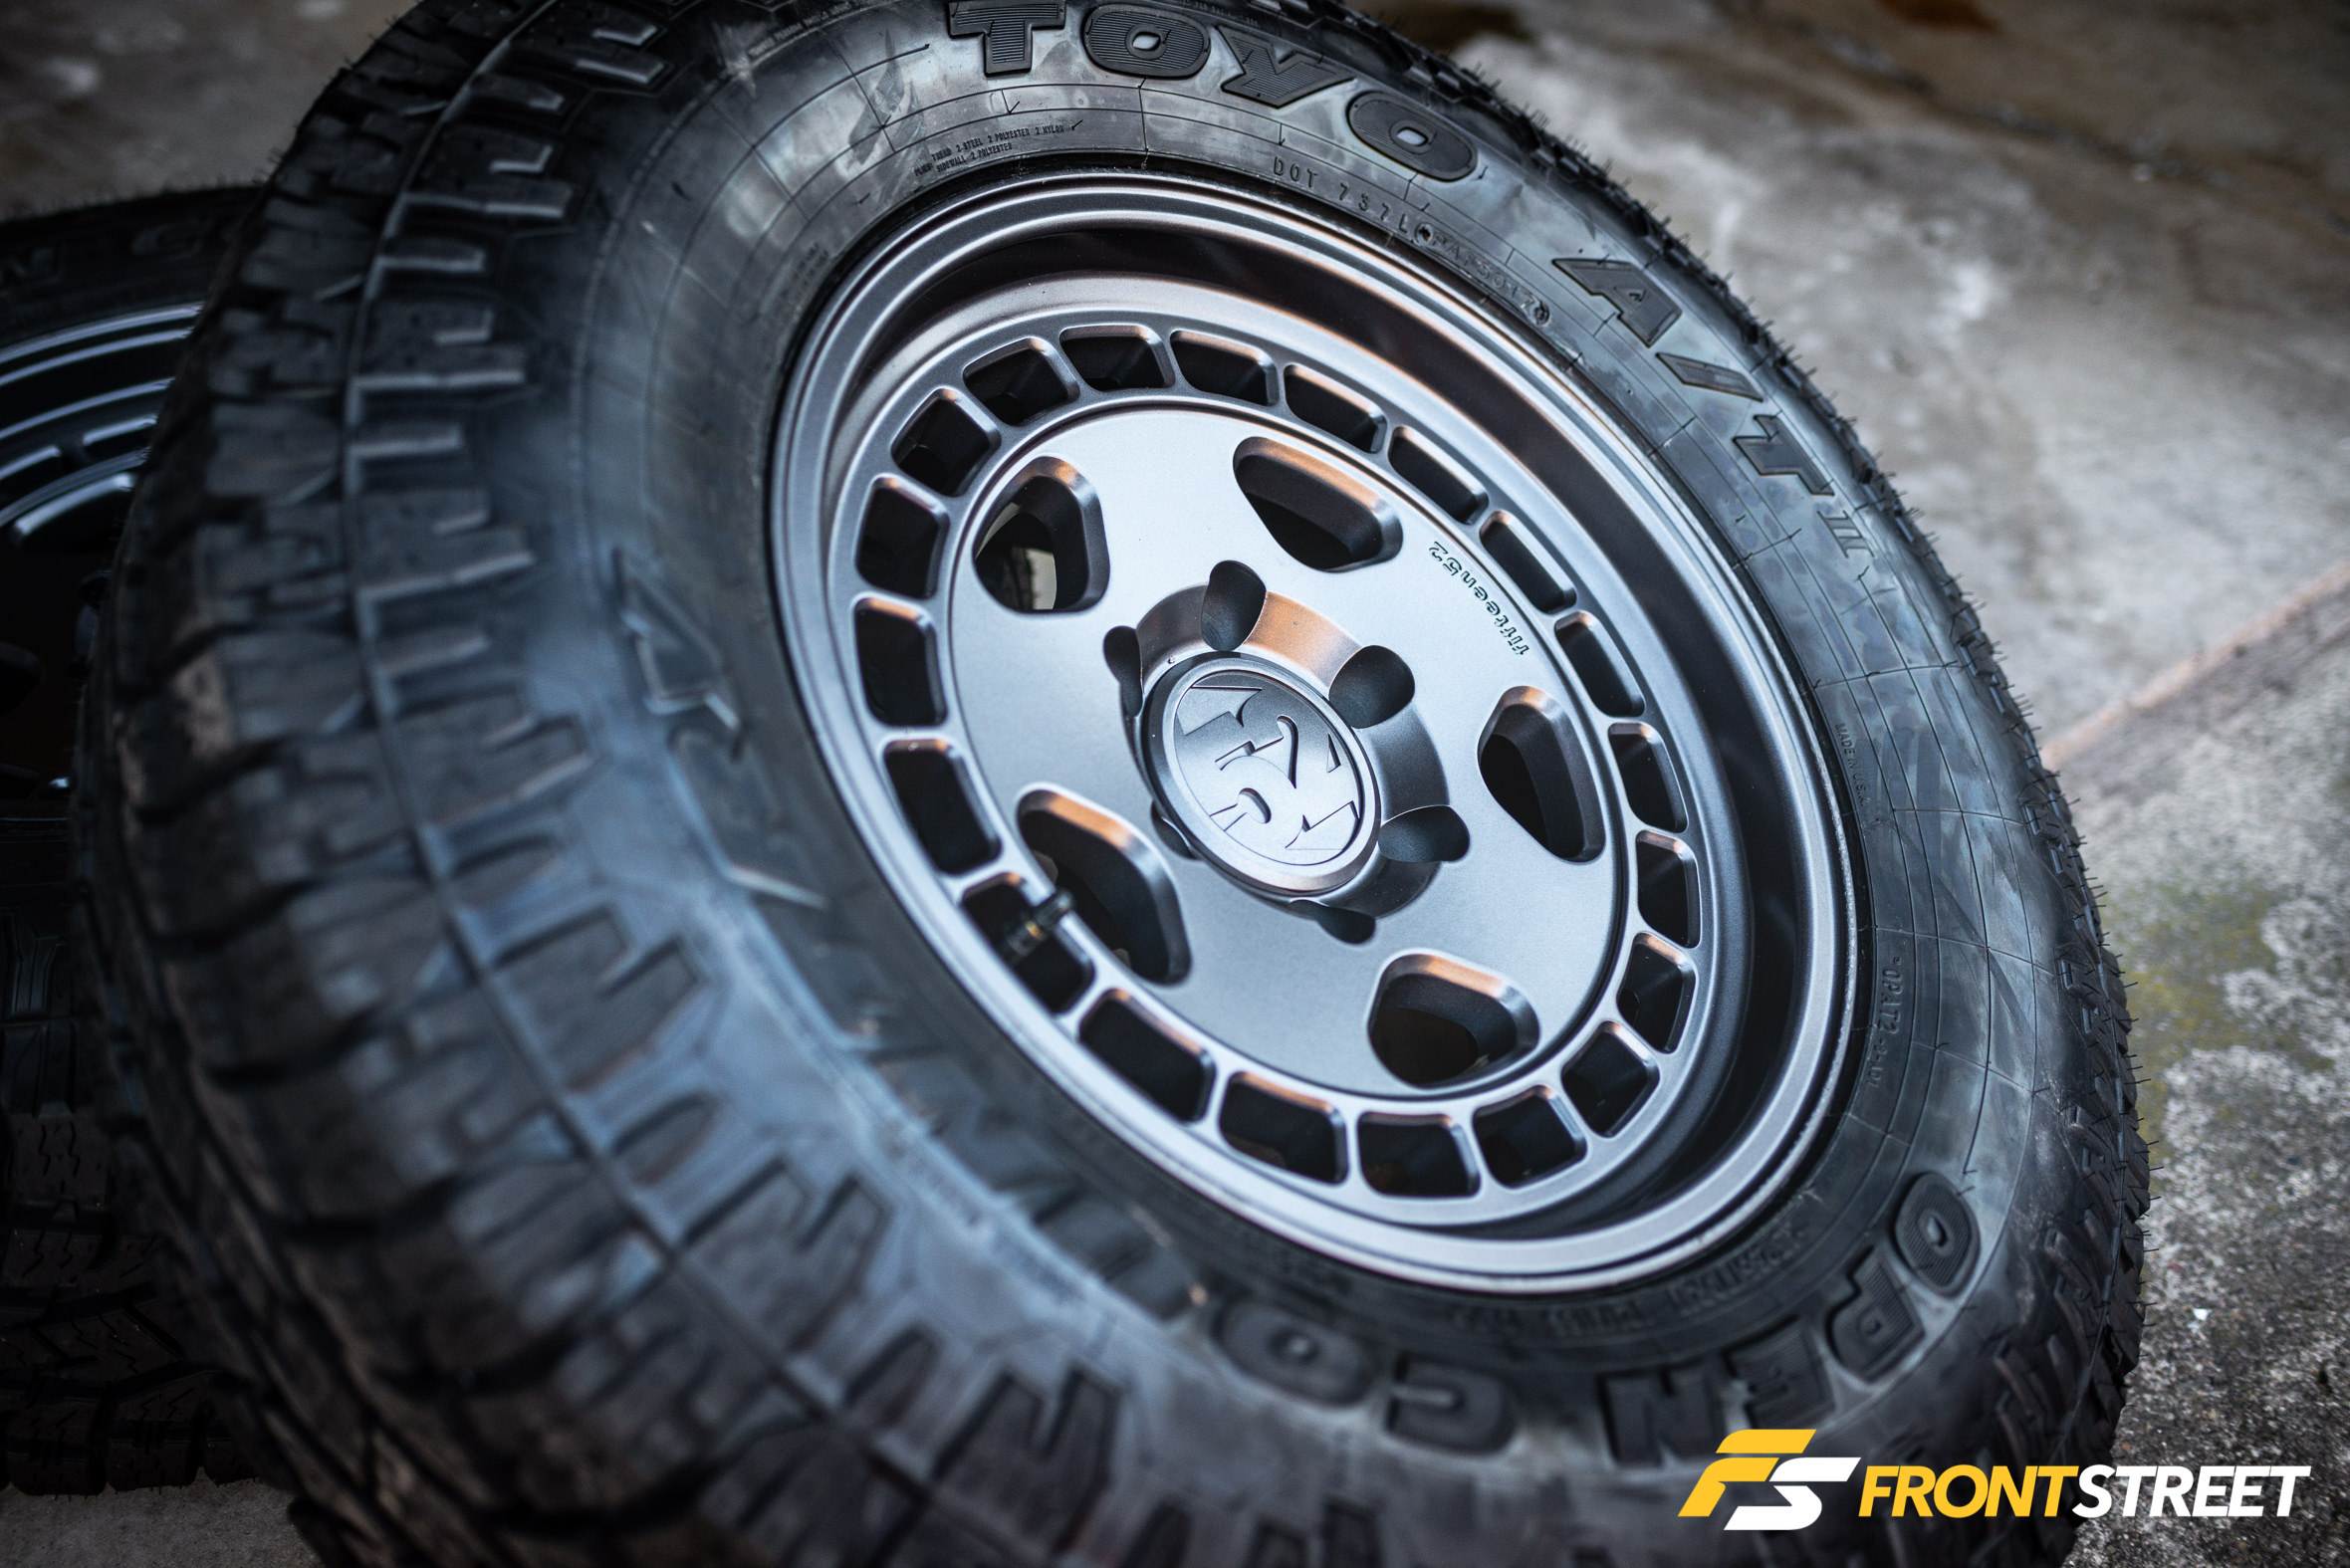
Did I mention this truck was also receiving a brilliant set of the new off-road fifteen52 Turbomac HD Classic wheels finished in Carbon Grey? I didn’t? Oh, well they’re 17×8.5-inches wide with a +0 offset, are wrapped in massive 285/70/17 Toyo Open Country A/T II tires, and finished off inside with Schrader EZ TPMS Sensors to keep the OEM system working correctly. Look at them gleam in the light!
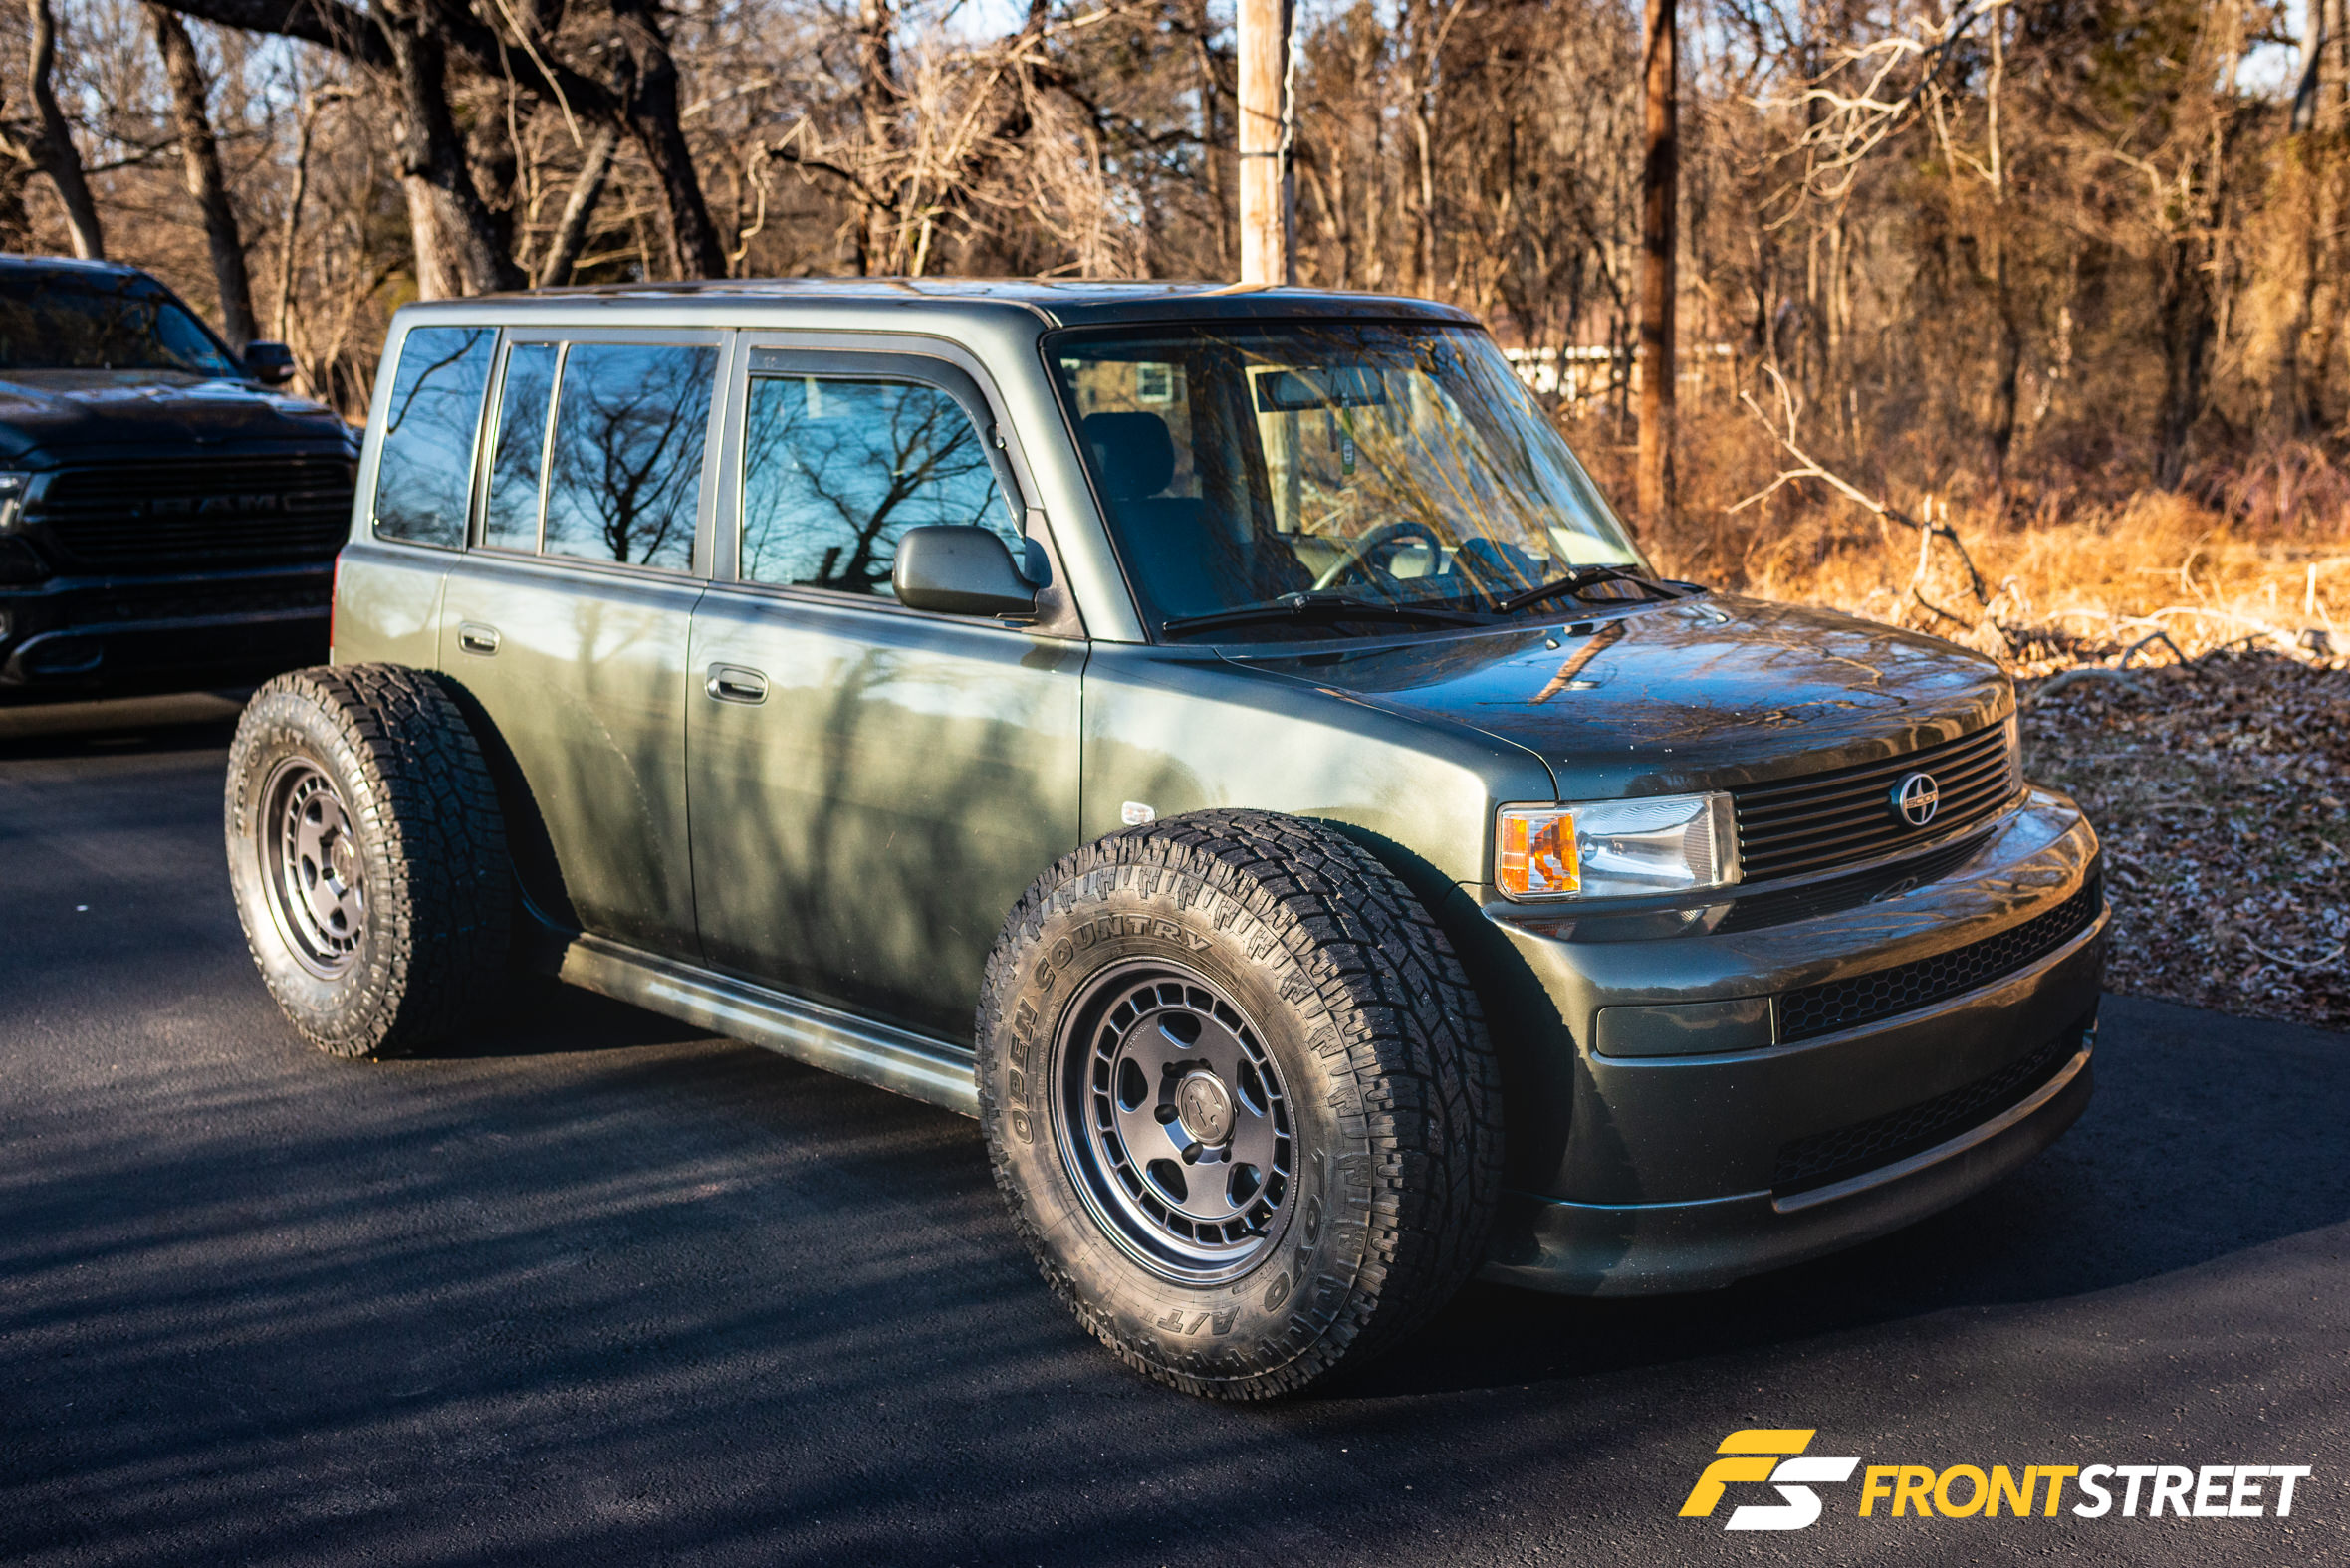
I mean… I had to see what they would look like on my daily driver, and it’s not too shabby.
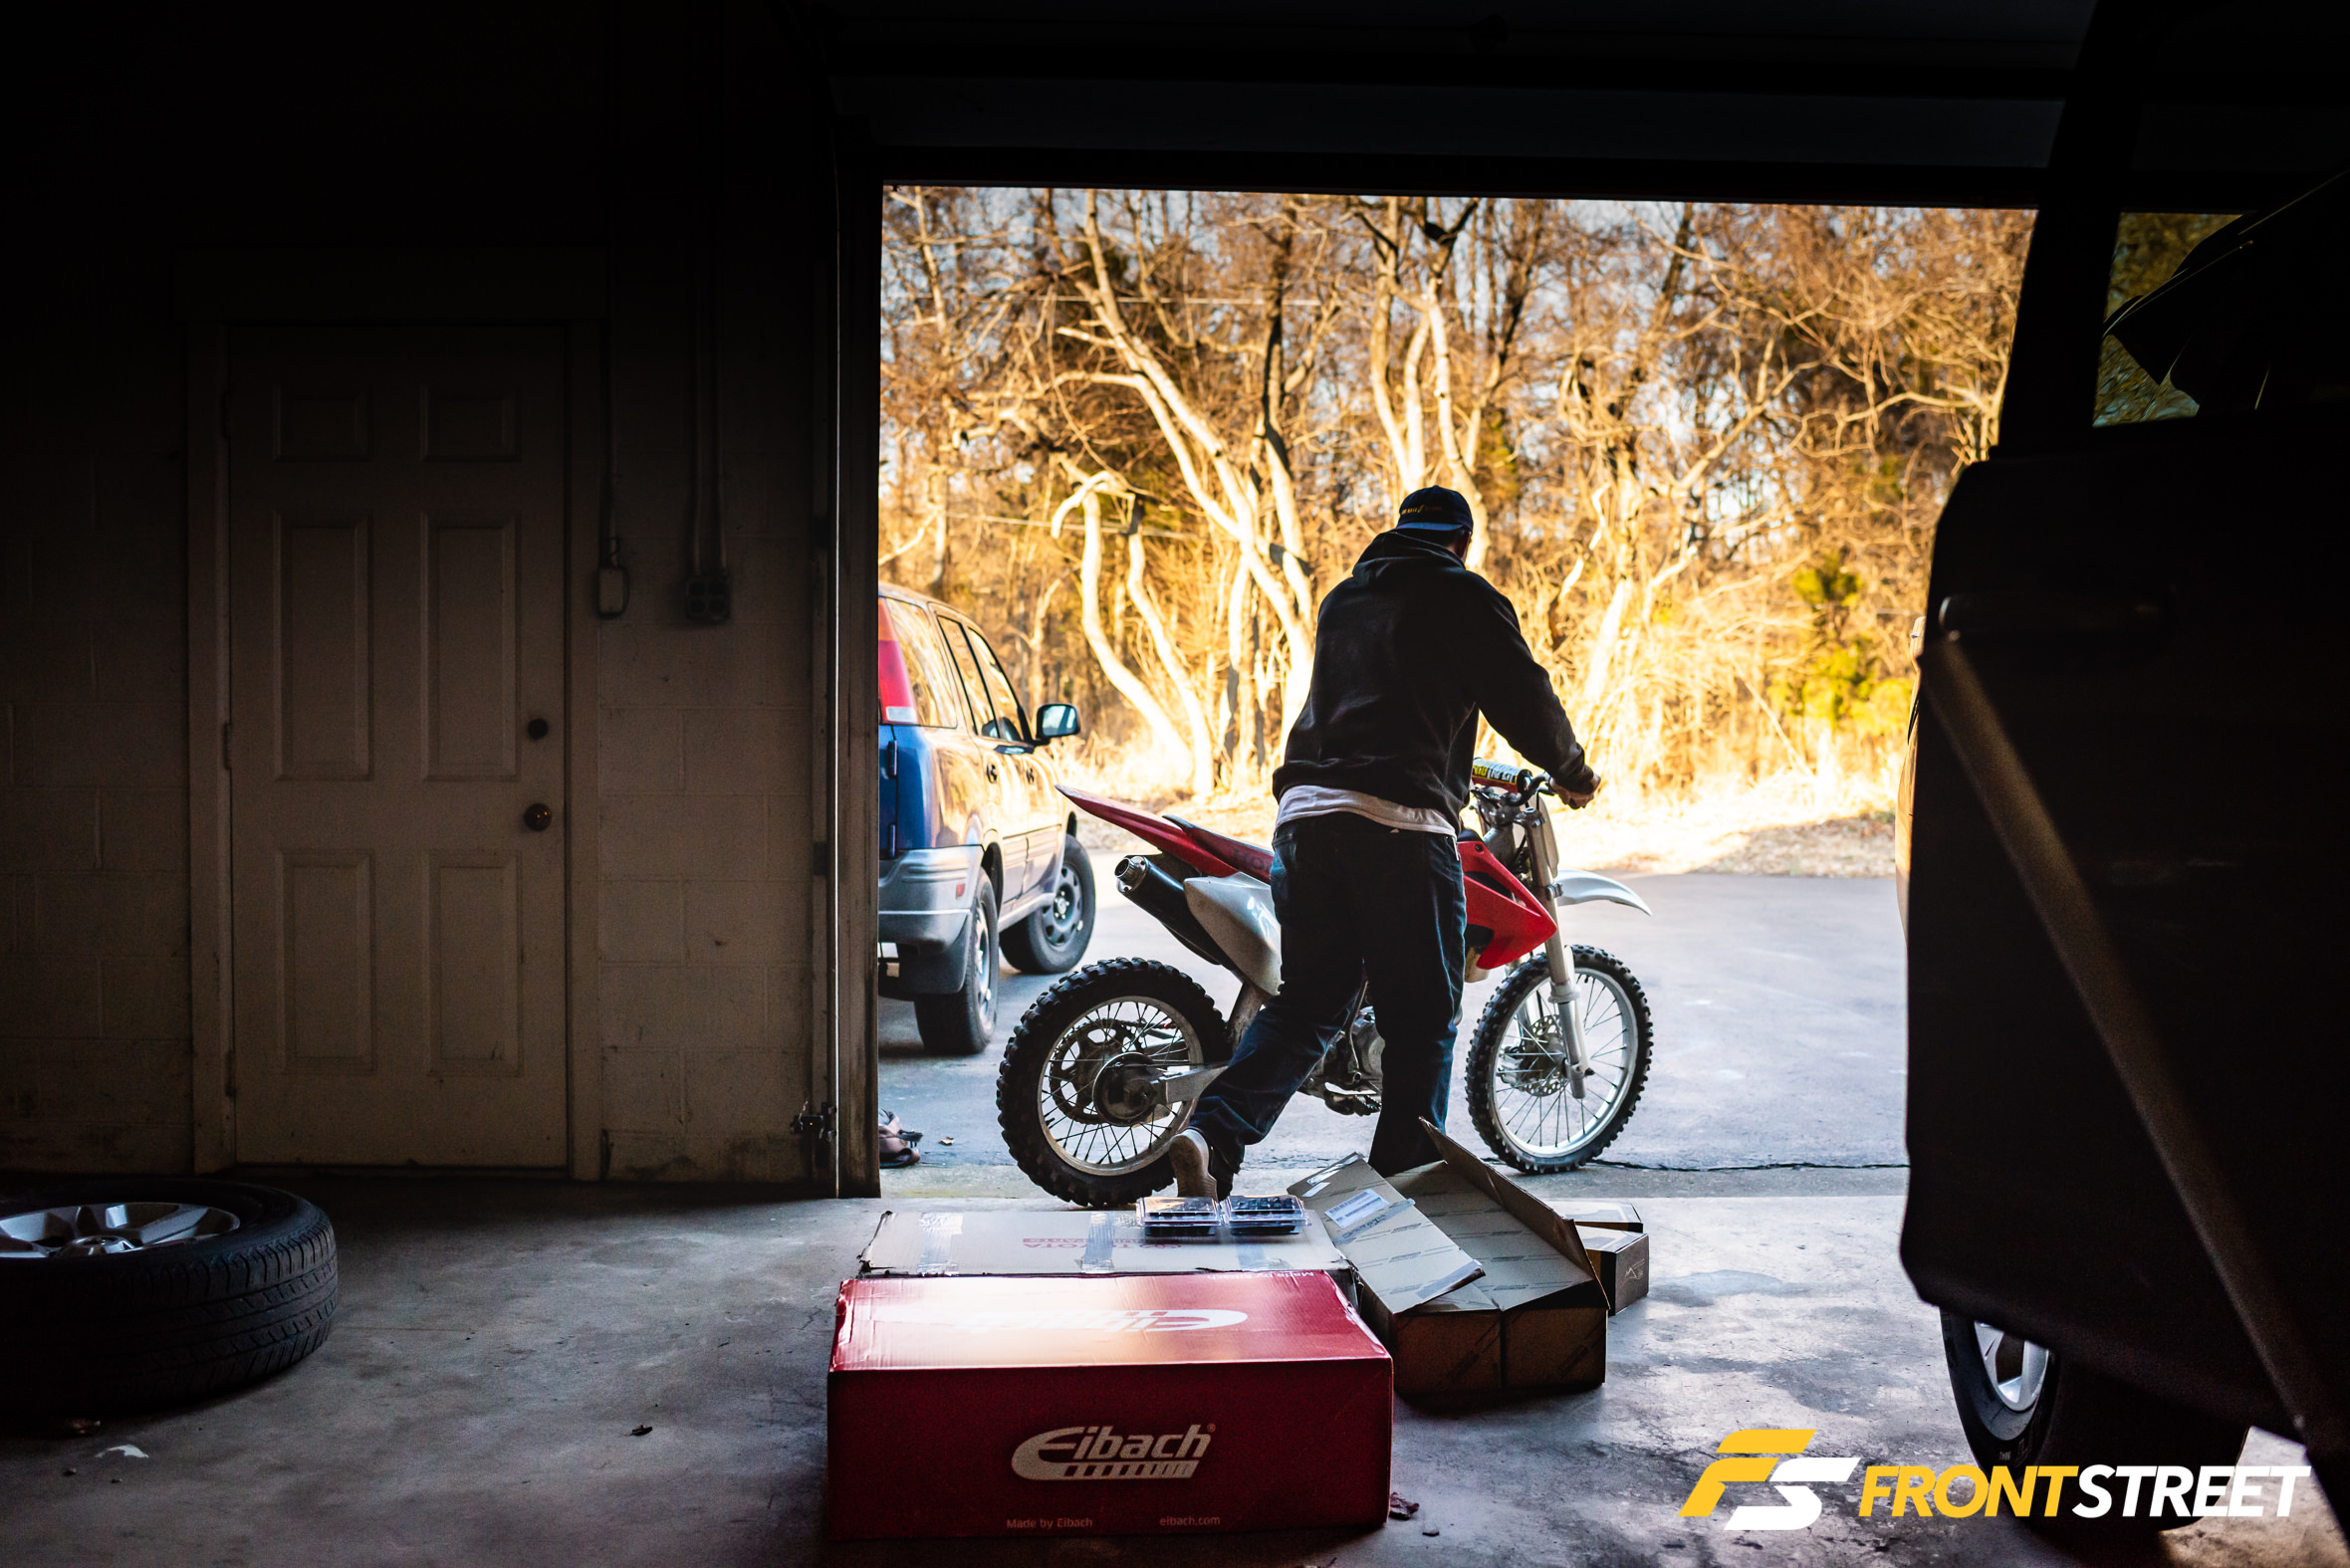
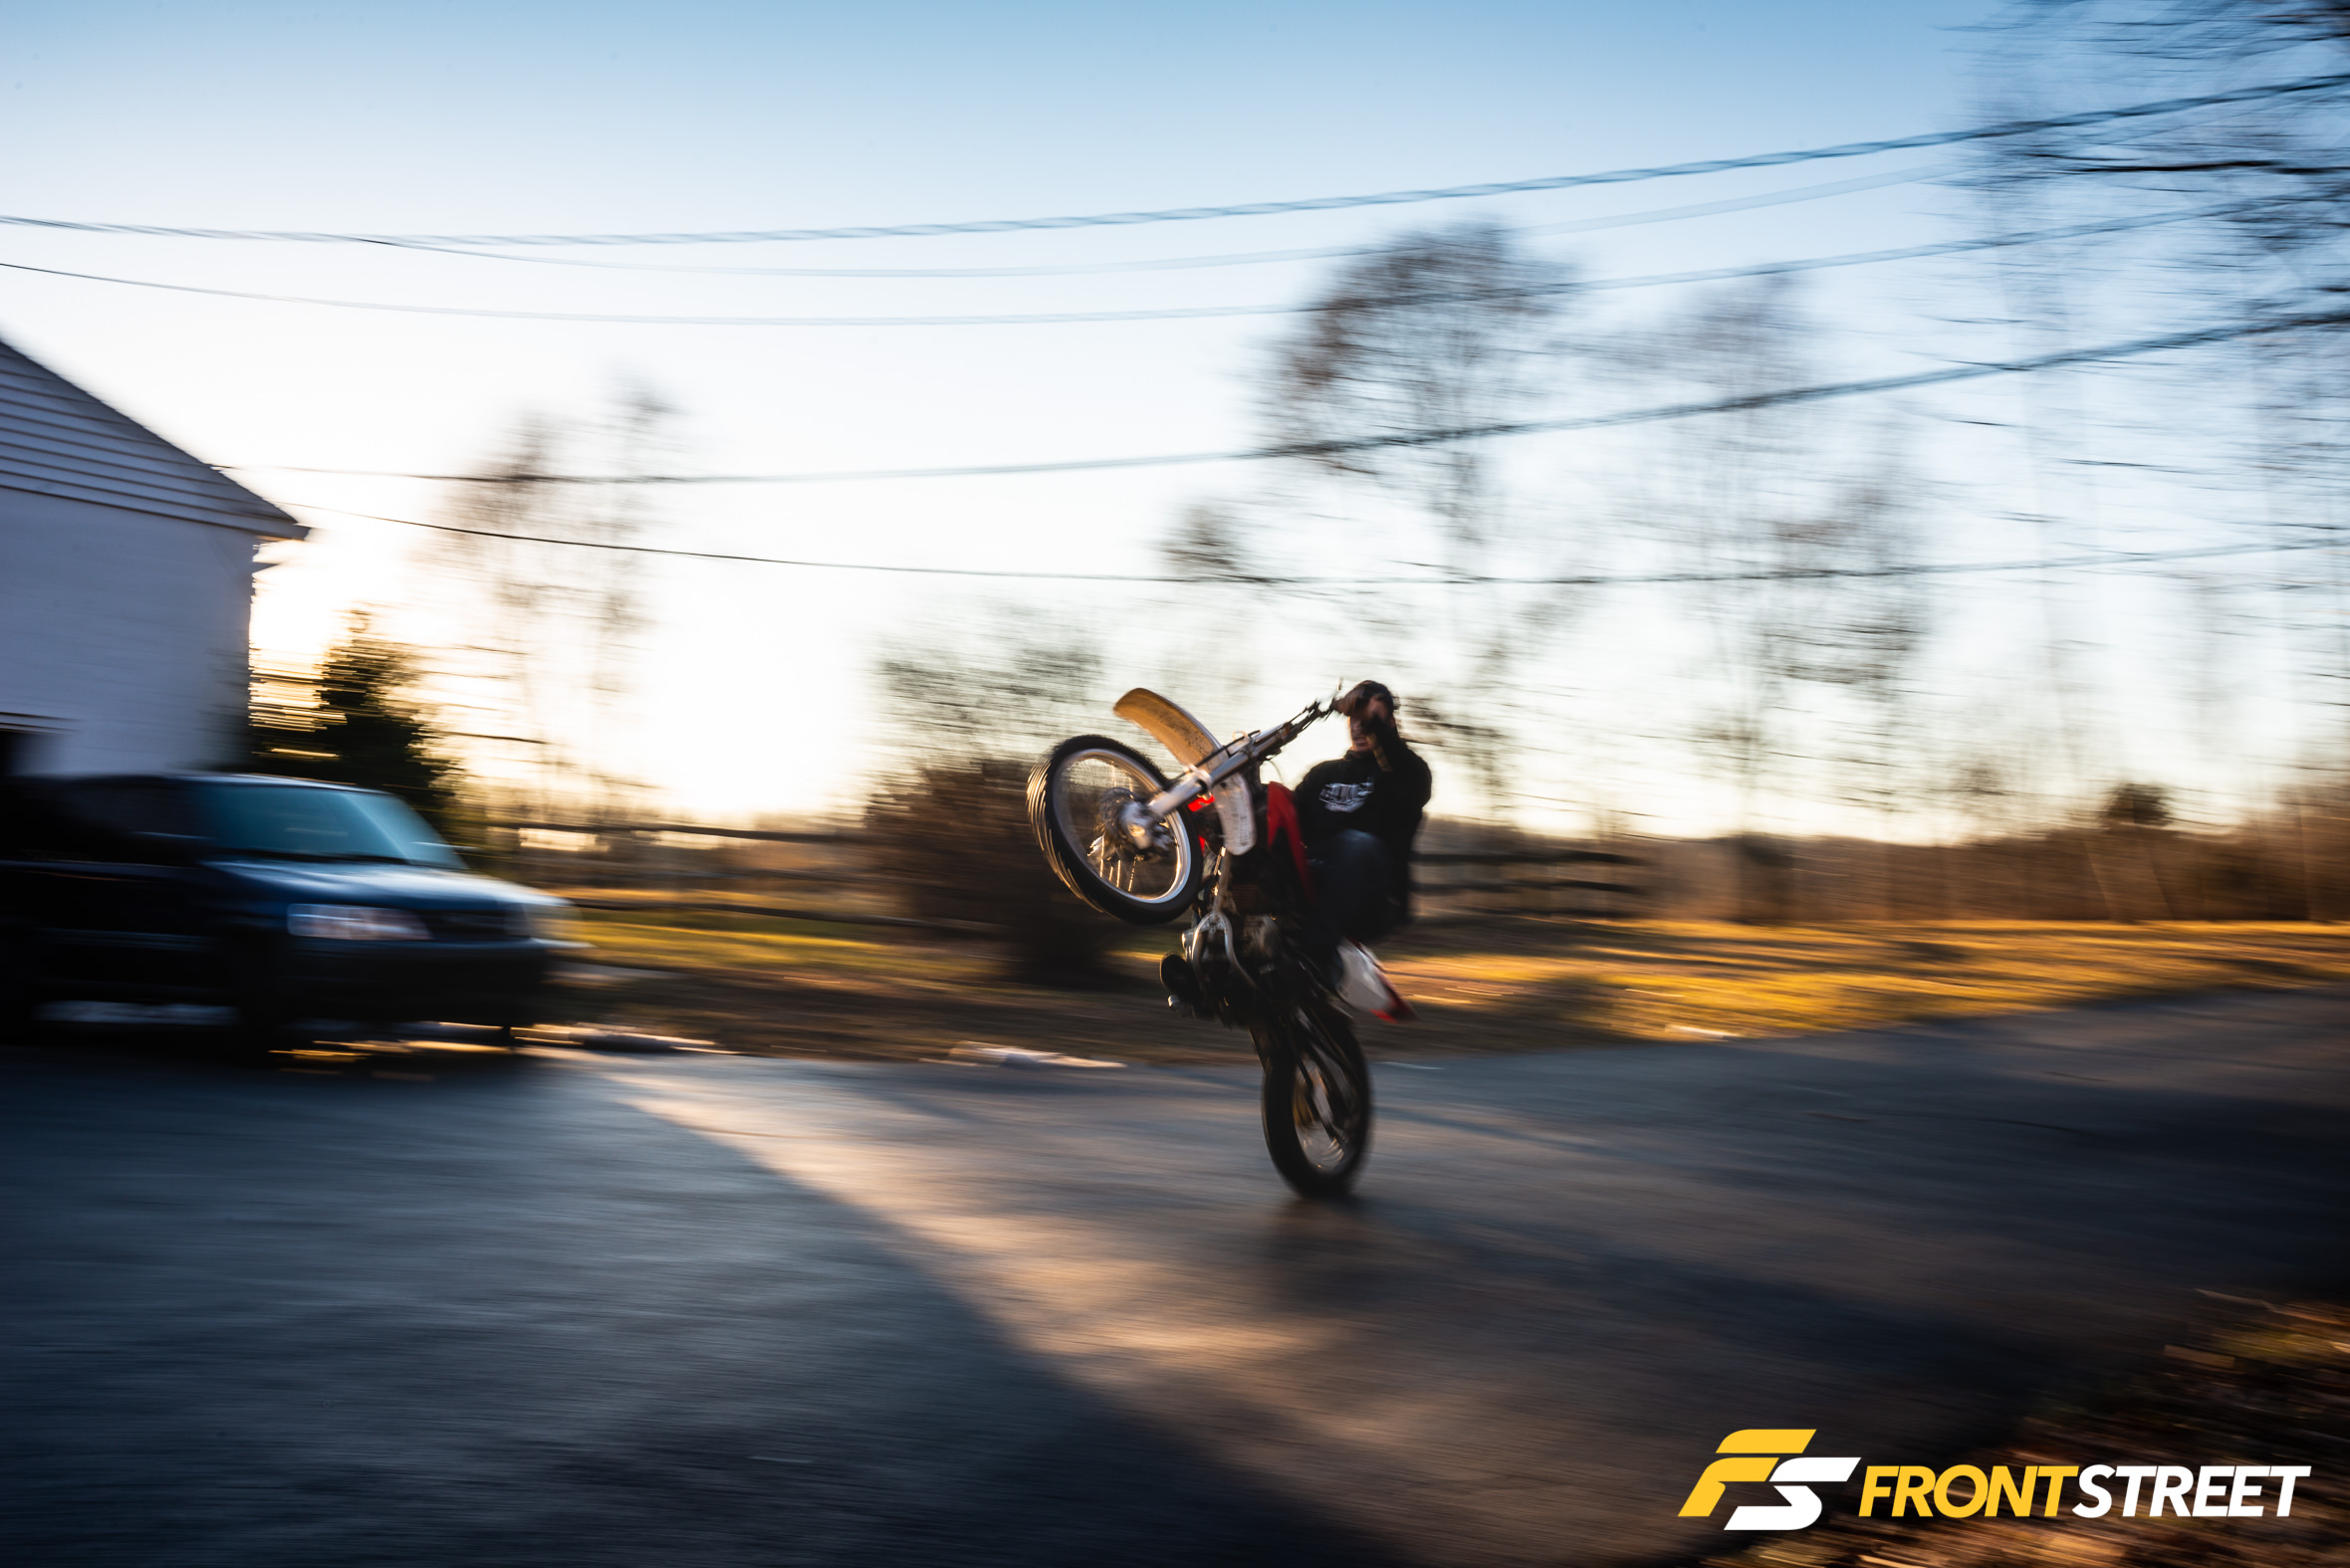
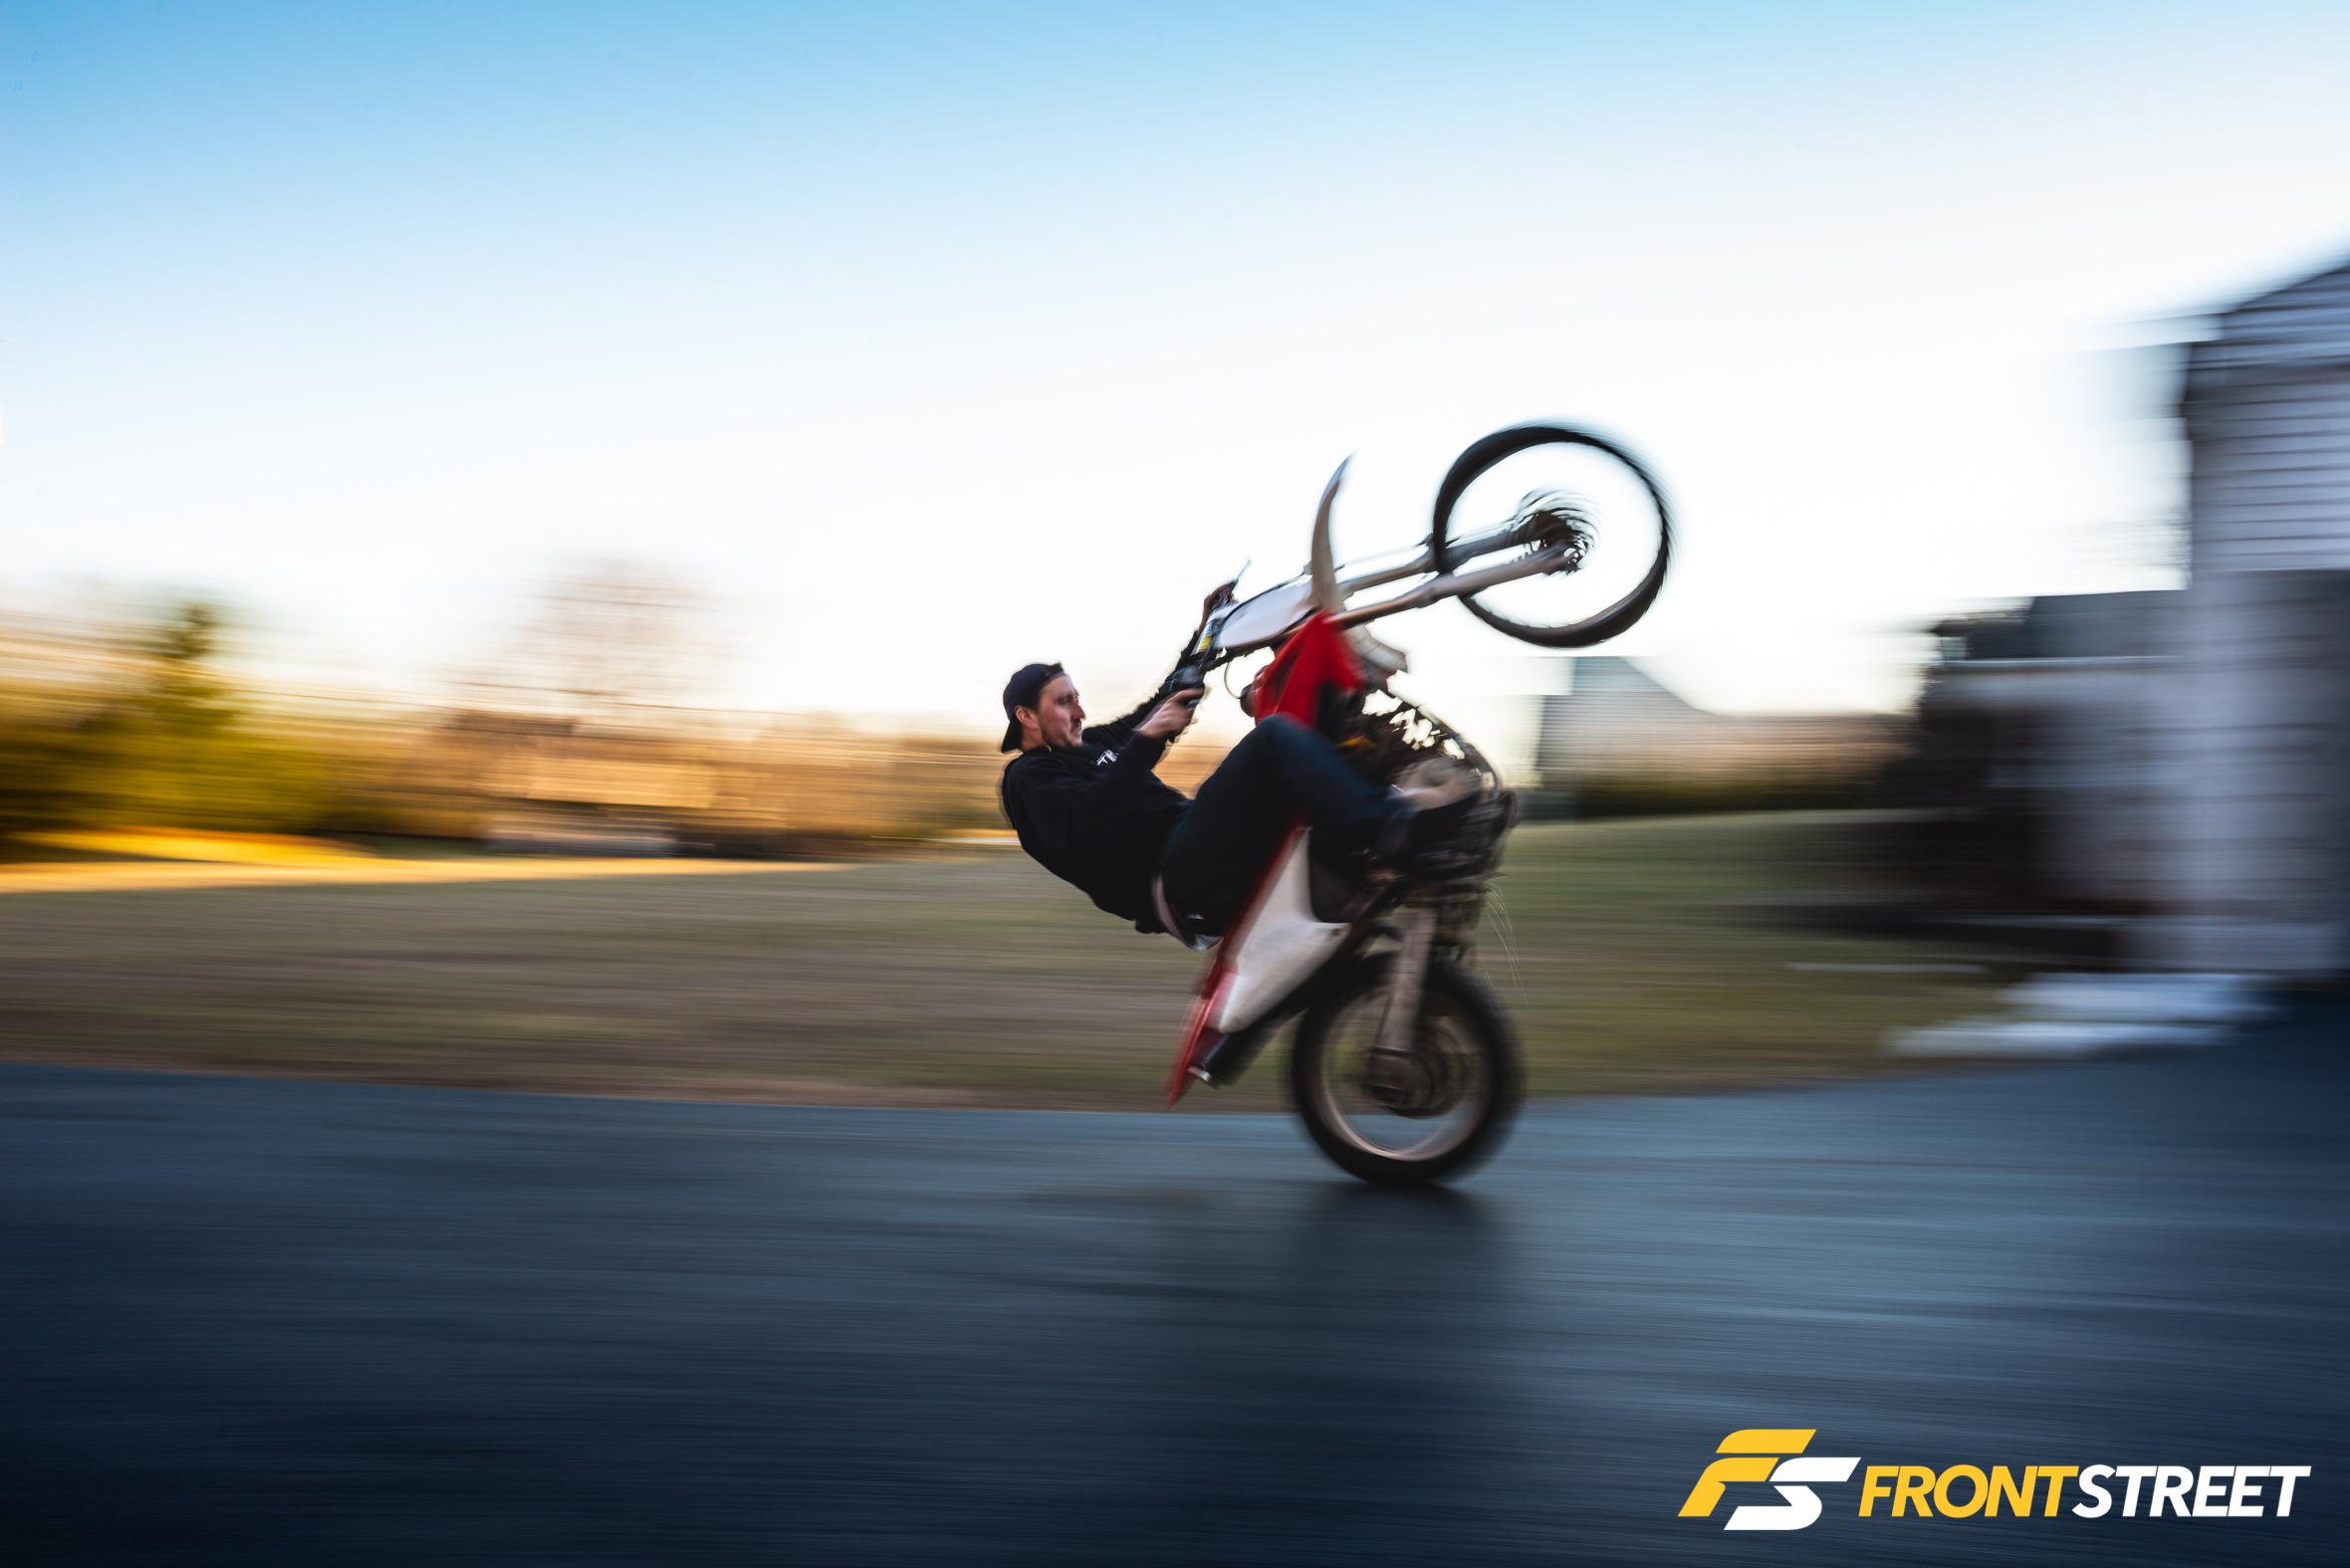
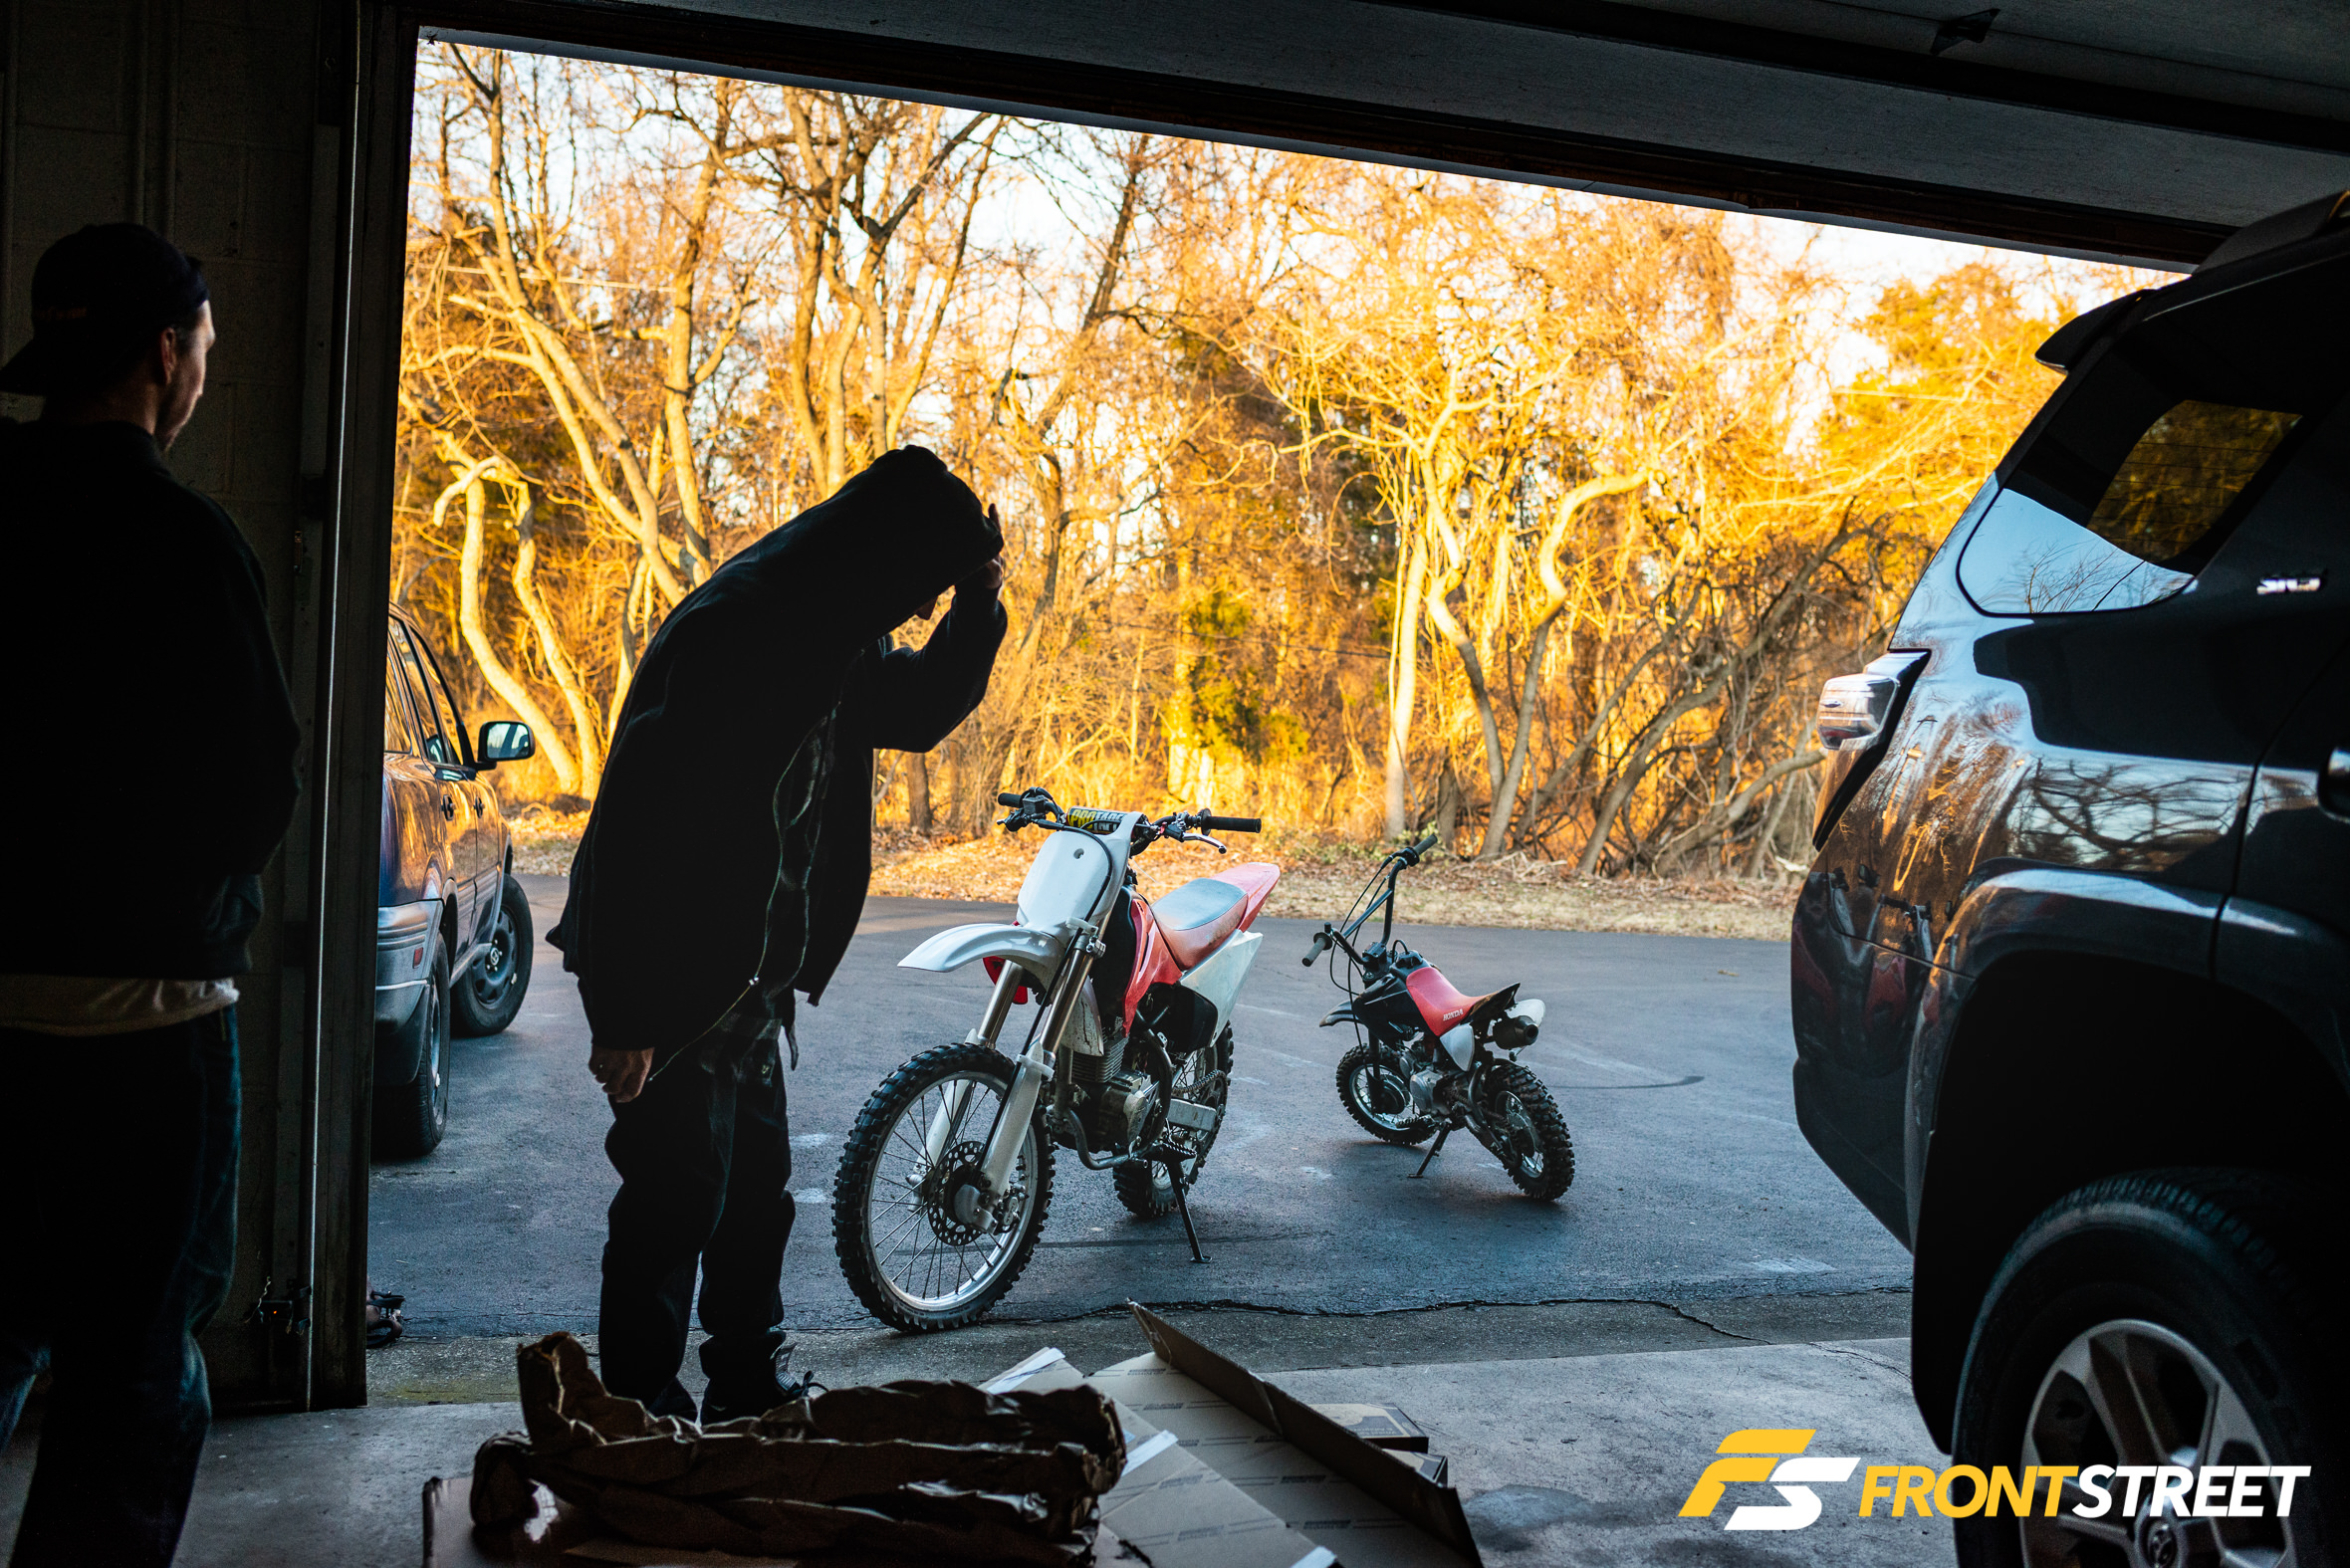
While we tested the wheels on my car, there was also a brief pause for riding some bikes before really getting into it.
Front Suspension Install
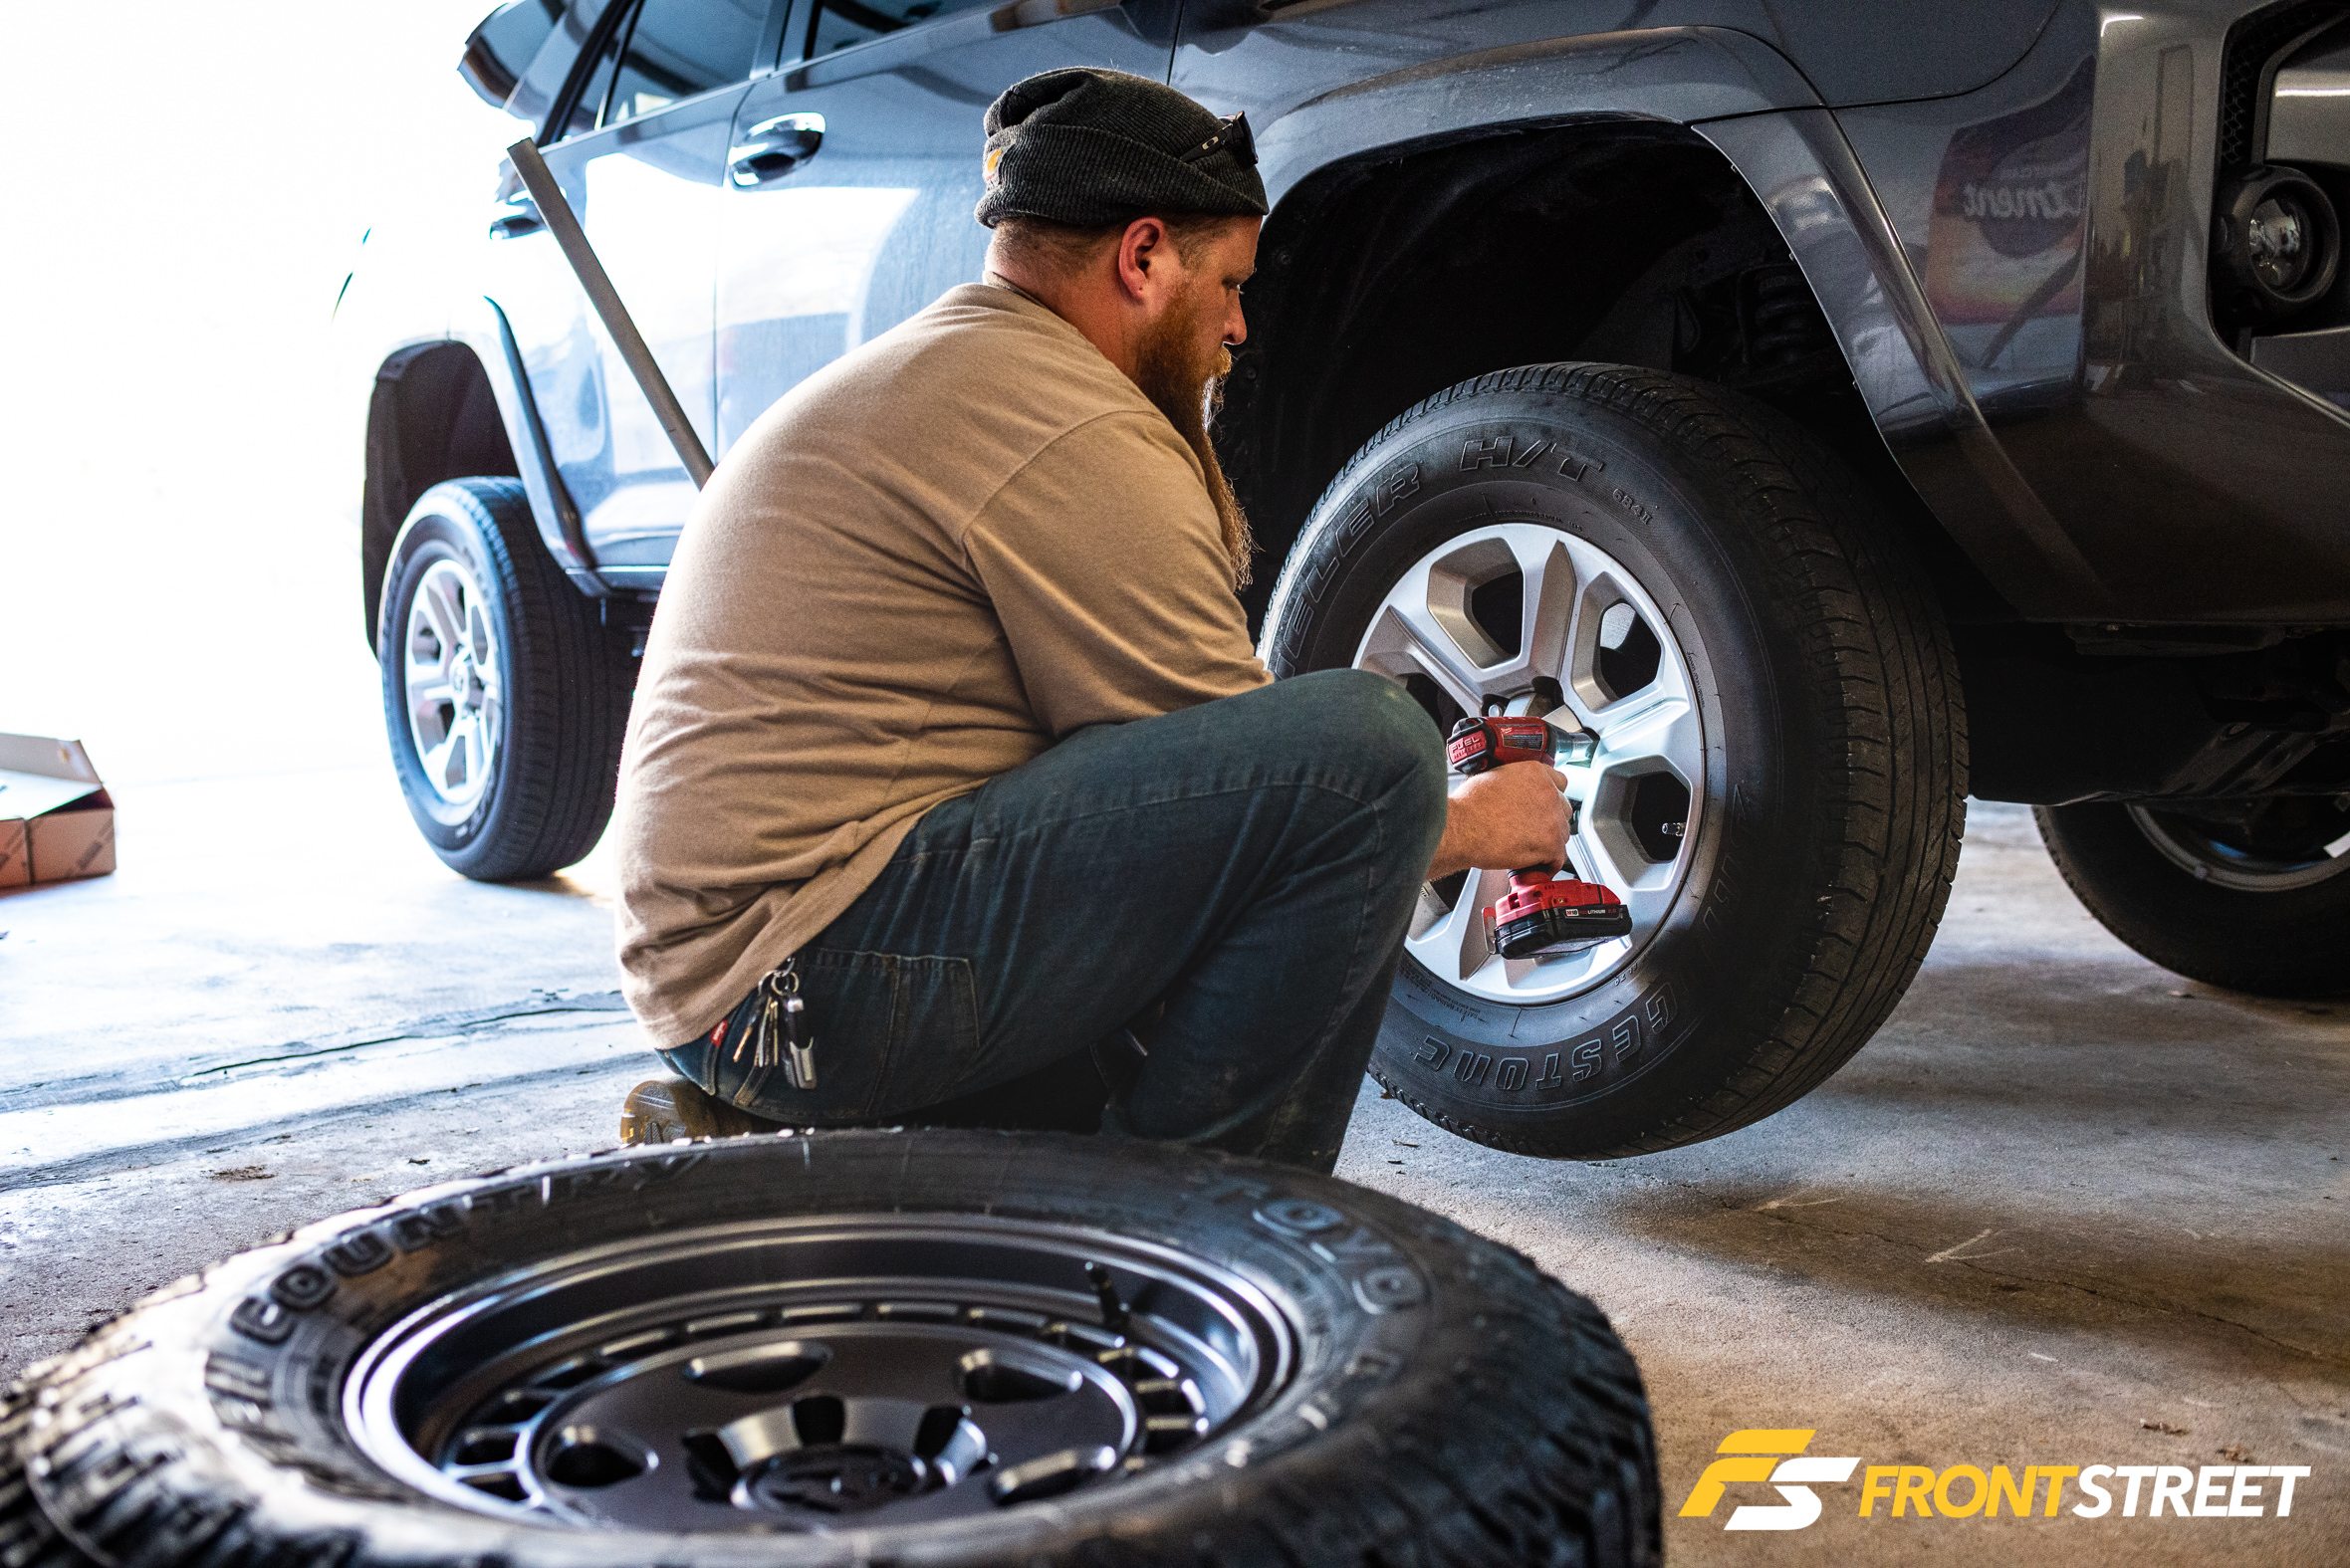
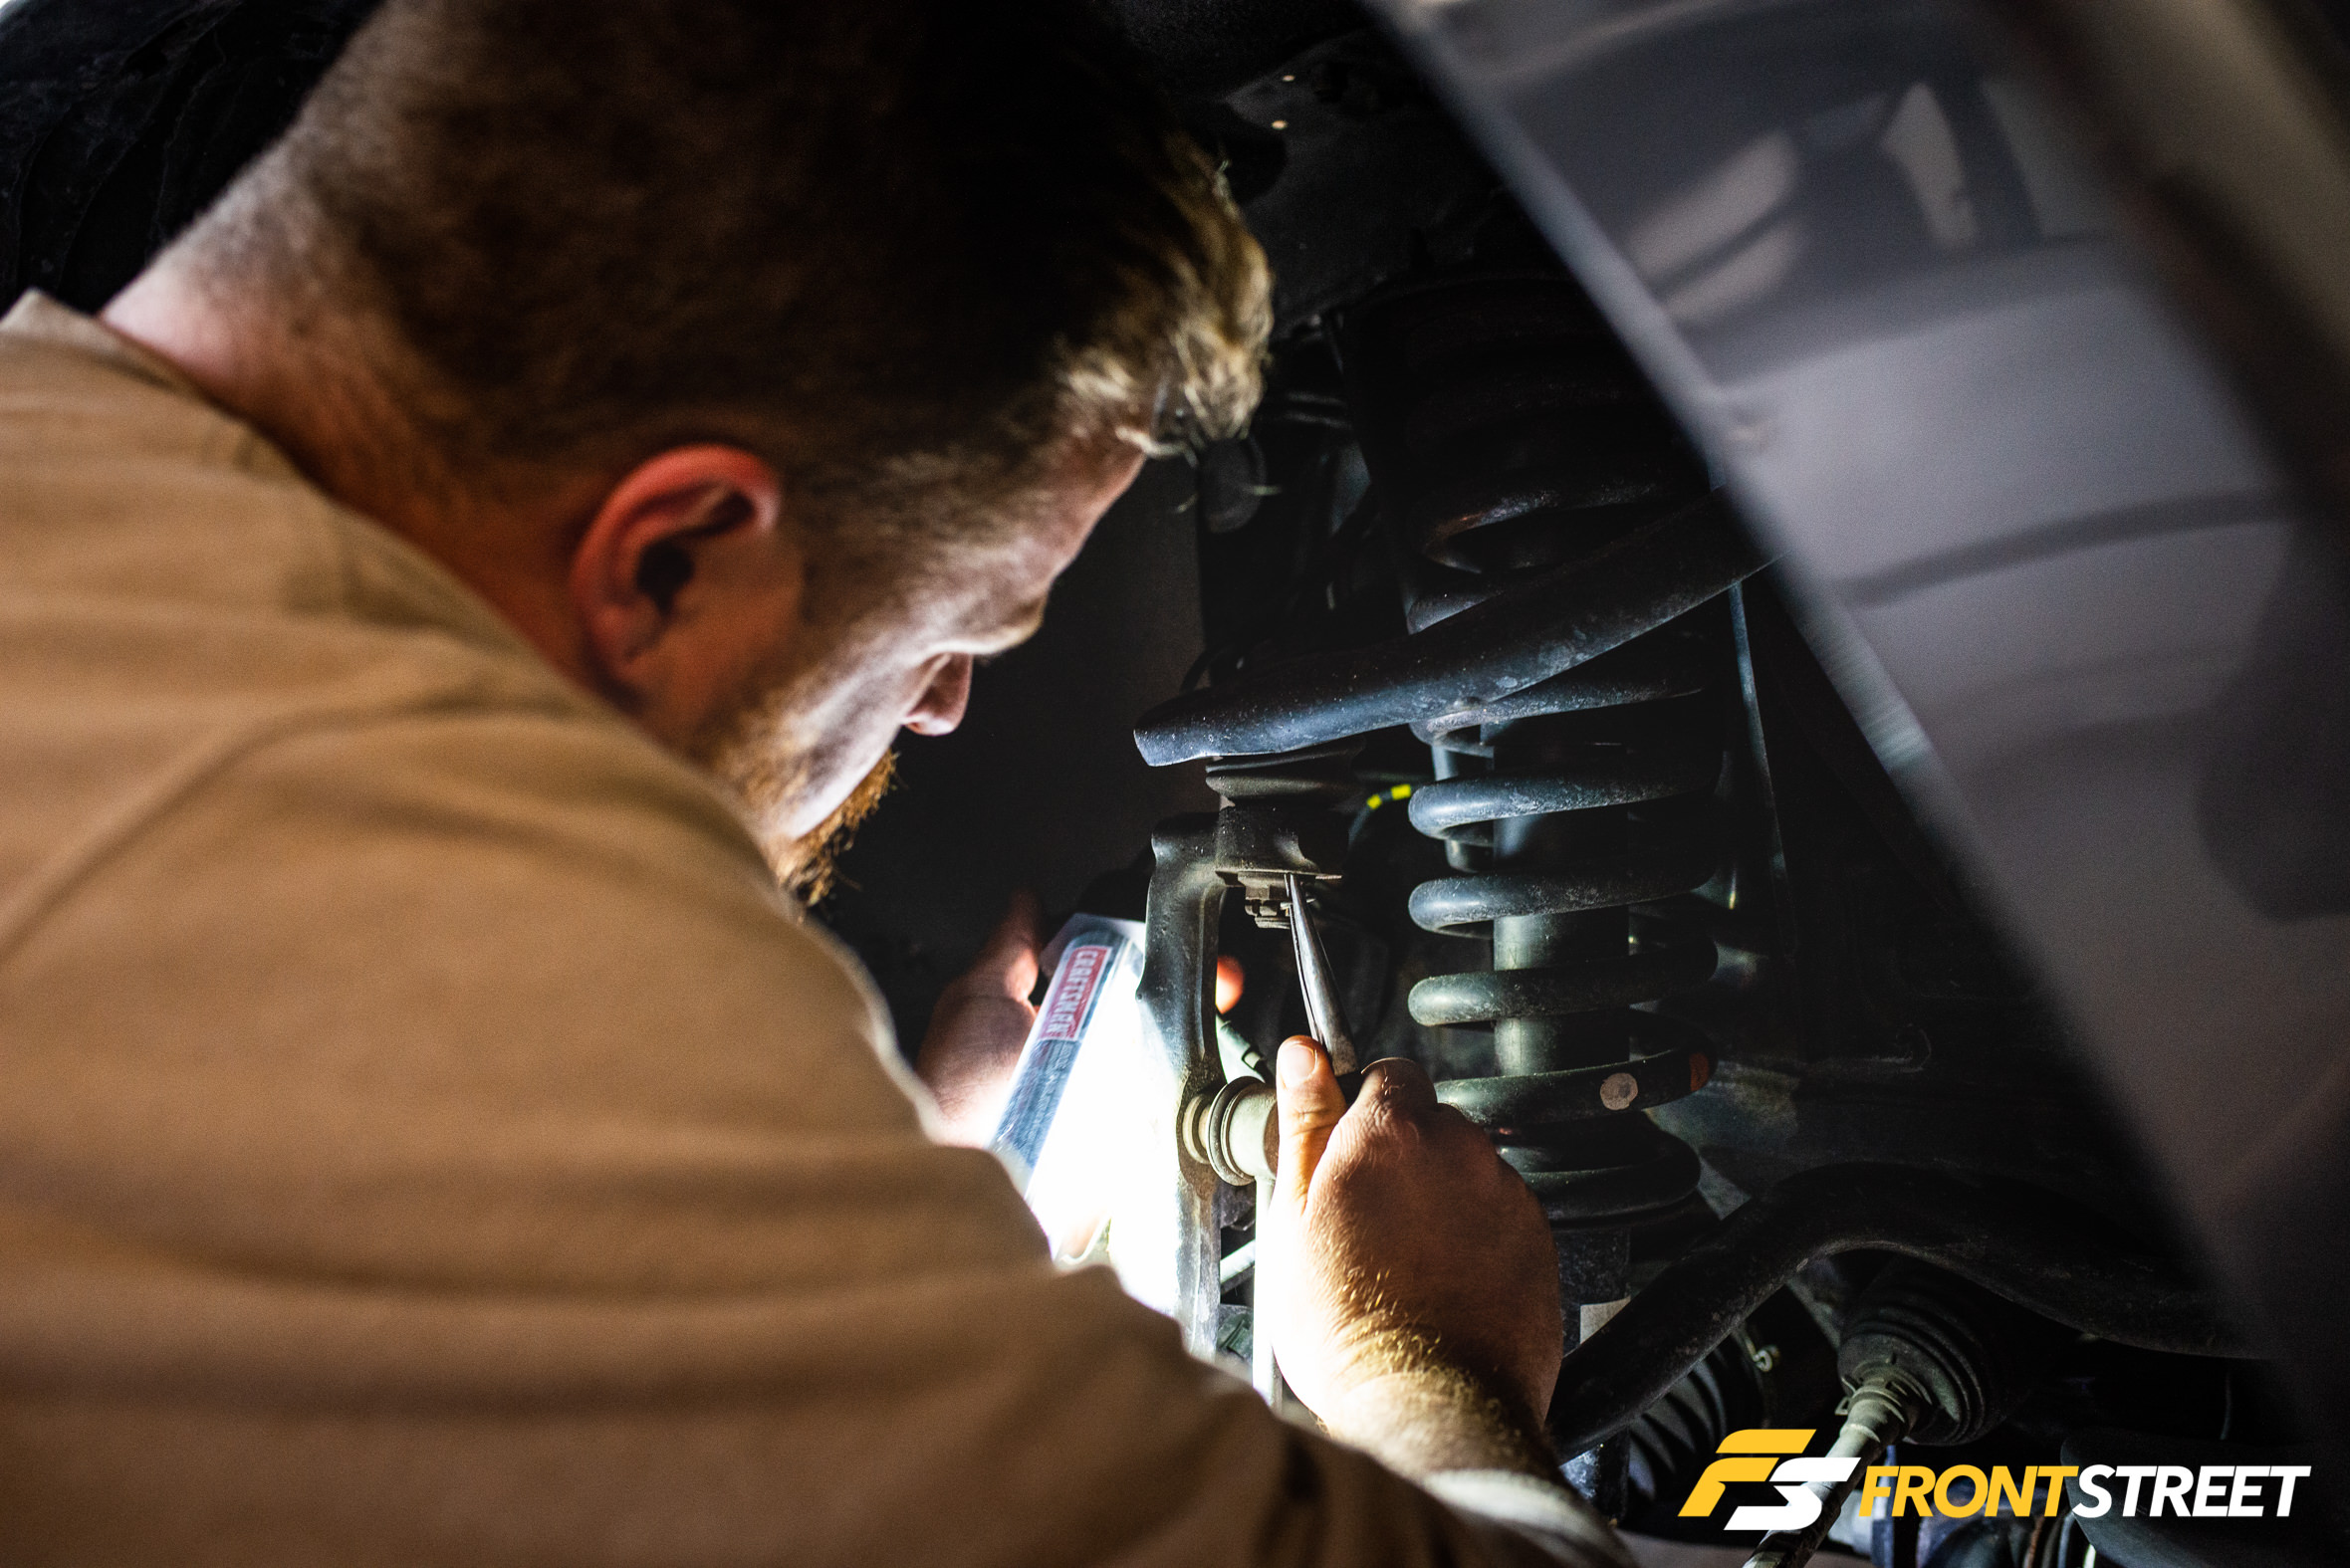
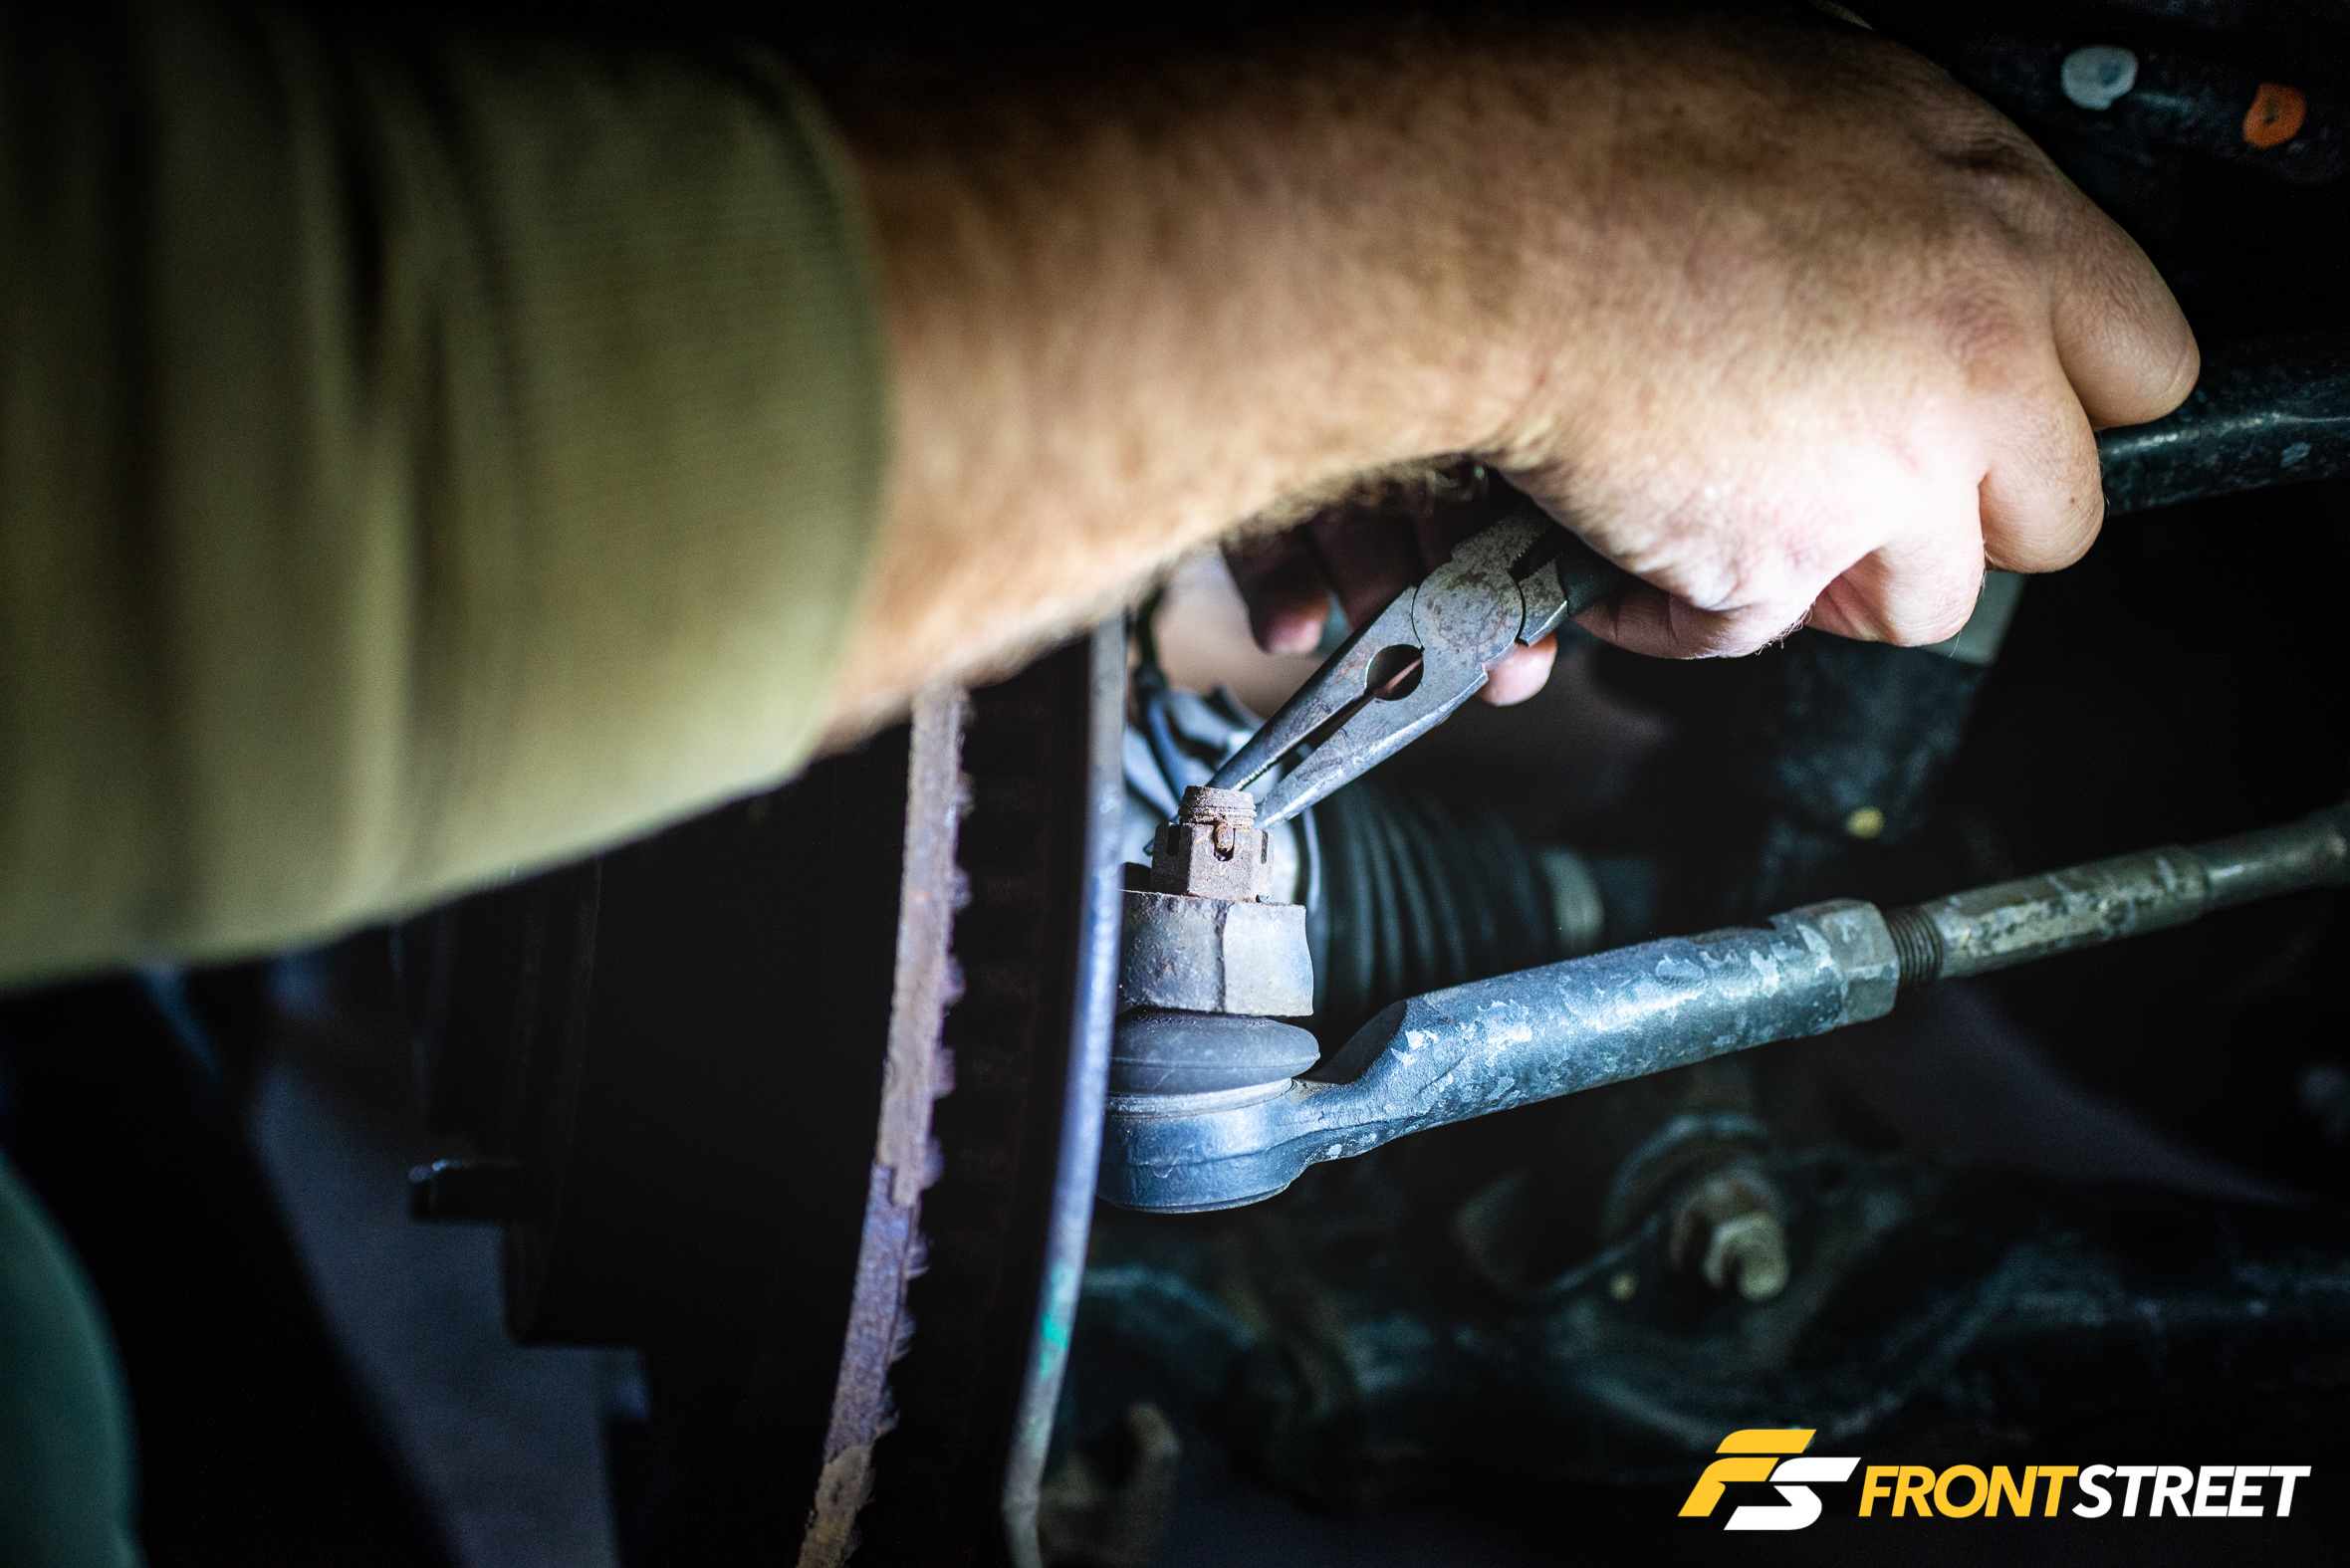
Before getting to work, we looked up the various ways to remove and install front suspension on this vehicle, then decided the best route was to disconnect the knuckle from the upper control arm and sway bar, as this would provide the most access to the suspension itself. To begin, each cotter pin was removed from the numerous ball joints connected to the knuckle.
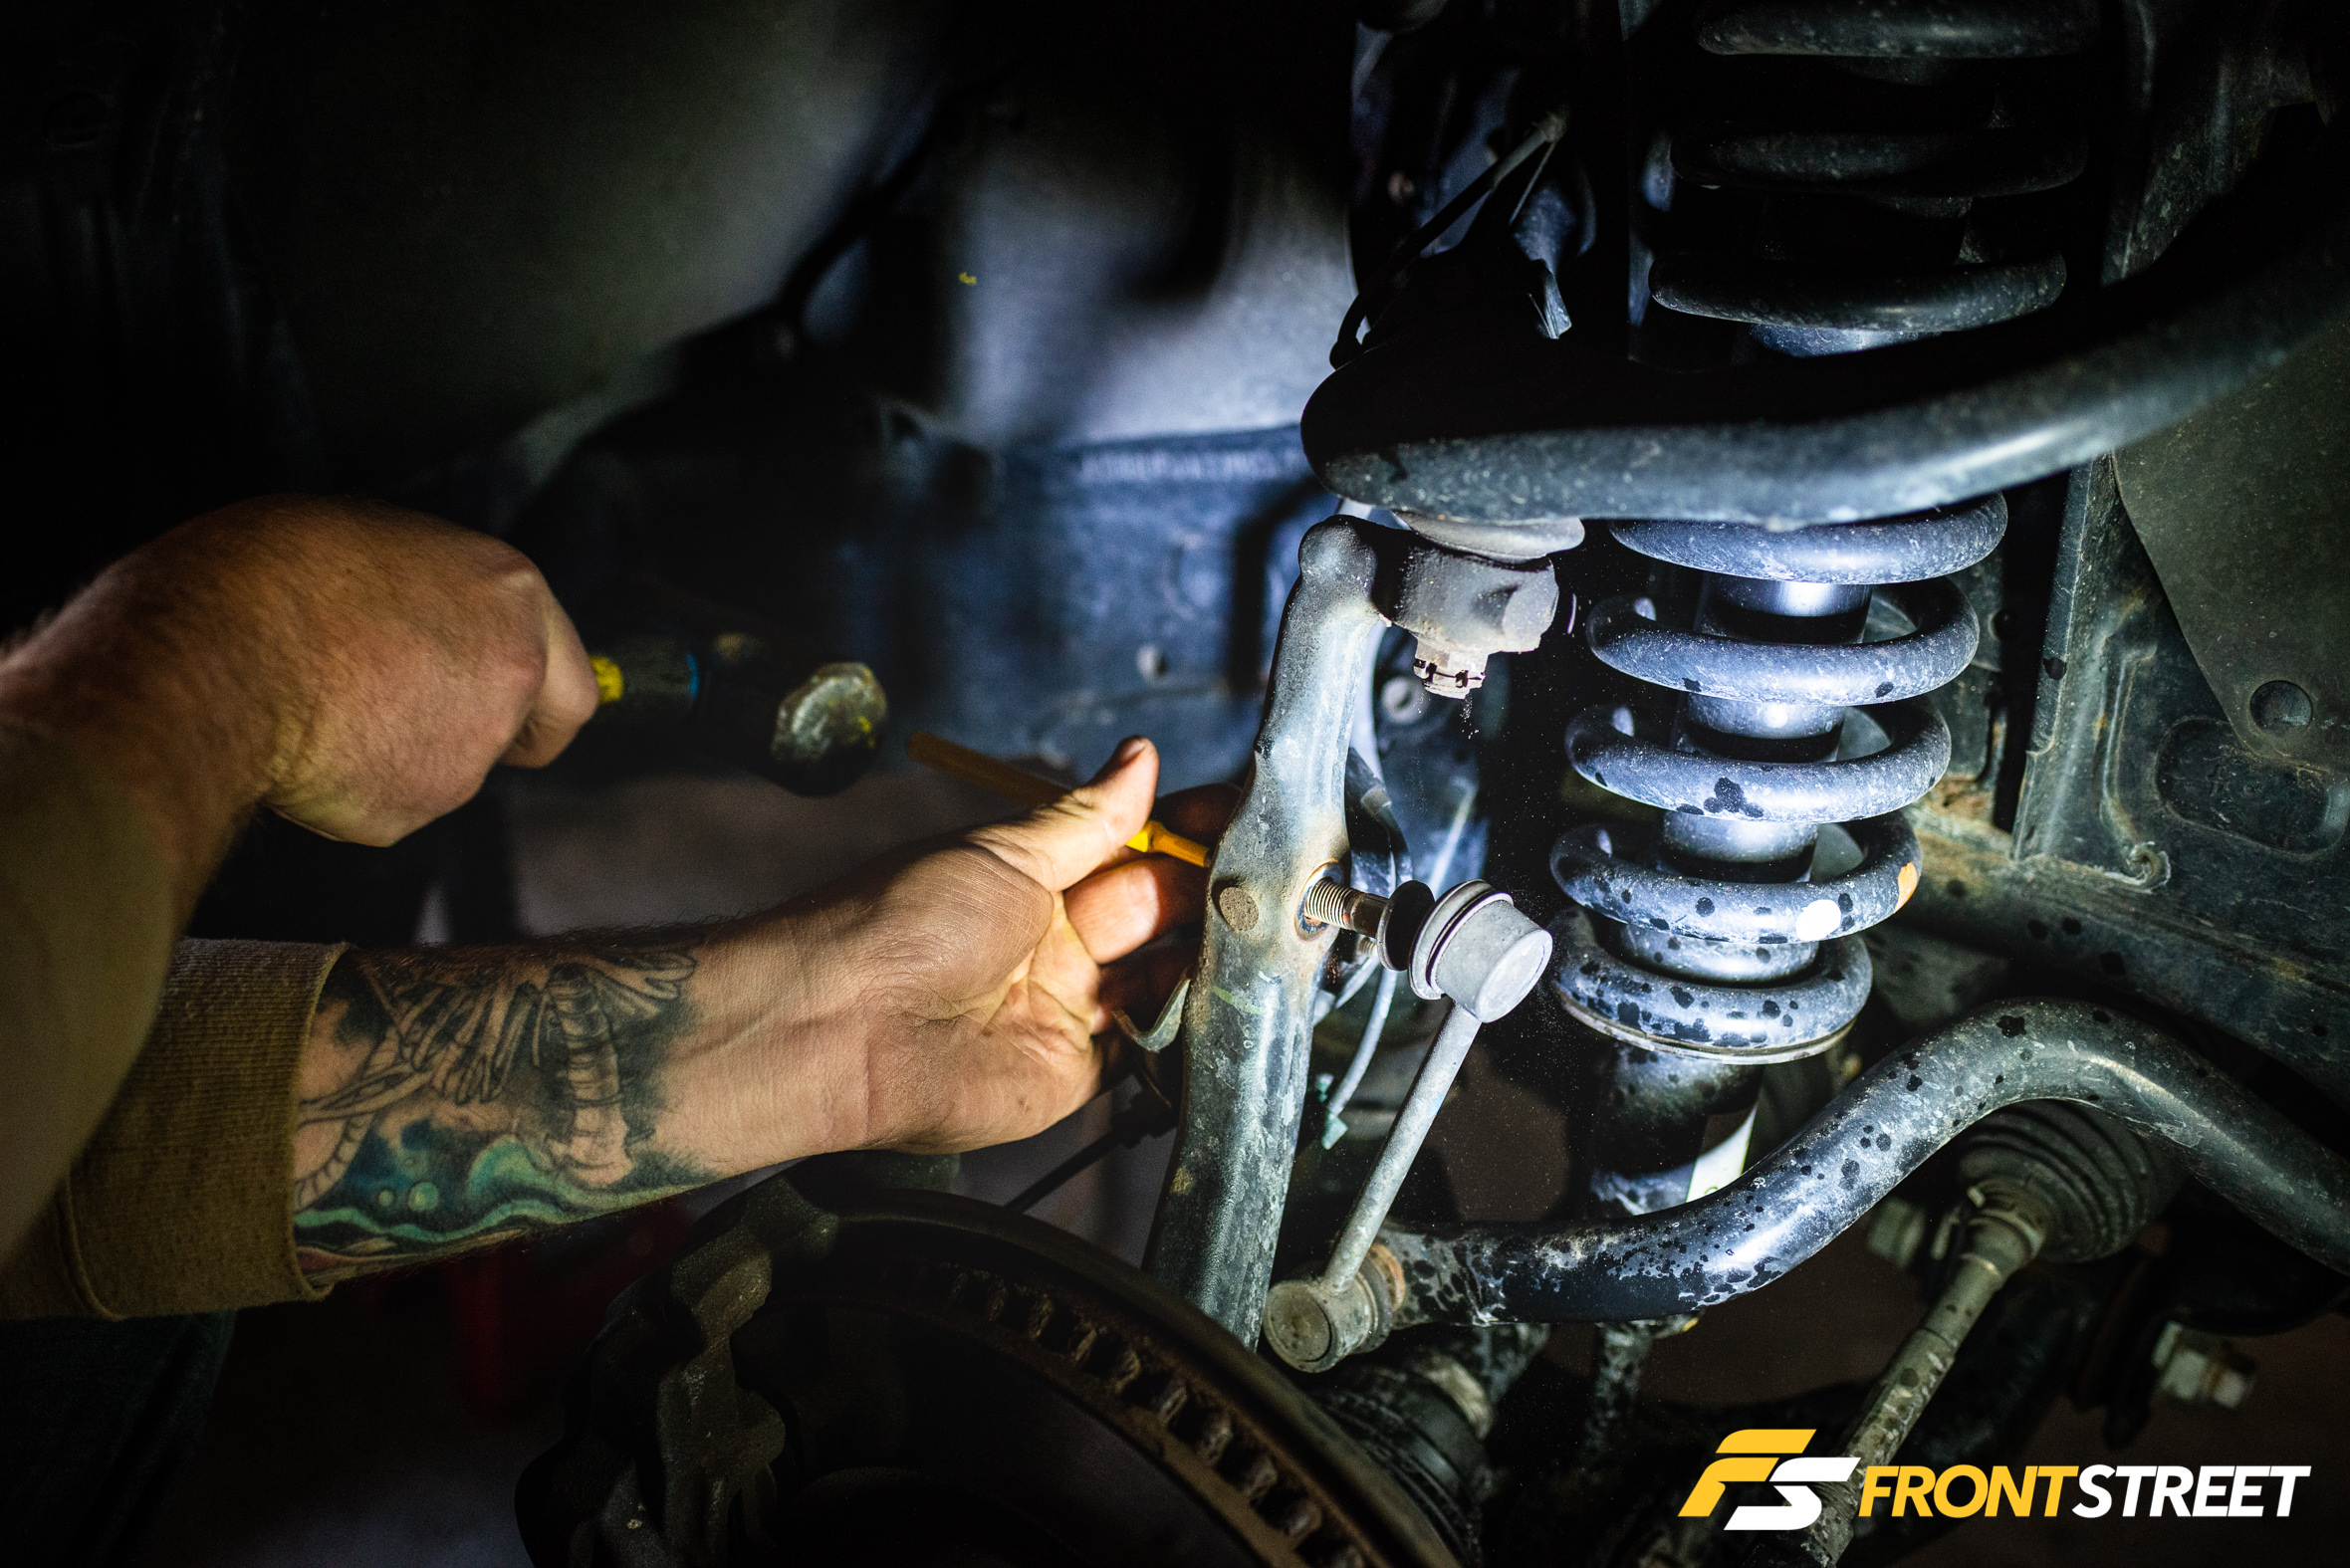
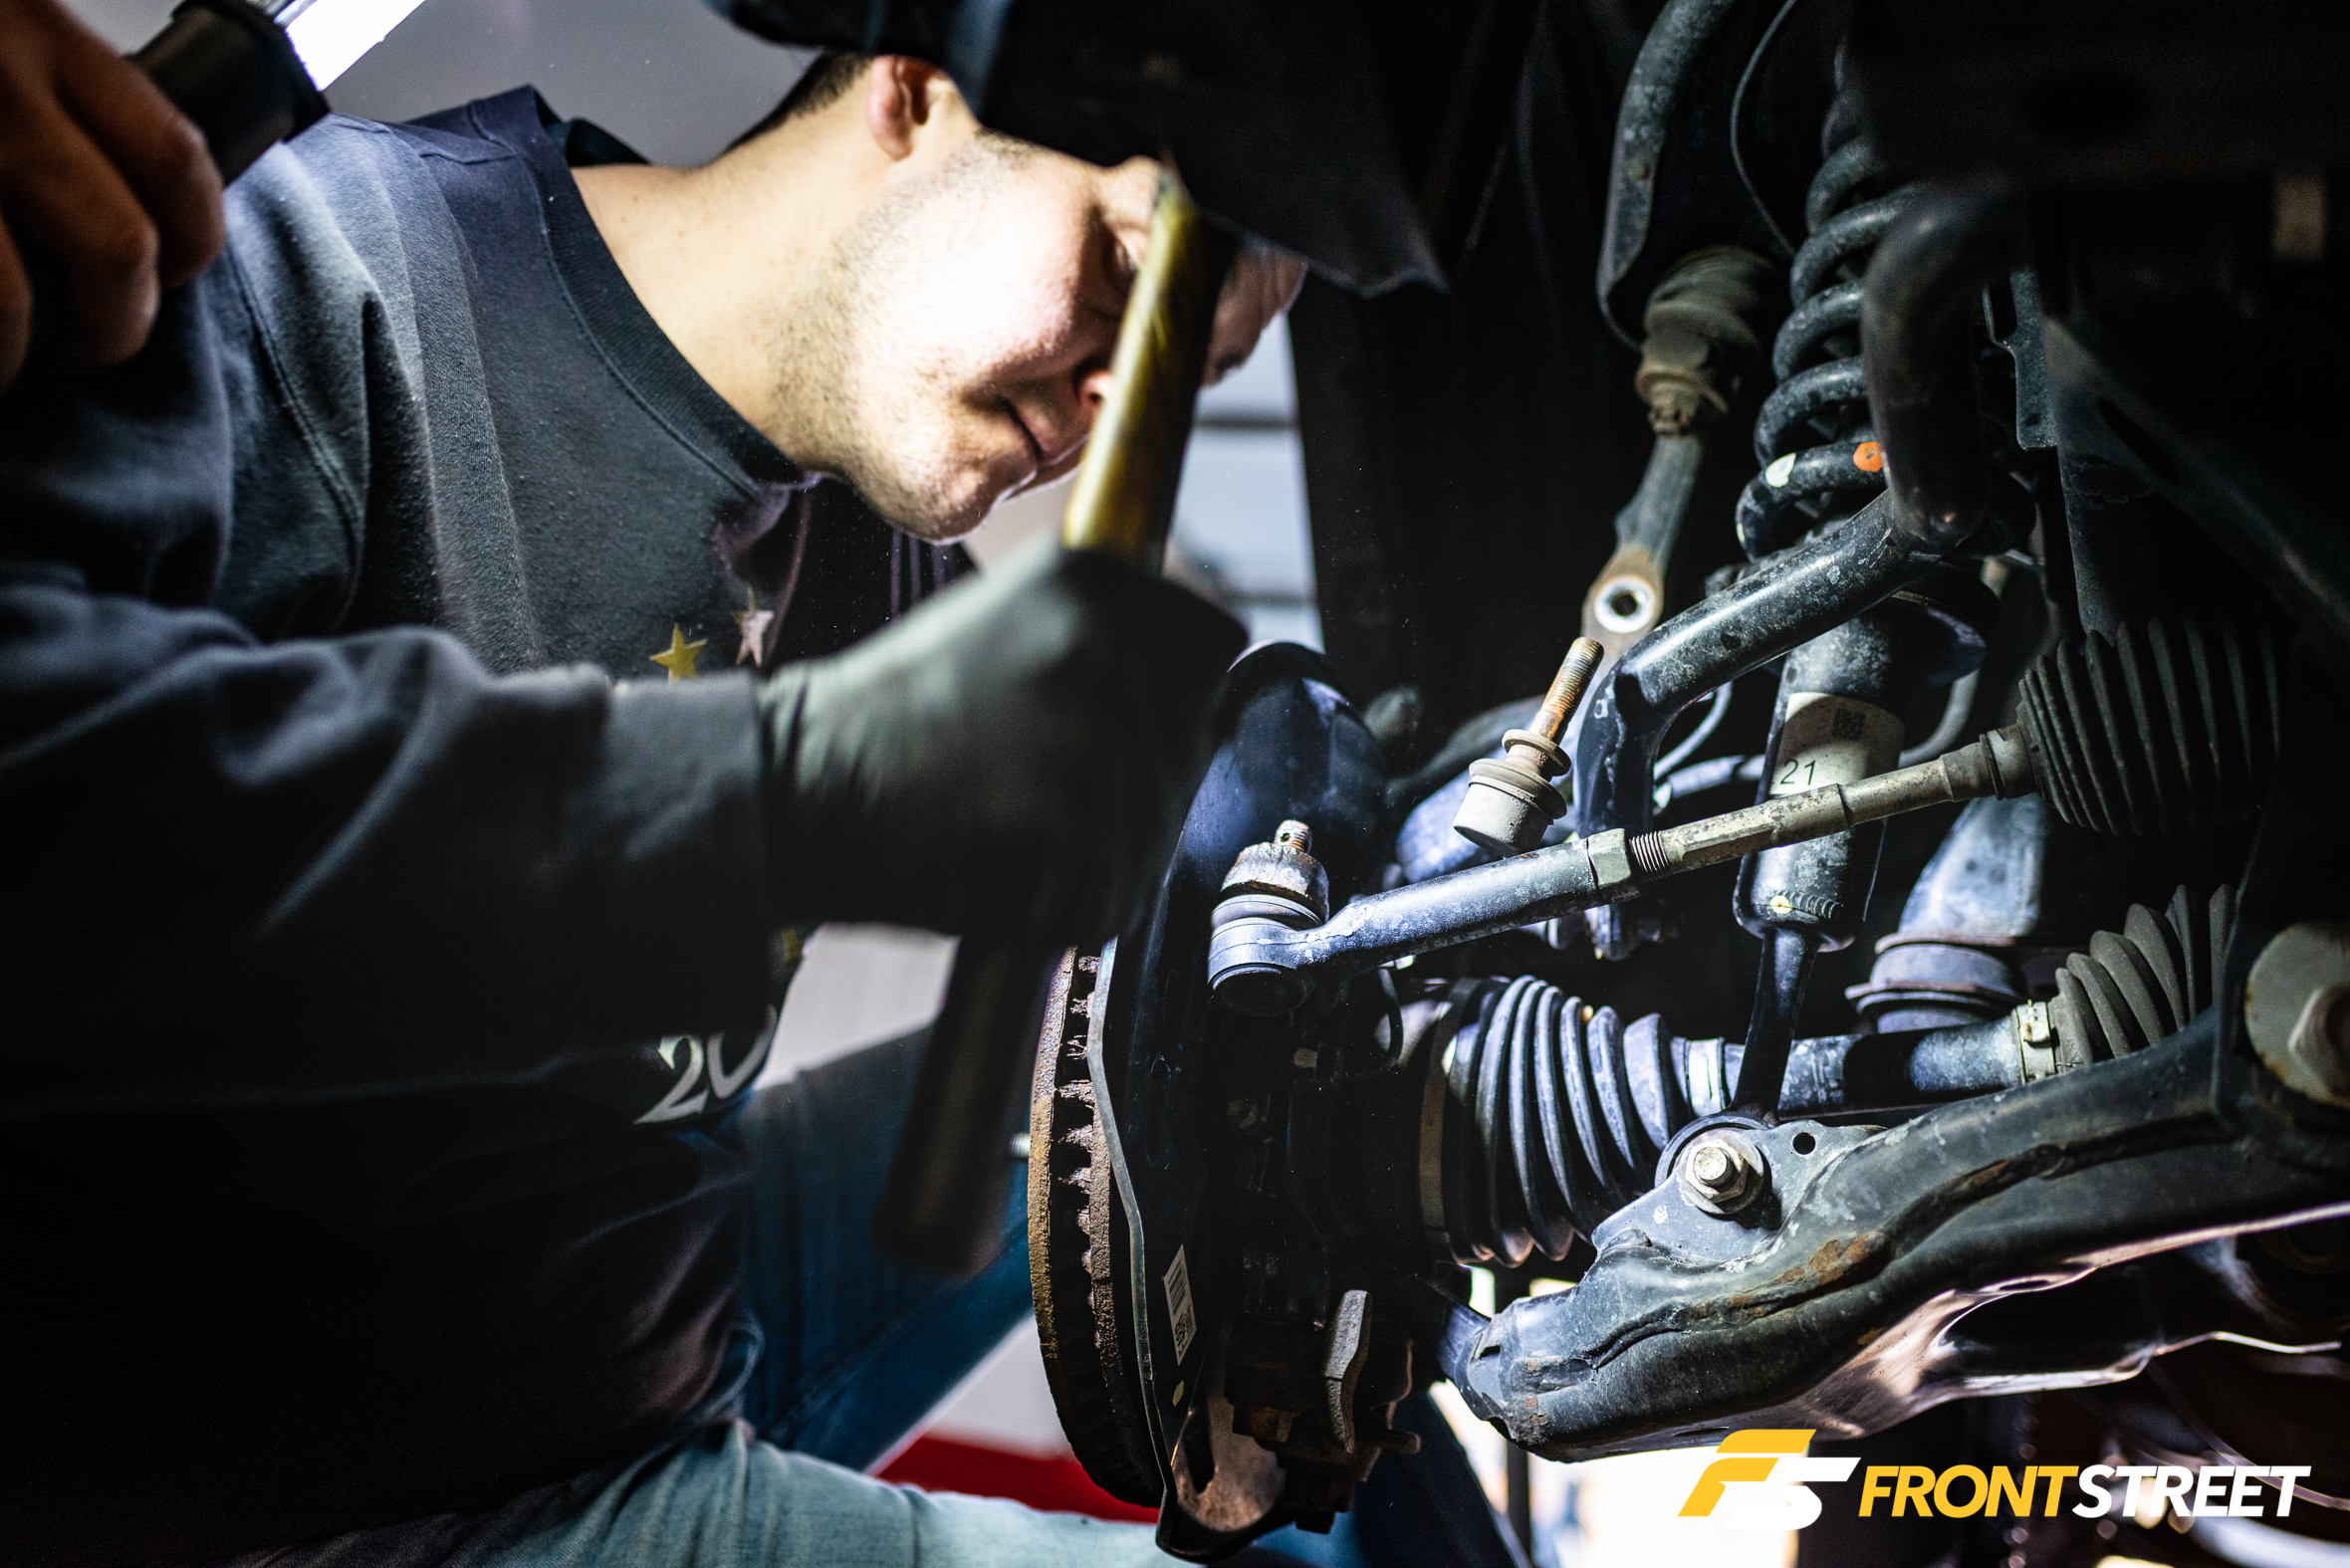
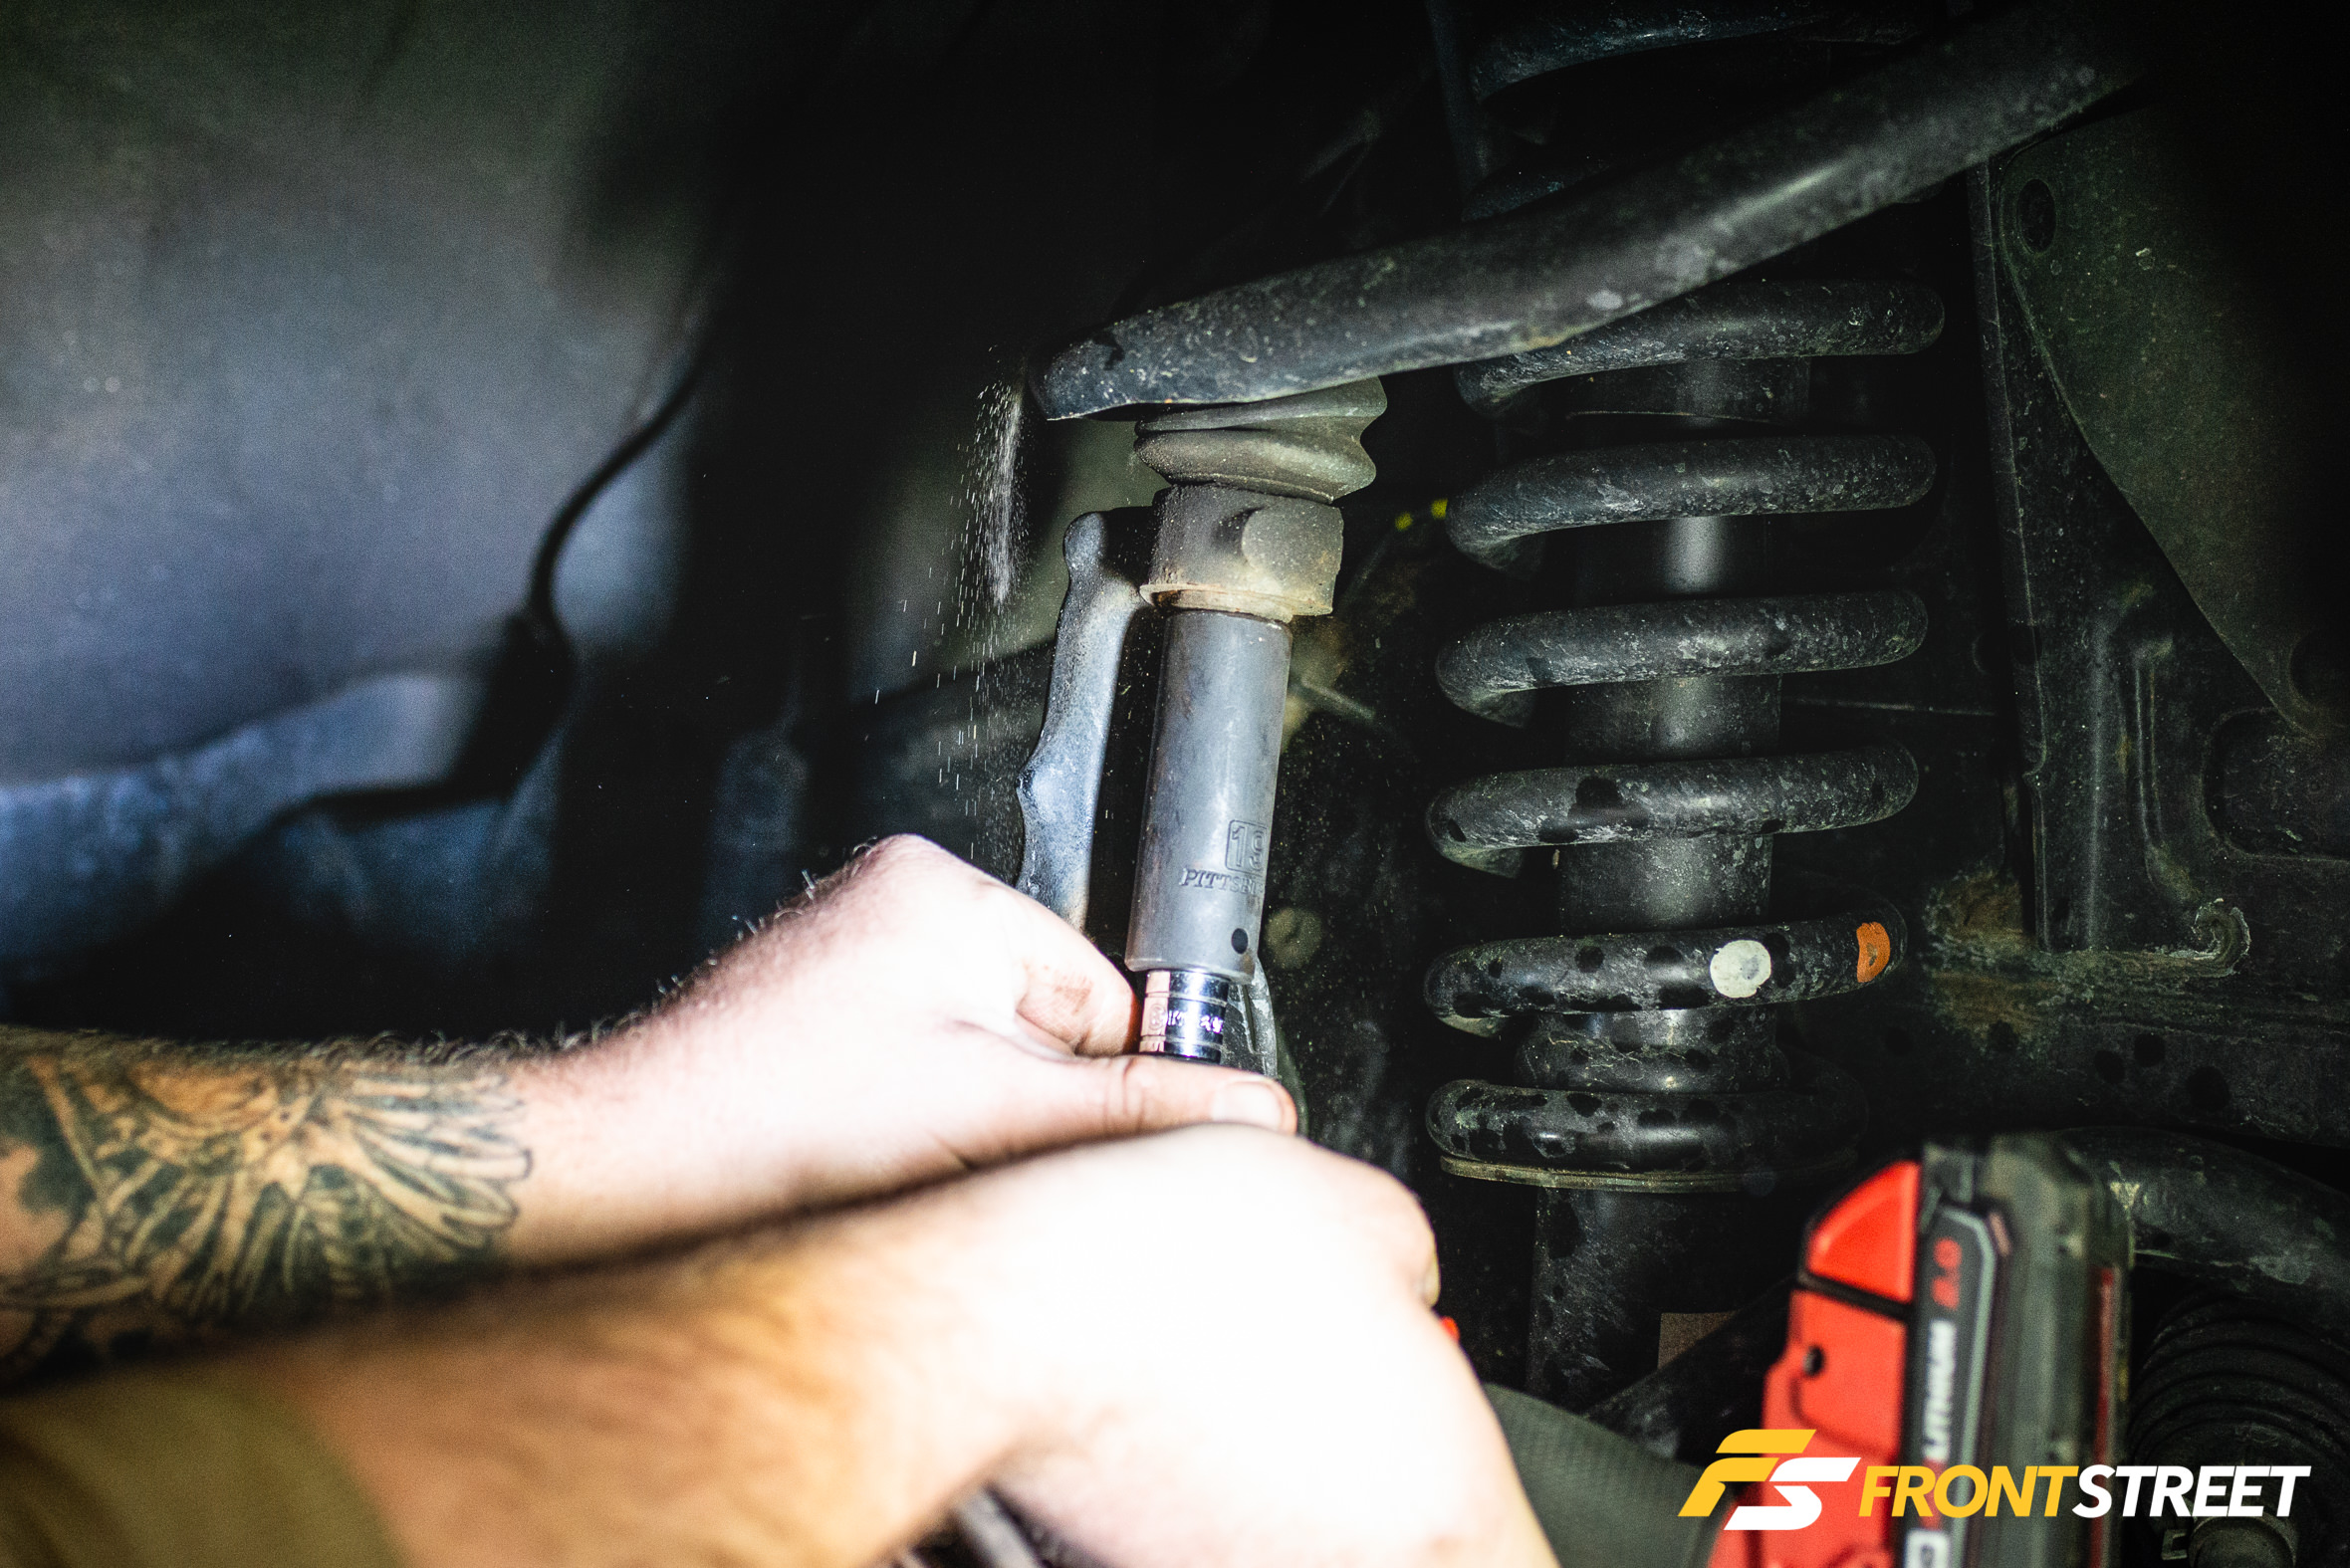
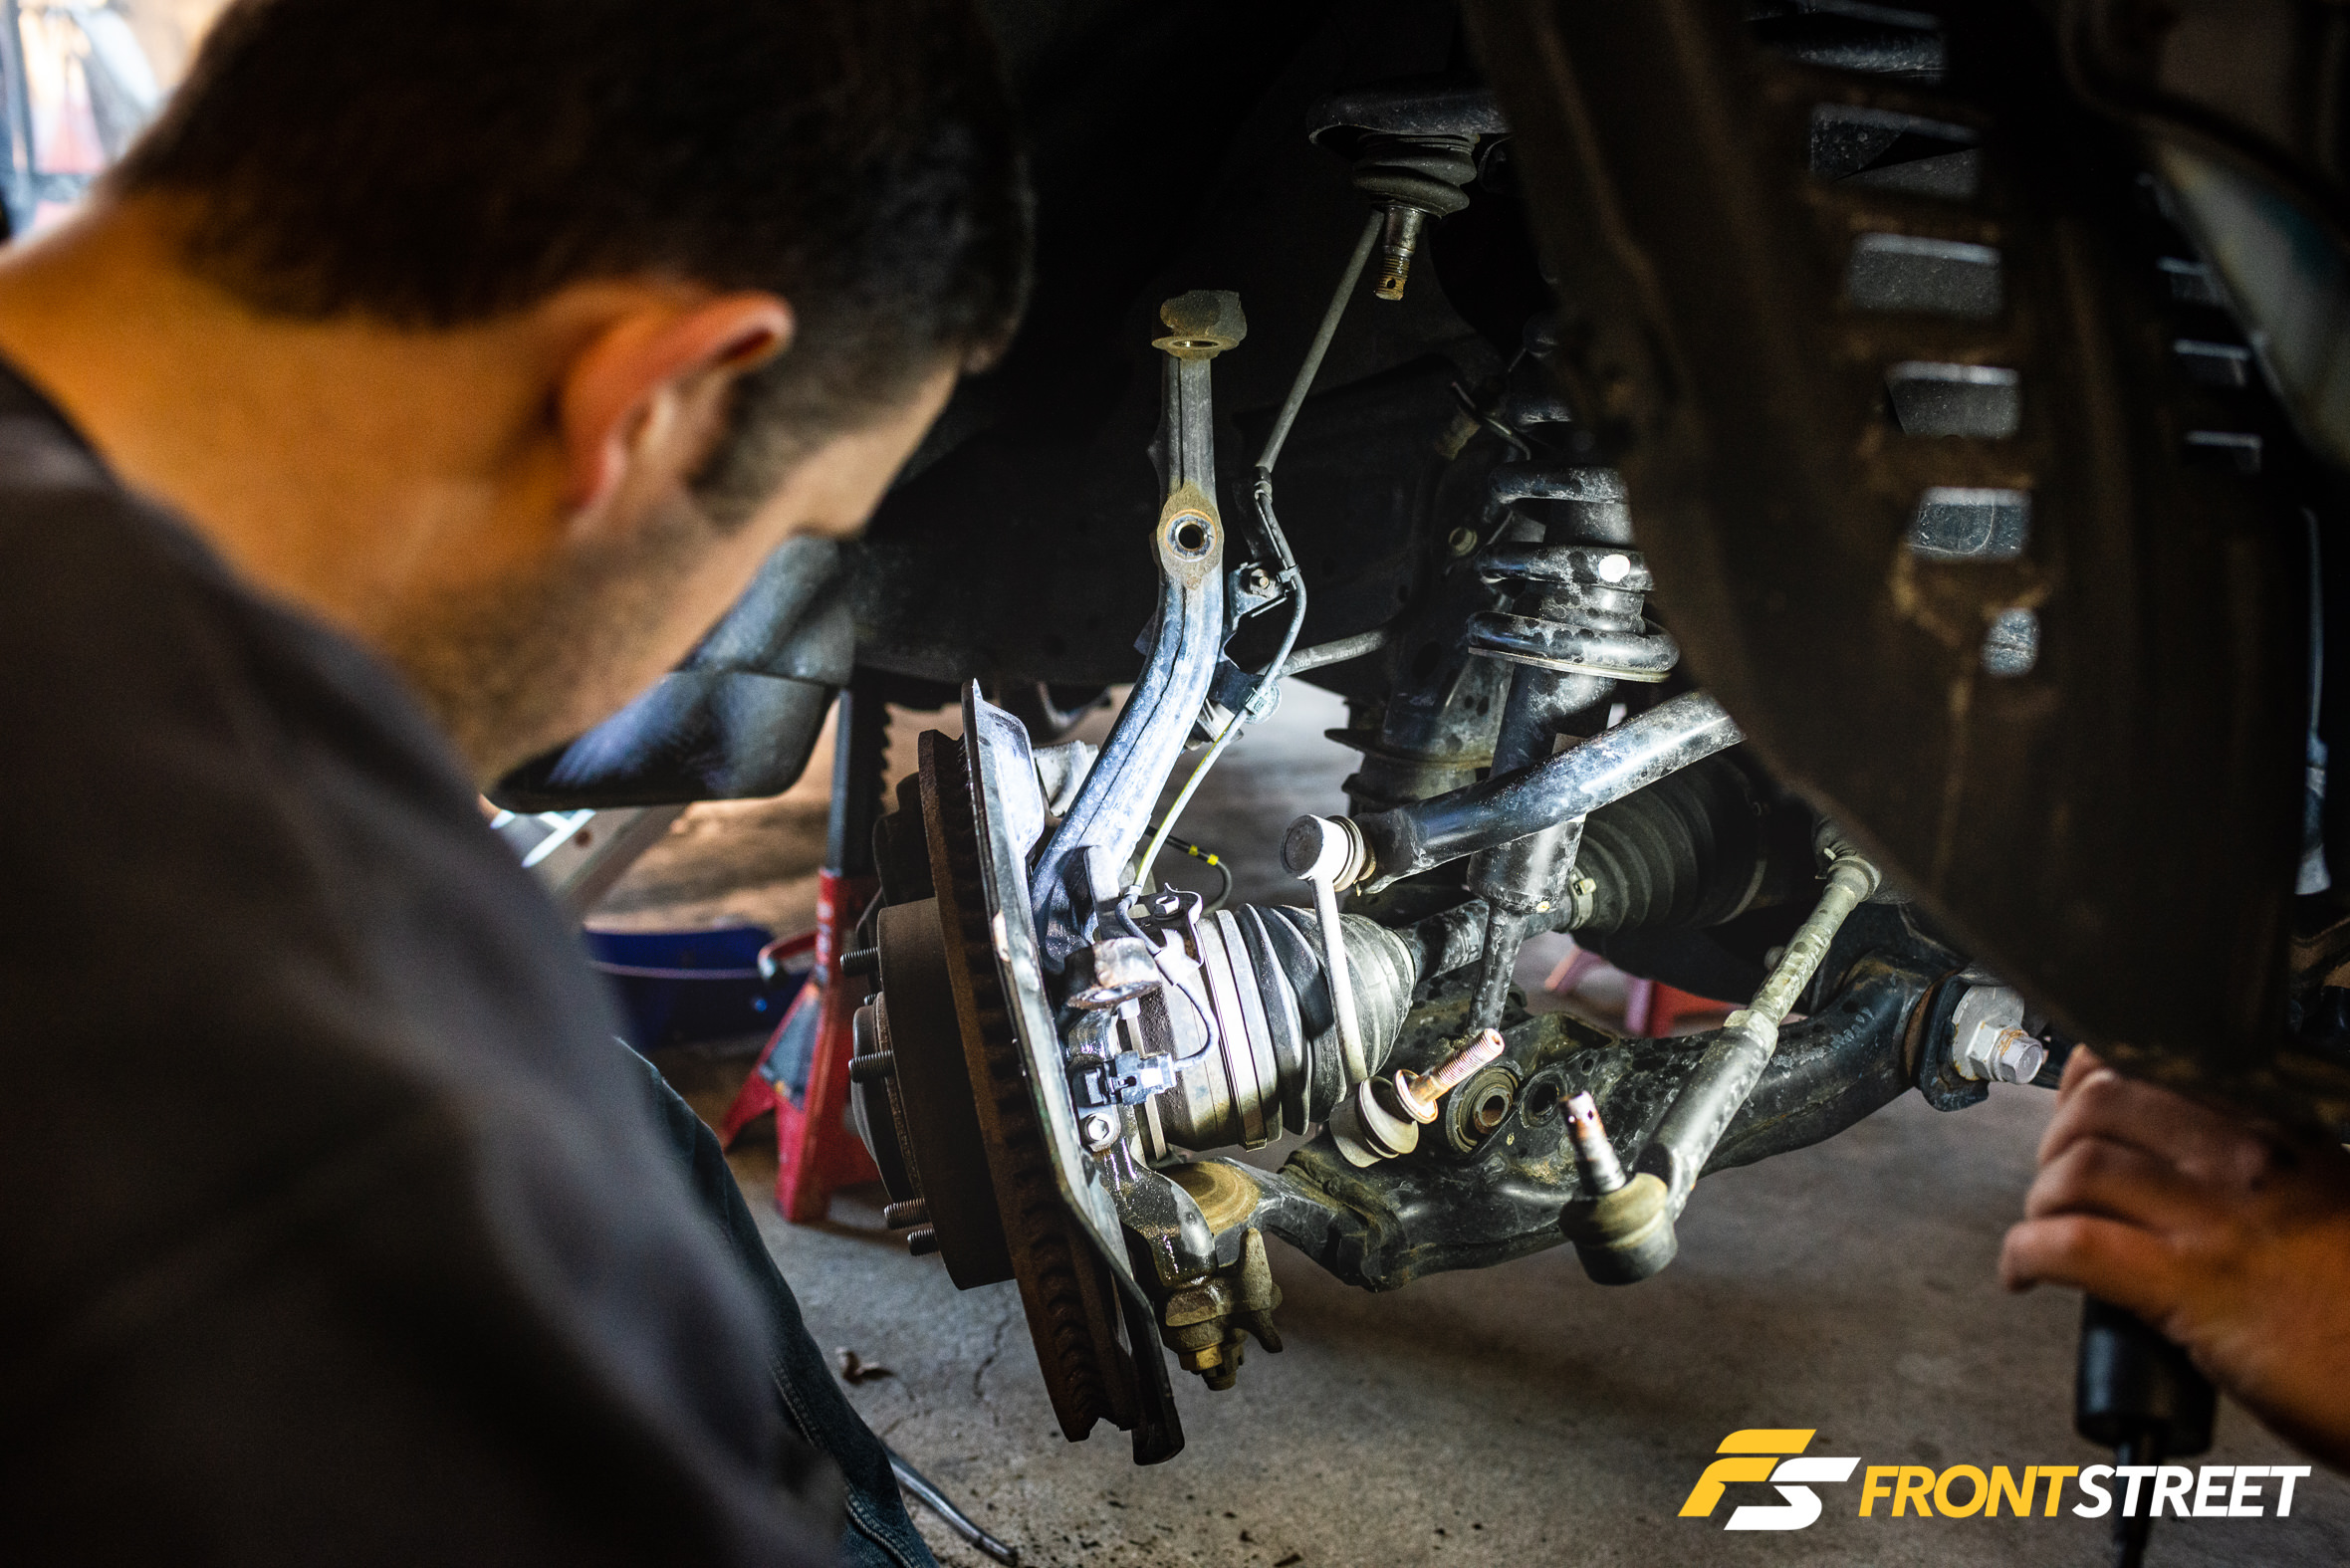
Next, the three ball joints for the tie rod, sway bar endlink, and upper control arm were unbolted, along with the bottom shock mount.
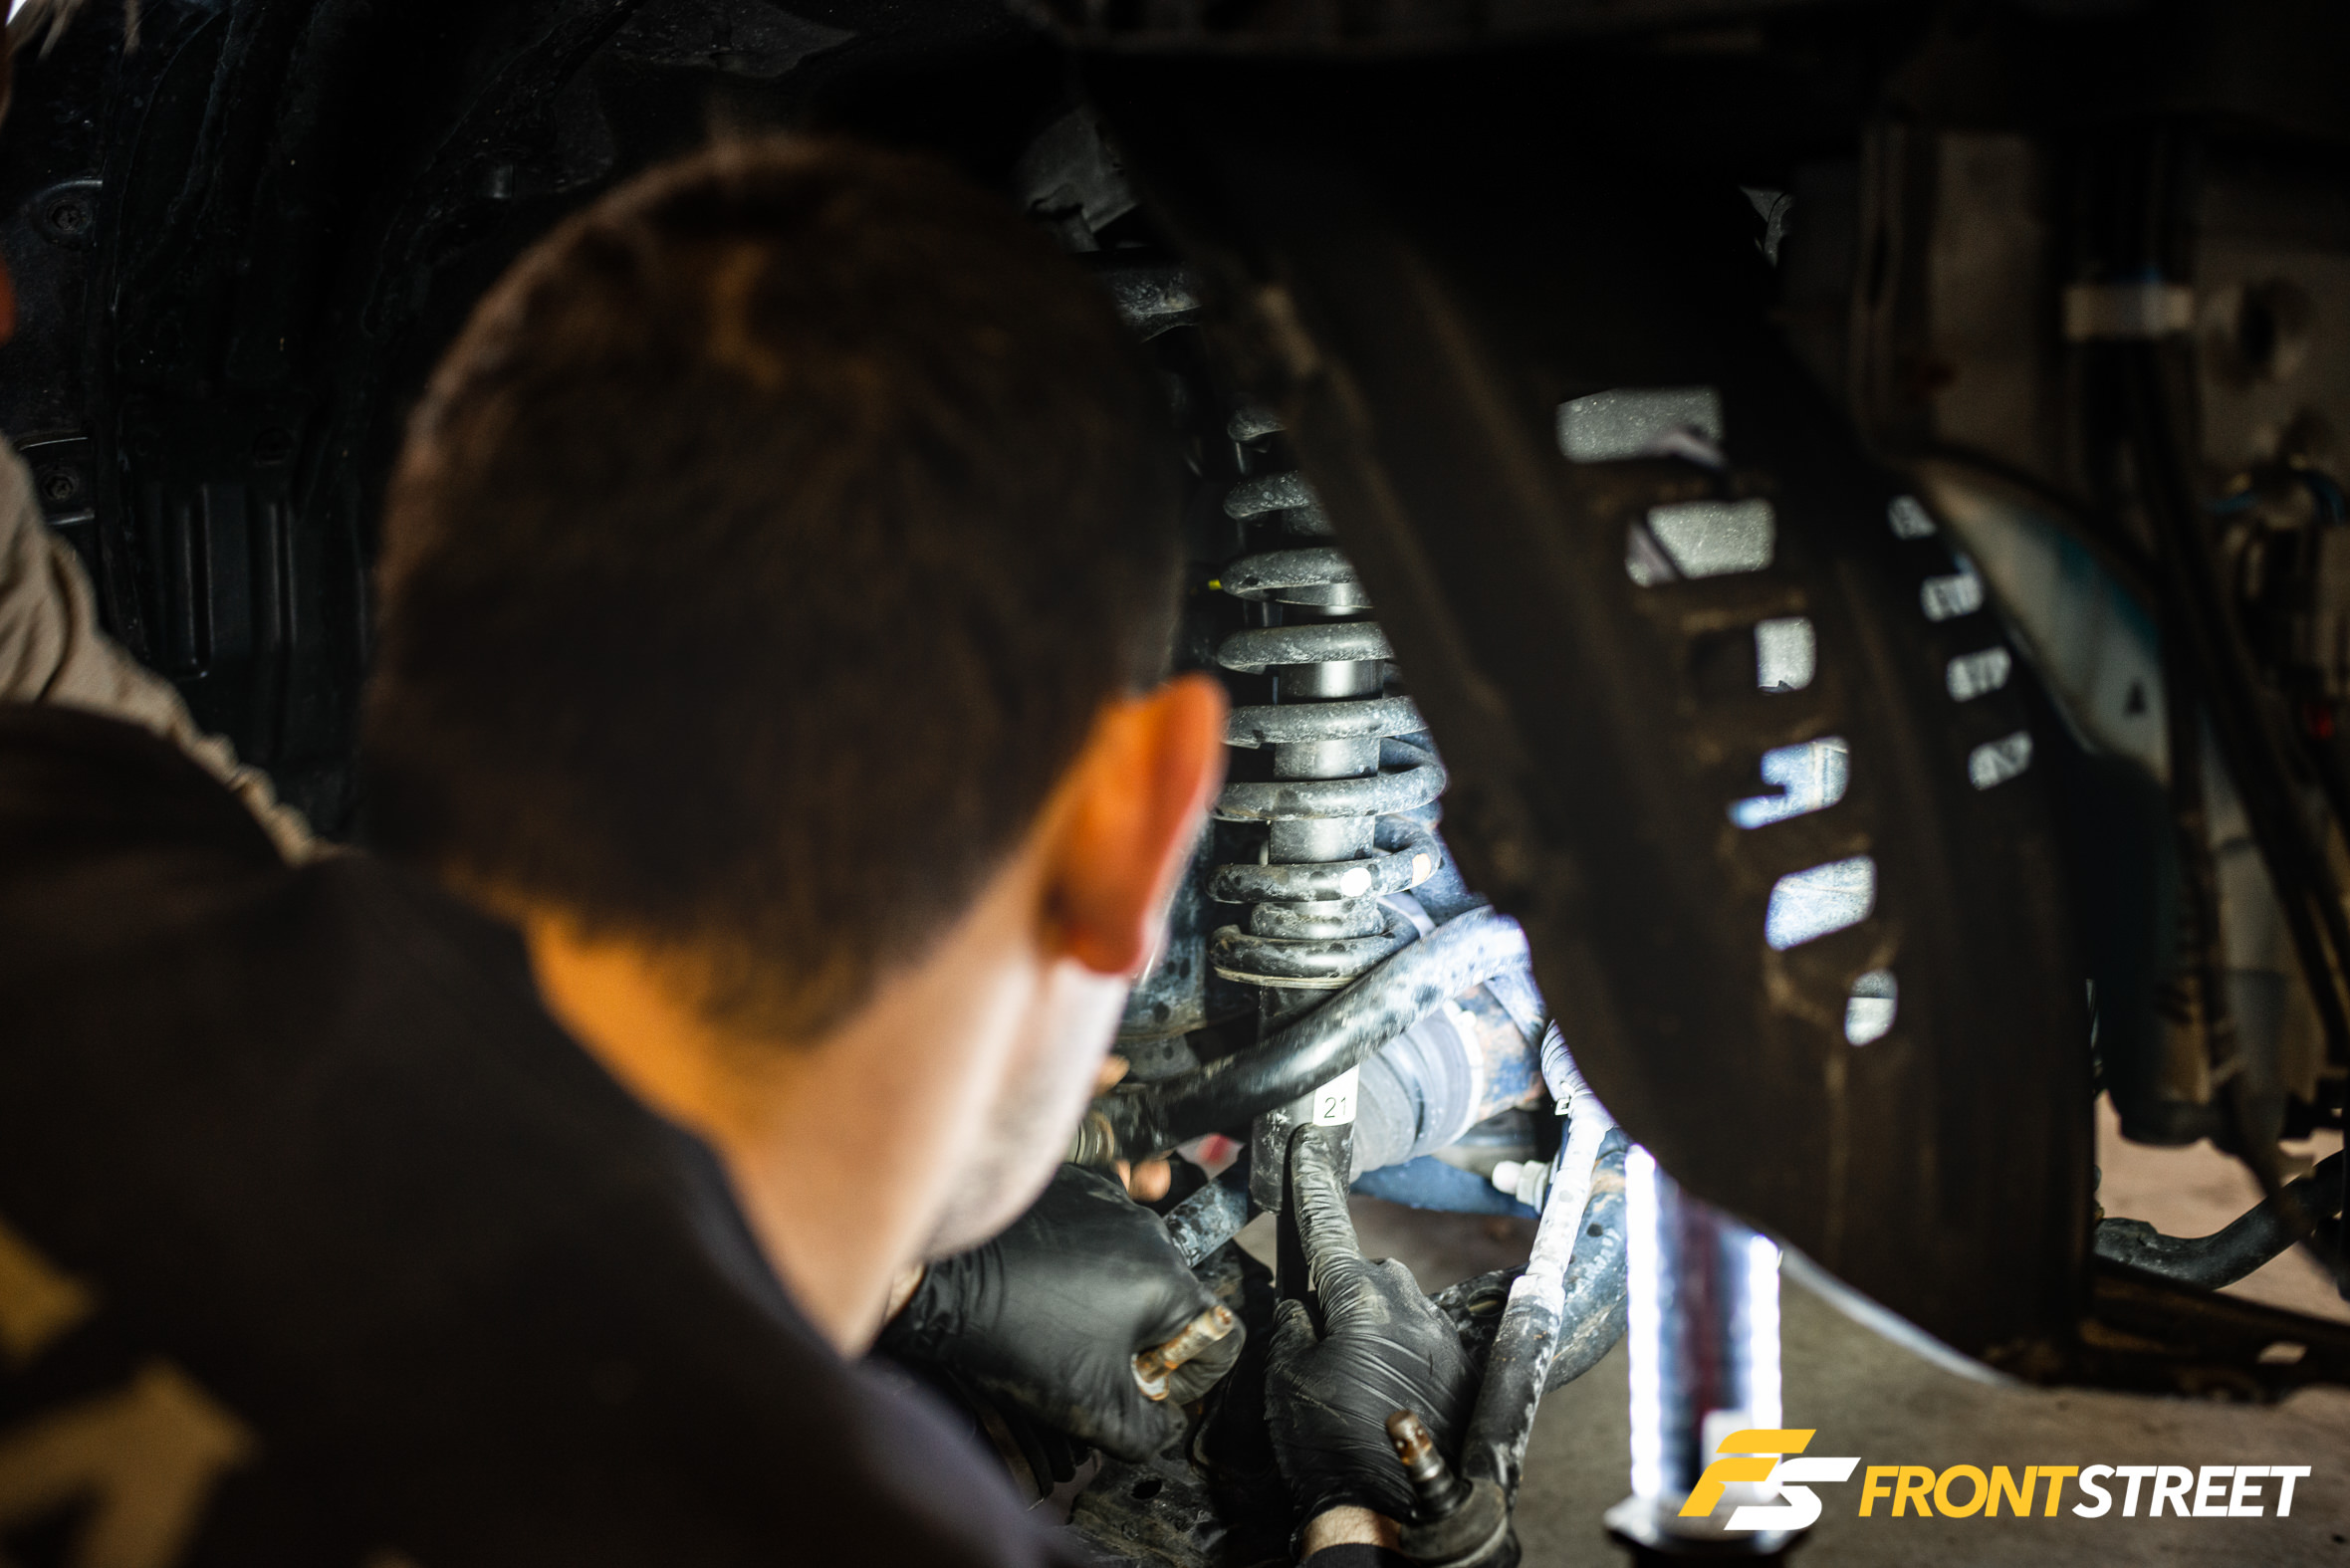
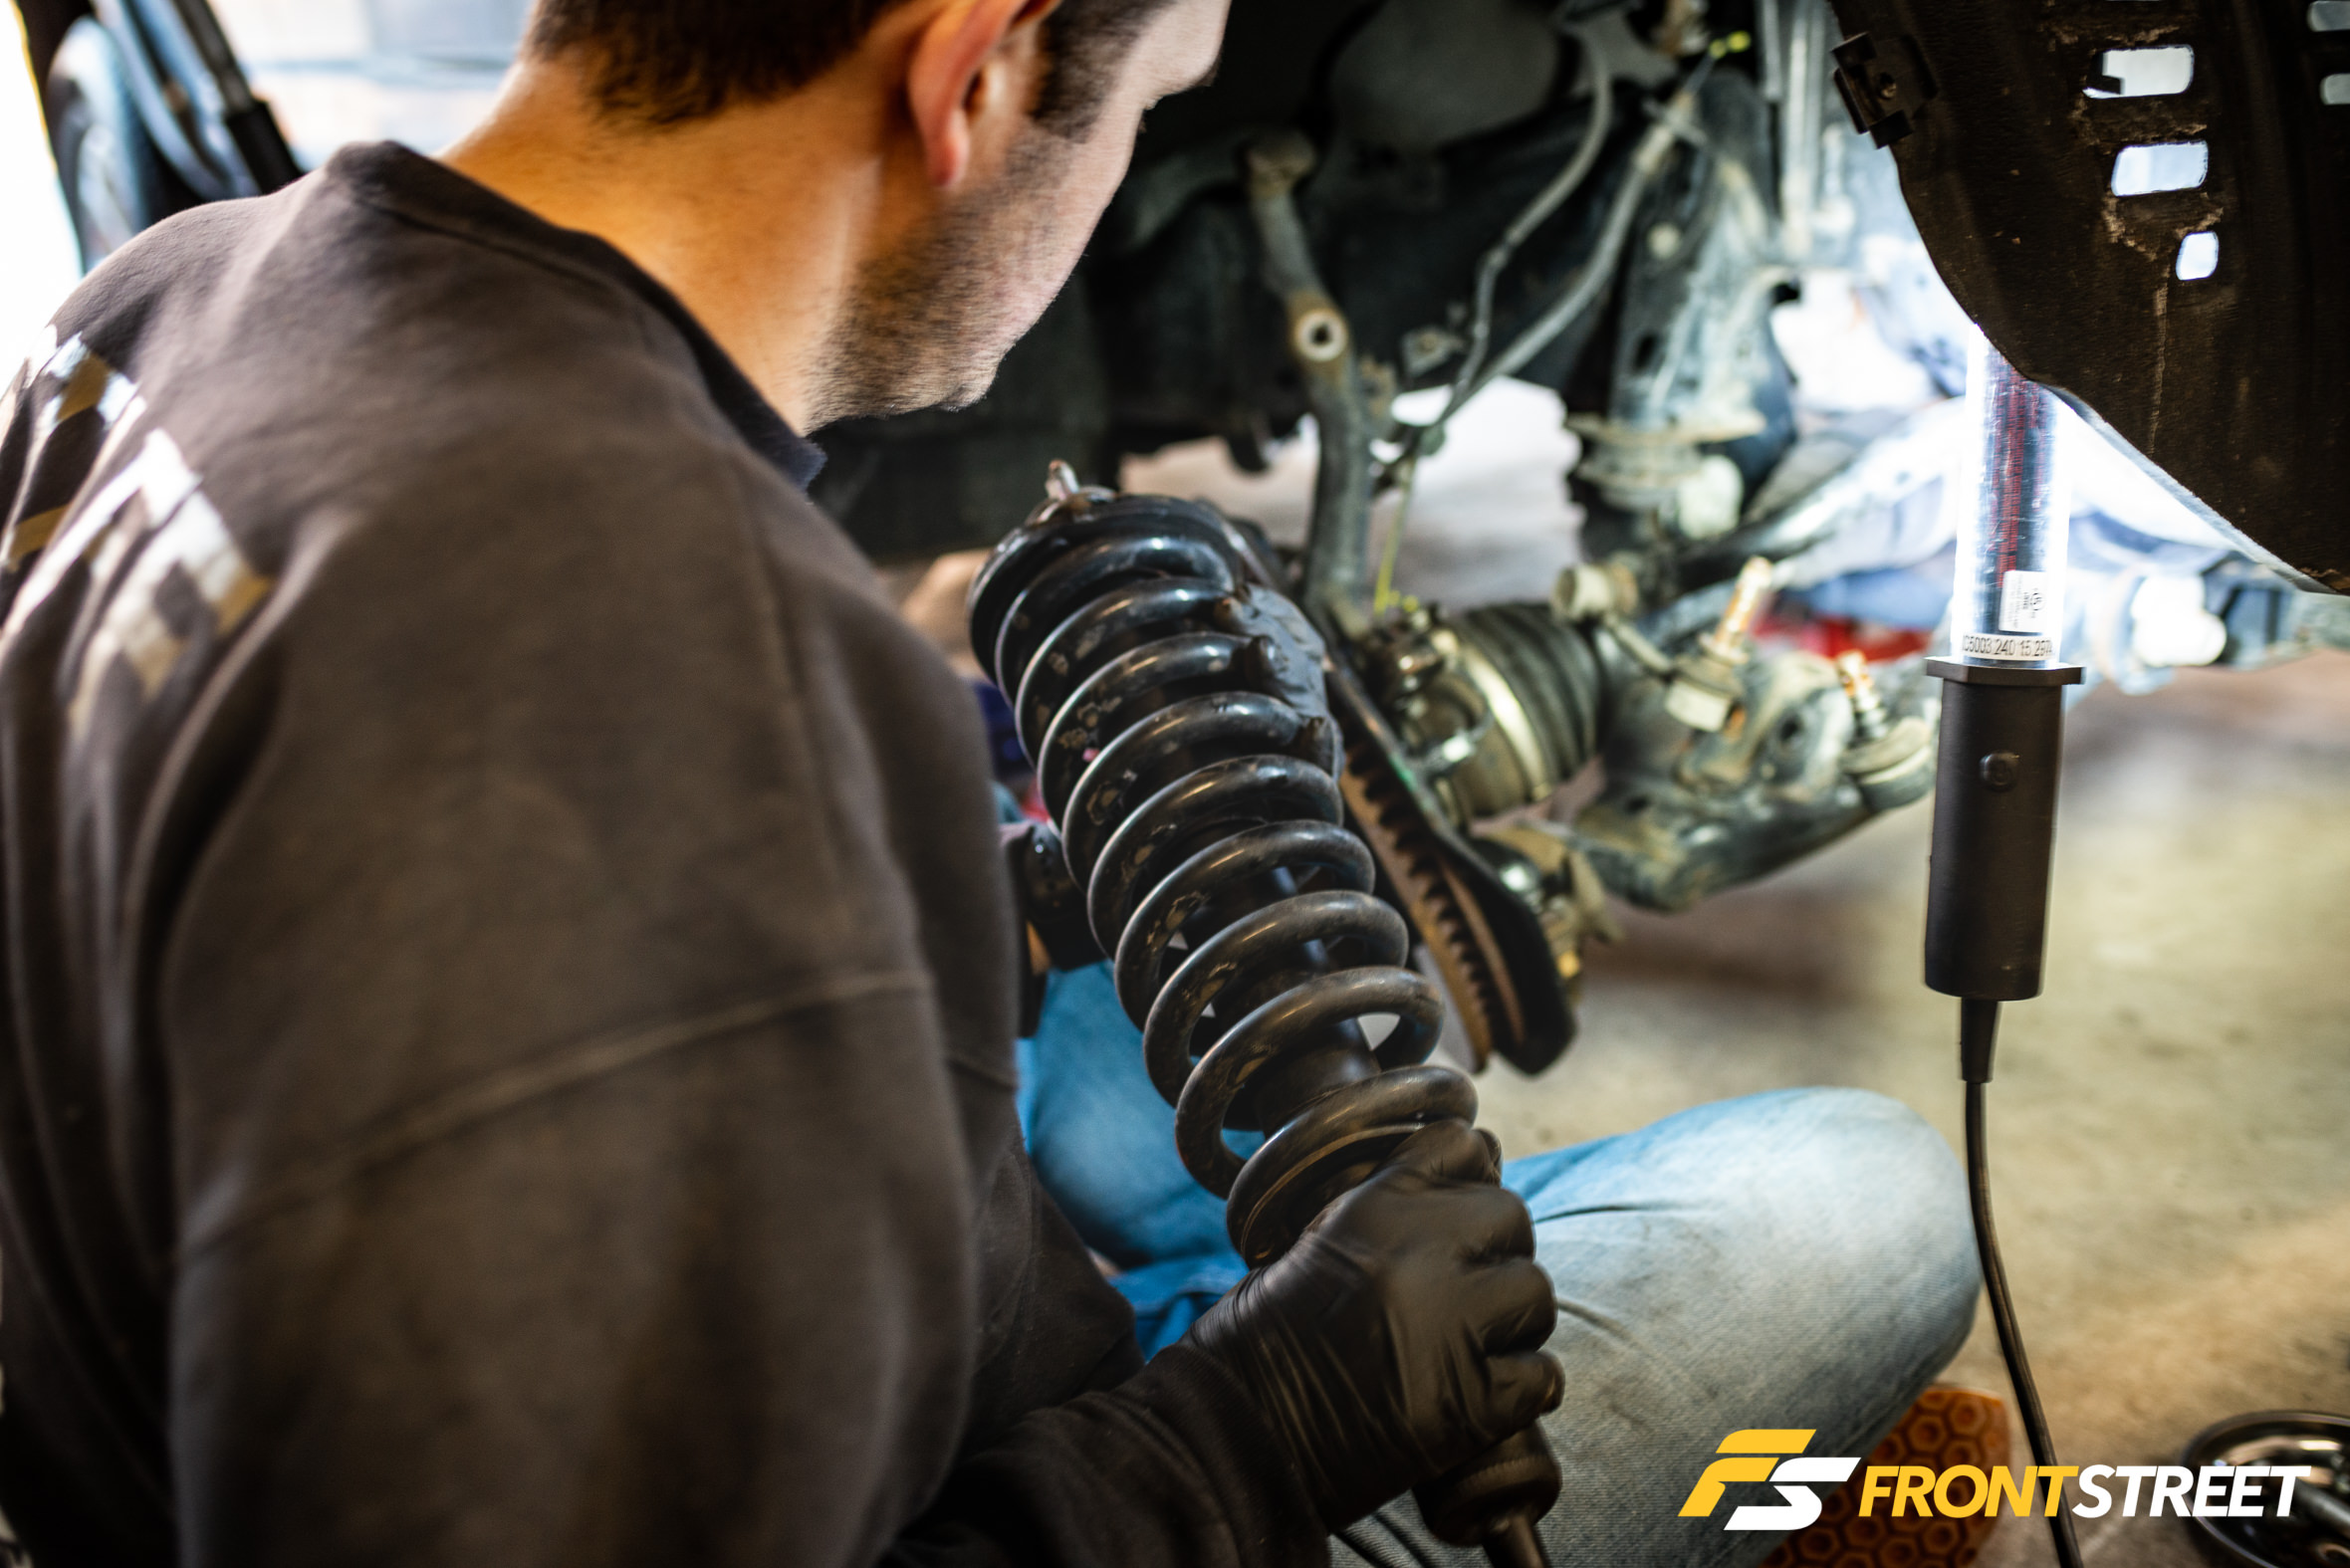
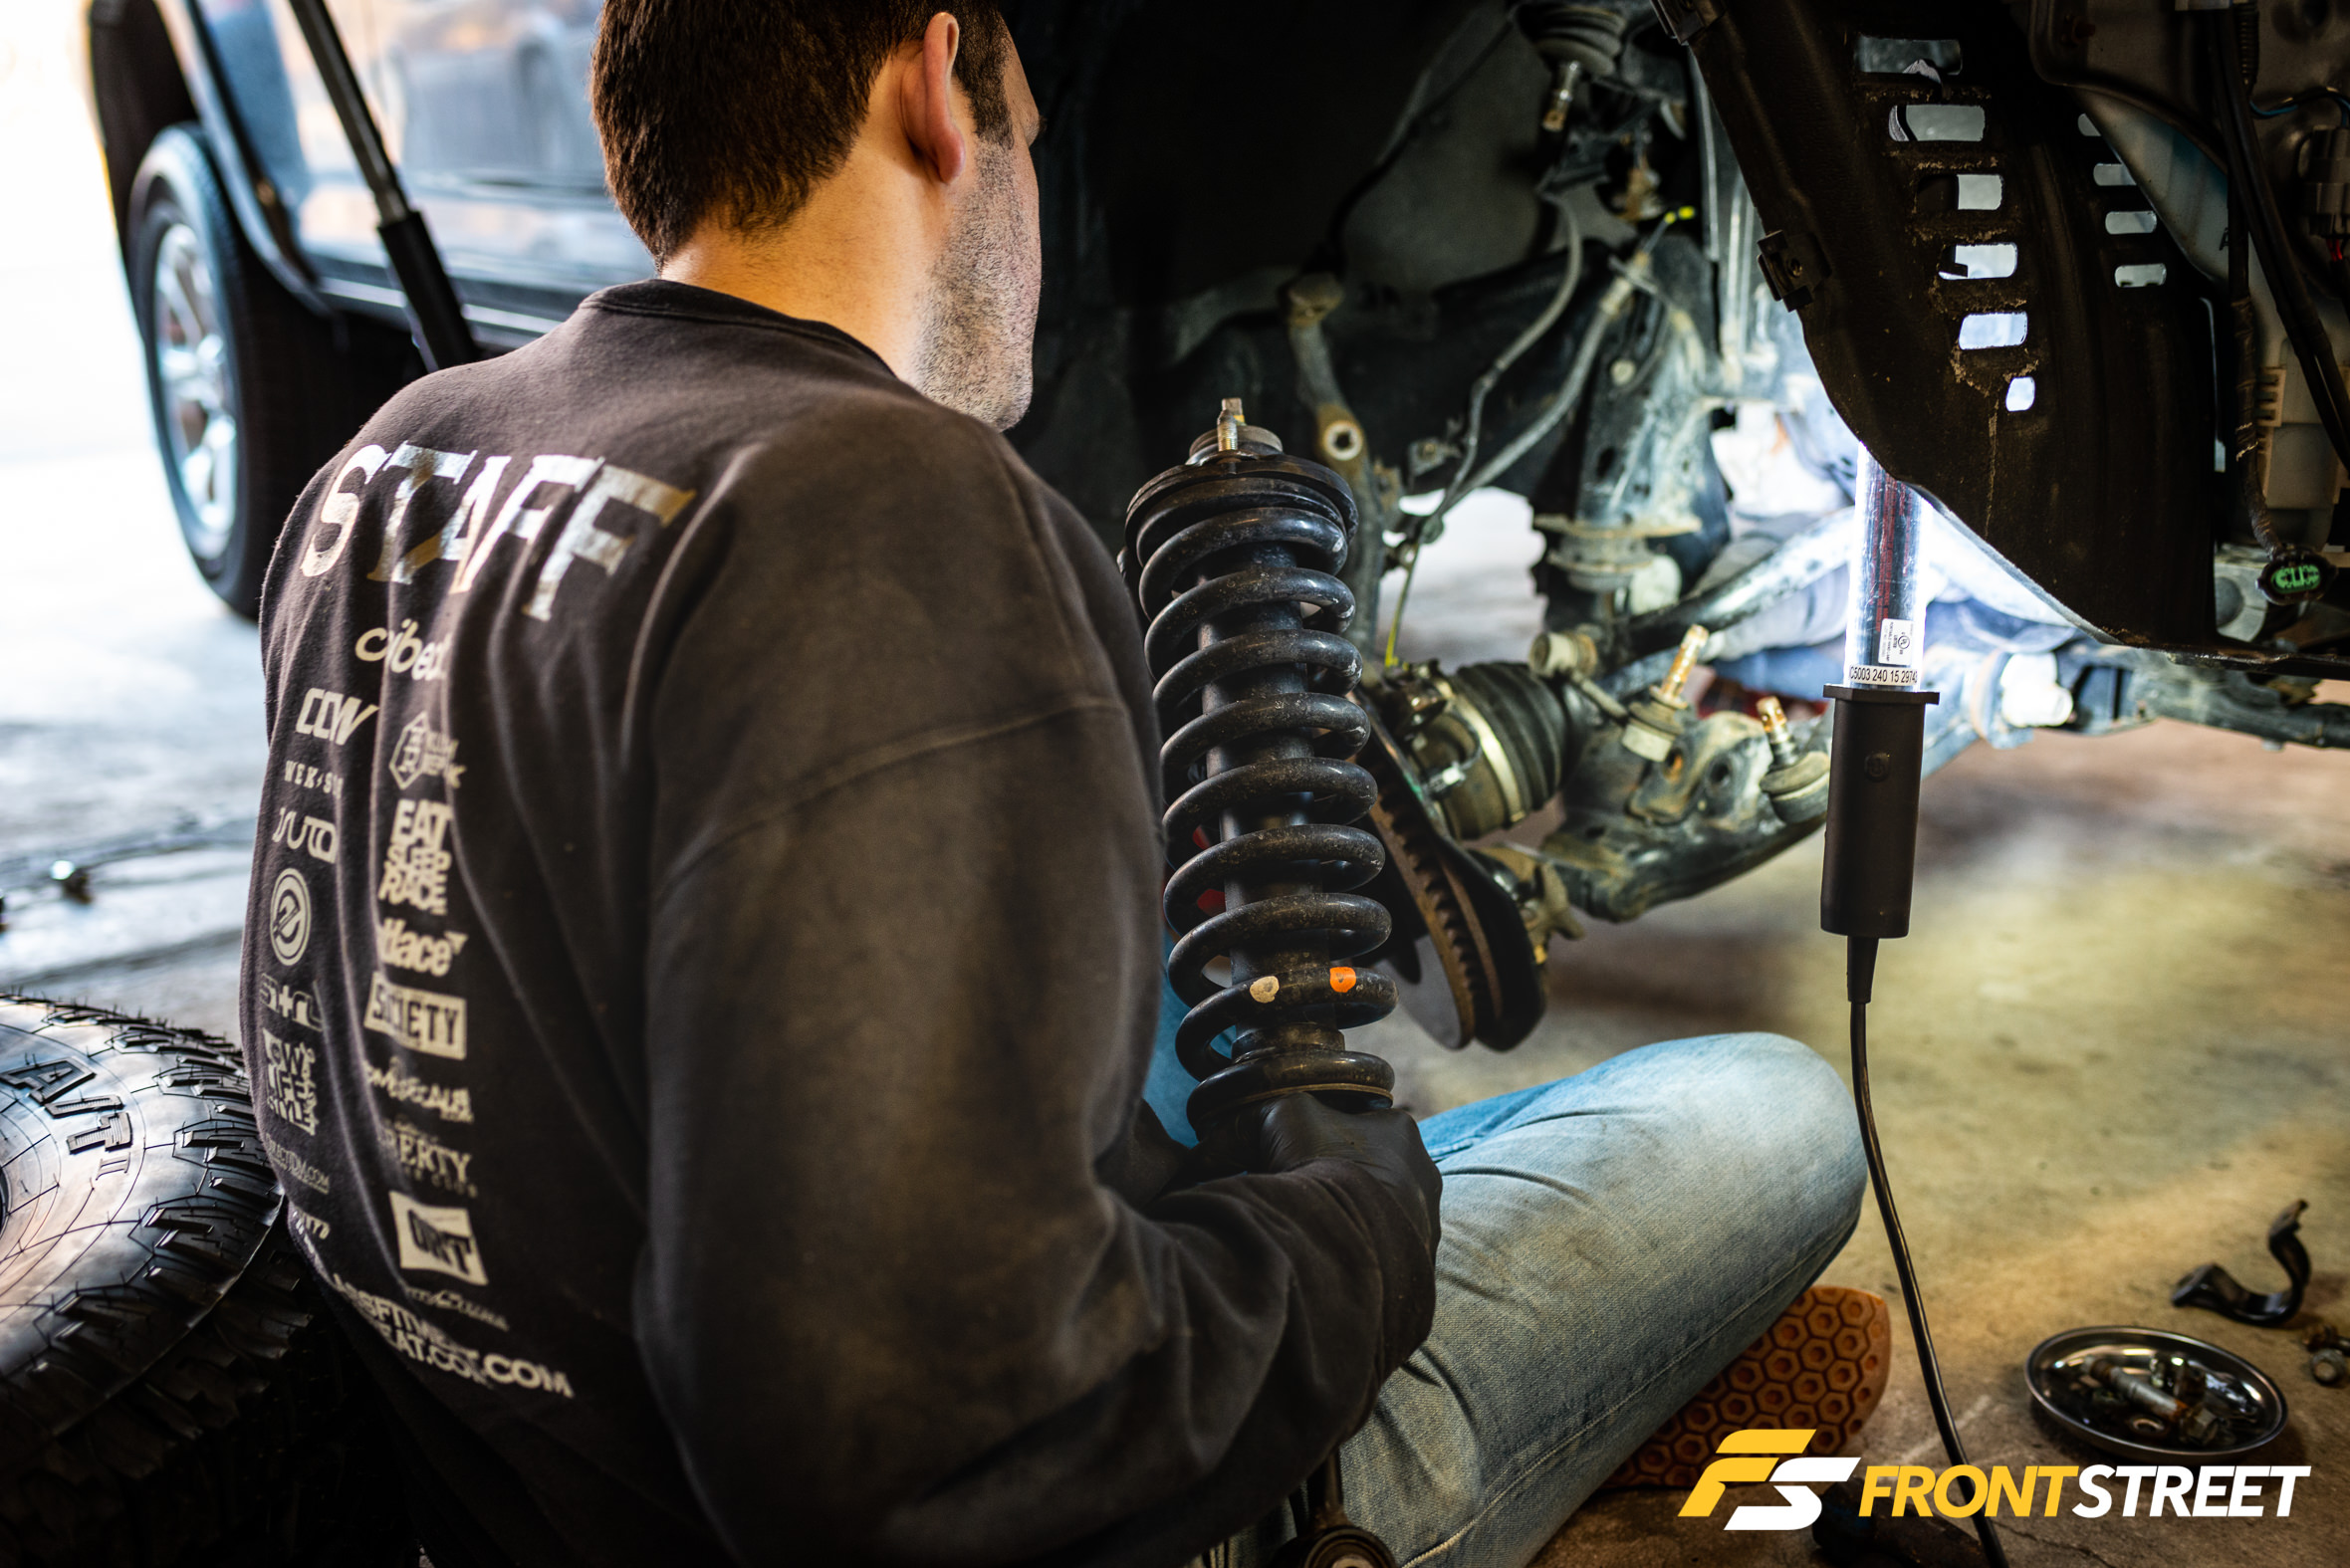
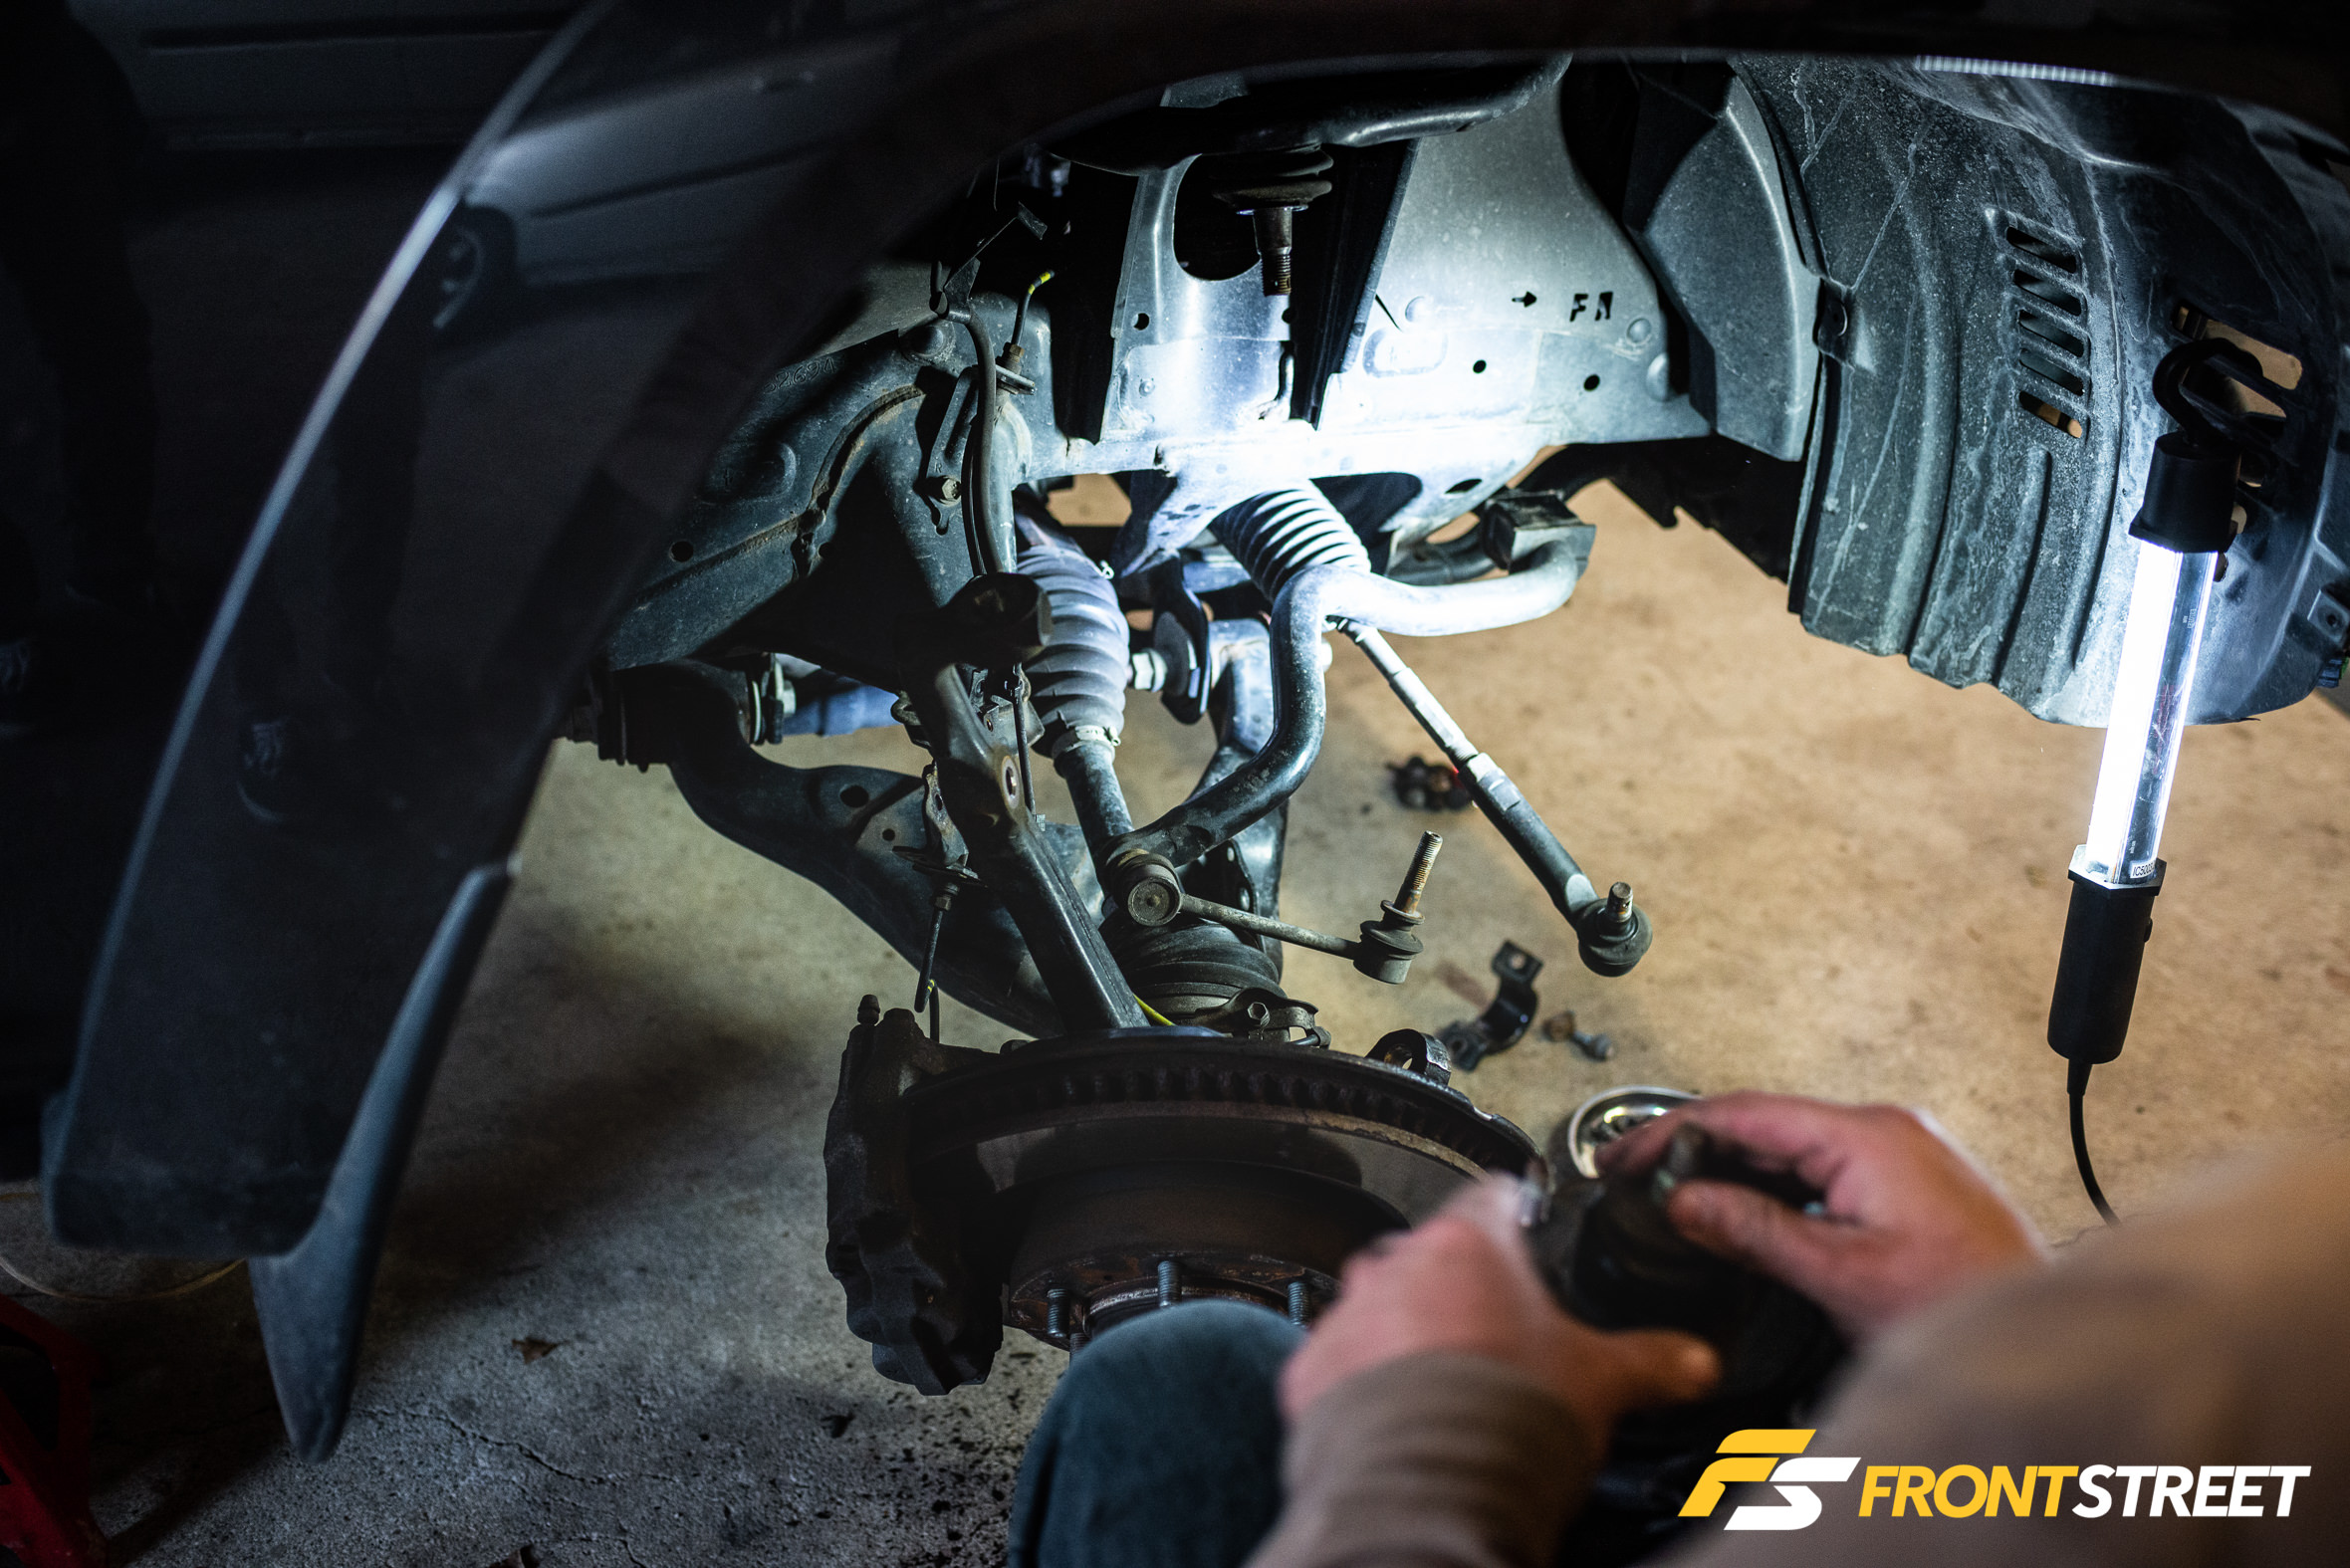
After removing the remaining two nuts holding the suspension in place at the top of the shock, we wrestled the factory unit free.
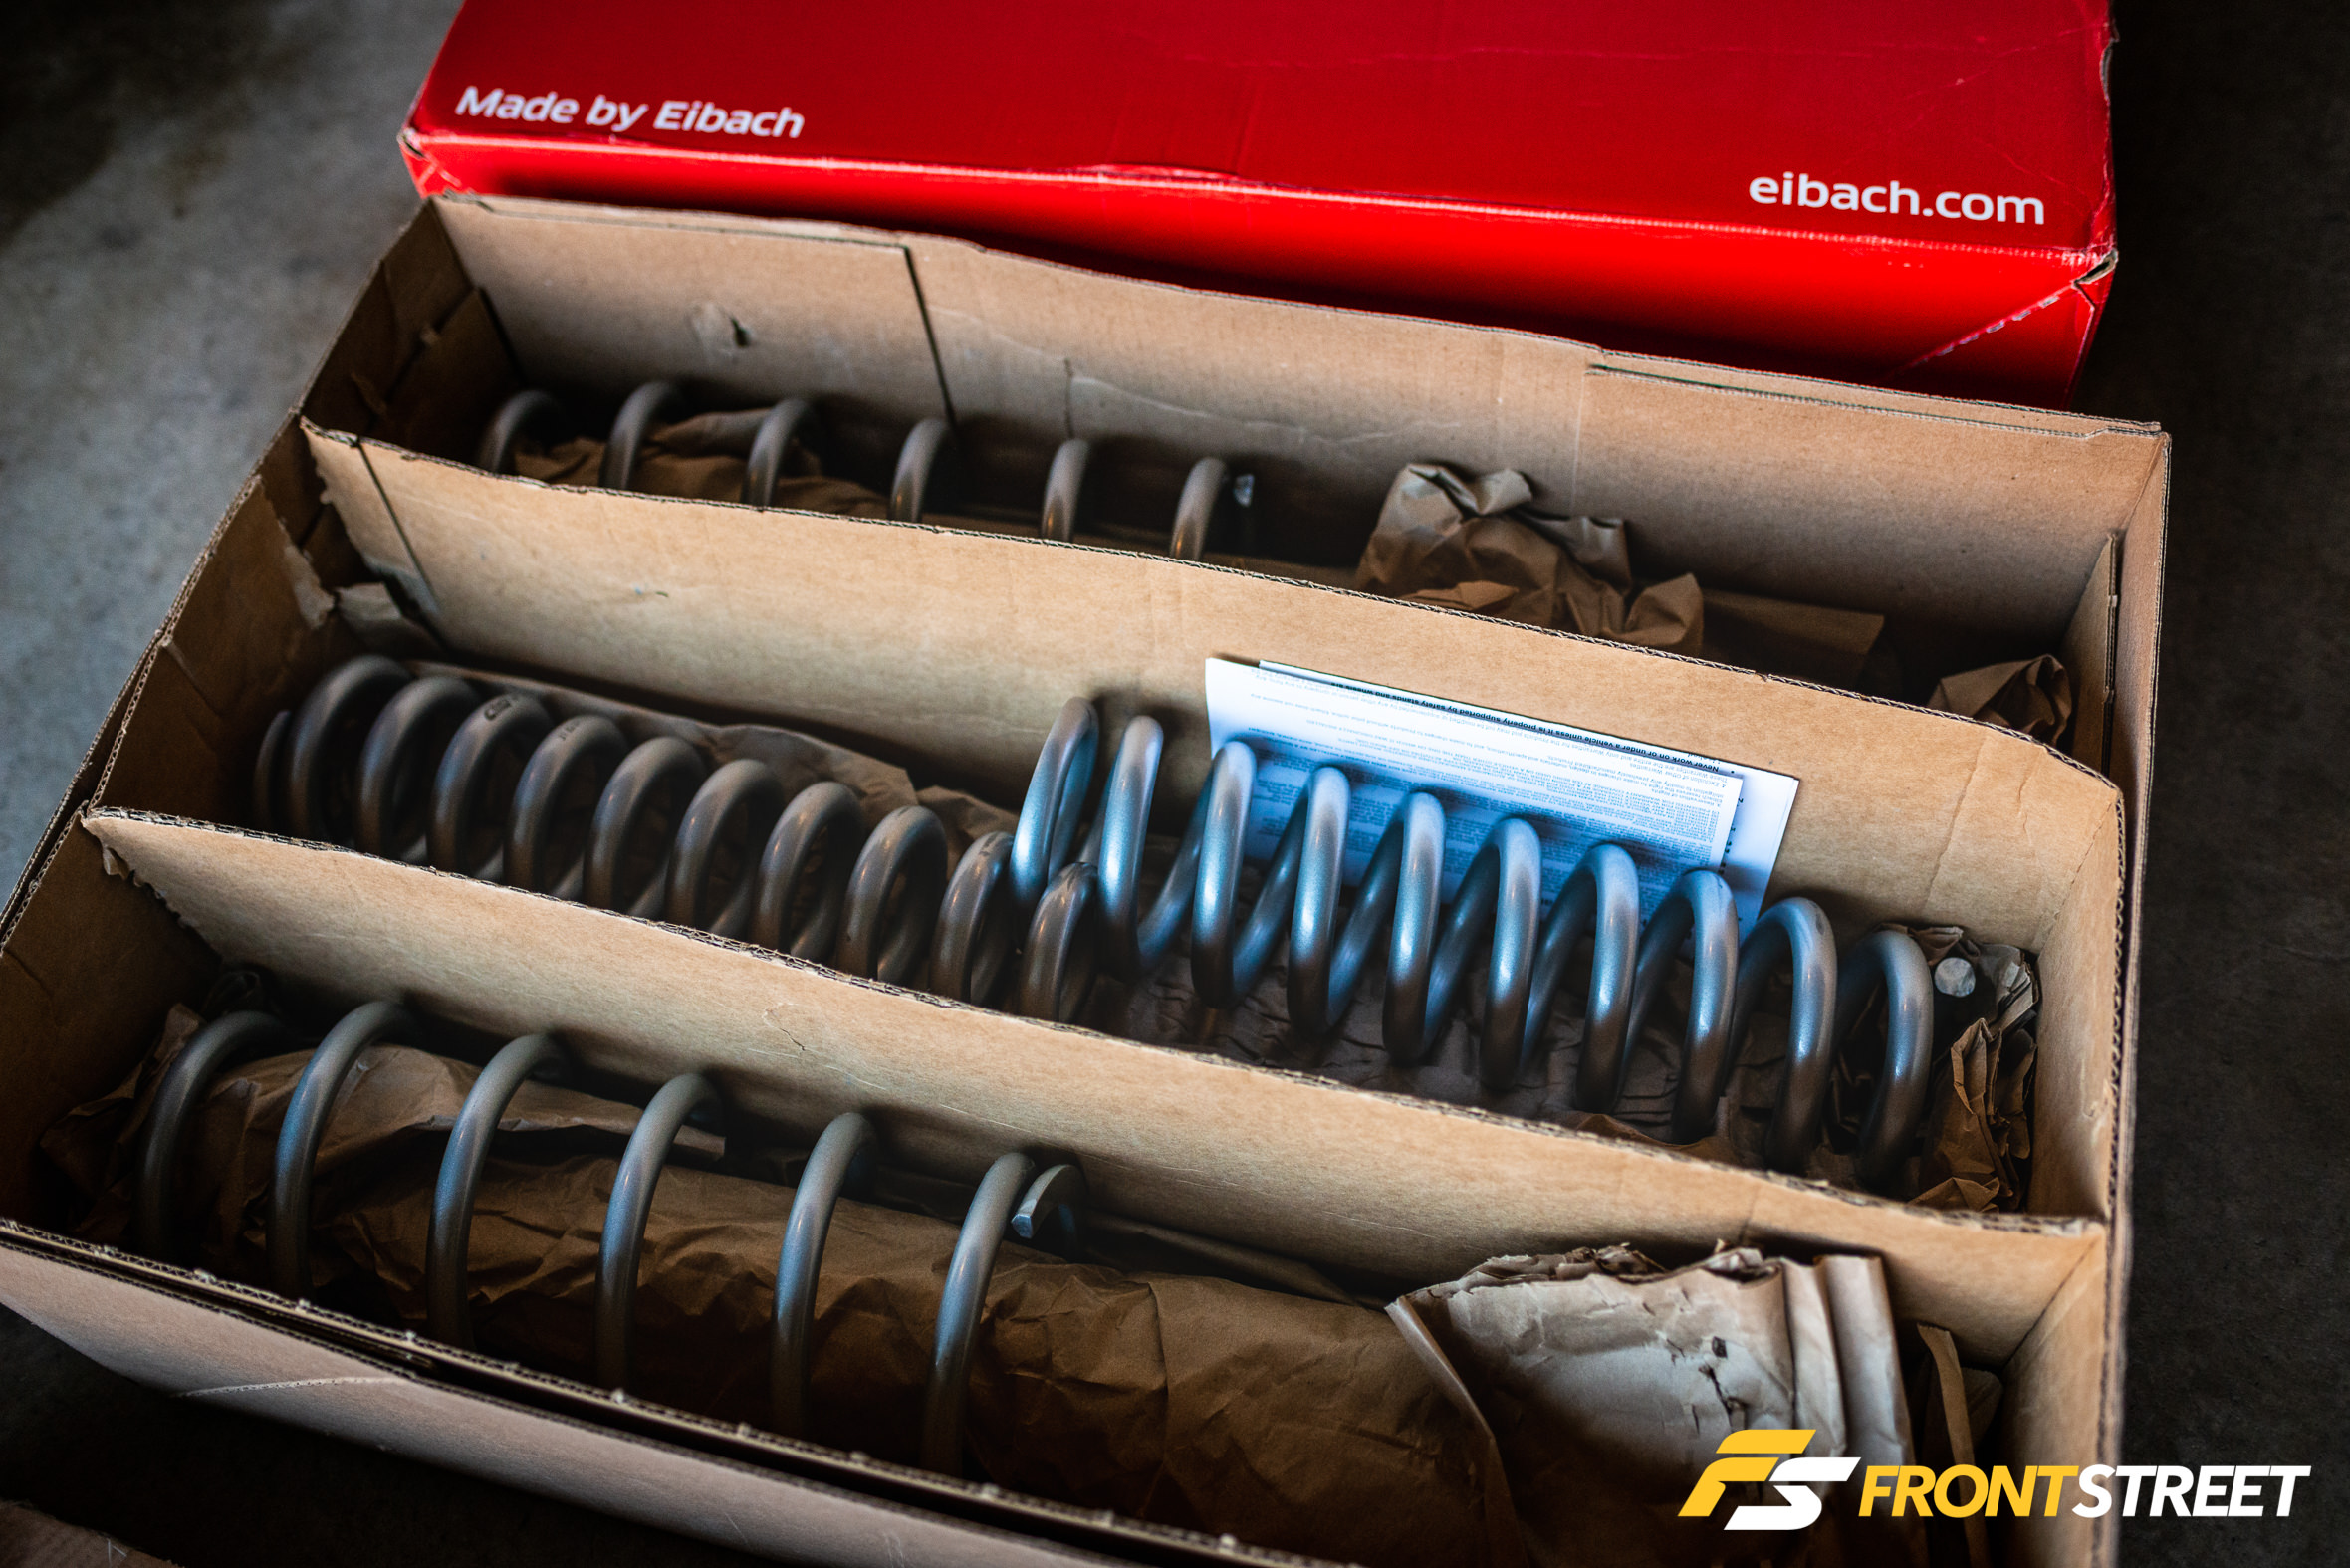
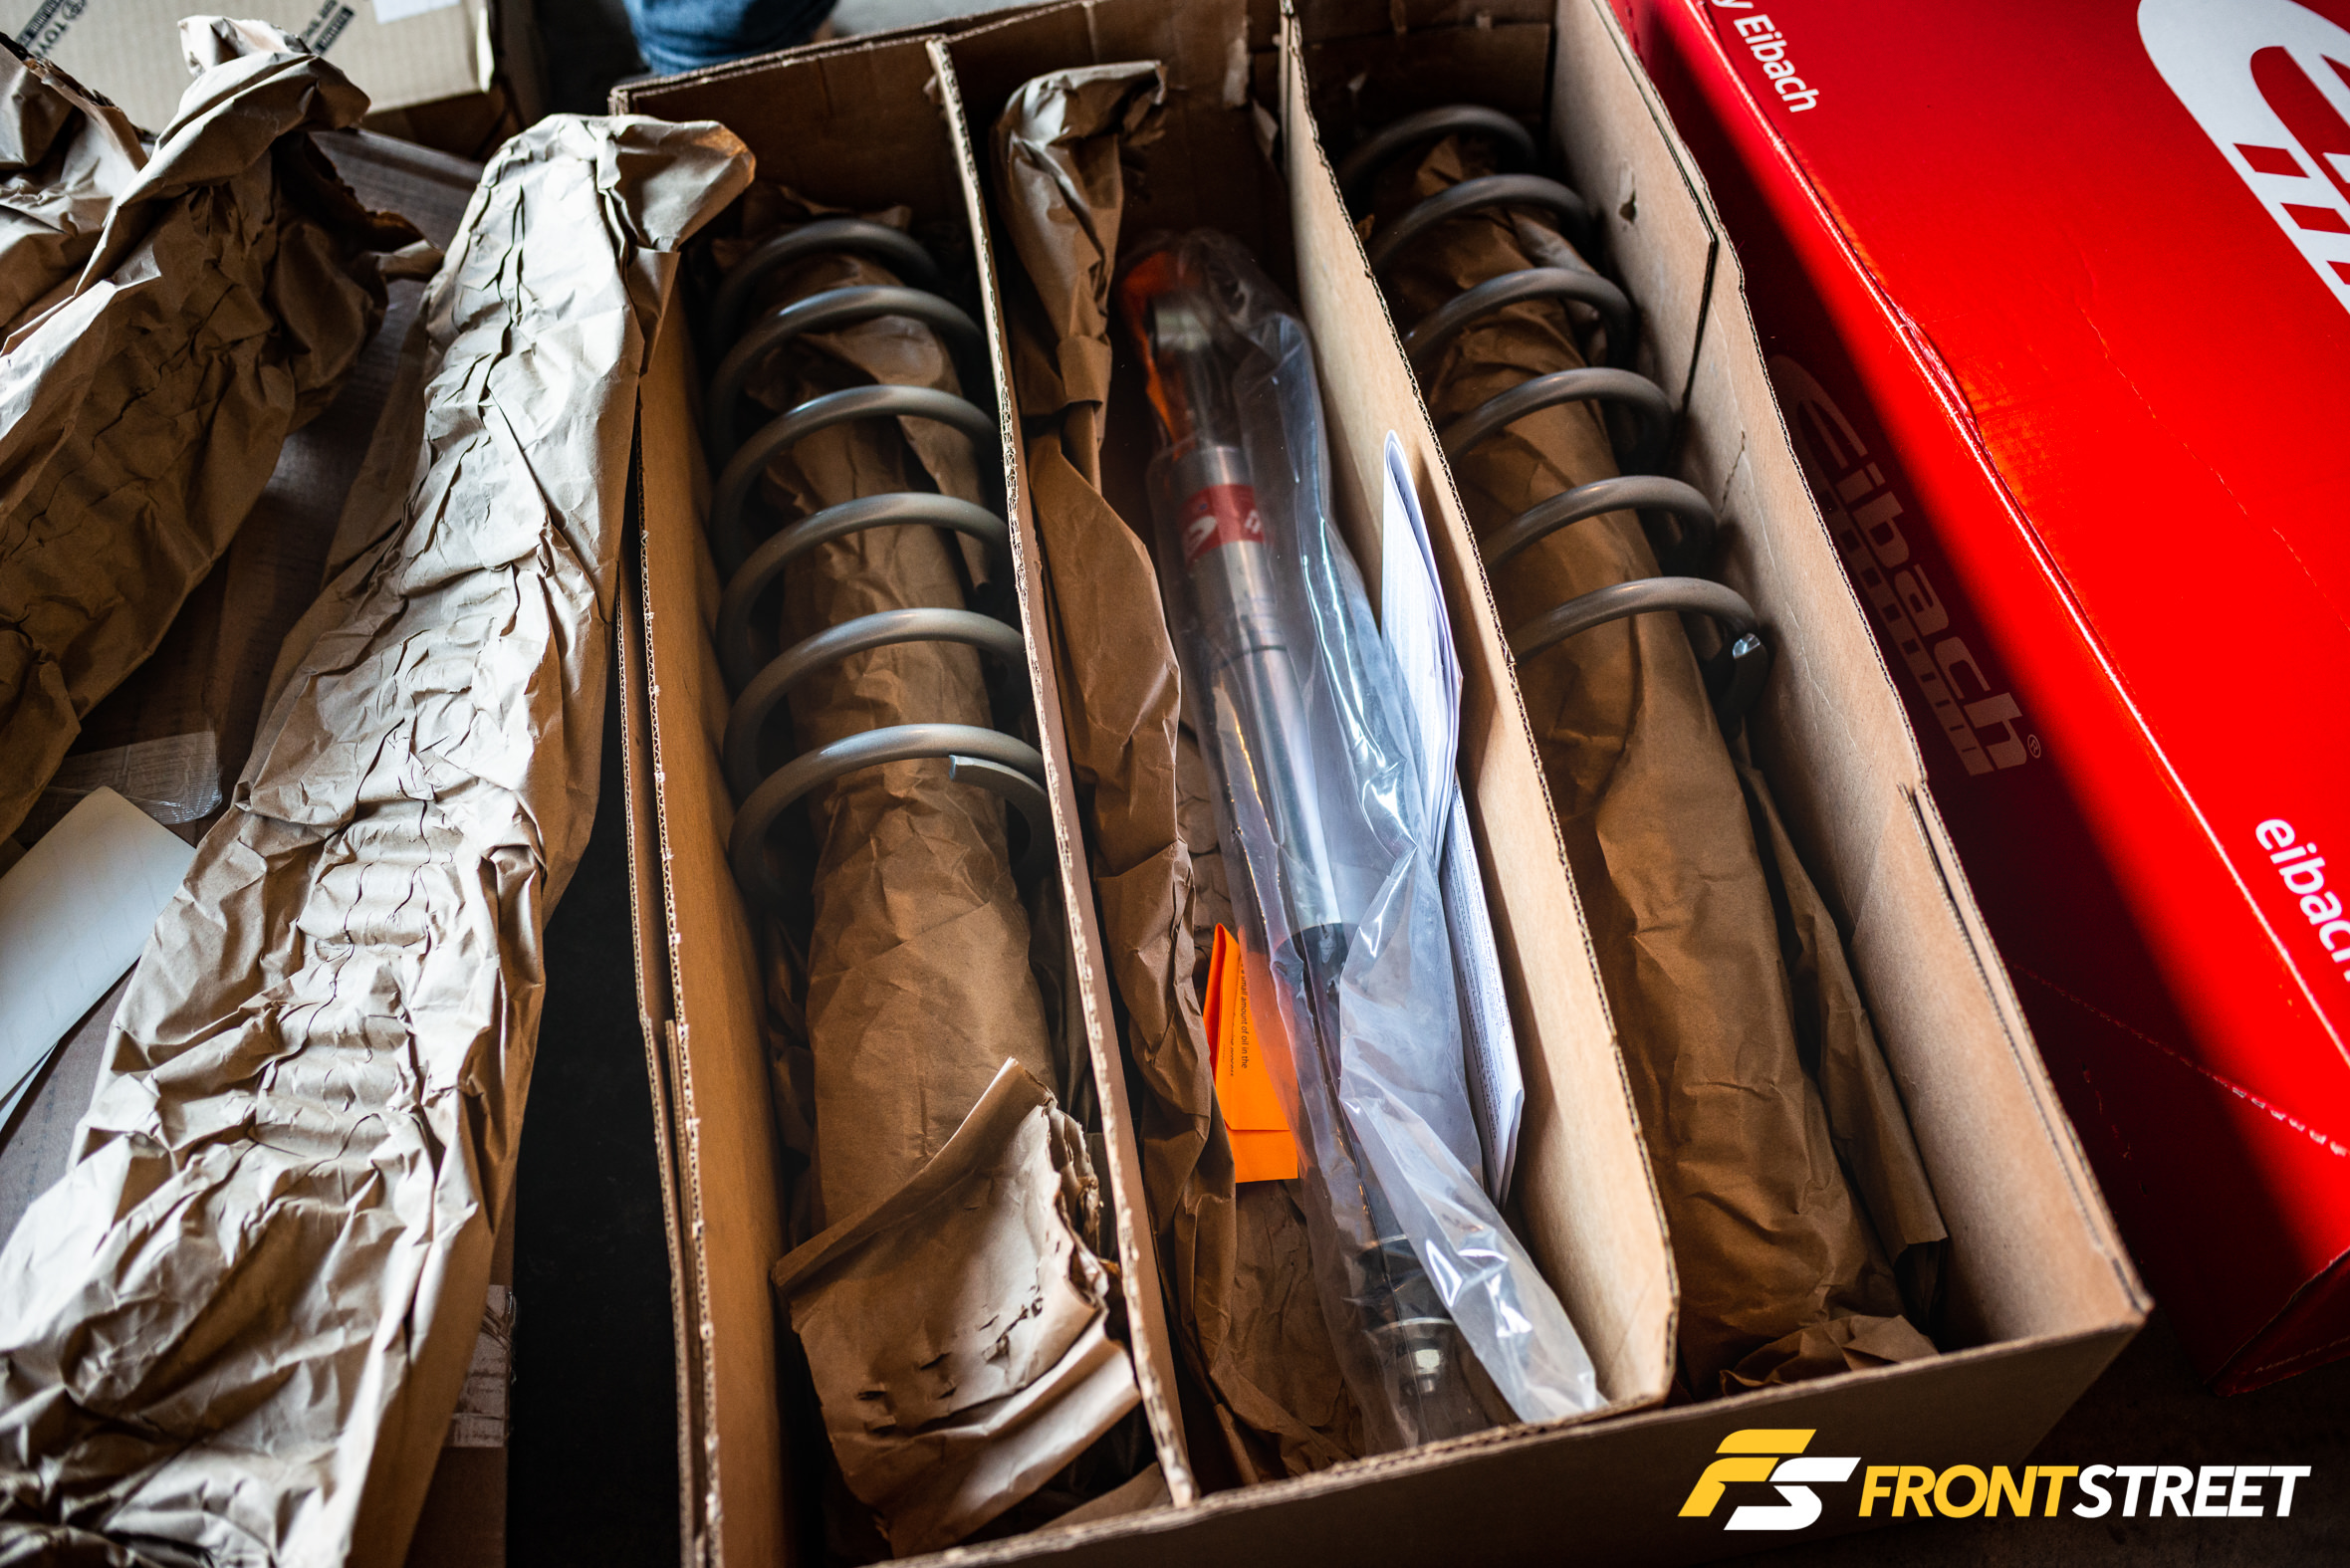
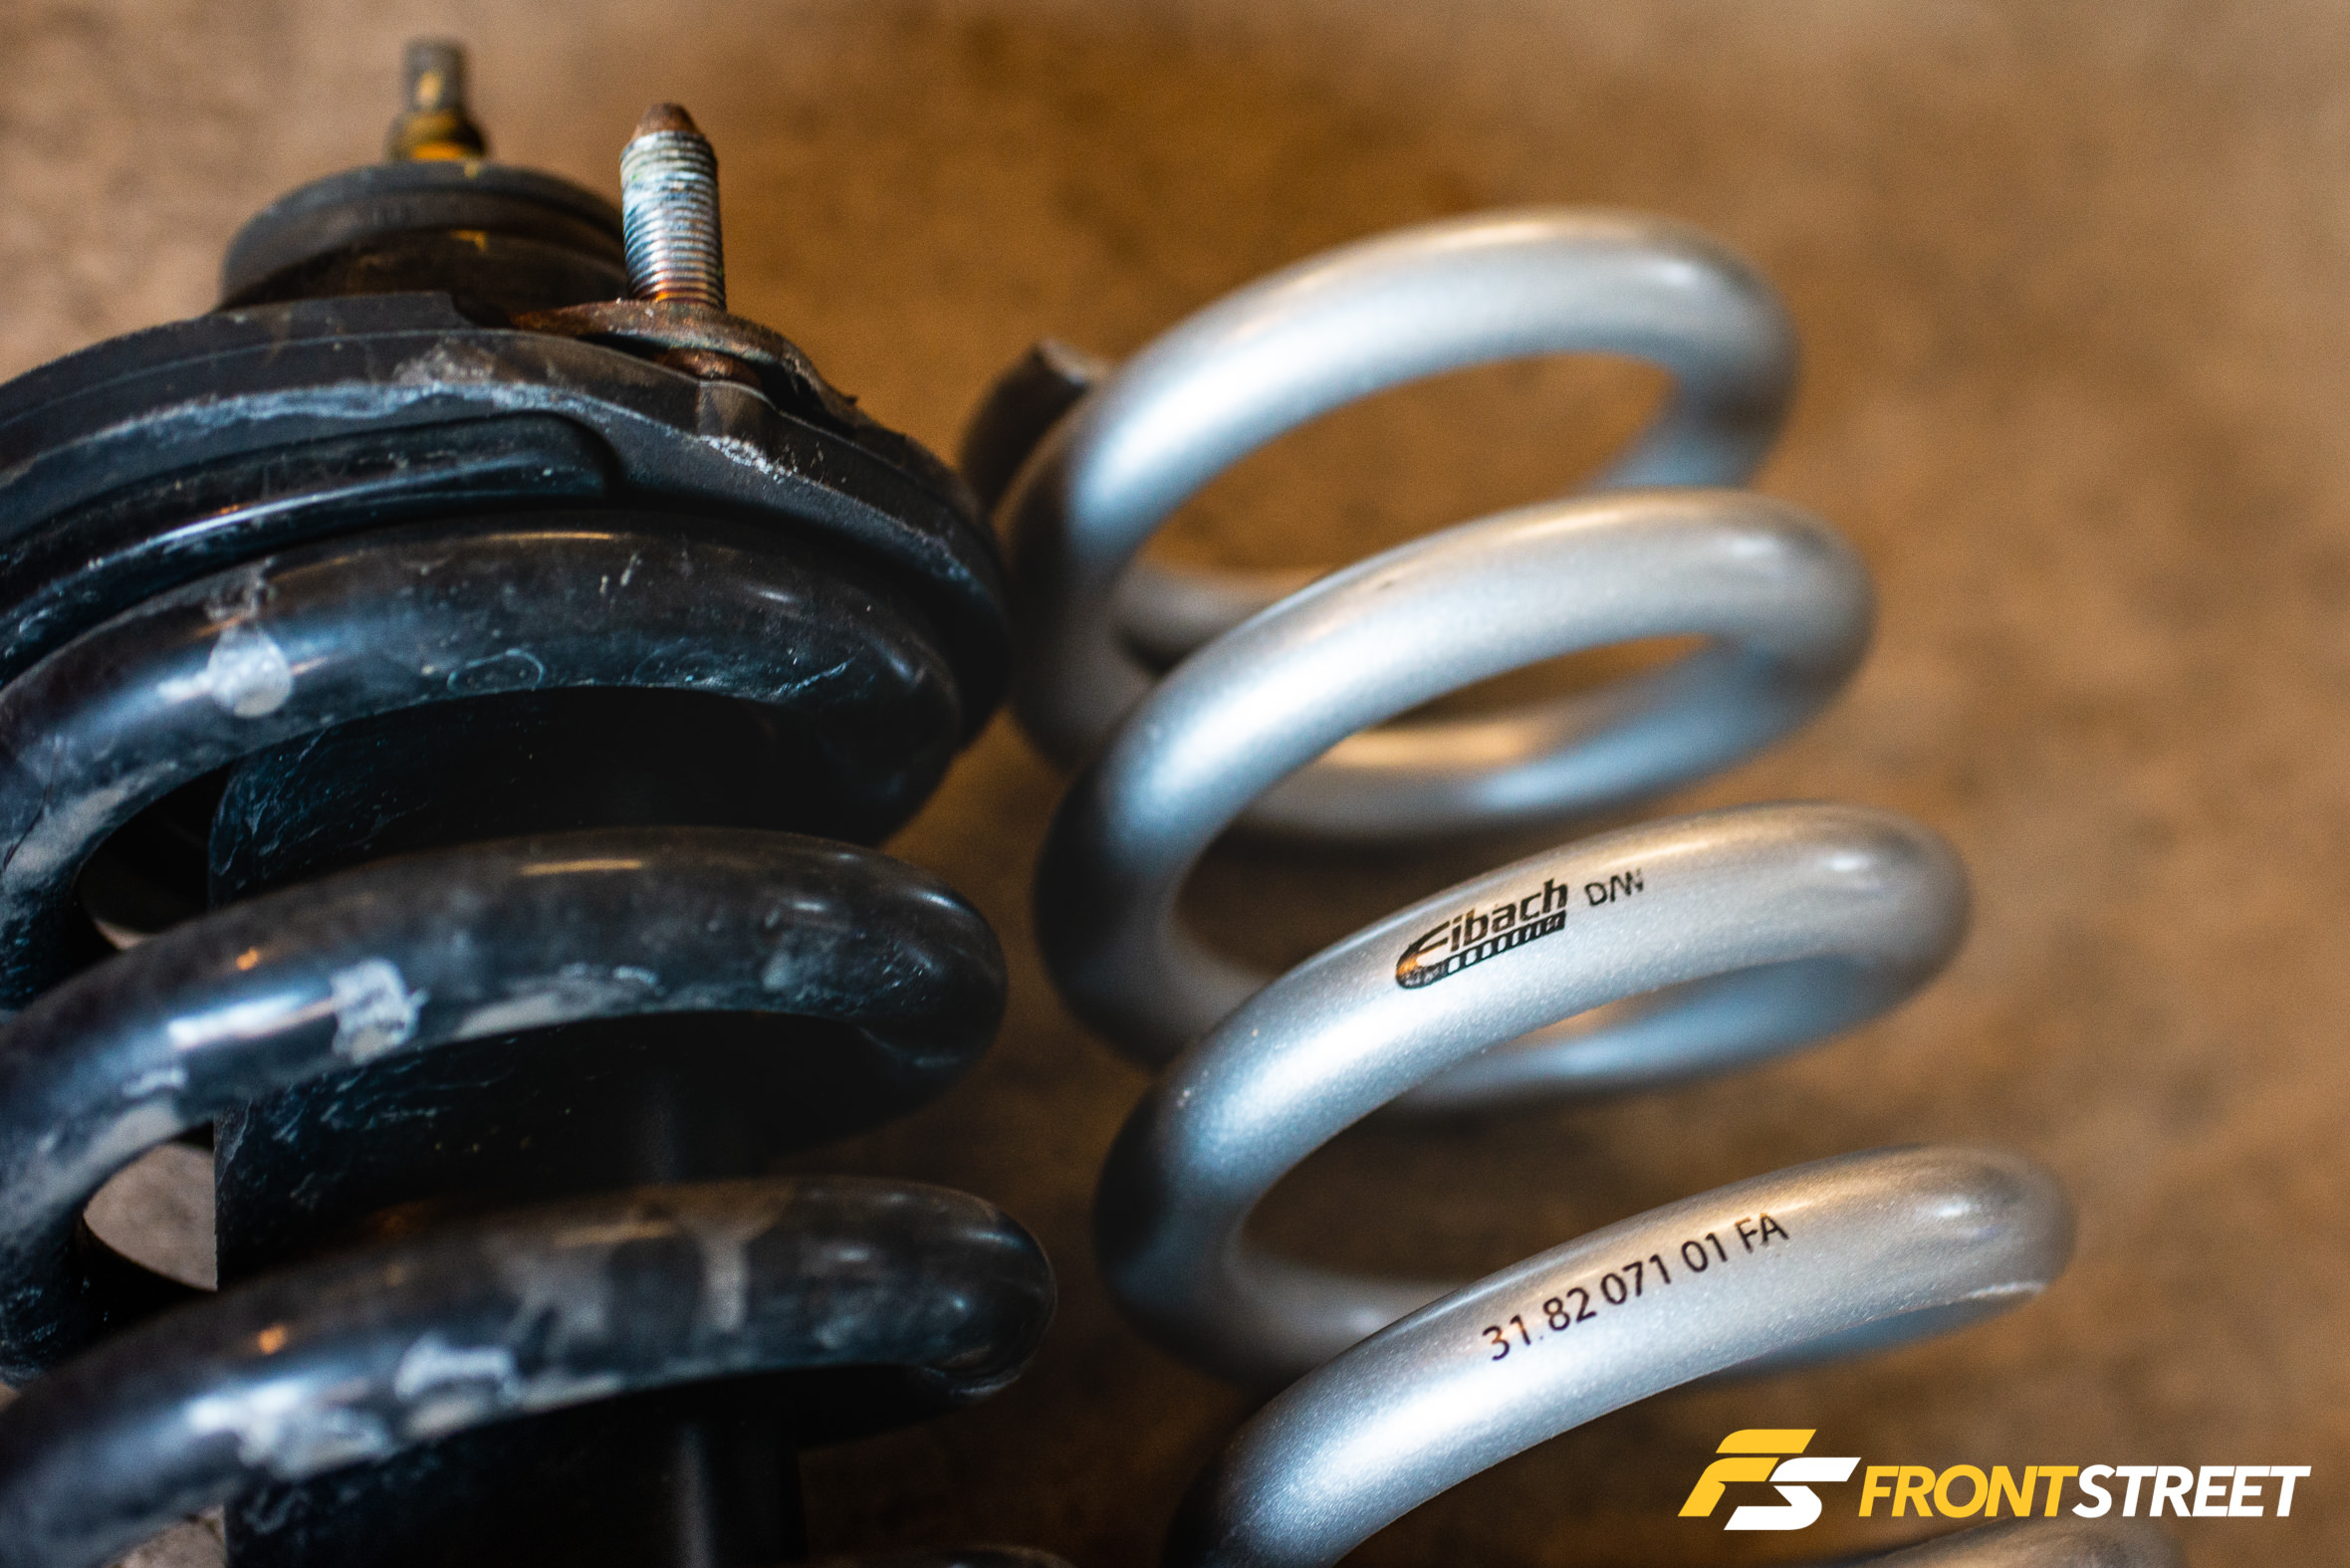
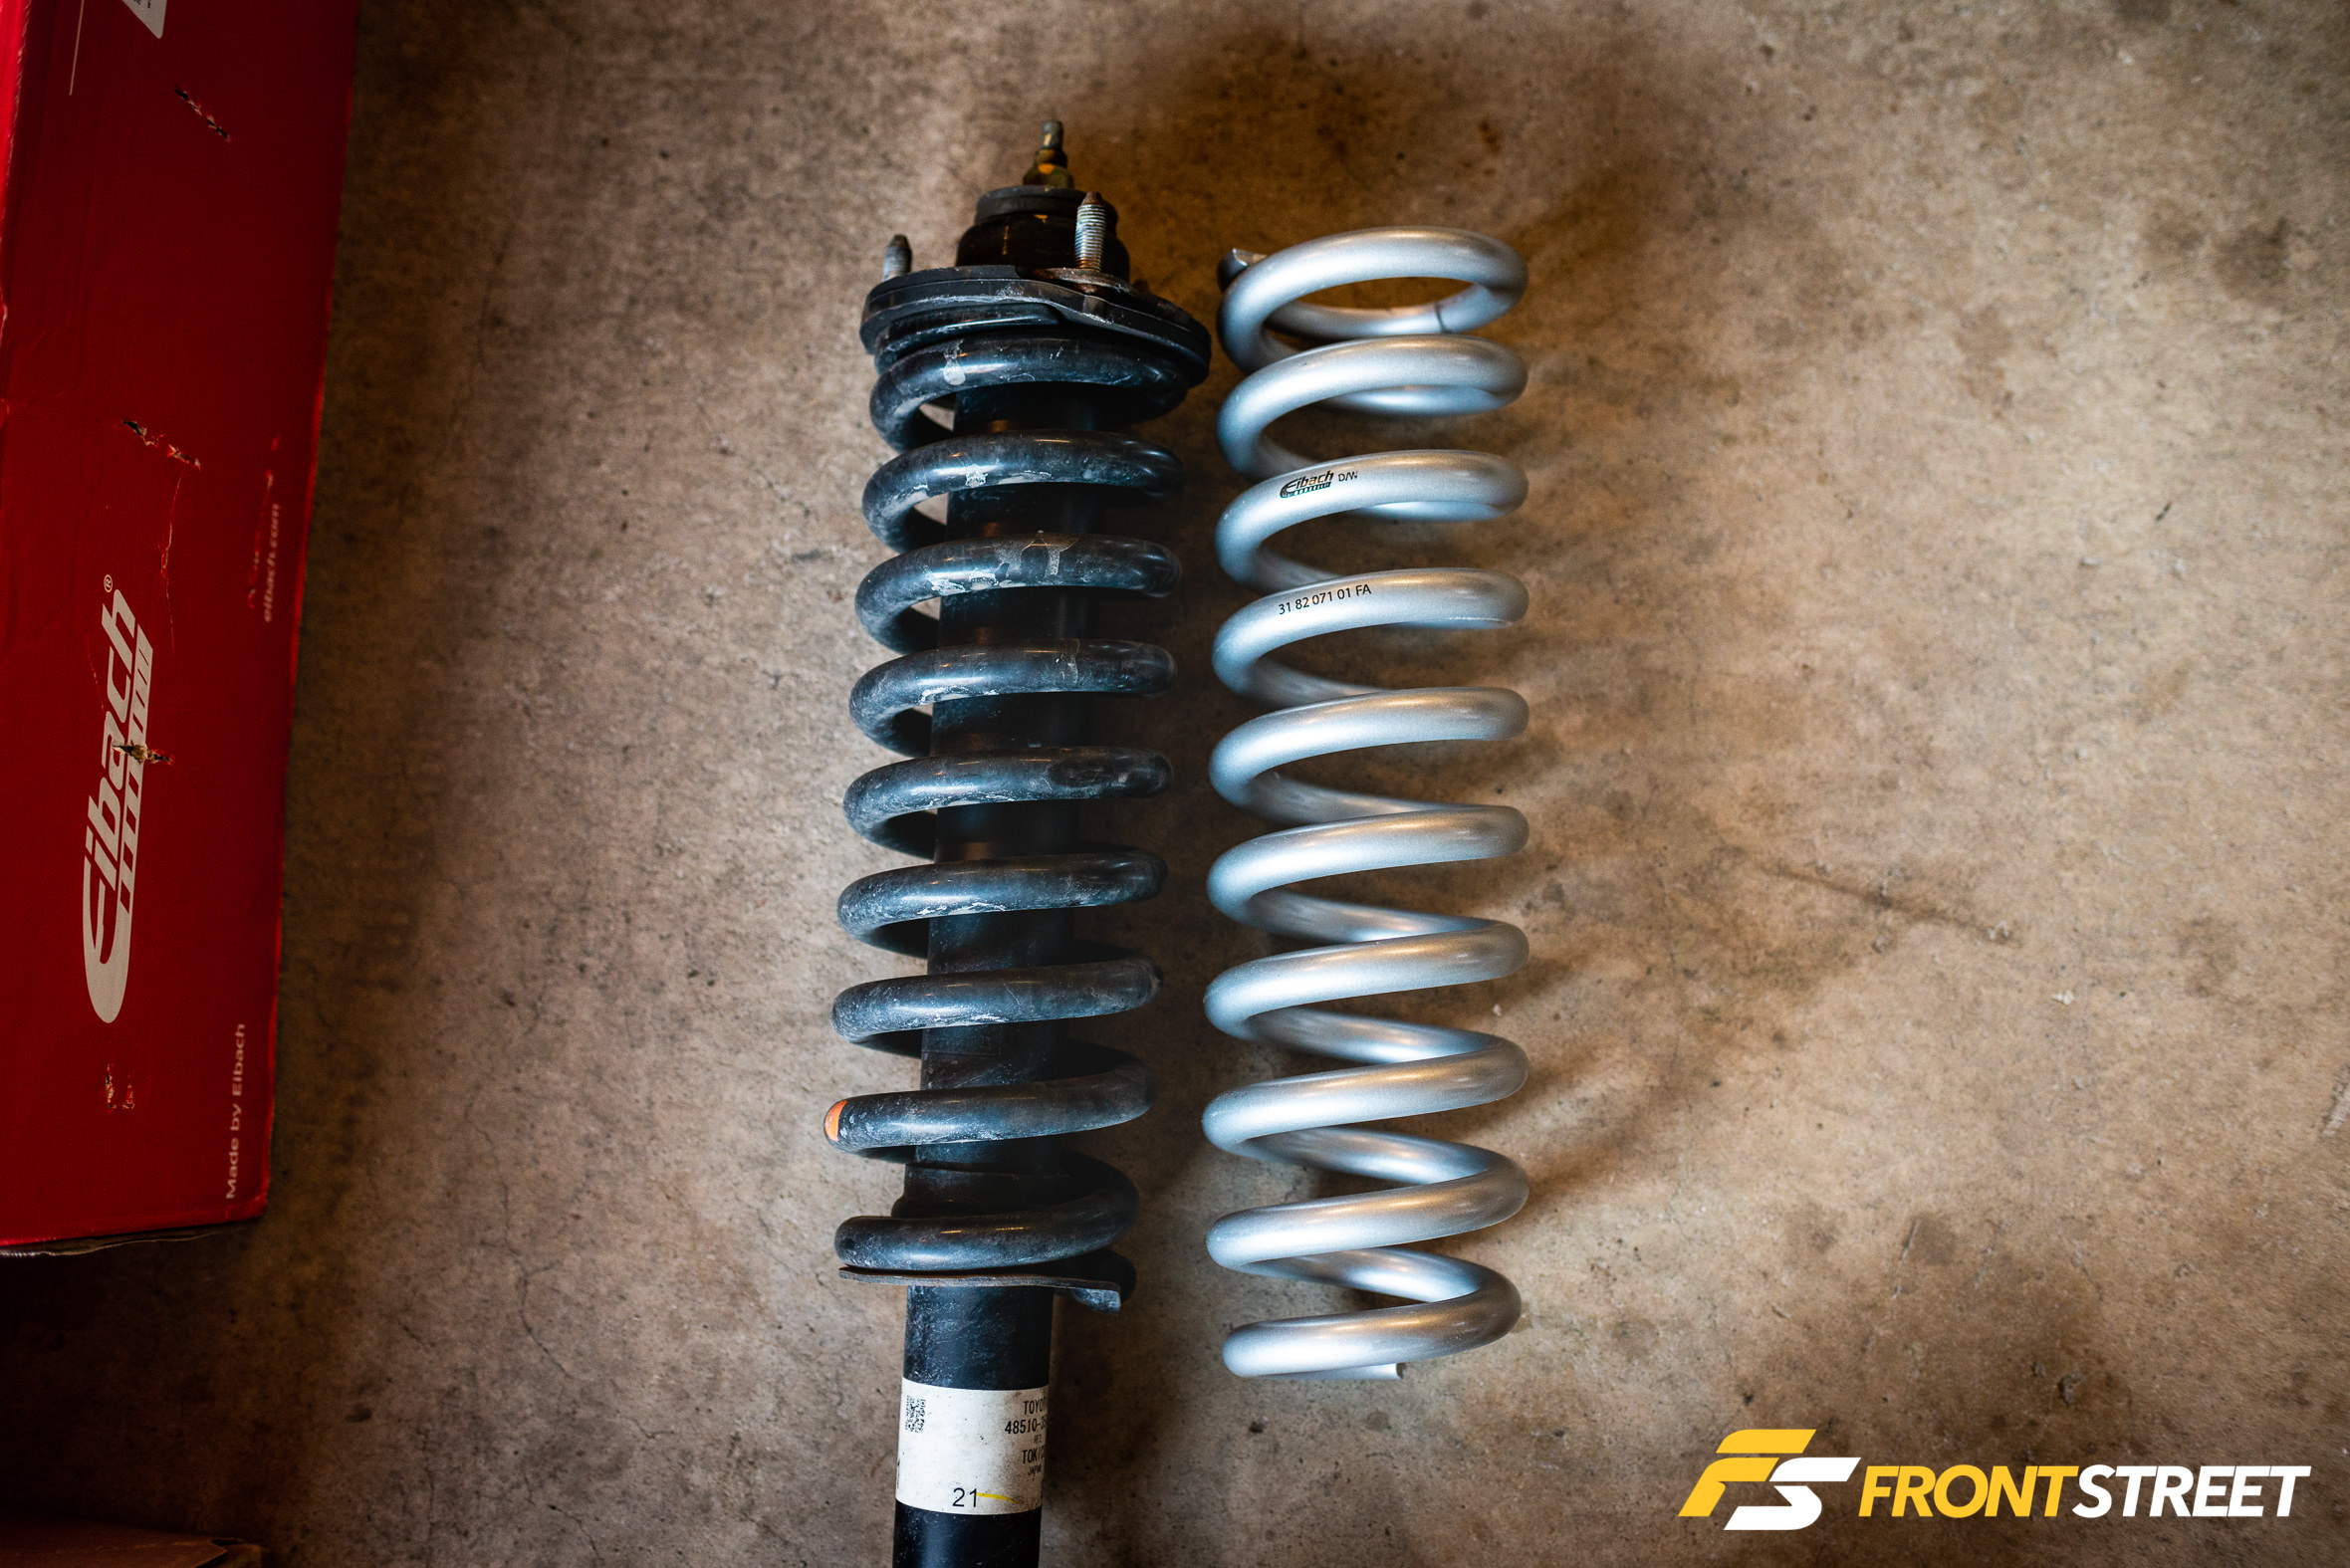
Now it was time to pull out the new Eibach Stage 1 PRO-TRUCK LIFT SYSTEM for assembly. Eibach matches these shocks and lift springs for the perfect travel and performance in an off-road suspension setup, by embedding its years of experience with off-road racing into each component.
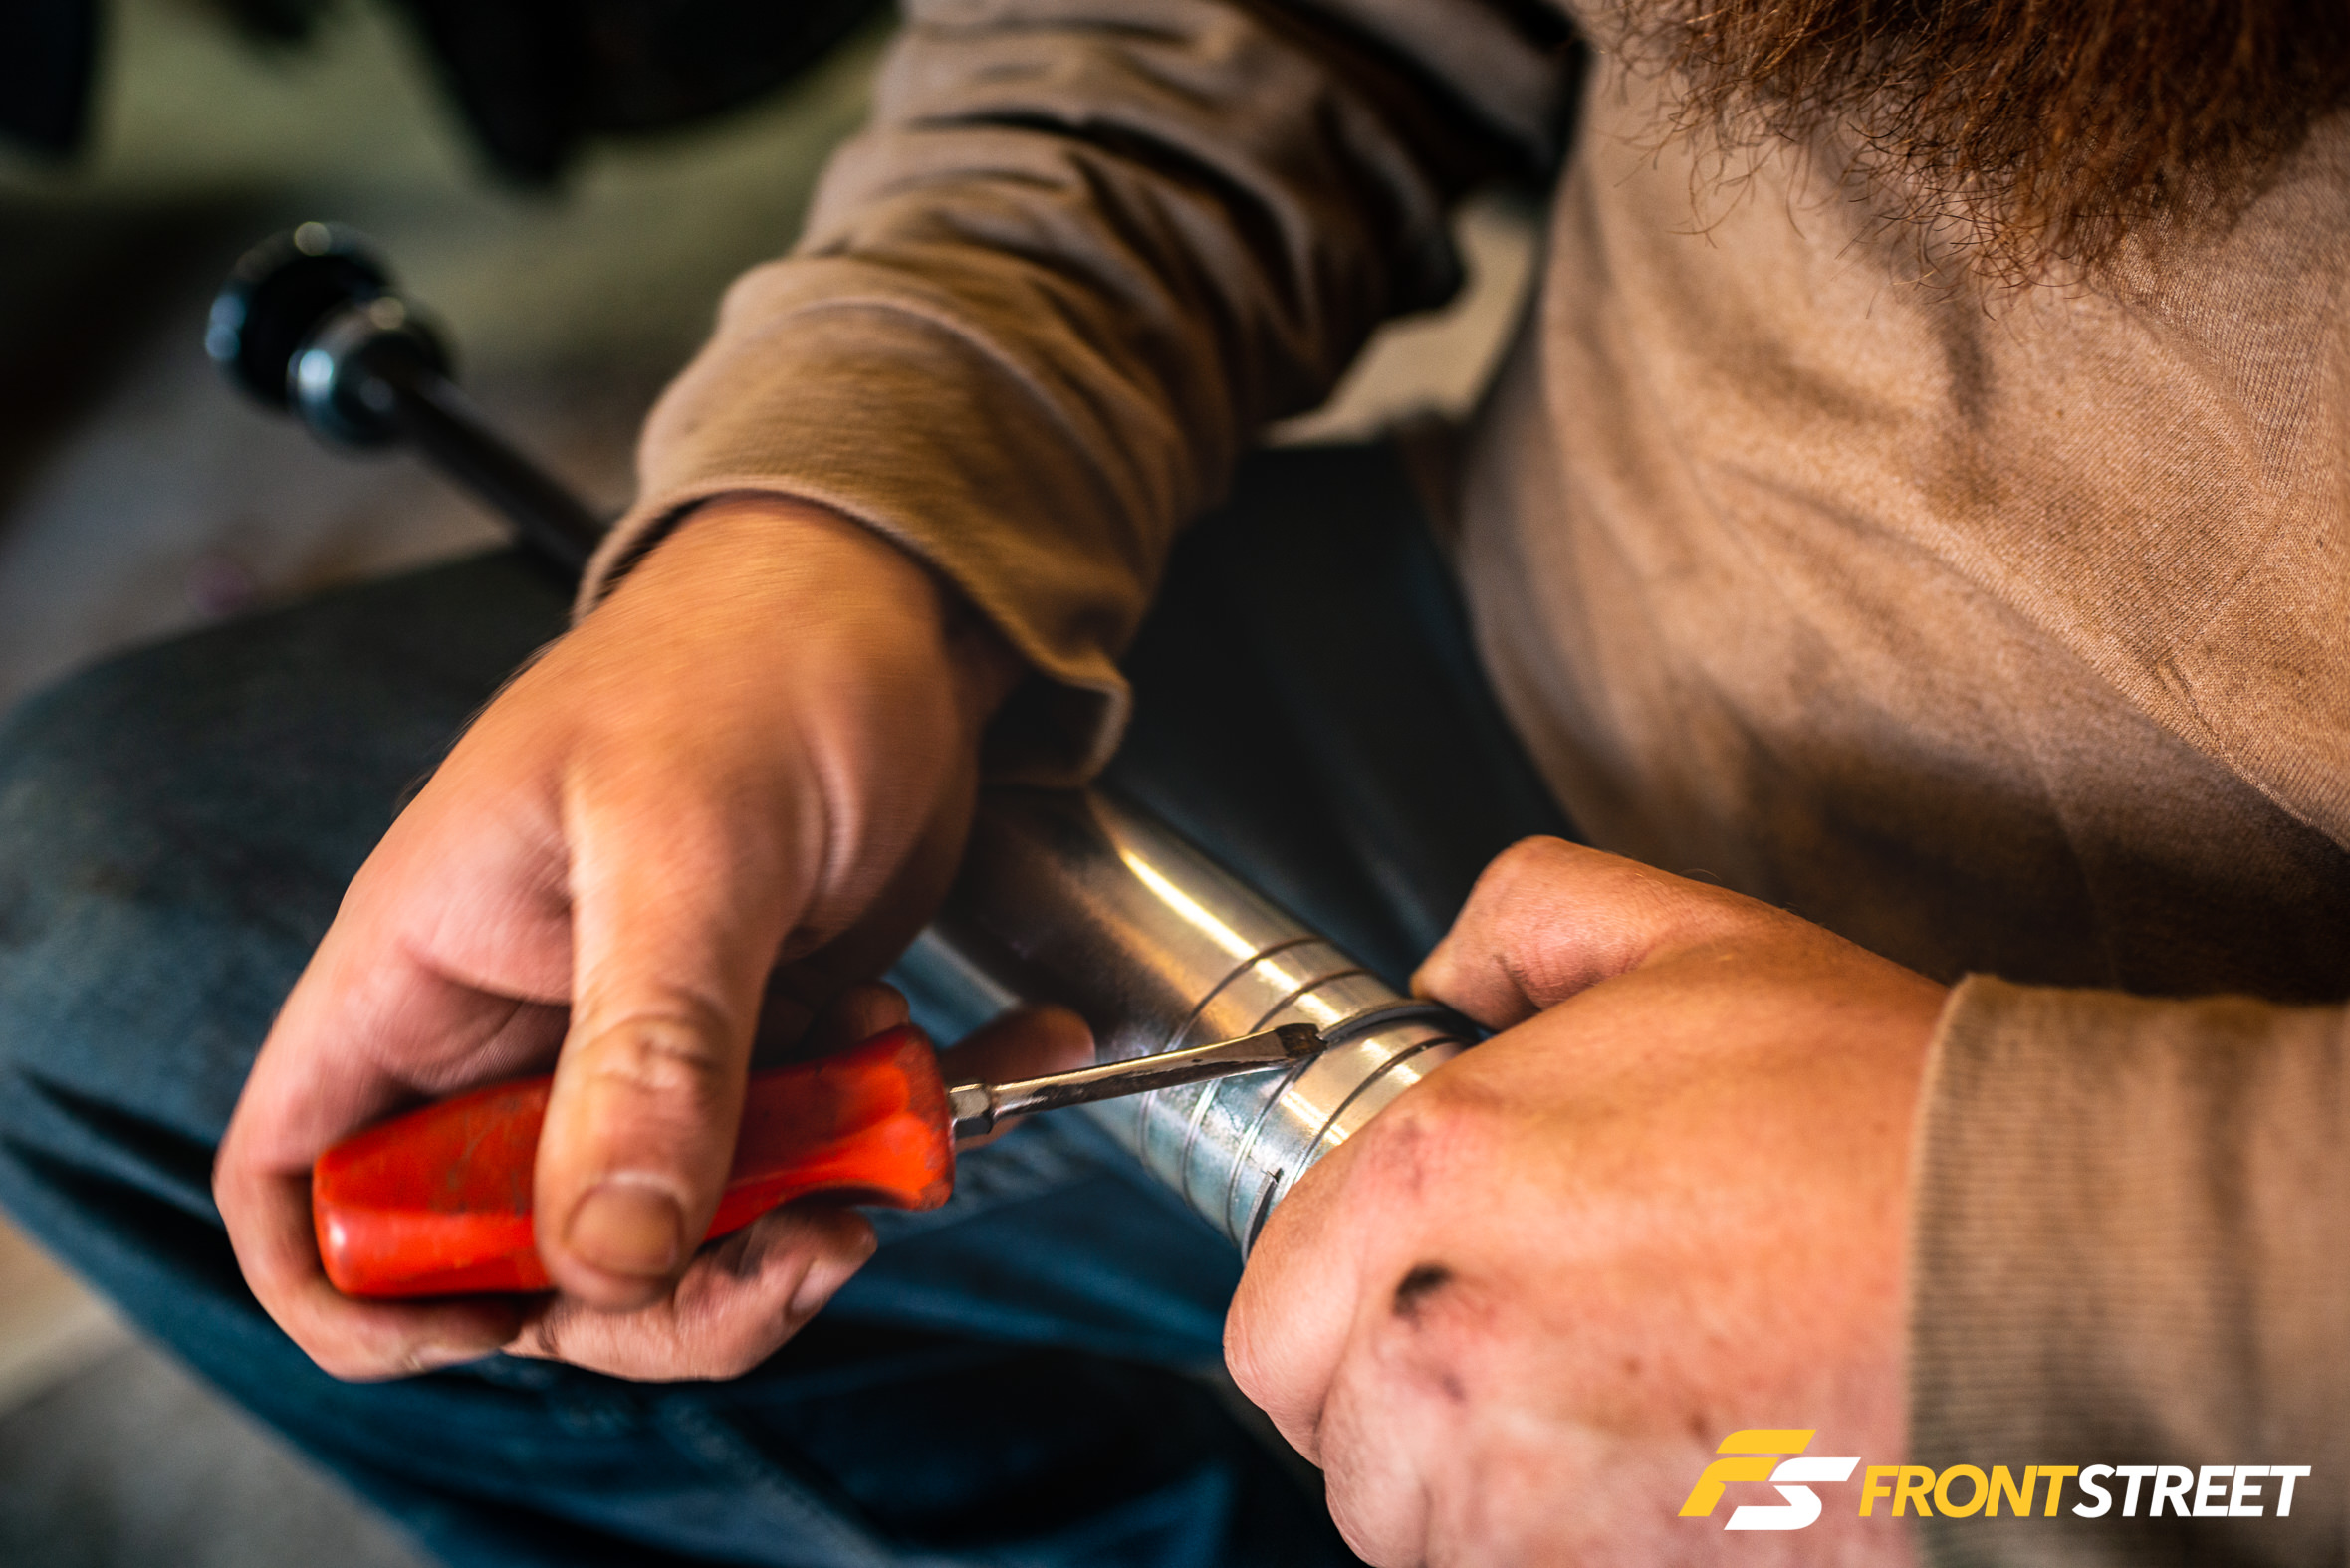
Since Jesse’s truck will still be wearing the factory bumpers, the C-clip that adjusts the spring perch position on the bottom of the Eibach shock was fixed to the lowest setting. The higher settings are used to compensate for increased loads or clearance issues.
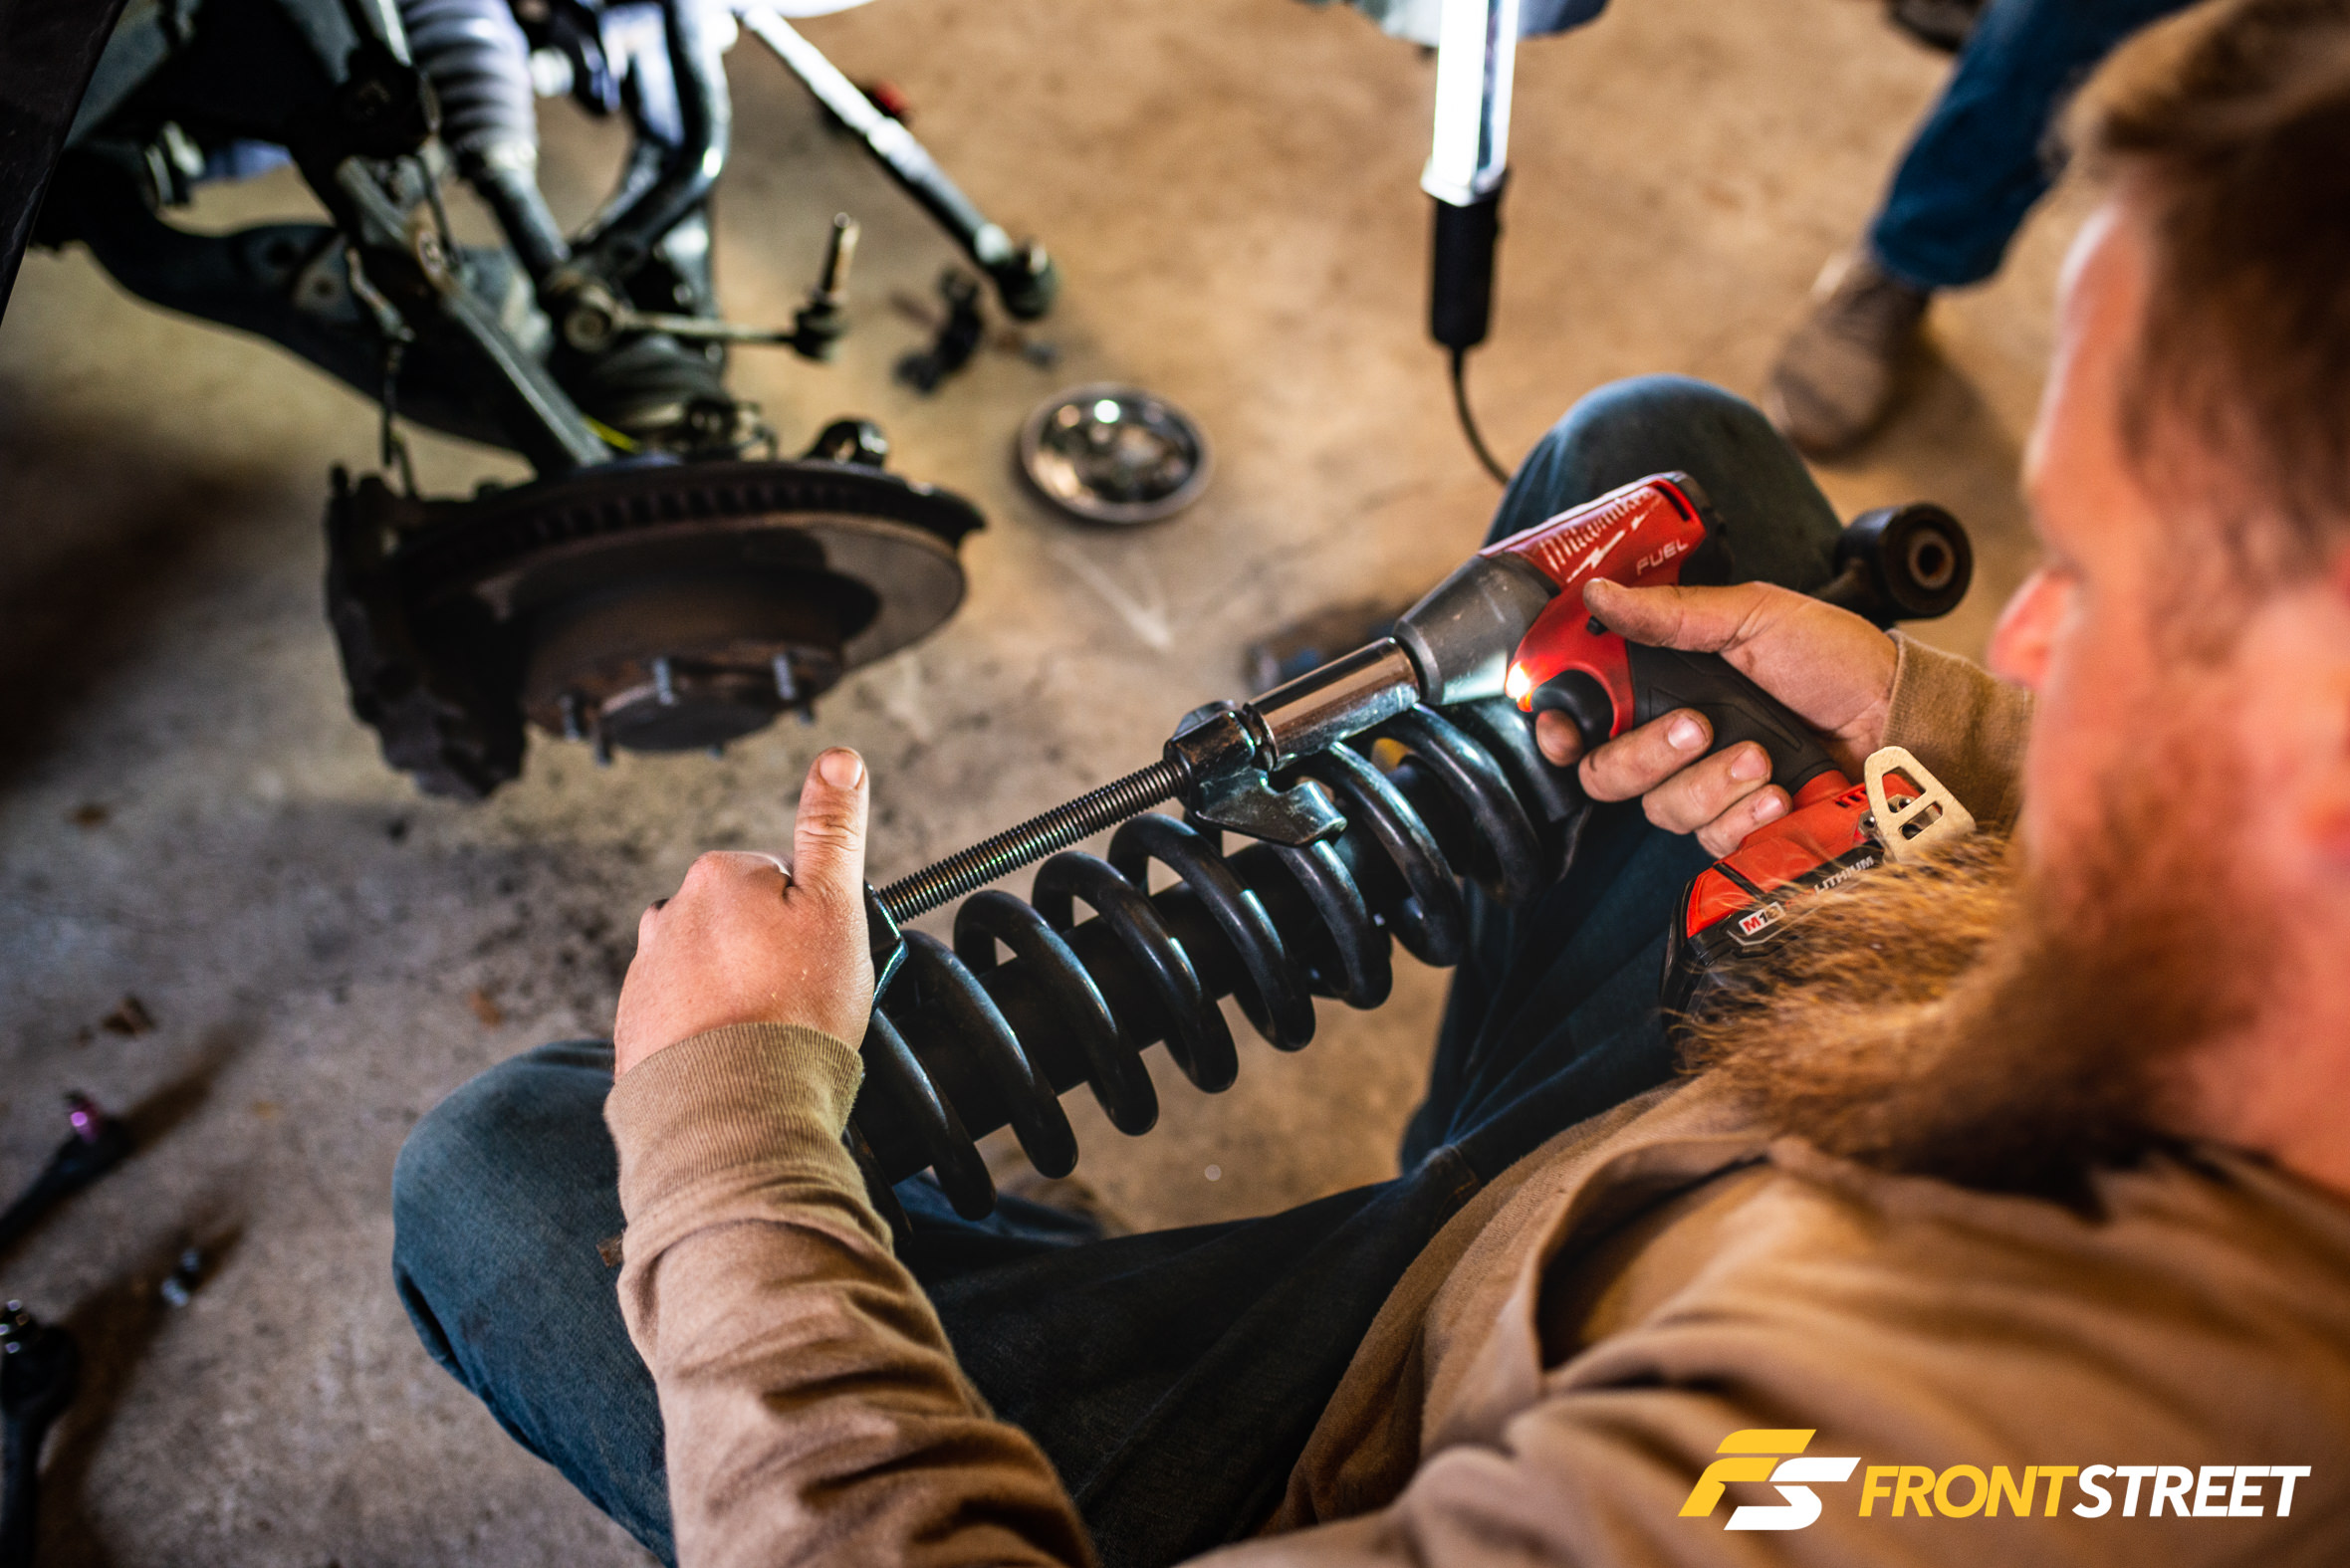
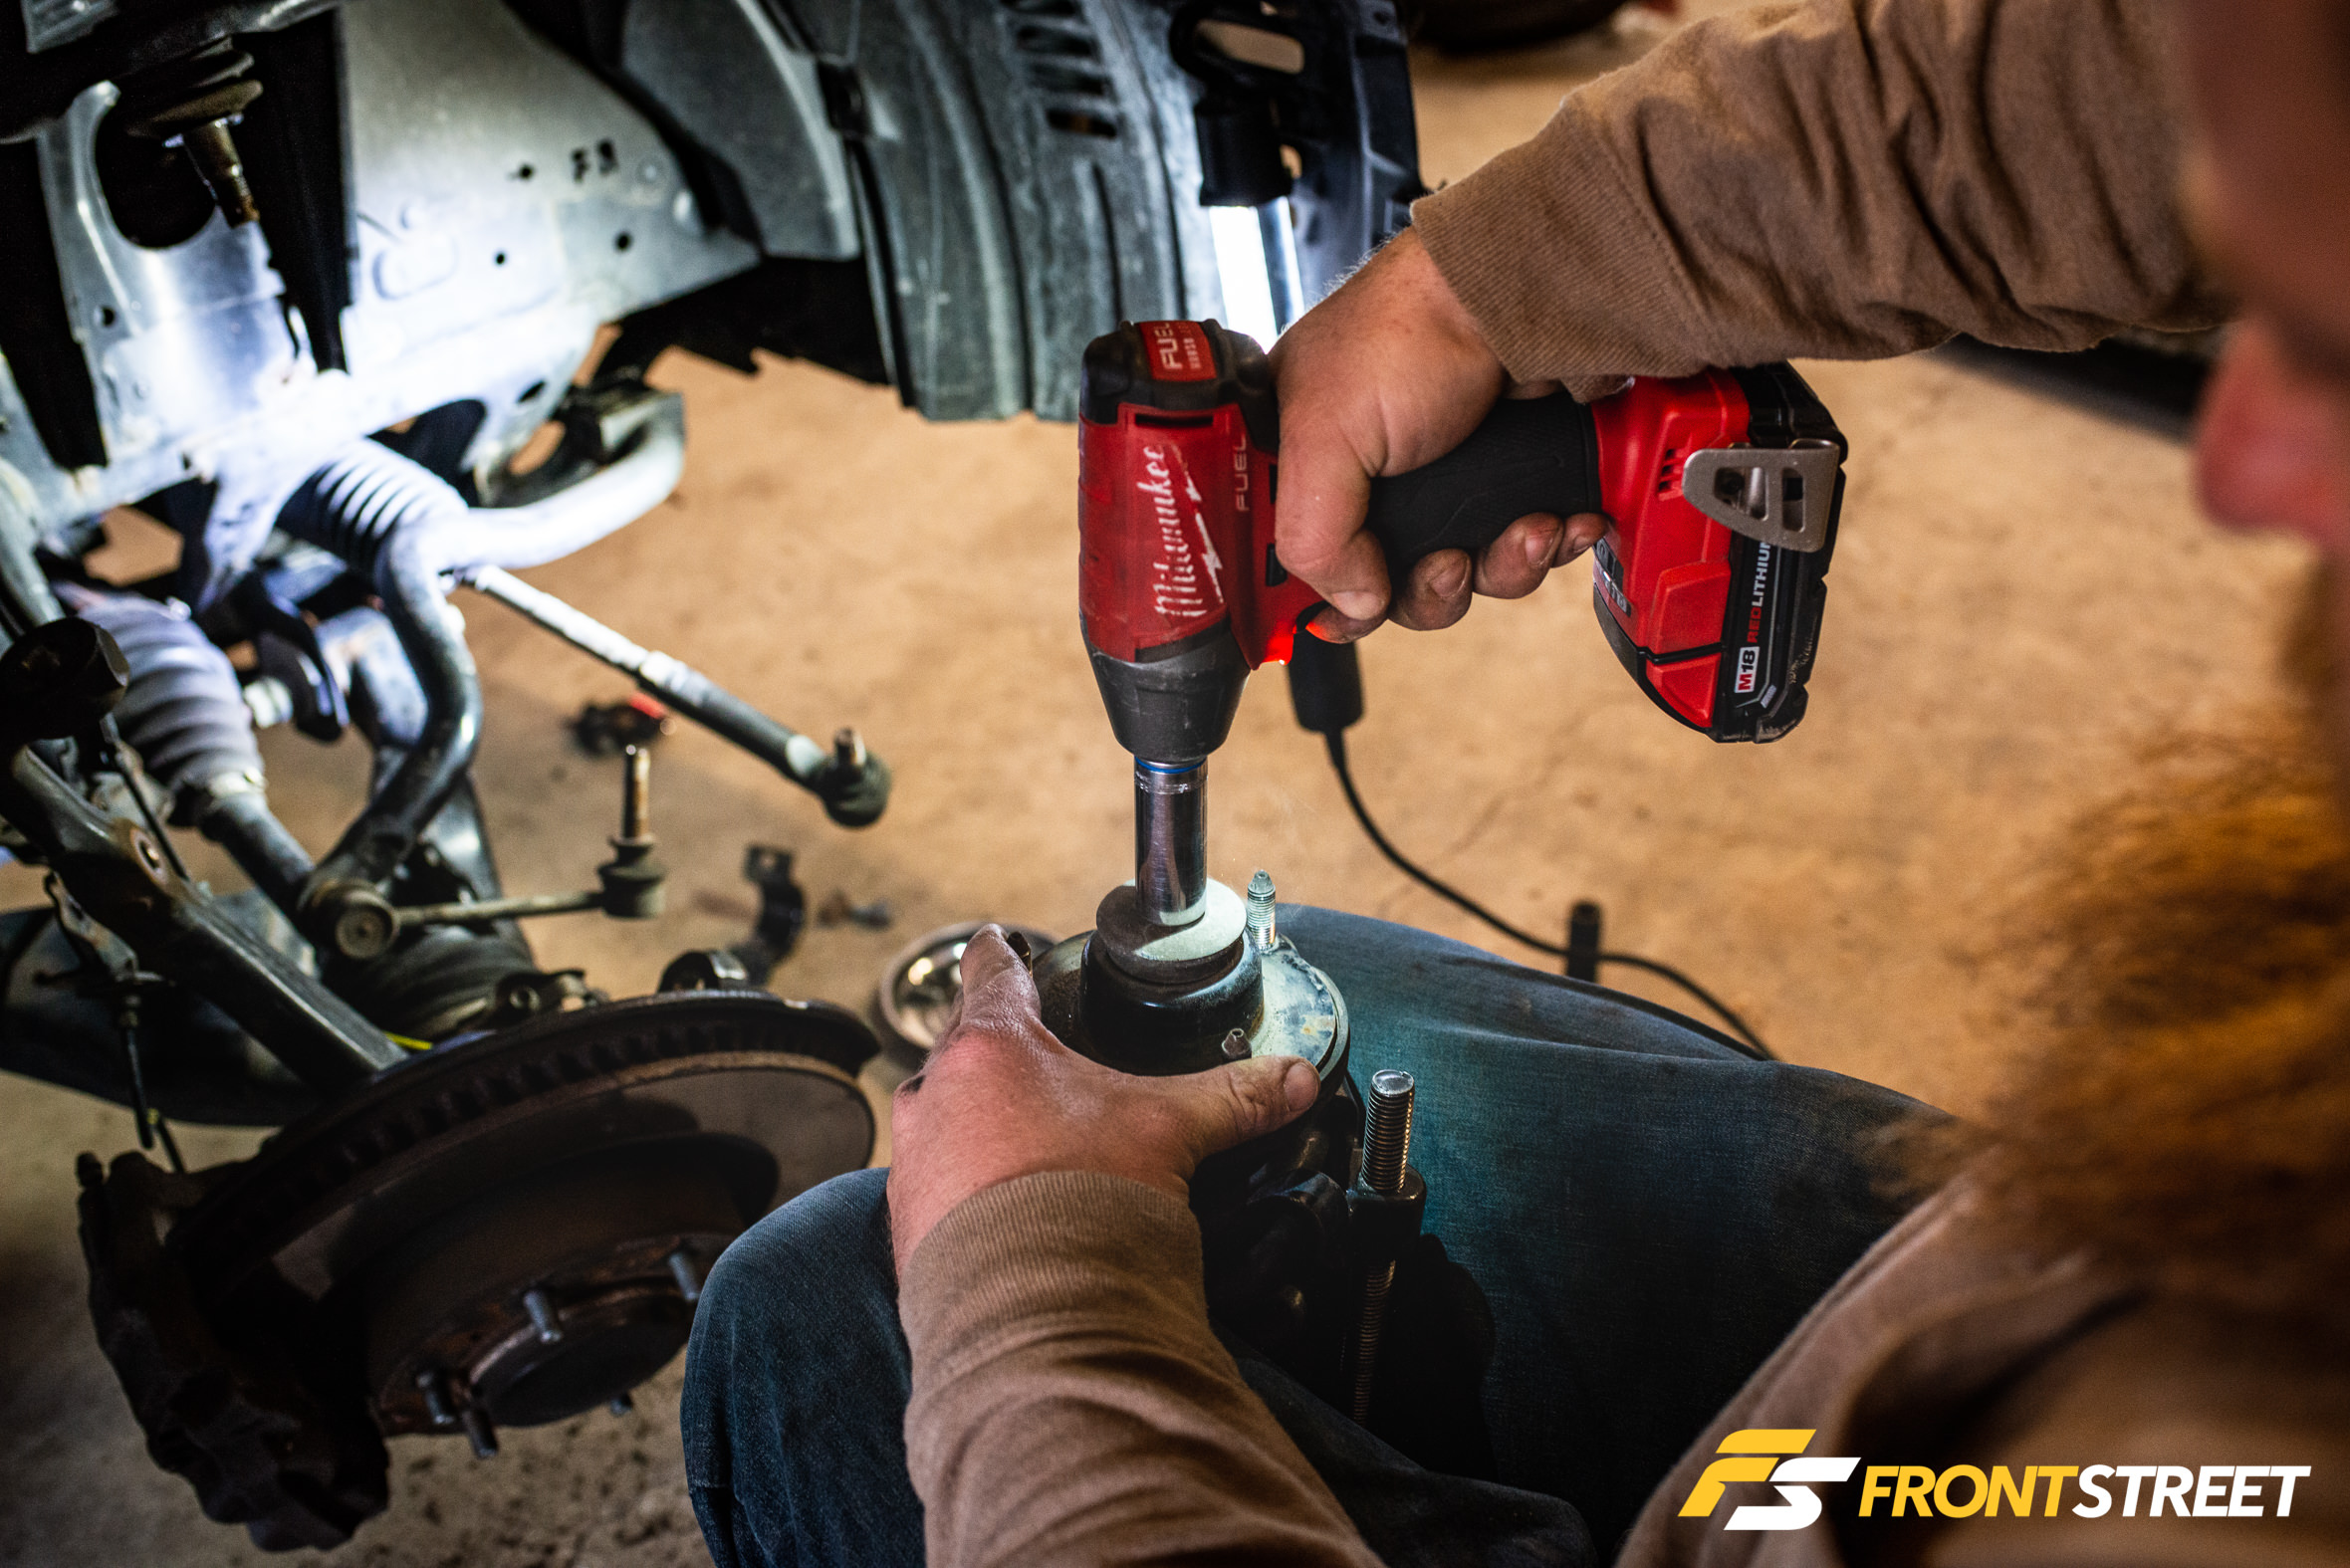
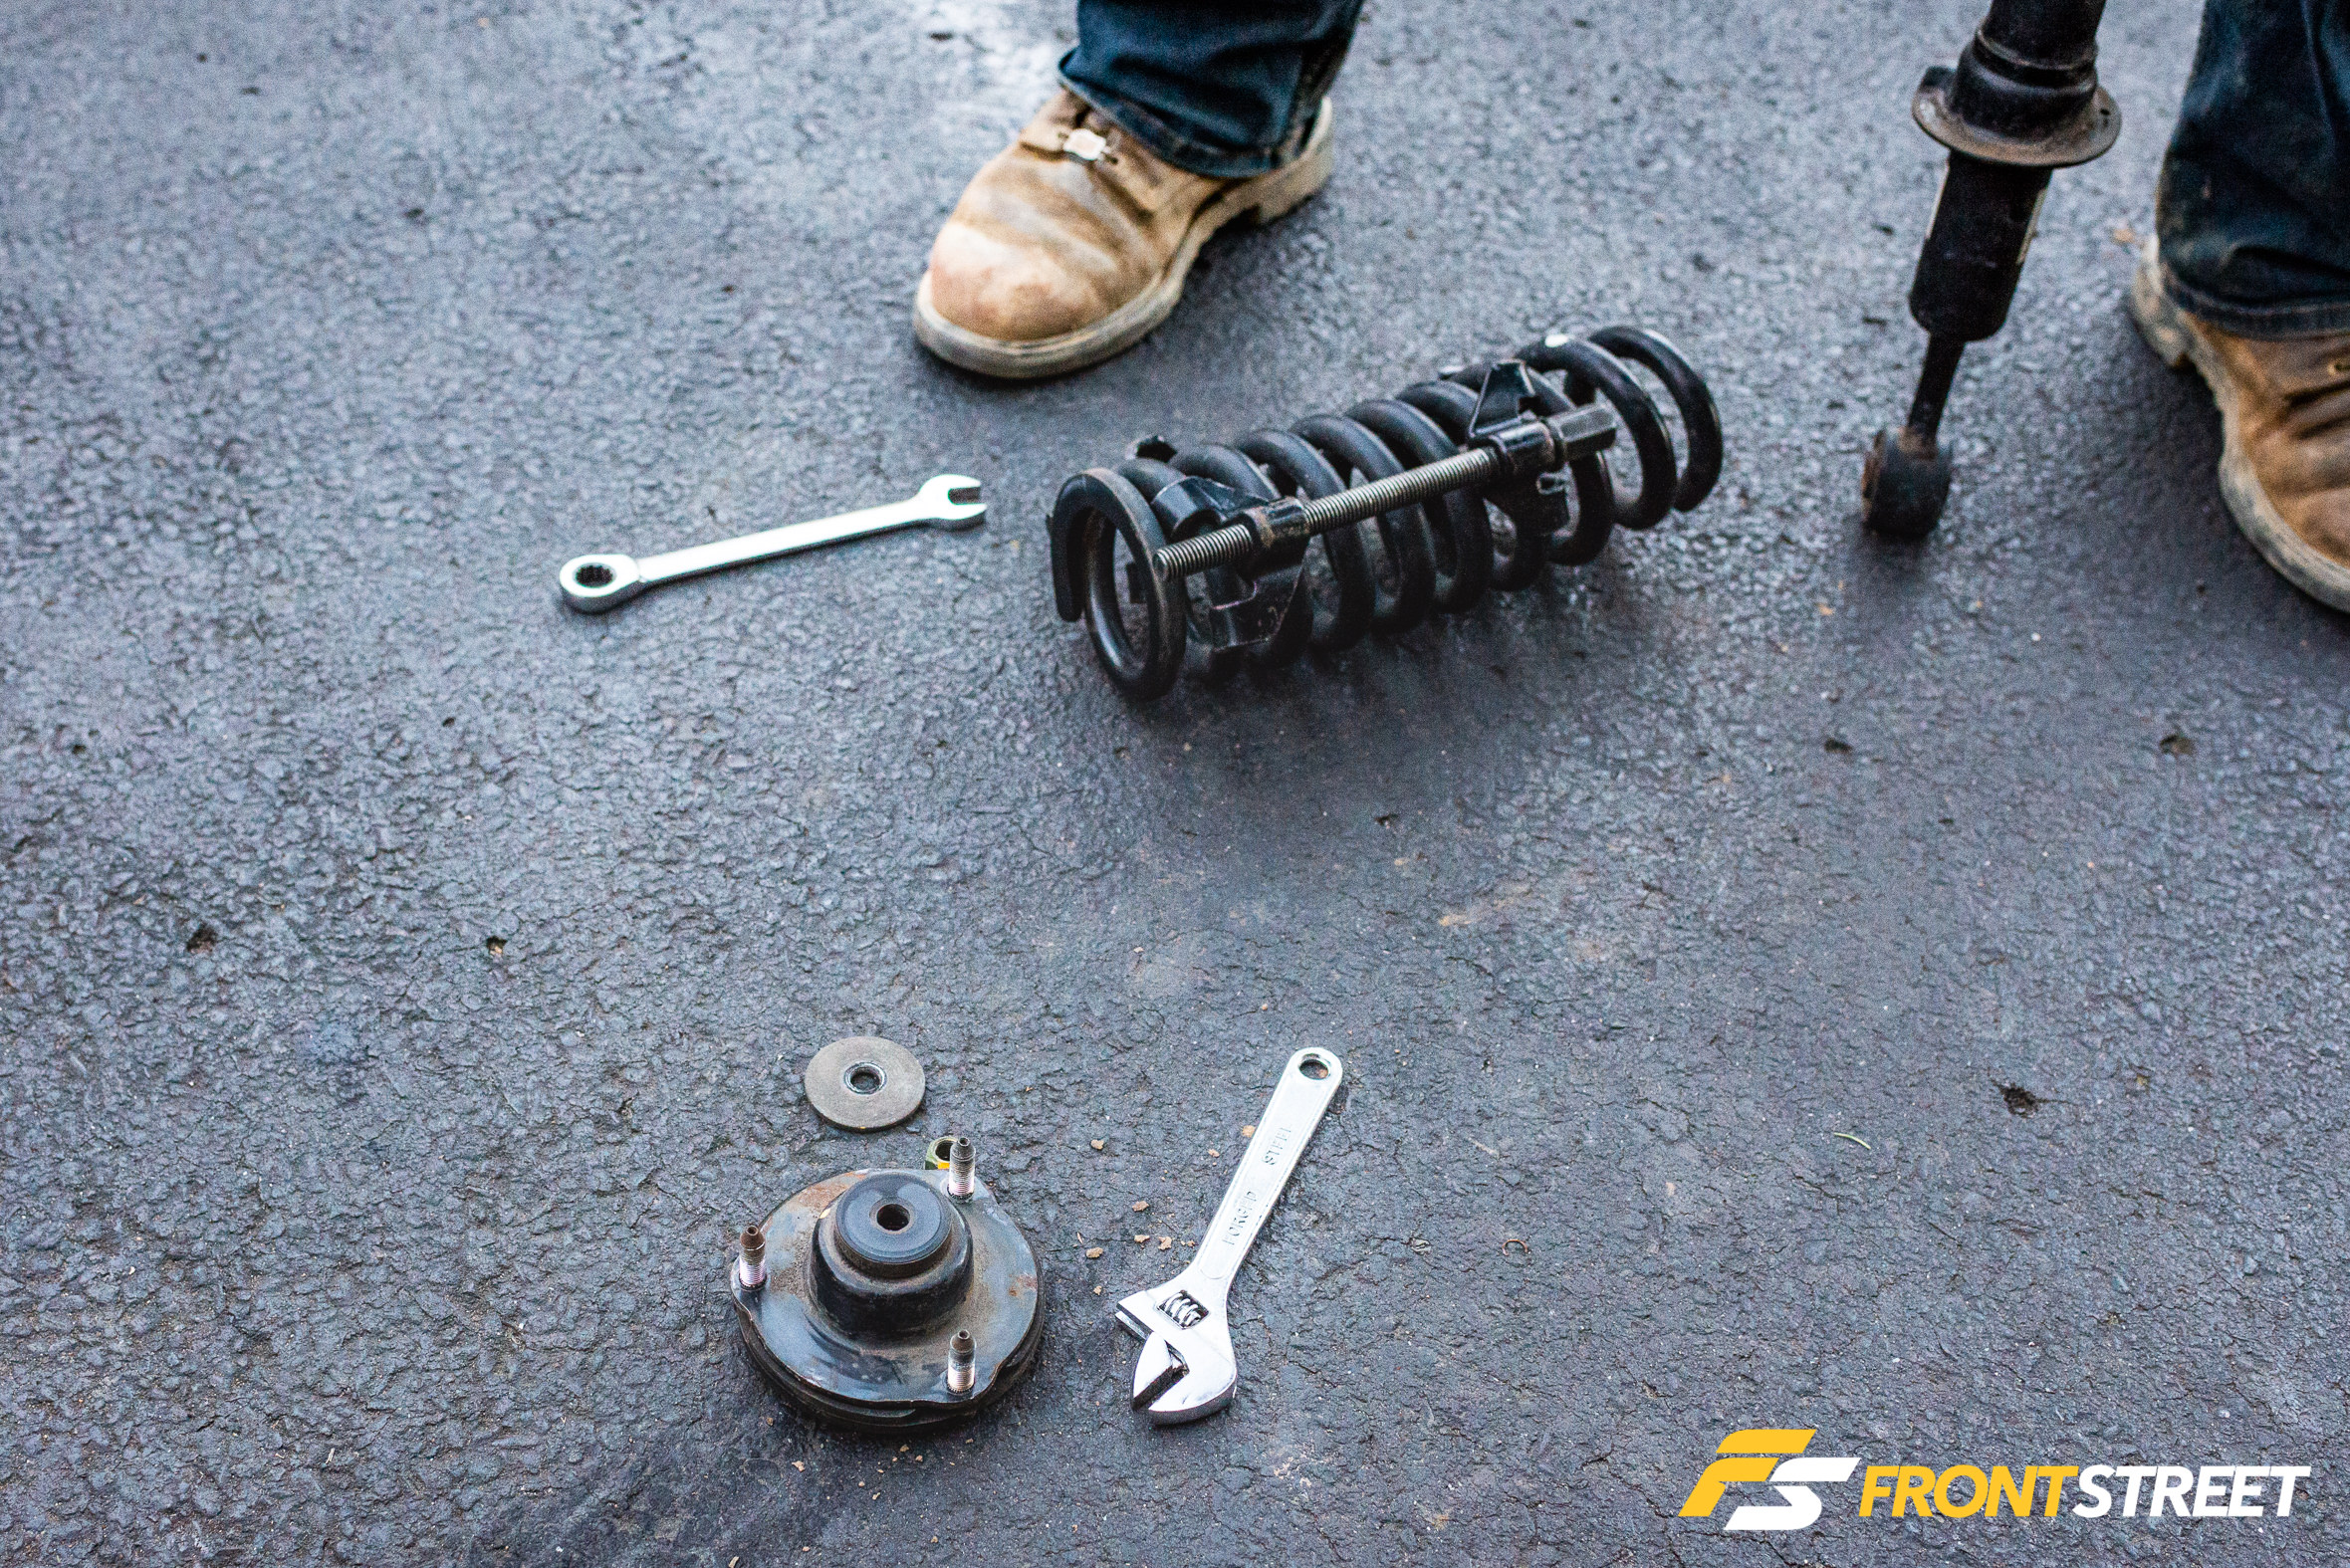
Out come the widow makers to compress the OEM spring. These needed to be used in this case because the Eibach kit reuses the OEM top hats, so they needed to be removed from the factory shock.
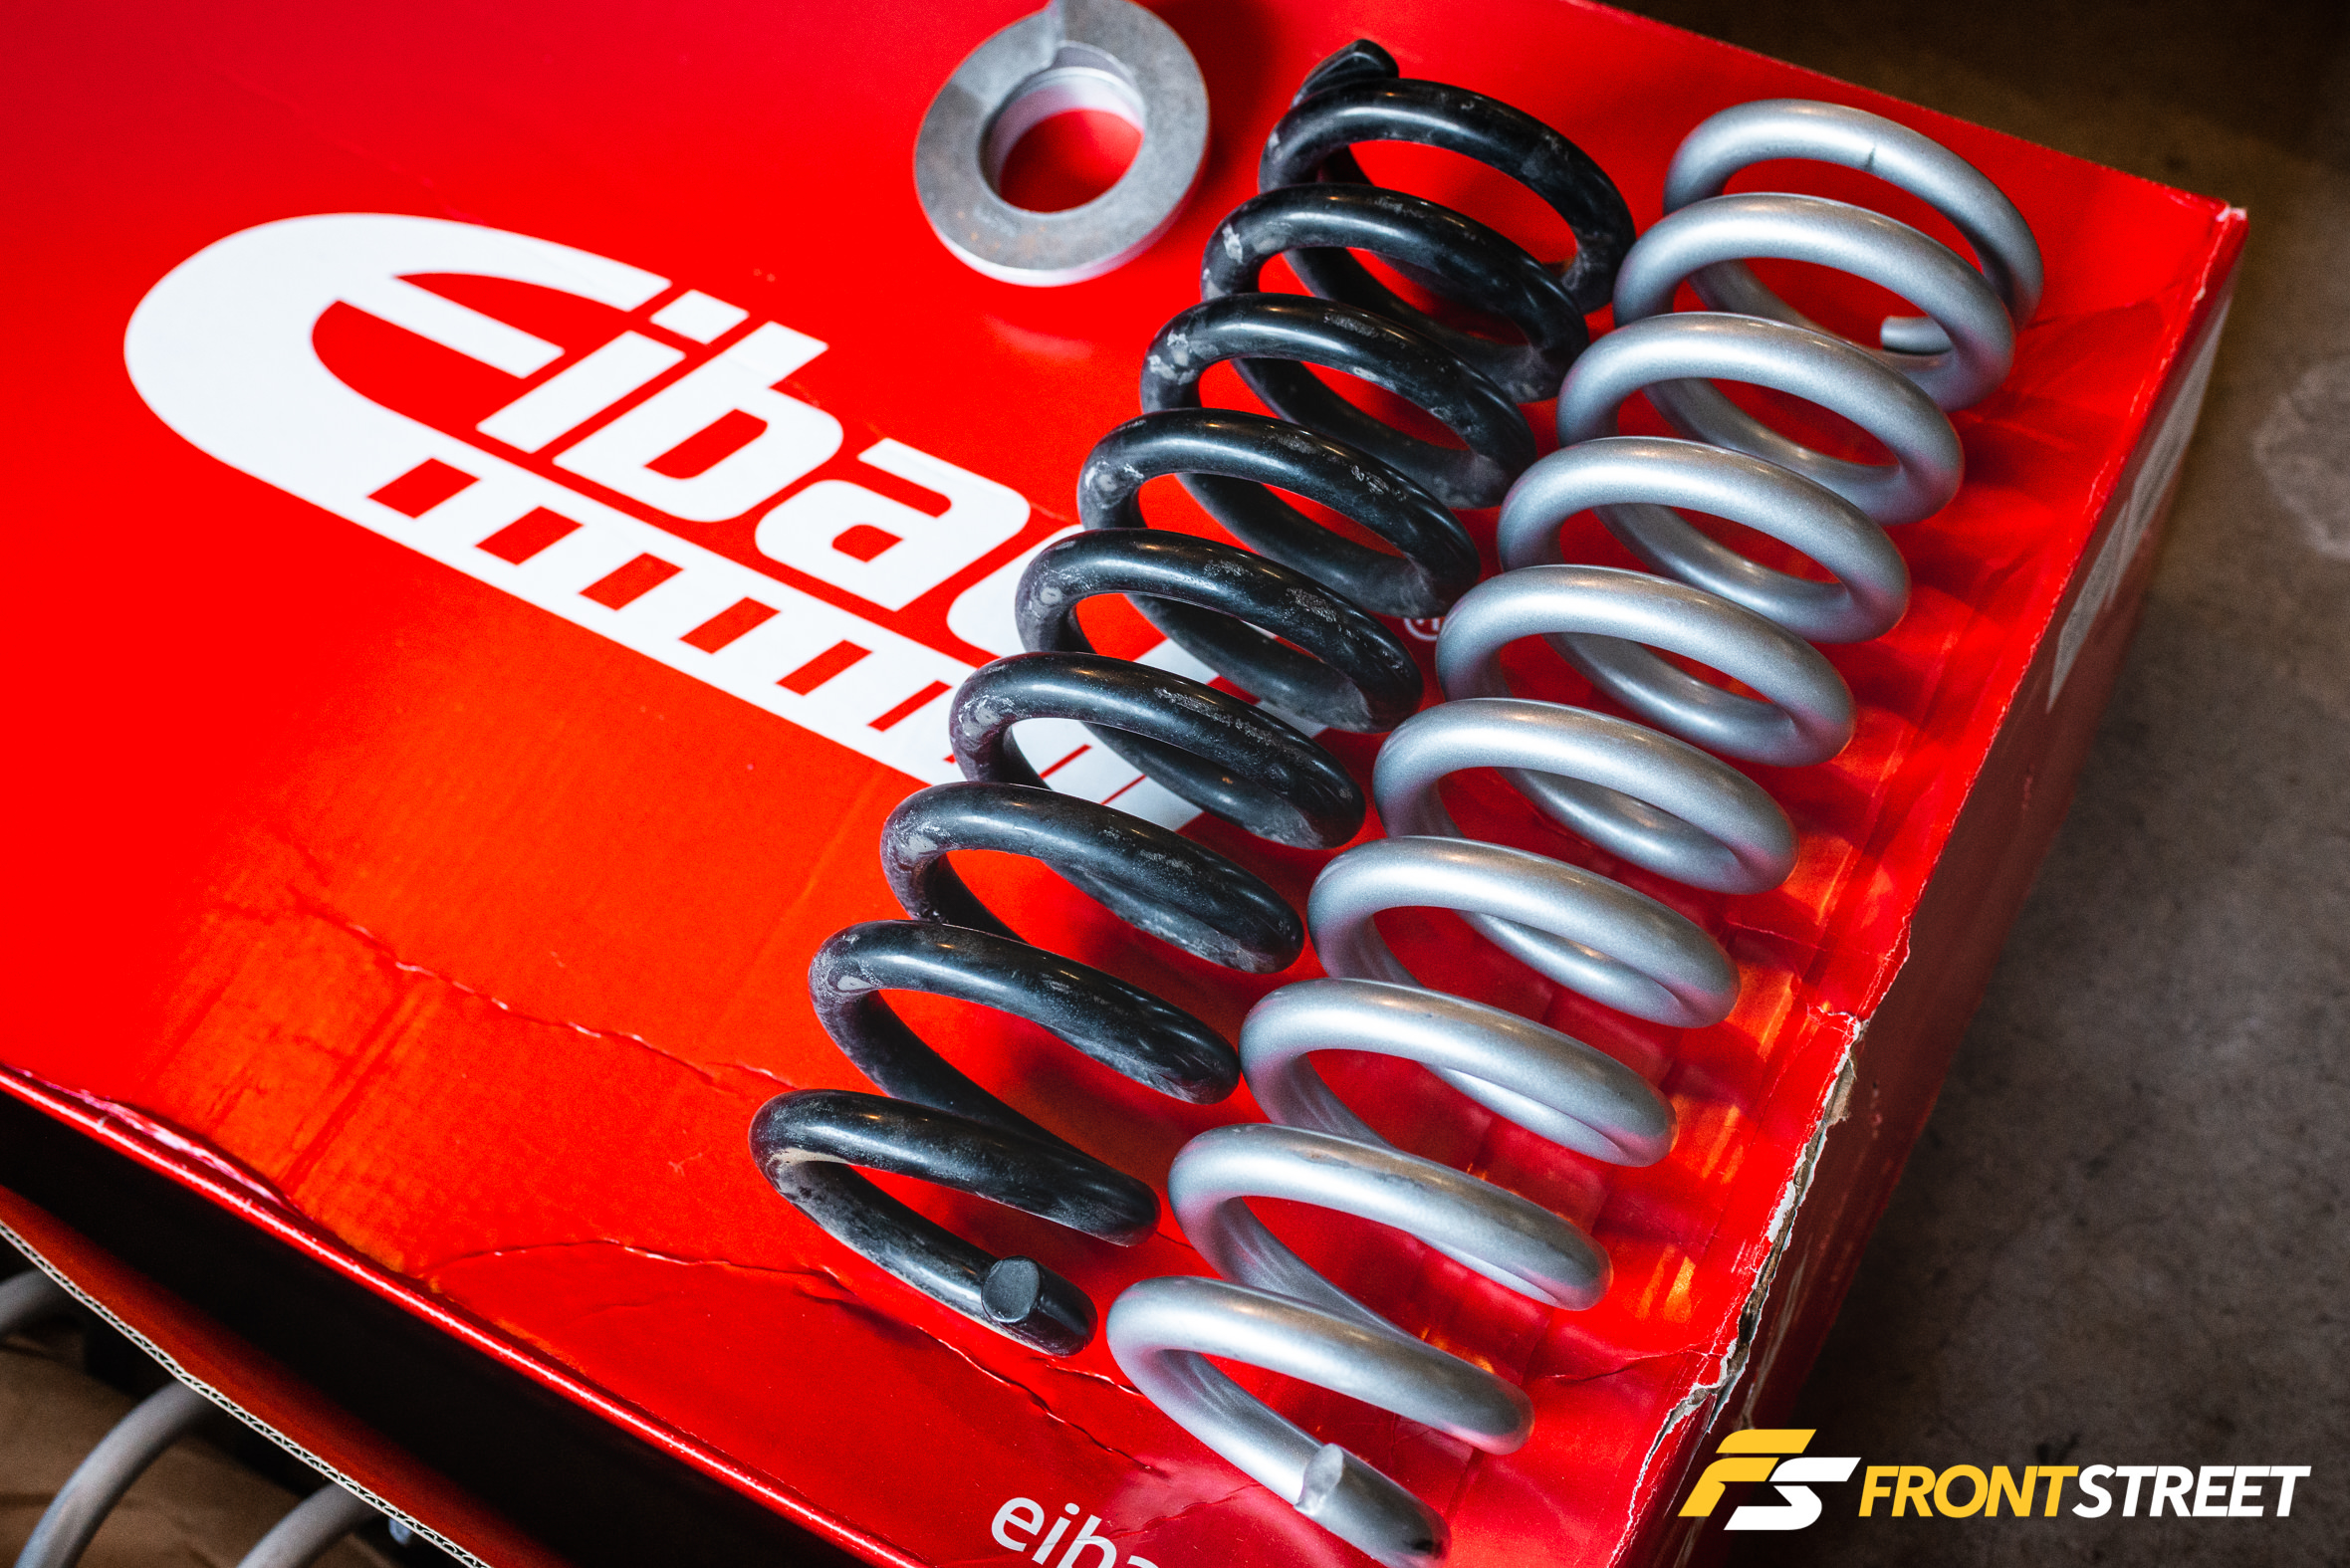
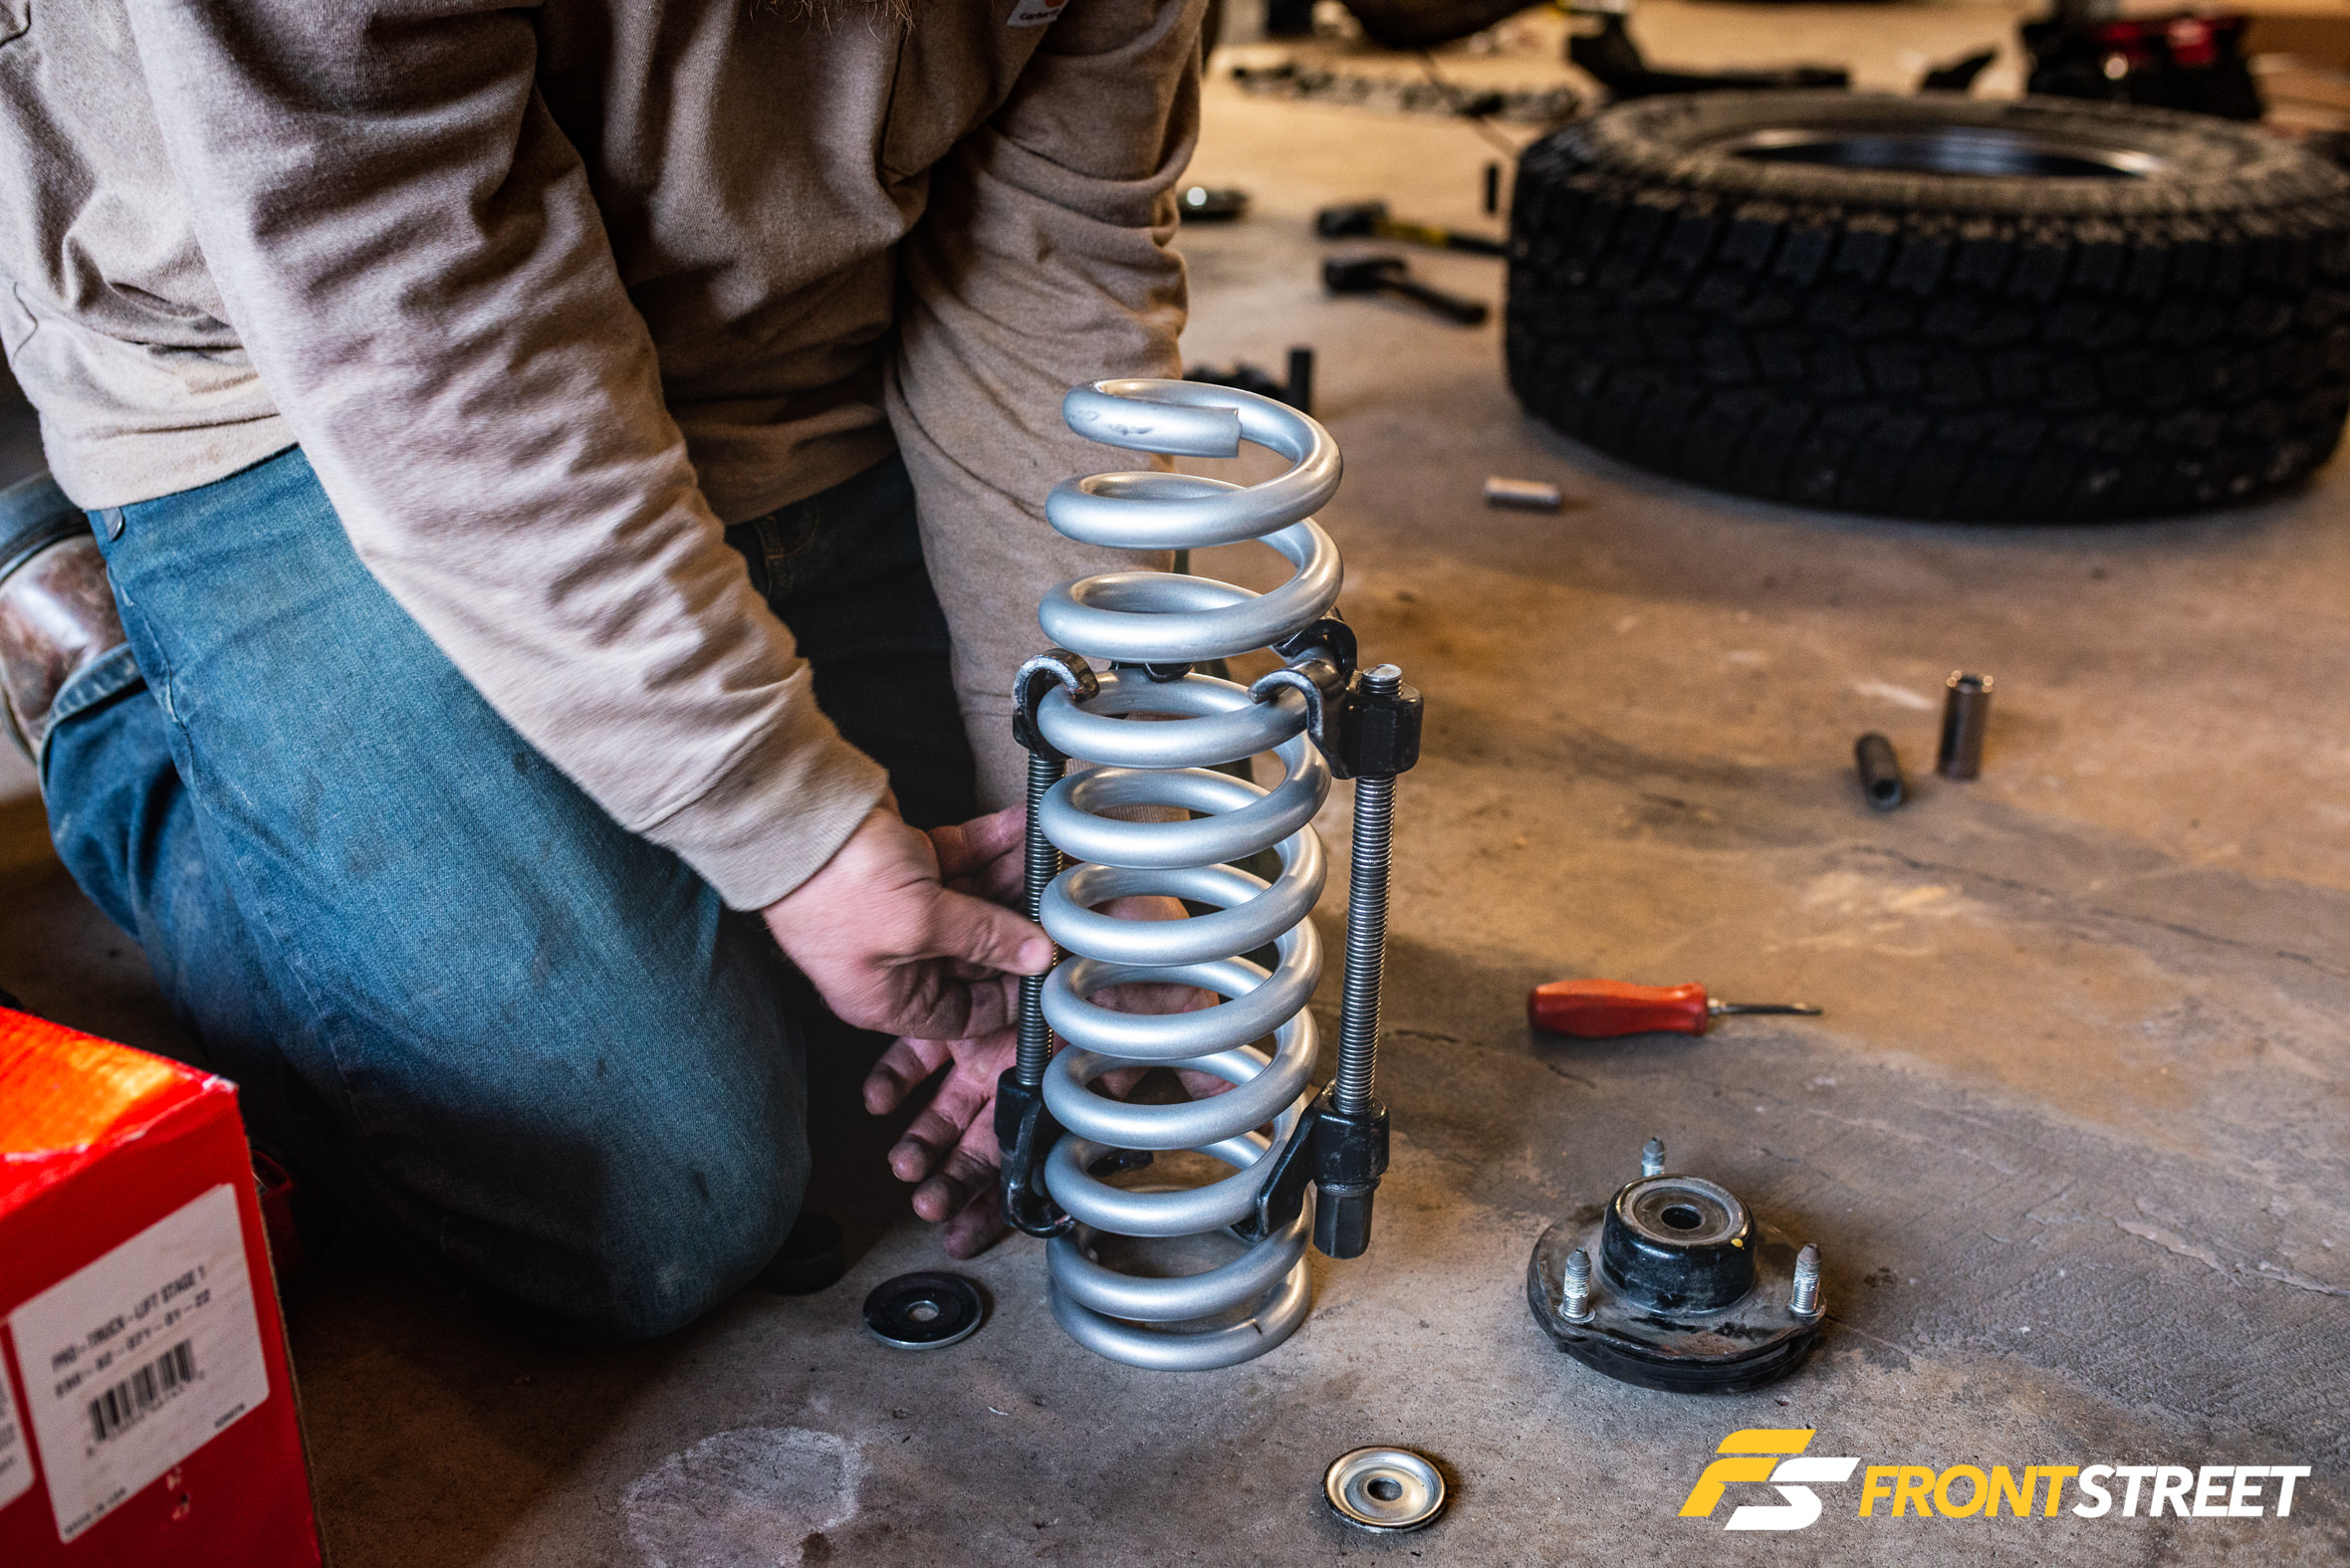
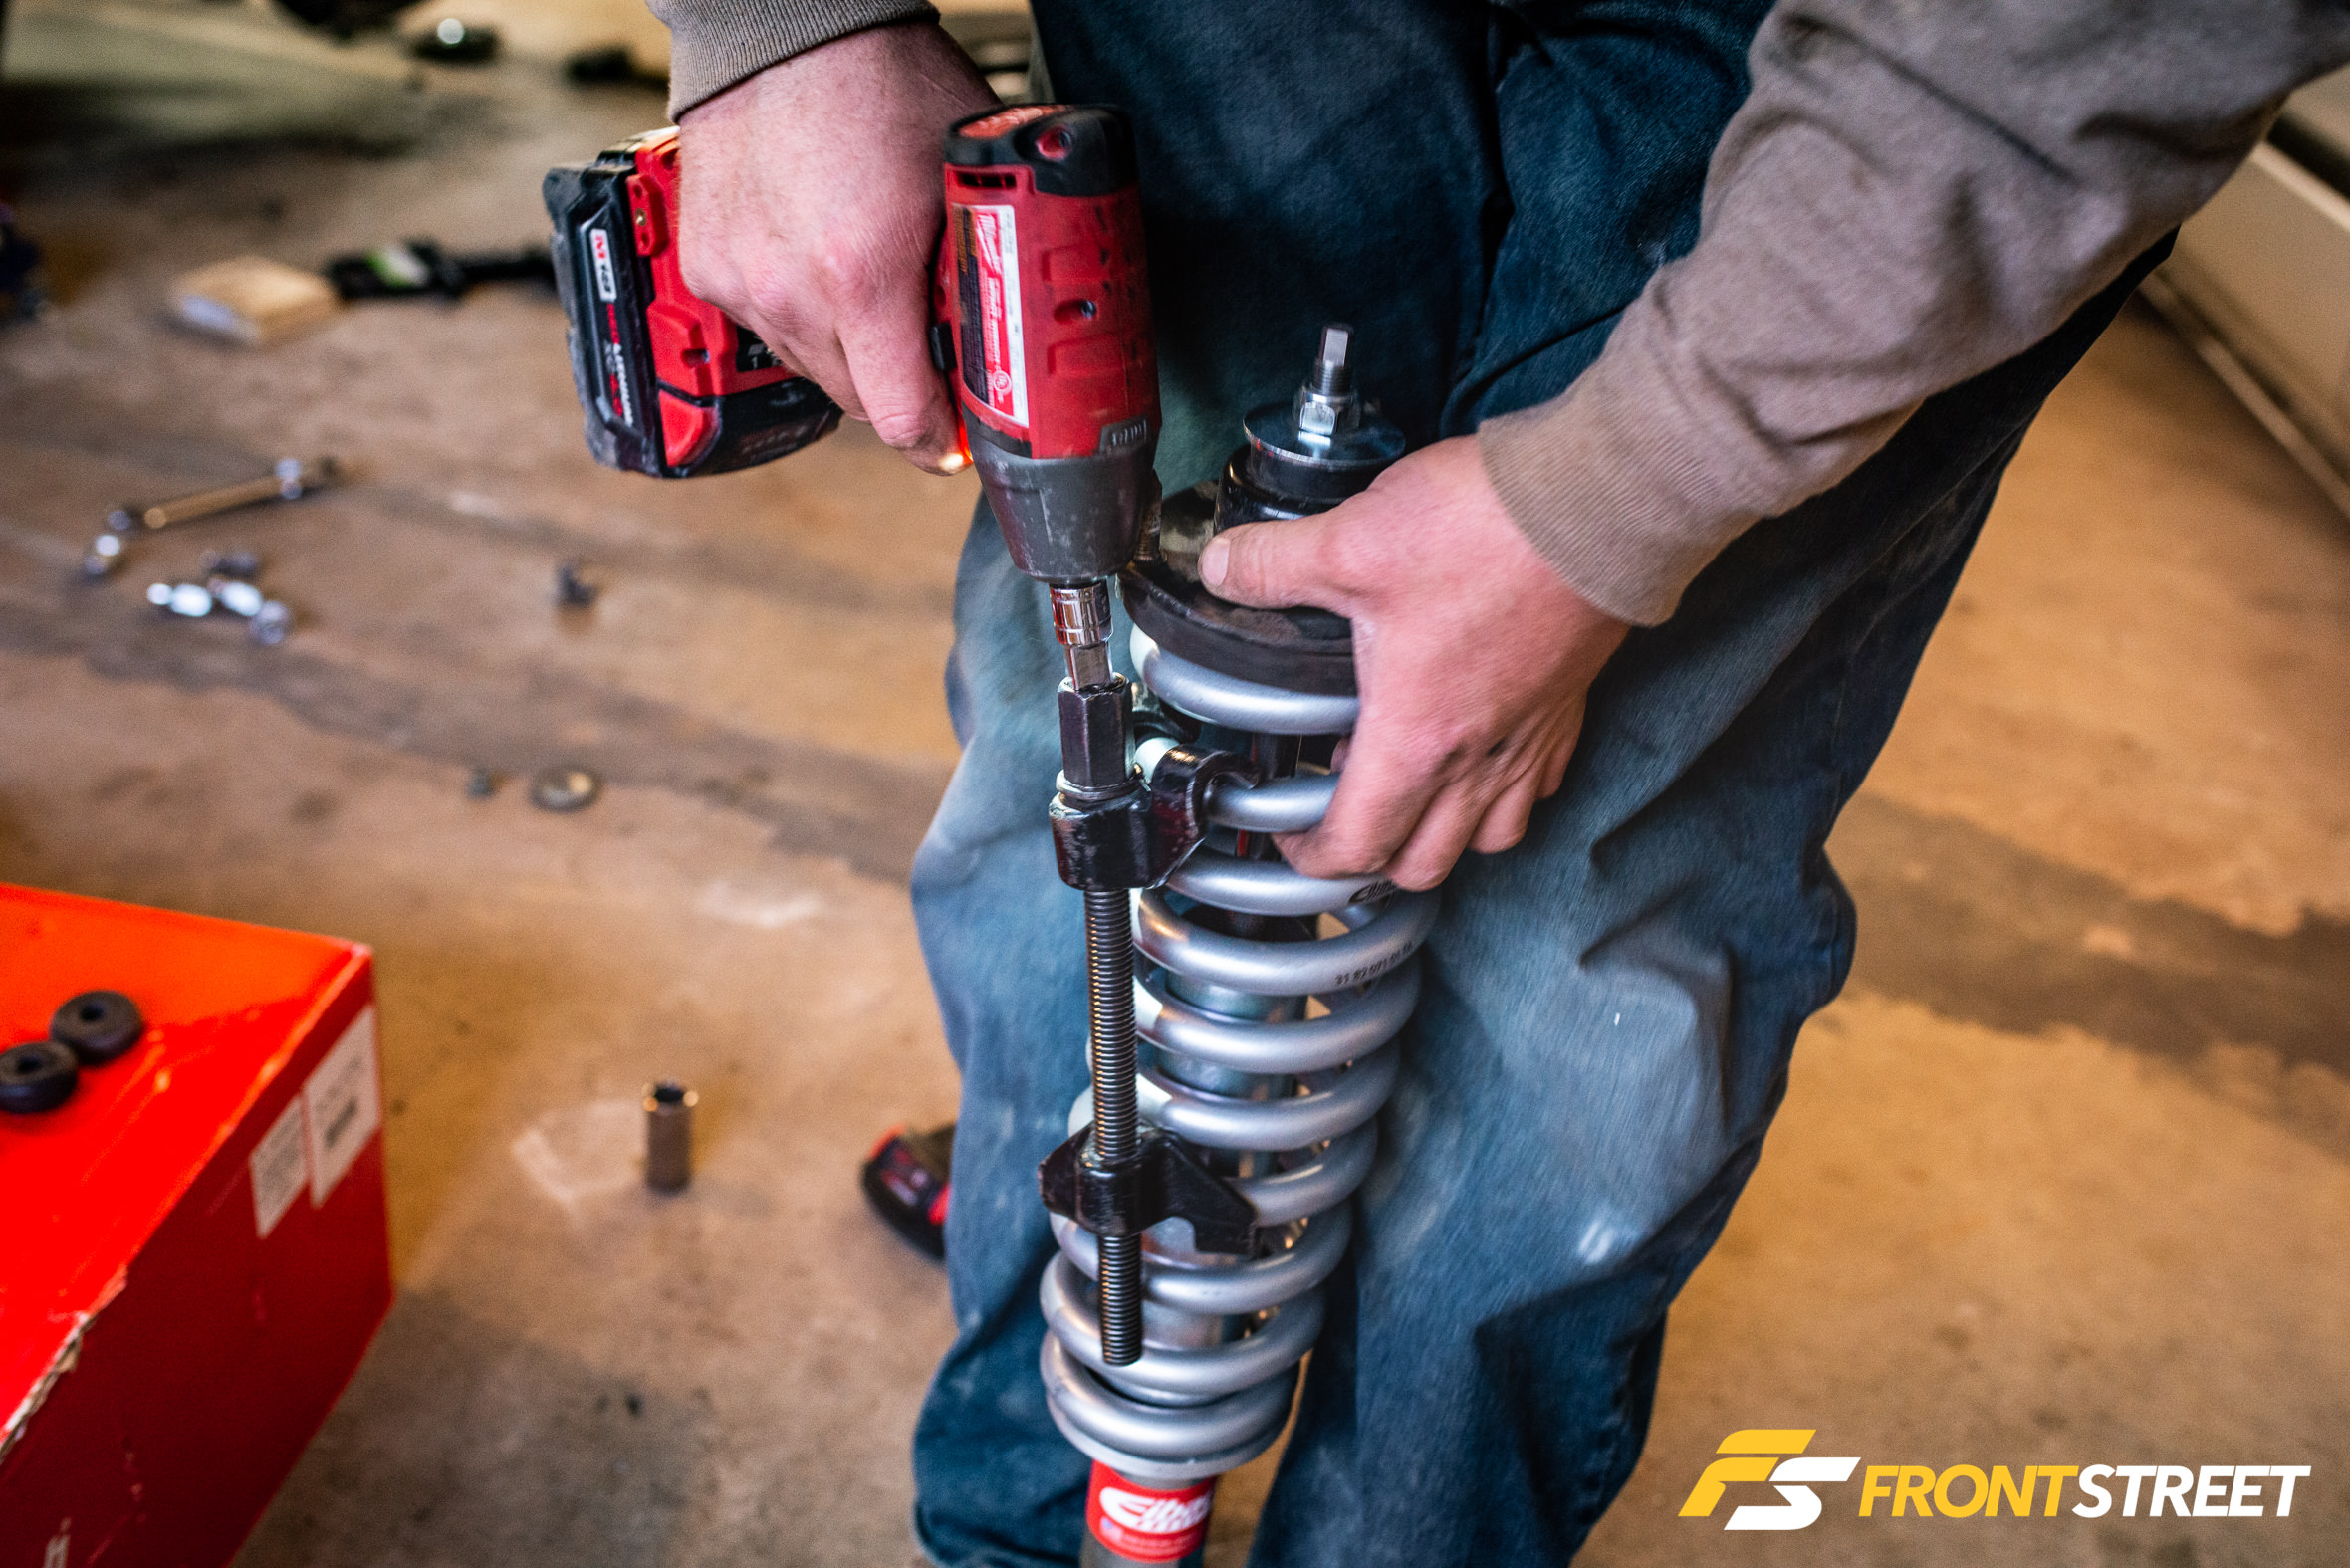
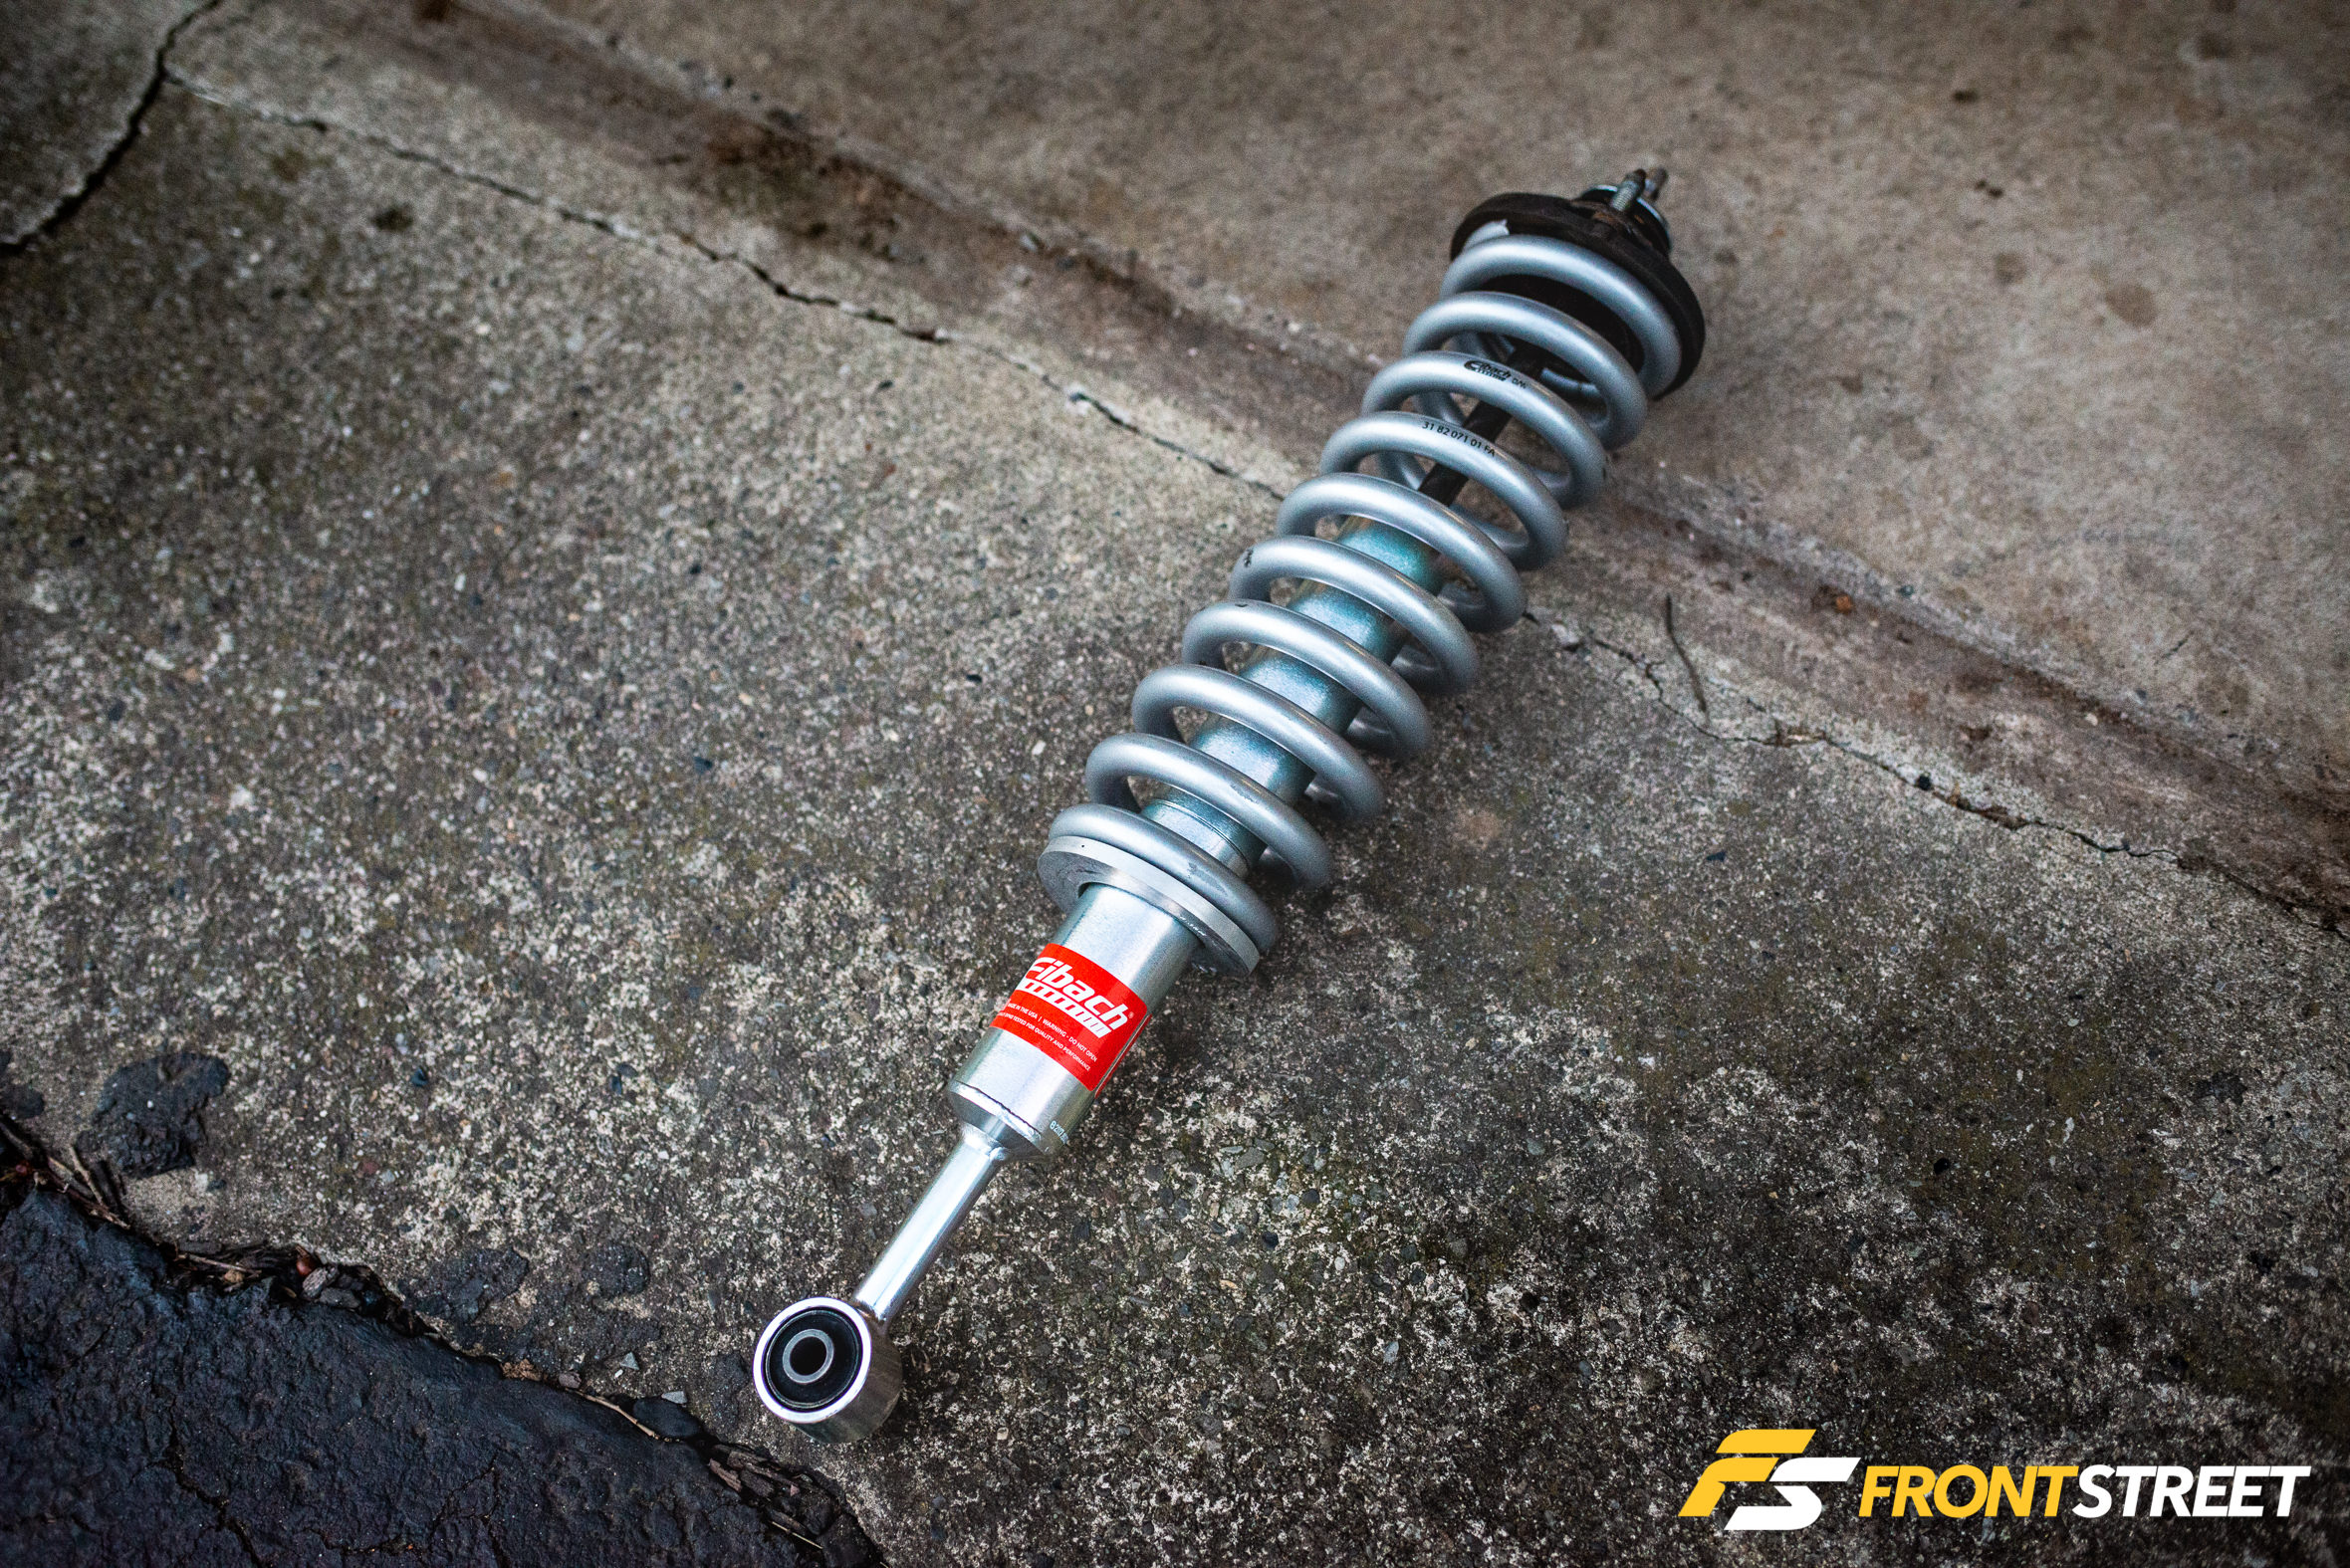
With the stock unit disassembled, it was great to see the added elevation simply from the uncompressed springs’ height differences. The spring compressors were then affixed to the Eibach piece as the OEM top hat was attached.
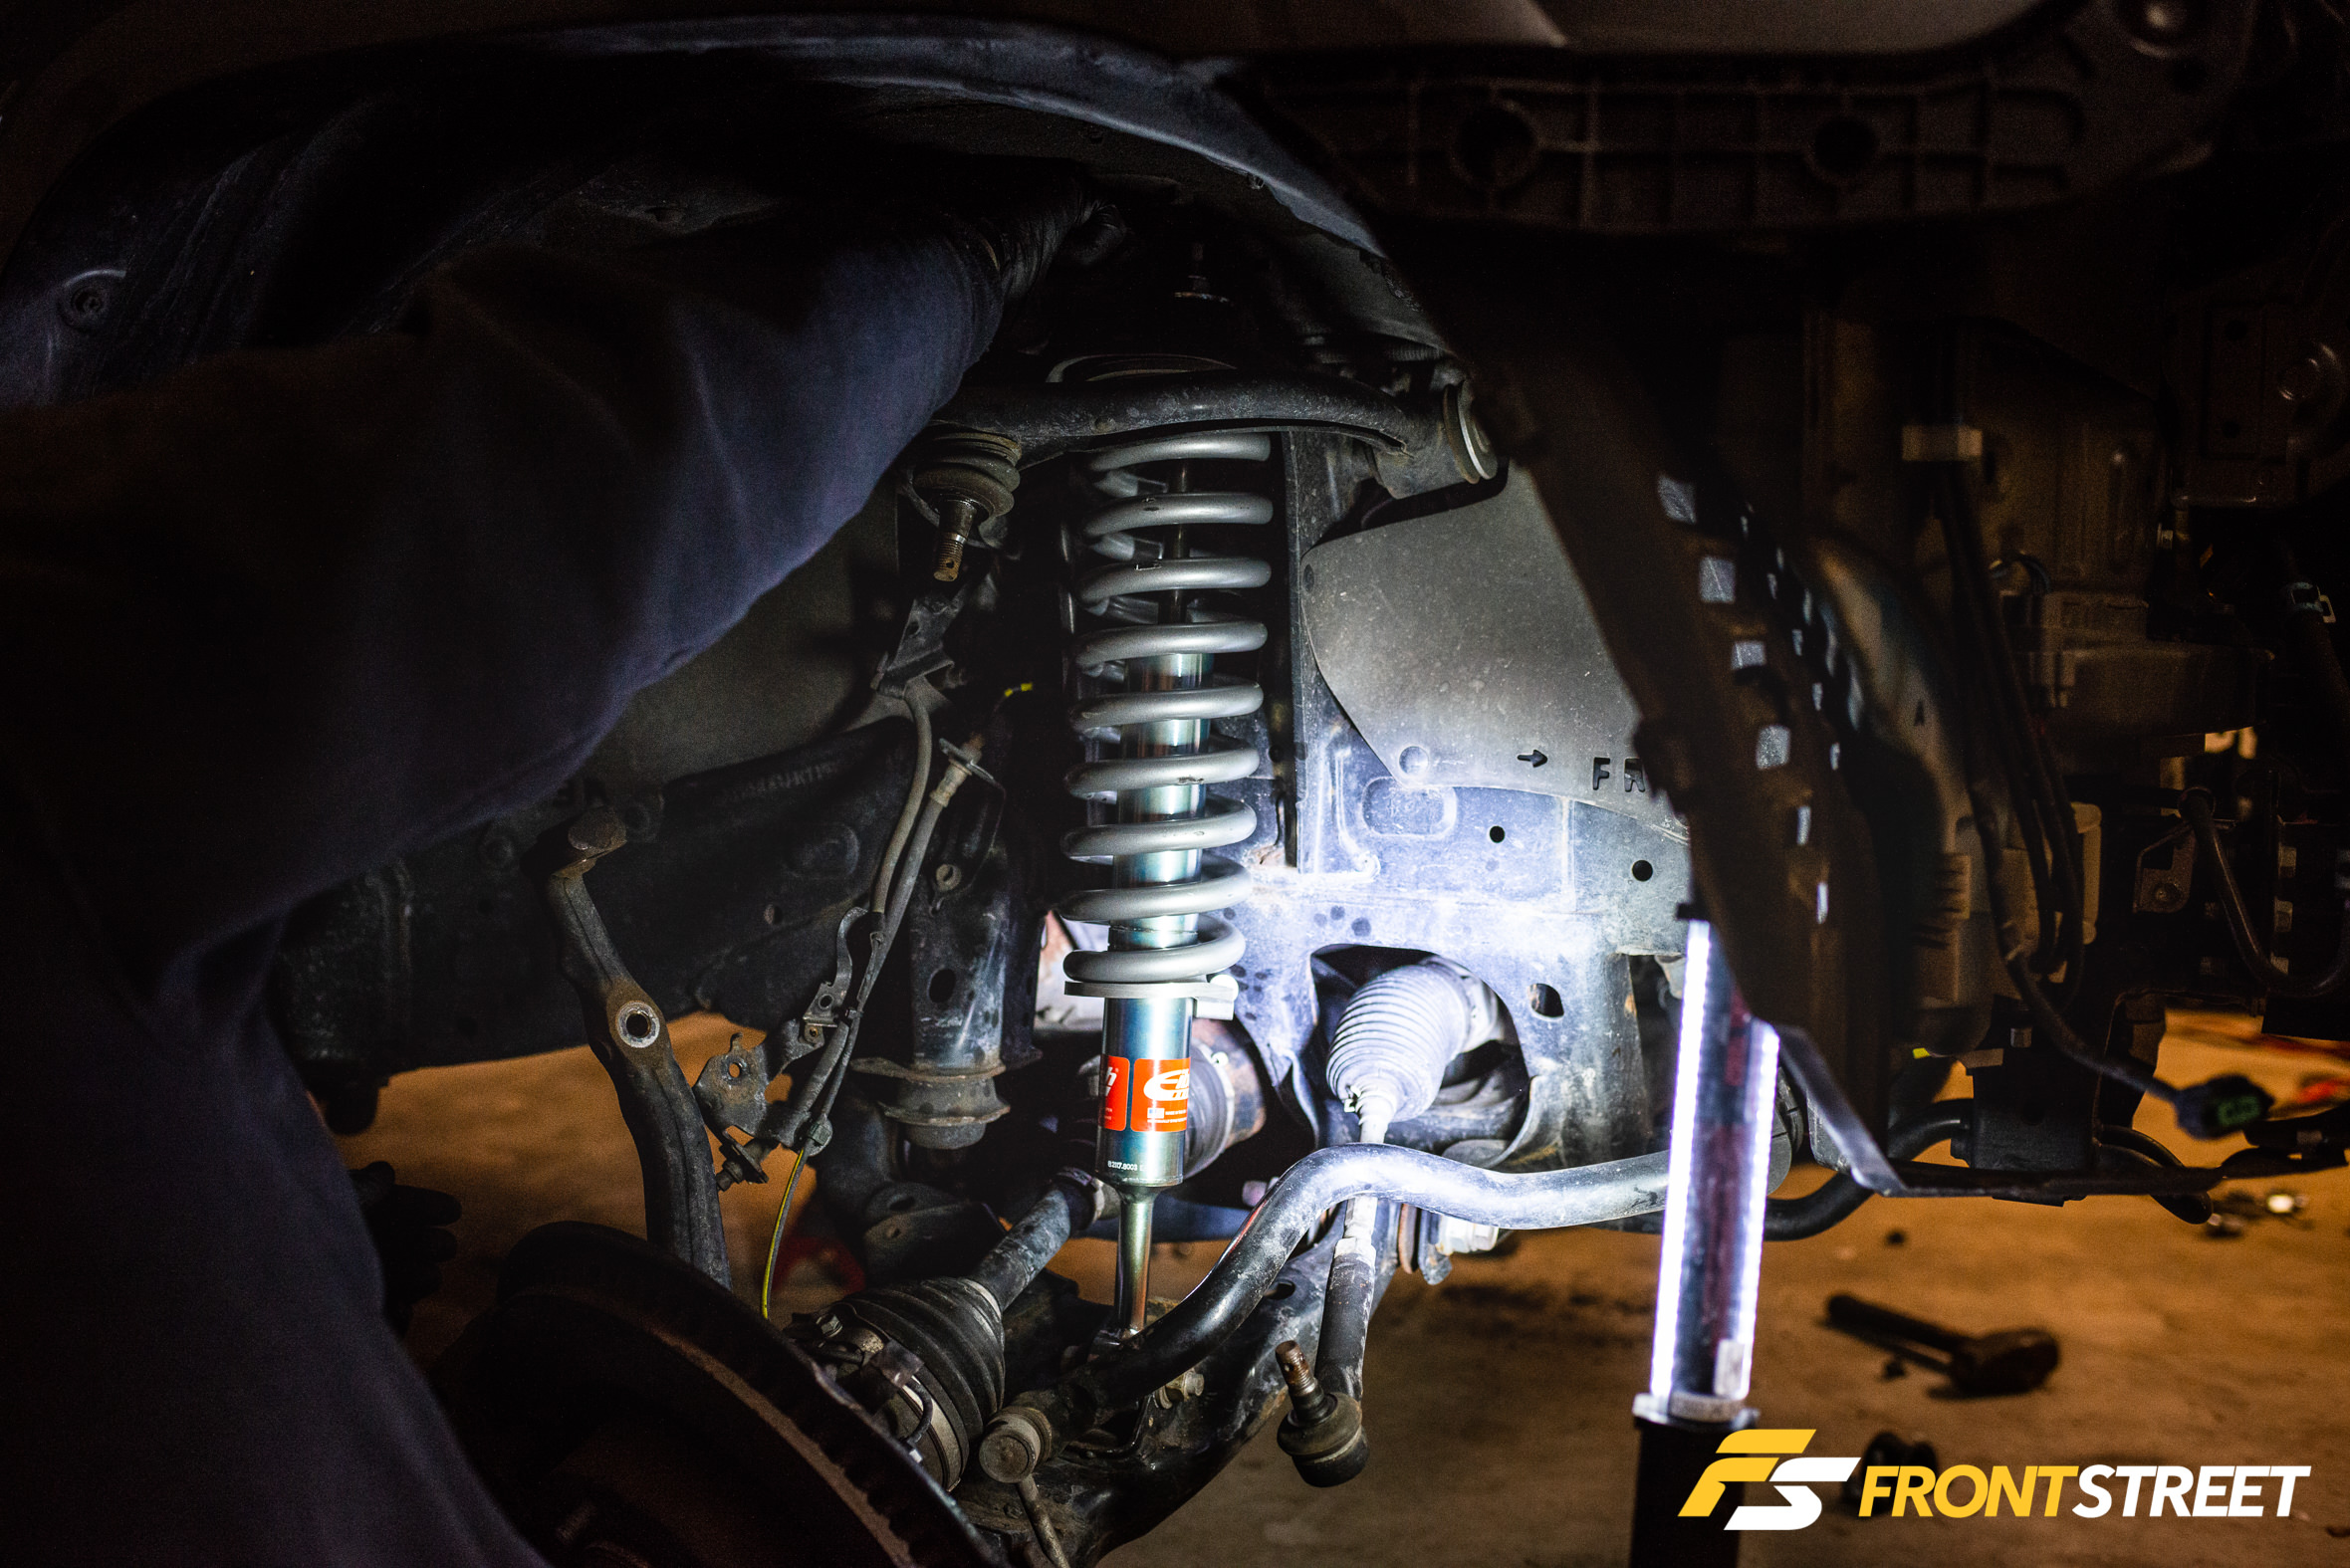
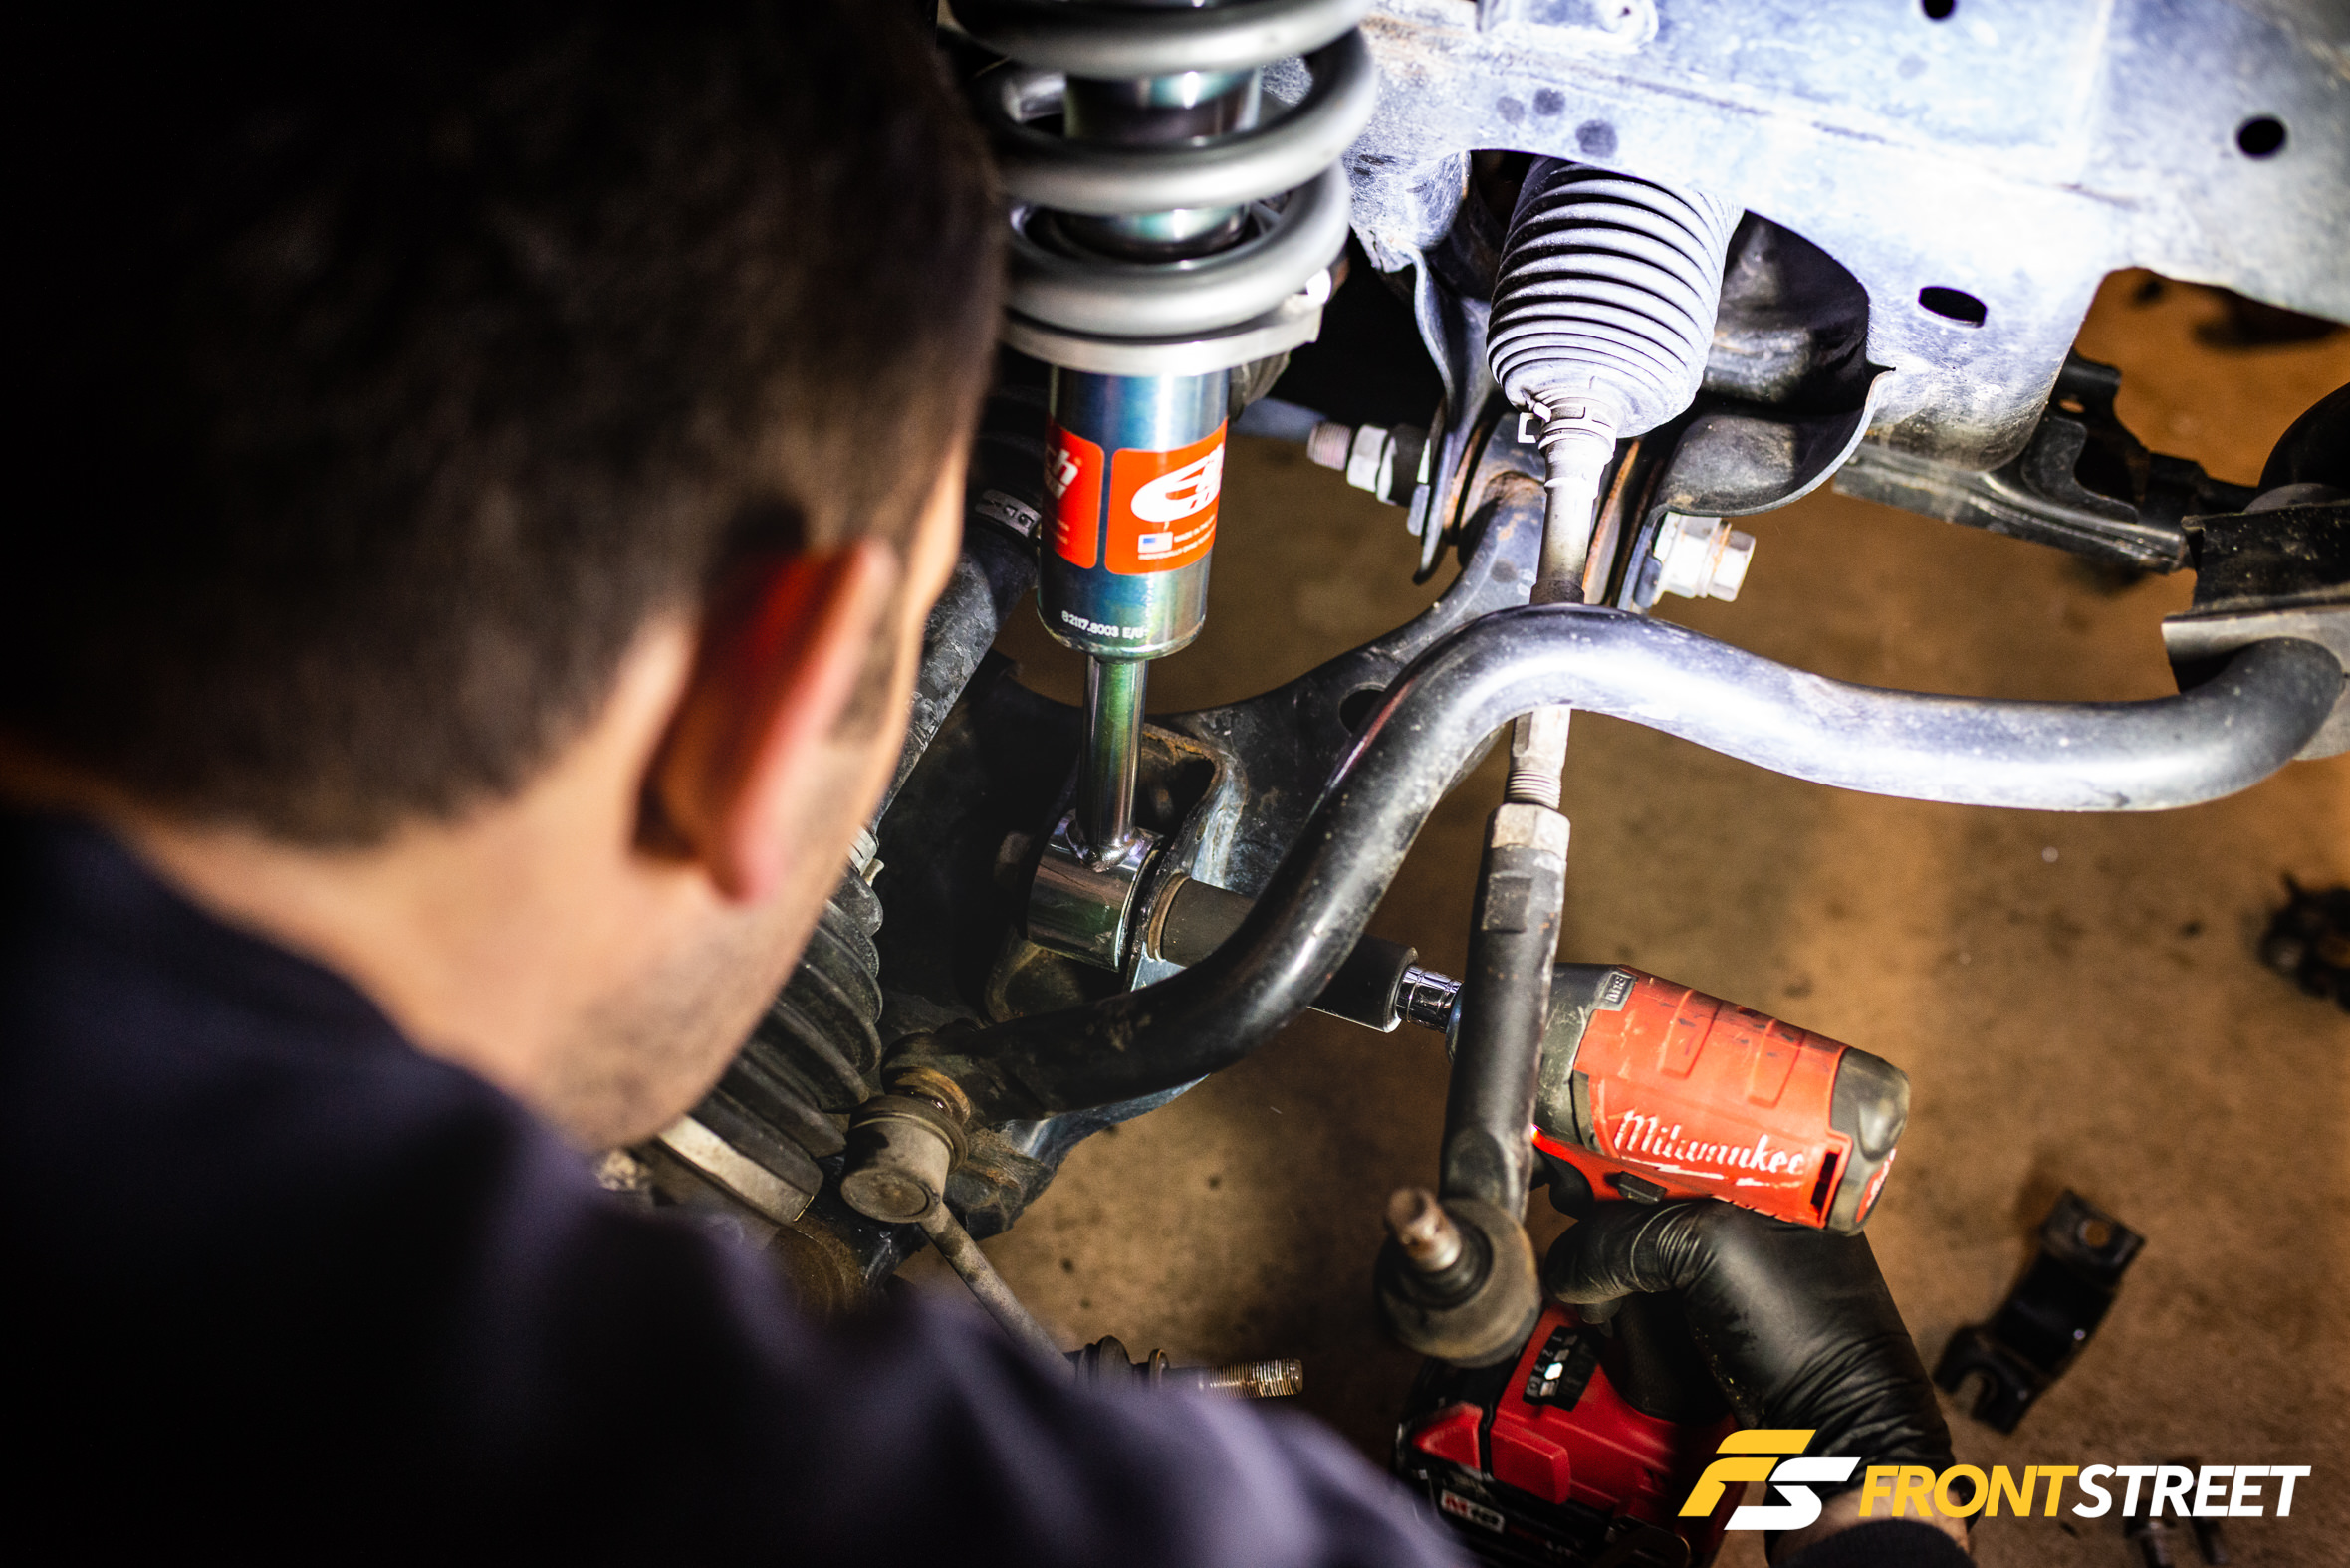
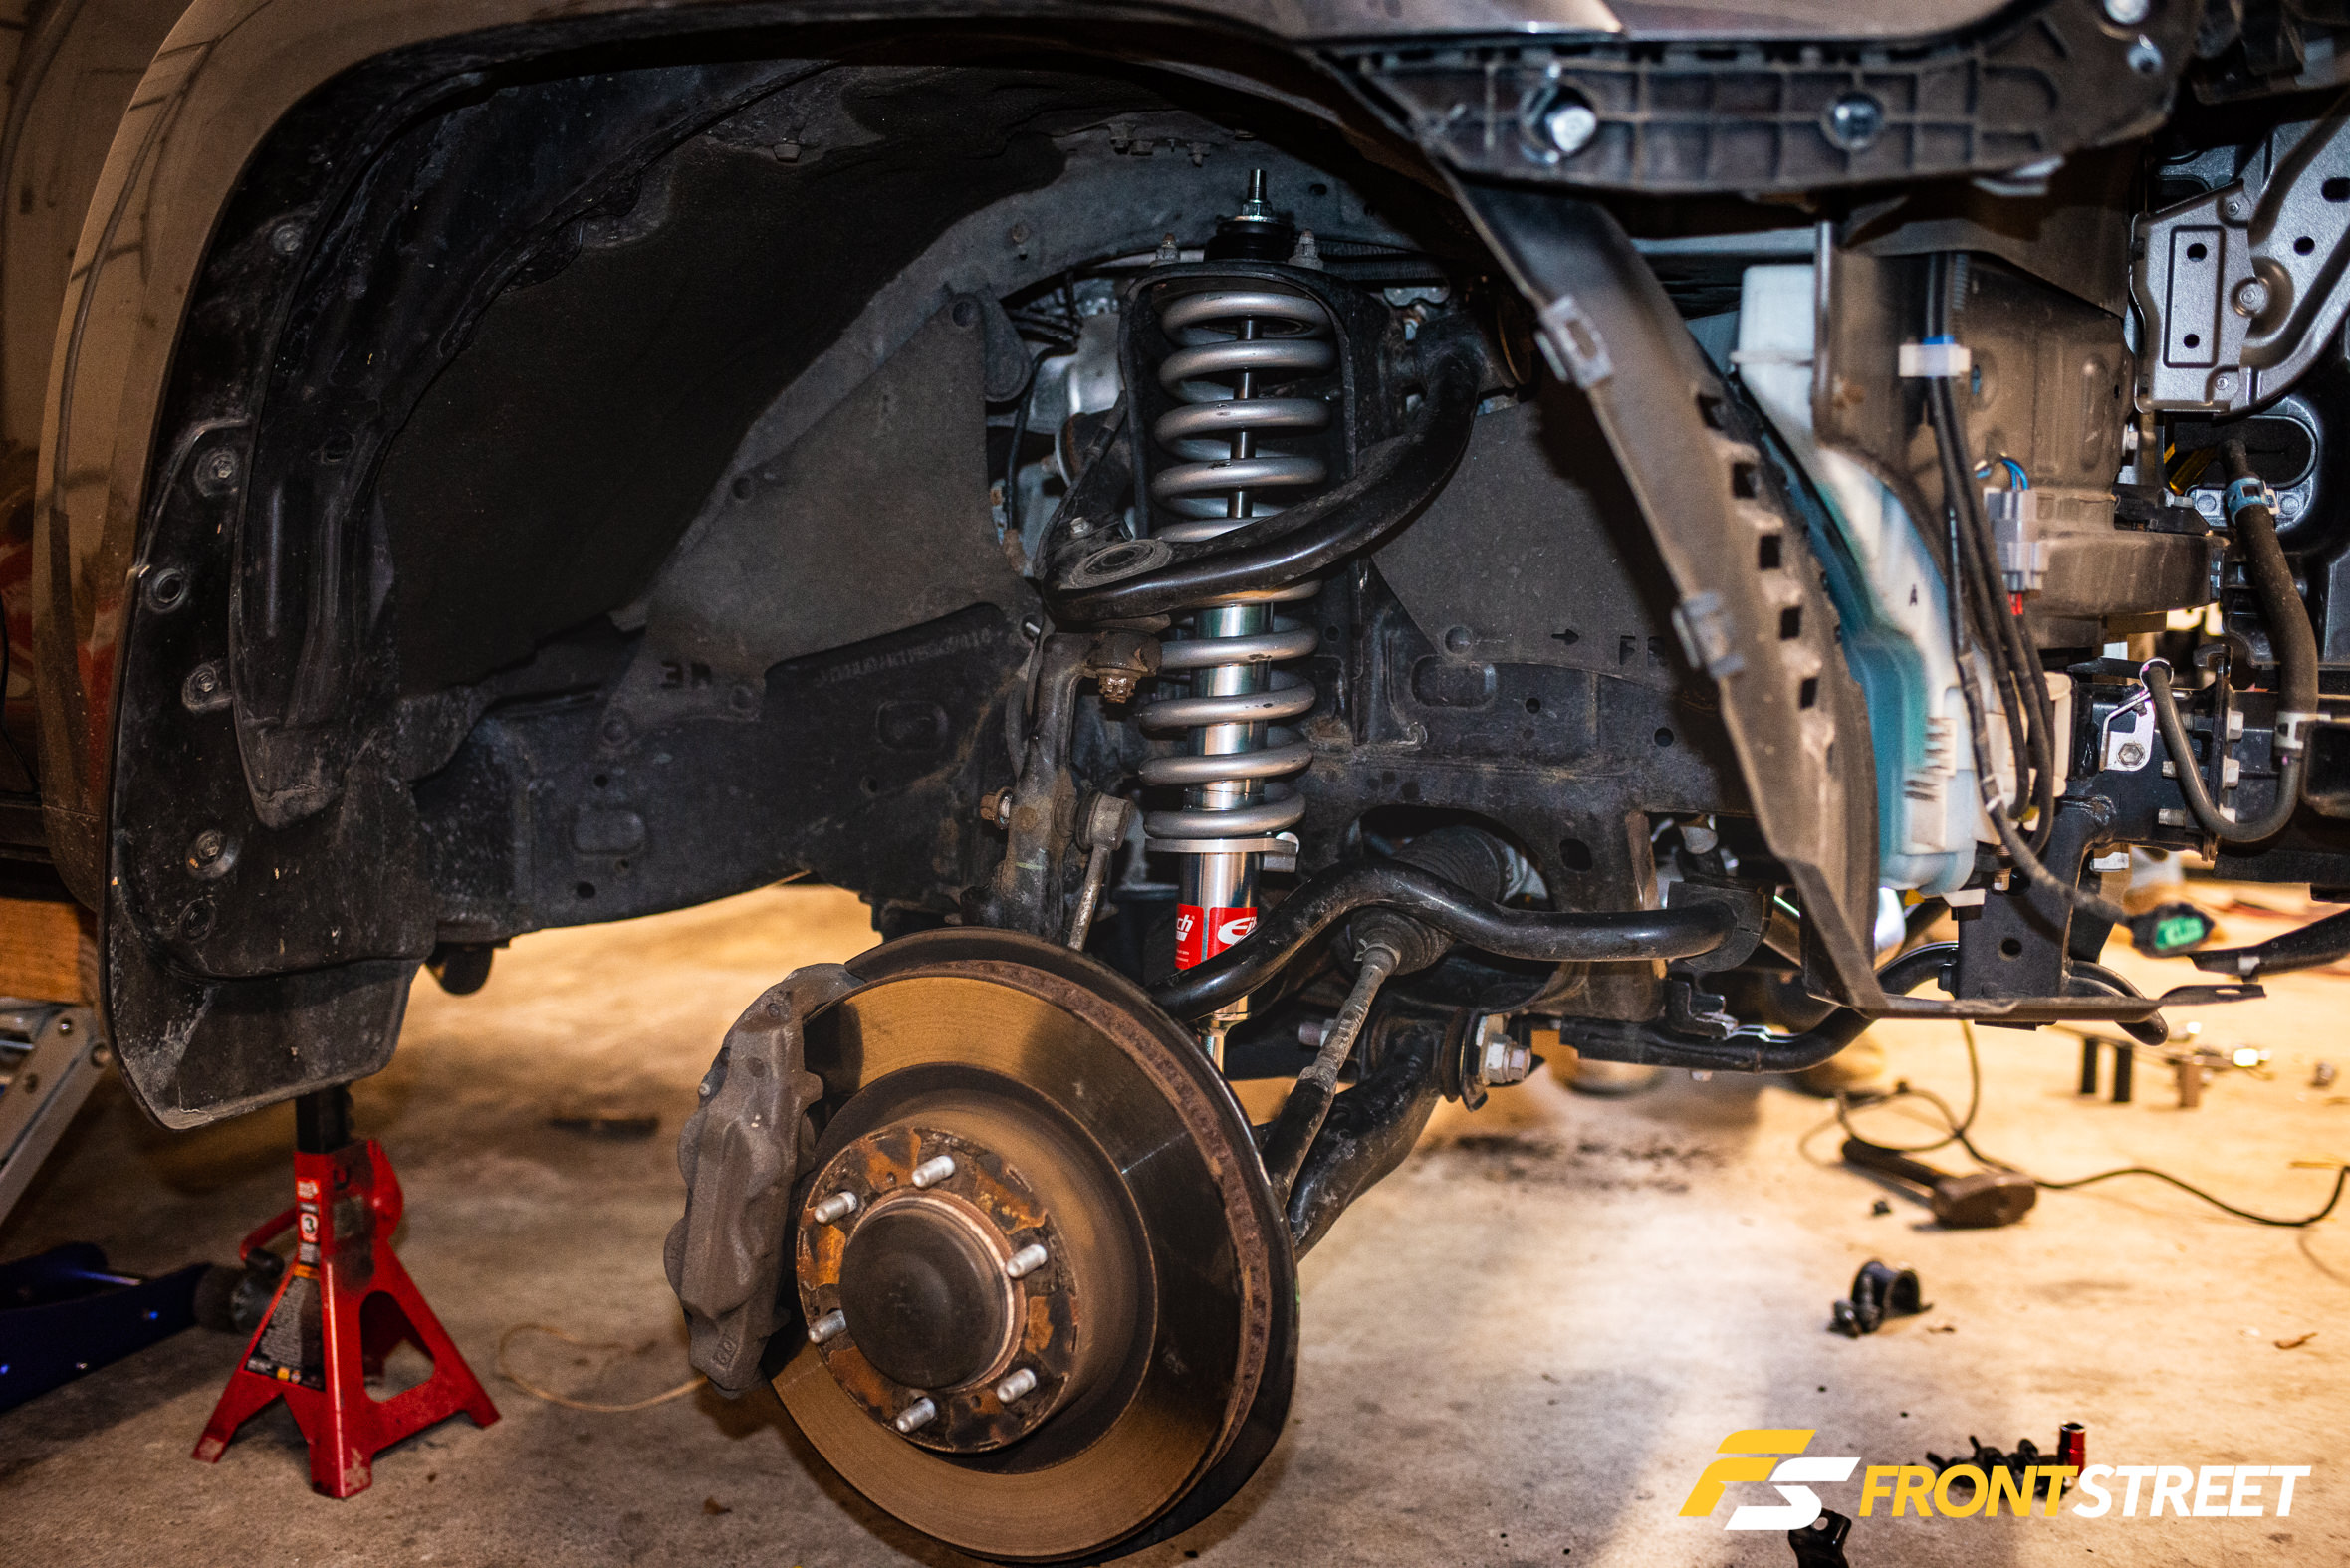
The assembled Eibach unit was then fitted into its final resting place in the chassis, and each ball joint was secured. The process was repeated on the other front corner.
Grille And Bumper Garnish Install
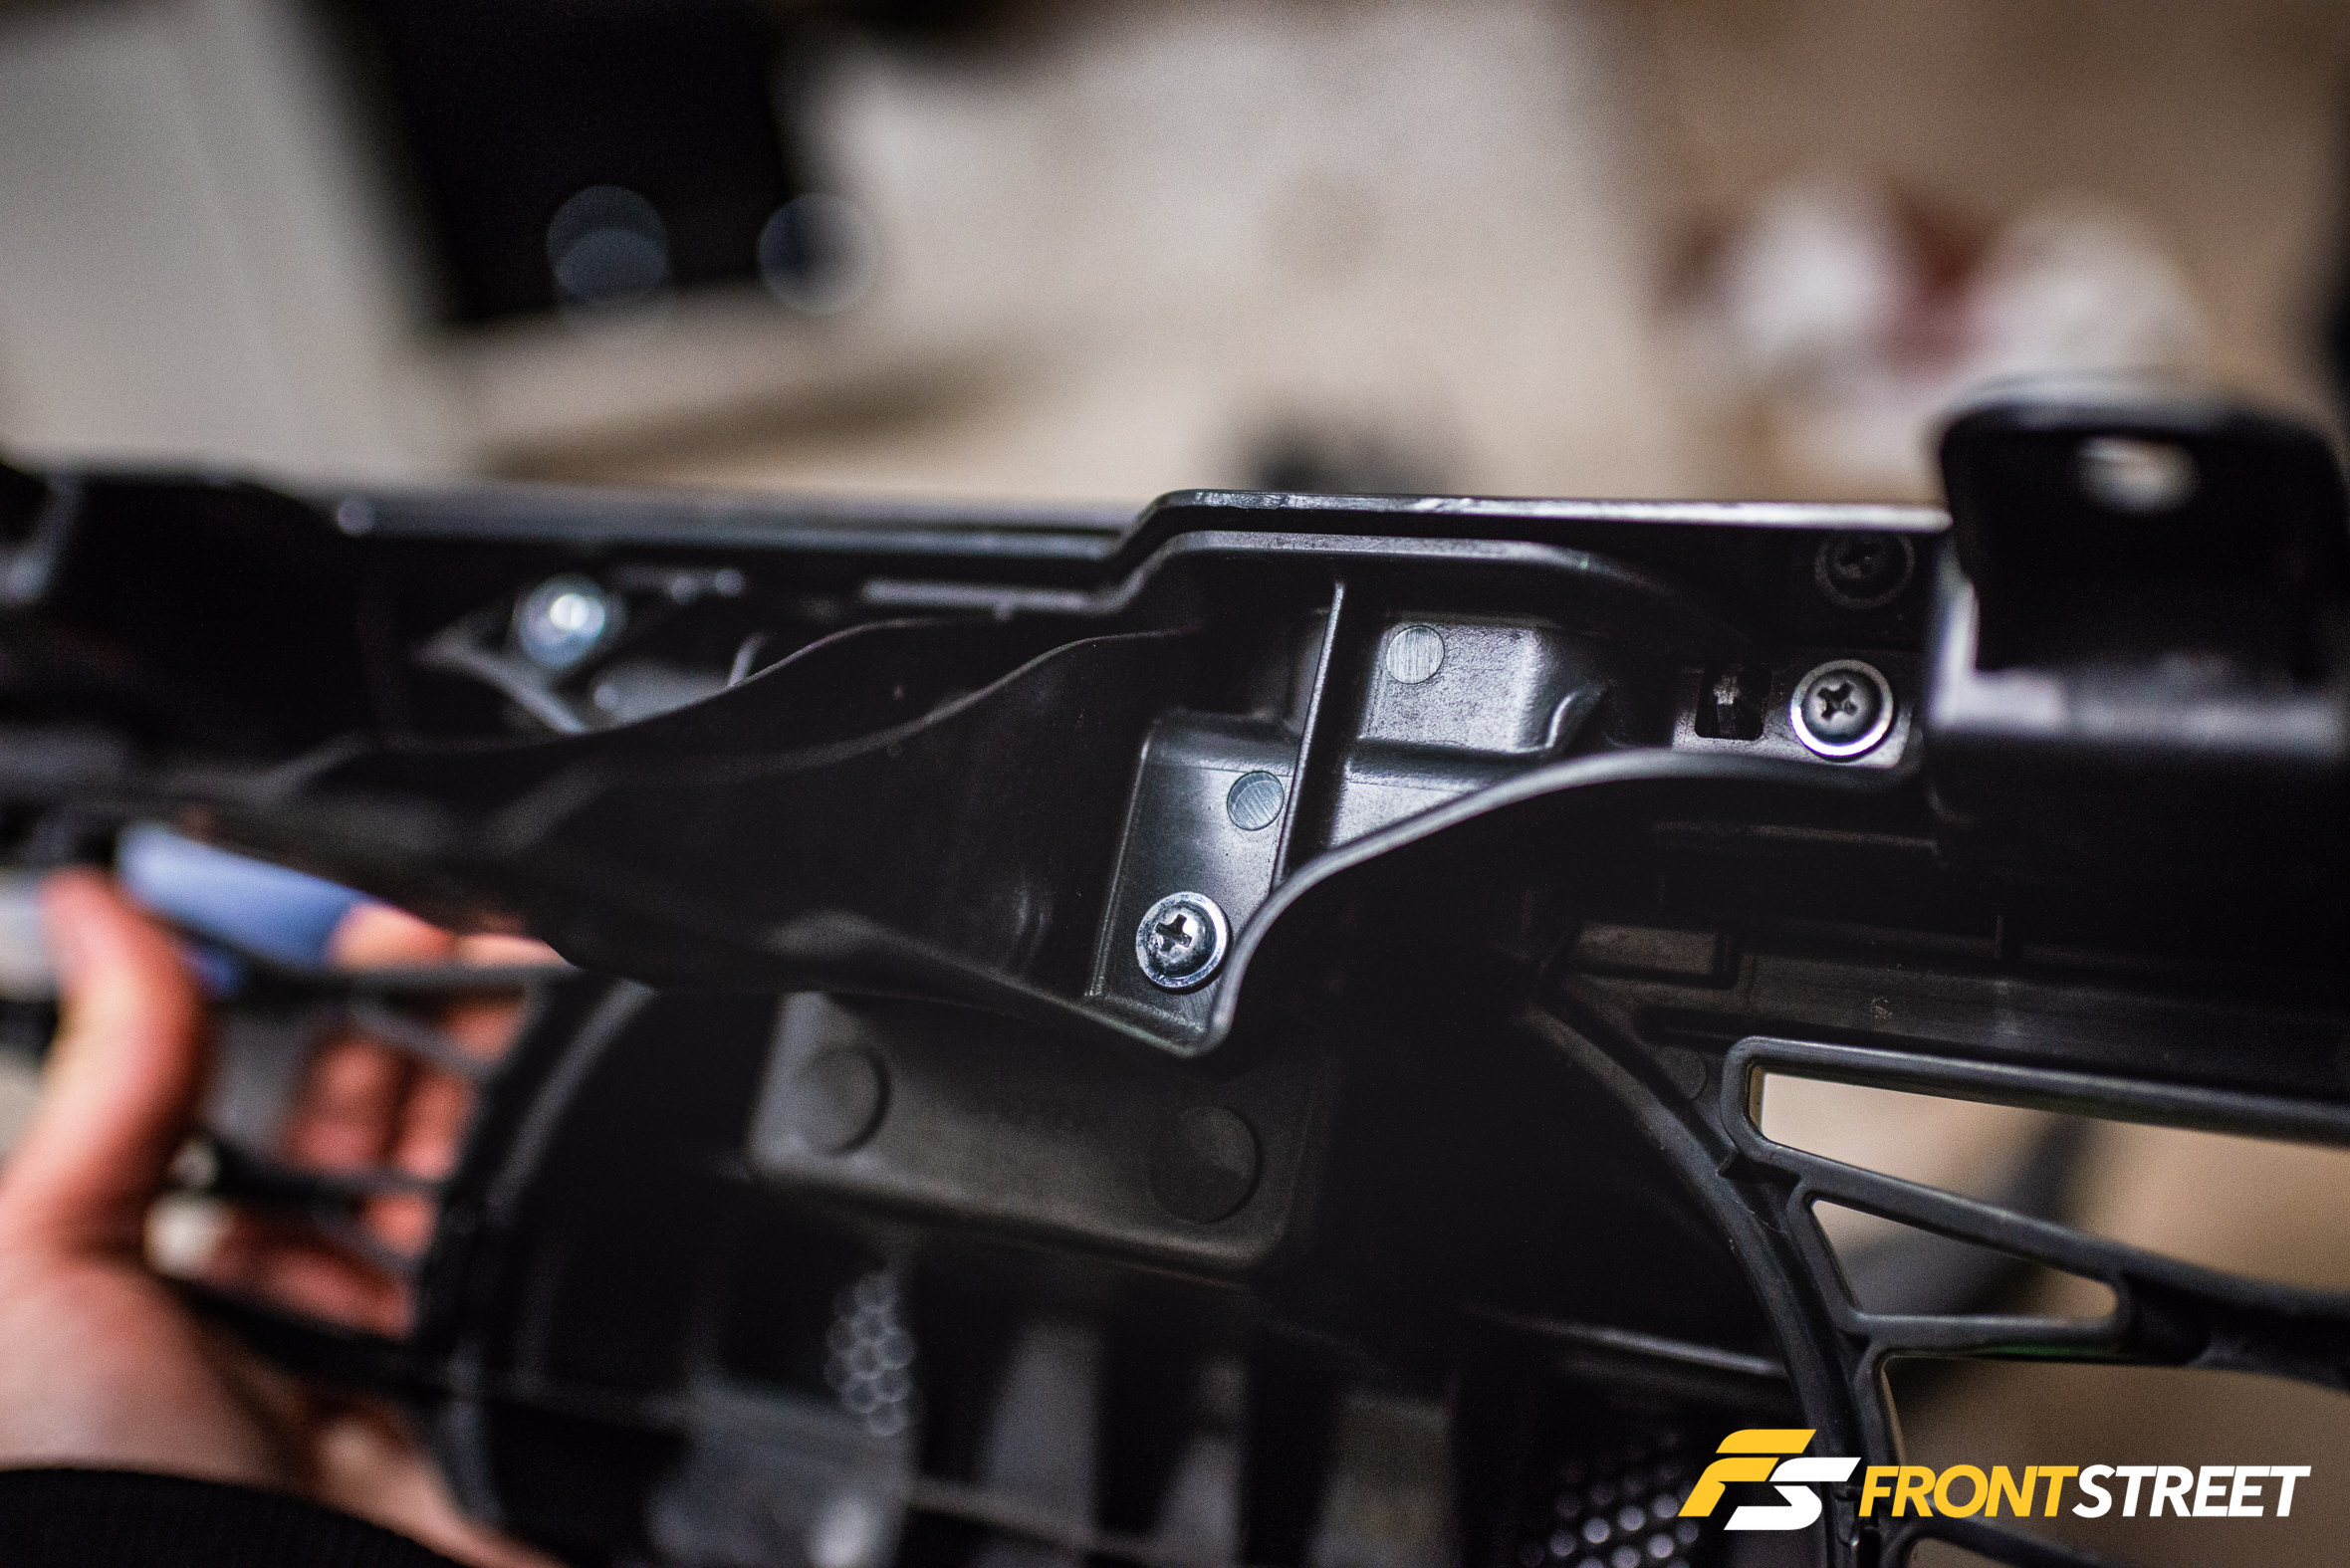
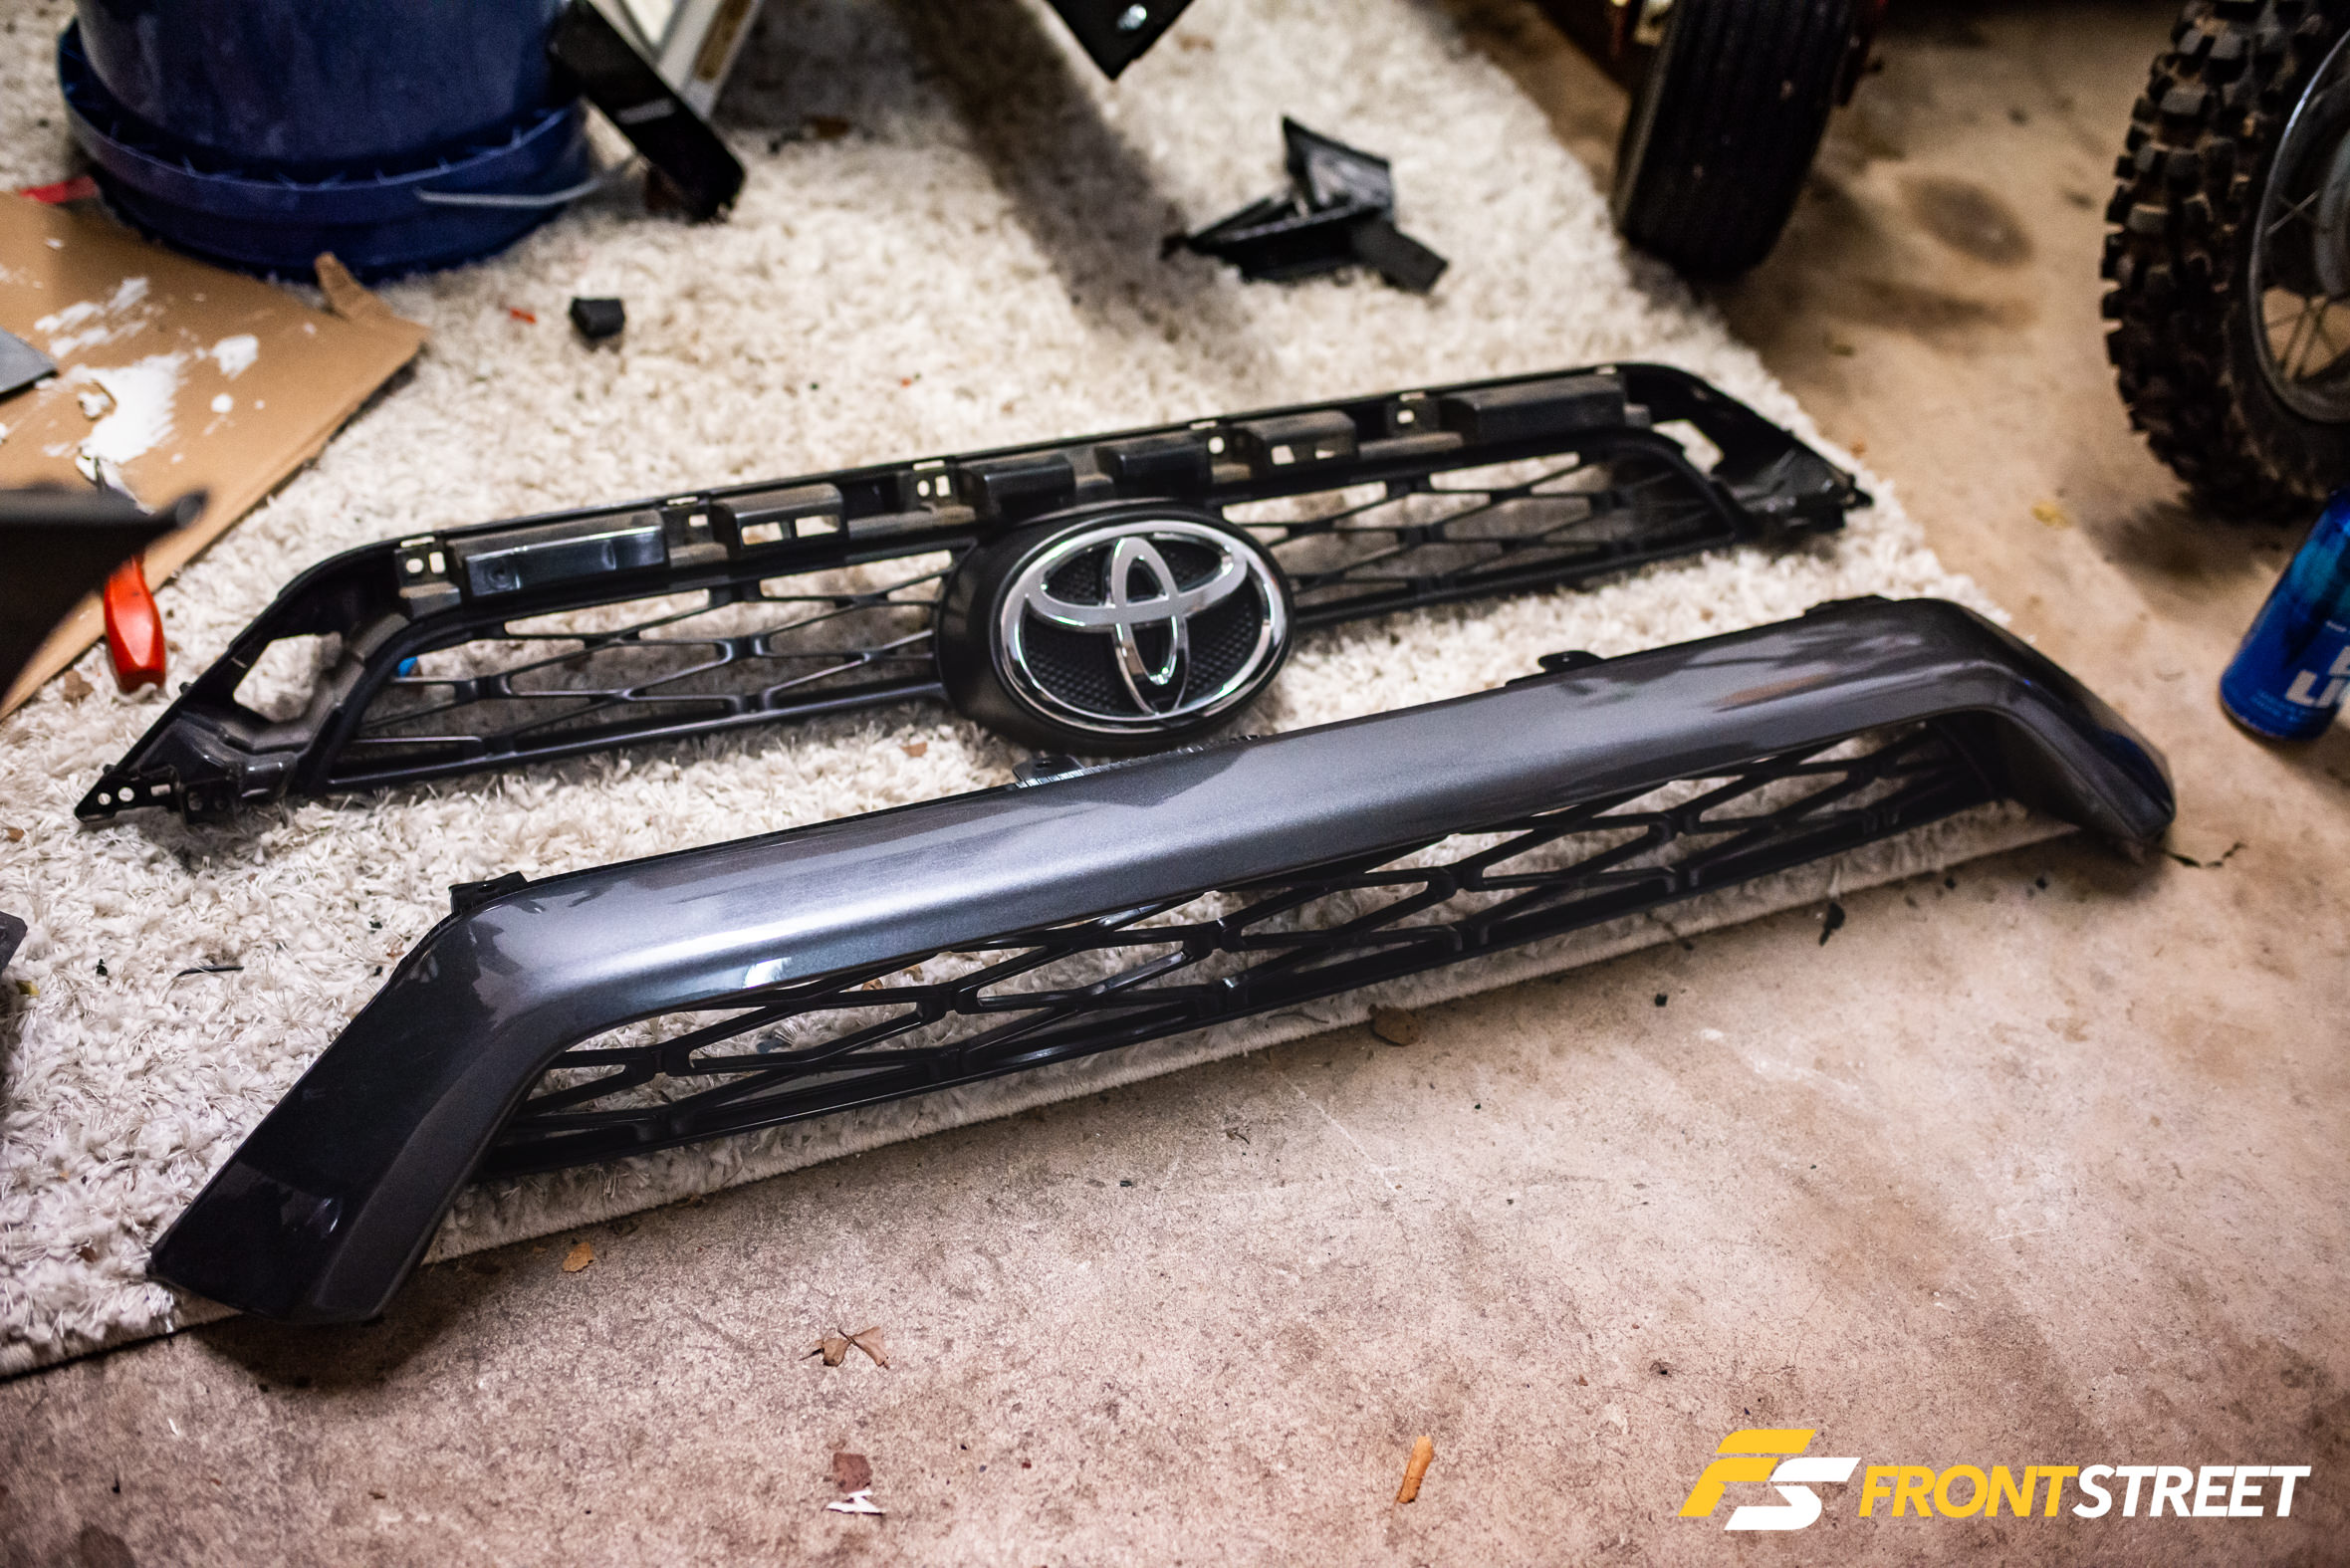
Before moving onto the rear suspension, the front fascia received its helping of upgrades. This involved freeing all of the clips and hardware associated with these pieces, including the removal of the front emblem.
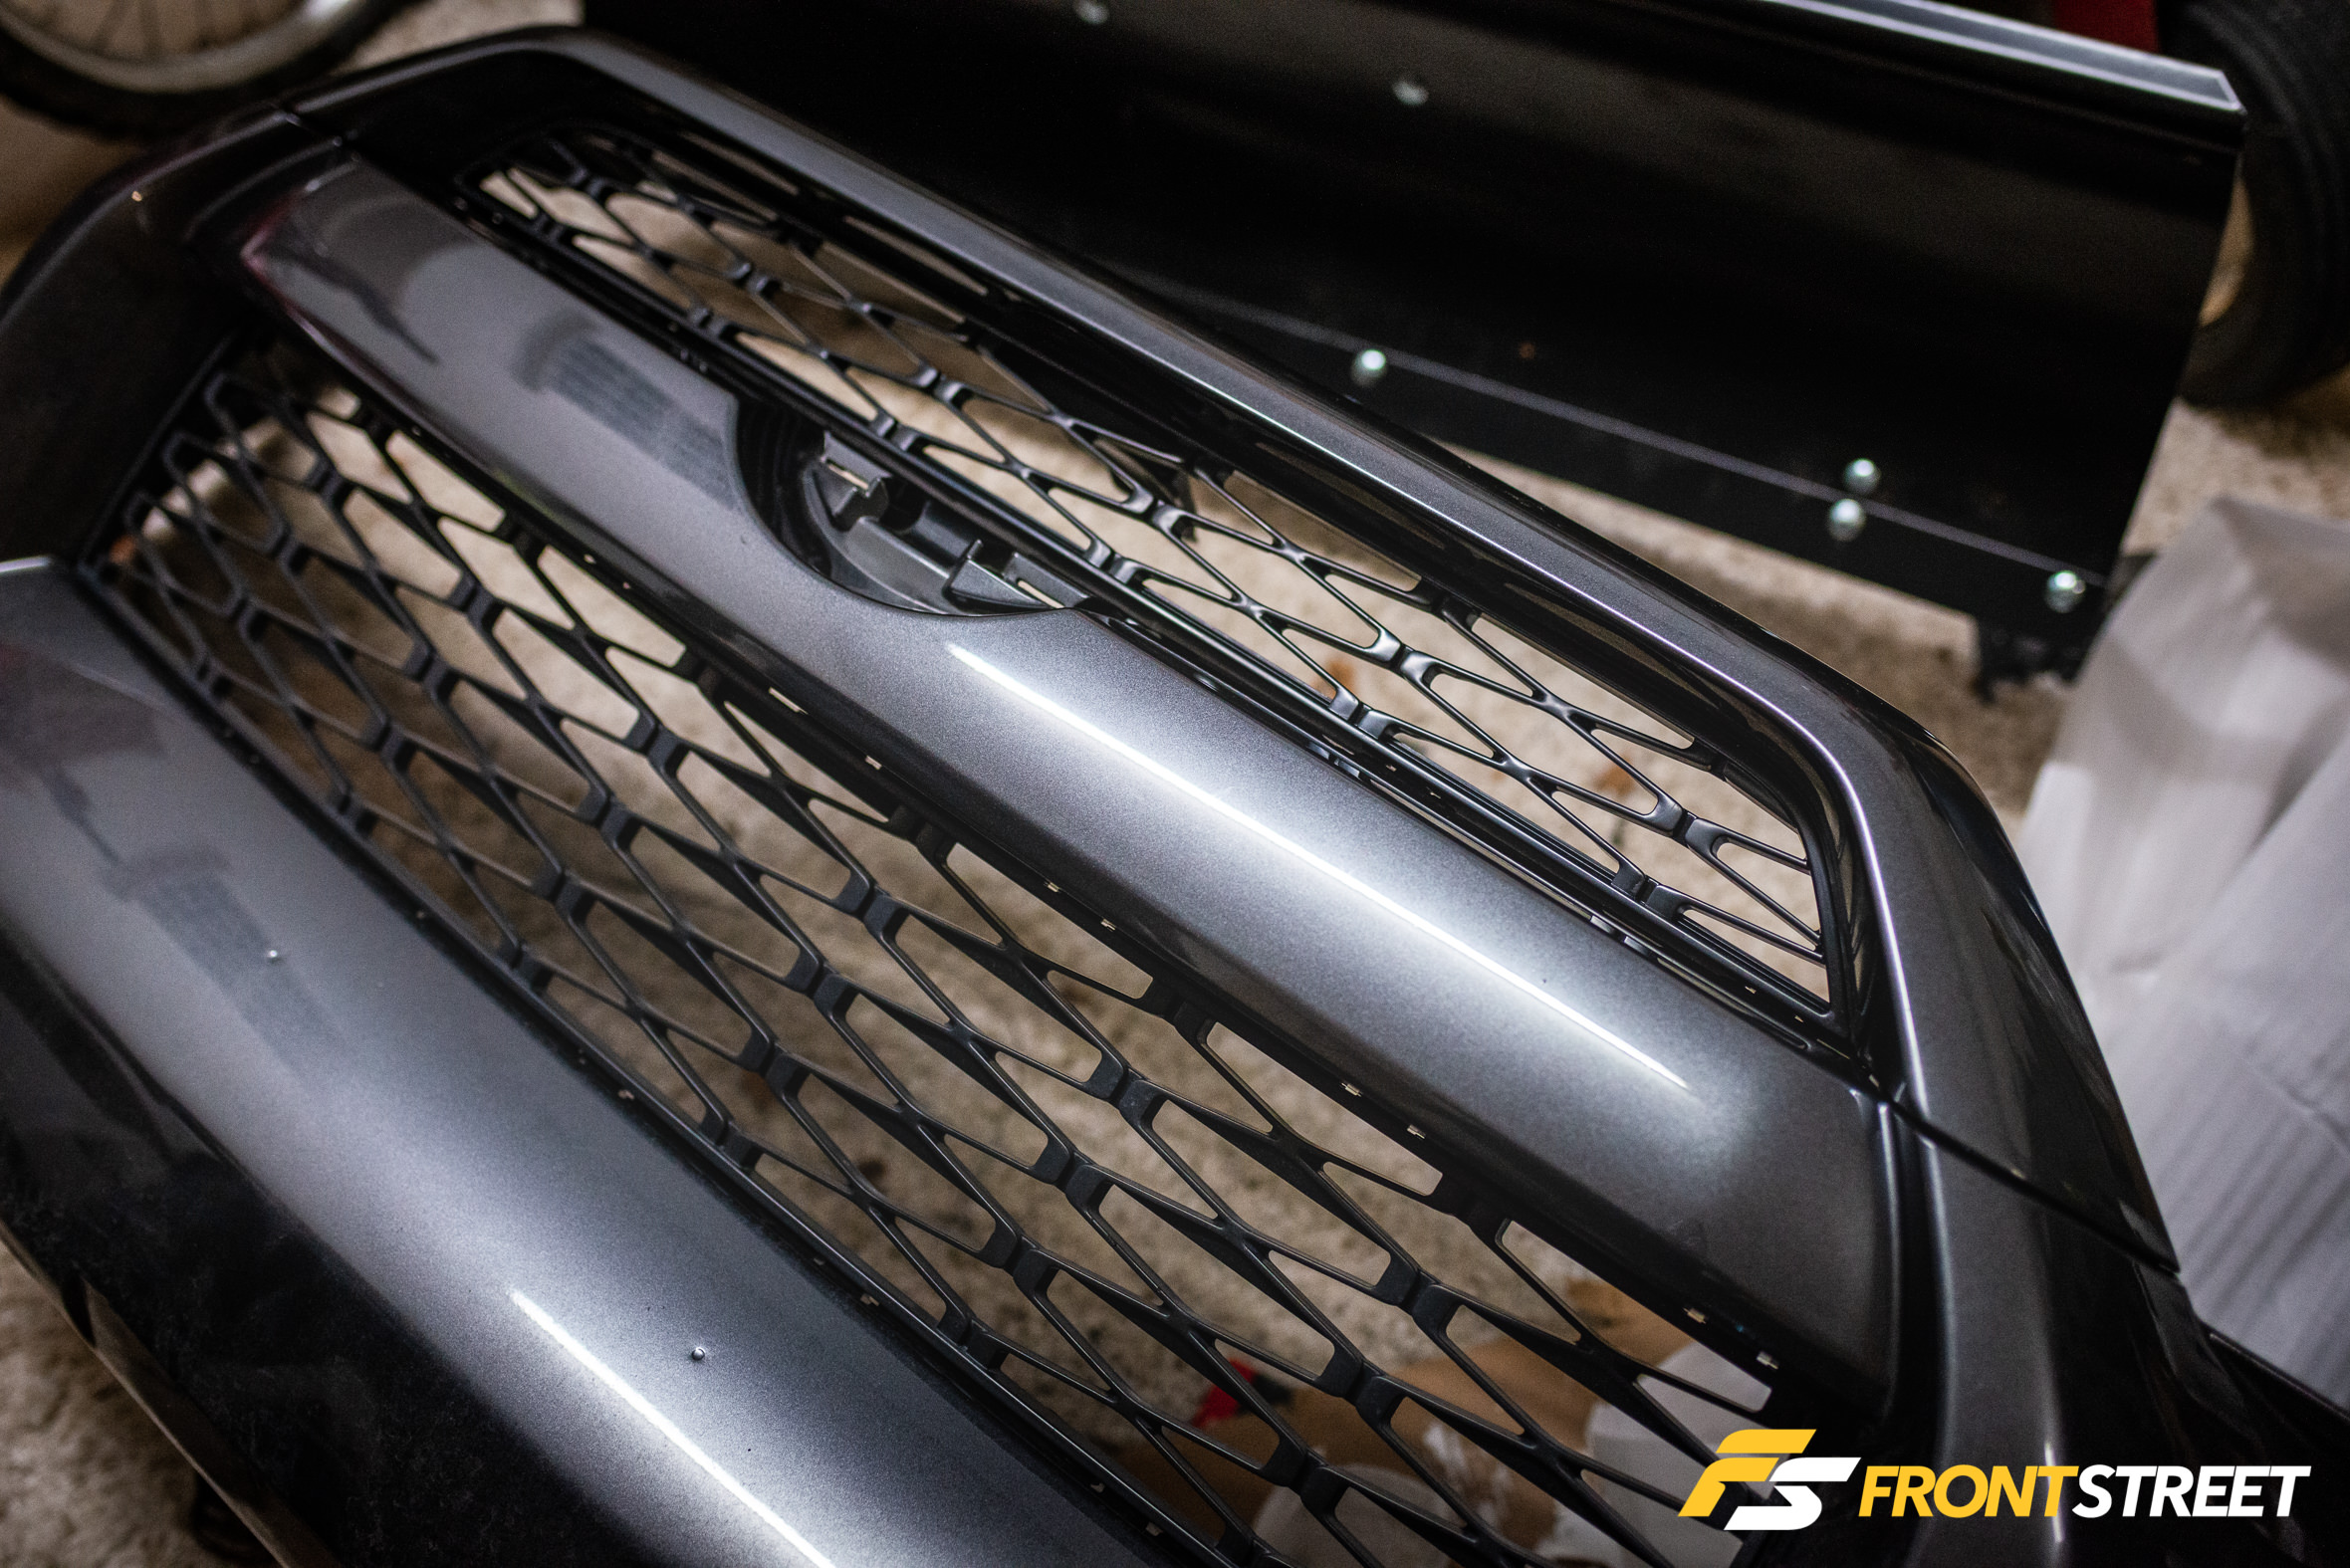
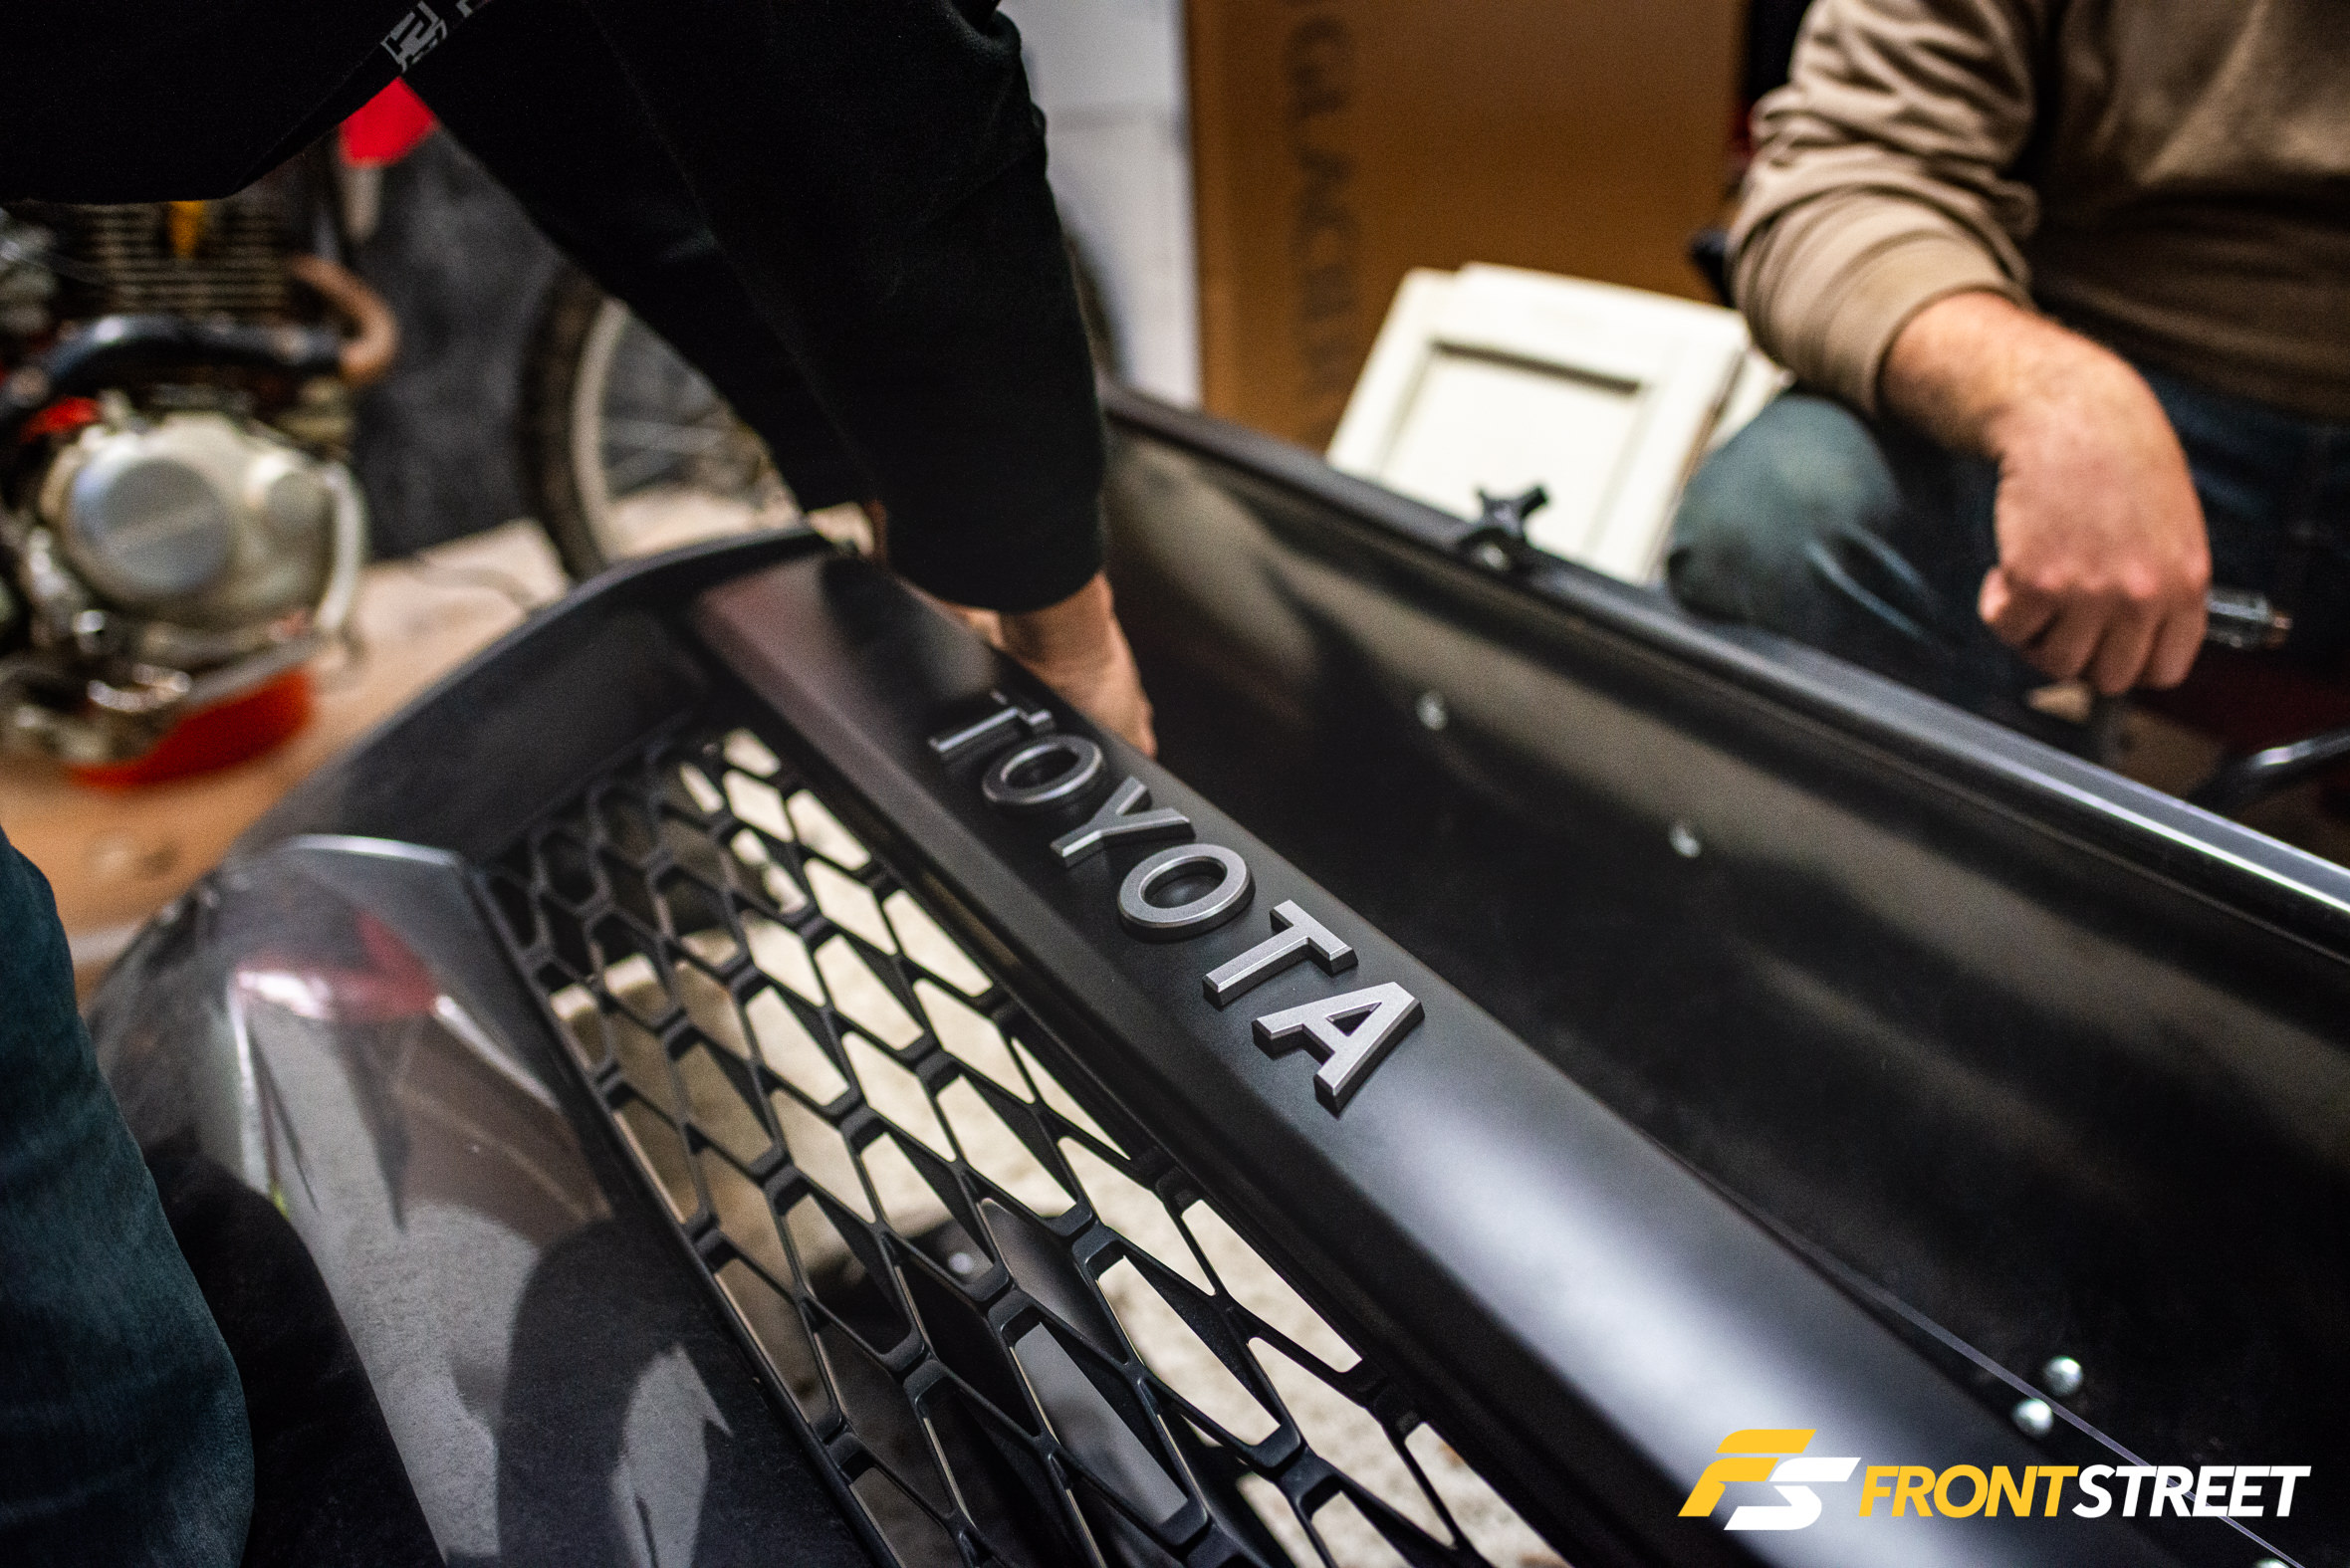
With the new grille attached, it was just a matter of clipping it back into the bumper. However, you’ll notice this leaves a large gap where the large front Toyota emblem was. To remedy this, Jesse installed the front bumper garnish from a TRD PRO 4Runner, which utilizes a plain black background and clean text to illustrate the vehicle make.
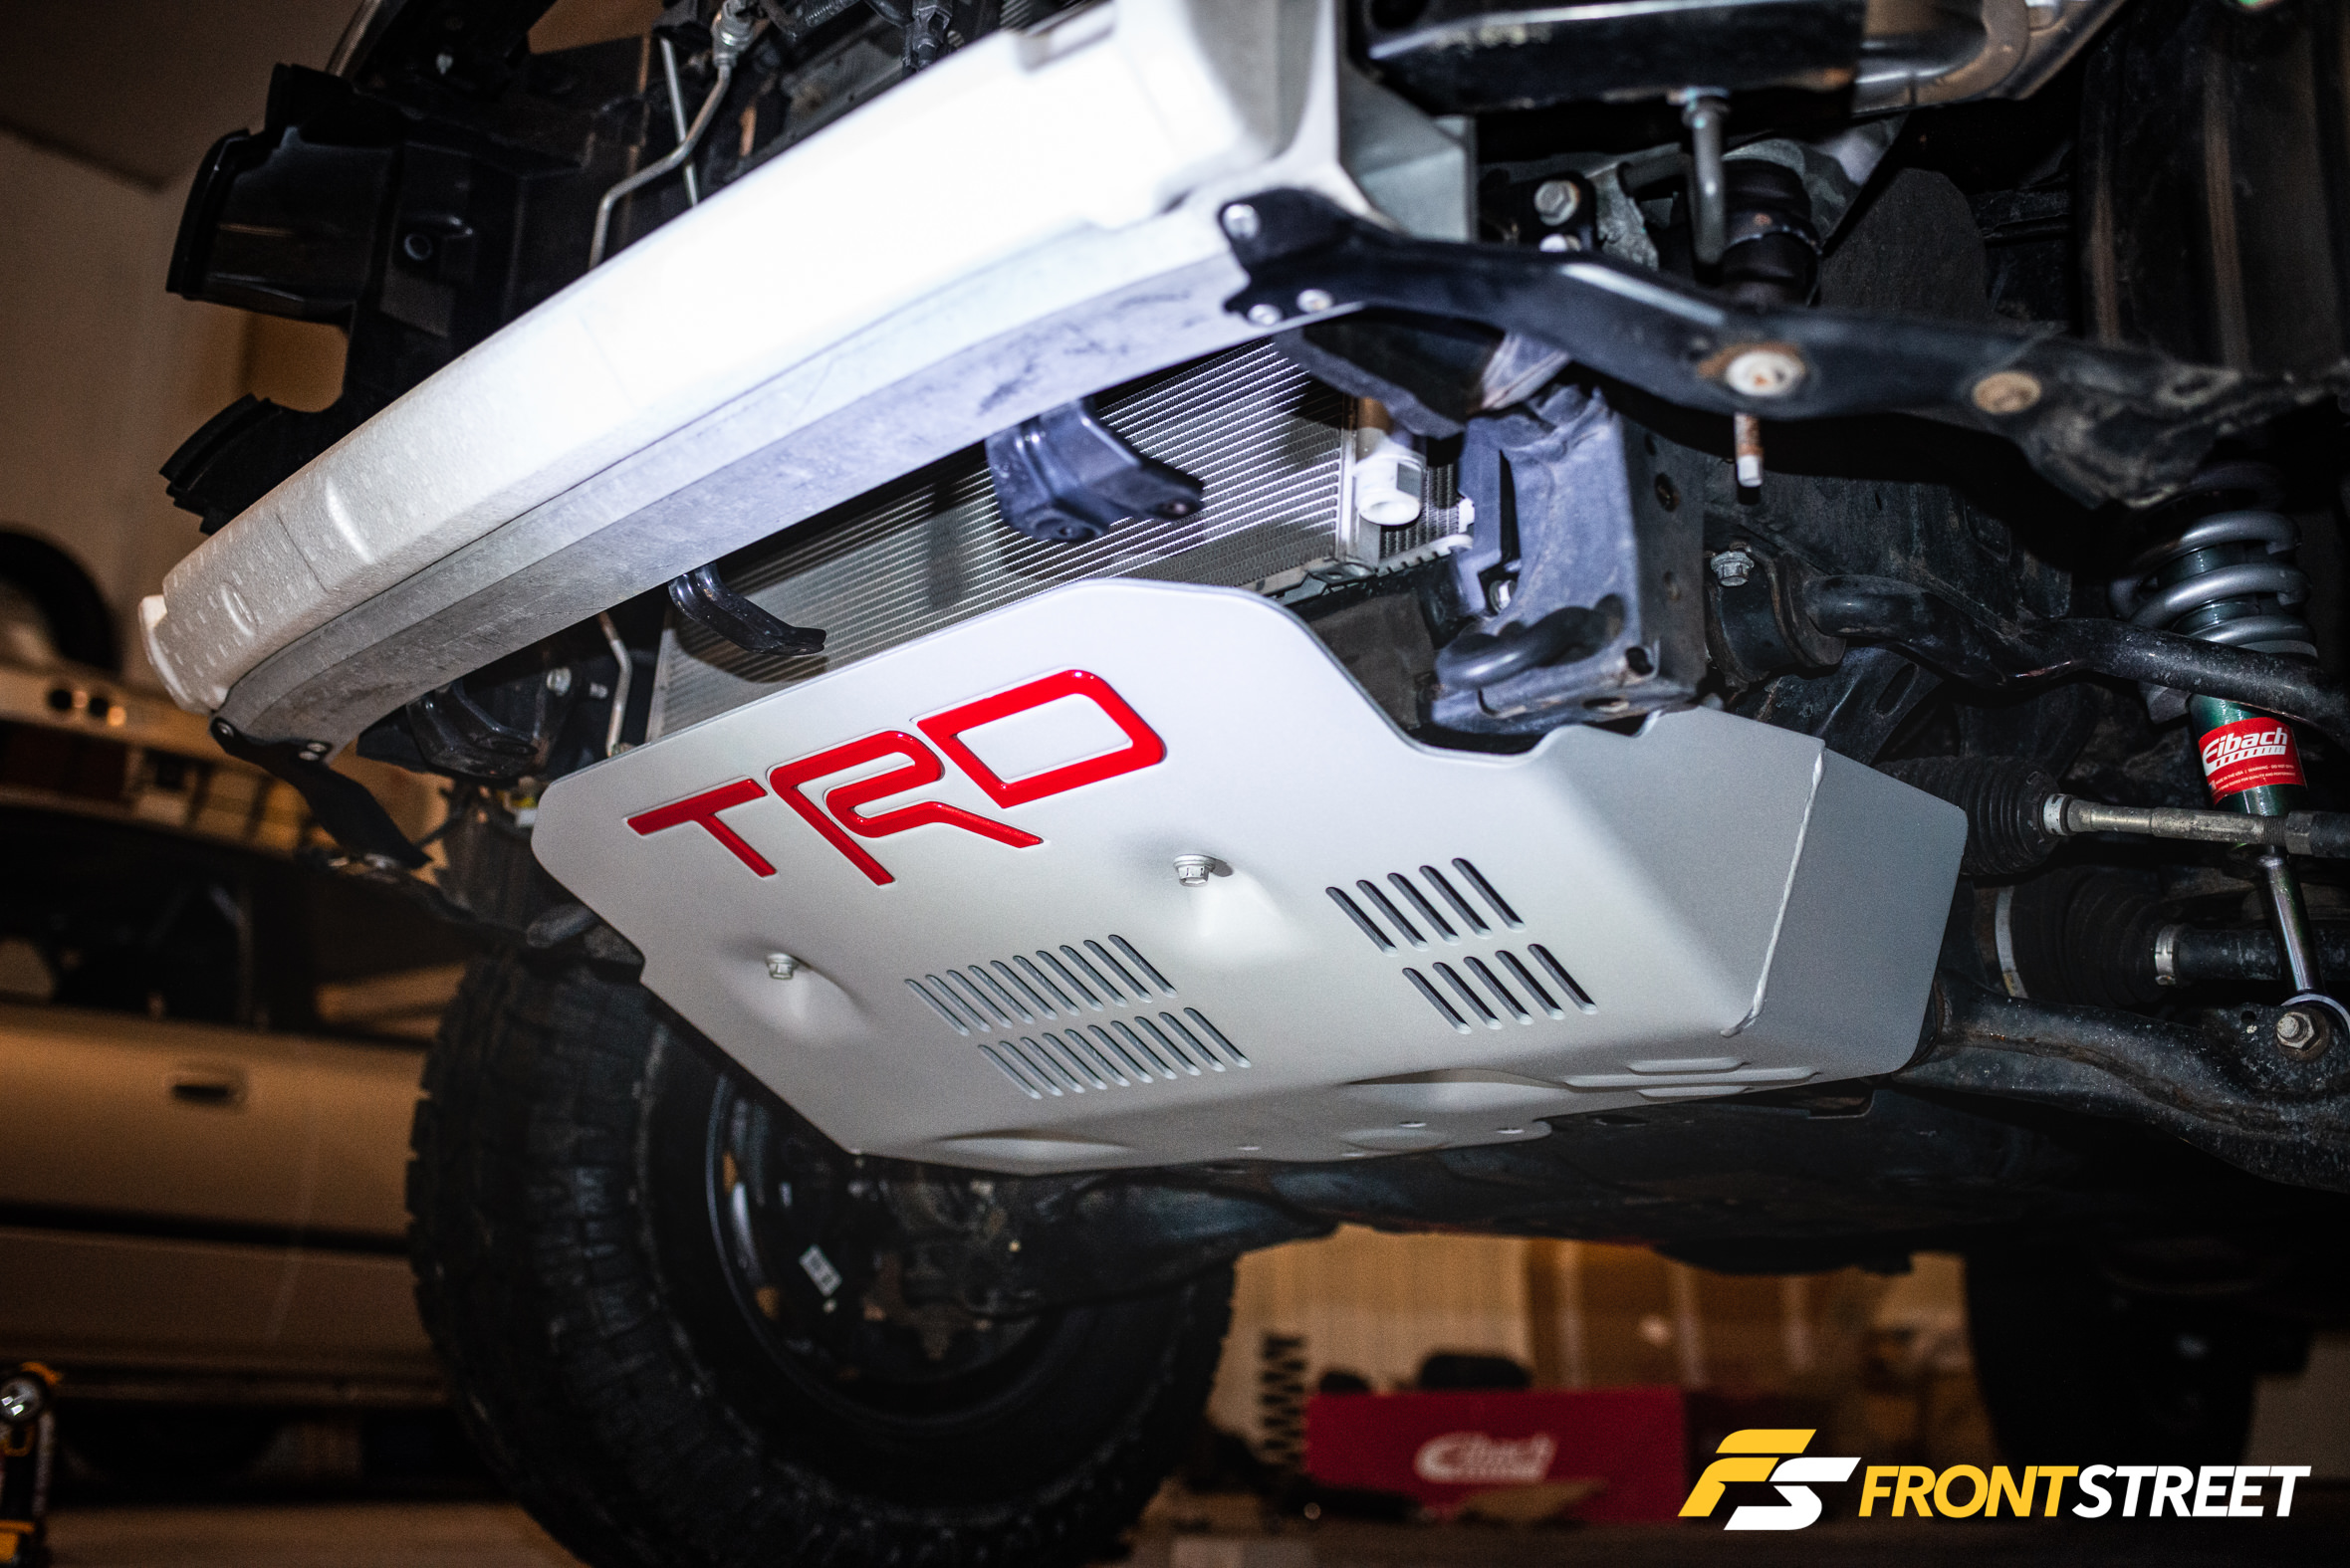
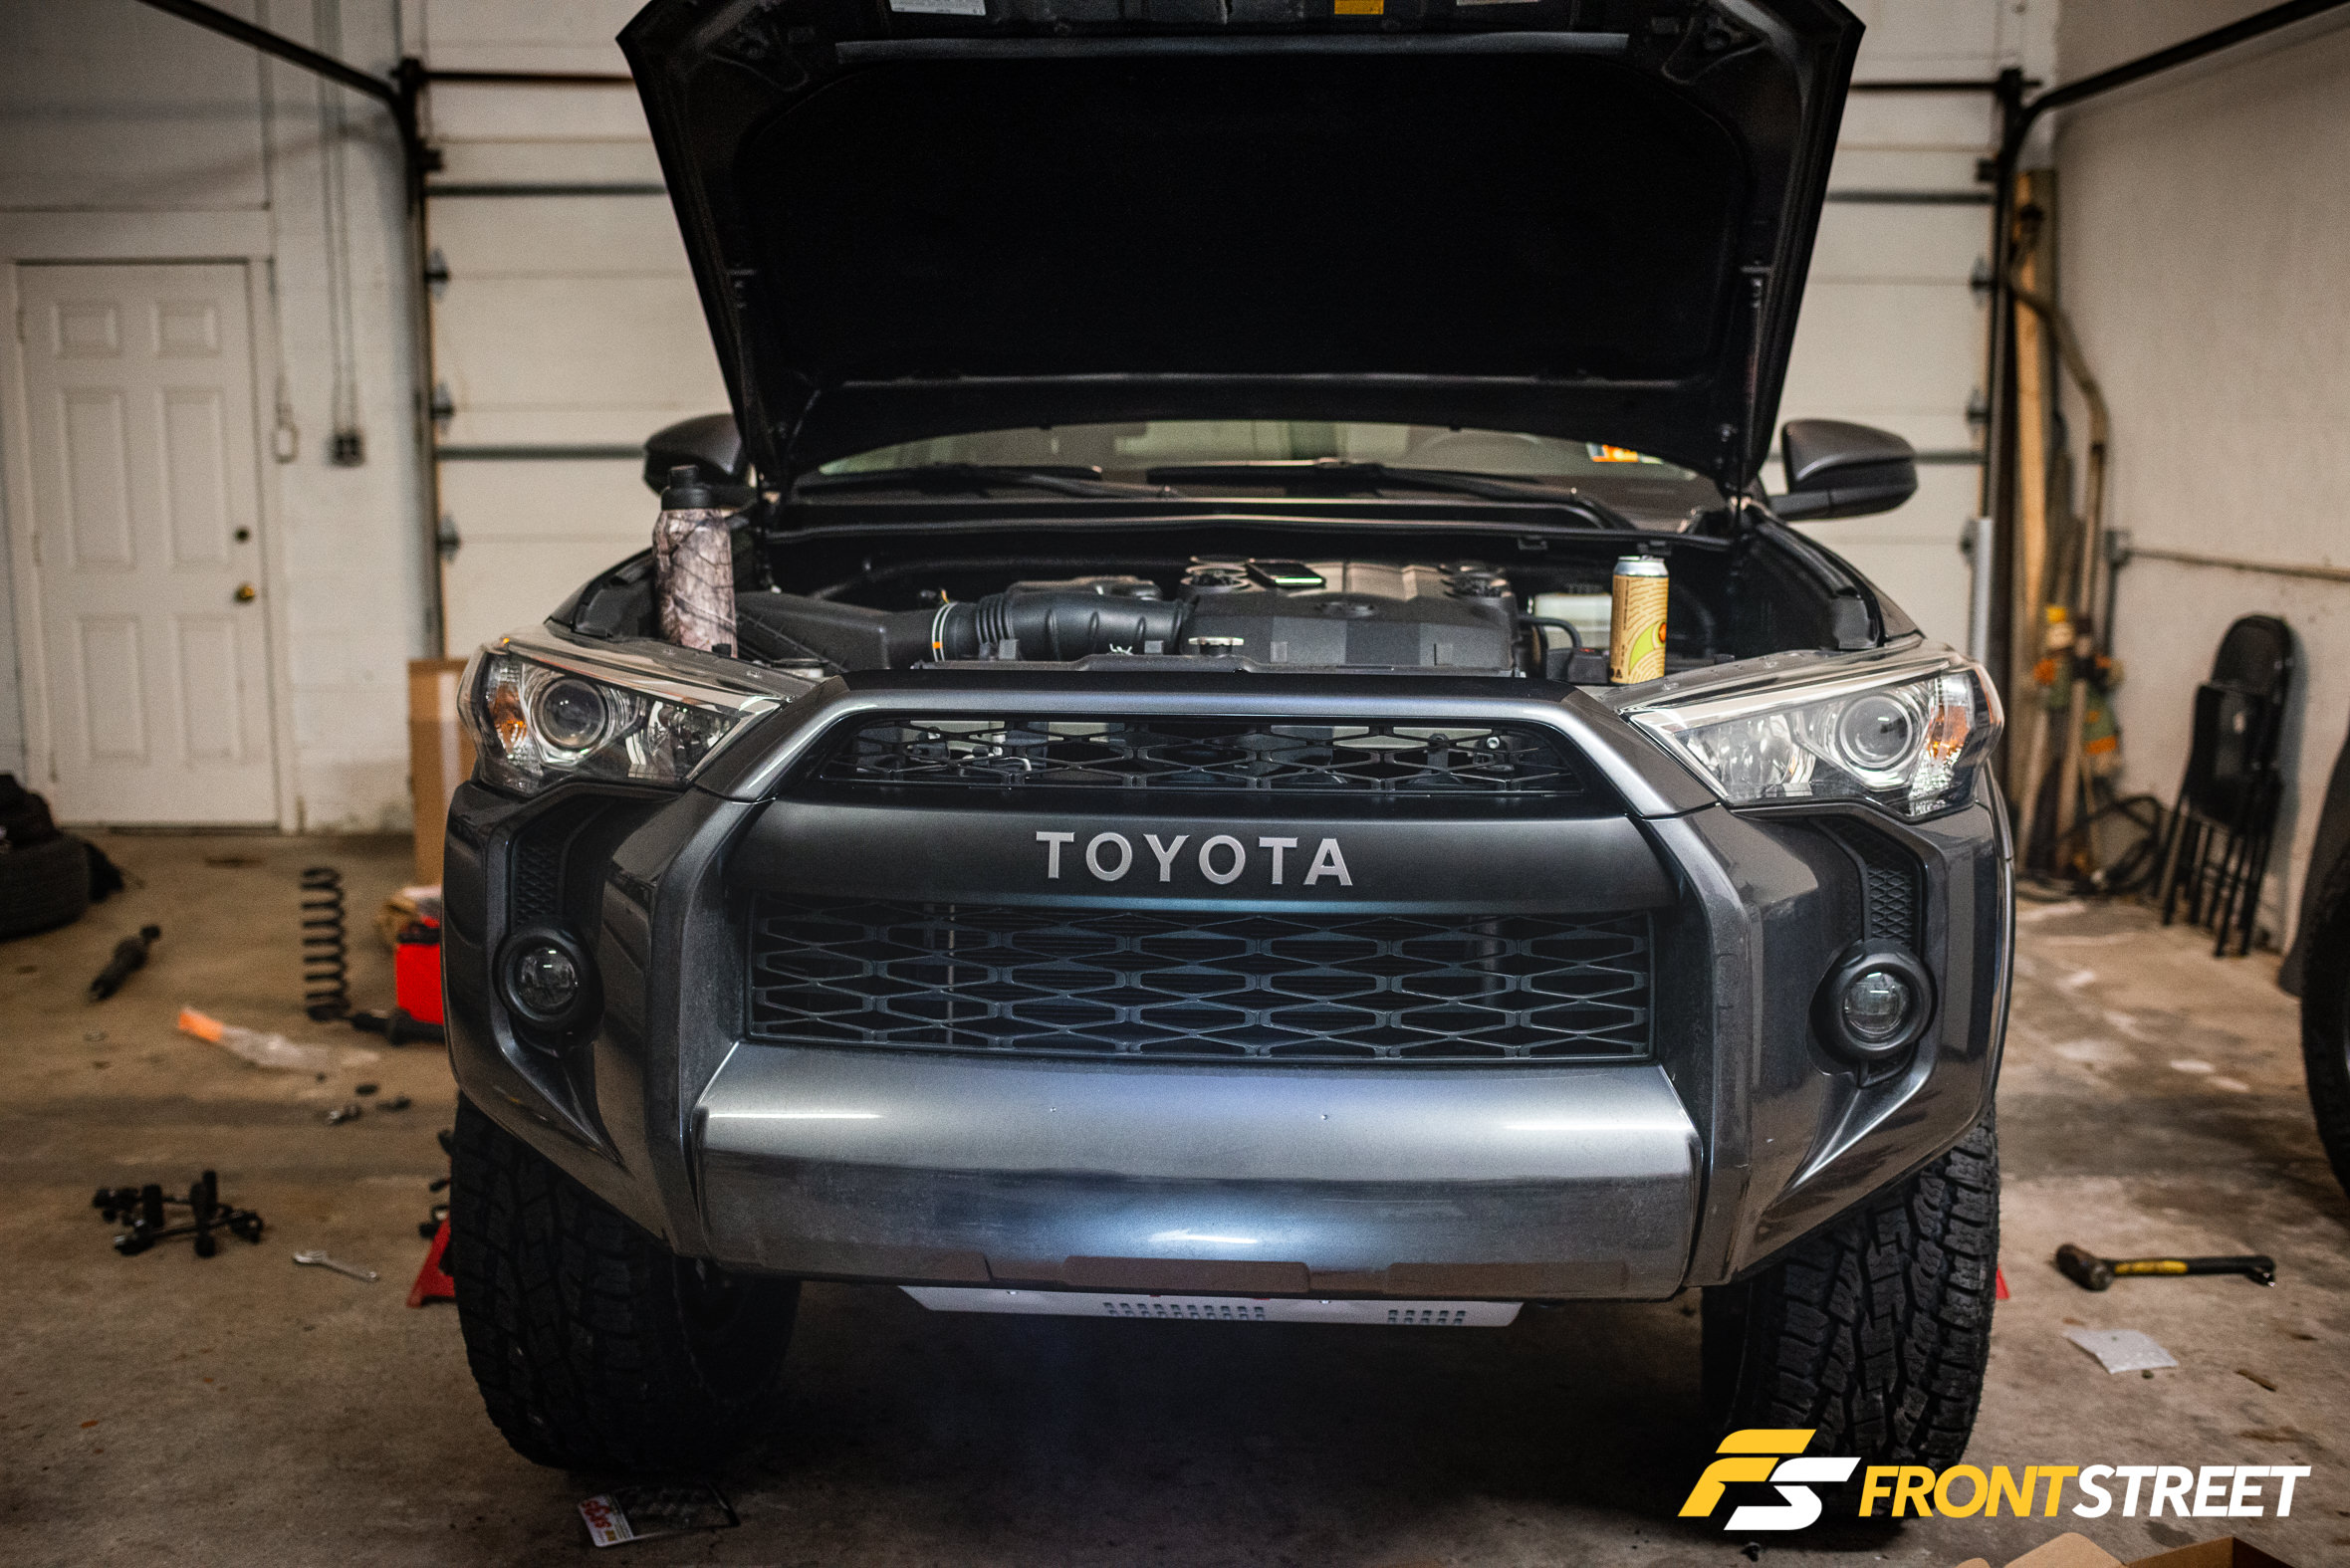
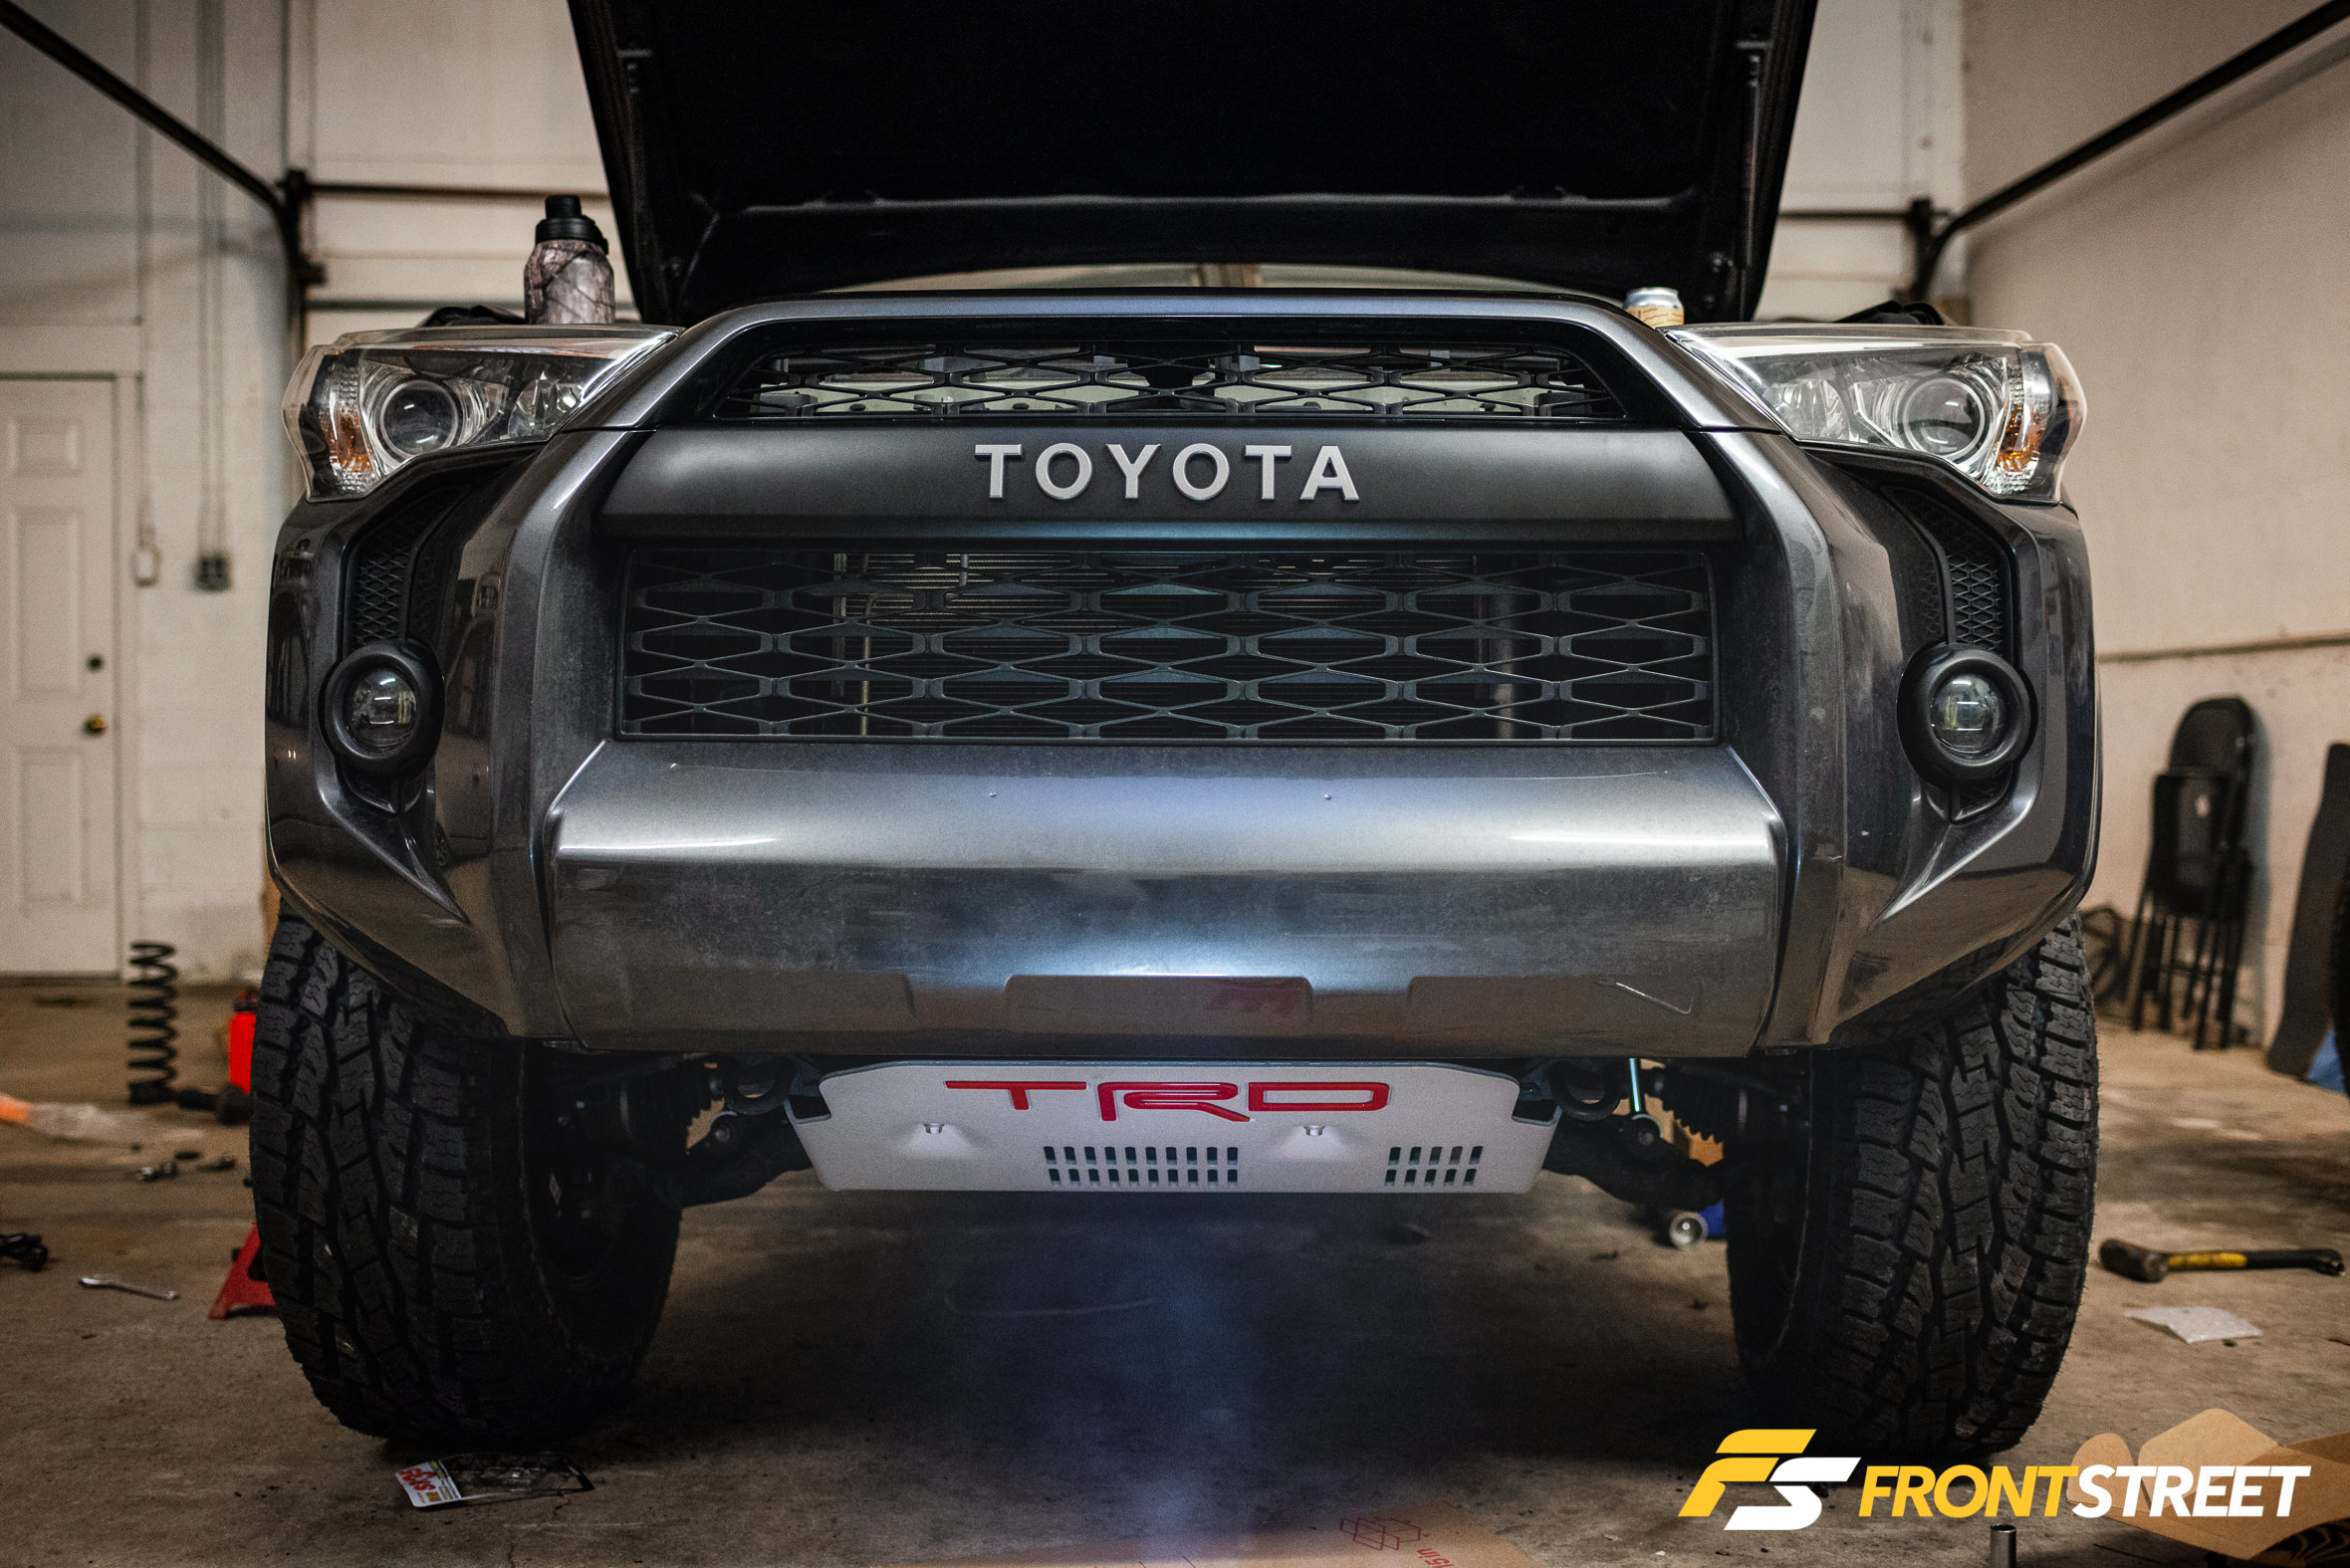
Before reattaching the bumper, the TRD PRO skid plate was set into place to finish off the truck’s upgraded front fascia, while also serving to protect the components under the car.
Rear Suspension And Wheel Spacer Install
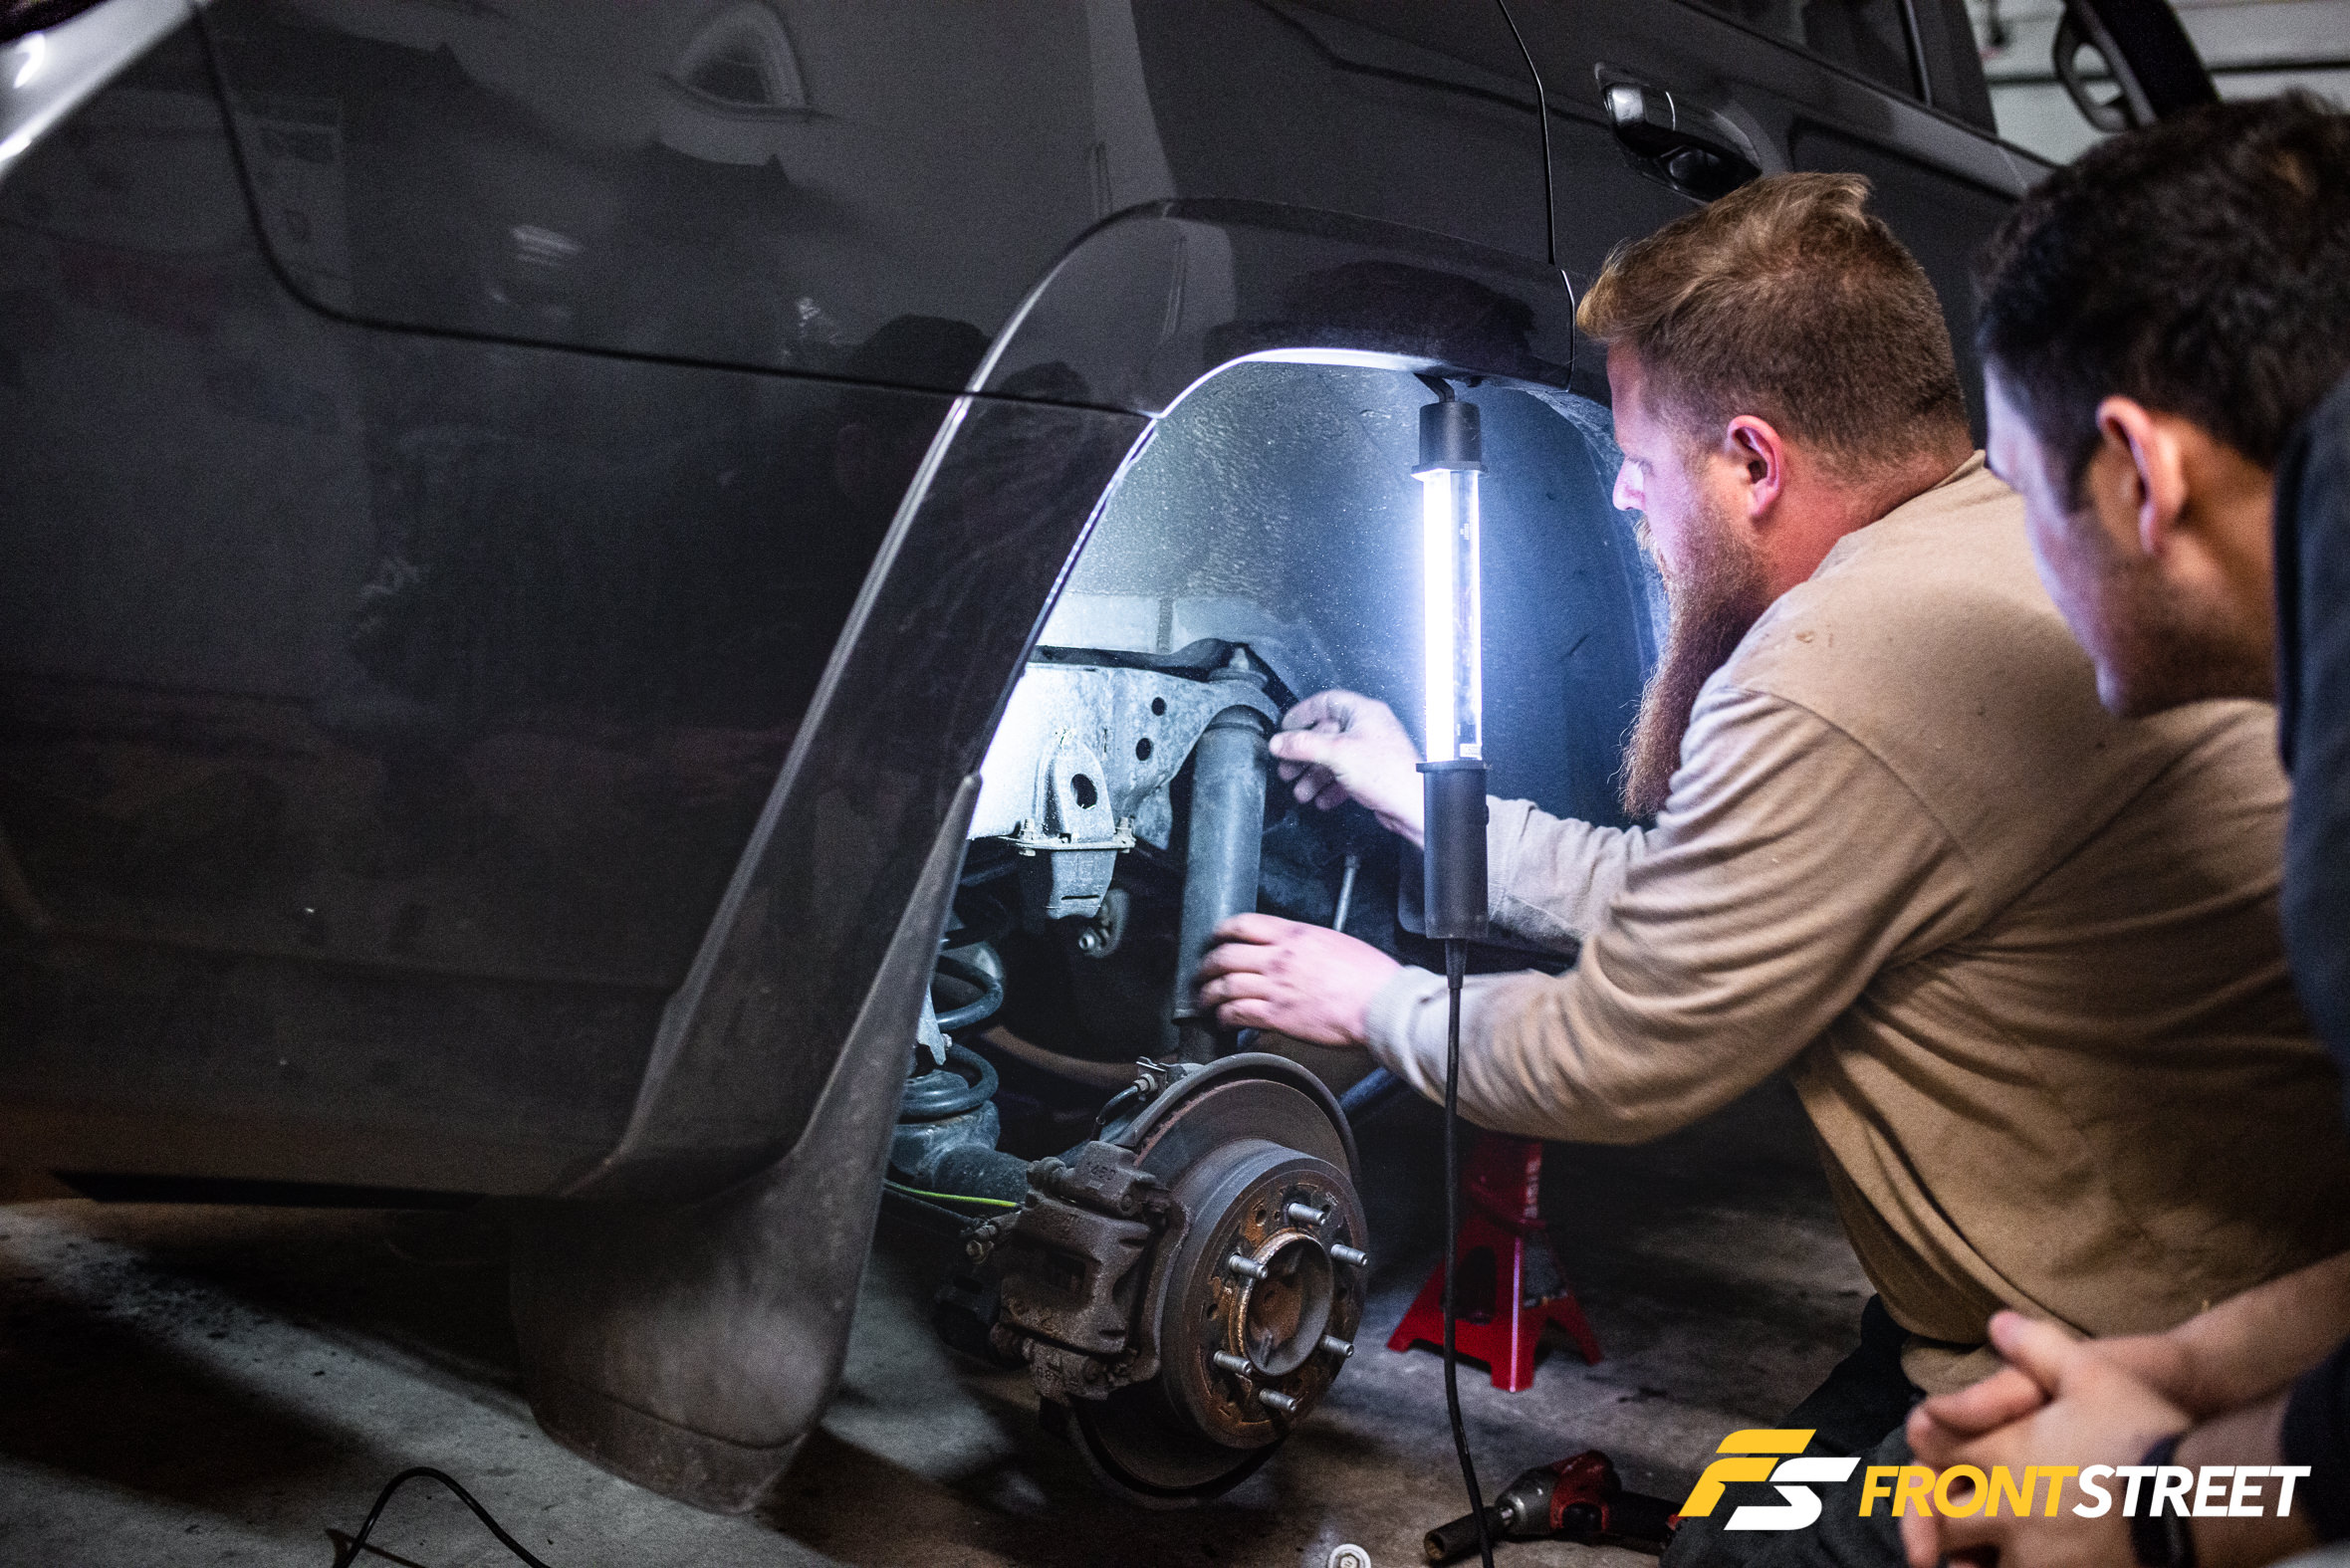
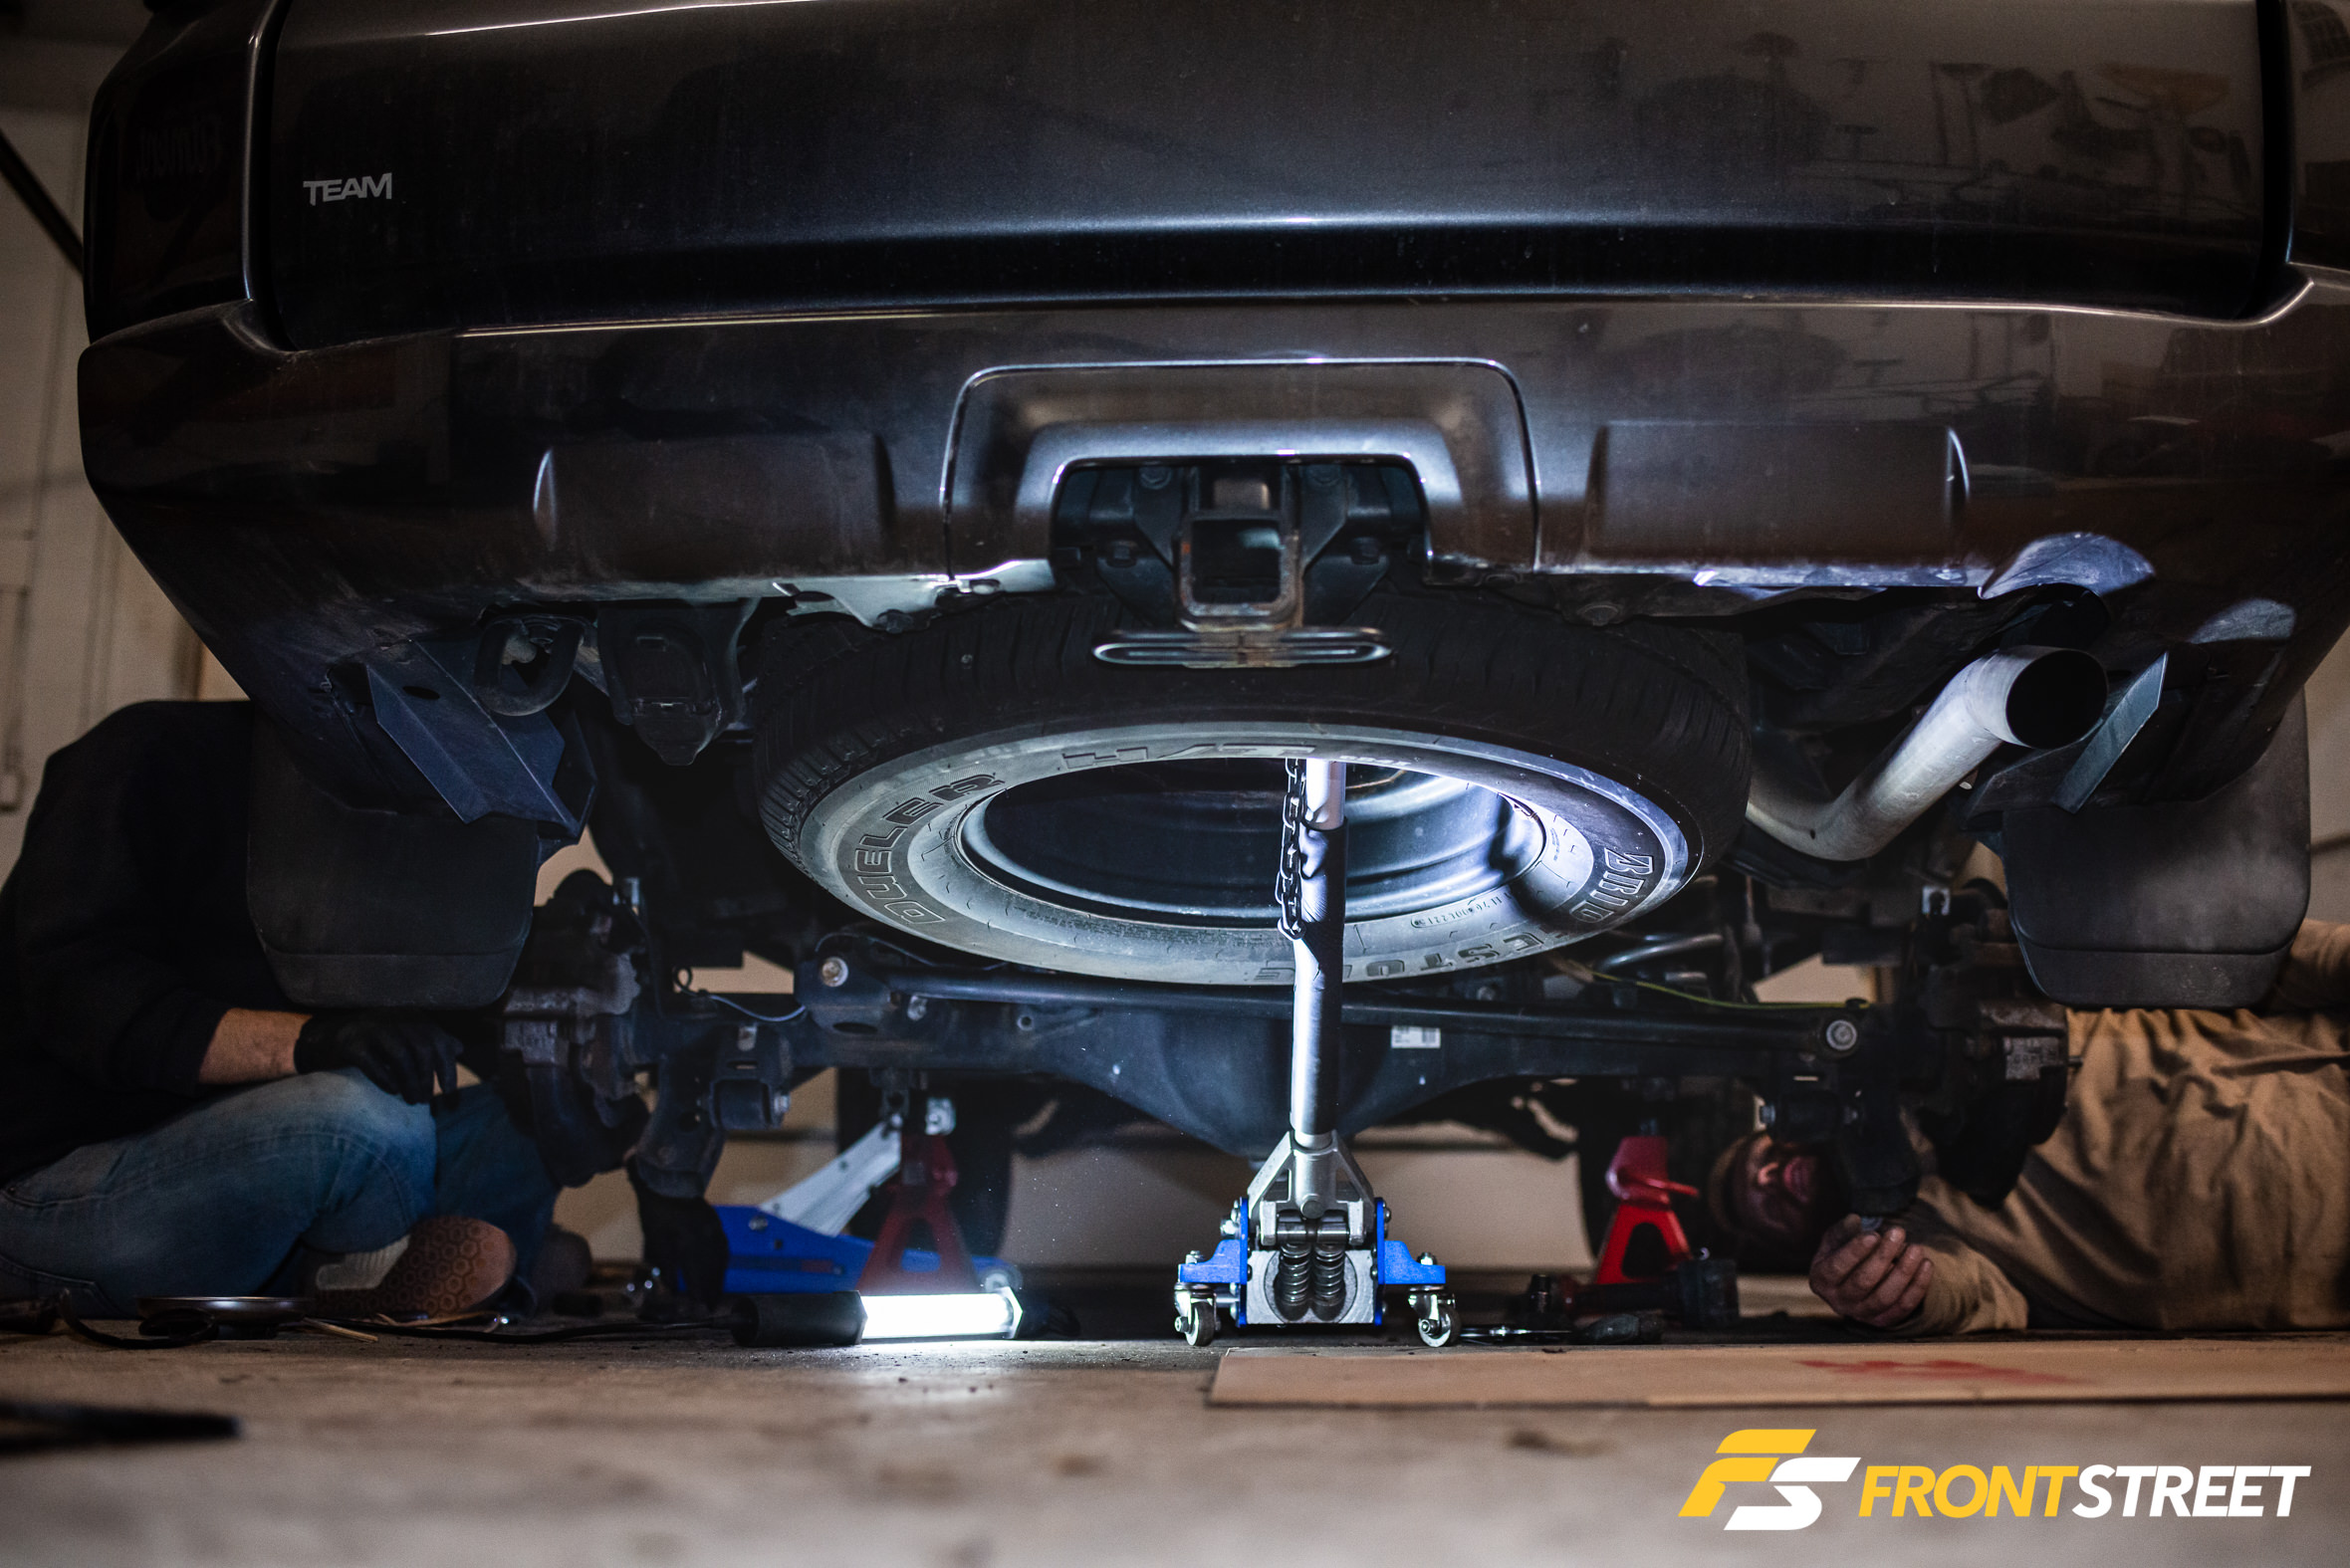
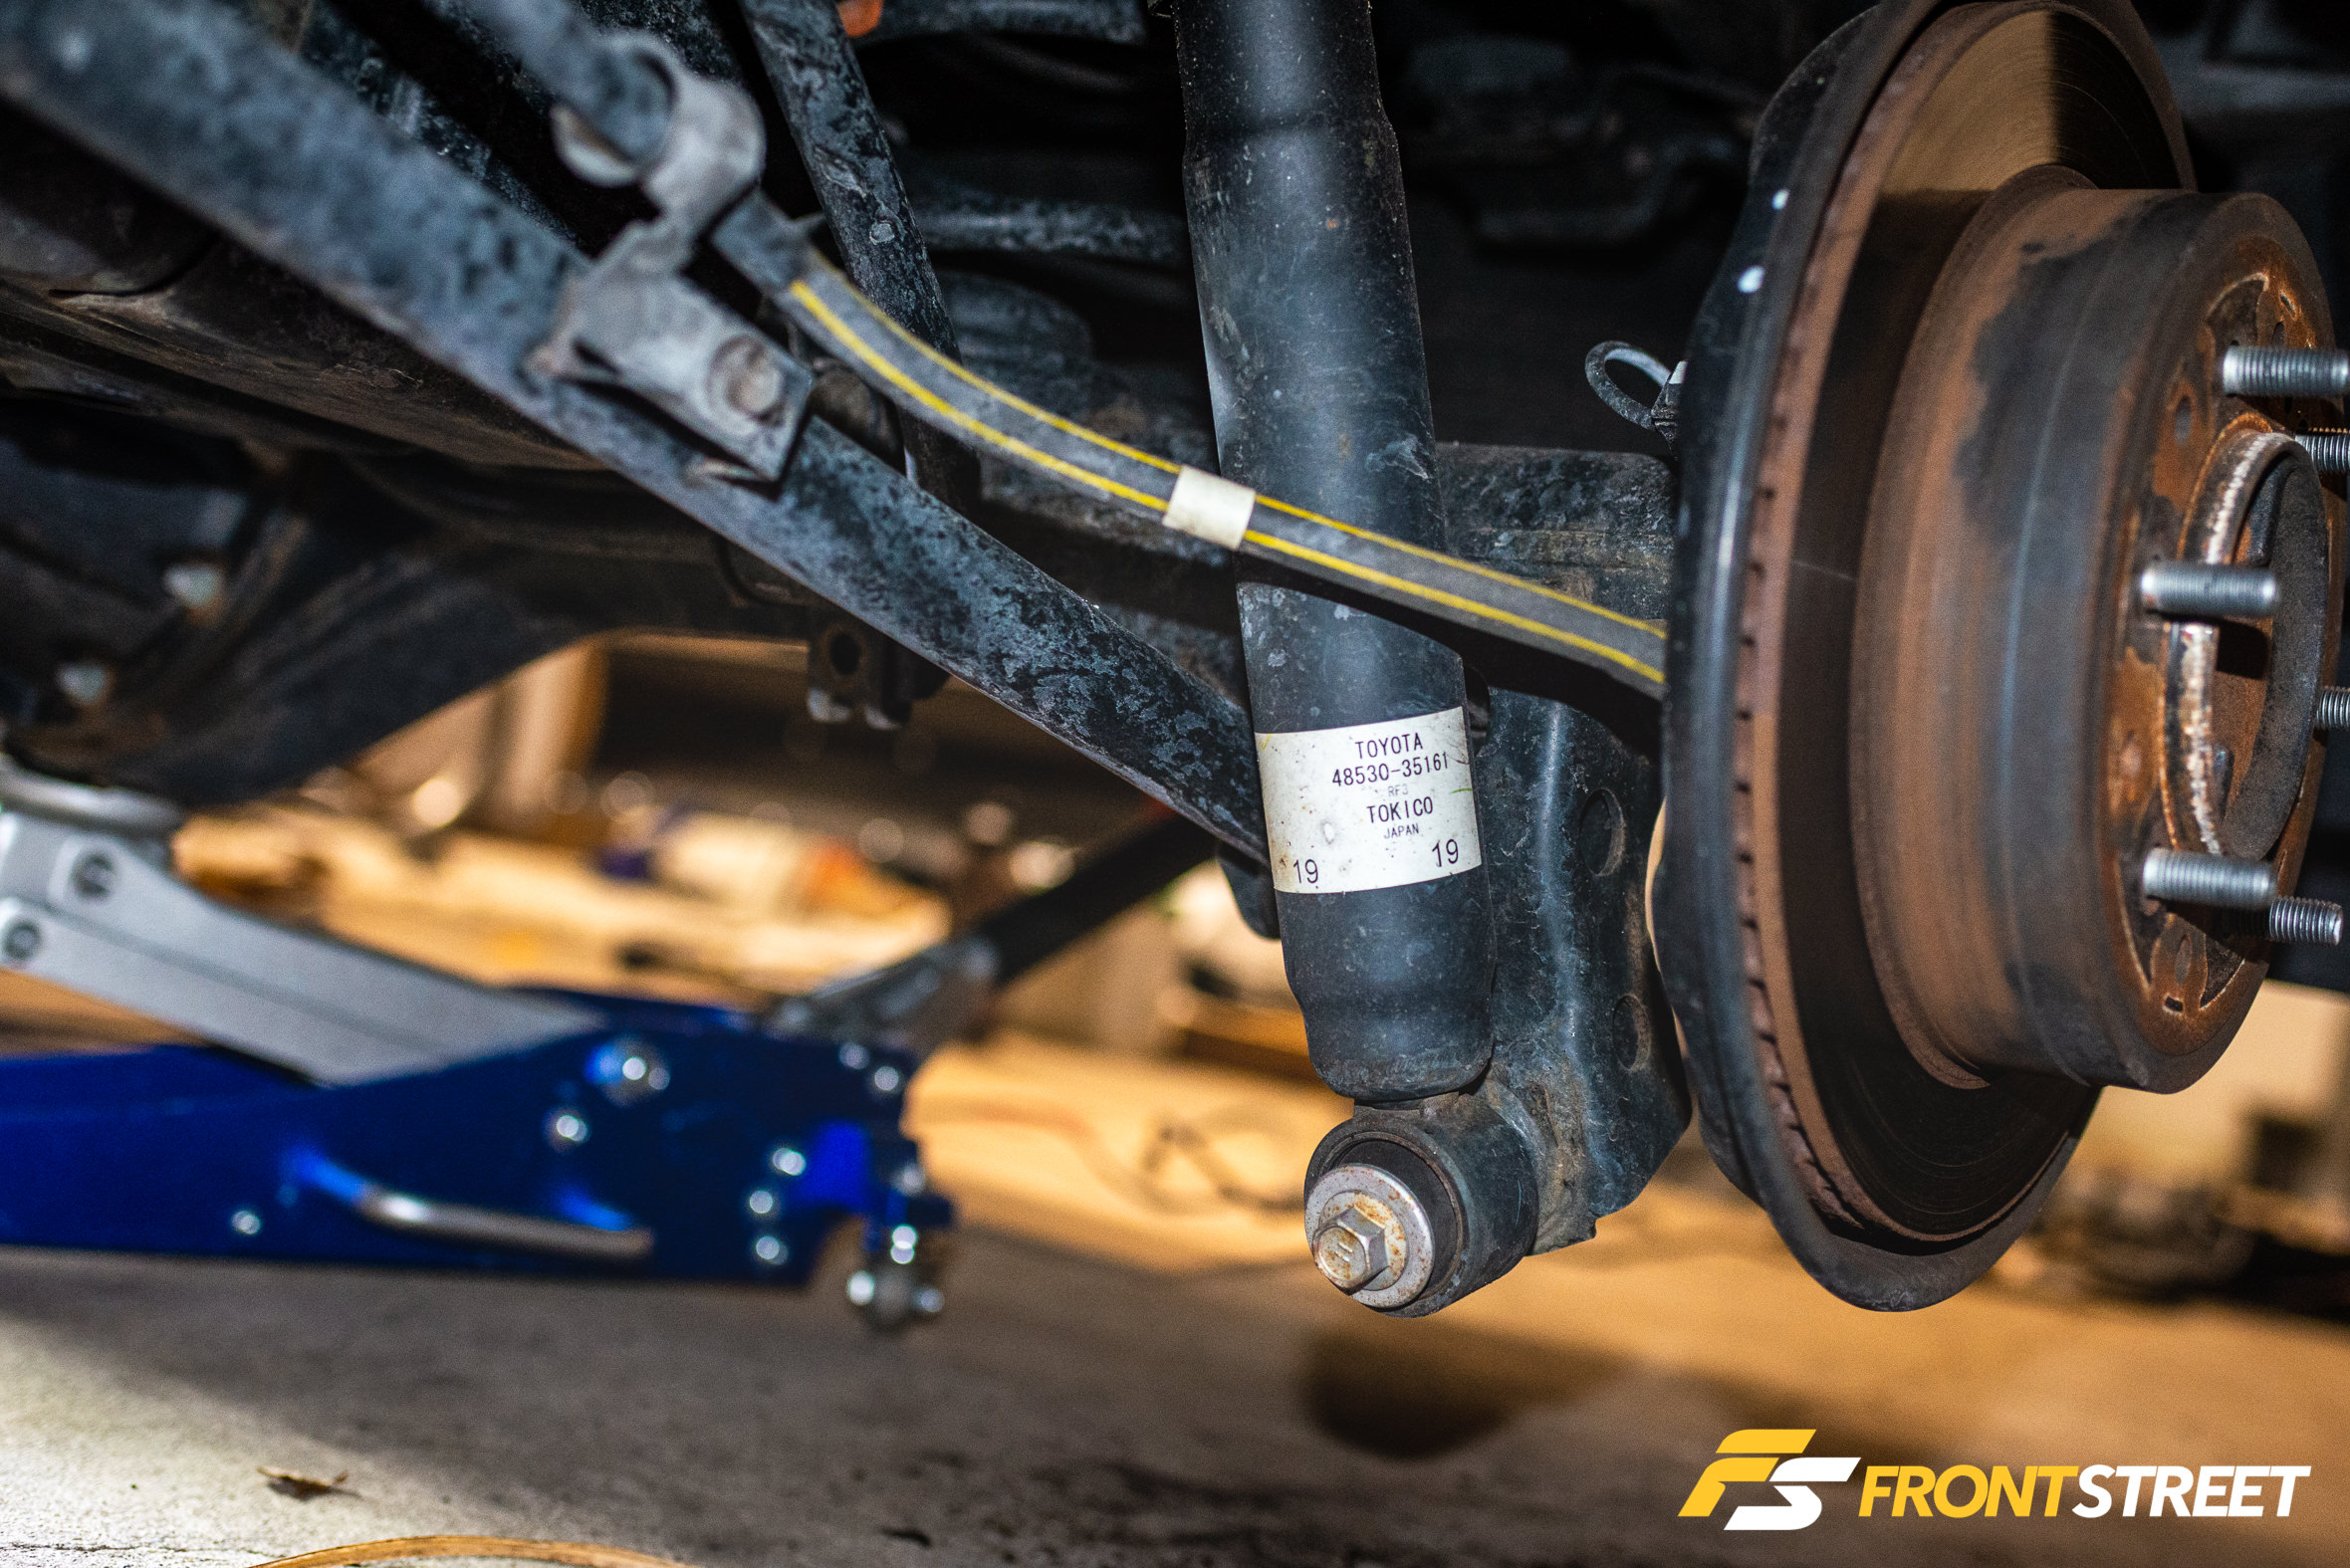
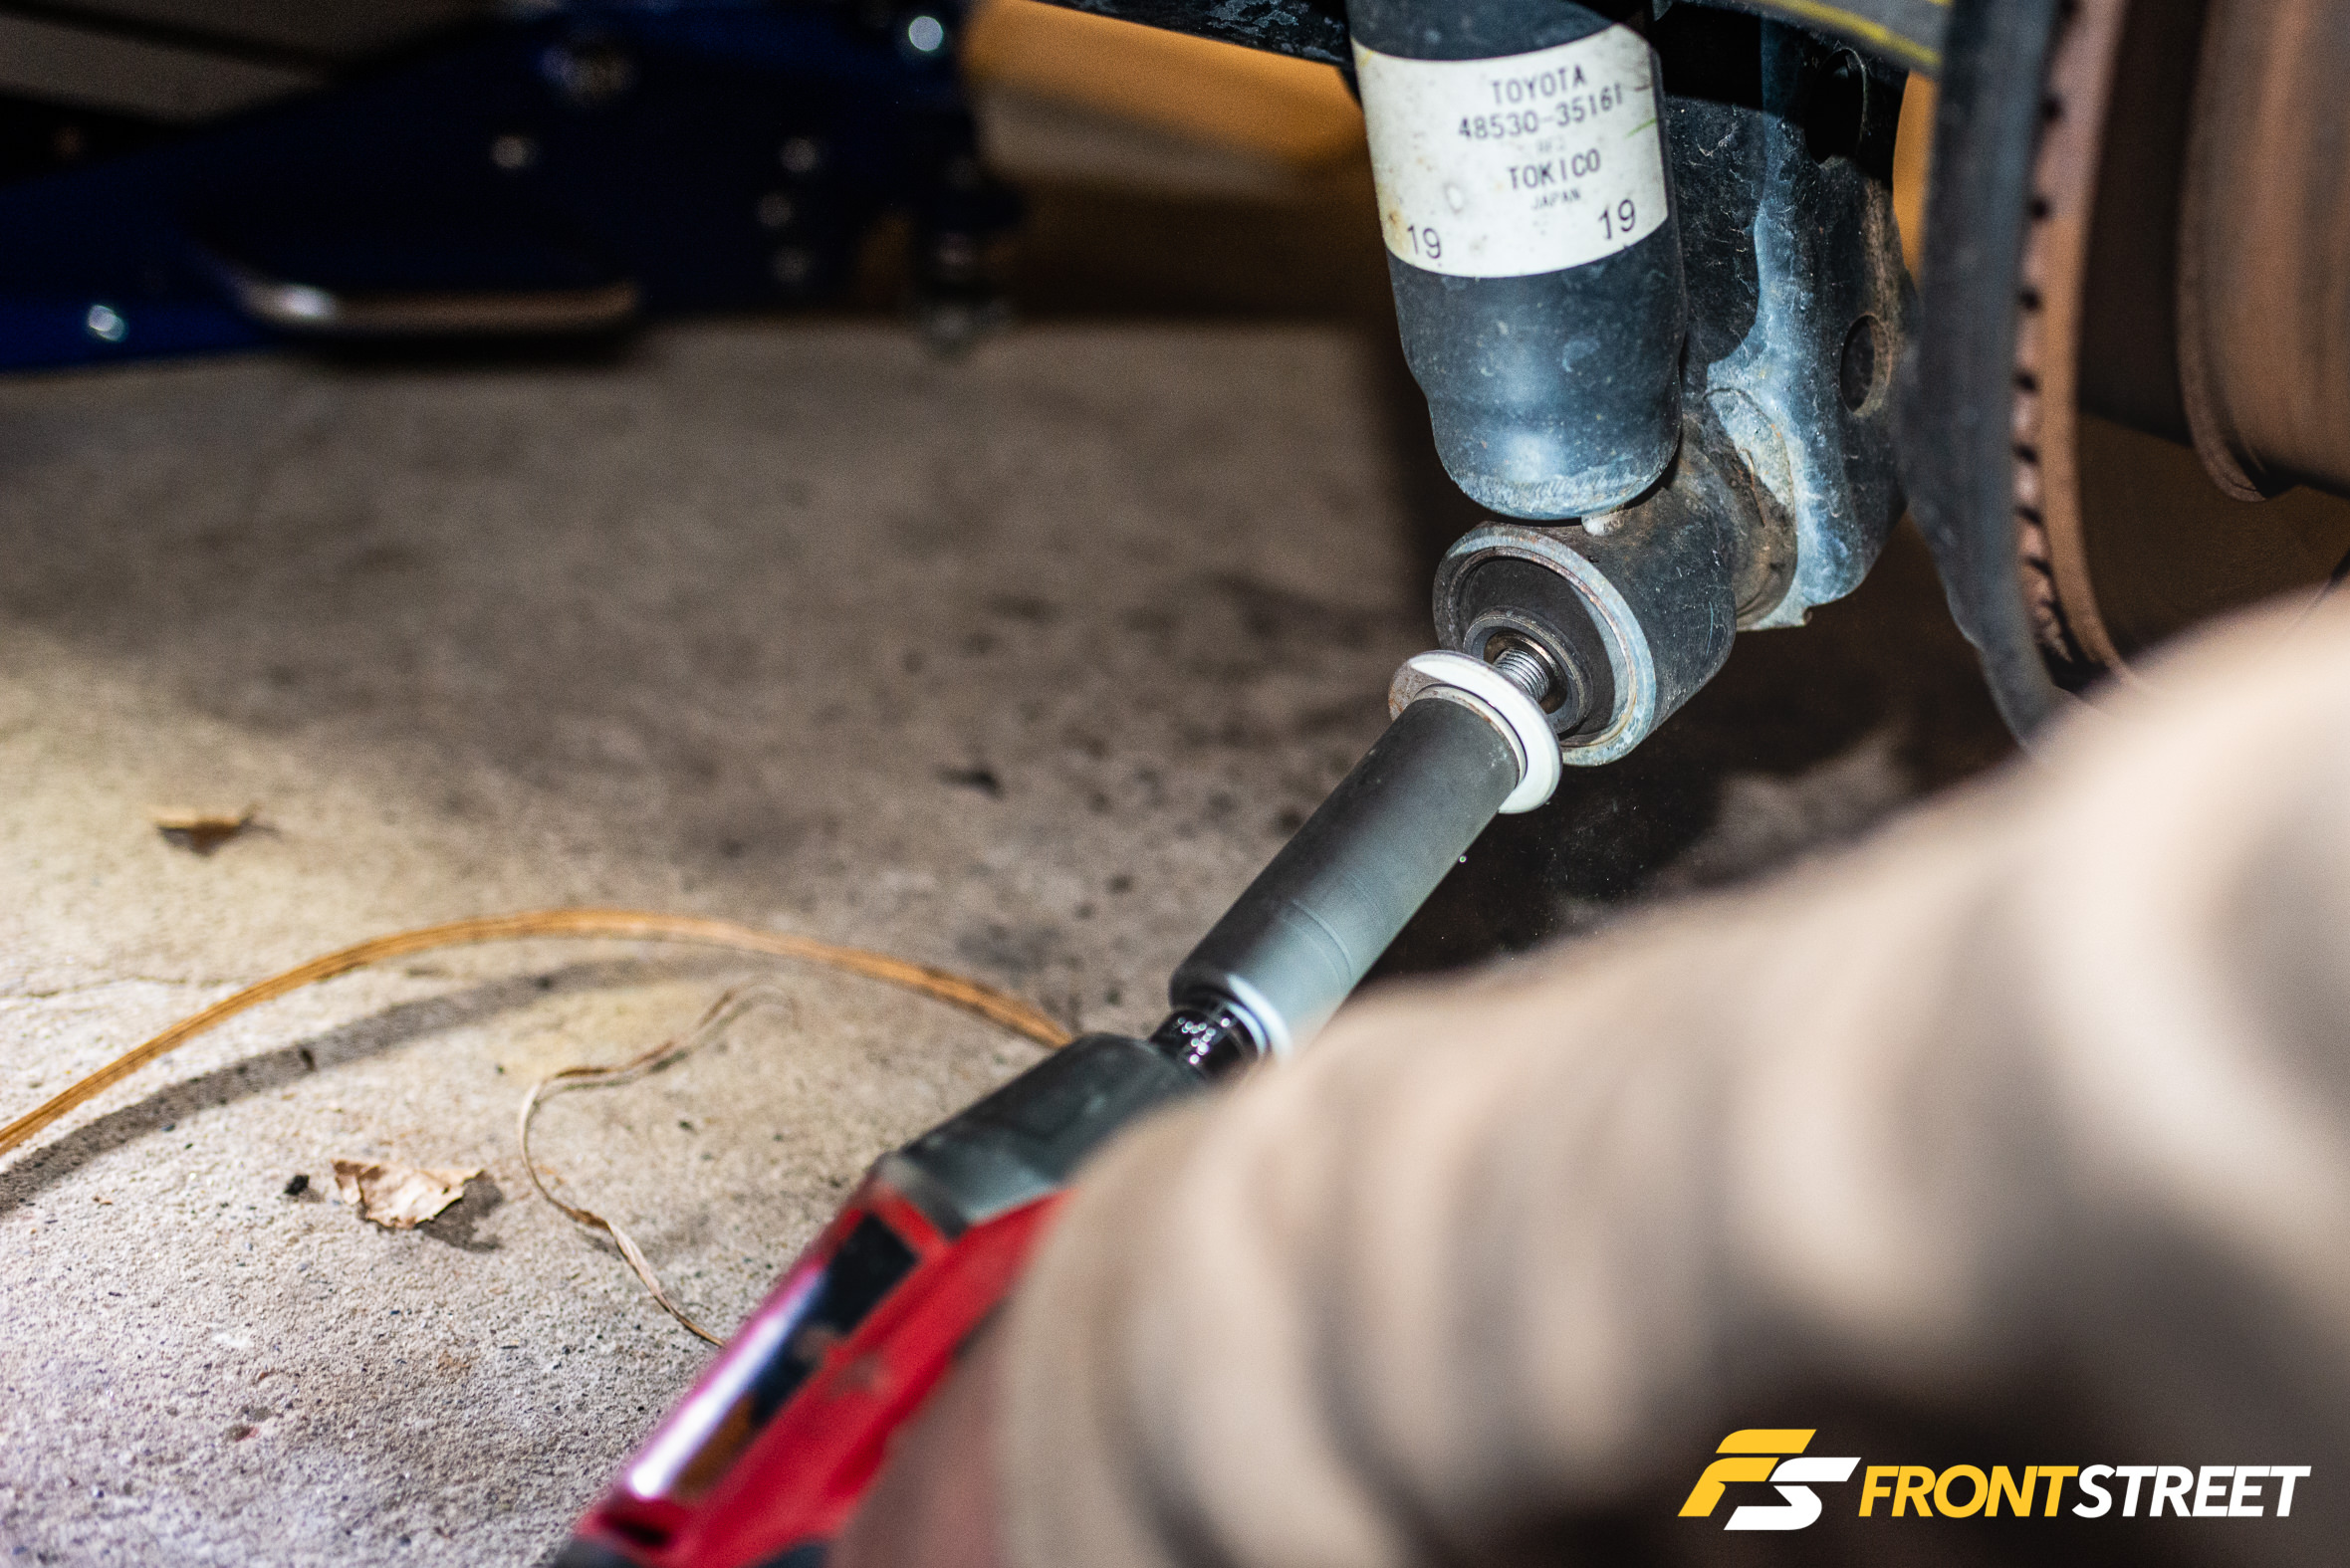
The rear shock removal is self-explanatory, however there are a few other bits that need to be taken off first to free up the rear springs. For this, the truck’s rear differential was supported with a jack before proceeding.
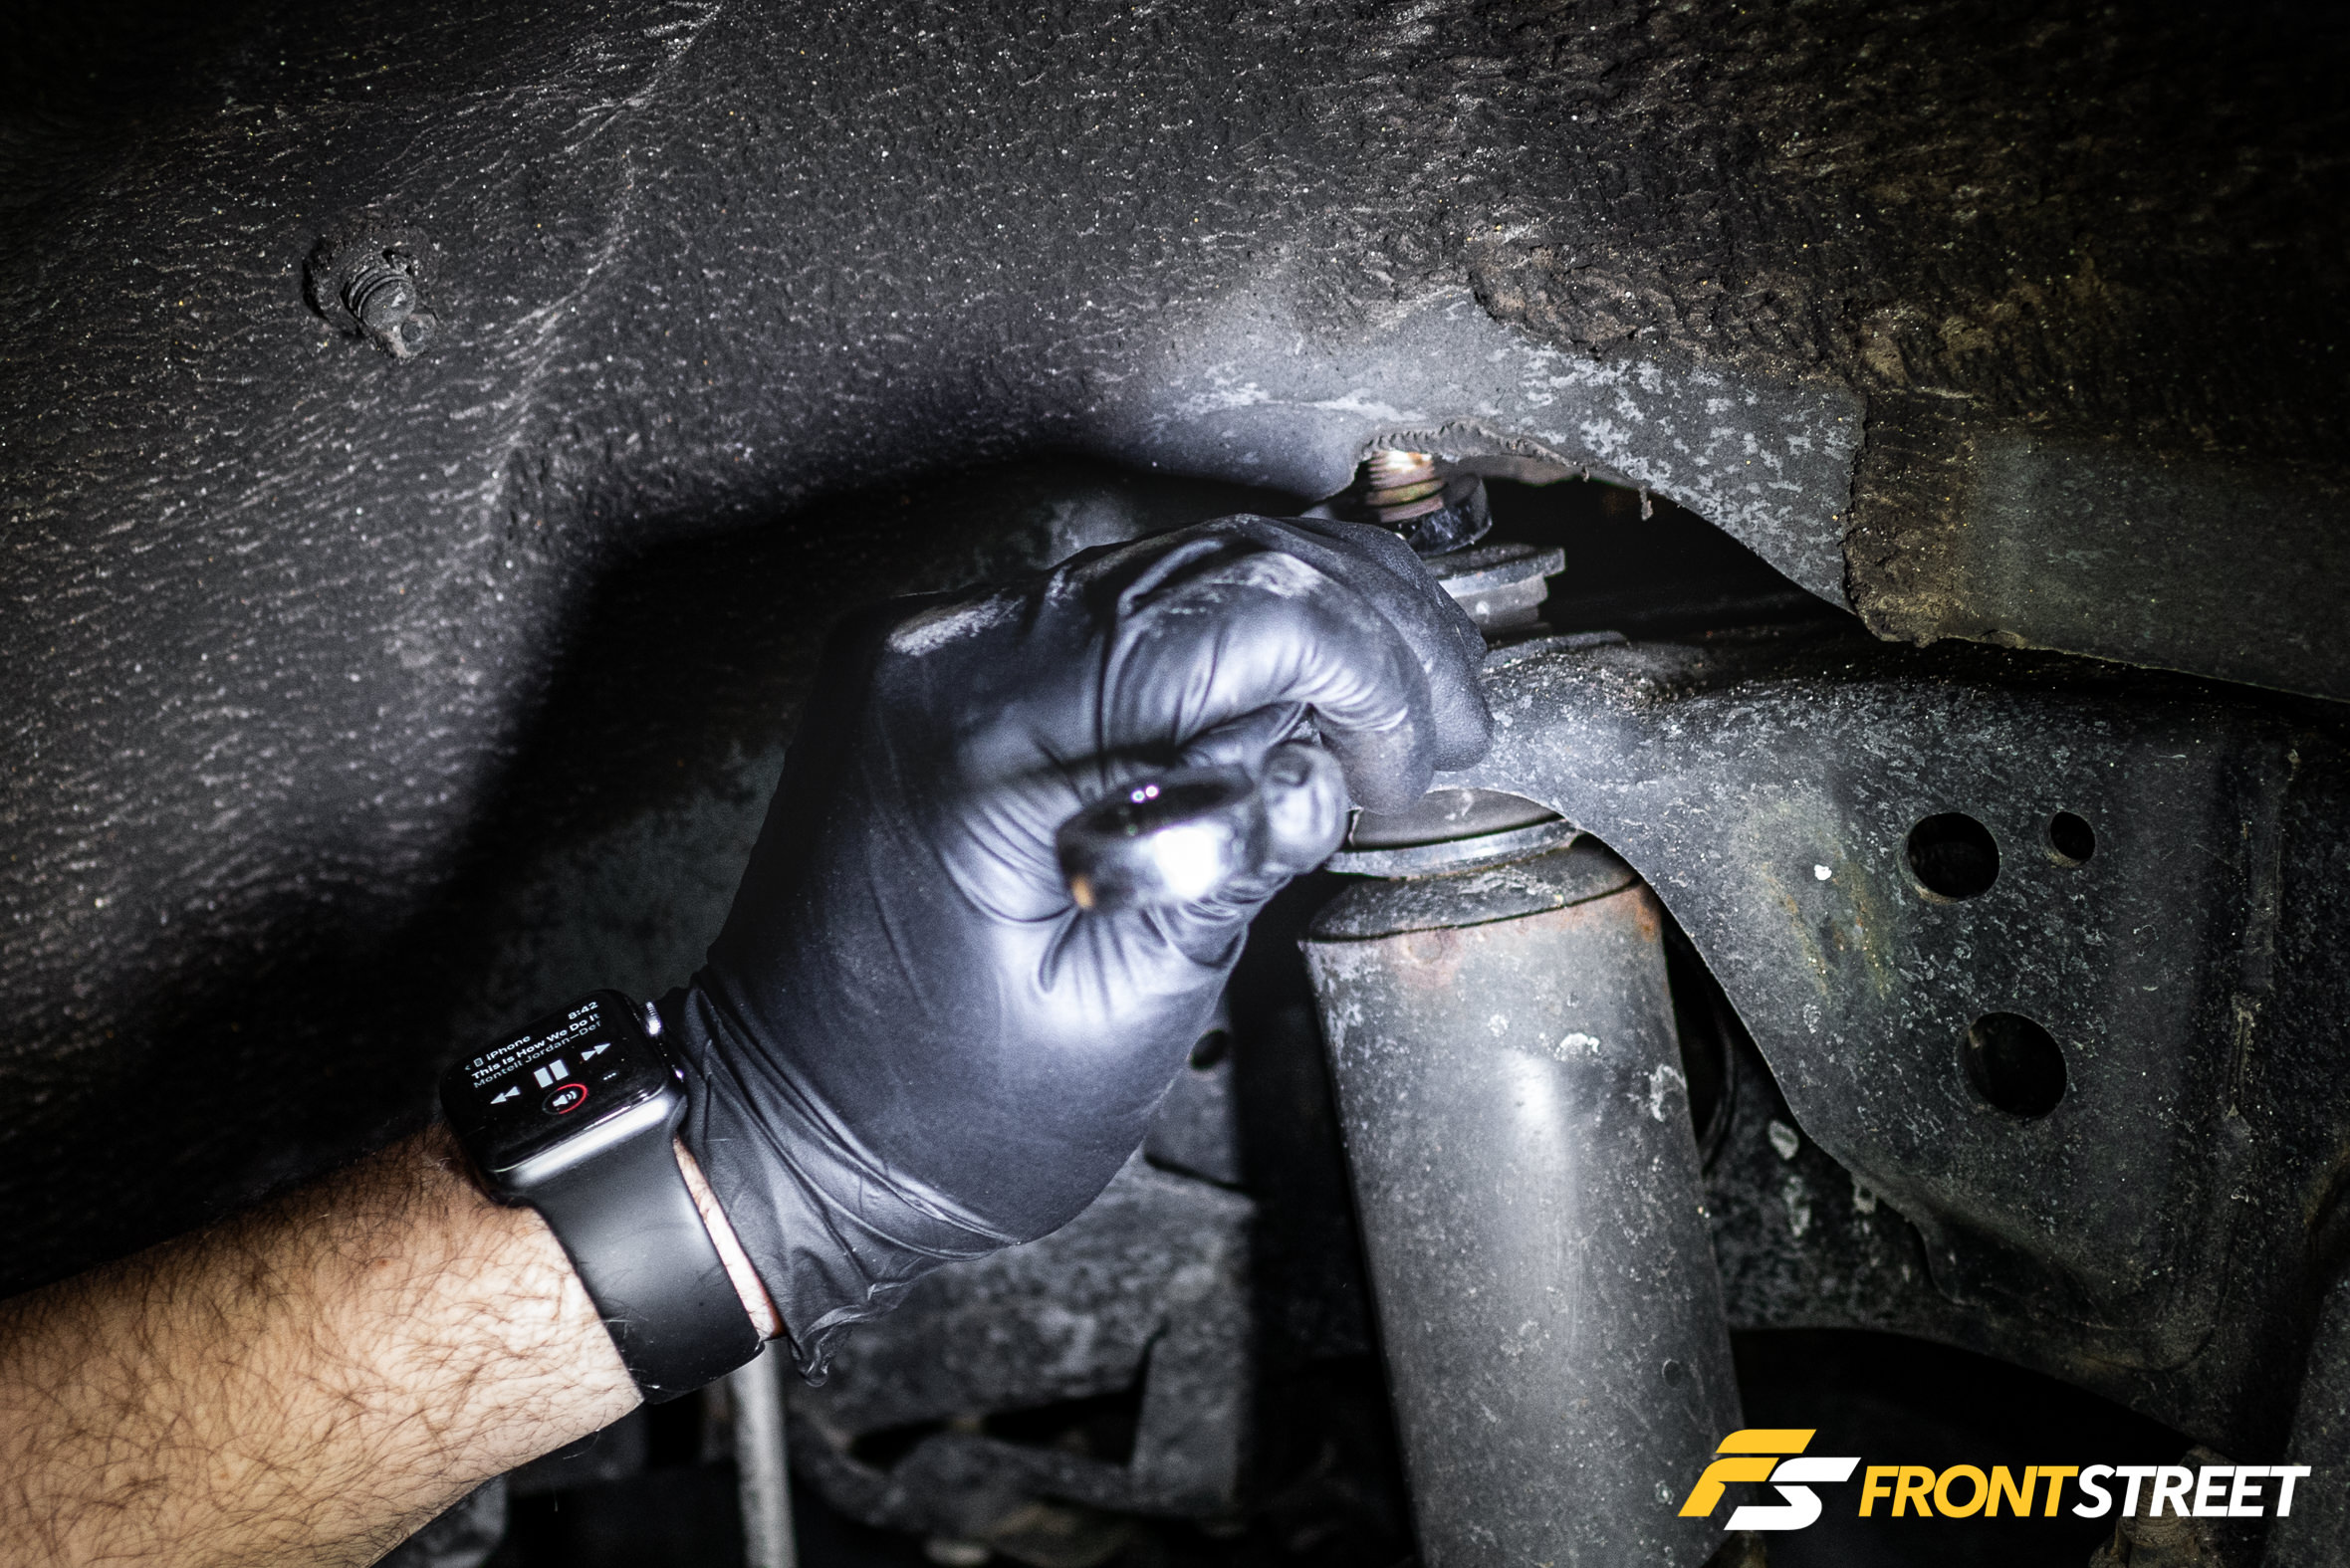
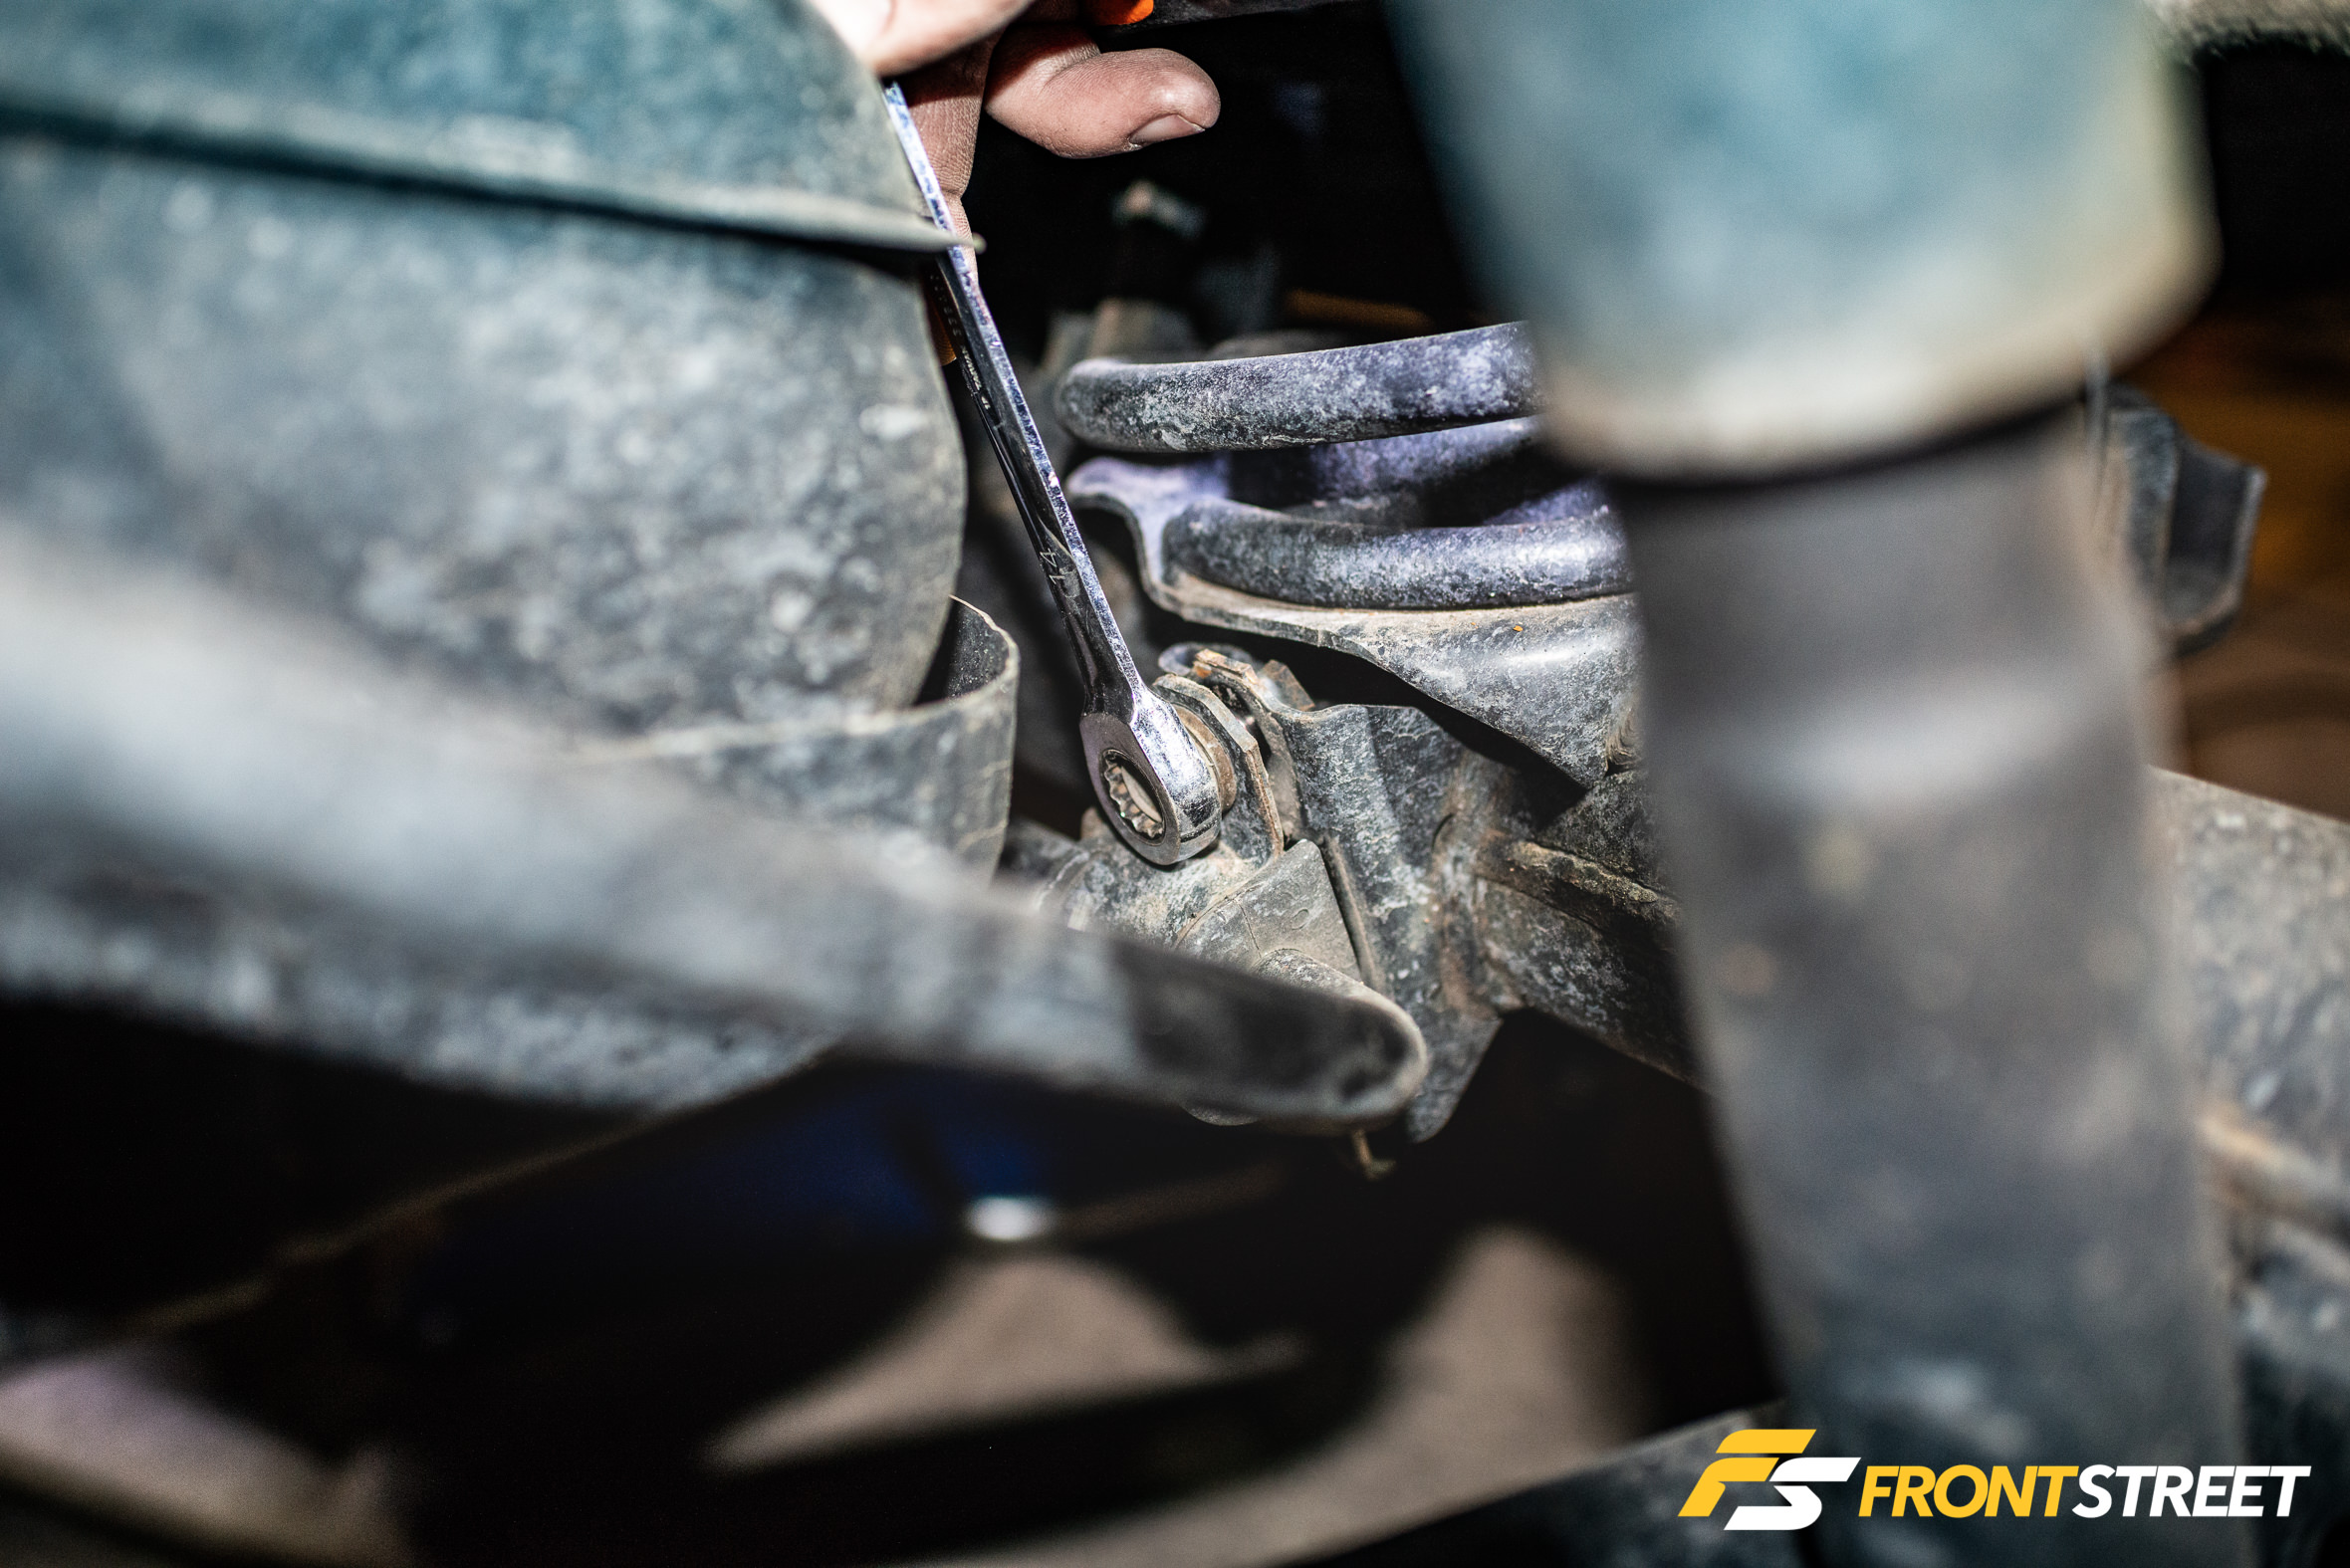
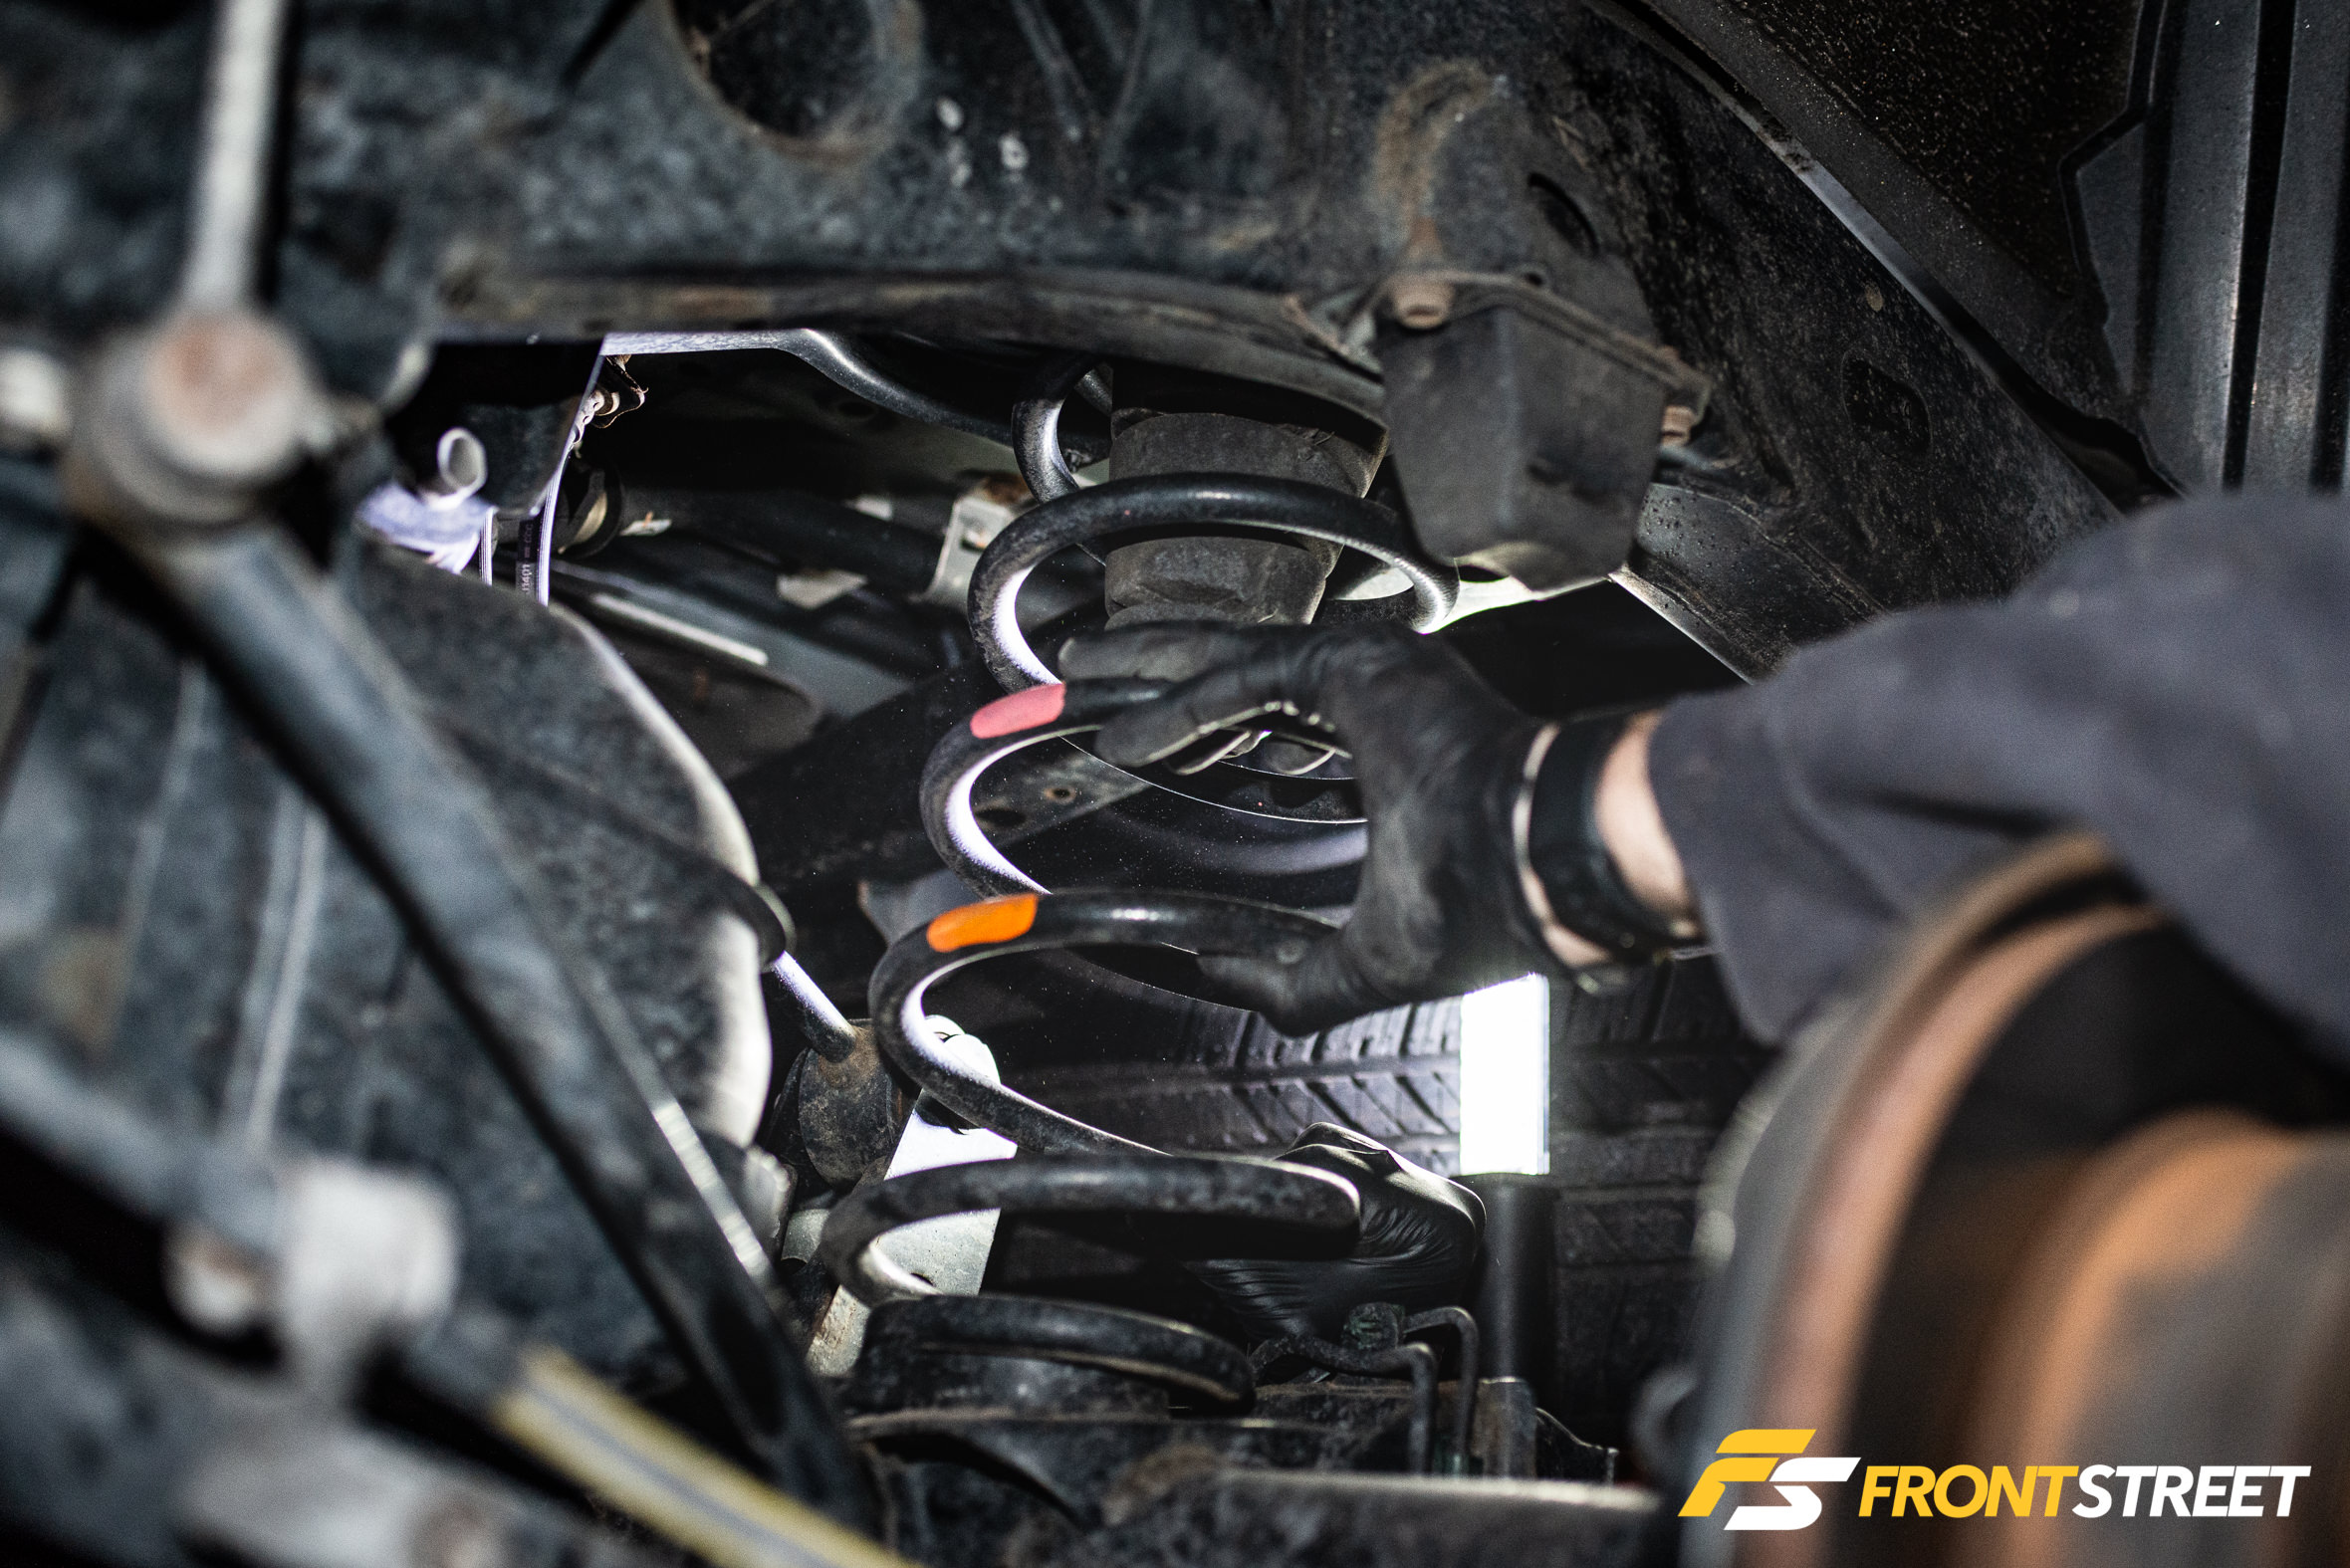
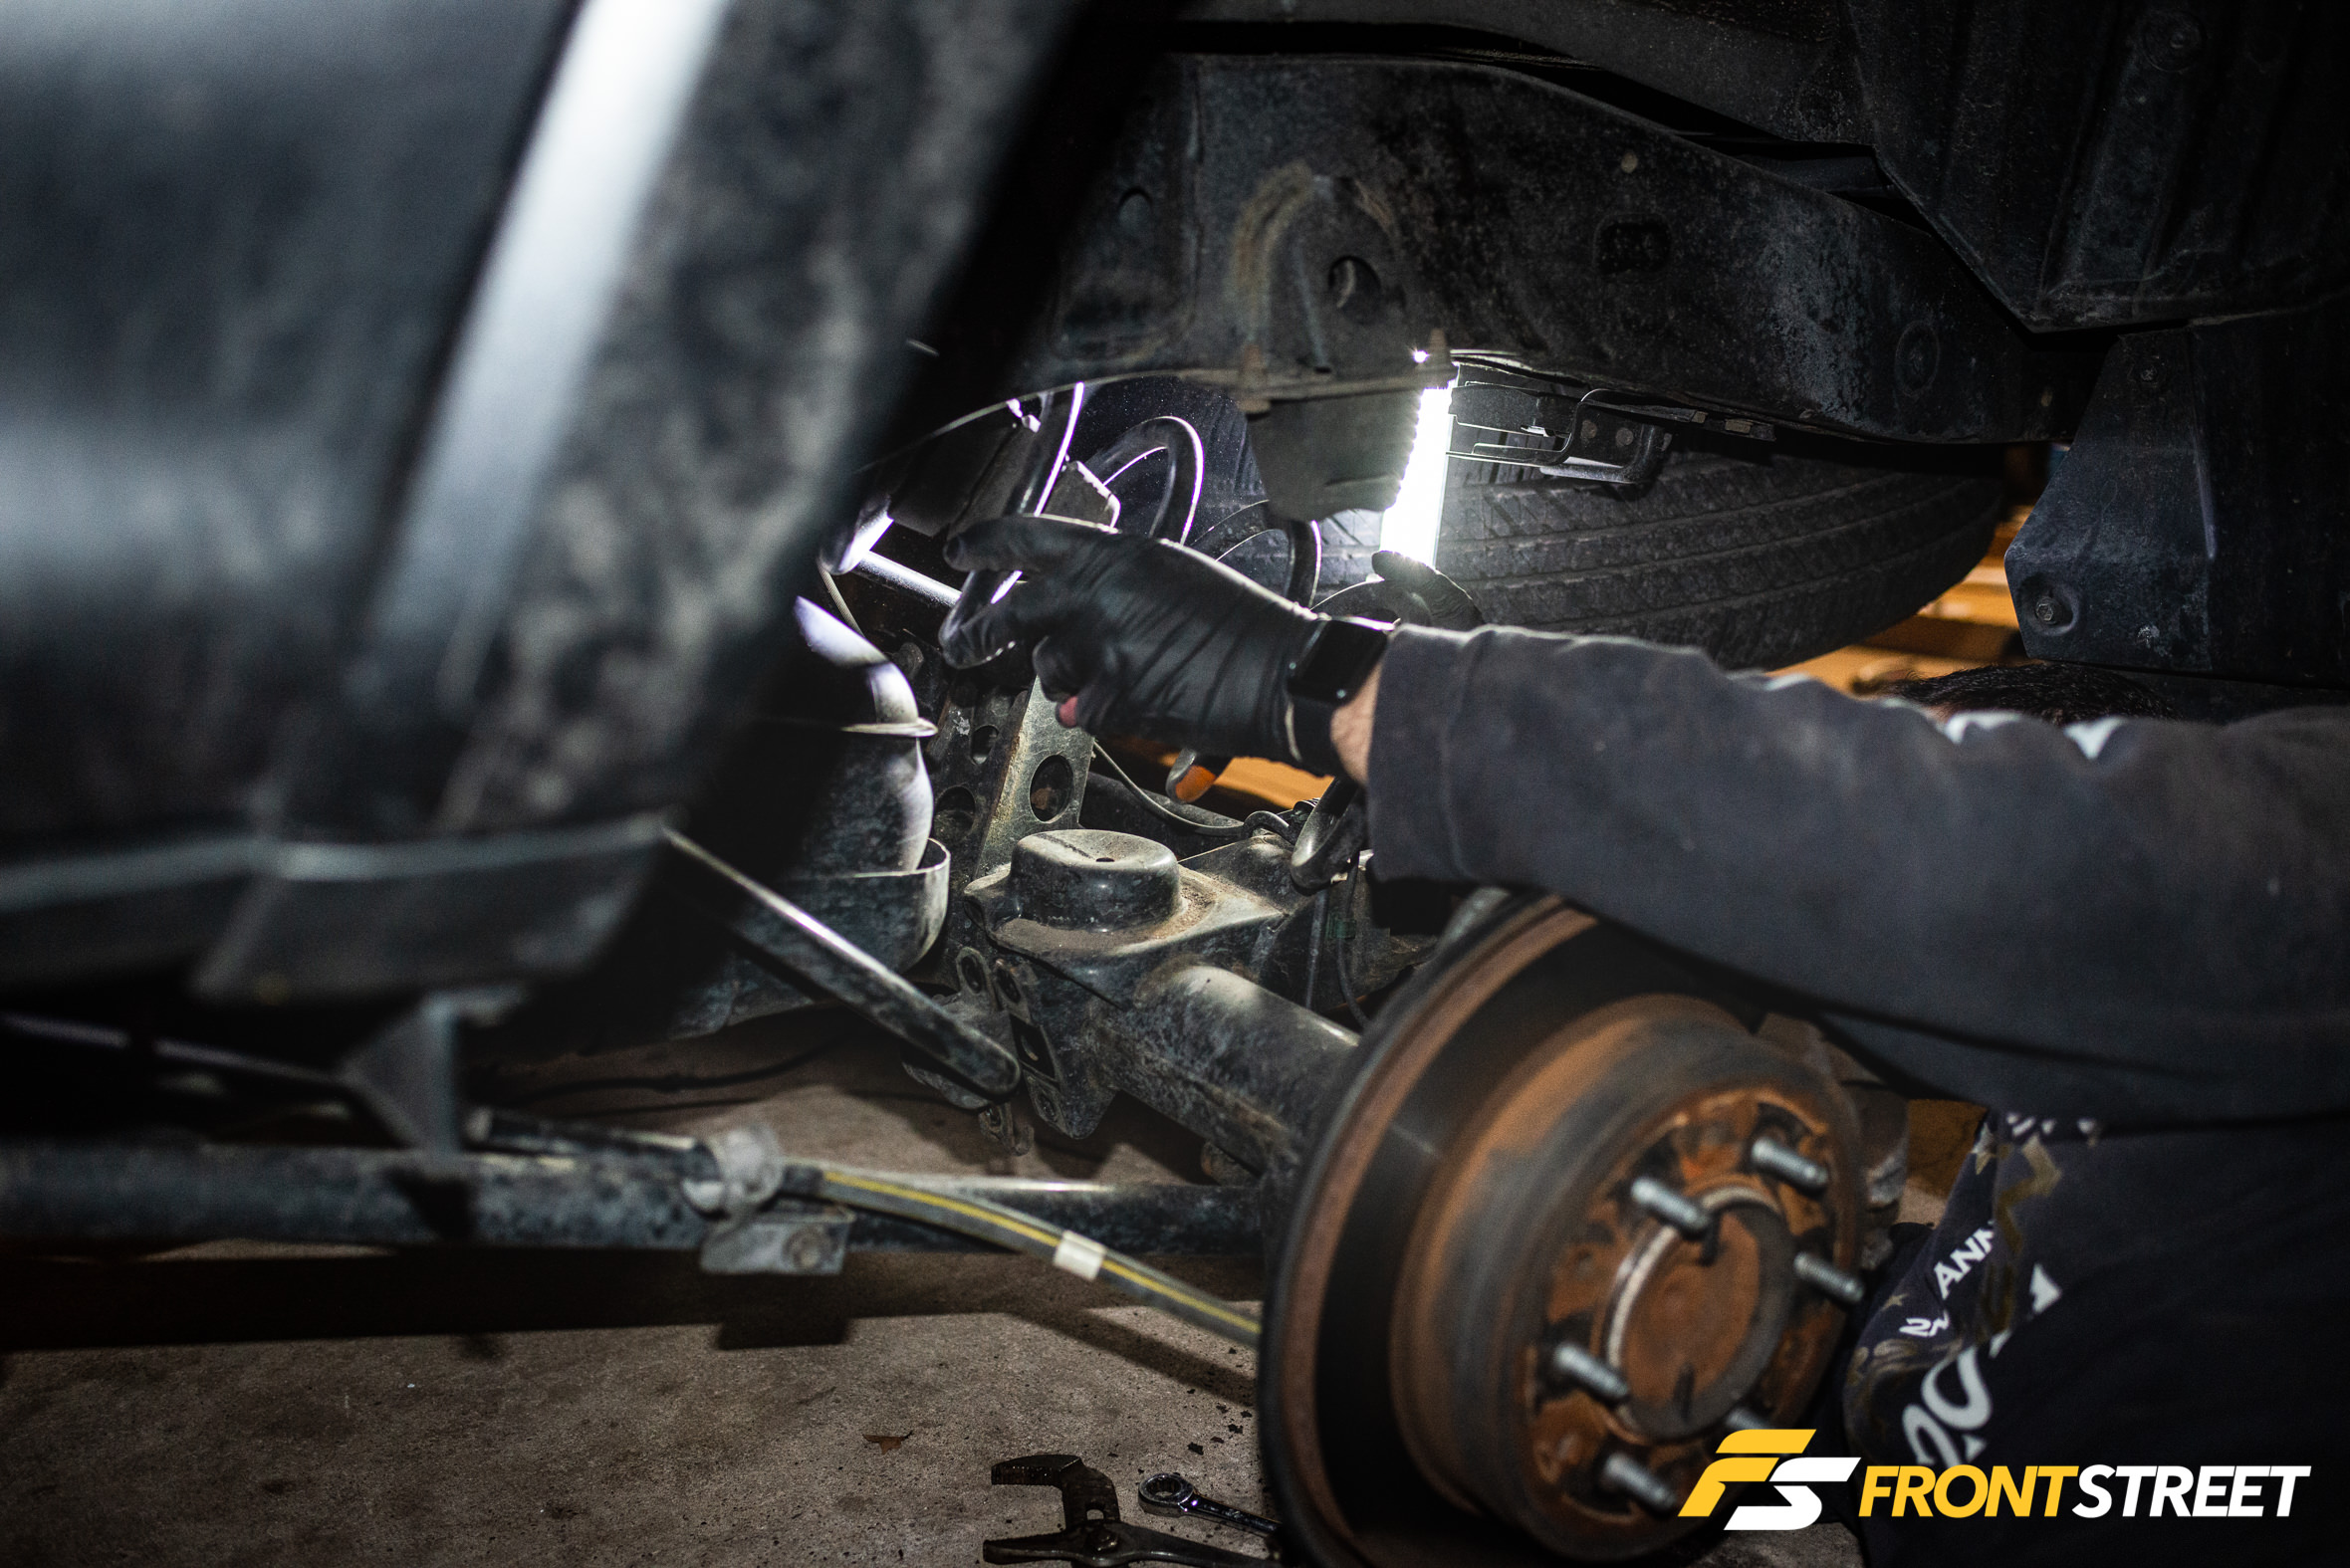
After removing the sway bar brackets, the factory shock, and the rear lateral control arm, there was enough leeway to pull the OEM spring from its confines.
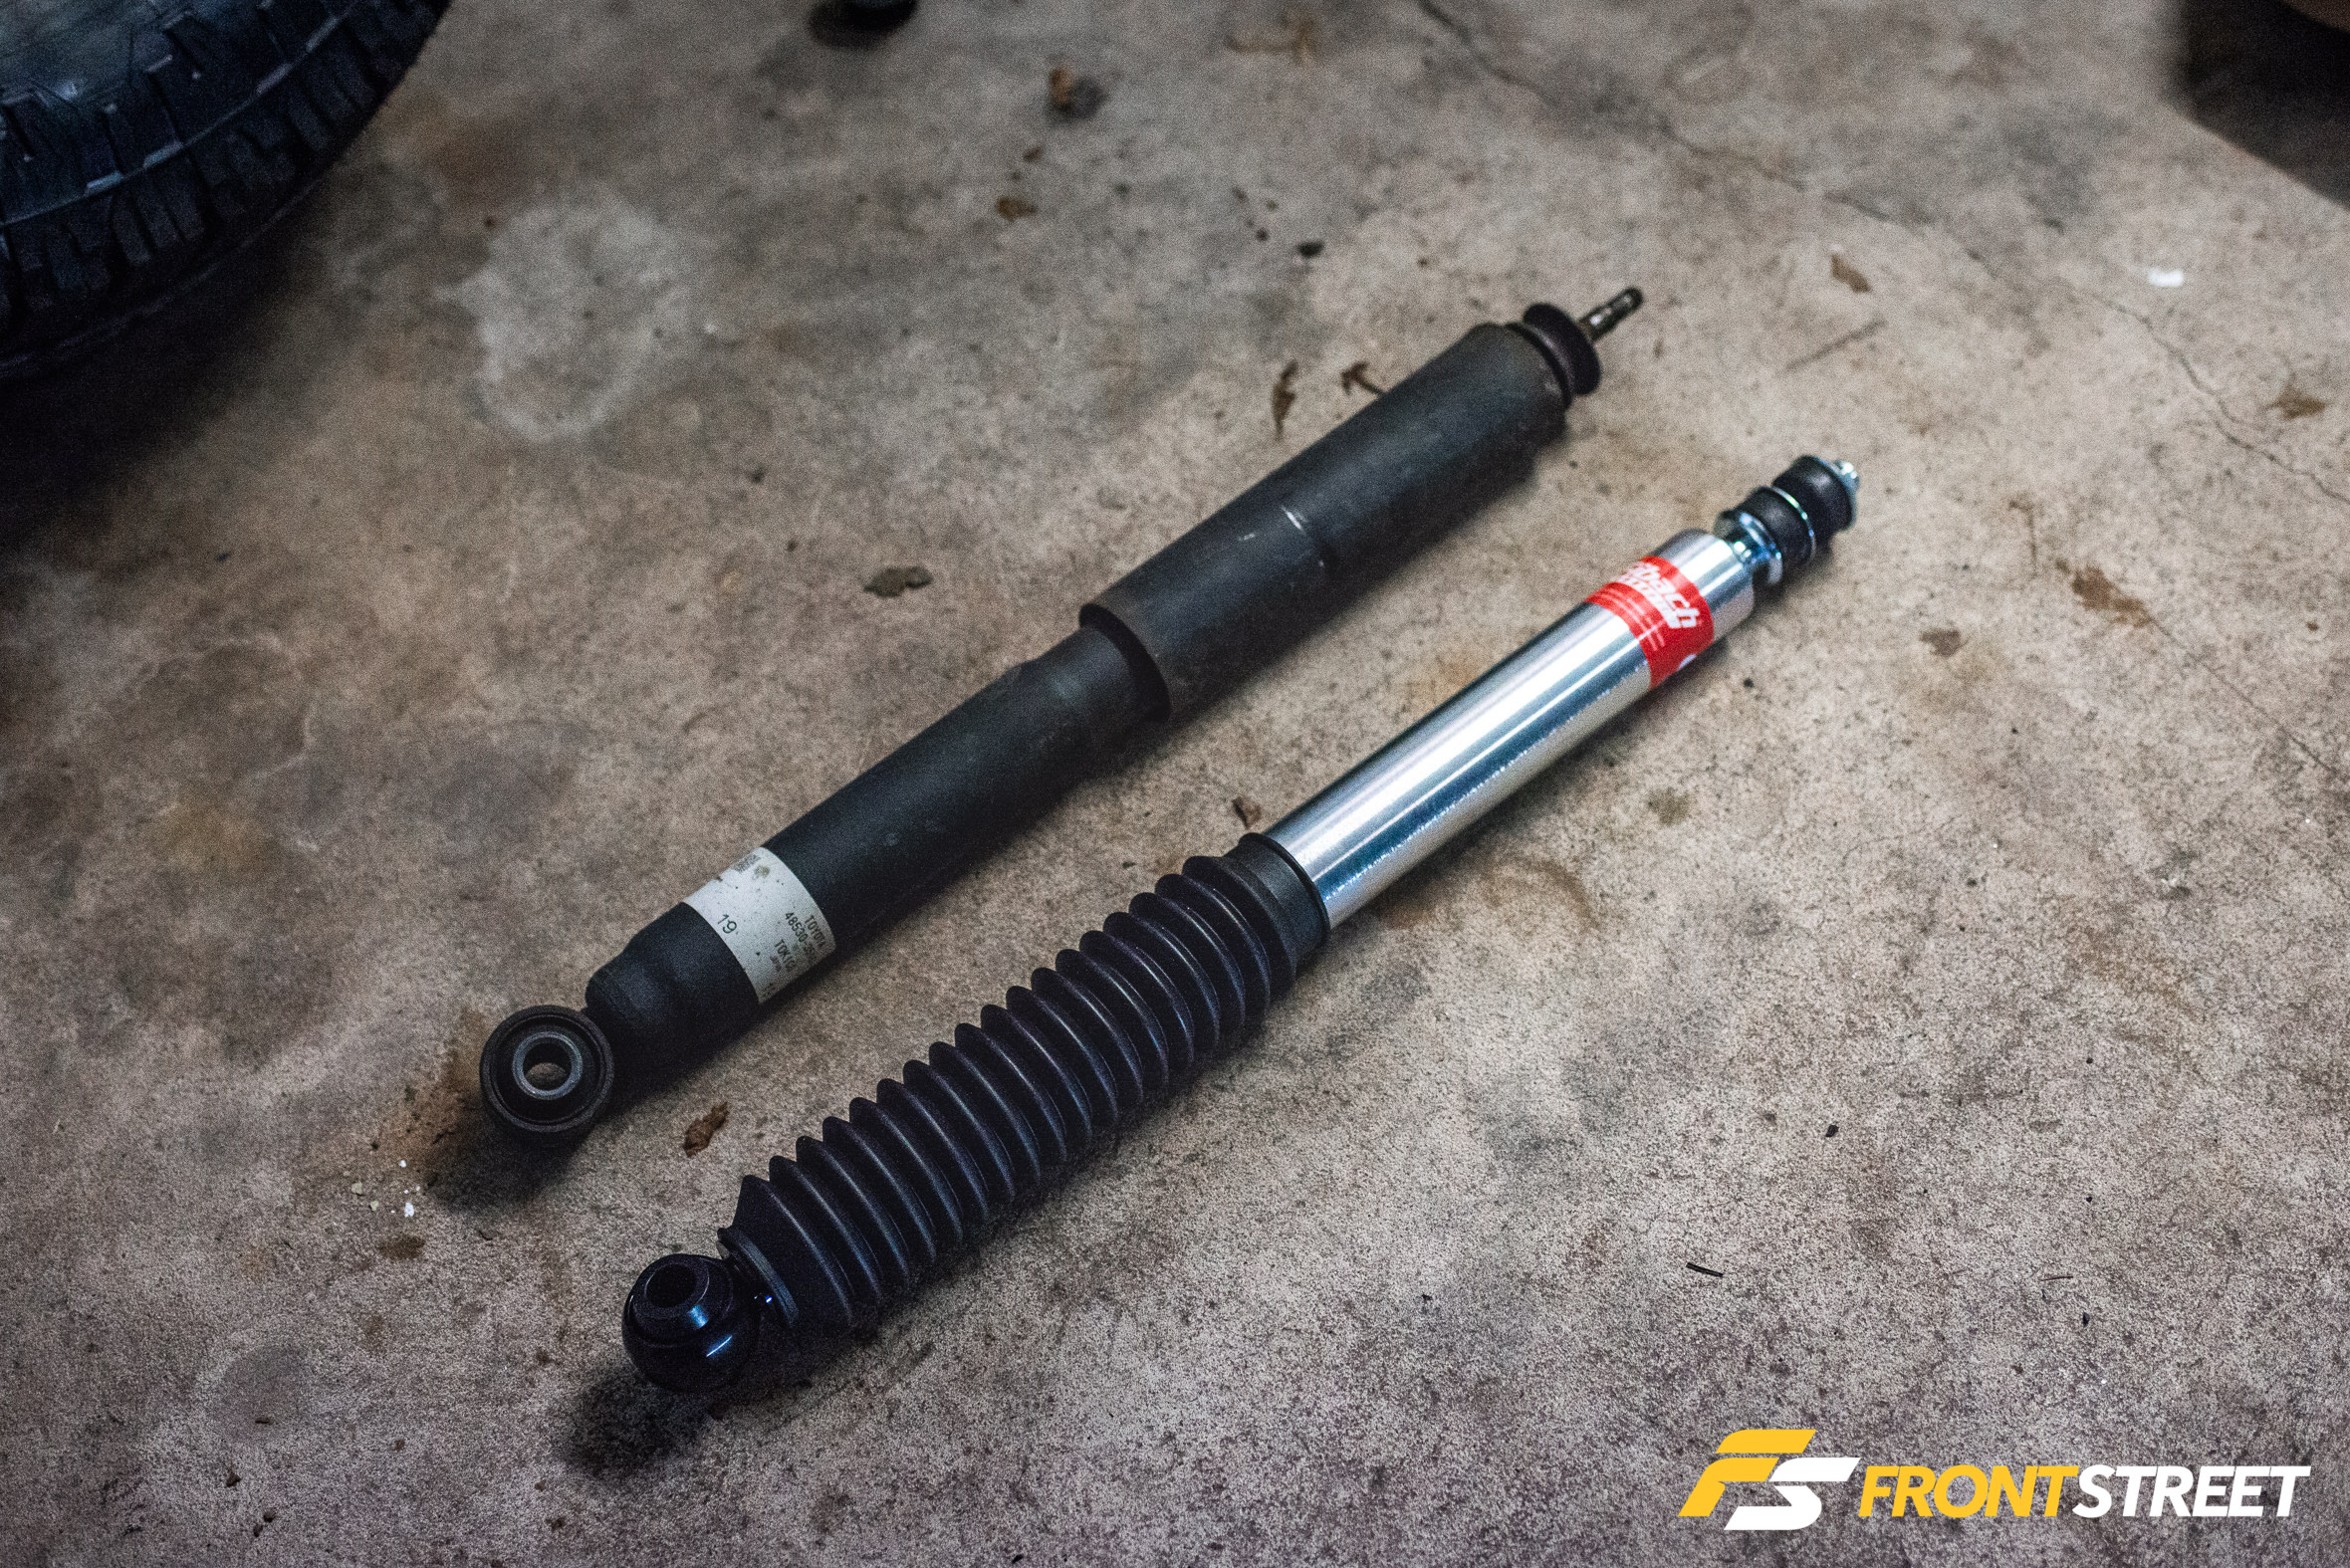
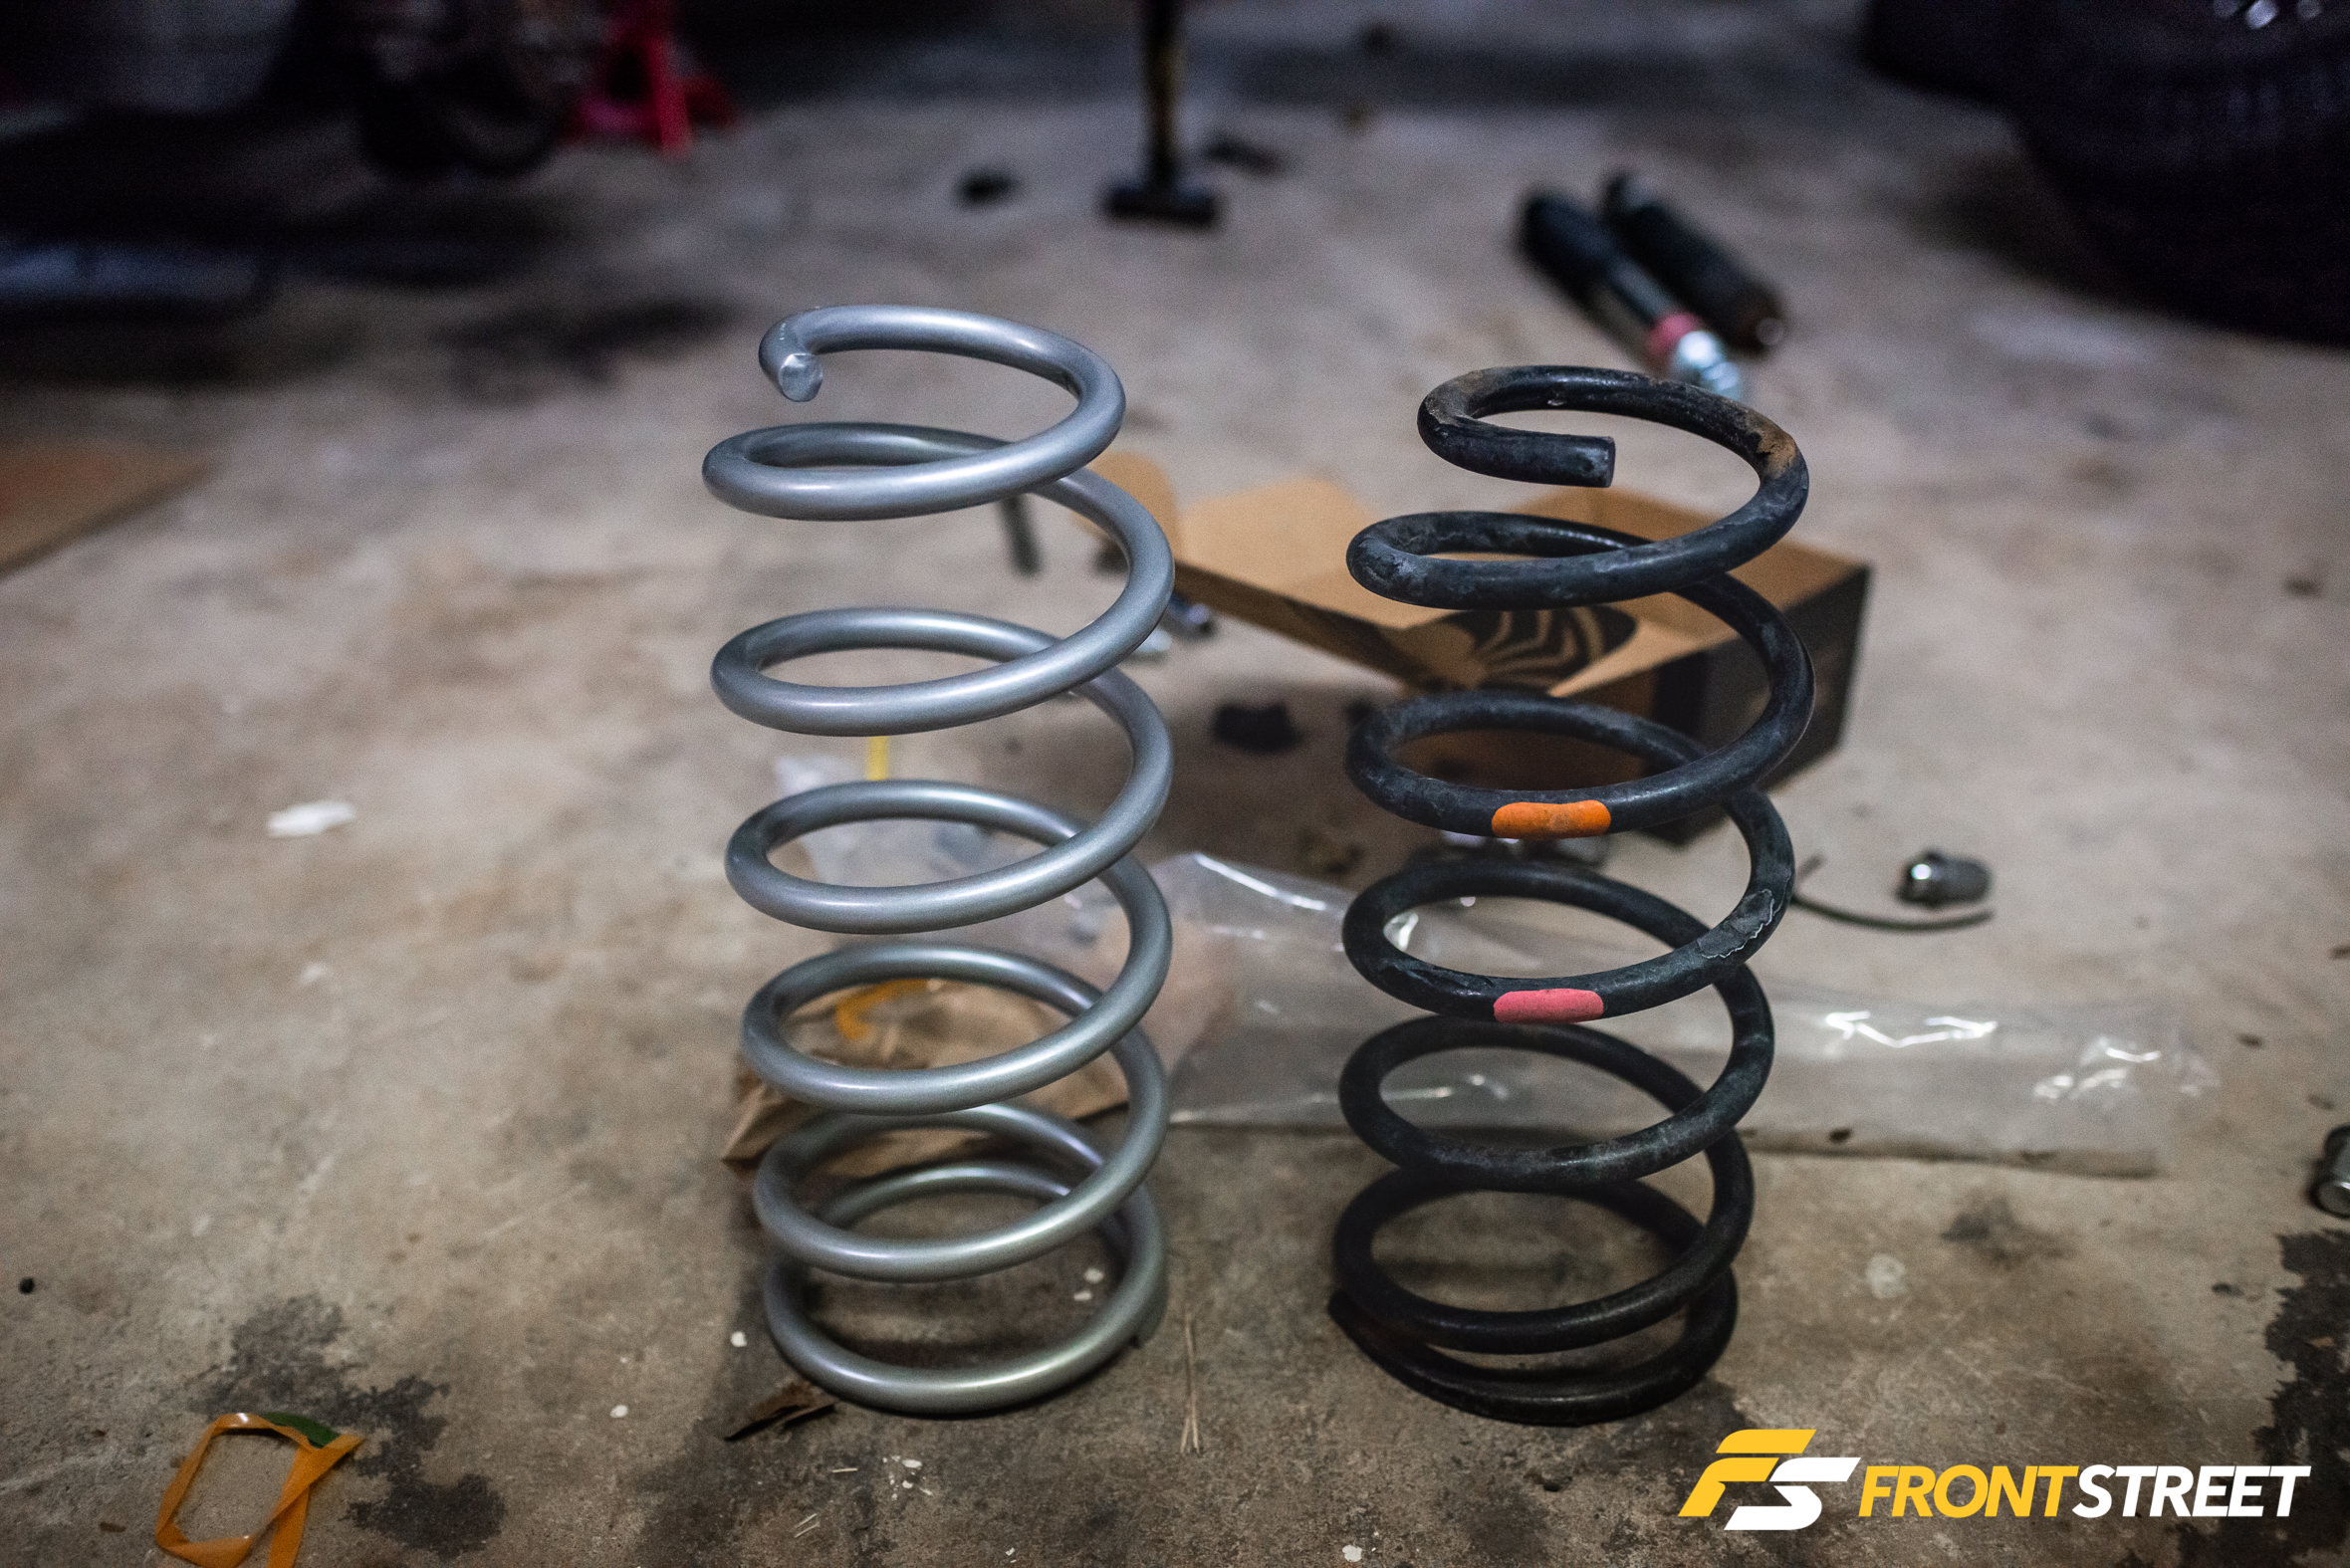
With the factory shocks and springs removed, it was nice to see how much of a beautiful upgrade each new Eibach piece was.
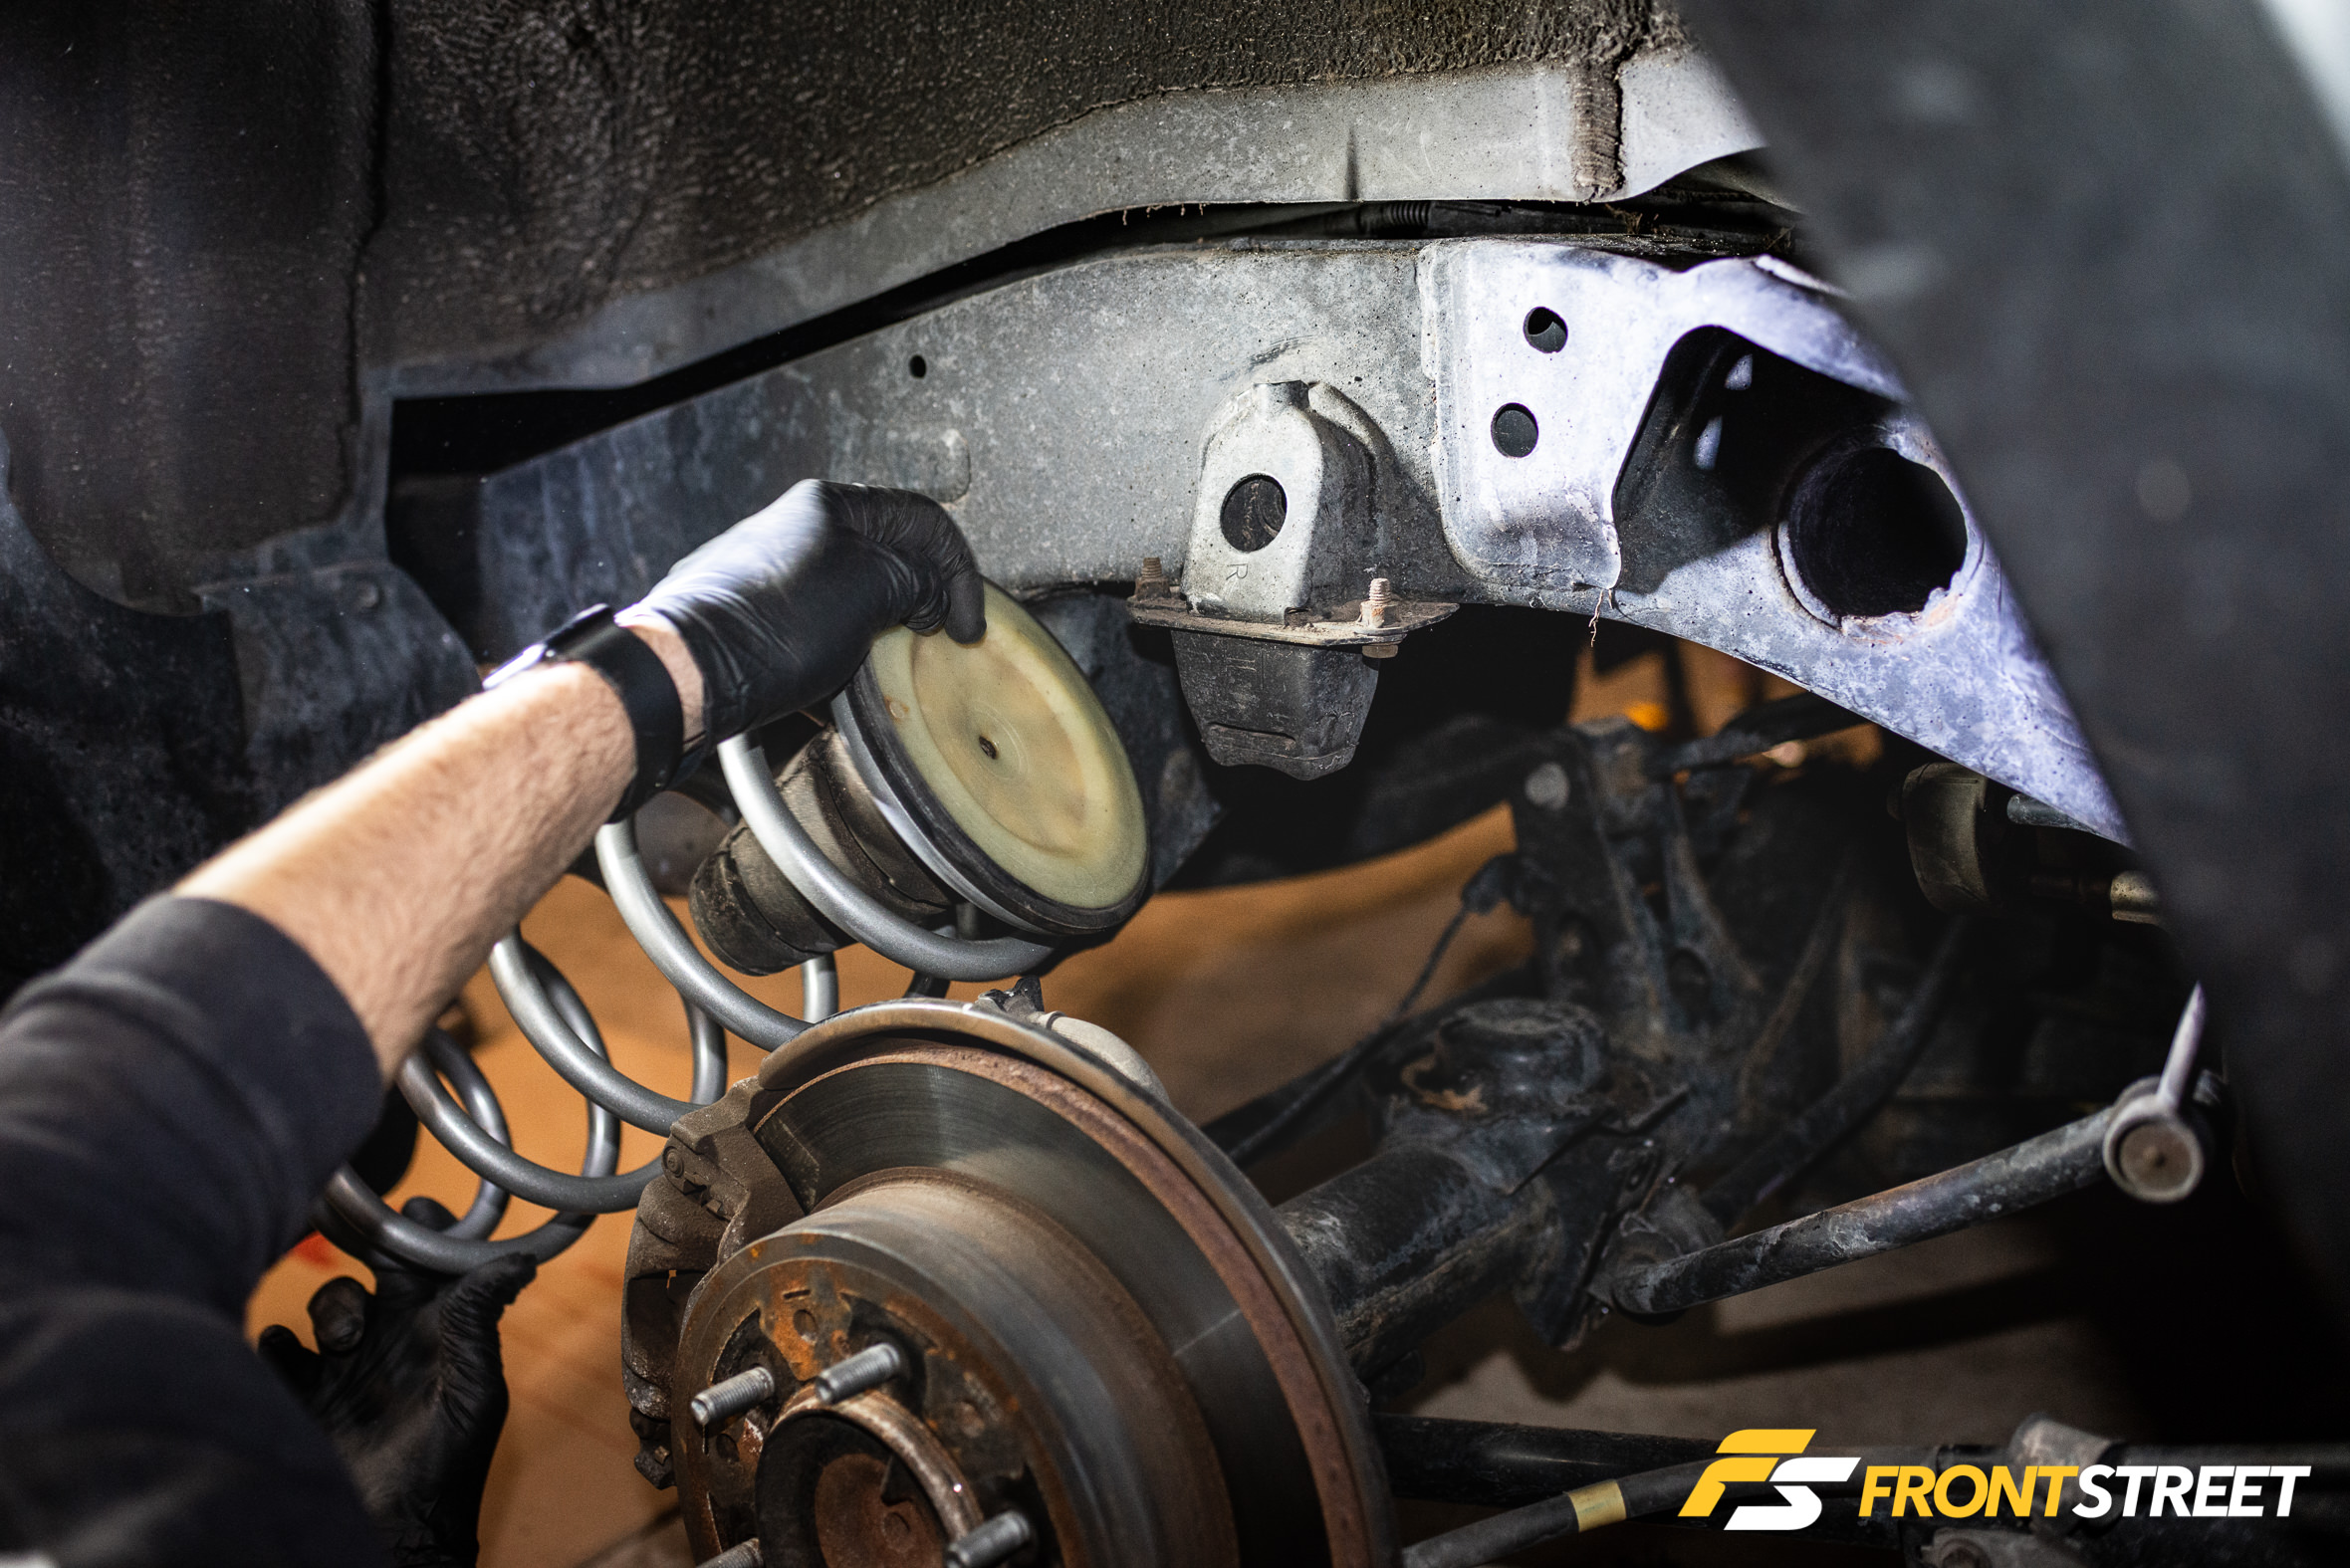
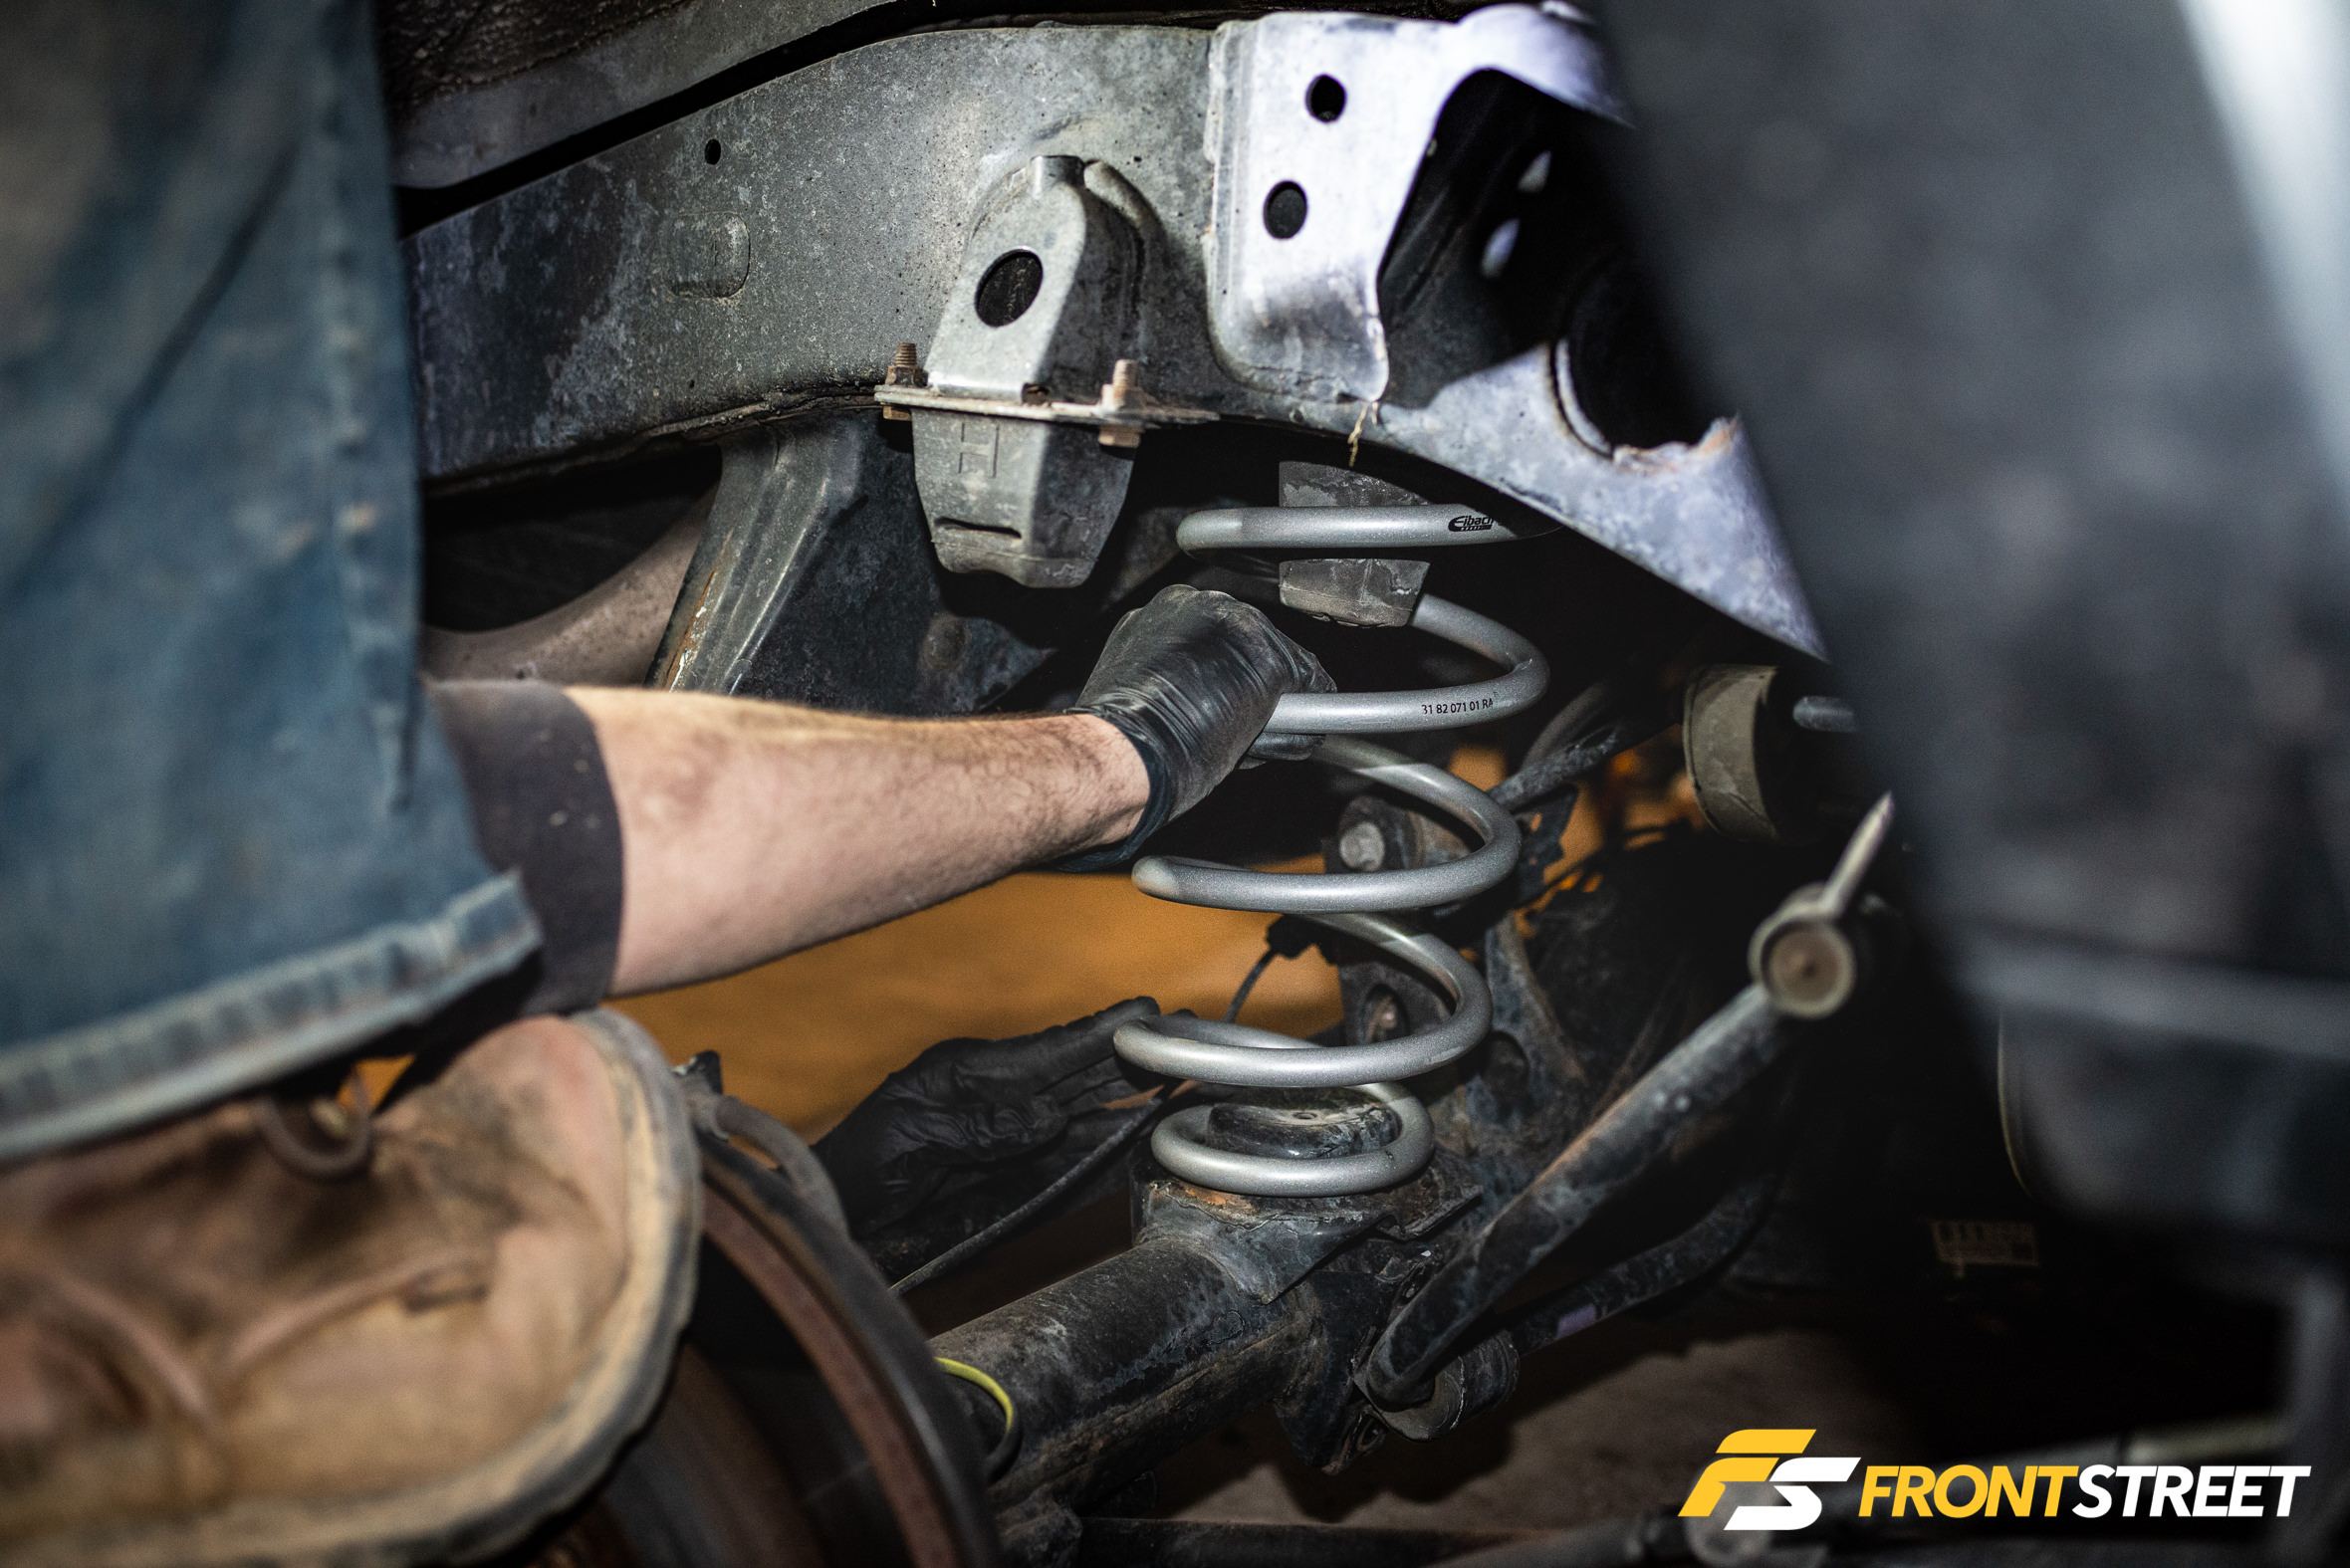
The OEM spring’s subassembly was transitioned to the Eibach spring before being installed back onto the rear axle.
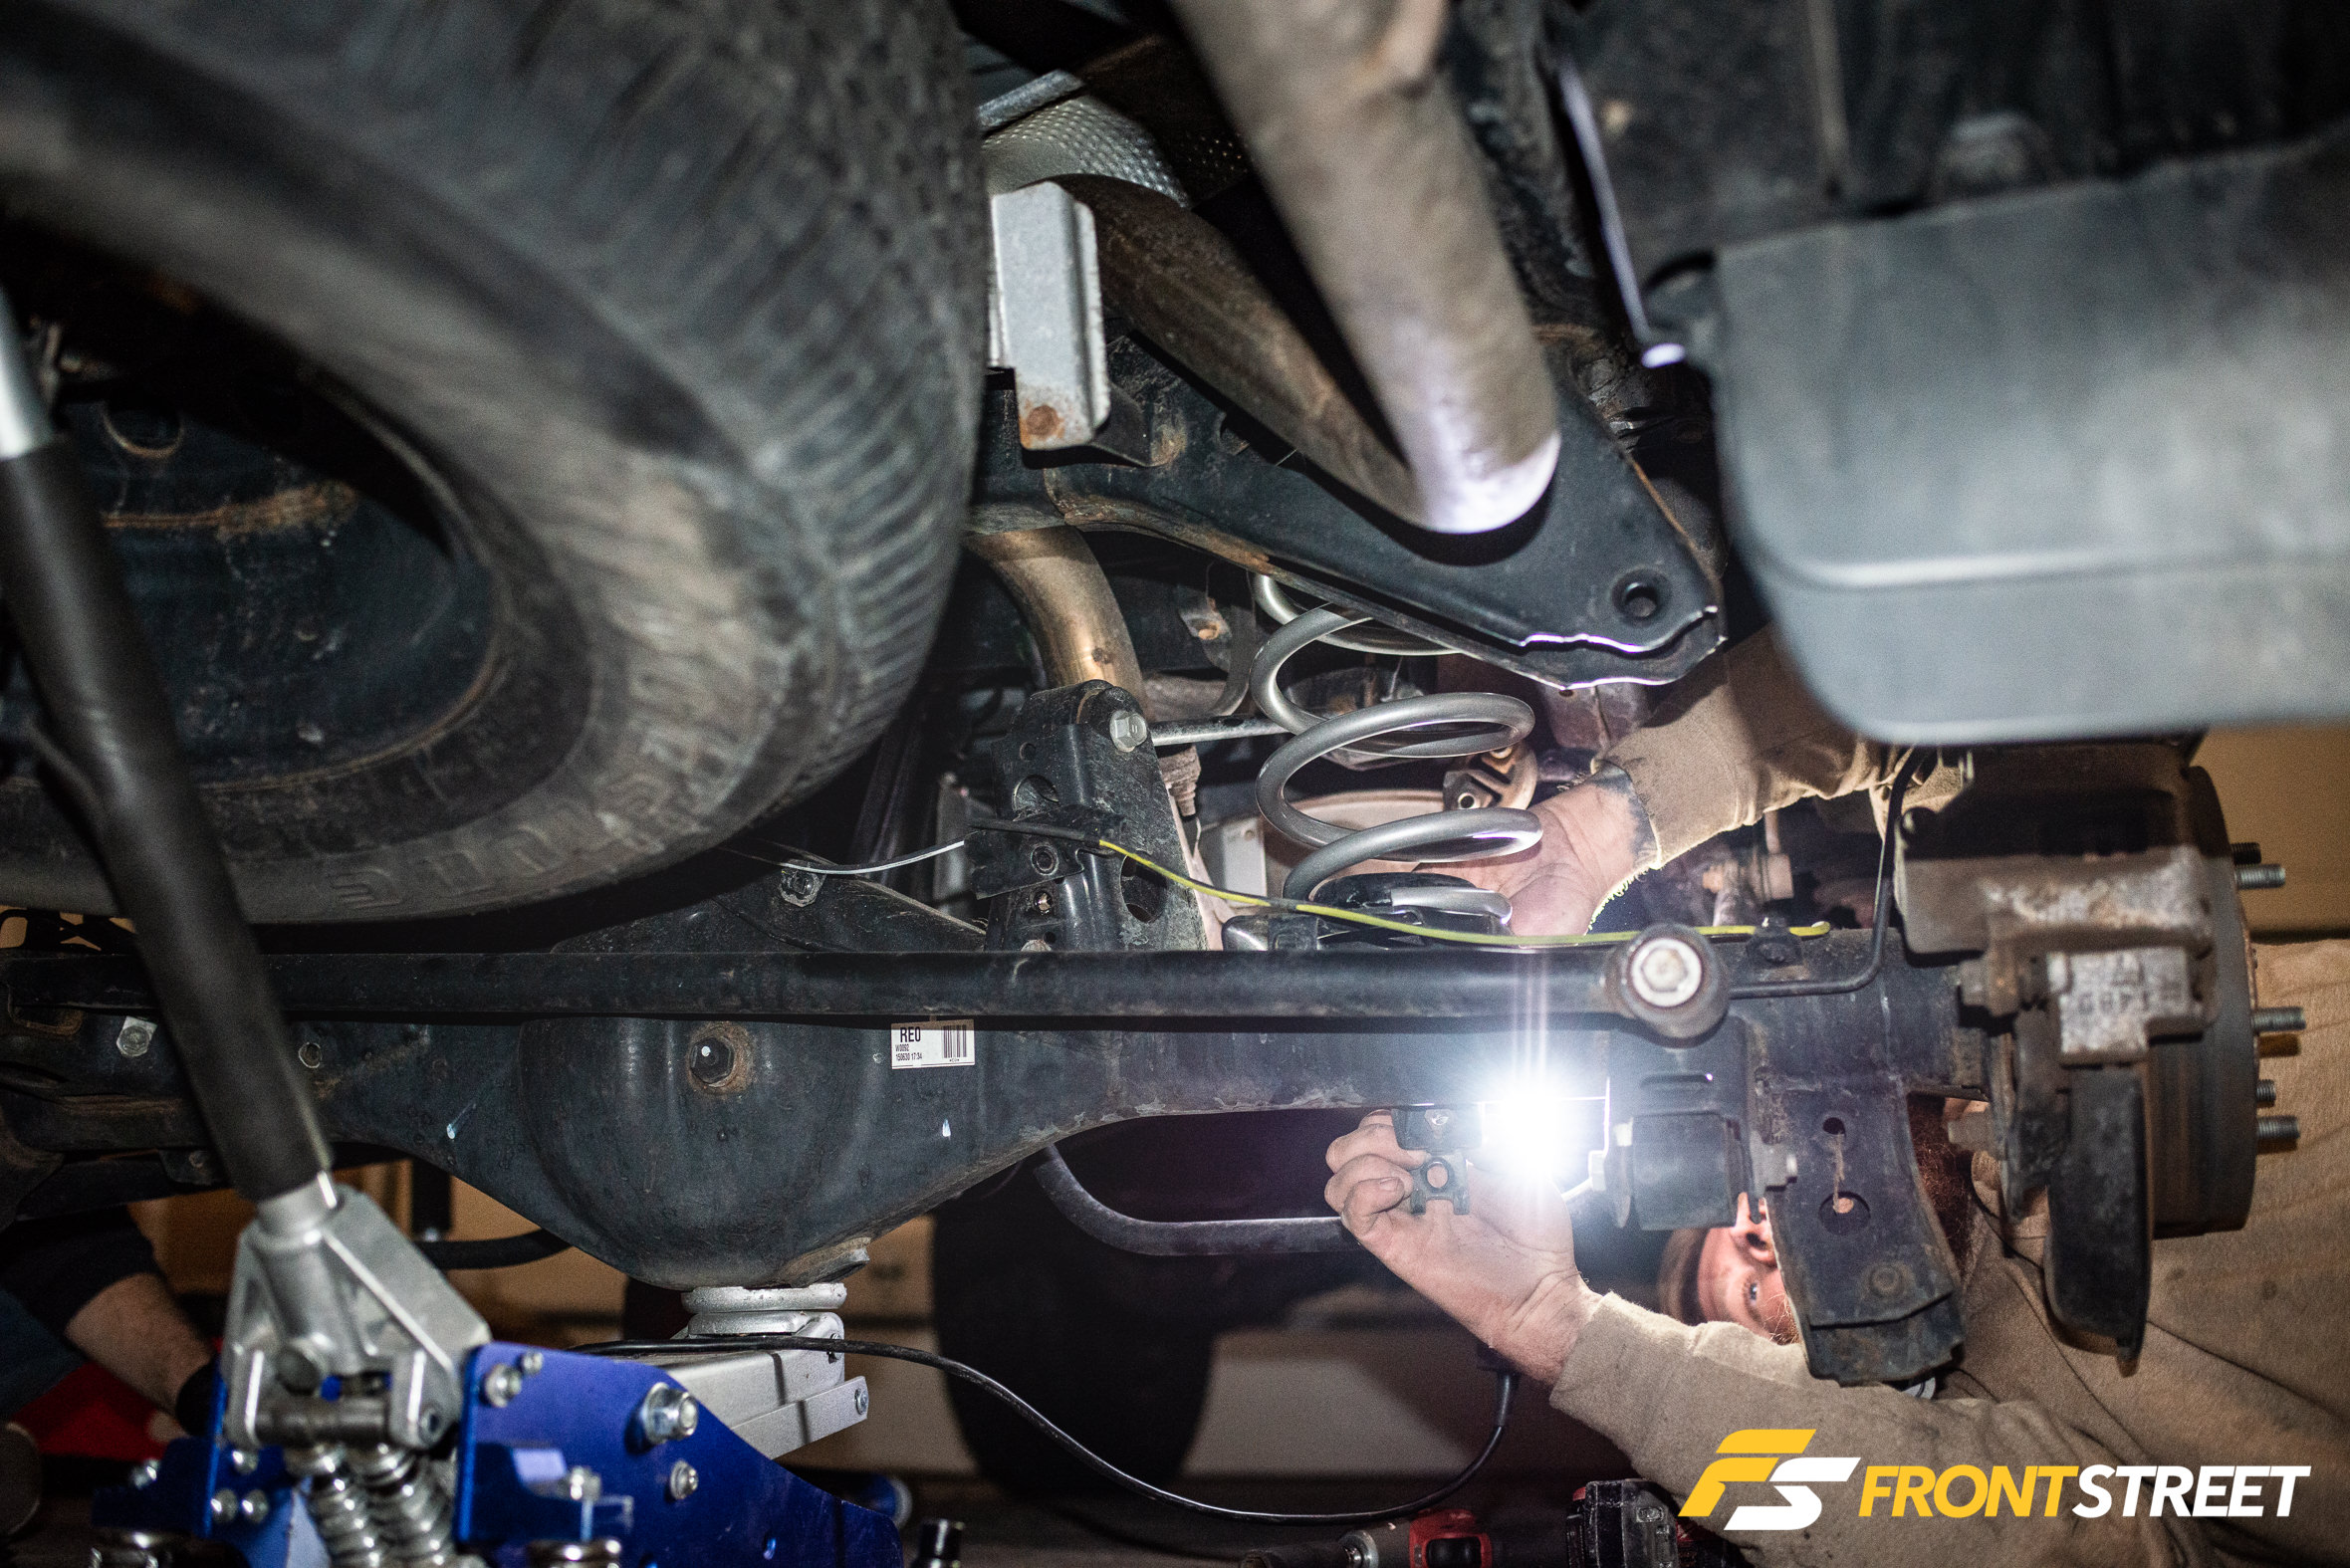
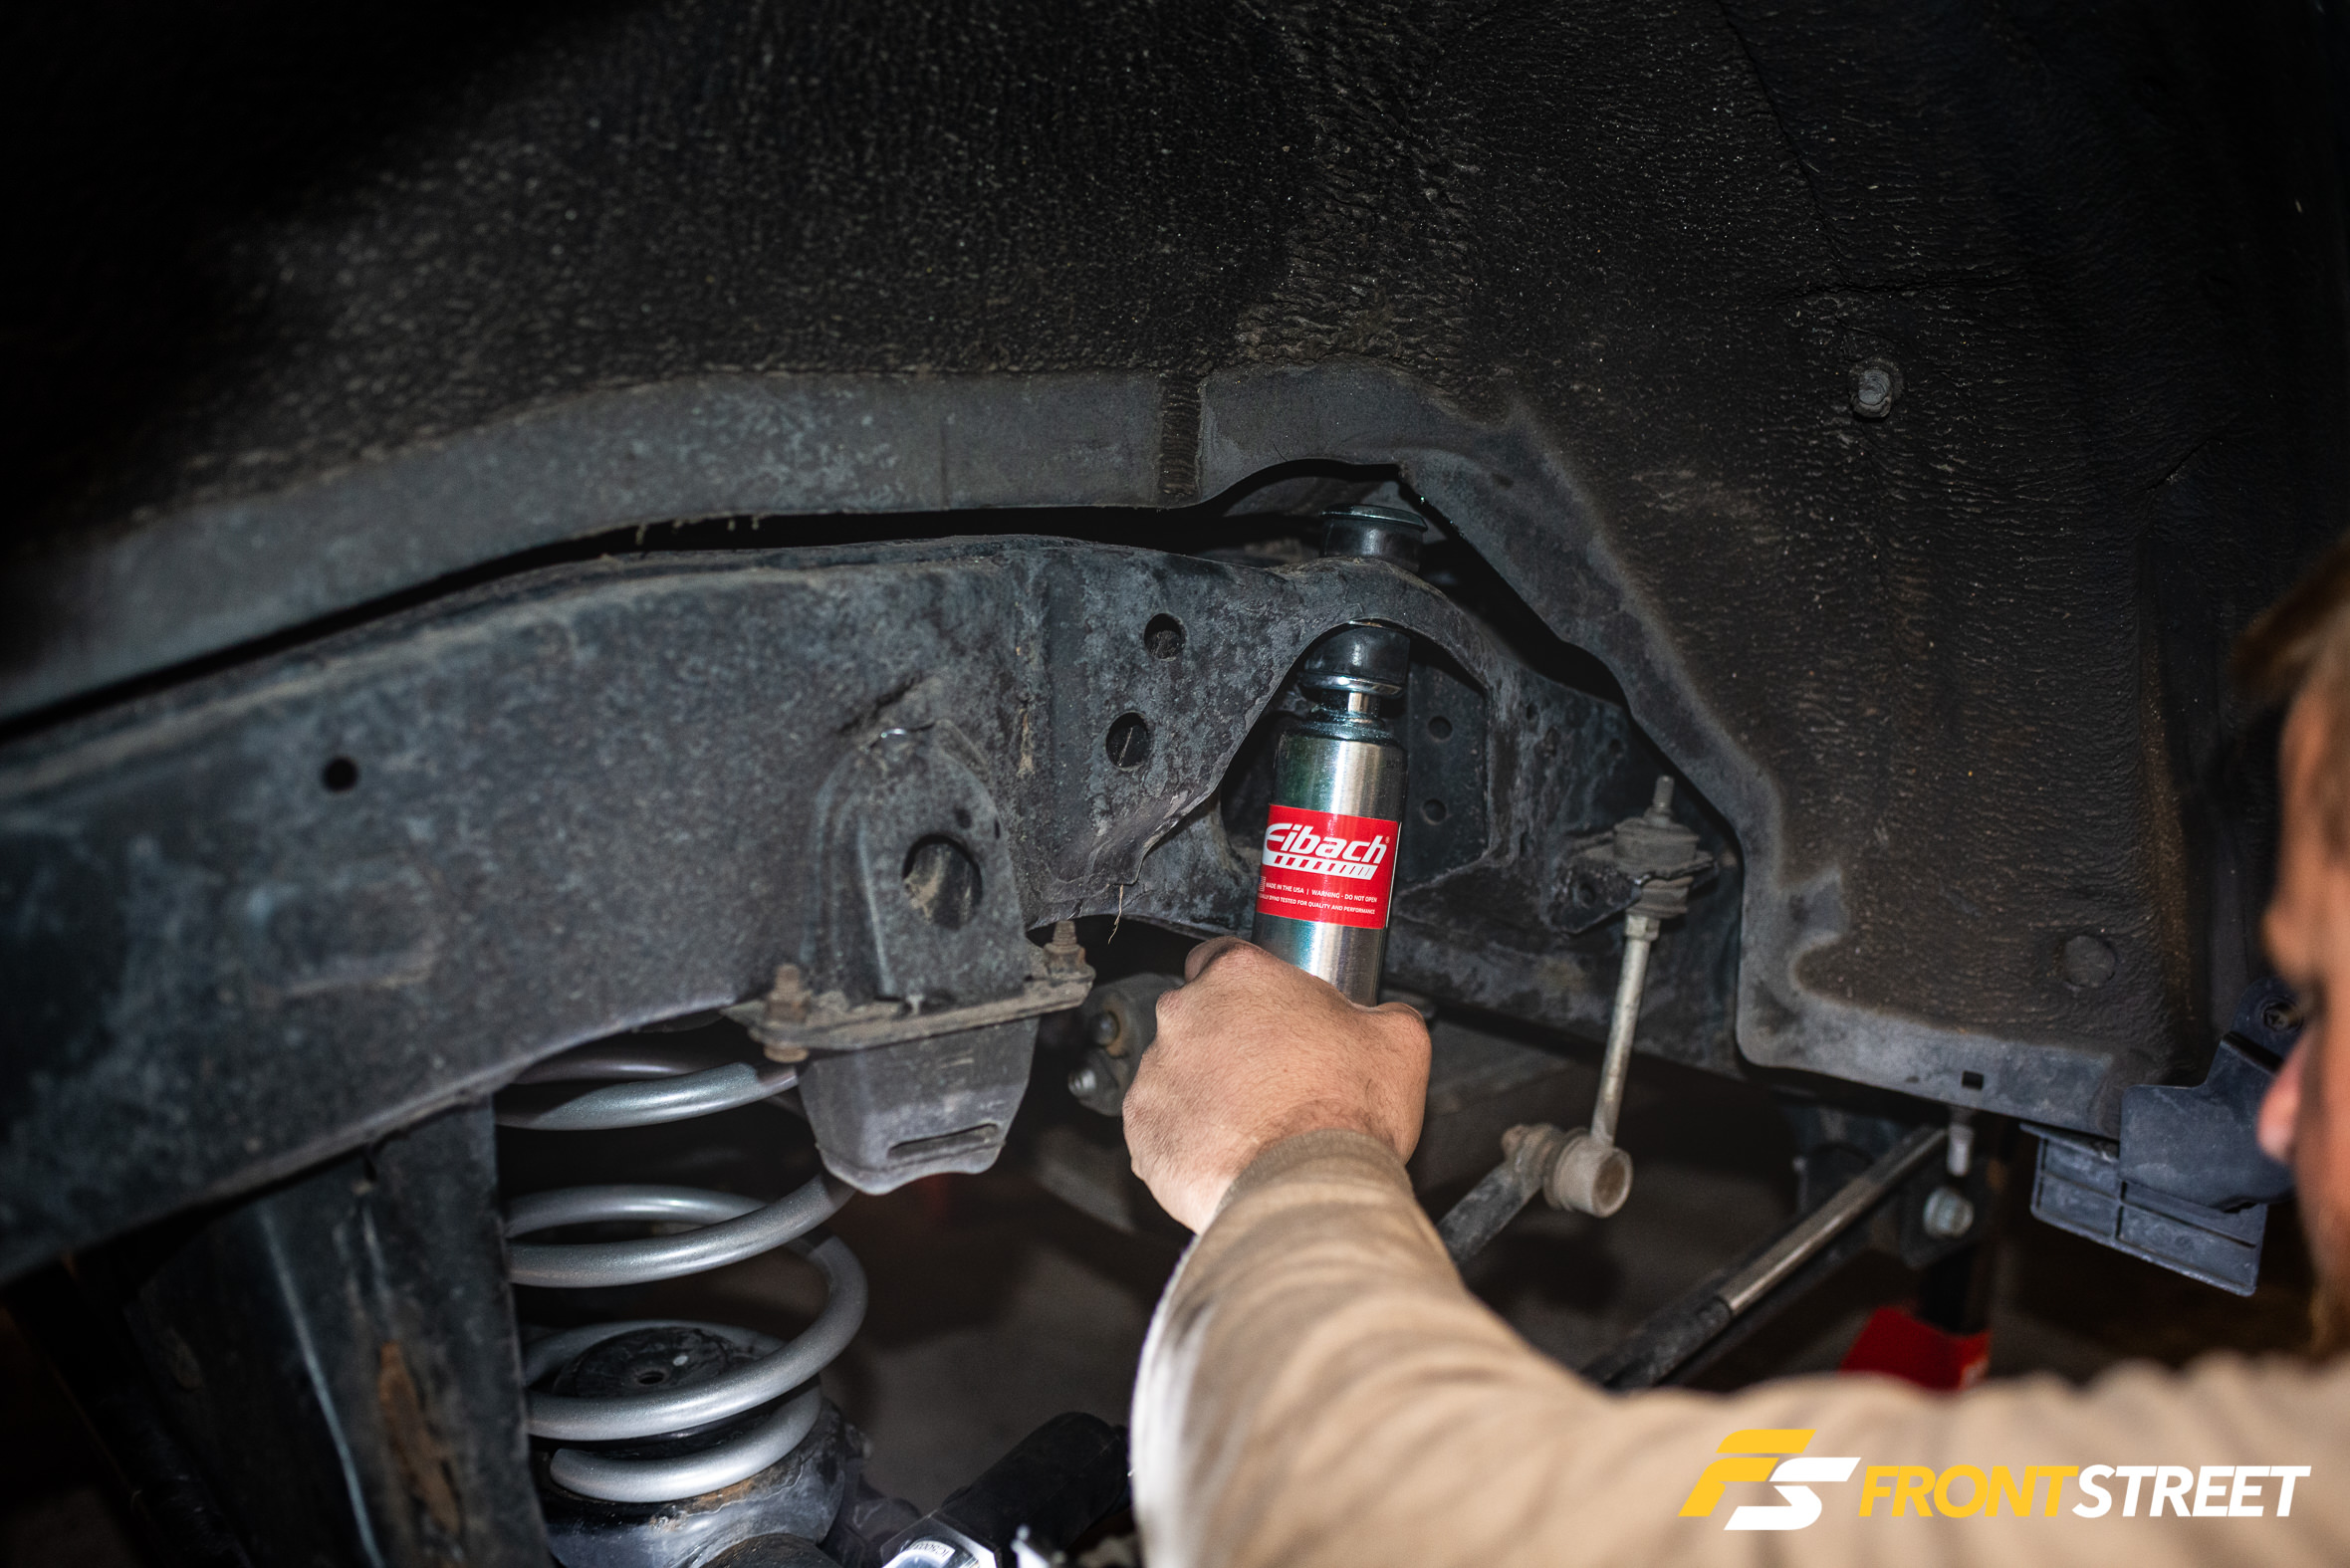
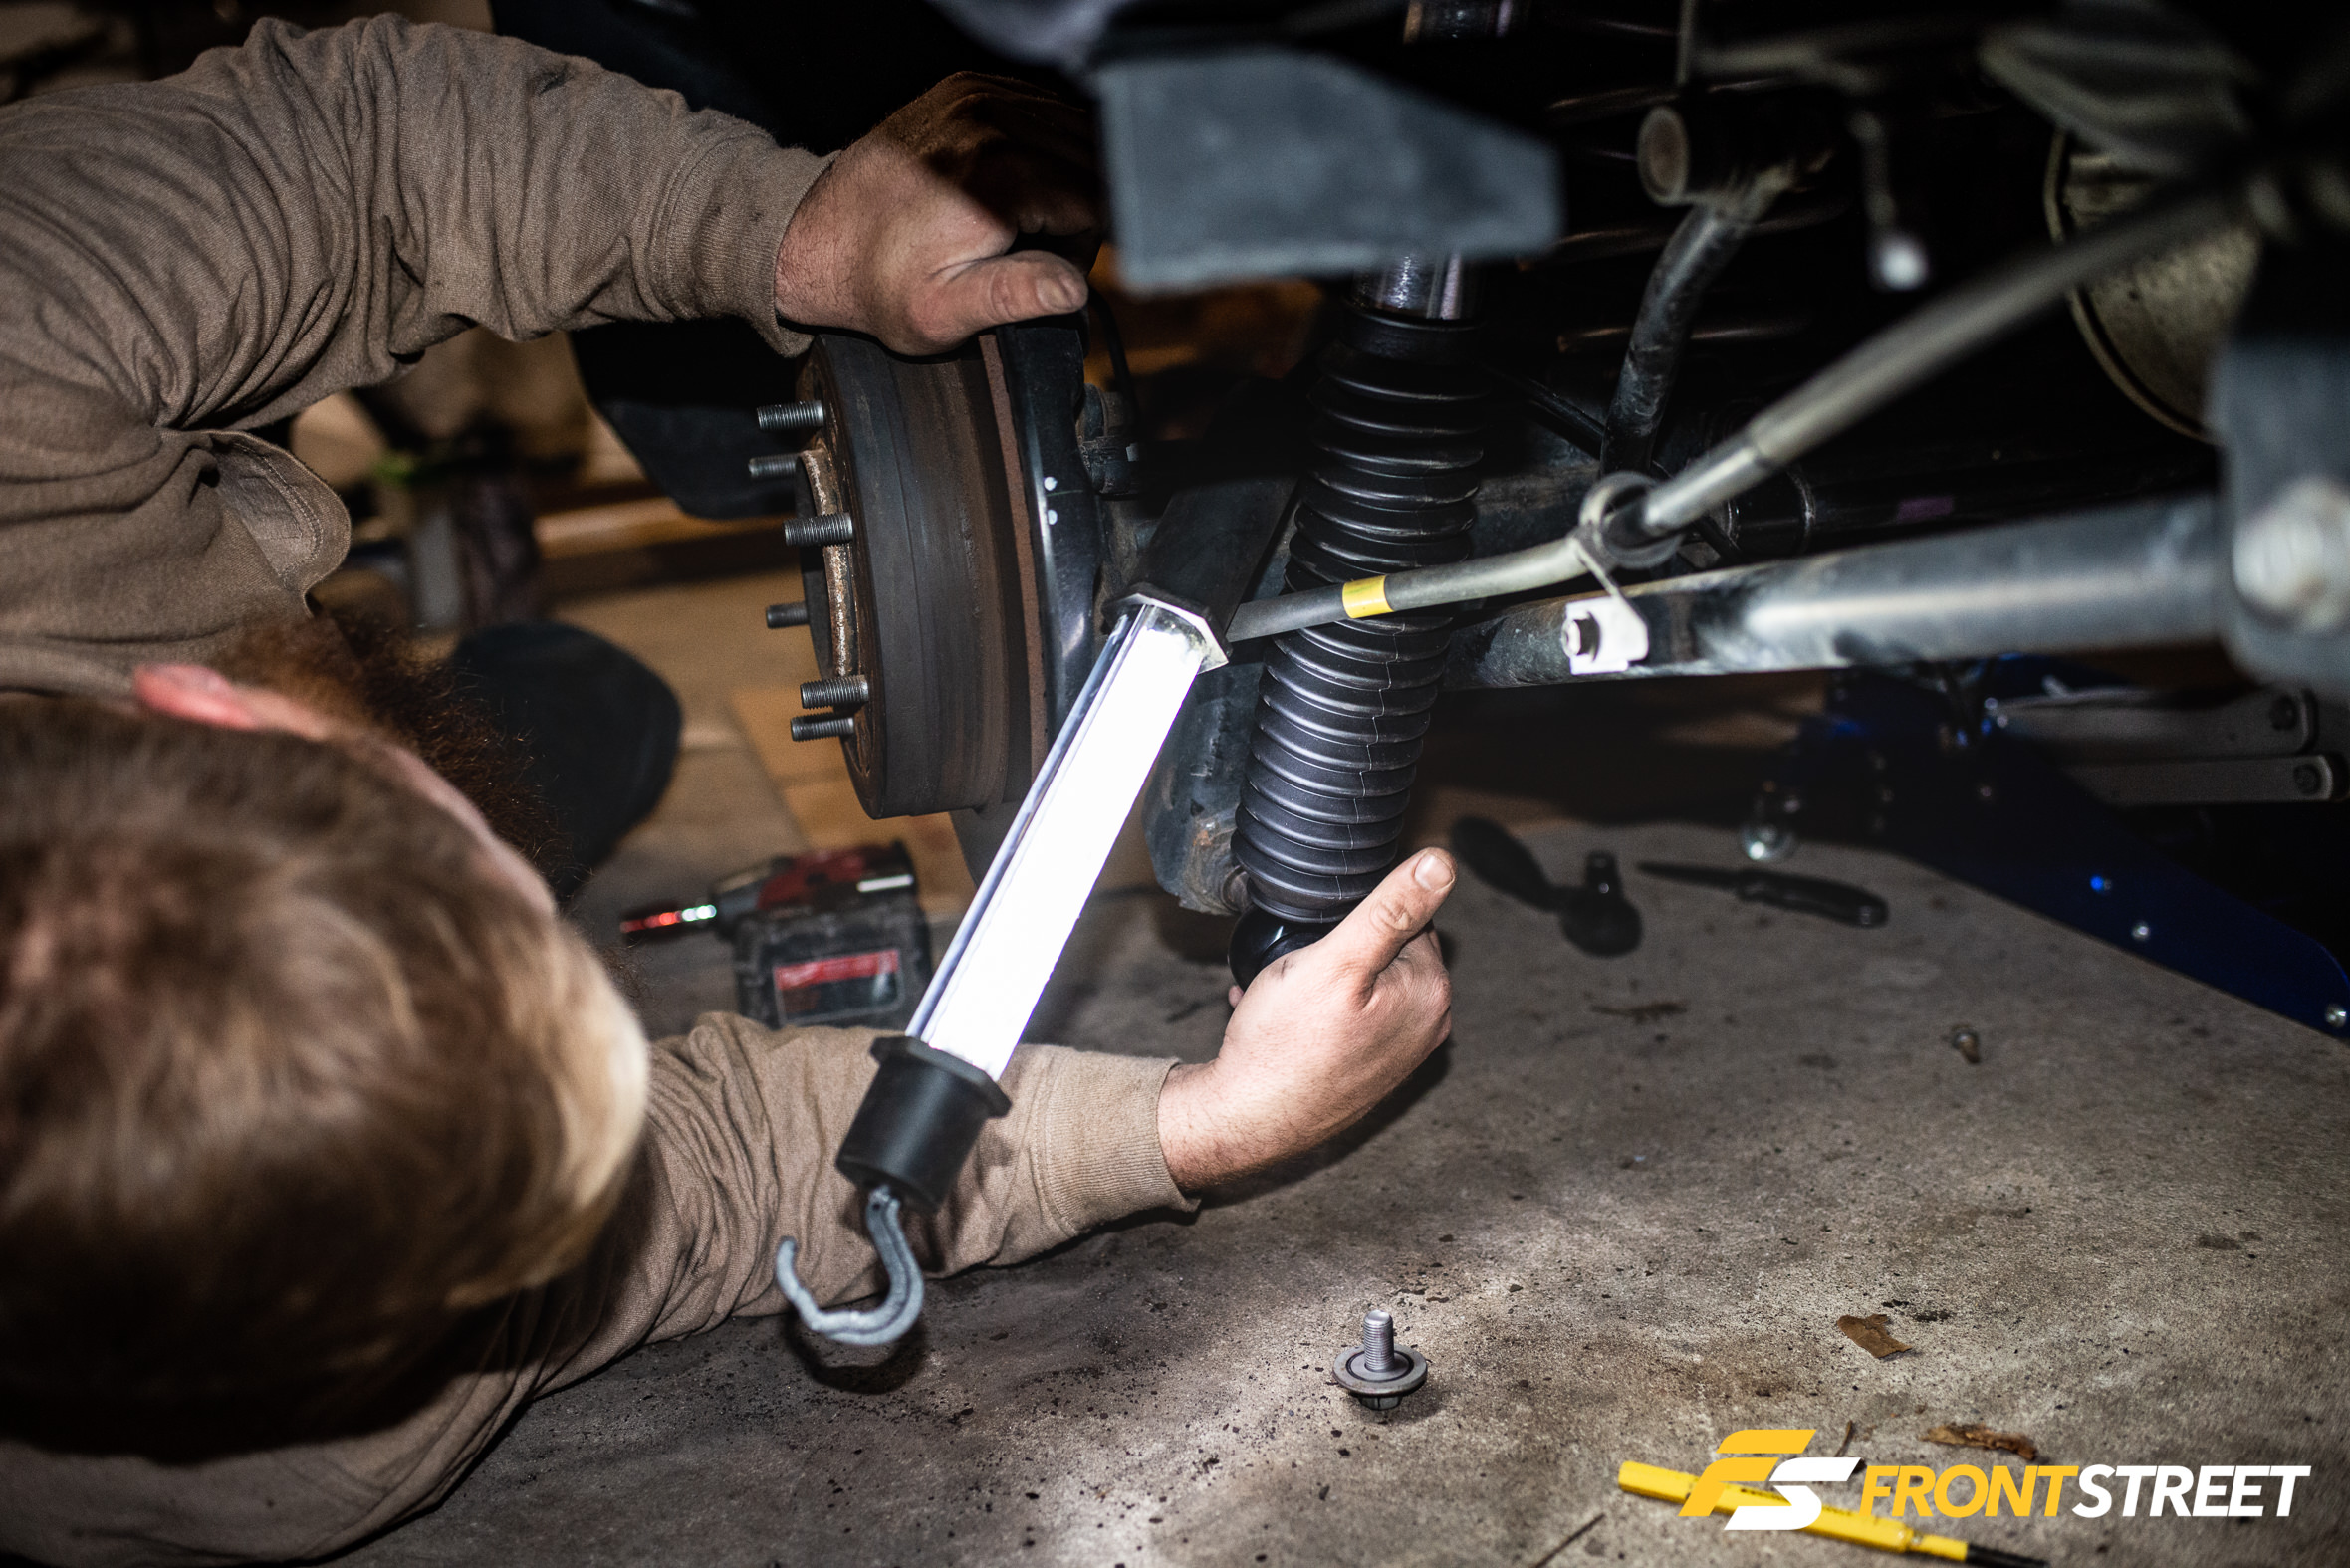
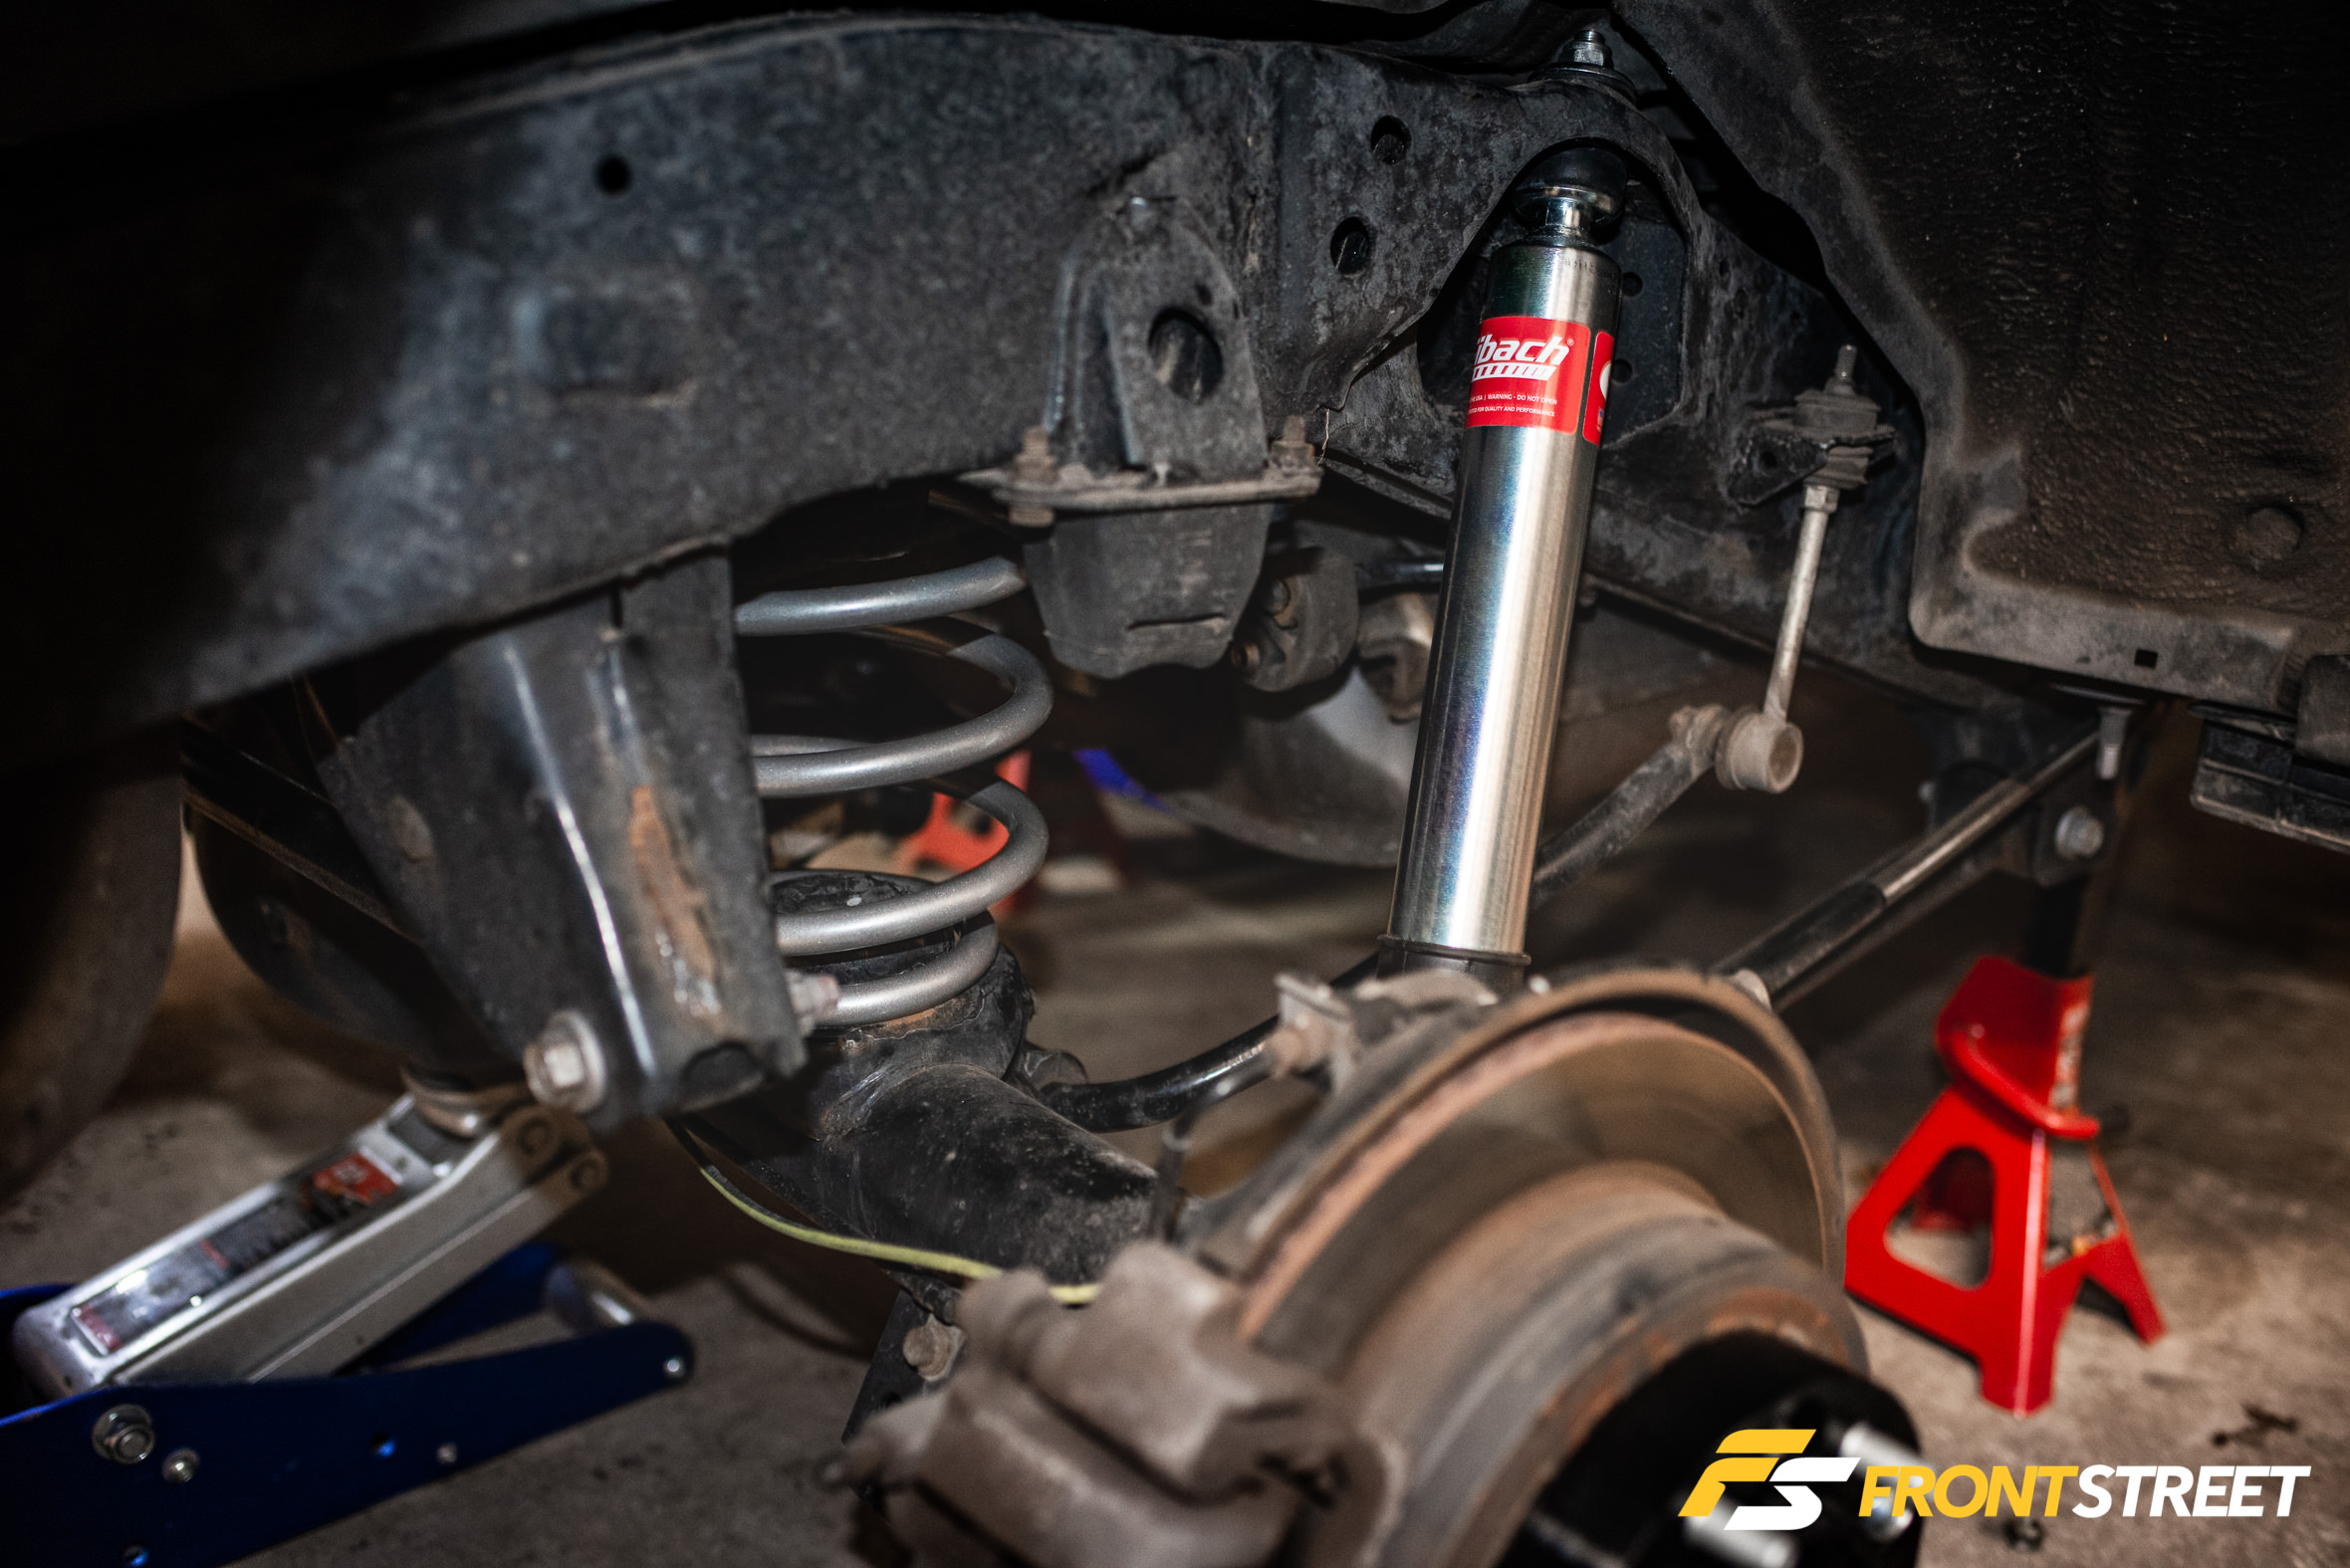
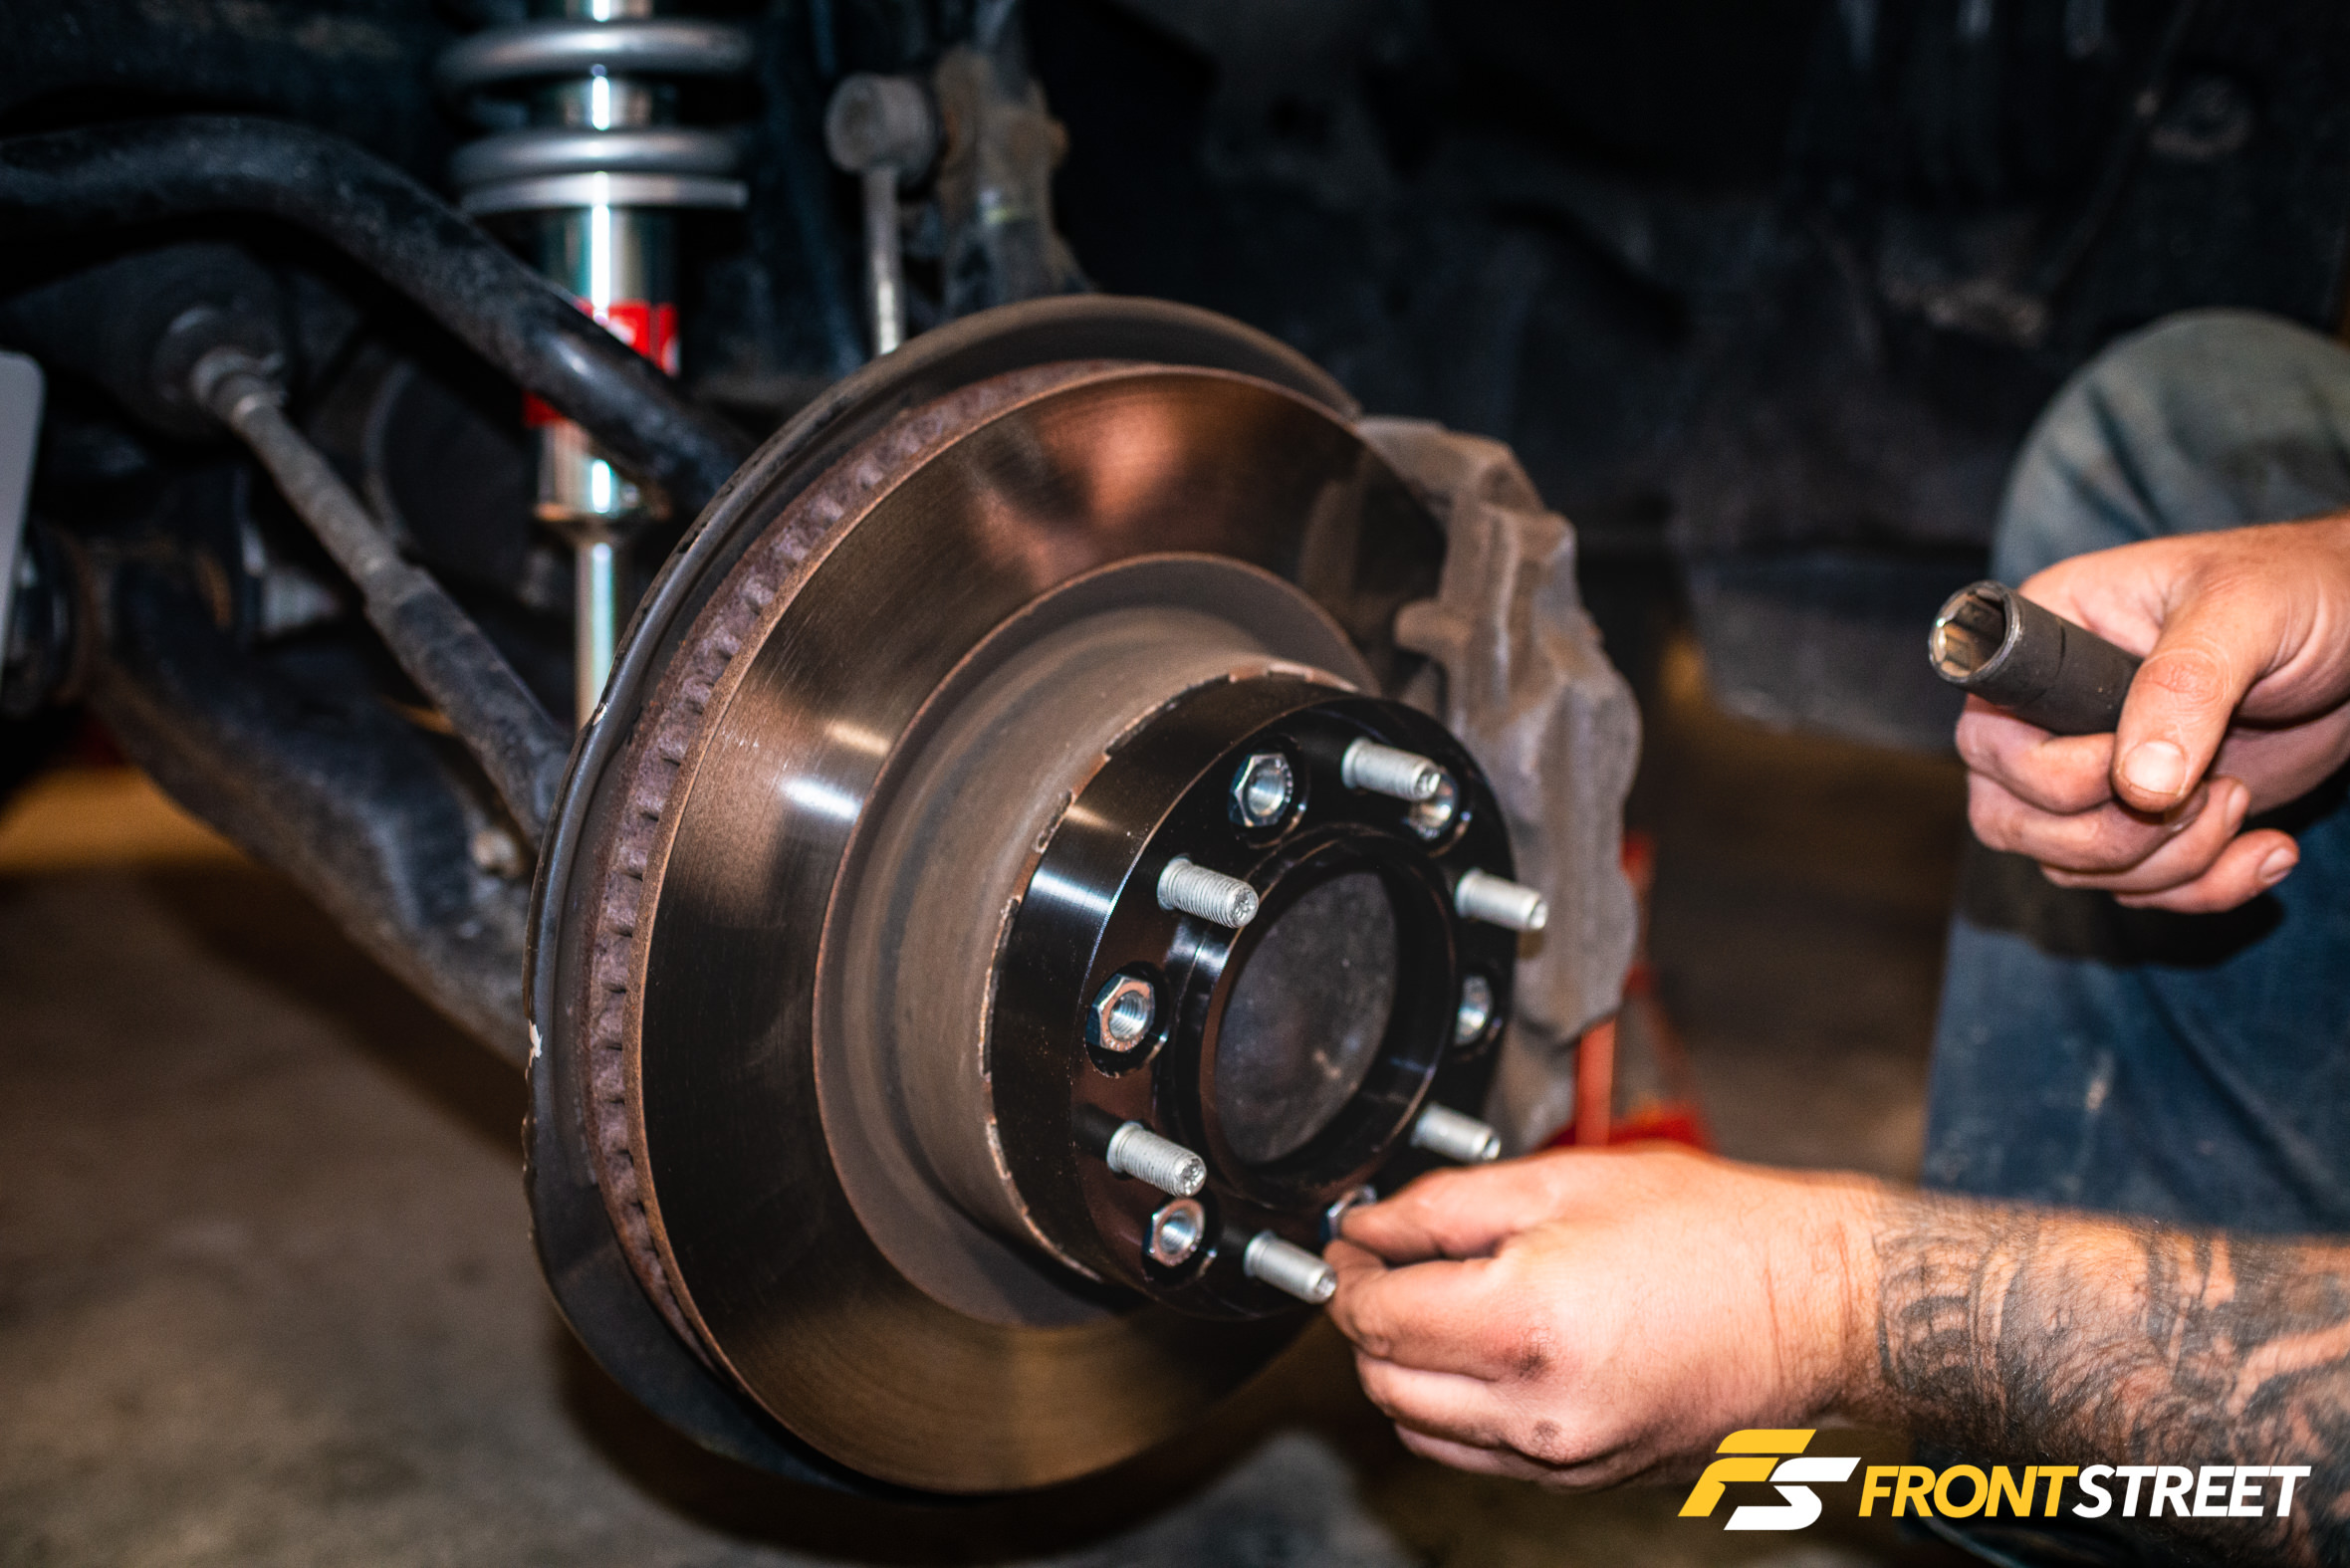
From there it was just a matter of lining up and reinstalling the unbolted arms and brackets, tightening the new shock into its place, and installing the wheel spacers onto the wheel studs.
The Final Product
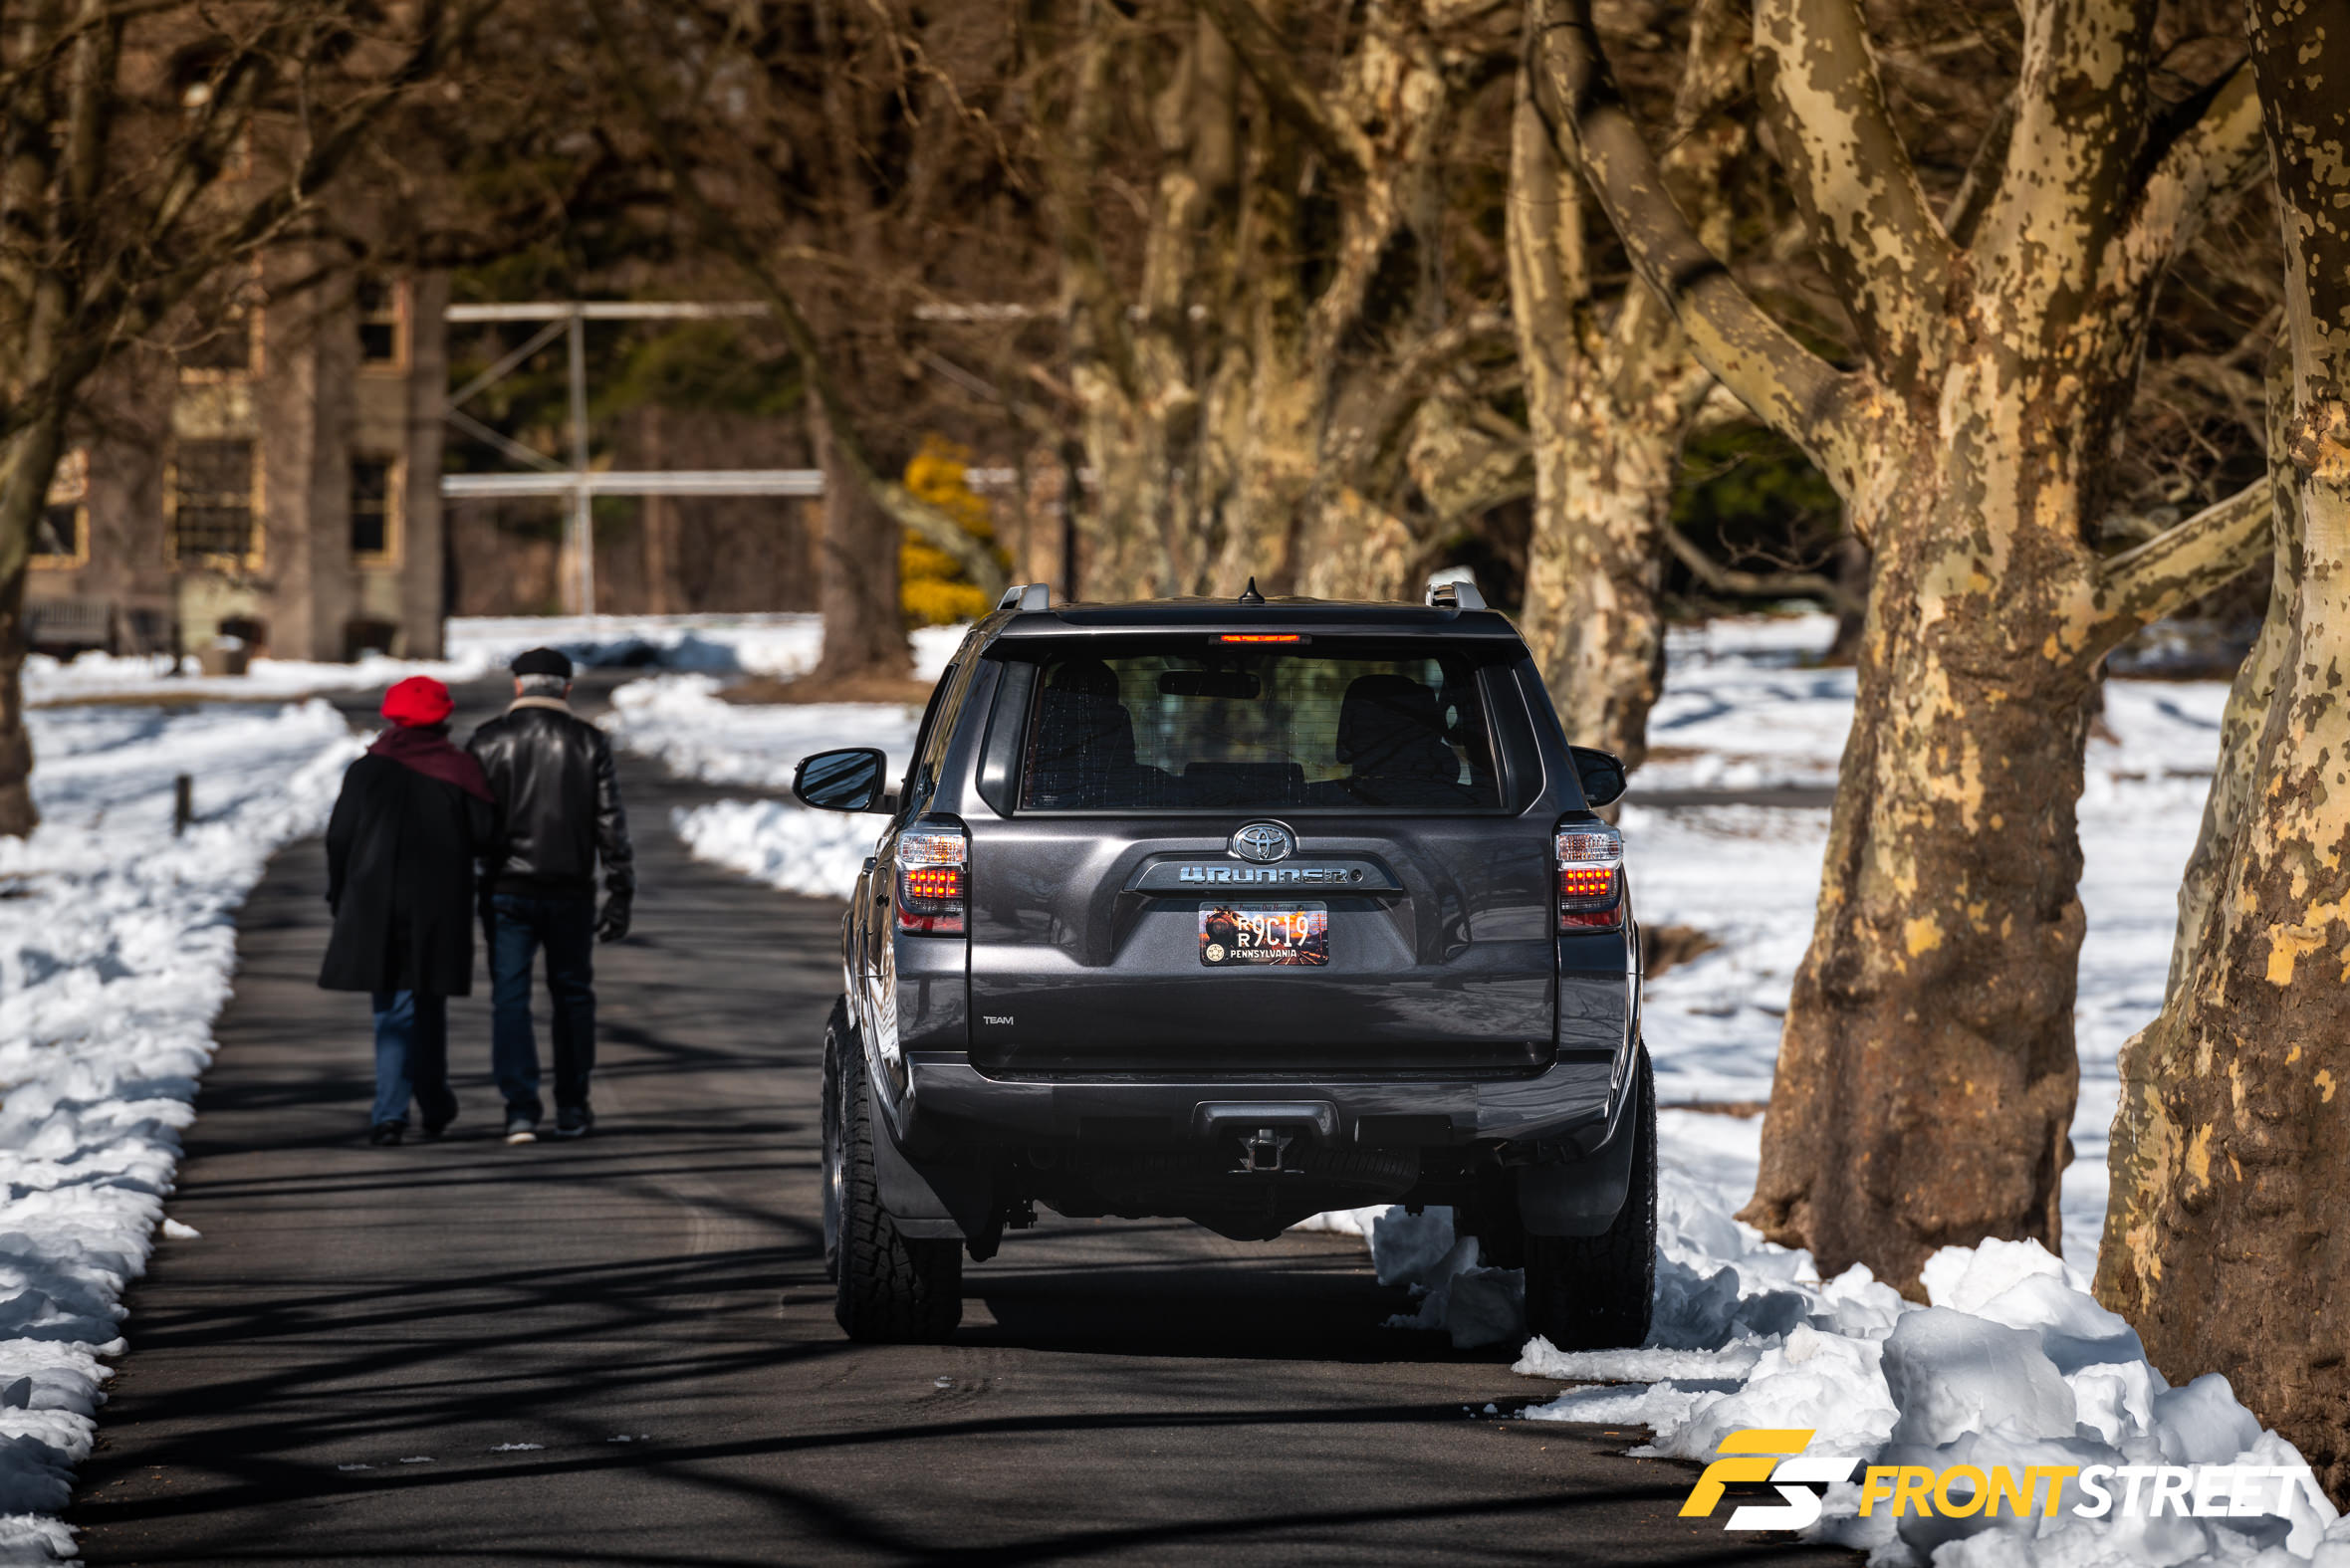
After finishing the install late at night, Jesse laboriously washed his truck to make it spotless on the exterior, then had a fresh four-wheel alignment performed—a necessity when changing suspension geometry or installing new tires.
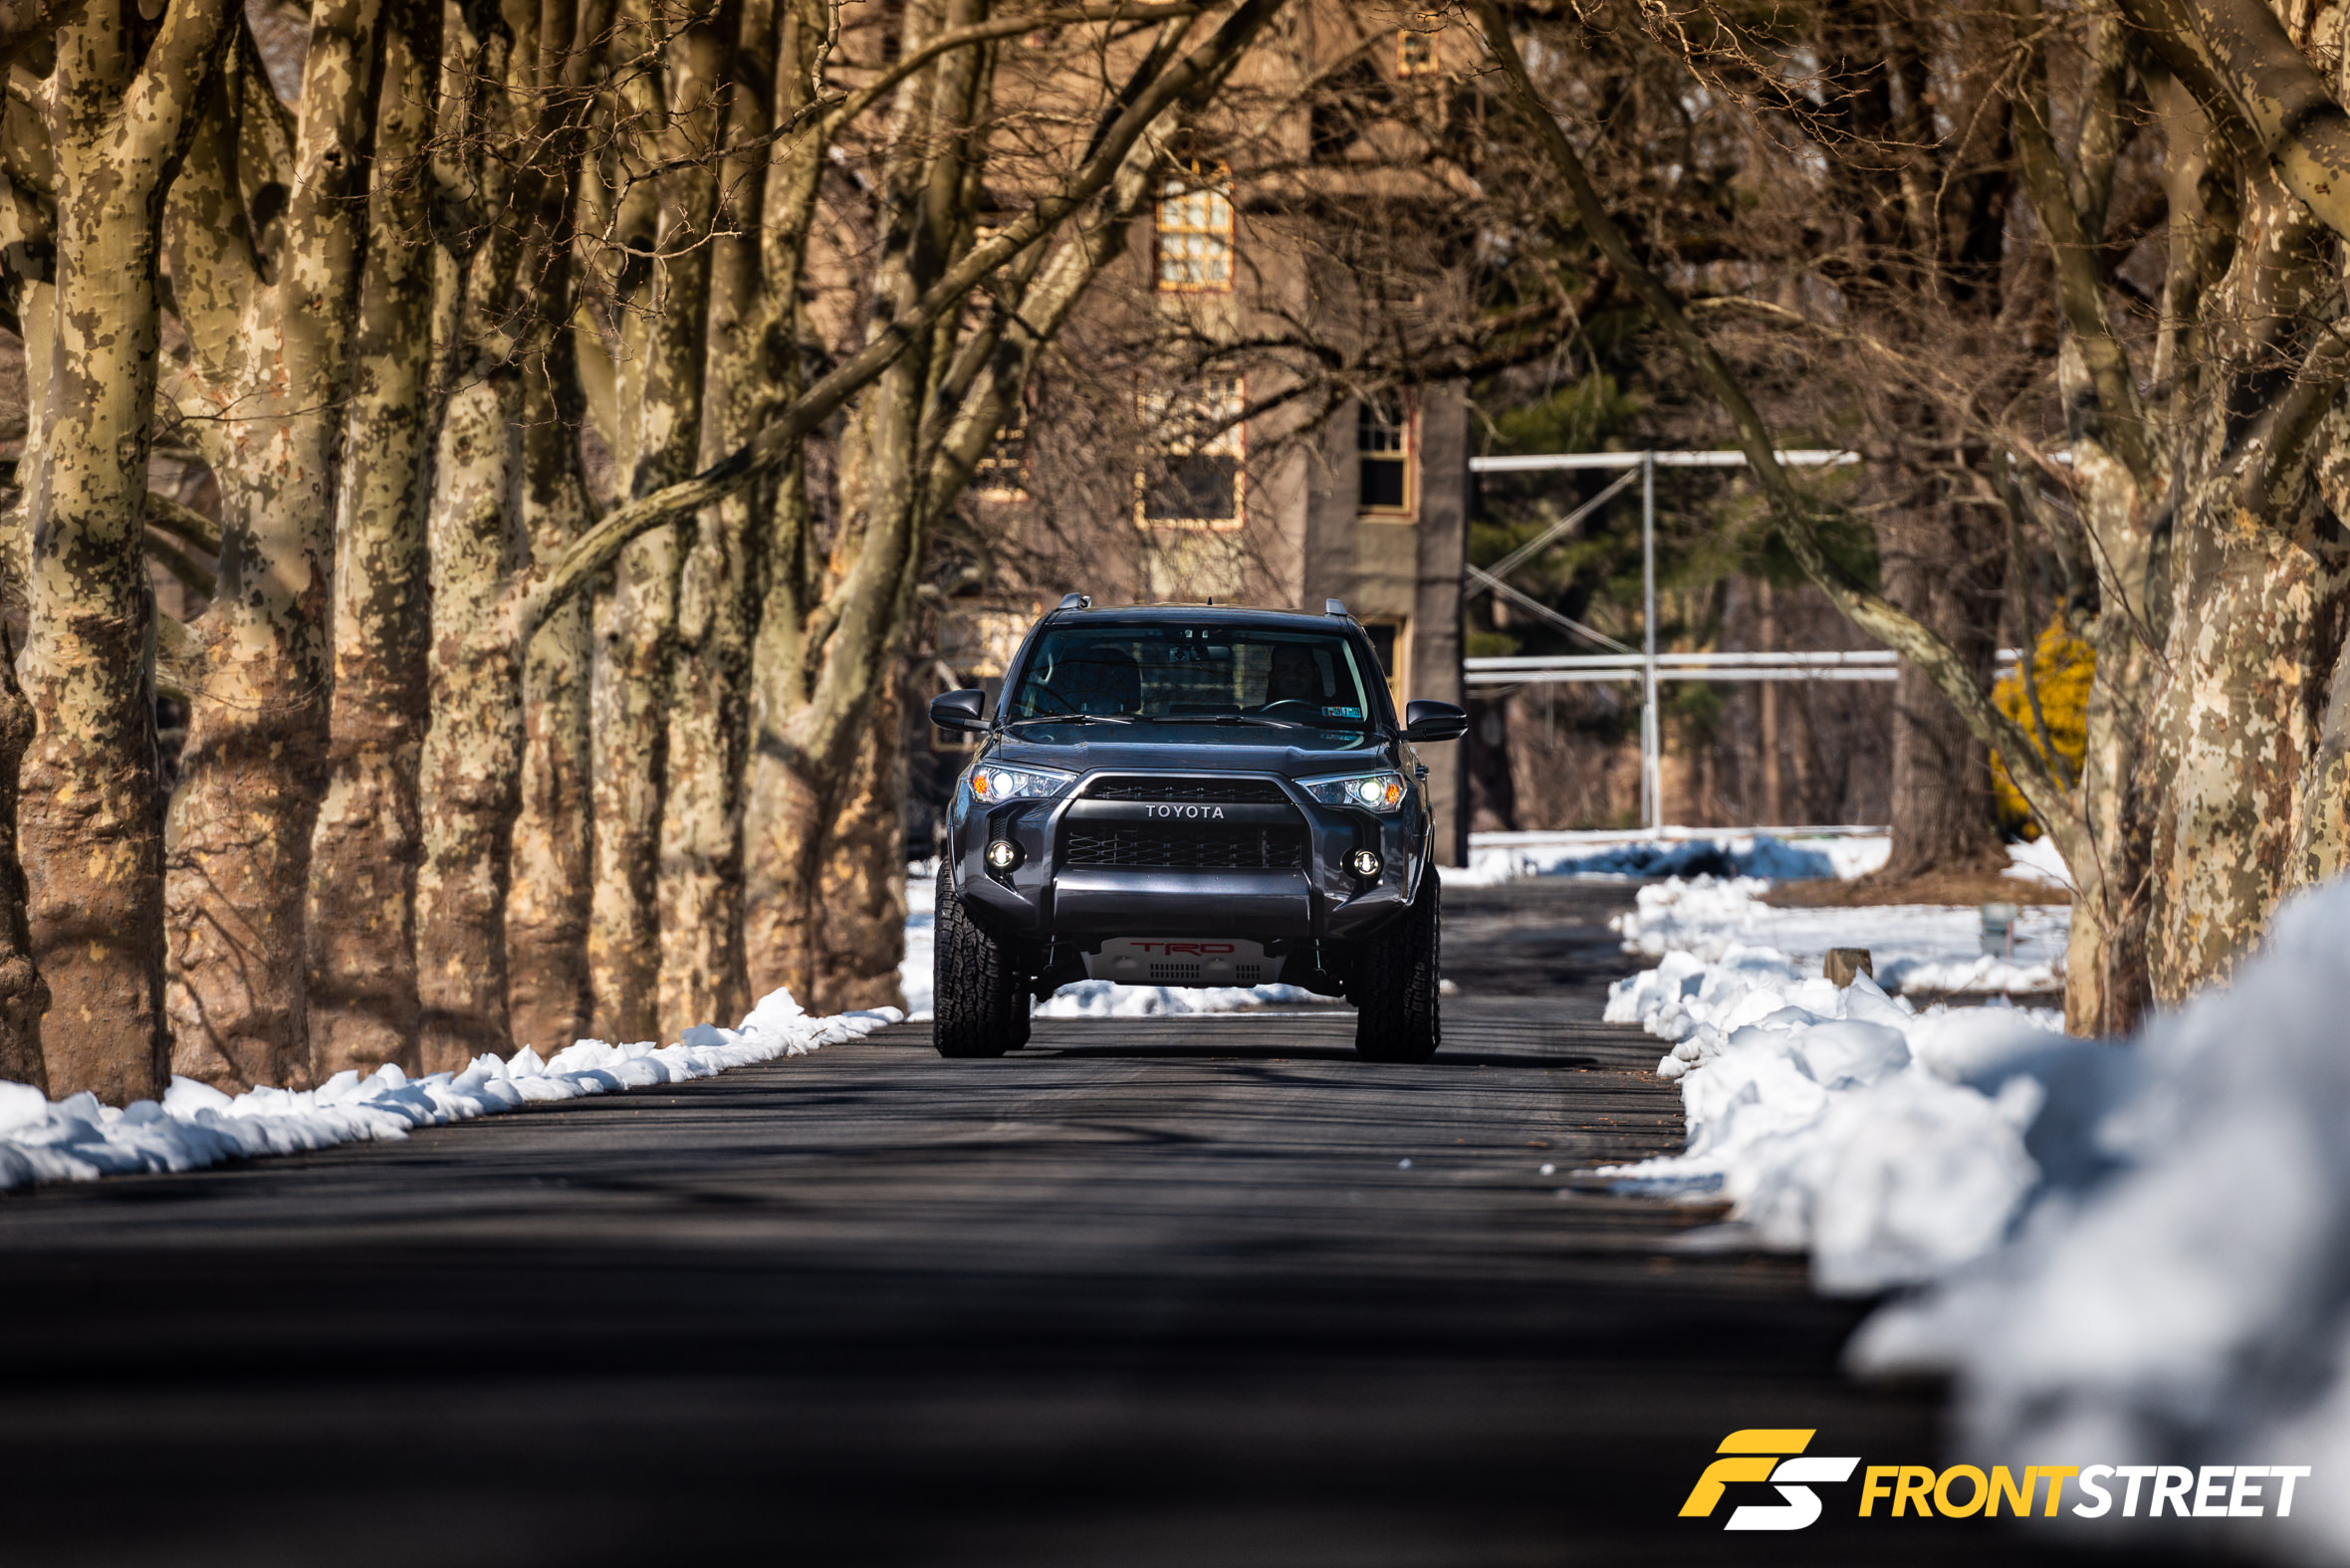
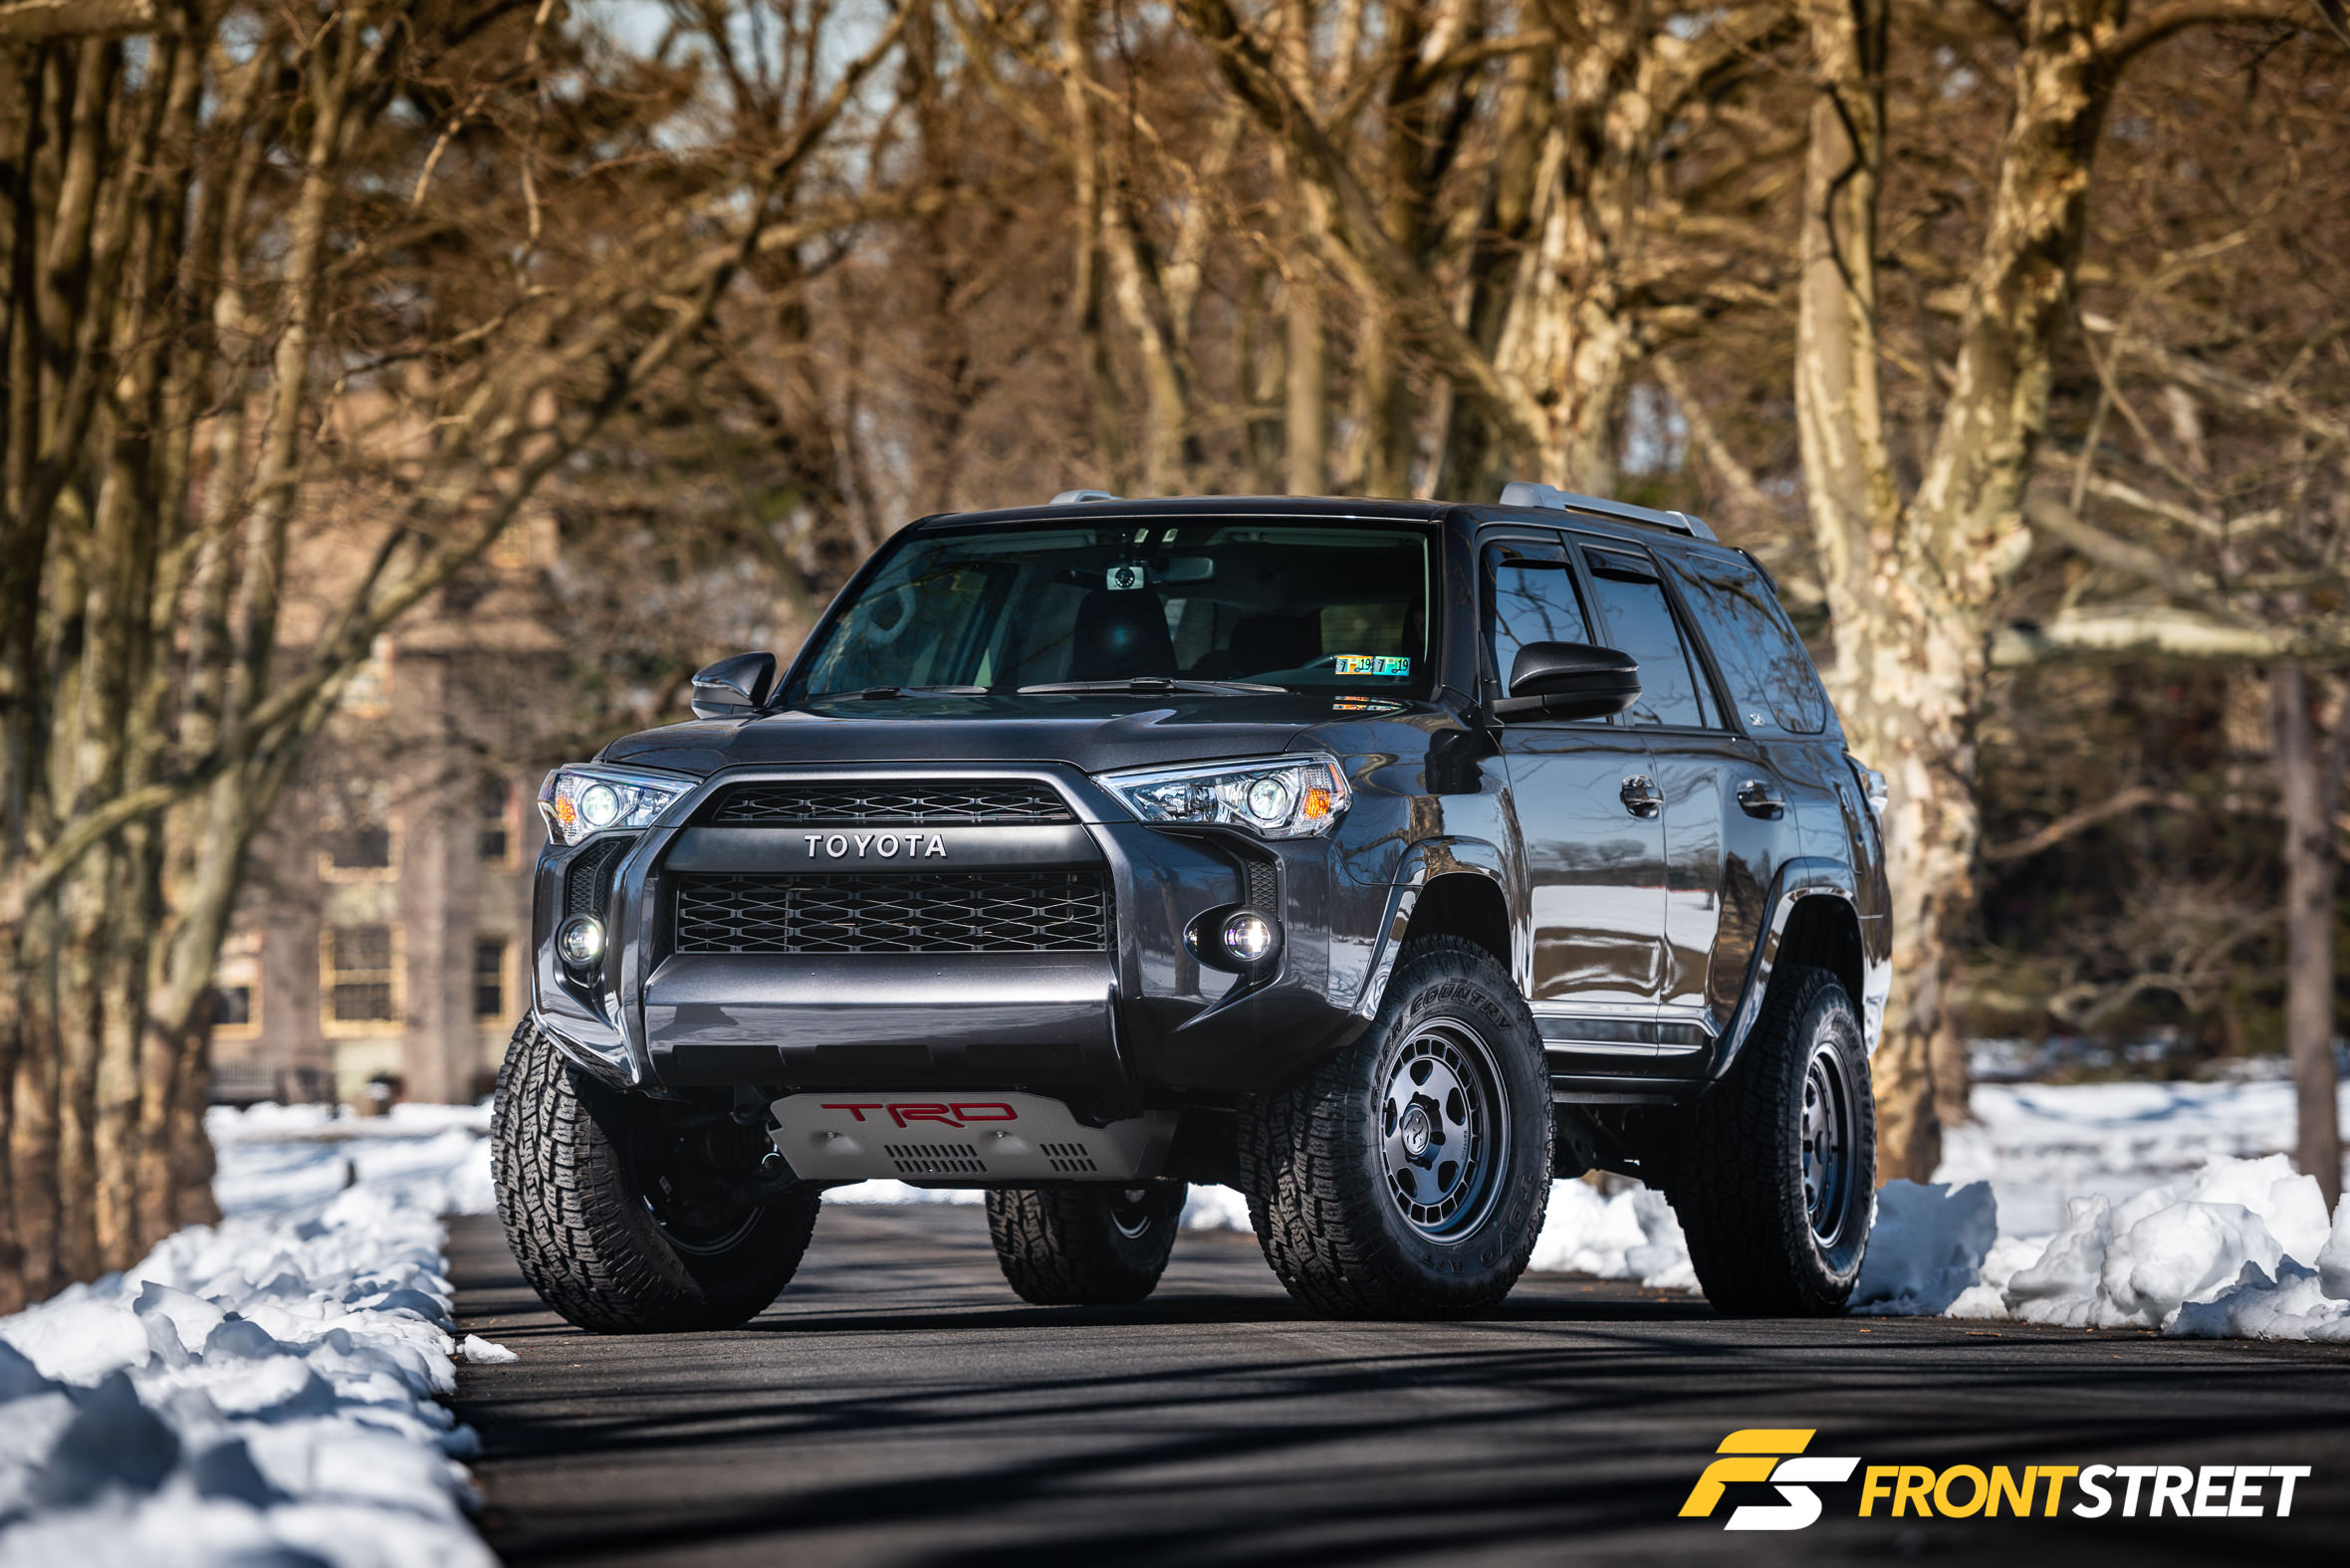
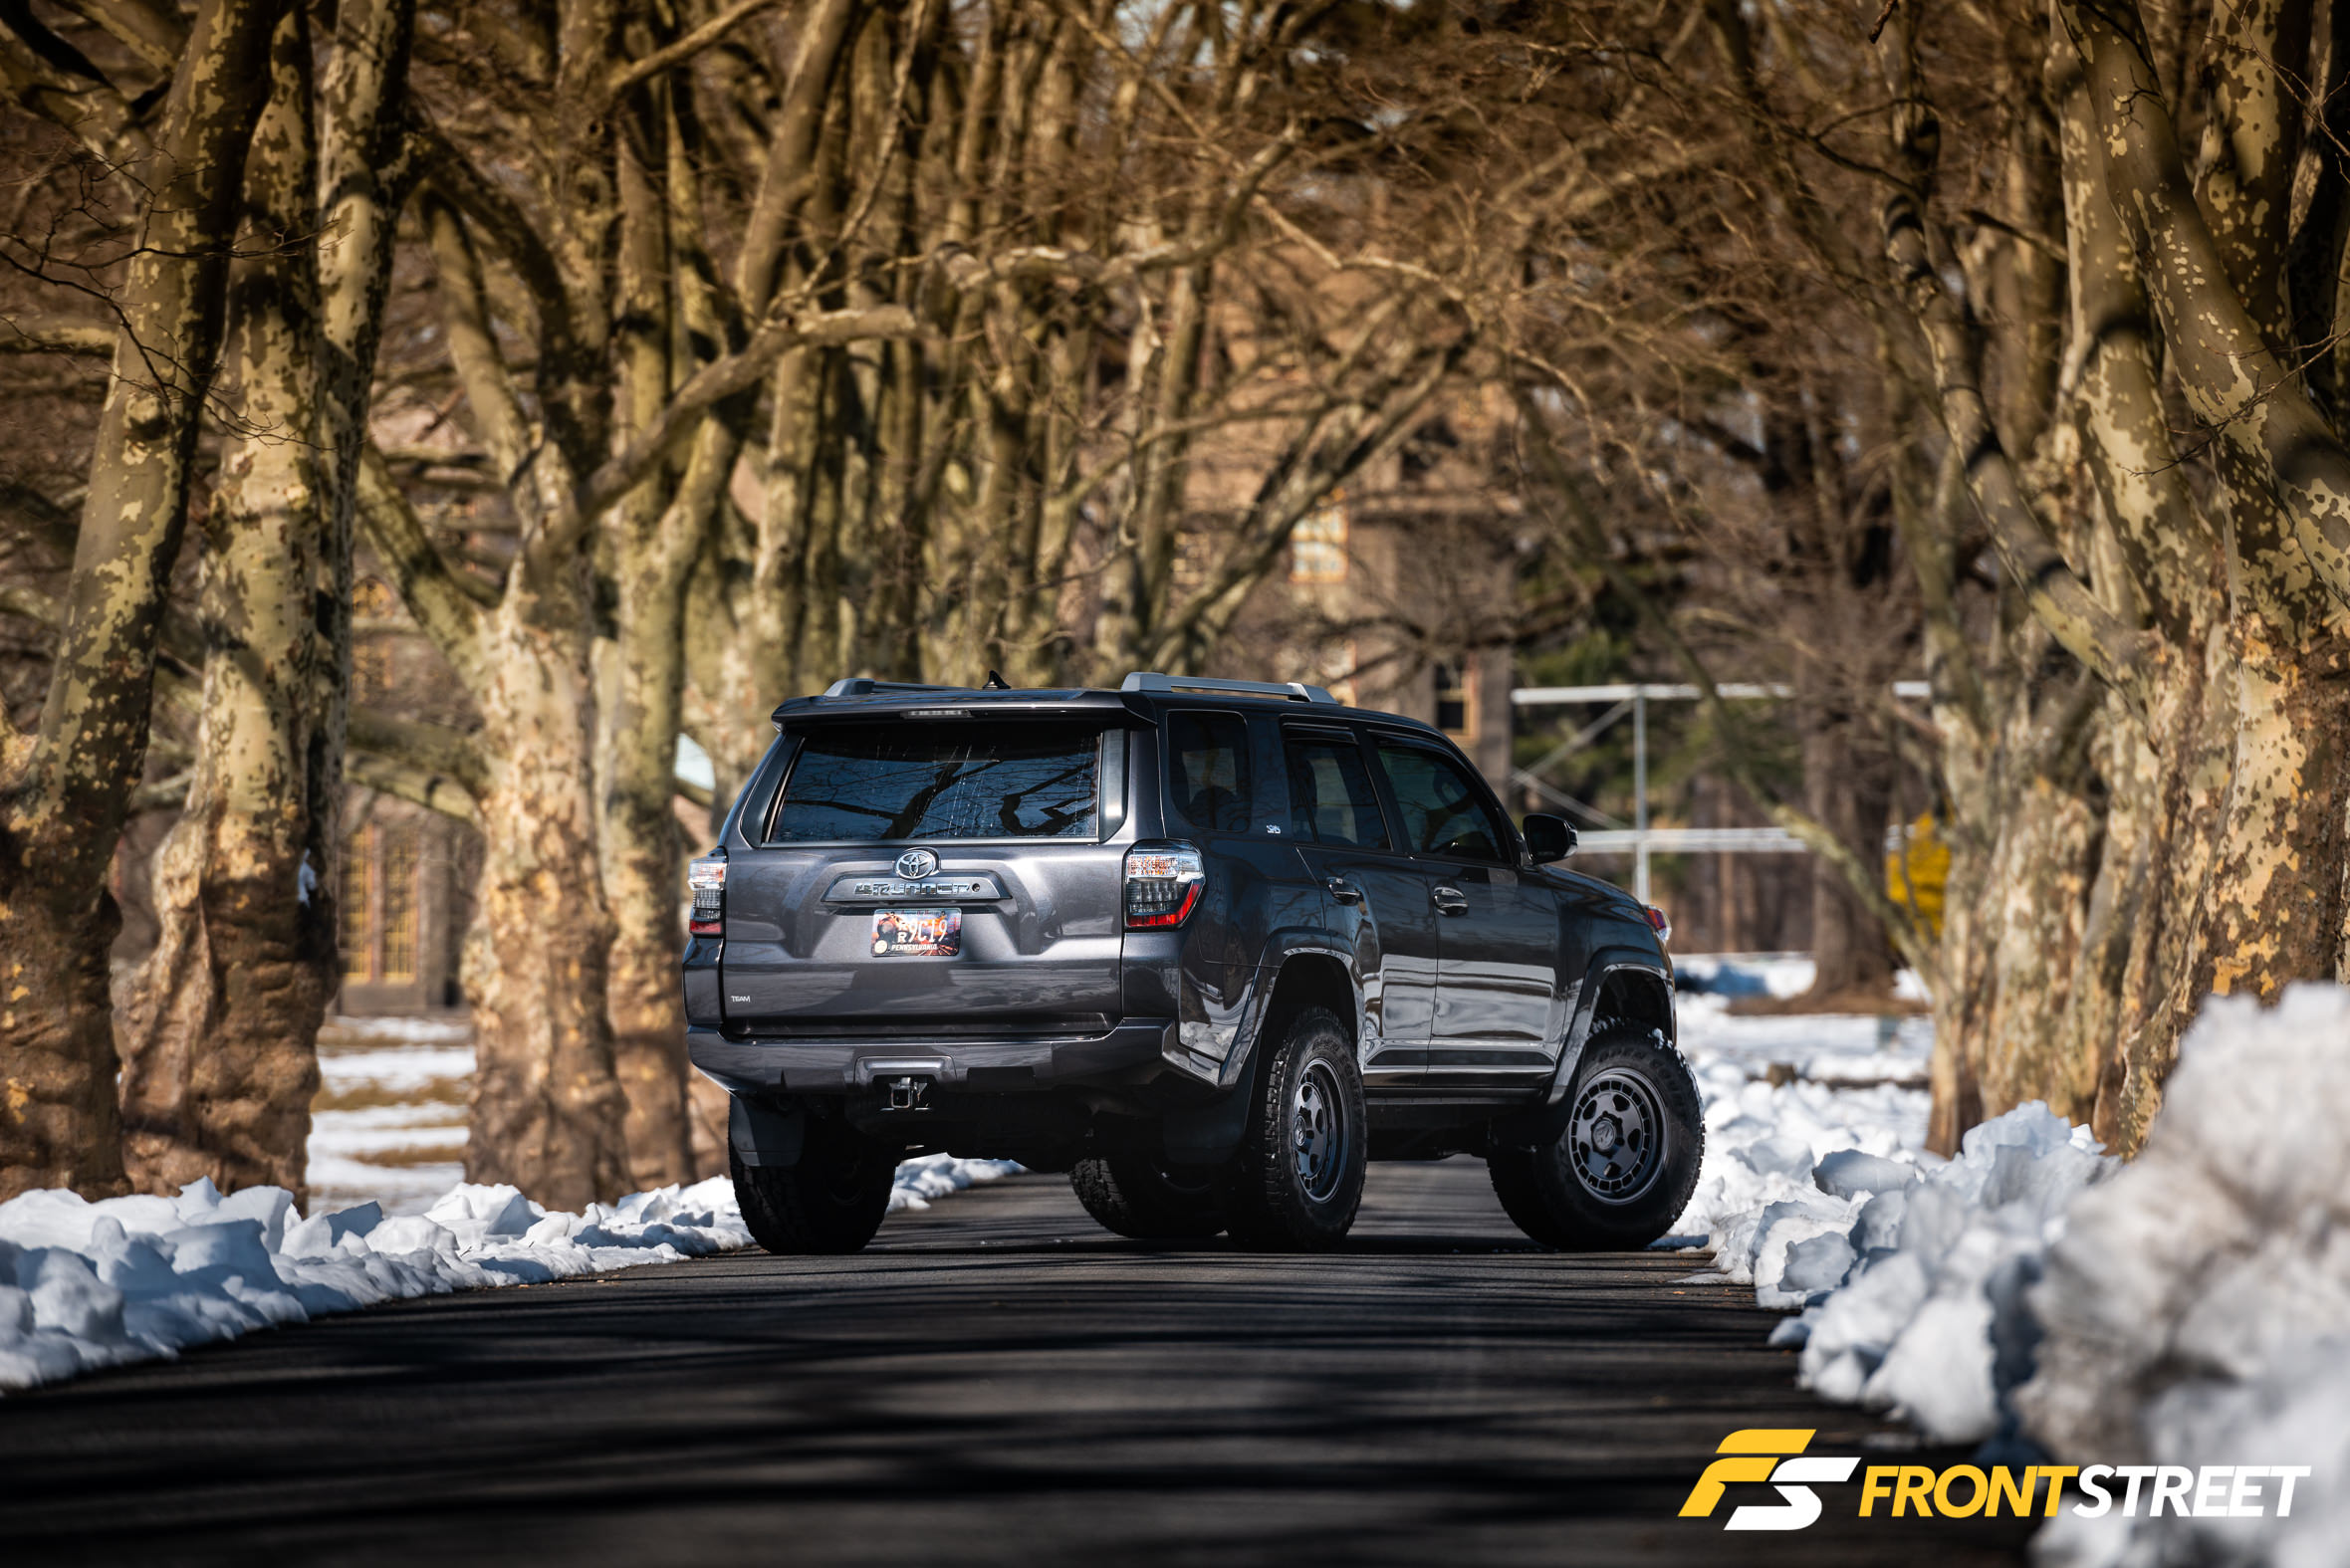
The final product of the new suspension and wheel setup is incredible! The Carbon Grey wheel color choice is a perfect shade to complement the Magnetic Gray Metallic paint adorning each panel of the truck.
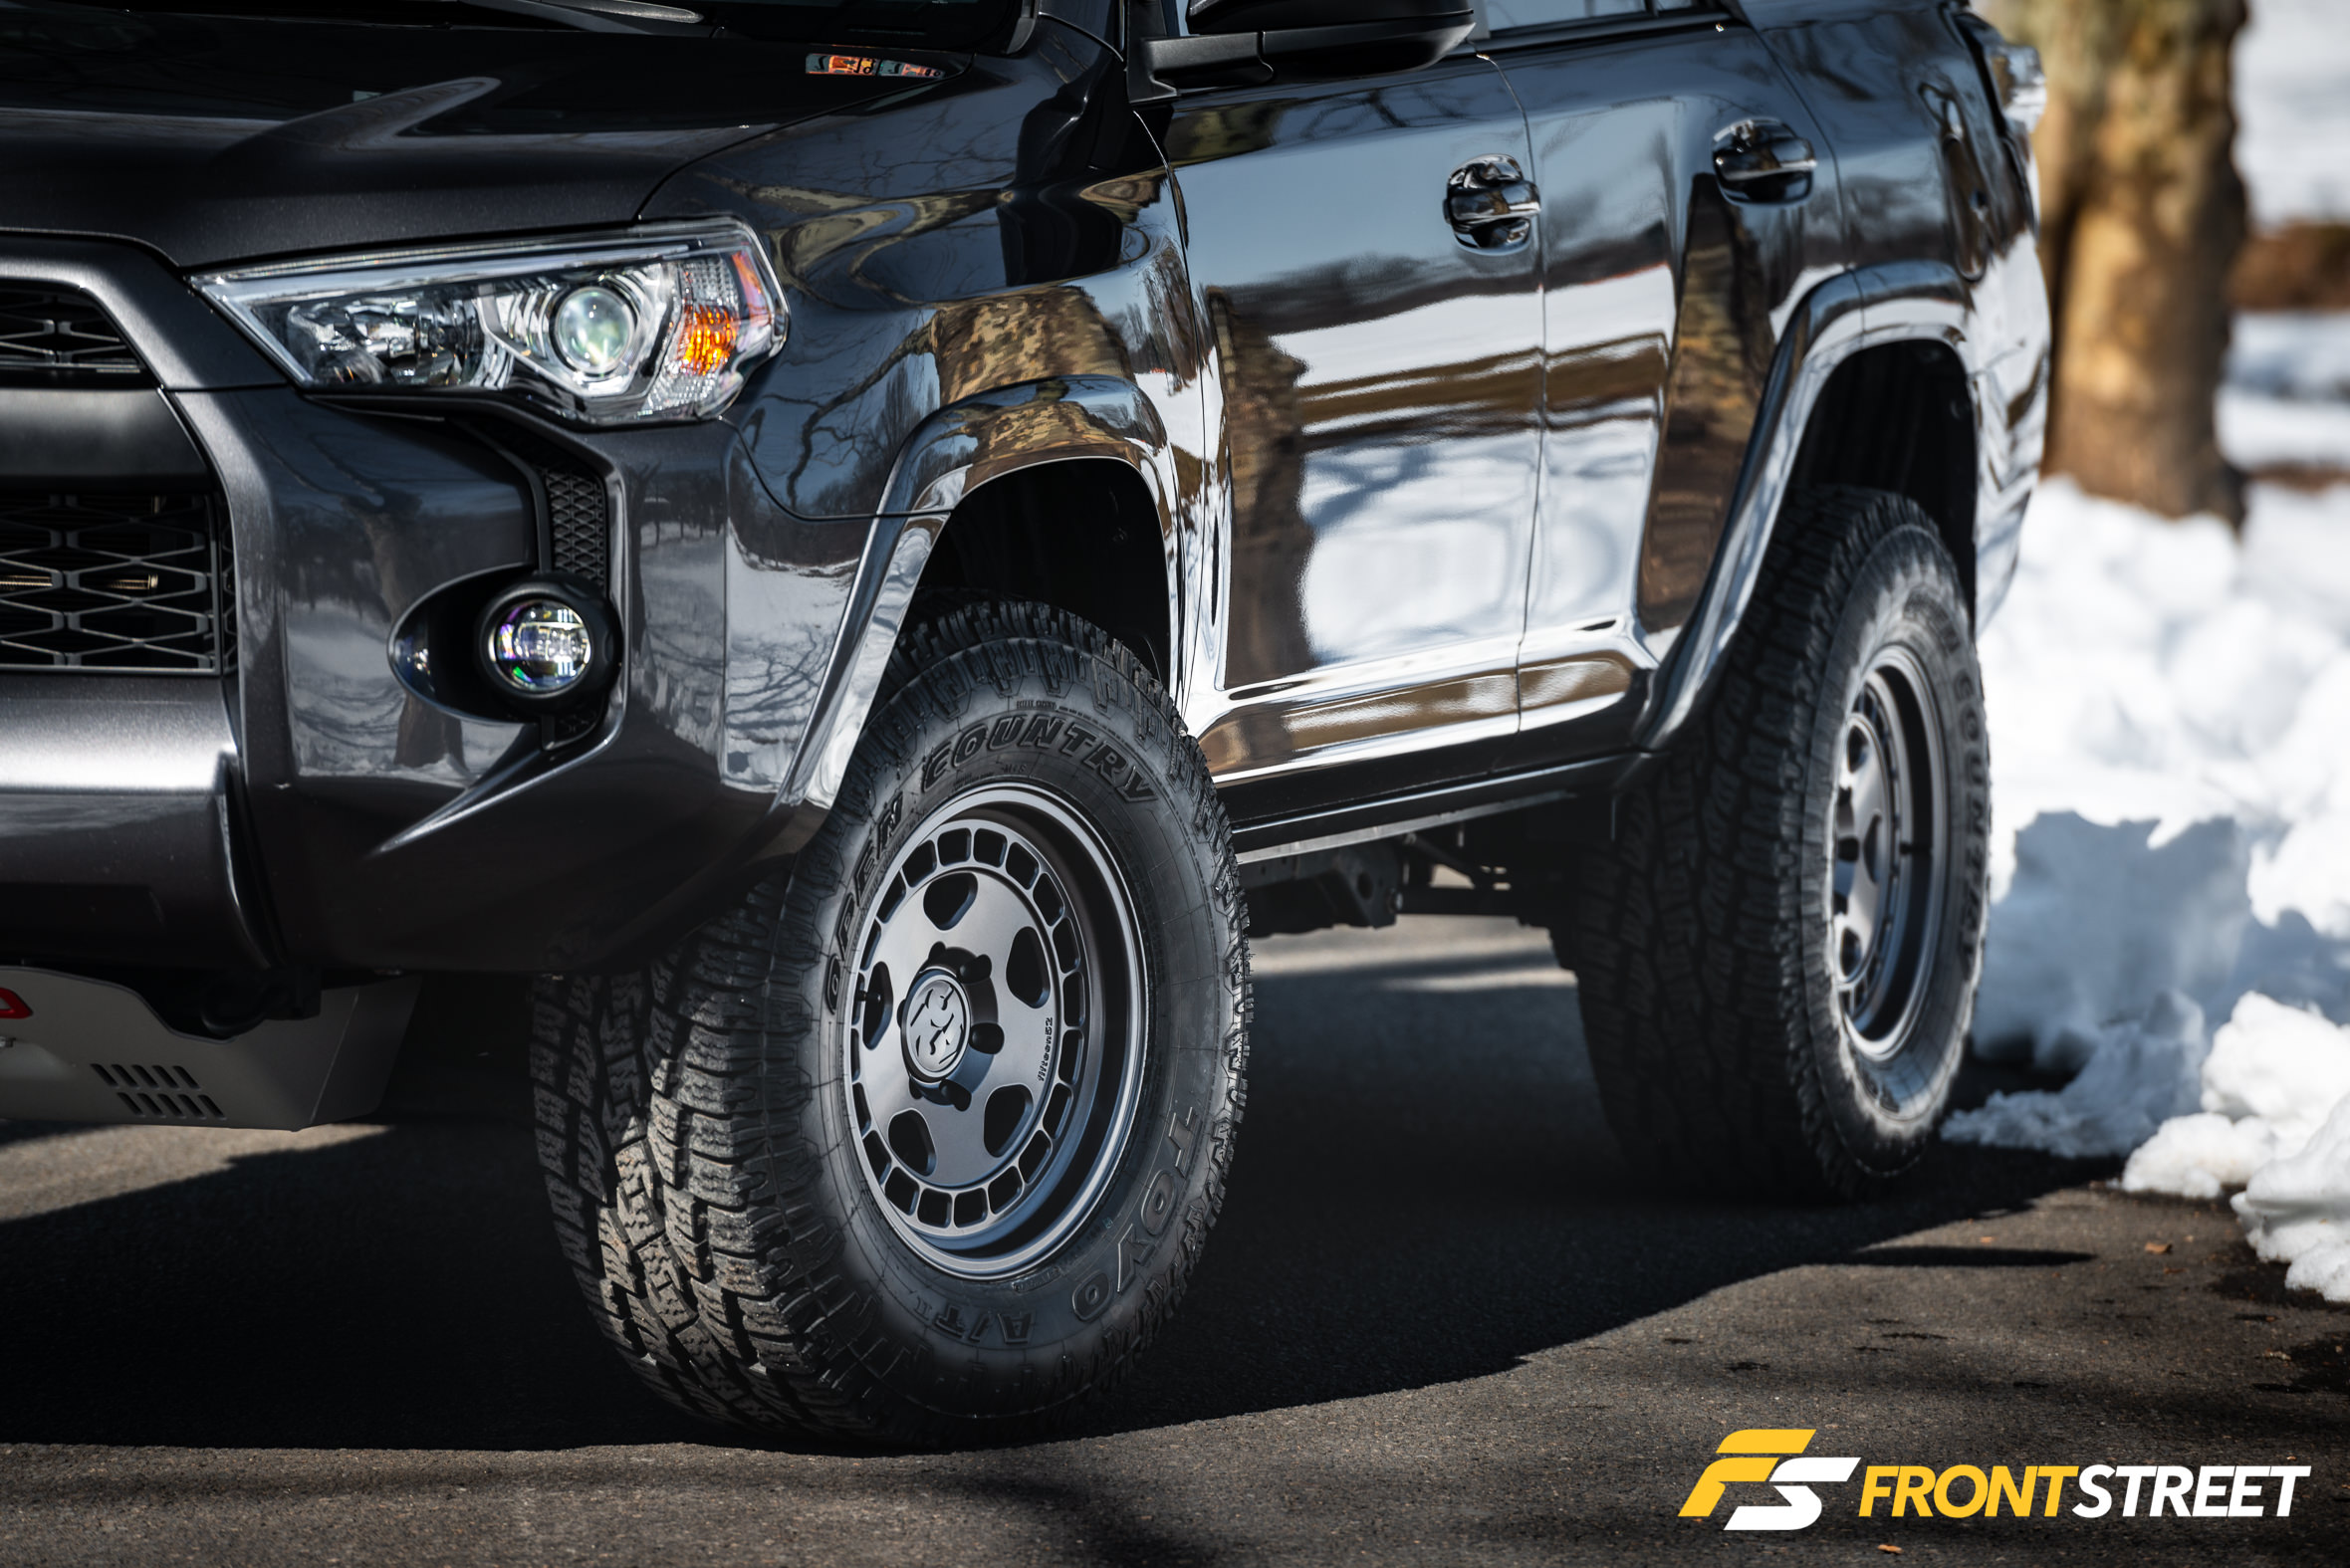
The new raised stance adds a level of aggressiveness to the already fierce exterior, which combines with all of the new additions to create a truck that looks fit to tackle any terrain in a post-apocalyptic scenario, or just take a trip to the grocery store.
Why Off-Road Prep Toyota’s 4Runner?
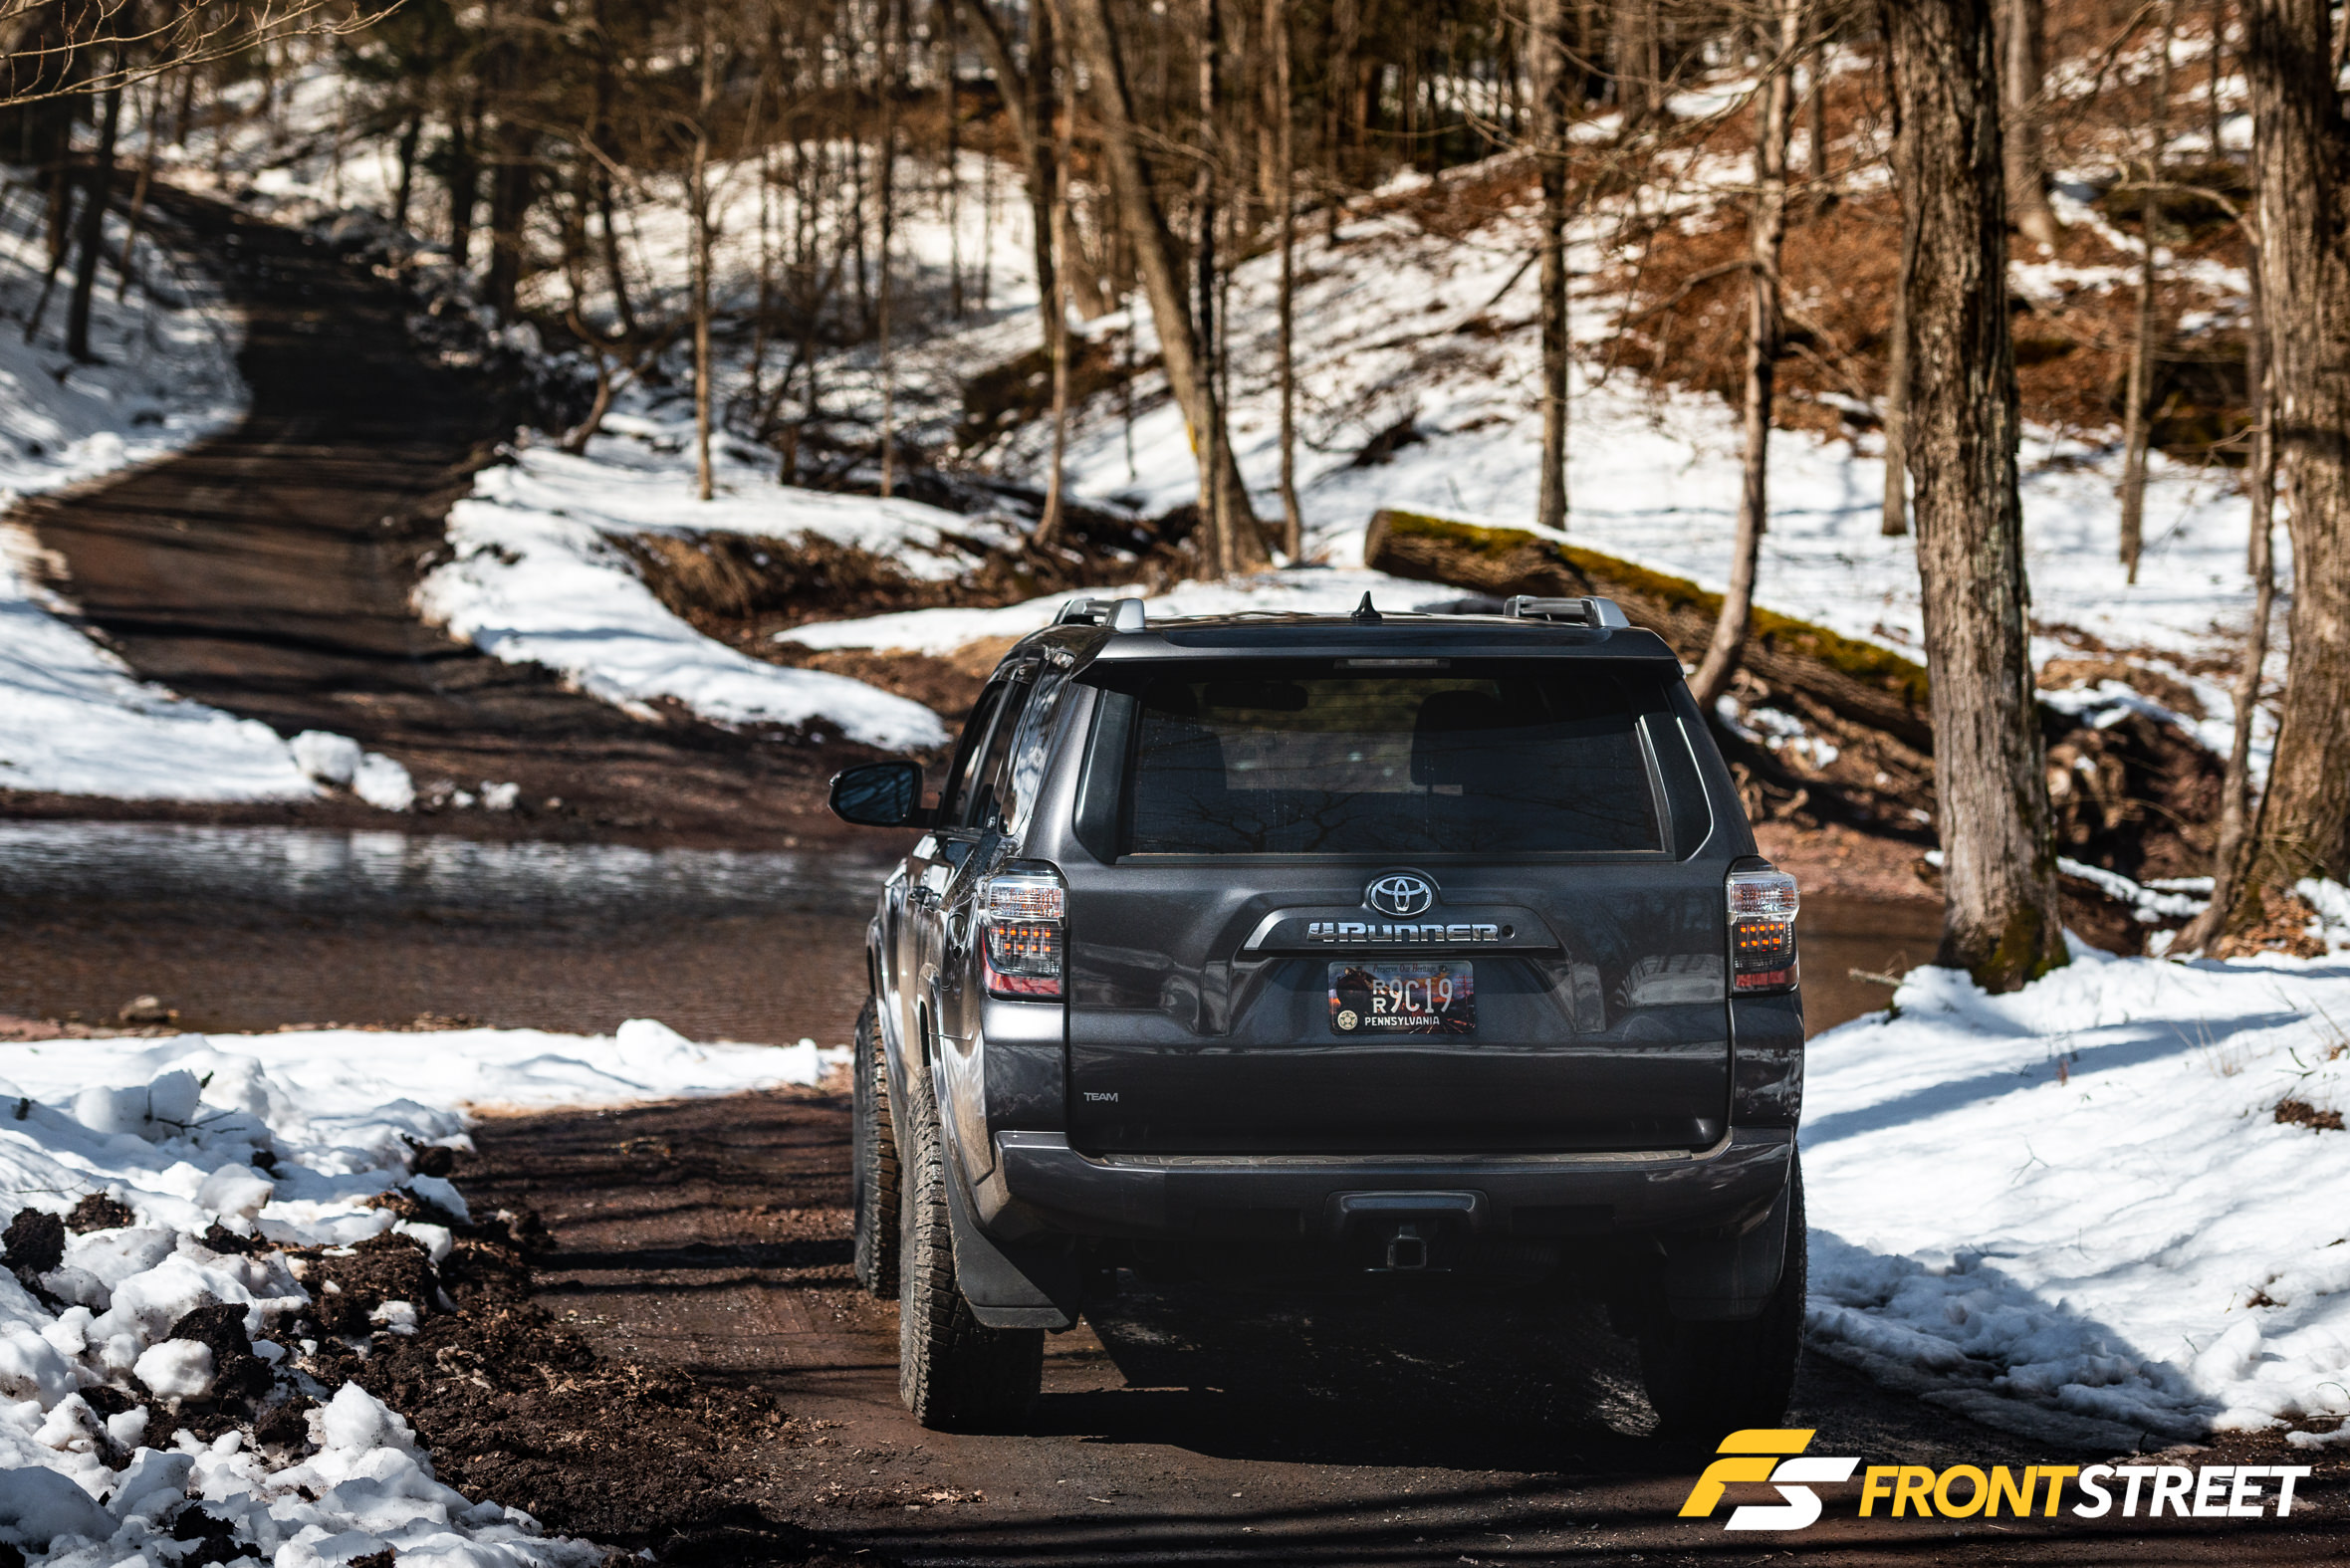
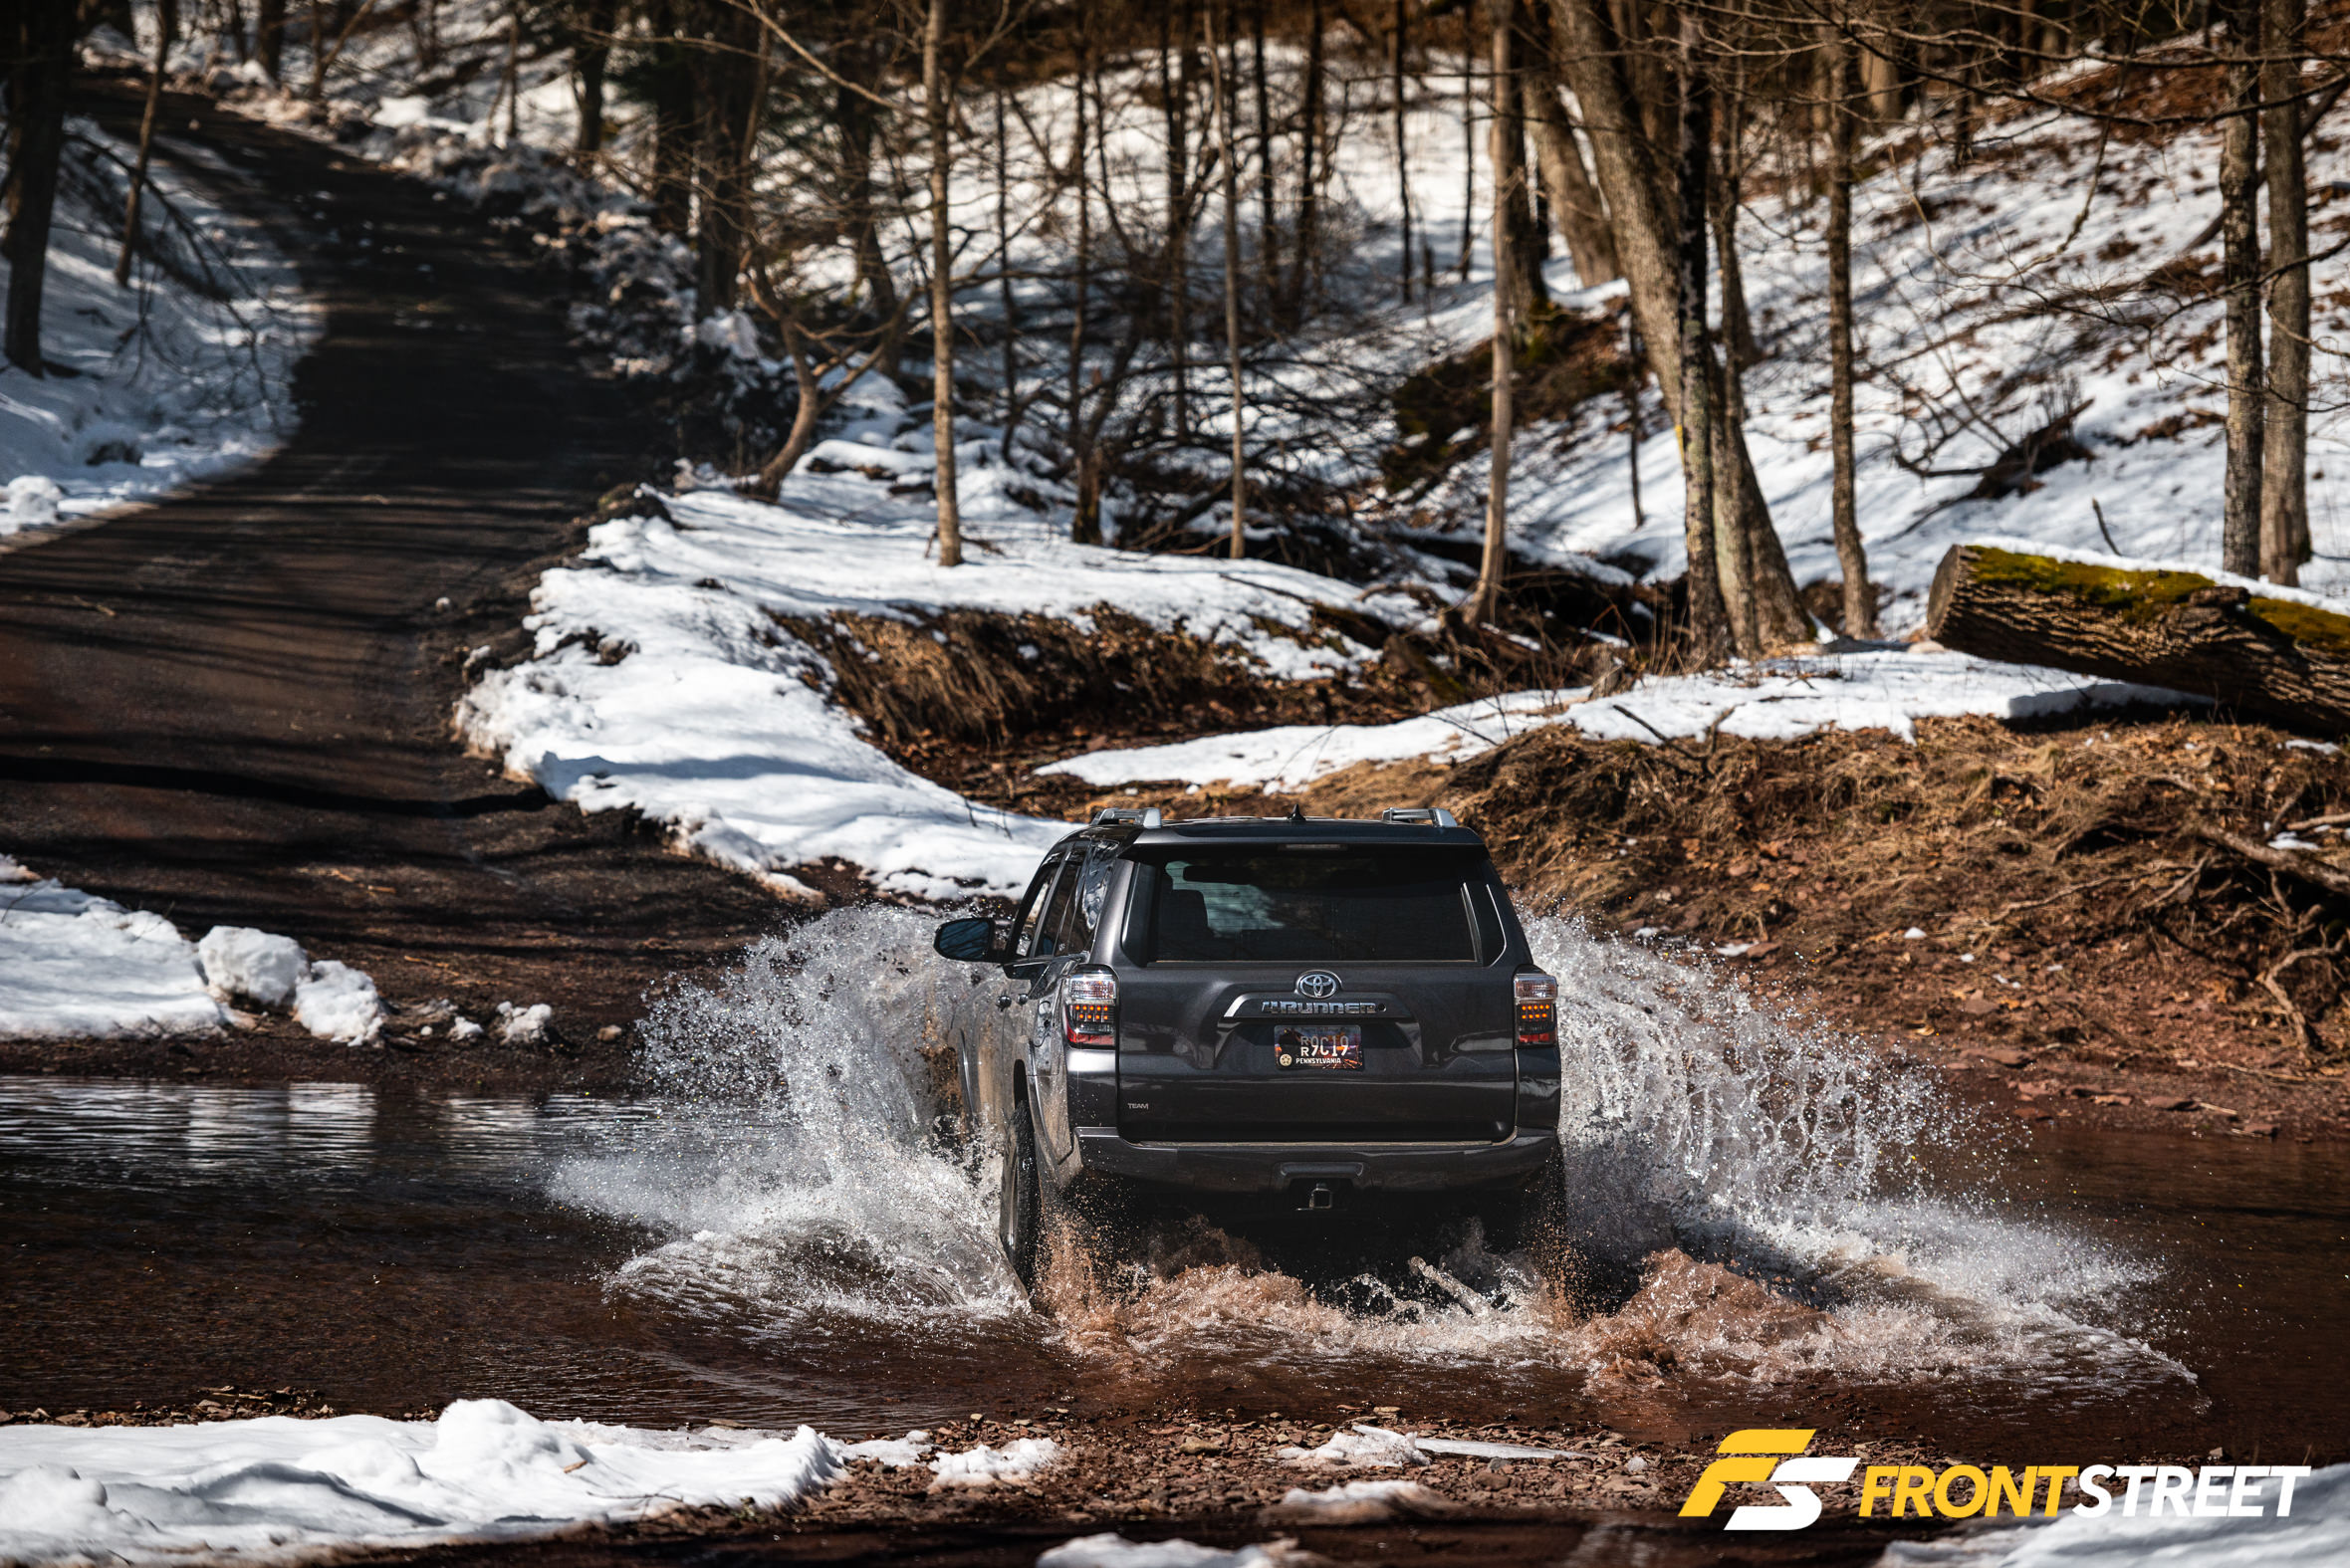
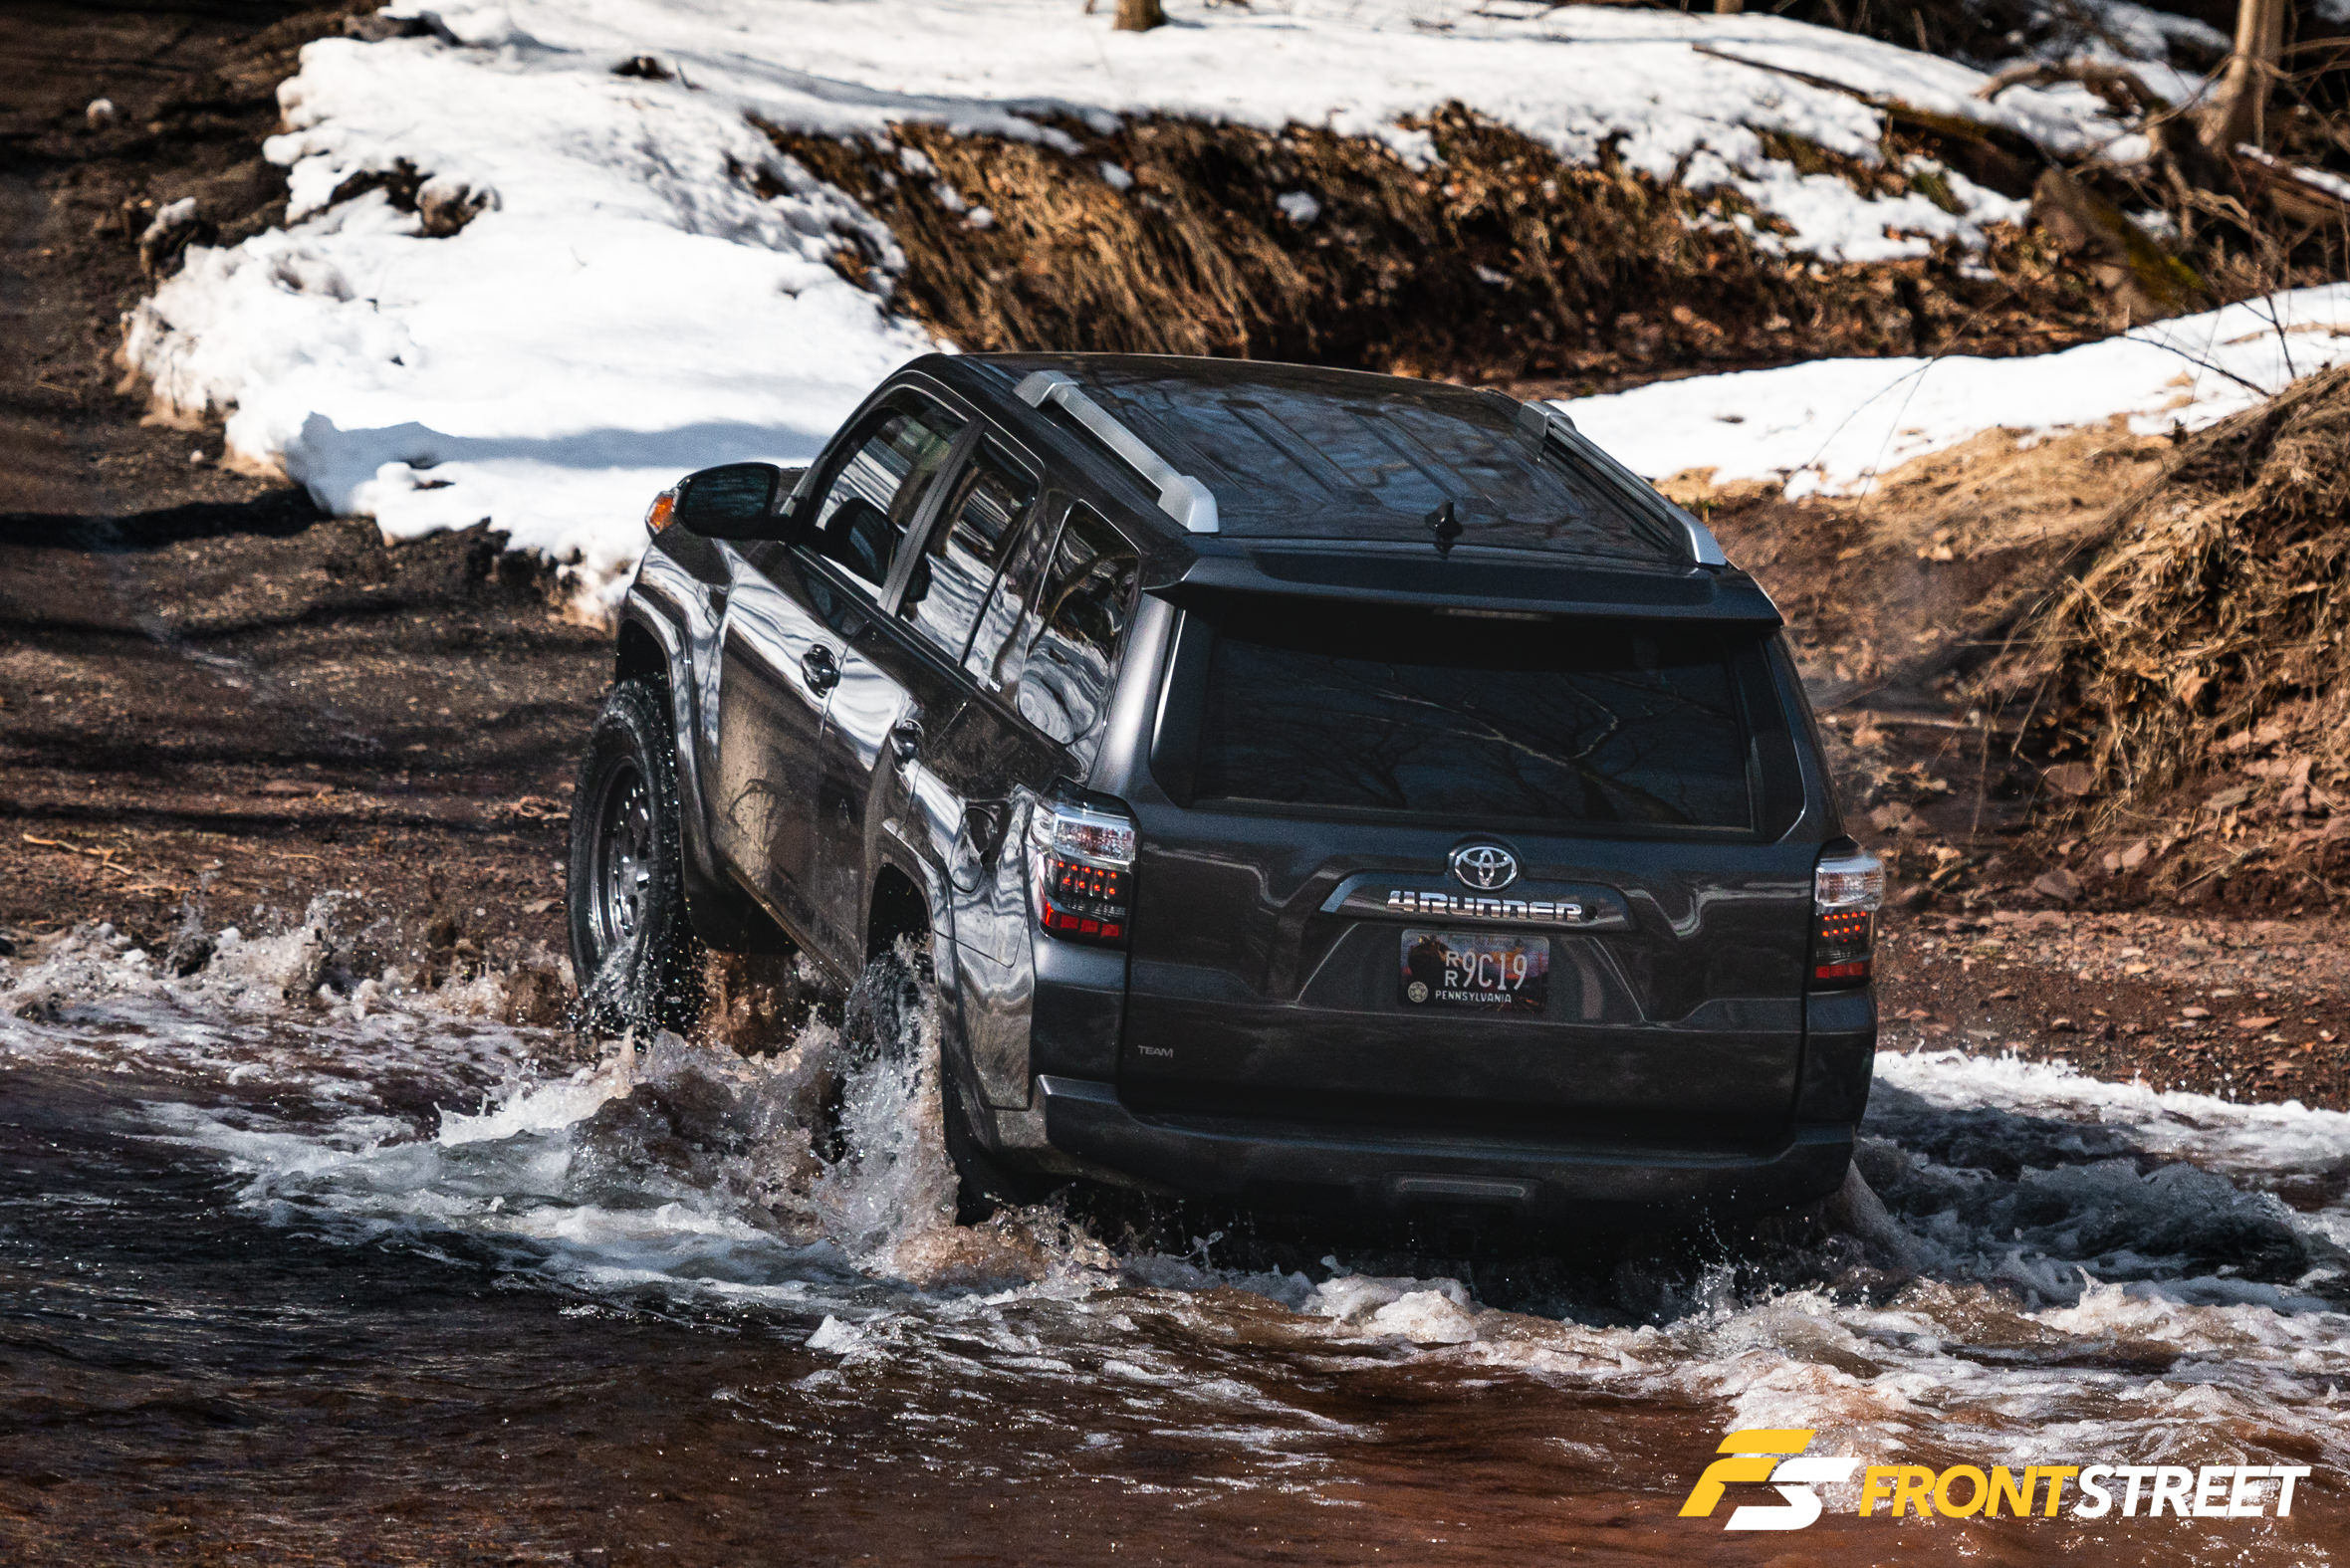
Because even though the alterations make it operate marginally differently in regular driving scenarios, it allows you to do things like this…
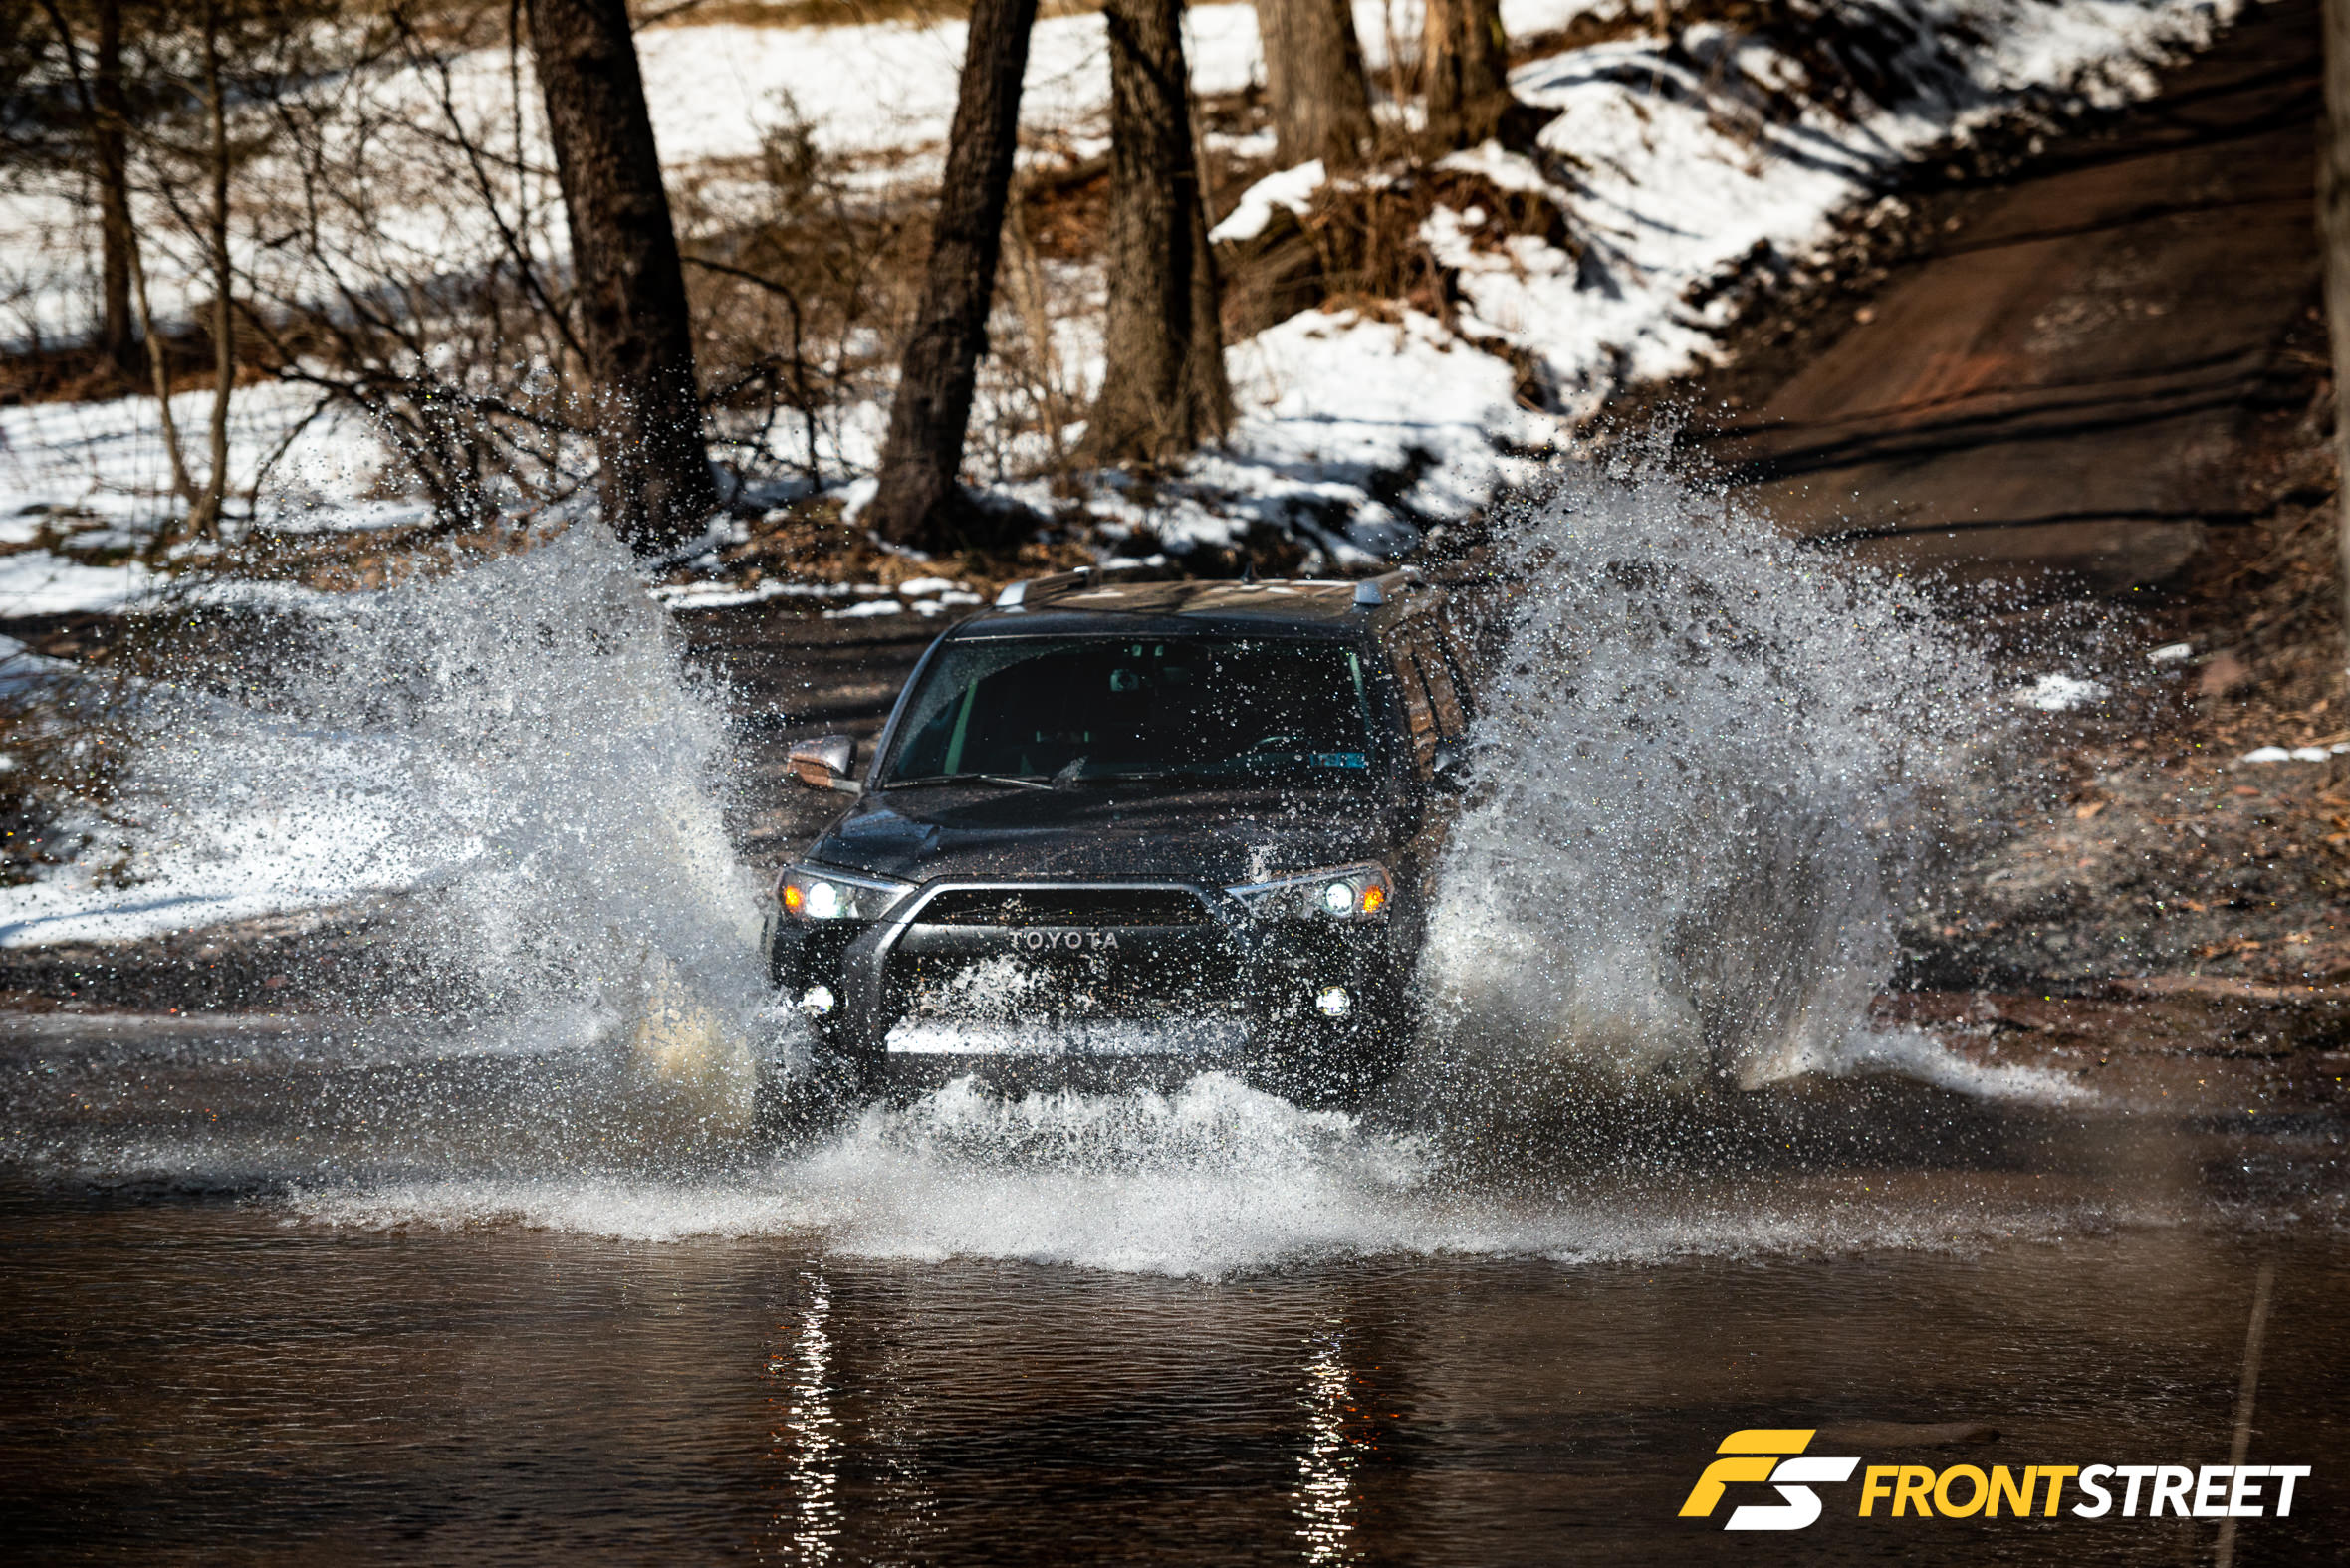
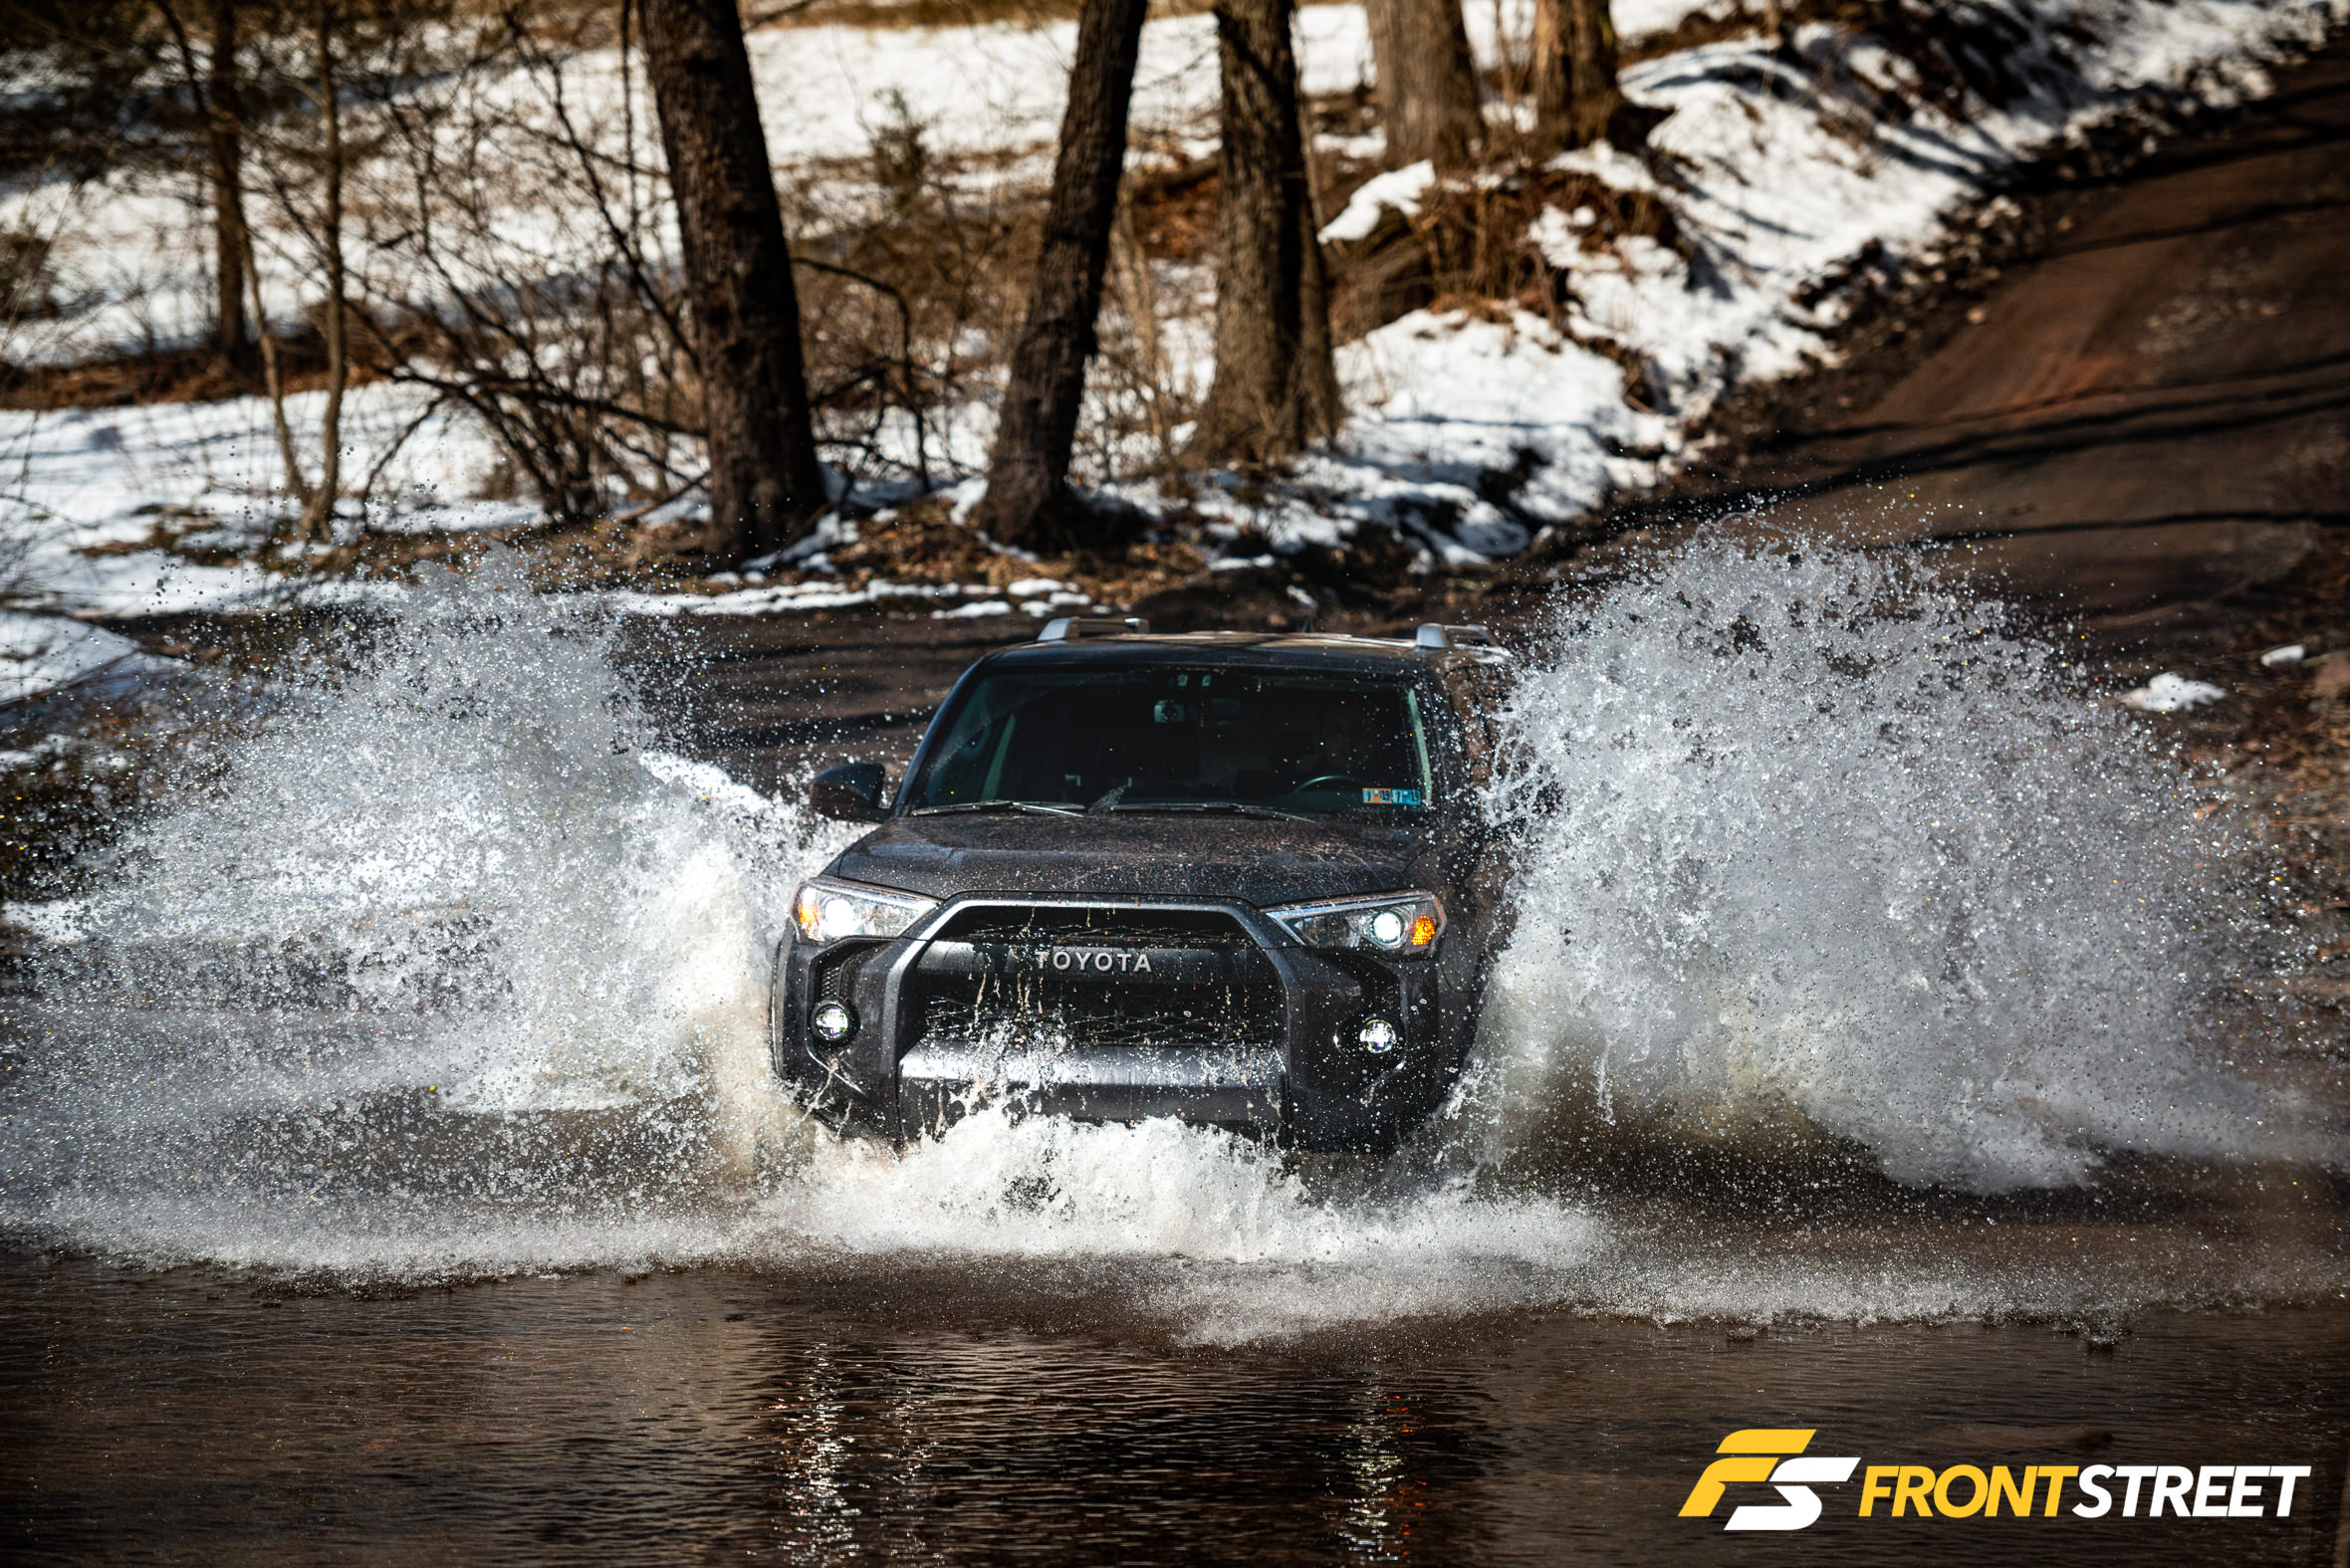
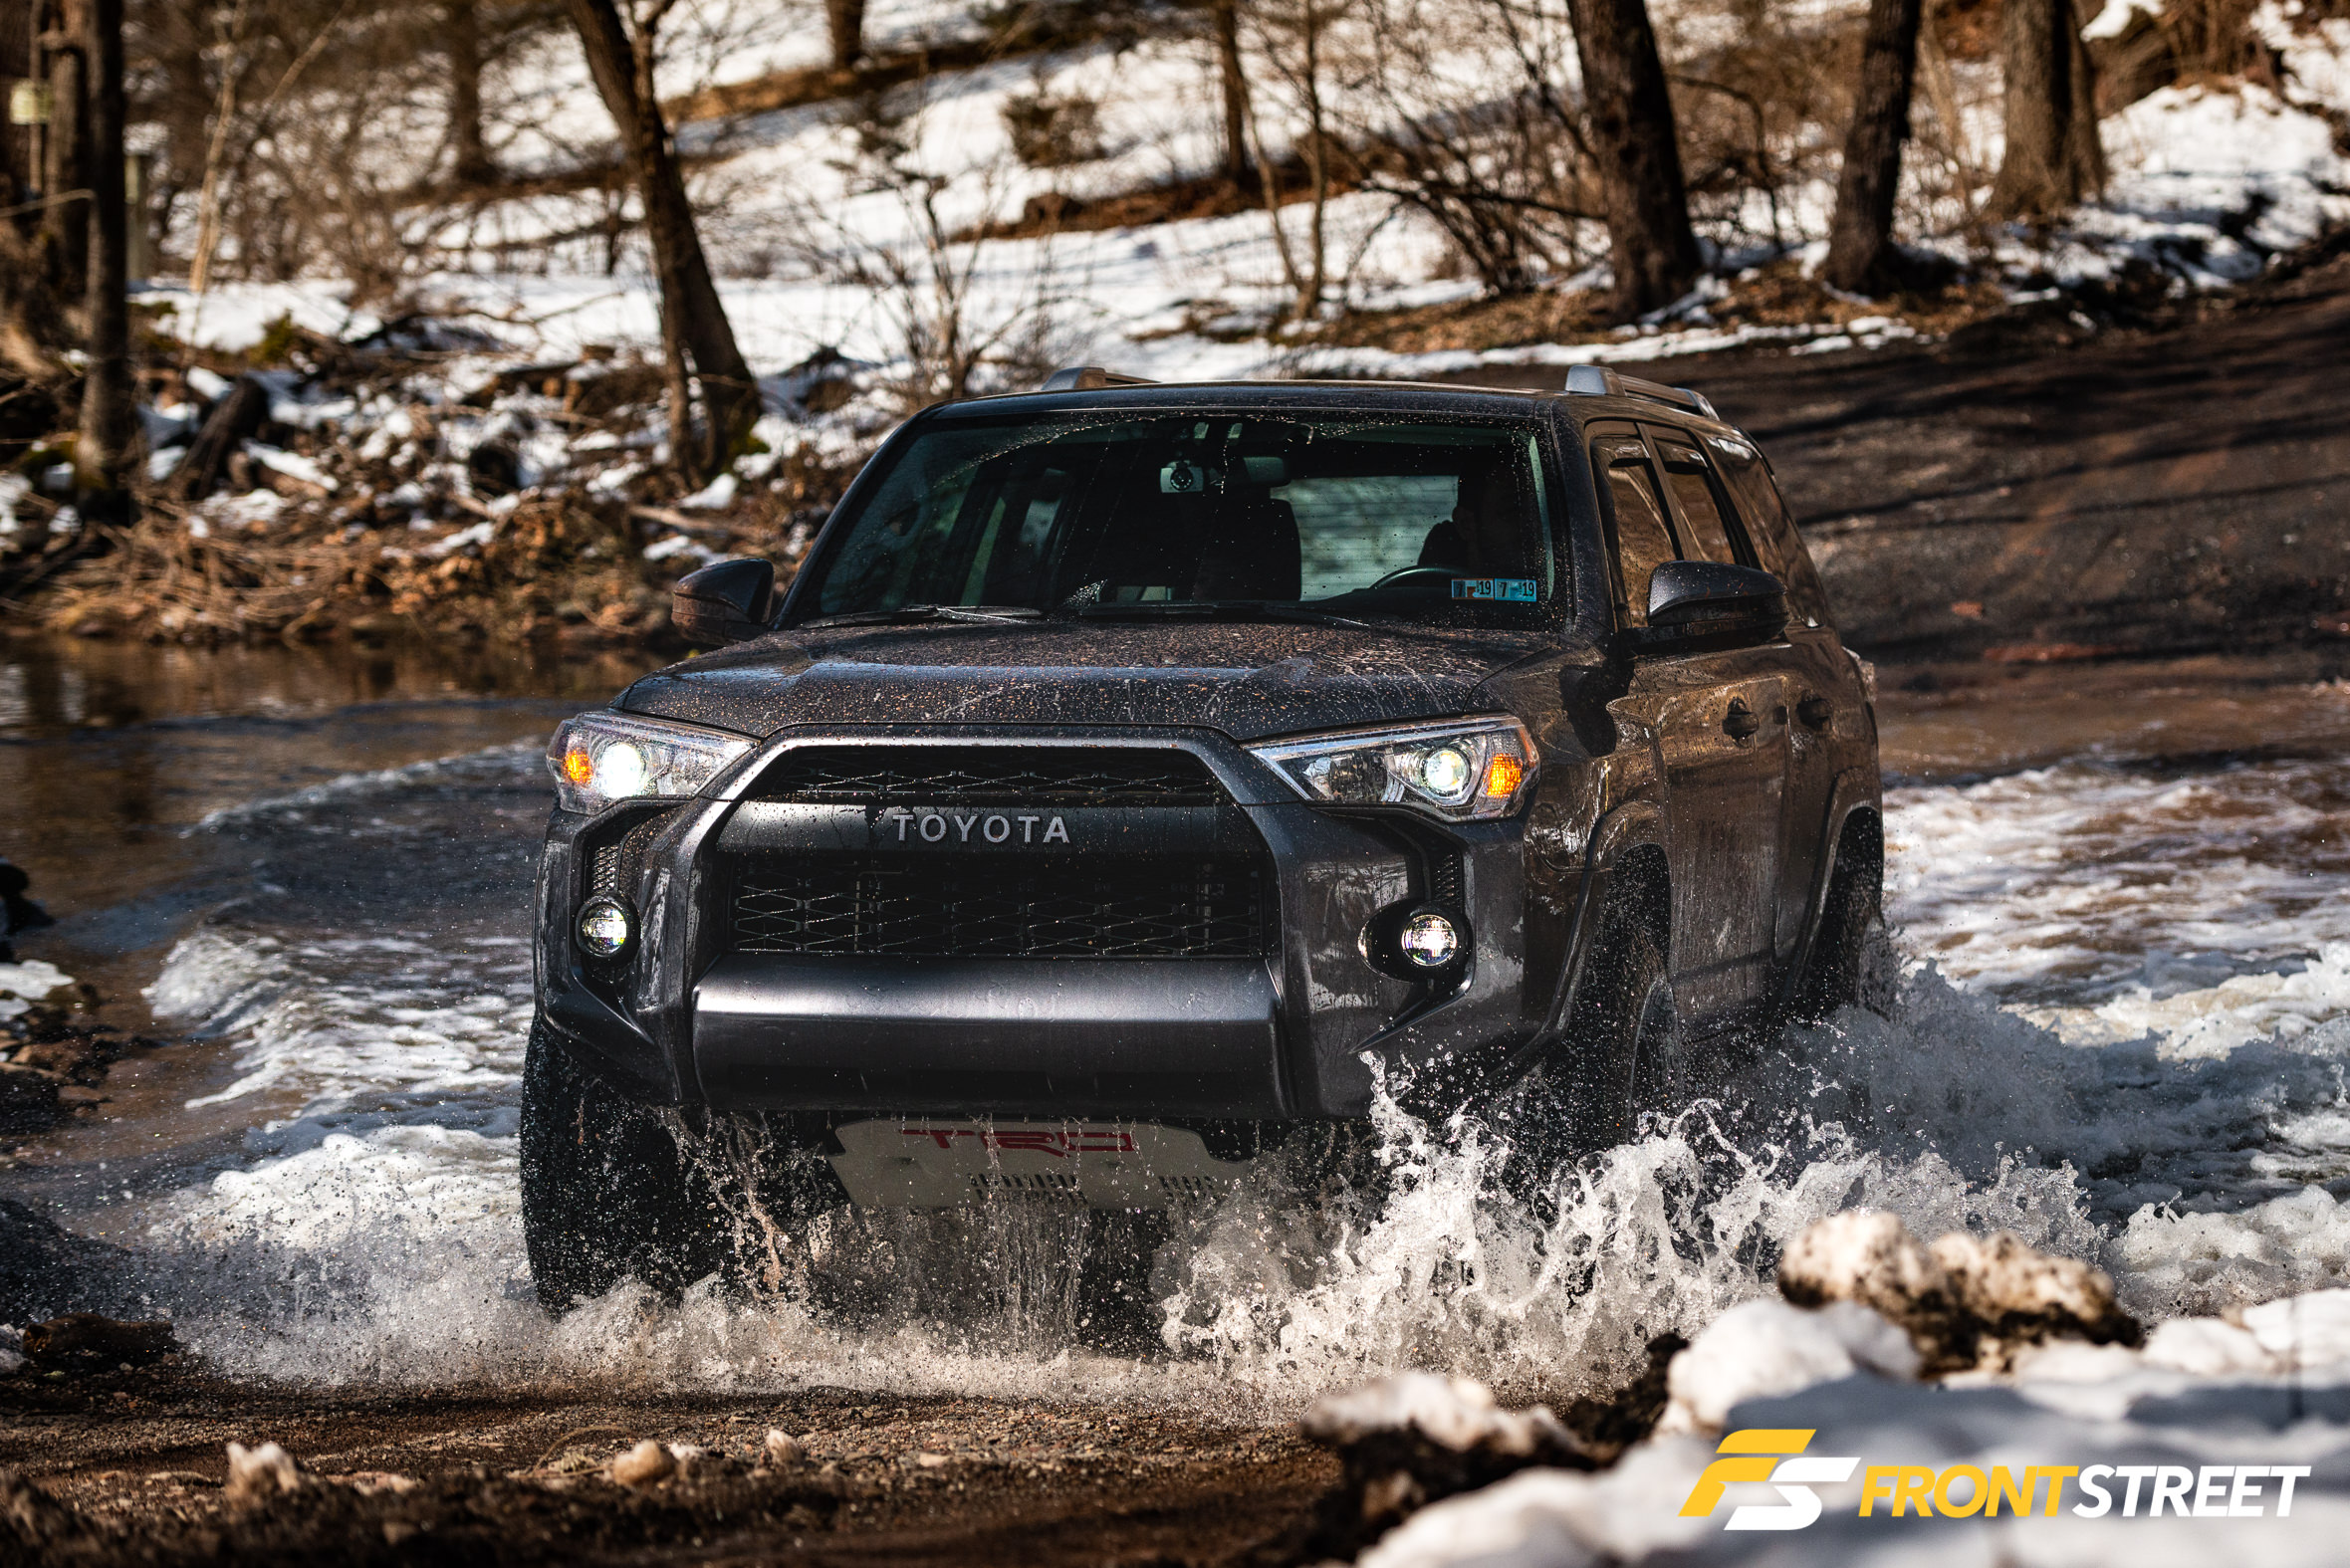
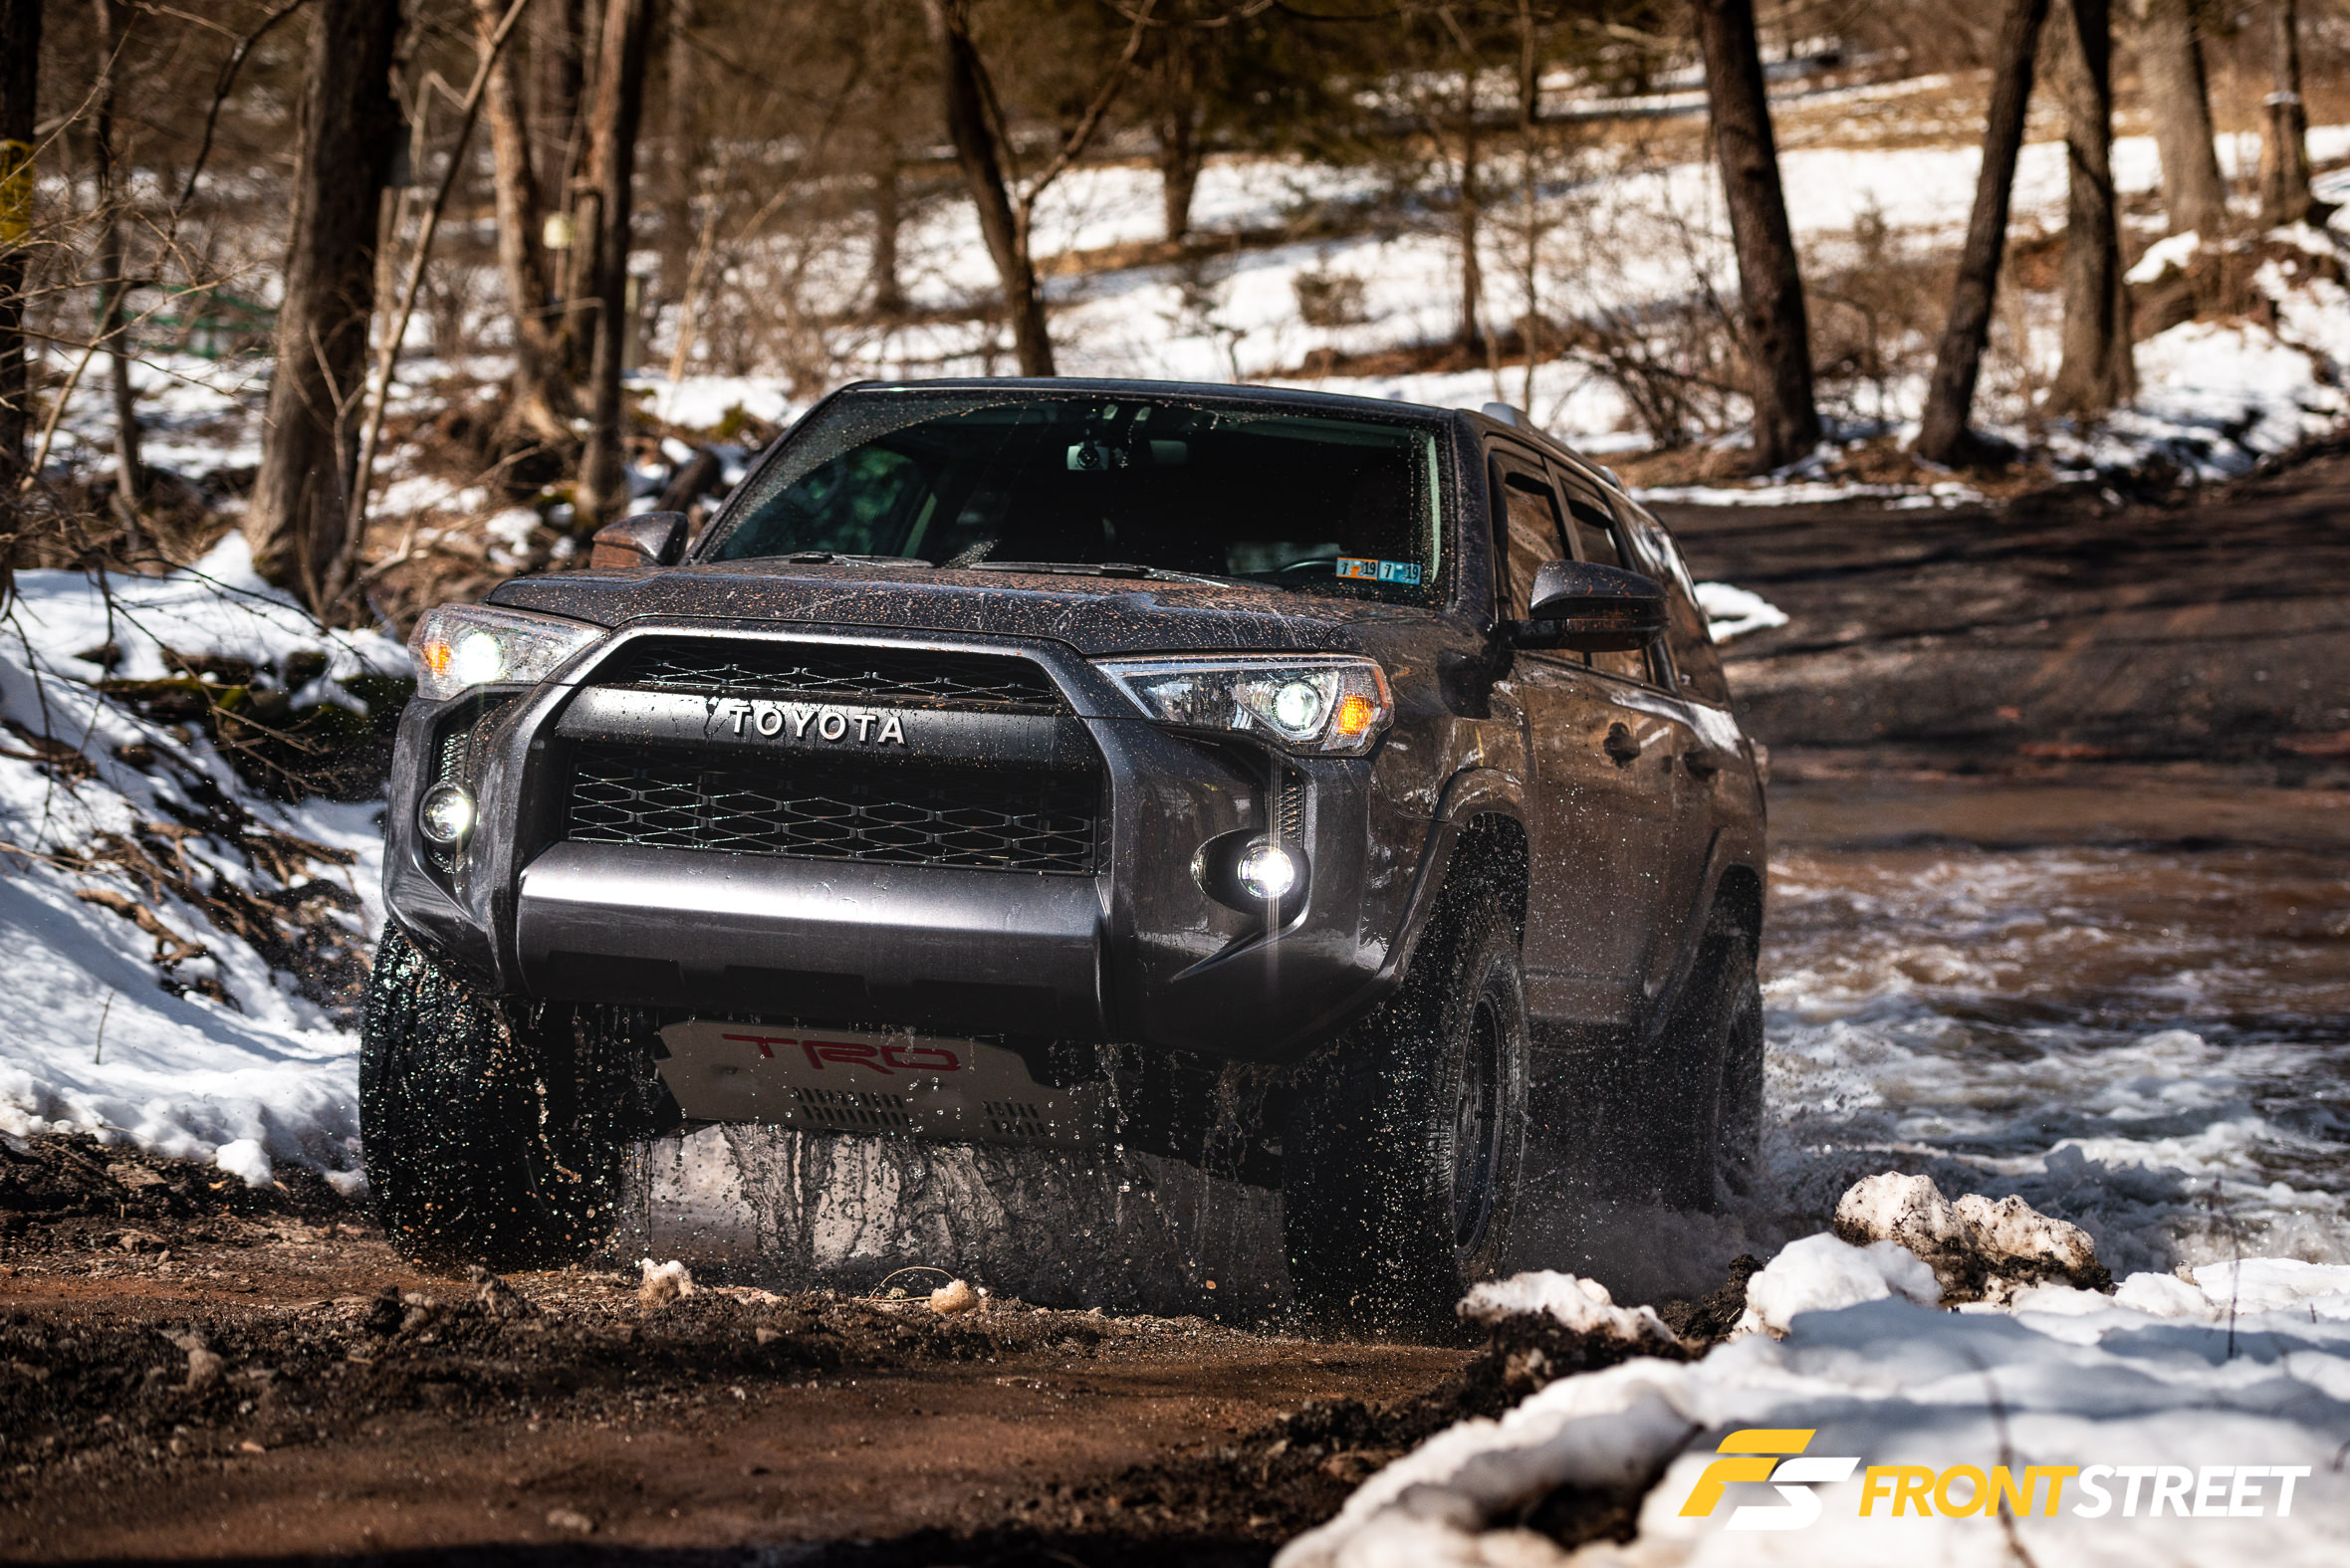
This…
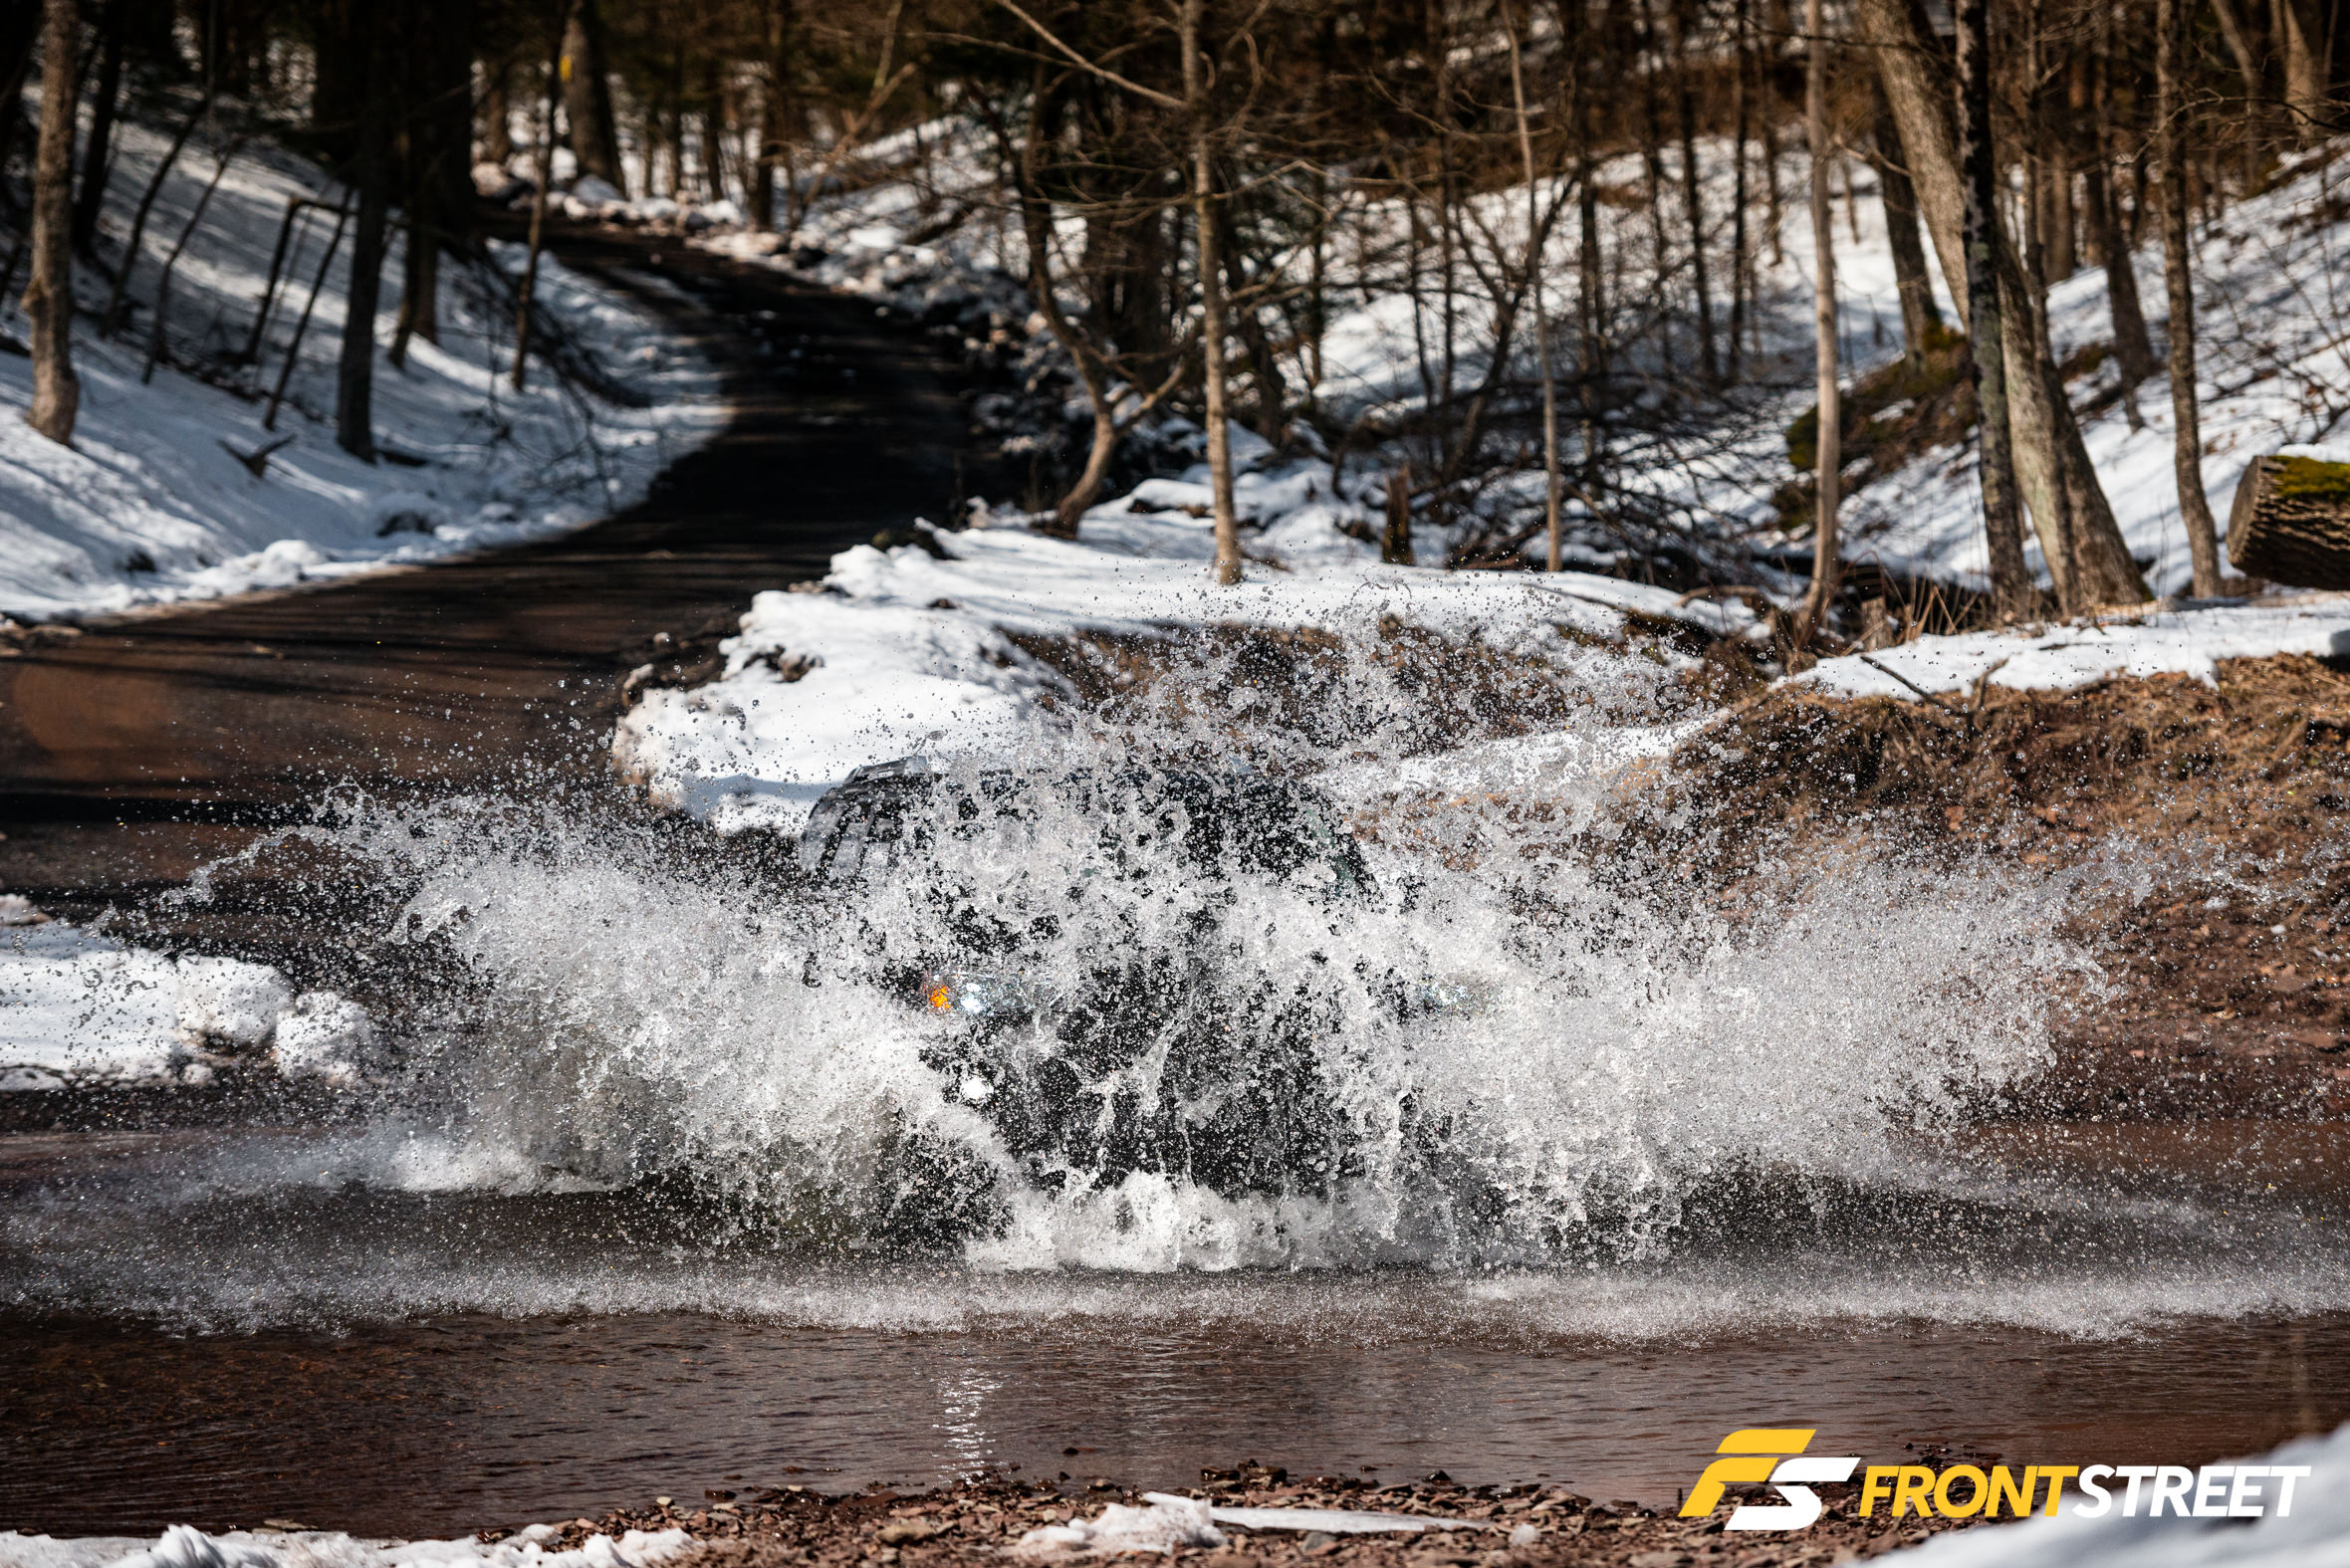
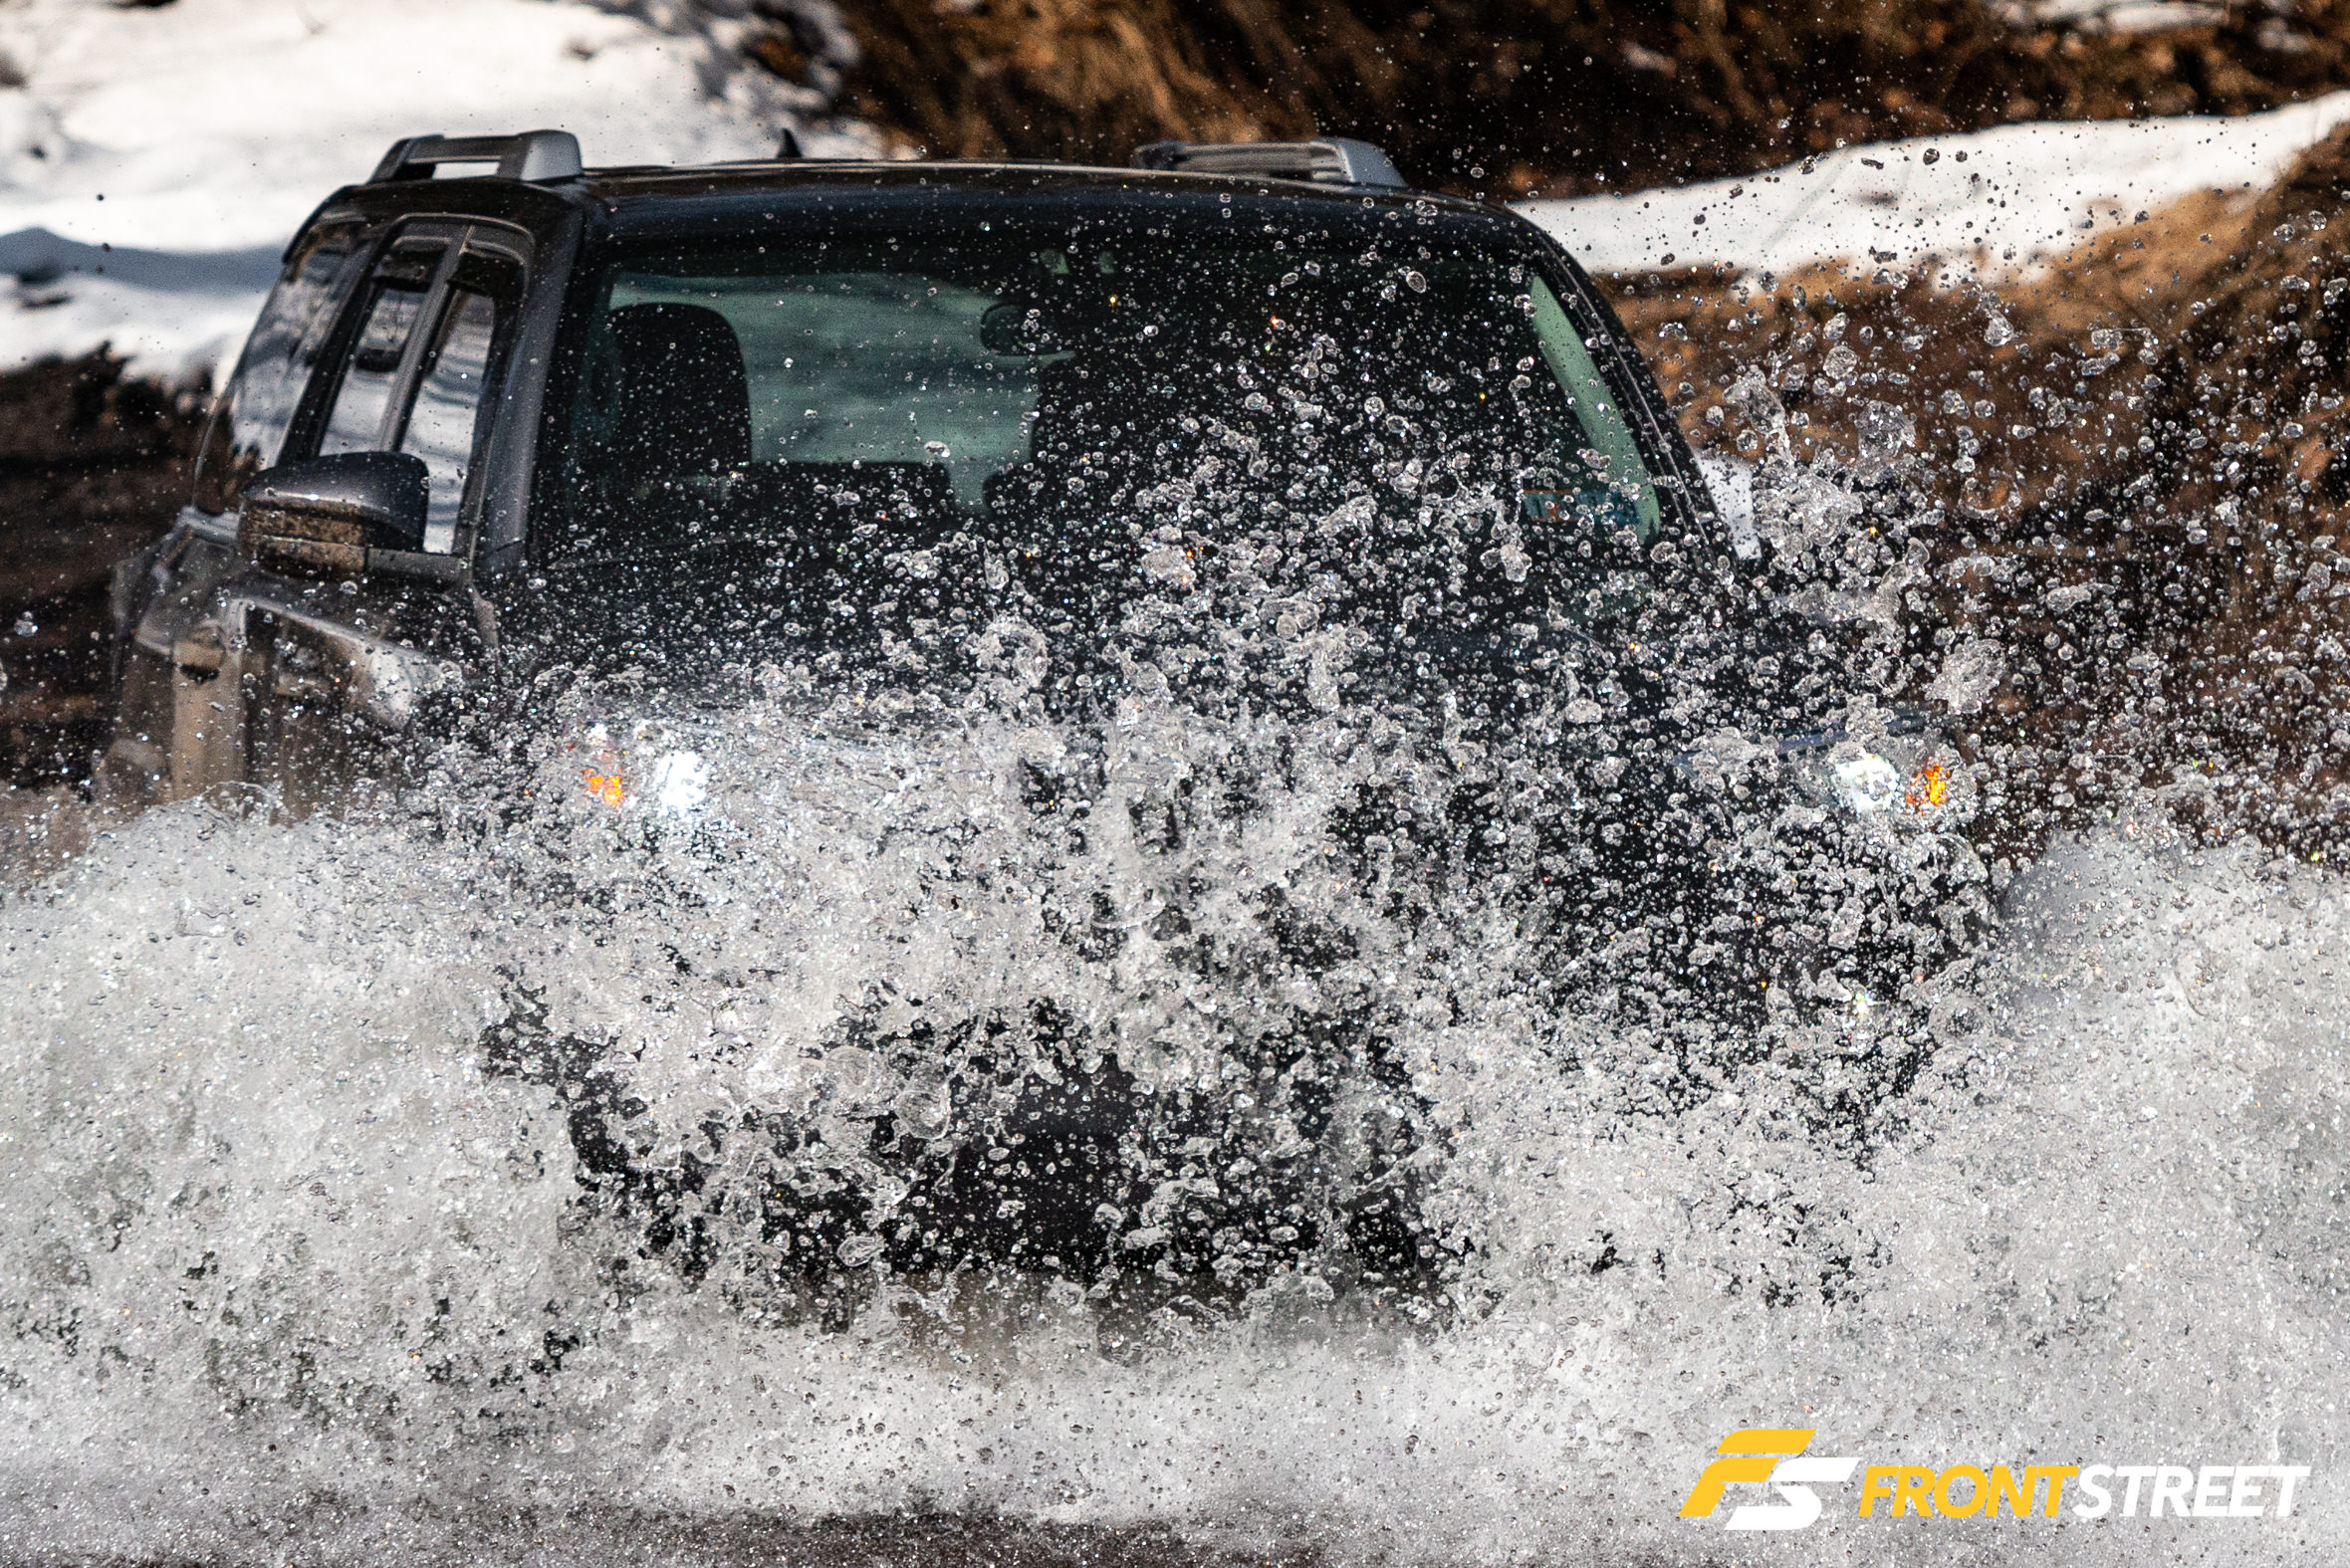
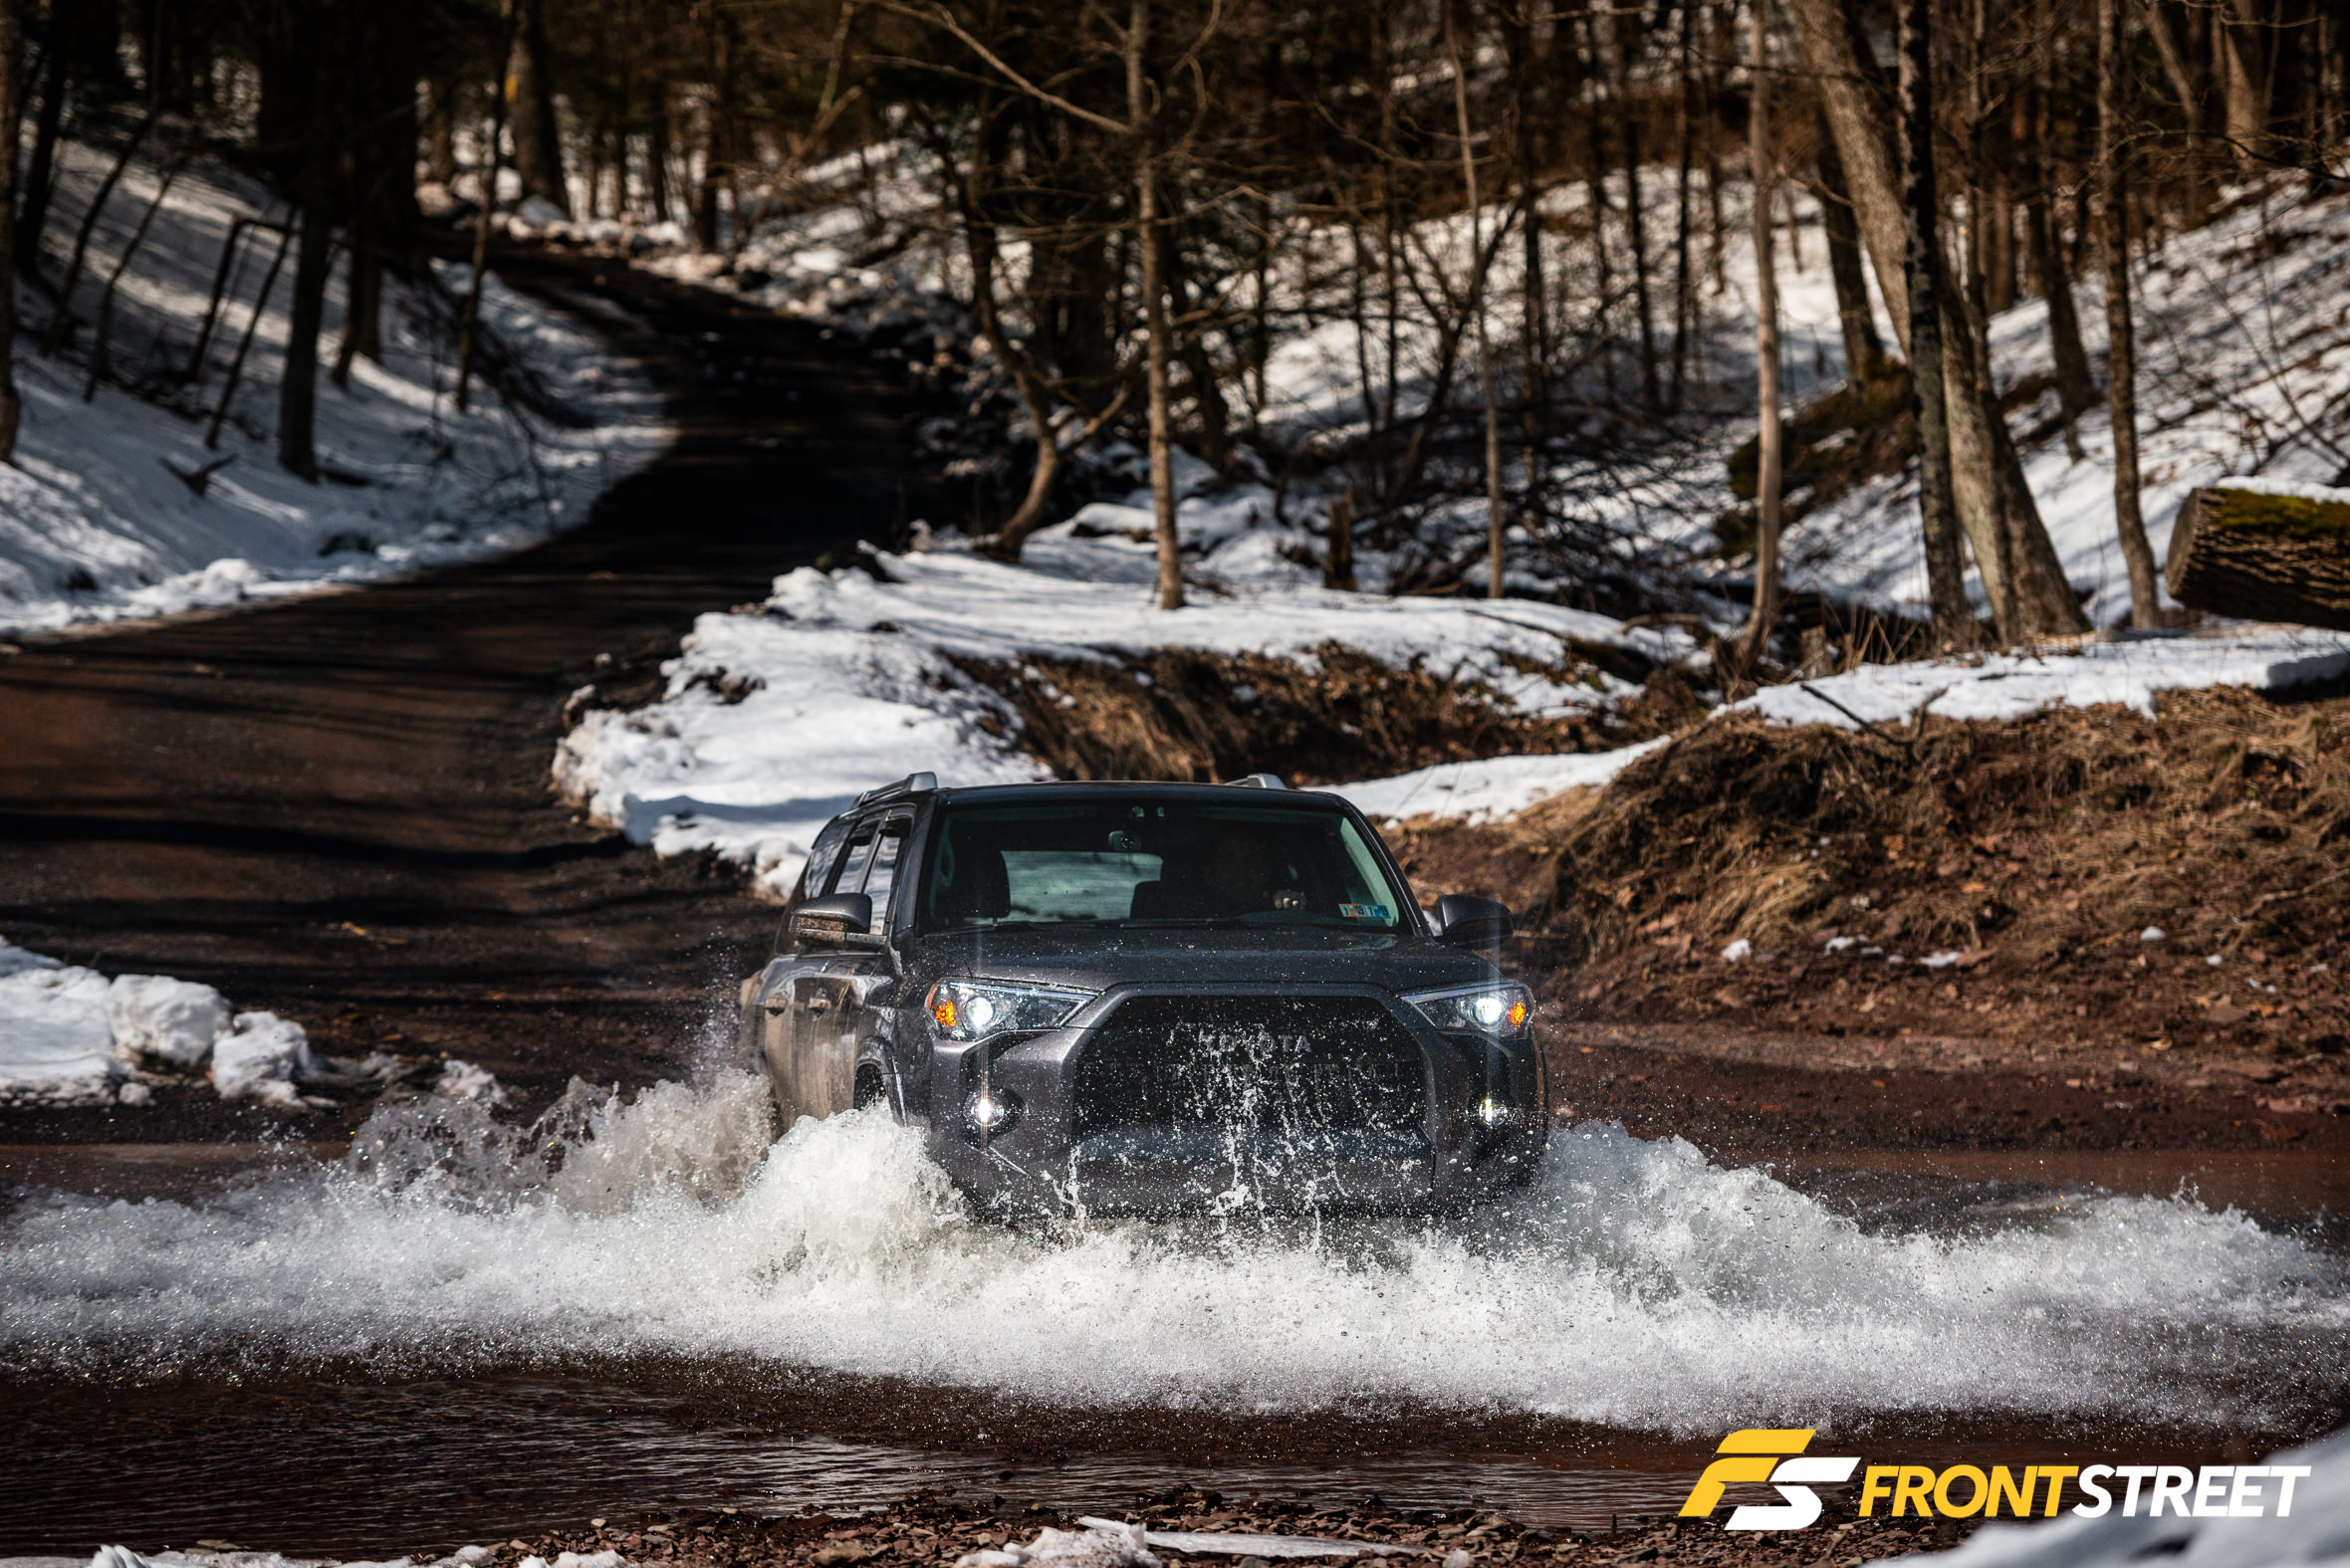
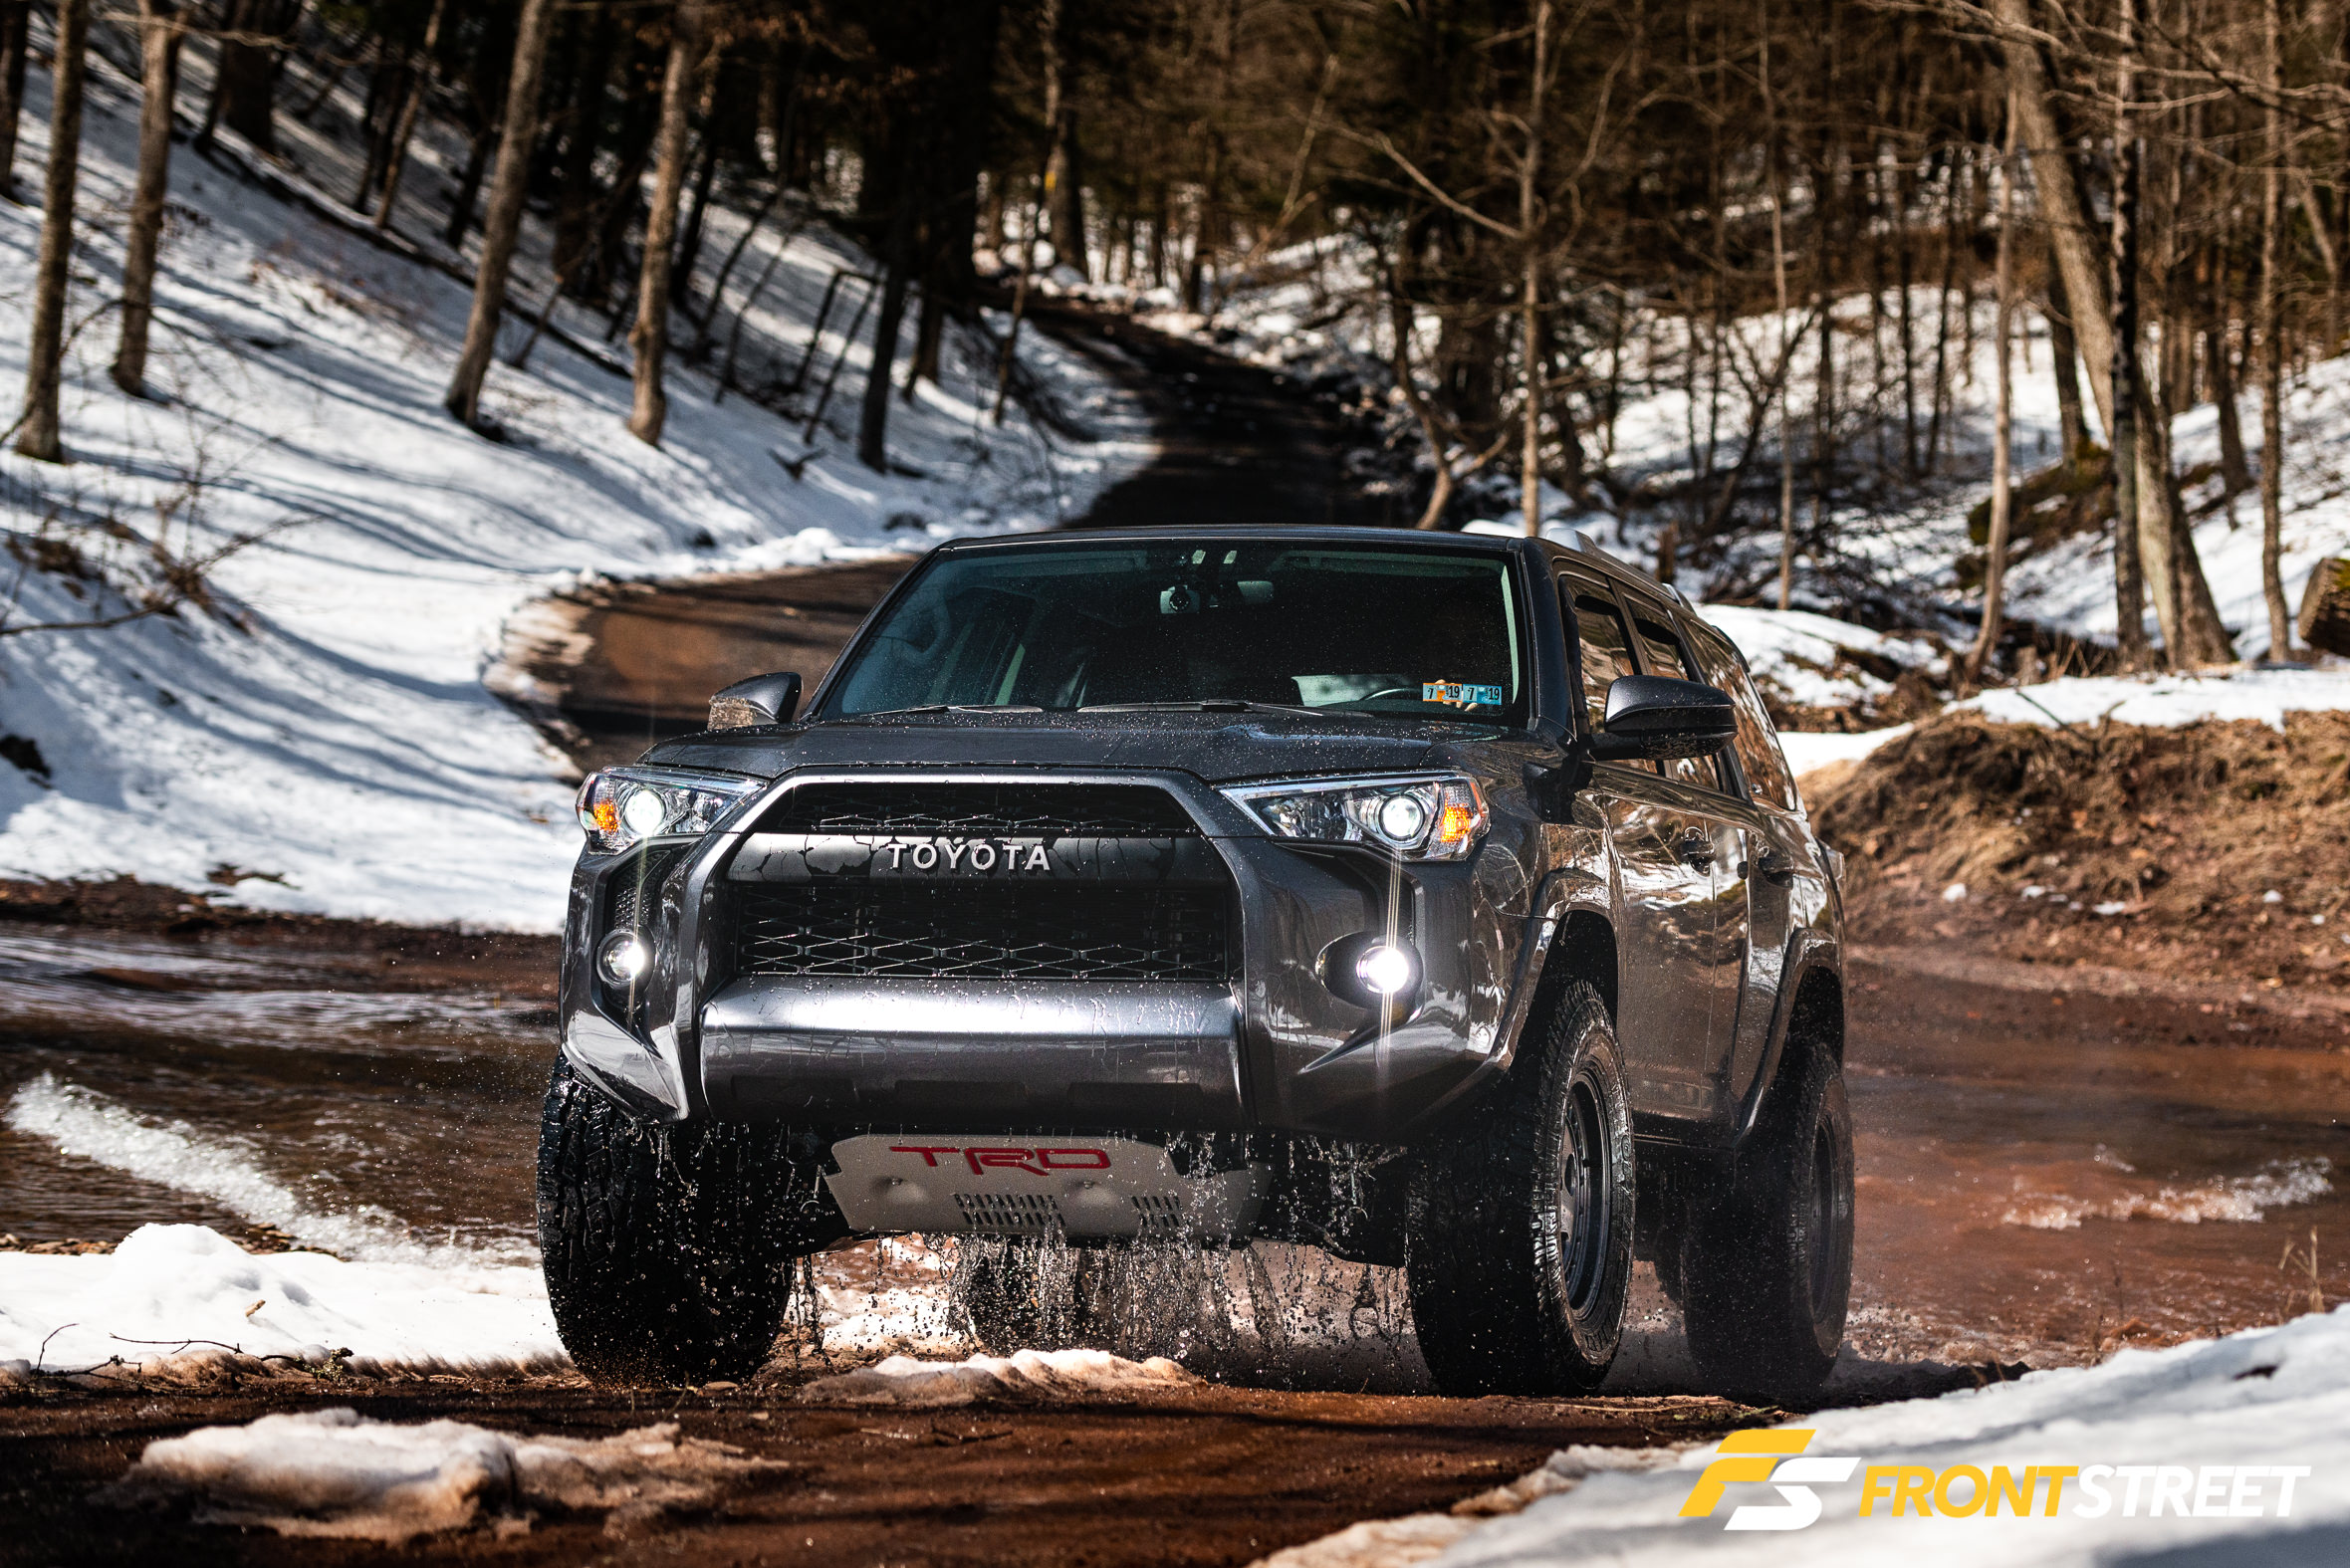
And that…
What’s The Moral Of The Story?
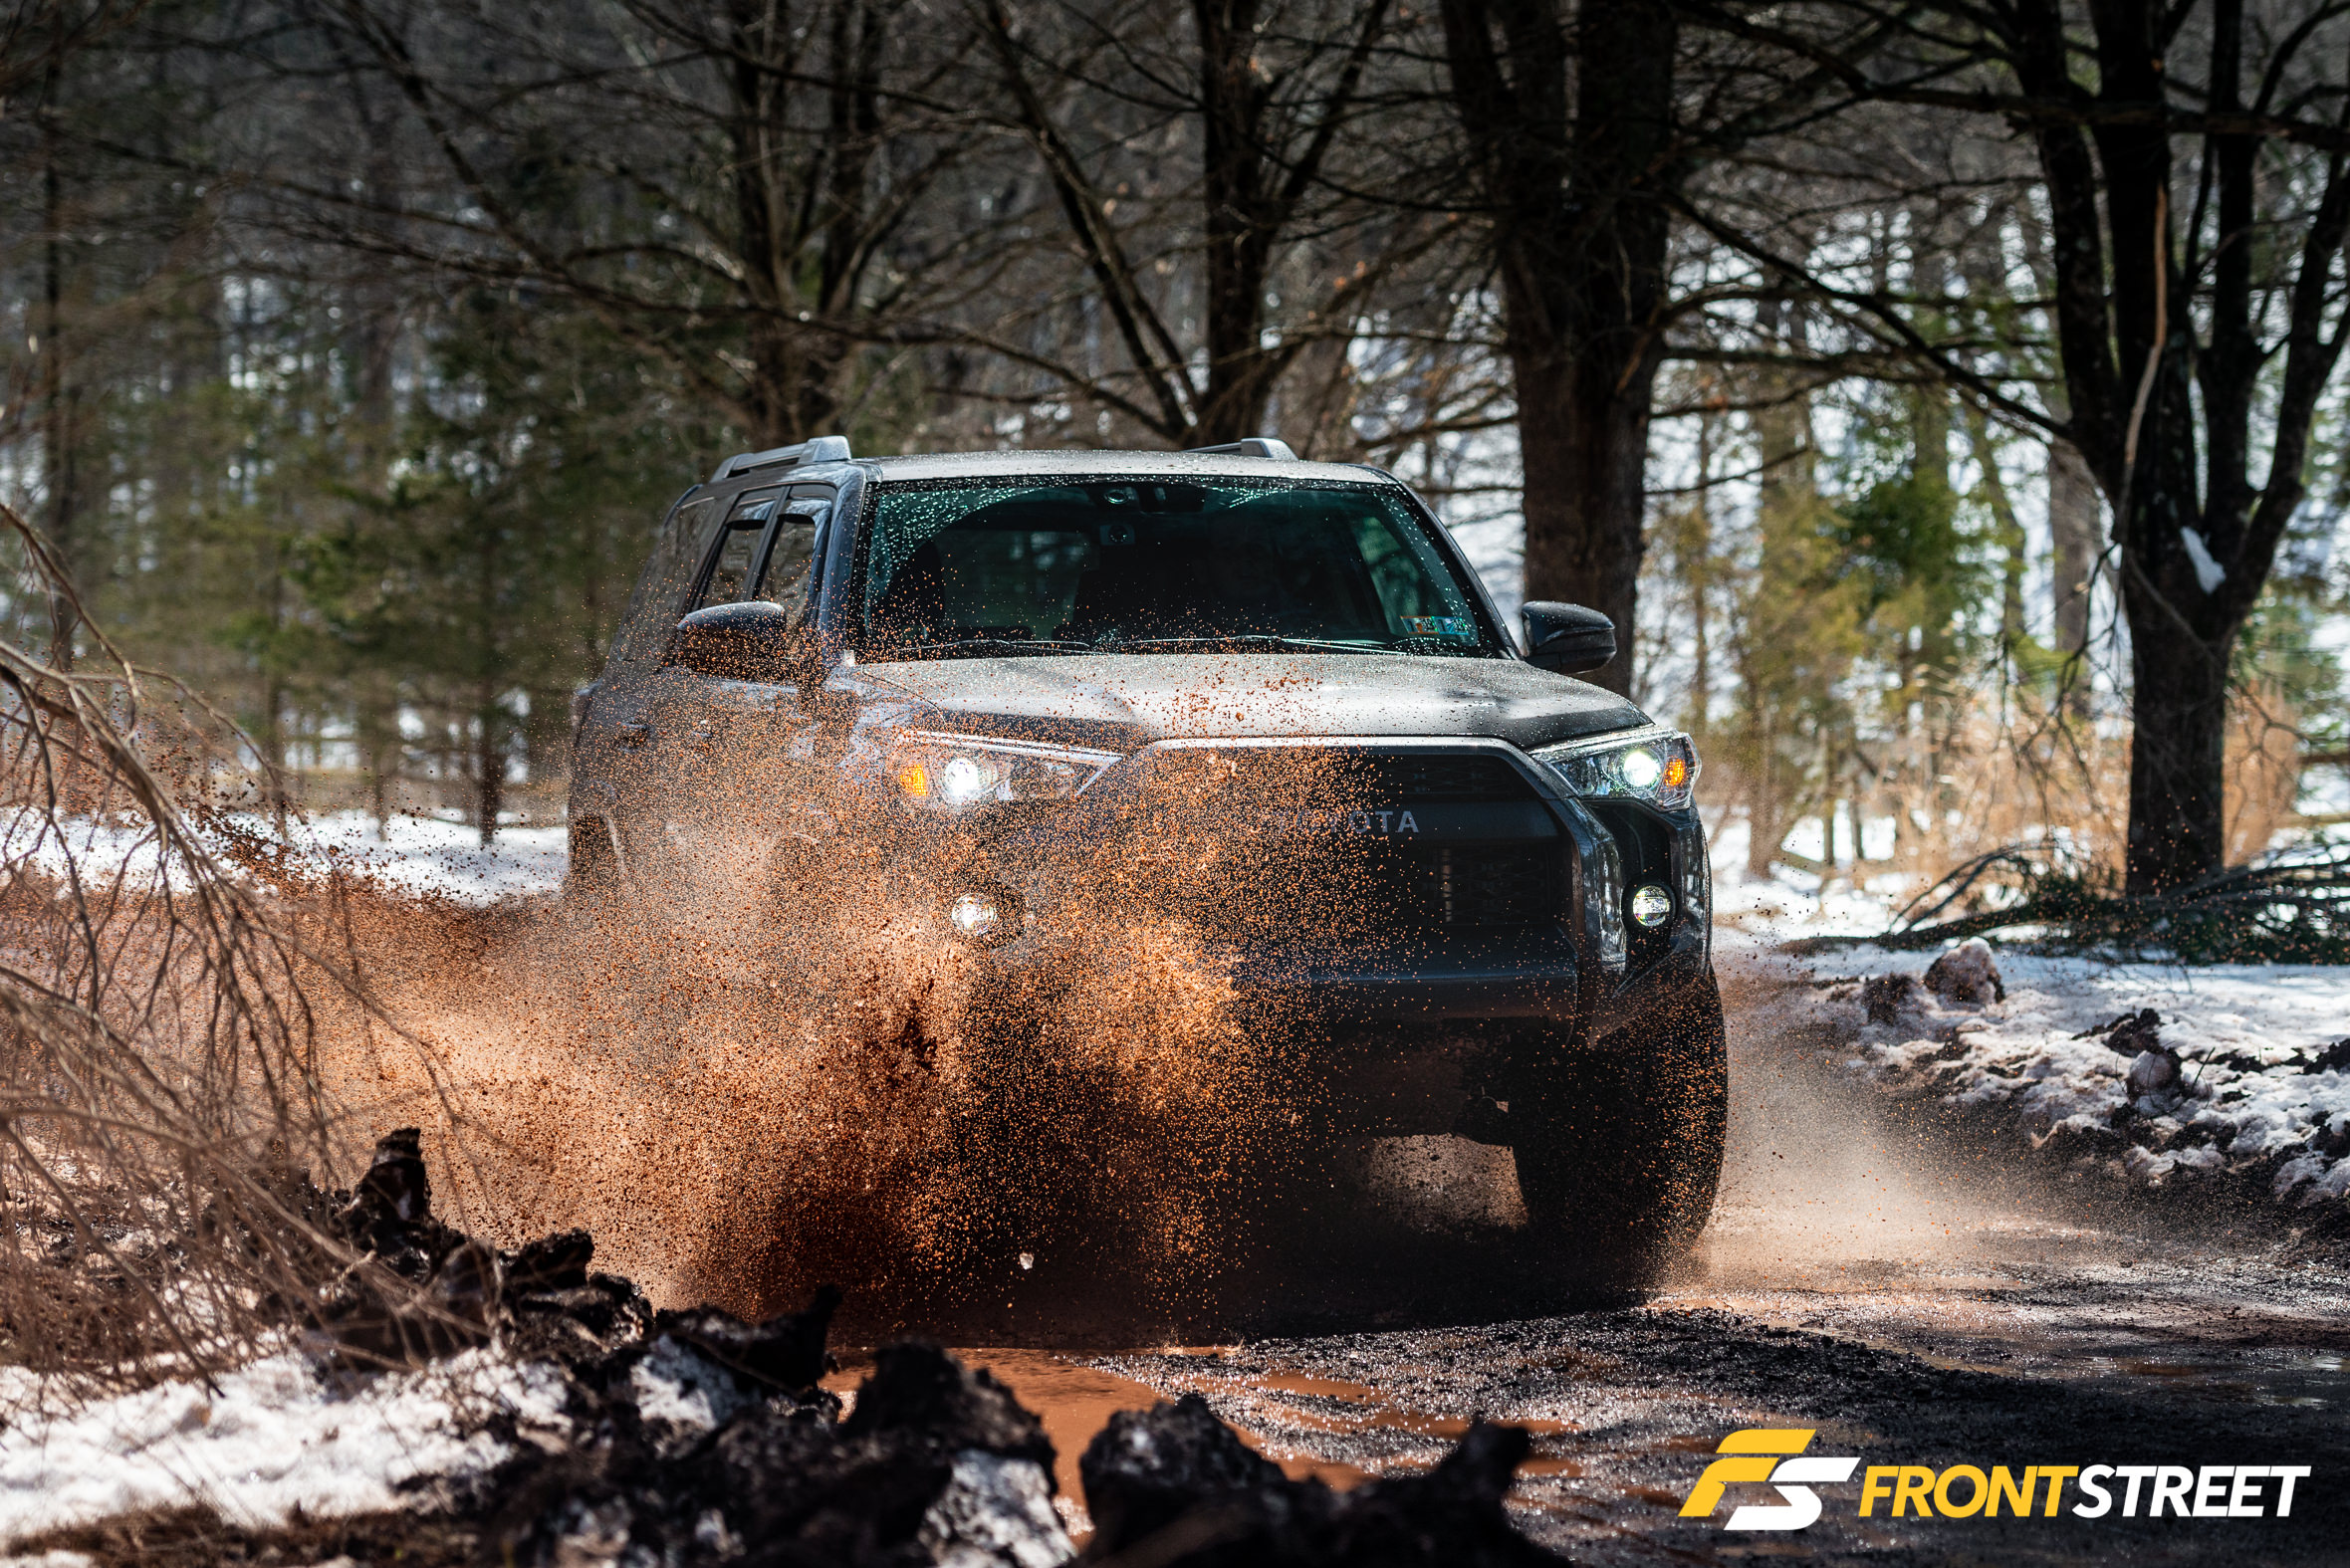
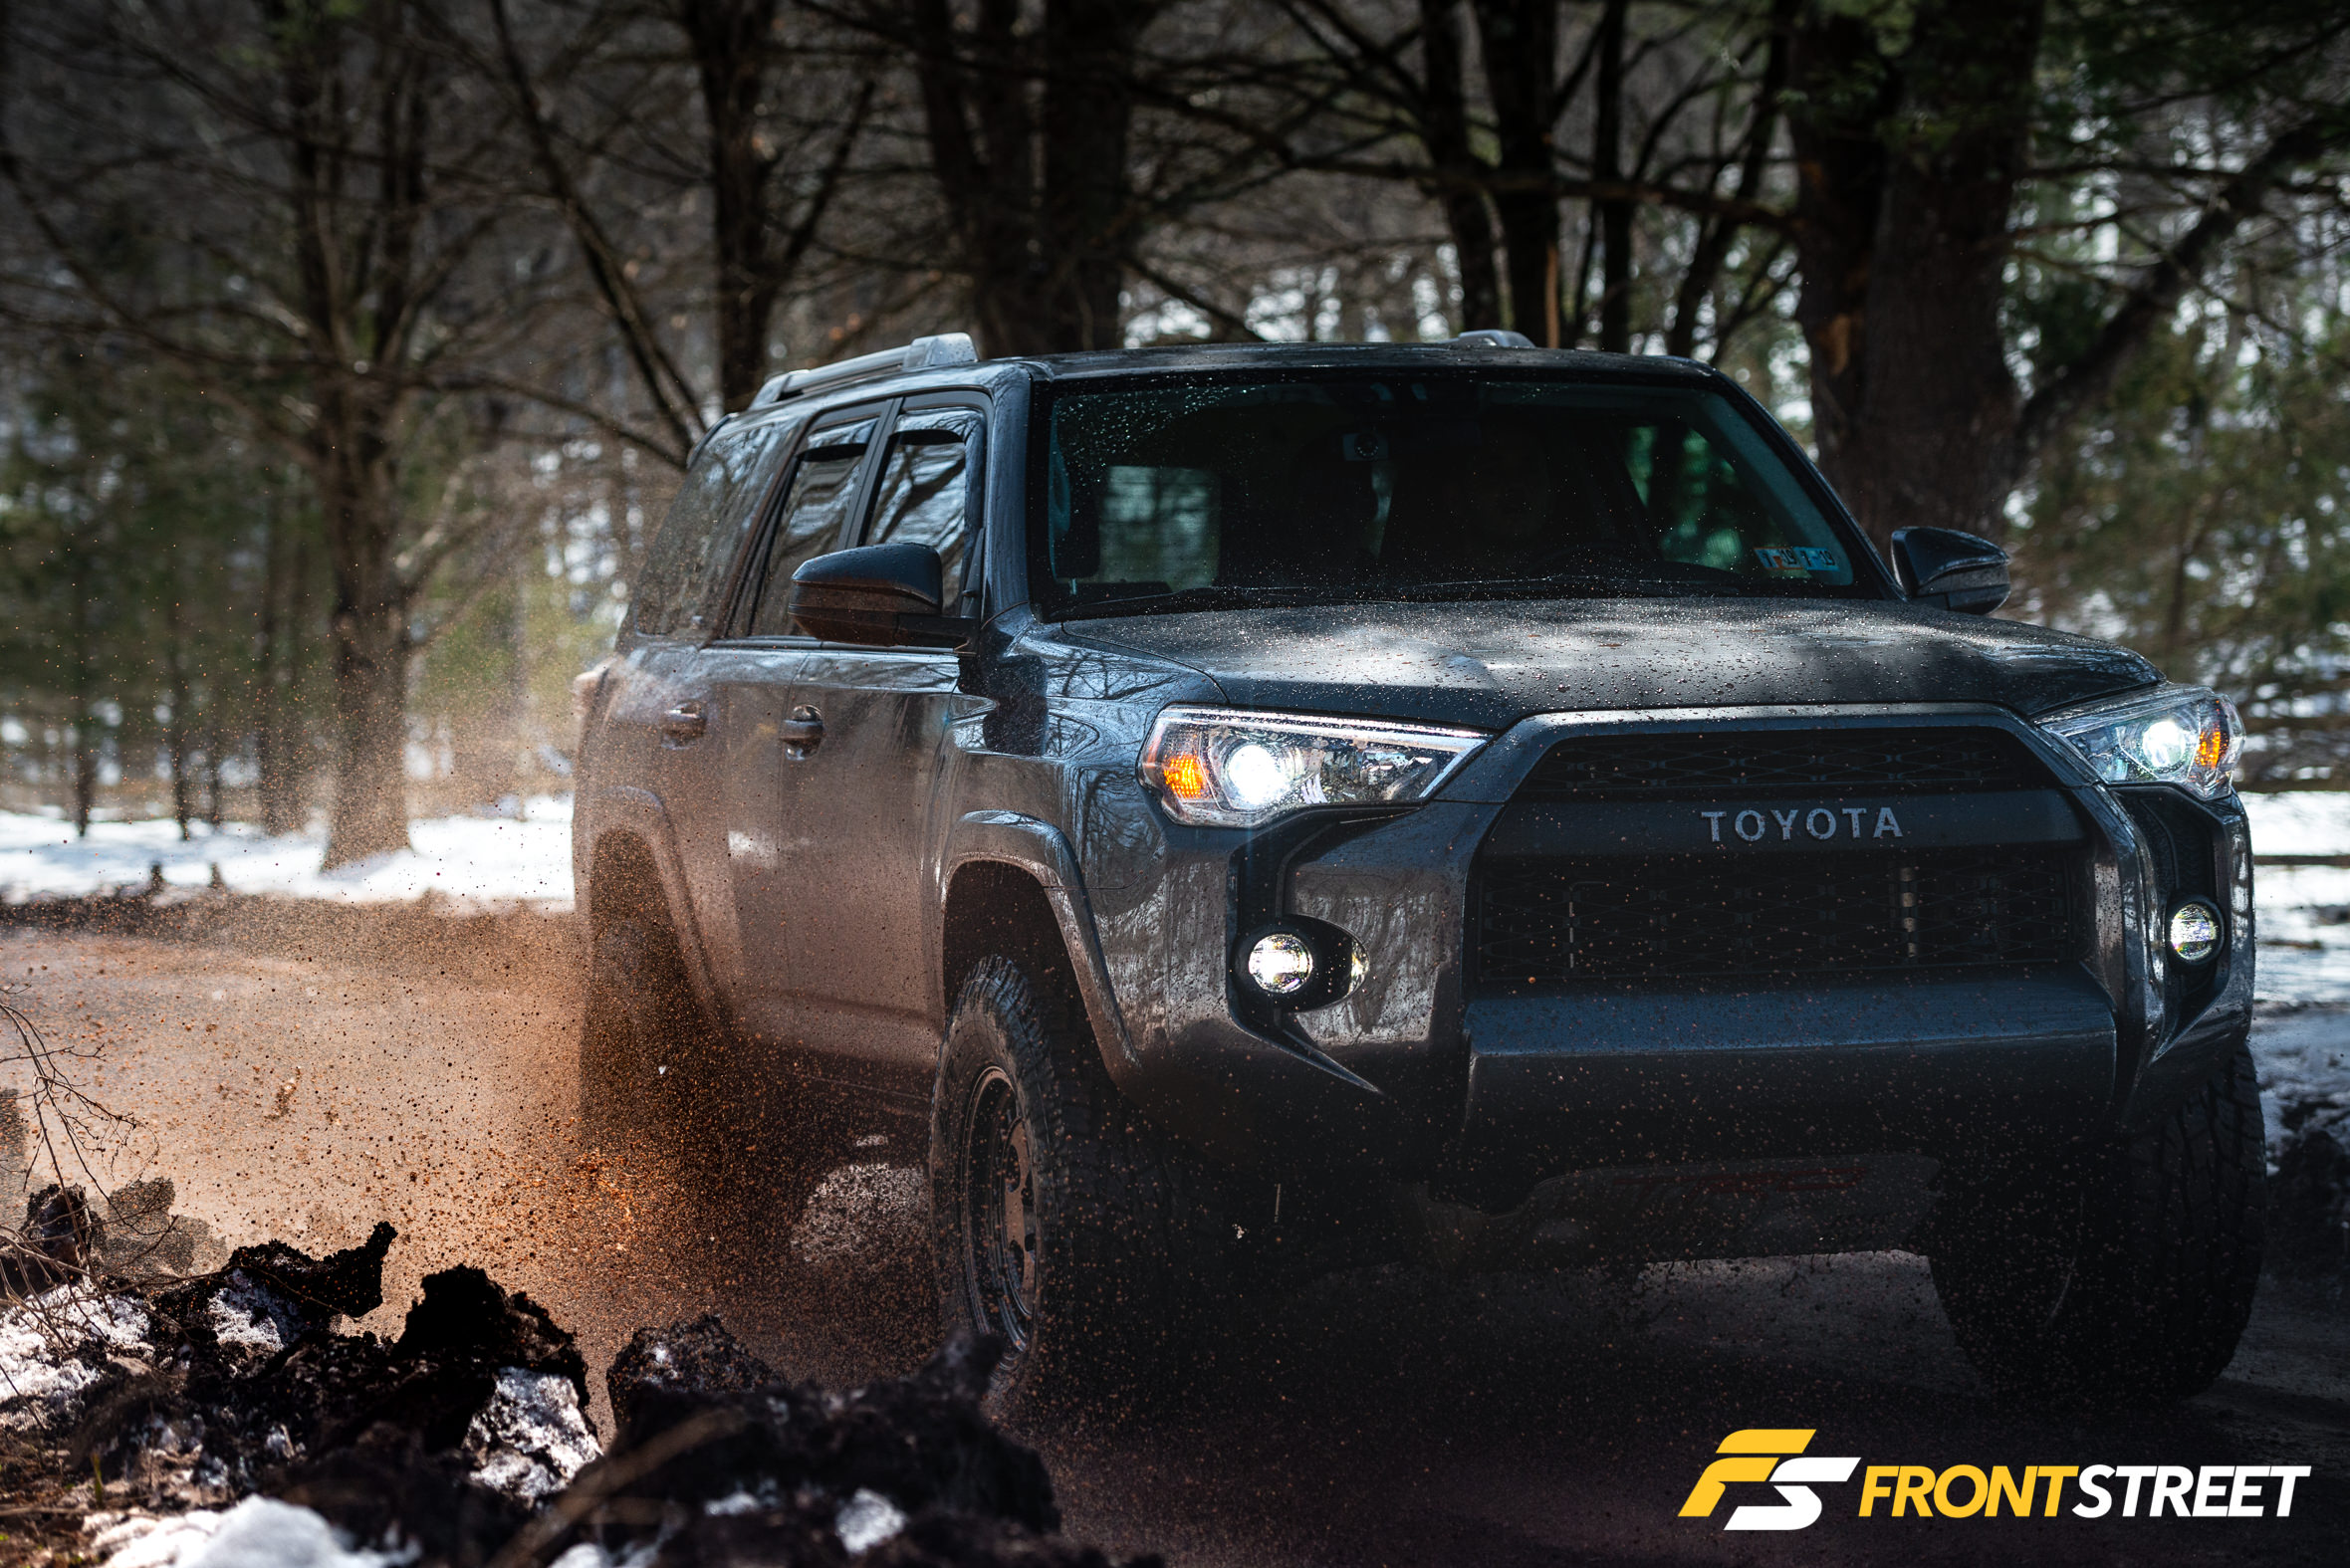
While the idea of modifying everything under the sun might not appeal to those outside of our culture, I don’t think we should ever perceive it as a negative.
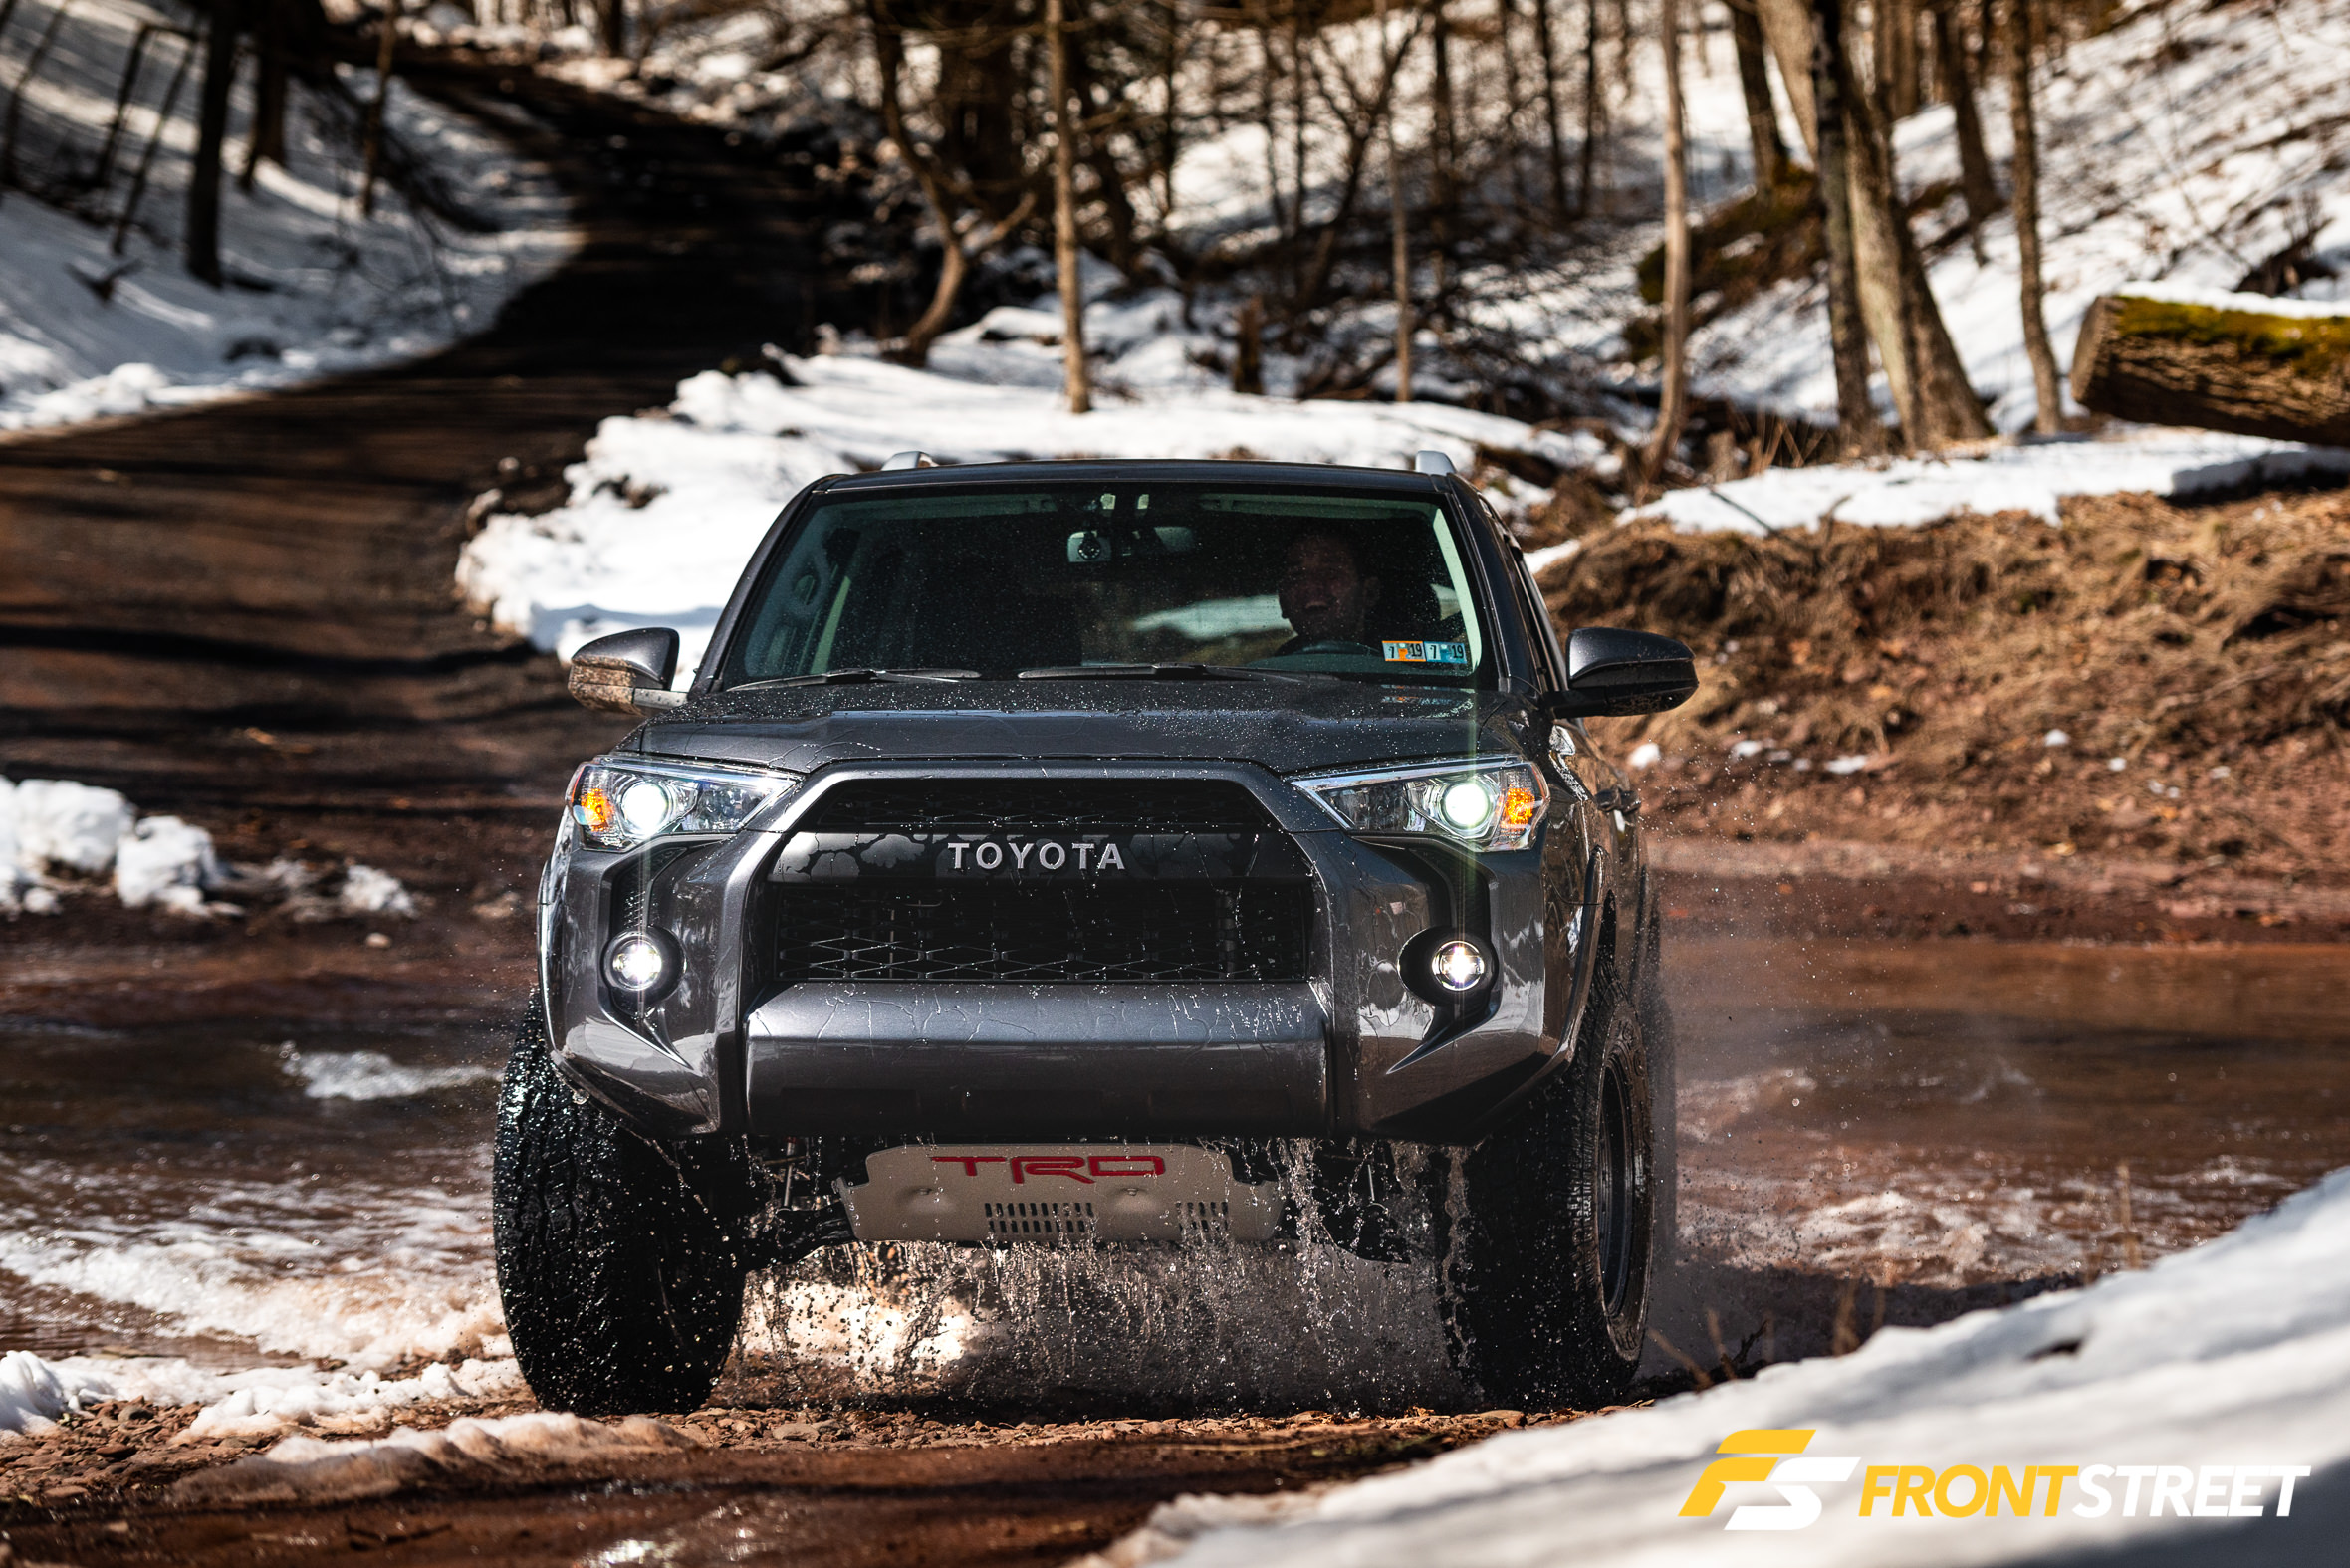
This is just how we do it. We buy things, we make them less practical, we make them specialized for unrealistic things, we repeat those steps infinitely, and we occasionally enjoy the living hell out of our vehicles. We might all be a little lighter in the wallet, but we’re easy to spot. We’re the ones with smiles on our faces.

