Every car enthusiast knows that basic washing and waxing of your vehicle’s exterior will help to maintain its appearance. But what do you do if you want to ensure your ride stays in tip-top condition, like the day it rolled out of the factory? That’s where paint protection systems—including ceramic coatings—come into the picture.
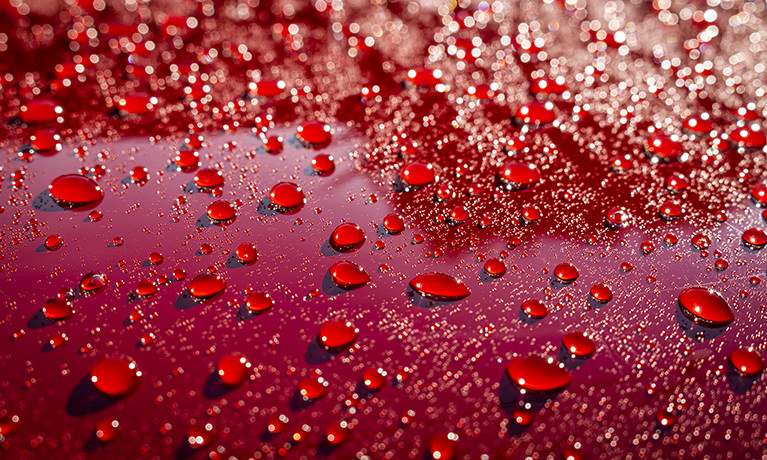
What is a ceramic coating, and how does it work? You’re about to find out. Ceramic coatings (also known as nanocoatings) act as an additional layer of protection, on top of your existing clearcoat. The bond between the coating and the clearcoat creates a thin, durable layer of protection, adds gloss to your paint, and has hydrophobic properties that allow the water to bead and sheet off the paint extremely well. Ceramic coatings also have ultraviolet (UV) protection built-in and self-cleaning properties, which help lift dirt and salt off the surface and repel the unwanted contaminants from sticking to the vehicle.
Disclaimer: All of the products used in this article were purchased in the interest of experimentation.


First introduced over a decade ago, ceramic coatings were exclusive to professional detailers at that time. The cost of a professional coating application depends on the size of the car and type of surface protection you desire, which can range anywhere from $500–$2,000 for preparation and installation. With a price point much higher than a traditional wax or sealant, many people found it difficult to justify the expense, until a few years ago when companies like CarPro introduced consumer-level products at a more reasonable cost.

Currently, there are hundreds of ceramic coatings available on the market, but I chose CarPro’s CQuartz UK 3.0 ceramic coating for this particular test. The instructions say it’s an easy-to-apply formula that also provides great results. CQuartz UK 3.0 contains ceramic nano particles found within glass, and the result is a highly reflective, transparent layer.
Despite the claims of some manufacturers and installers, a ceramic coating does not eliminate the risk of rock chips, scratches, swirl marks, or water spots. The hydrophobic properties do not make ceramic coating a permanent solution to a scratch-free car; it only adds an extra layer of protection. Thanks to nanotechnology and ceramic car coating, however, it was found that even aggressive washing cannot cause swirls and scratches.

I‘m not ashamed to say I have a hoarding problem when it comes to collecting car parts. If a part doesn’t fit in the garage, it automatically goes outside next to the shed in hopes of someday being reused on another project.

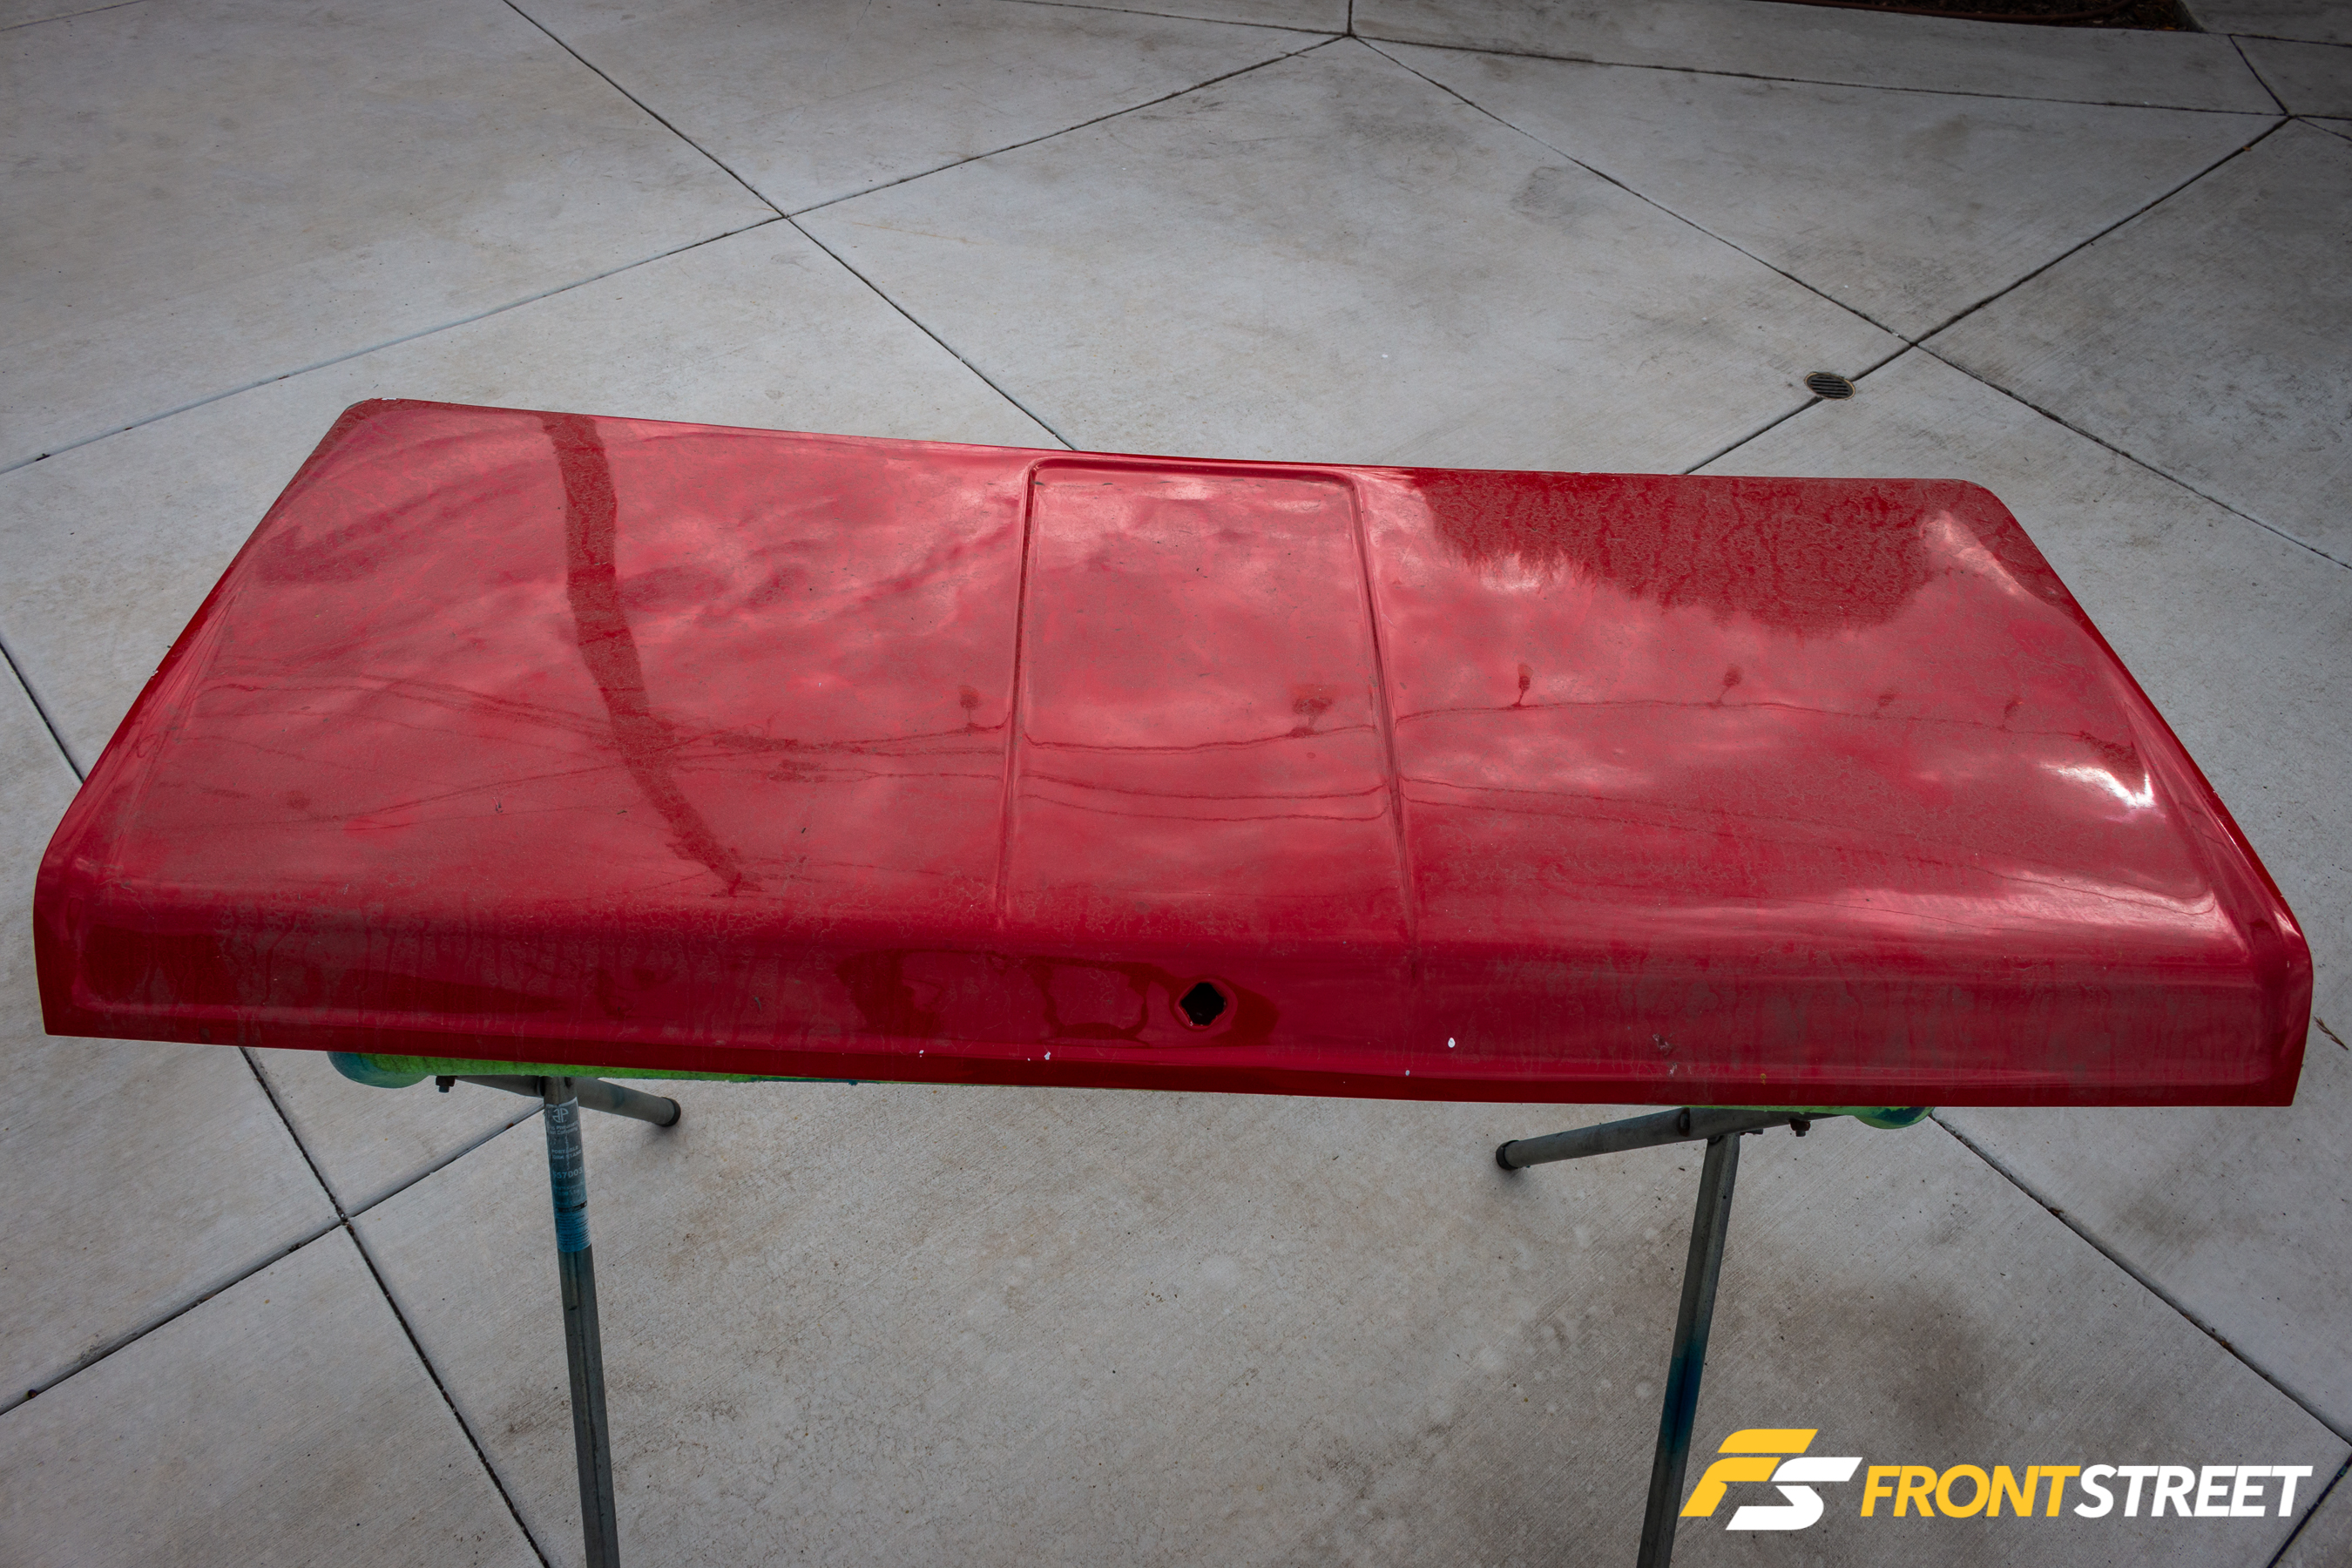
This old Datsun trunk lid is one of those parts that had been sitting outside under a tarp for a good ten years and was pulled from the woodwork to serve as a testbed for the coating process.

Begin the cleaning process by rinsing the surface, then follow that up by pre-washing using a foam cannon, especially if your car/parts are covered in mud or heavy contaminants. Proceed by washing the car or part with a wax-free or gloss-free soap. CarPro Reset shampoo contains no gloss enhancers, polymers, or waxes. The shampoo provides alkaline-based cleaning while remaining mild and pH-Neutral (7). One drawback to using Reset is the cost in comparison to your average car shampoos, but if you’re serious about keeping your car looking fresh and clean, this shampoo works well with ceramic coatings.


Pre-rinse with free-flowing water to remove loose debris, and wash out of direct sunlight. Move from the top down using a wool or microfiber mitt, rinsing the mitt periodically in a second bucket filled with clear water.


Chemical decontamination is another process that uses an iron filing chemical that removes embedded iron deposits and contaminations from body panels, wheels, and brake components.

Meguiar’s Iron Decon sprays on clear, then turns purple once it reacts with ferrous metals and releases embedded contamination. One word of advice. This stuff is nasty when inhaled. Wear a respirator, or you’re guaranteed to be hacking away!

Off the bat, you’ll notice the trunk exhibits no signs of water beading or sheeting.

The second decontamination stage consists of claying. Cleaning mitts use multiple grades of rubberized synthetic detailing clay that mimic the natural grabbing action of the traditional clay bars and remove contaminants and pollutants from your painted surface.

Claying removes bonded paint contamination and leaves behind a clean and smooth surface that is ready for wax/sealant application or even polishing. Make sure to always keep the surface slick by using a quick detailer of your choice as a clay bar or mitt lubricant.

Using rubber gloves allows you to run your fingers over the surface to feel for any rough or gritty texture left on your paint. If the surface isn’t smooth to the touch, repeat the claying and cleaning process until it is.
When you add the ceramic coating to your car’s paint, you are adding another two to three layers of semi-permanent protection. If not properly removed, any contamination left underneath your ceramic coating will be locked under there for years!

Microfiber towels are an important part of any car detailing process. It’s important to use a clean car drying towel that is designed for automotive surfaces. Failure to do so may result in scratches or streaks upon the paintwork. Common constructions of drying towels for cars include waffle or terry weaves, chamois, and thick wooly materials.
I used a plush towel made of high-quality microfiber. A simple trick when drying any vehicle is to gently drag a highly absorbent towel across the vehicle to pick up water, rather than scrubbing it dry. This method helps to prevent swirls or scratches.

The key to a successful ceramic coating process is to make sure the finish is in perfect condition and correctly prepared before you begin laying the ceramic.

Use a dual action polisher with compound for heavily oxidized or scratched surfaces. Polishing the paint removes any imperfections, including swirl marks or tiny scratches, before applying the coating. There are many videos on the internet regarding how to perform this process, so we’ll cover the highlights here.


Cutting and polishing foams come in different grades.

Wool buffing pads are aggressive and should be used by experienced detailers. Improper usage can easily burn your vehicle’s clearcoat if mishandled.

I picked up a few foam pads at my local Harbor Freight, including this finishing pad to apply the final sealant coat.

I used a lint-free 800GSM (grams per square meter) microfiber towel for buffing and wiping off the wax.

For the final step, prep the surface with an IPA (Isopropyl Alcohol) wipe down. Isopropyl alcohol will safely and effectively break down and remove residue from the surface. An IPA wipedown will strip any remaining waxes, sealants, or polishing residue from the surface.

You’ll typically find a few different types of IPA (either in 70 percent or 90–99 percent range). You can use it straight, or you can dilute it 50/50 with distilled water. If you try to apply a coating on top of a wax, you’ll get a very weak bond that will degrade quickly. After all, the coating is designed to bond with a clear coat, not polish residue.

The CQuartz UK 3.0 50ml kit with Reload includes one 50ml bottle, 100ml bottle of CarPro Reload silica spray, microfiber suede towel, foam applicator block, and four microfiber suede applicator cloths.

To start the process, wrap a microfiber suede applicator around the foam applicator block, then add enough of the CQuartz liquid to make a line across the pad.

If you’ve noticed, the bottle has hardened crystallization residue from a previous coating. Ceramic coating crystallizes when it hardens, effectively ruining the white suede applicators or any towels used to wipe off the residue.

Using quick strokes, spread the coating in small sections (roughly 2×2 feet) areas at a time. This approach prevents the product from curing before you get a chance to wipe it off. Use a crosshatch pattern (side to side strokes, then up and down strokes) to ensure even coverage. When the coating no longer spreads, you need to apply more product to your applicator and continue to work it similar to waxing a car. Wait for about 30–45 seconds for the product to flash (this varies depending on the temperature and humidity) then buff it off. It’s that simple!
CQuartz can also be layered. The second layer can be applied 45-60 minutes after the first layer is complete; two layers is the recommended minimum usage case.
CQUK 3.0 Specifications:
Durability: 2 years or more
Average Thickness: 1~2 Micron per coat
Coverage 15ml per coat +/-
Water contact angle: 110°
Minor filling
Recommended working temperatures: 40F to 100F
CarPro recommends keeping your vehicle indoors and away from moisture for a minimum of 24 to 48 hours and to refrain from washing your vehicle within seven days of coating application. After the coating has cured, you can apply wax over the paint. Be sure that the wax is strictly a wax and does not contain any cleaners.

You will likely want a couple of high-pile or finishing towels handy. Carpro also supplies a microfiber suede towel with their kit.


Following a baking period of two days, I pulled the trunk back outside to conduct tests, starting with a water hose flood test. Notice the water beading on both left and right side panels. The left section was waxed with a name brand synthetic polymer sealant while the right was coated with CQuartz UK 3.0 ceramic. The center section was untreated.


Don’t try this at home, folks! I used Dawn dishwashing soap as a test to see how the waxed and ceramic coated panels would react to it. Dishwashing soap is abrasive and formulated to remove grease and caked-on food. Dish soap, laundry soap, and hand soap will accelerate the oxidation process and break down a car’s wax coat.


Notice the newly waxed surface on the left took a severe hit. The panel showed areas that no longer exhibited hydrophobic properties and was sheeting water very slowly. Keep in mind that beading to sheeting doesn’t mean the protection is gone, only that it’s losing its chemical resistance properties. The ceramic coated panel still maintained its hydrophobic properties and continued to sheet.

A quick wash with the CarPro Reload shampoo and I moved on to the second test, which would make even the most hardened individuals cringe.

Let me point out that I would never use a harsh chemical like this degreaser on any of my vehicles, but this simulation process will speed up what would typically happen to the wax or polish on a daily driven vehicle within a three-to-four month span.

A quick spray down before I rinsed off the trunk netted some interesting results.

The ceramic coating panel continued to maintain its properties, while the previously waxed portion had lost all of its beading and sheeting properties.

The CarPro Reload silica spray uses Silica Nanotechnology. Simply stated, this add-on spray contains silica dioxide to maintain the protection of the CQuartz ceramic coatings as a stand-alone sealant. According to the company, CarPro Reload Silica Spray provides hydrophobic properties and maintains an additional level of shine and depth to the paint. The price point was a tough pill to swallow, as a 500ml bottle costs $35, and a 1-liter bottle costs over $60. Upon research, I found an alternative that’s more cost-effective and works just as well, if not better, and I will go more into detail a bit later.
Given the opportunity to test the silica spray, I applied and wiped off the area I previously ceramic coated as the final step before calling it quits. The plan was to leave the trunk outside to test the longevity of the coating following a span of three months.

One and a half months into the test, I noticed that Mother Nature was doing her job. The neighborhood cat was also helping the cause by using the trunk as his little sunbathing spot.

As the third month rolled around, winter rains washed away much of the dirt, but remnants of bird droppings remained; it was the only time I relished bird poop on any of my car parts as an excellent means of testing the ceramic surface. The uric acid found in their excrement is corrosive enough to eat away through coatings of wax and untreated paint sealant quickly and can cause etching of the paint.


An initial rinse showed promise as the hydrophobic properties were still present. Once again, I followed the rinse with a quick wash.

Here’s a comparison of the untreated area versus the ceramic treated area.

Flooding the panel with water produced water beads caused by high surface tension which repels water. In other words, it’s a good thing, as it also repels dirt and grime.

It was visually apparent where the ceramic coating starts and ends. The previous masking tape line indicates why ceramic coats must be applied properly to minimize hazing or uneven coats. Once the layers have hardened, the only method of removal is by using a polisher with an aggressive cutting compound or by seeking professional assistance.

Turtle Wax offers an excellent protectant for under $10. The manufacturer claims once applied, it will protect for months on end. This hydrophobic formula infuses the synthetic sealant with Carnuba wax and is considered a breakthrough within the automotive detailing industry. Go to YouTube and check out some of the crazy head-to-head comparisons performed against more expensive competitors. Also, Turtle Wax recently unveiled its new Hybrid Solutions Ceramic Spray that is supposed to be Seal and Shine on steroids.

Experts claim that consumer ceramic coatings last anywhere from 8 to 12 months in direct sunlight, car washes, and outdoor conditions before a top-coat re-coating is needed. Indoor and protected outdoor applications put longevity at approximately one year or more. Professional coatings can last anywhere from two years or more.

All ceramic coatings require maintenance in the form of washing your car and applying a sealant to maintain the luster and protection. My daily driver has been ceramic coated with CarPro CQUK 3.0 and washed and maintained weekly with Turtle Wax Seal N Shine without the need to wax.

A recent bout of rainstorms and laziness prevented me from washing the vehicle for over three weeks, but the car still looks good! Other than the dirt streaks flowing down the side skirts, the entire car including the door panels are smooth to the touch and still looks clean as a whistle.

The applications for CQUK 3.0 are not limited to vehicle body panels. Surfaces such as glass also work with this ceramic coating, allowing water to bead off your windshield quickly.
CQuartz UK 3.0 can also be applied to your wheels can help to resist brake dust and grime.
Correcting and protecting your vehicle’s paint is precise and comprehensive work. If you’re going to carry out a task this intensive, add ceramic coating to the process to keep your vehicle protected and looking sharp!


