I might be a complete and total beginner when it comes to polishing wheels to a perfect shine, but I have a set, and it’s almost driving season, so I figured that I would share my experience with you, dear reader, so that we might learn together. This article isn’t a complete guide to the process of wheel polishing, as wheels that are severely oxidized or damaged in another way will likely need repair that is outside the scope of what I’ve learned. The focus is a set of Weld Racing wheels that I acquired about two years ago and have some fine scratches and other blemishes that needed attention. In the age of coronavirus, I seem to have acquired some extra time, so I figured it was time to take the plunge and tackle this project throughout two weekends.
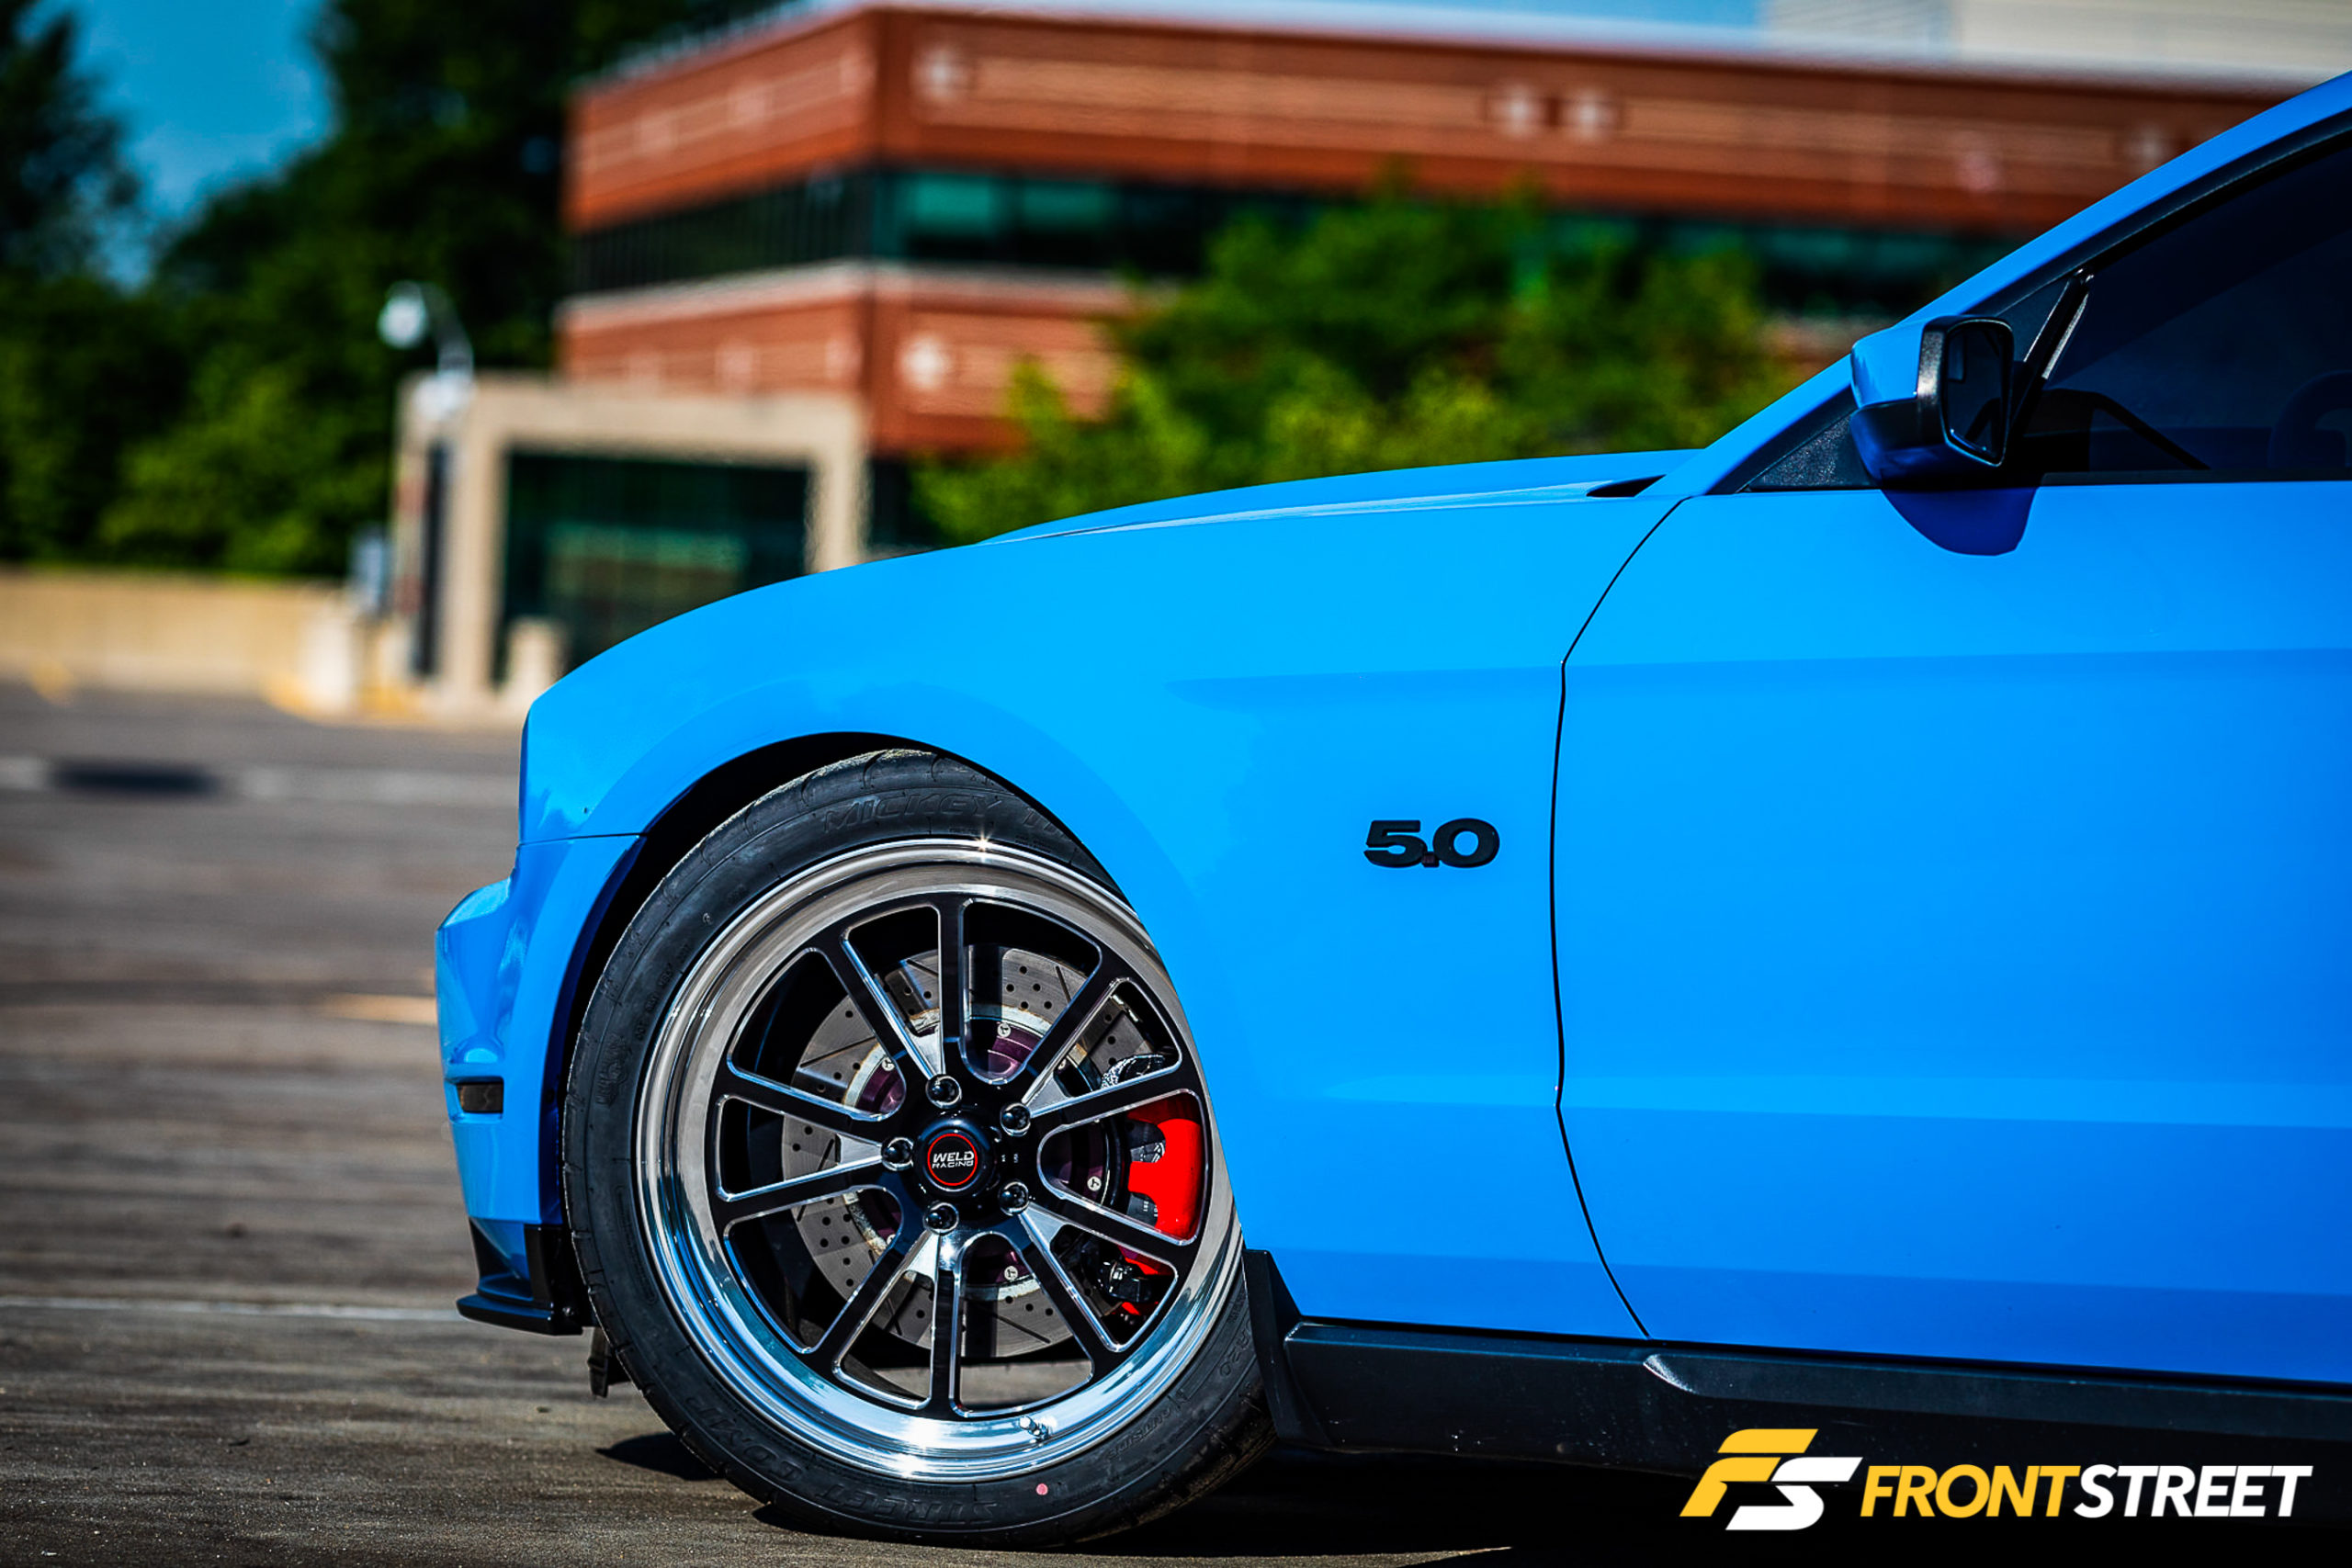
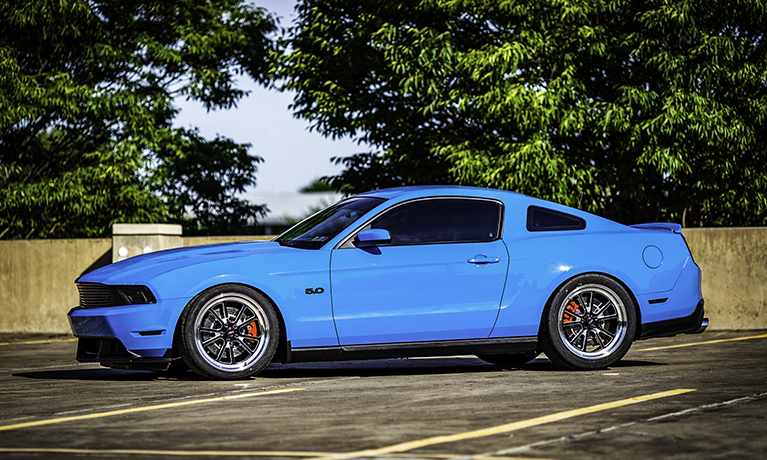
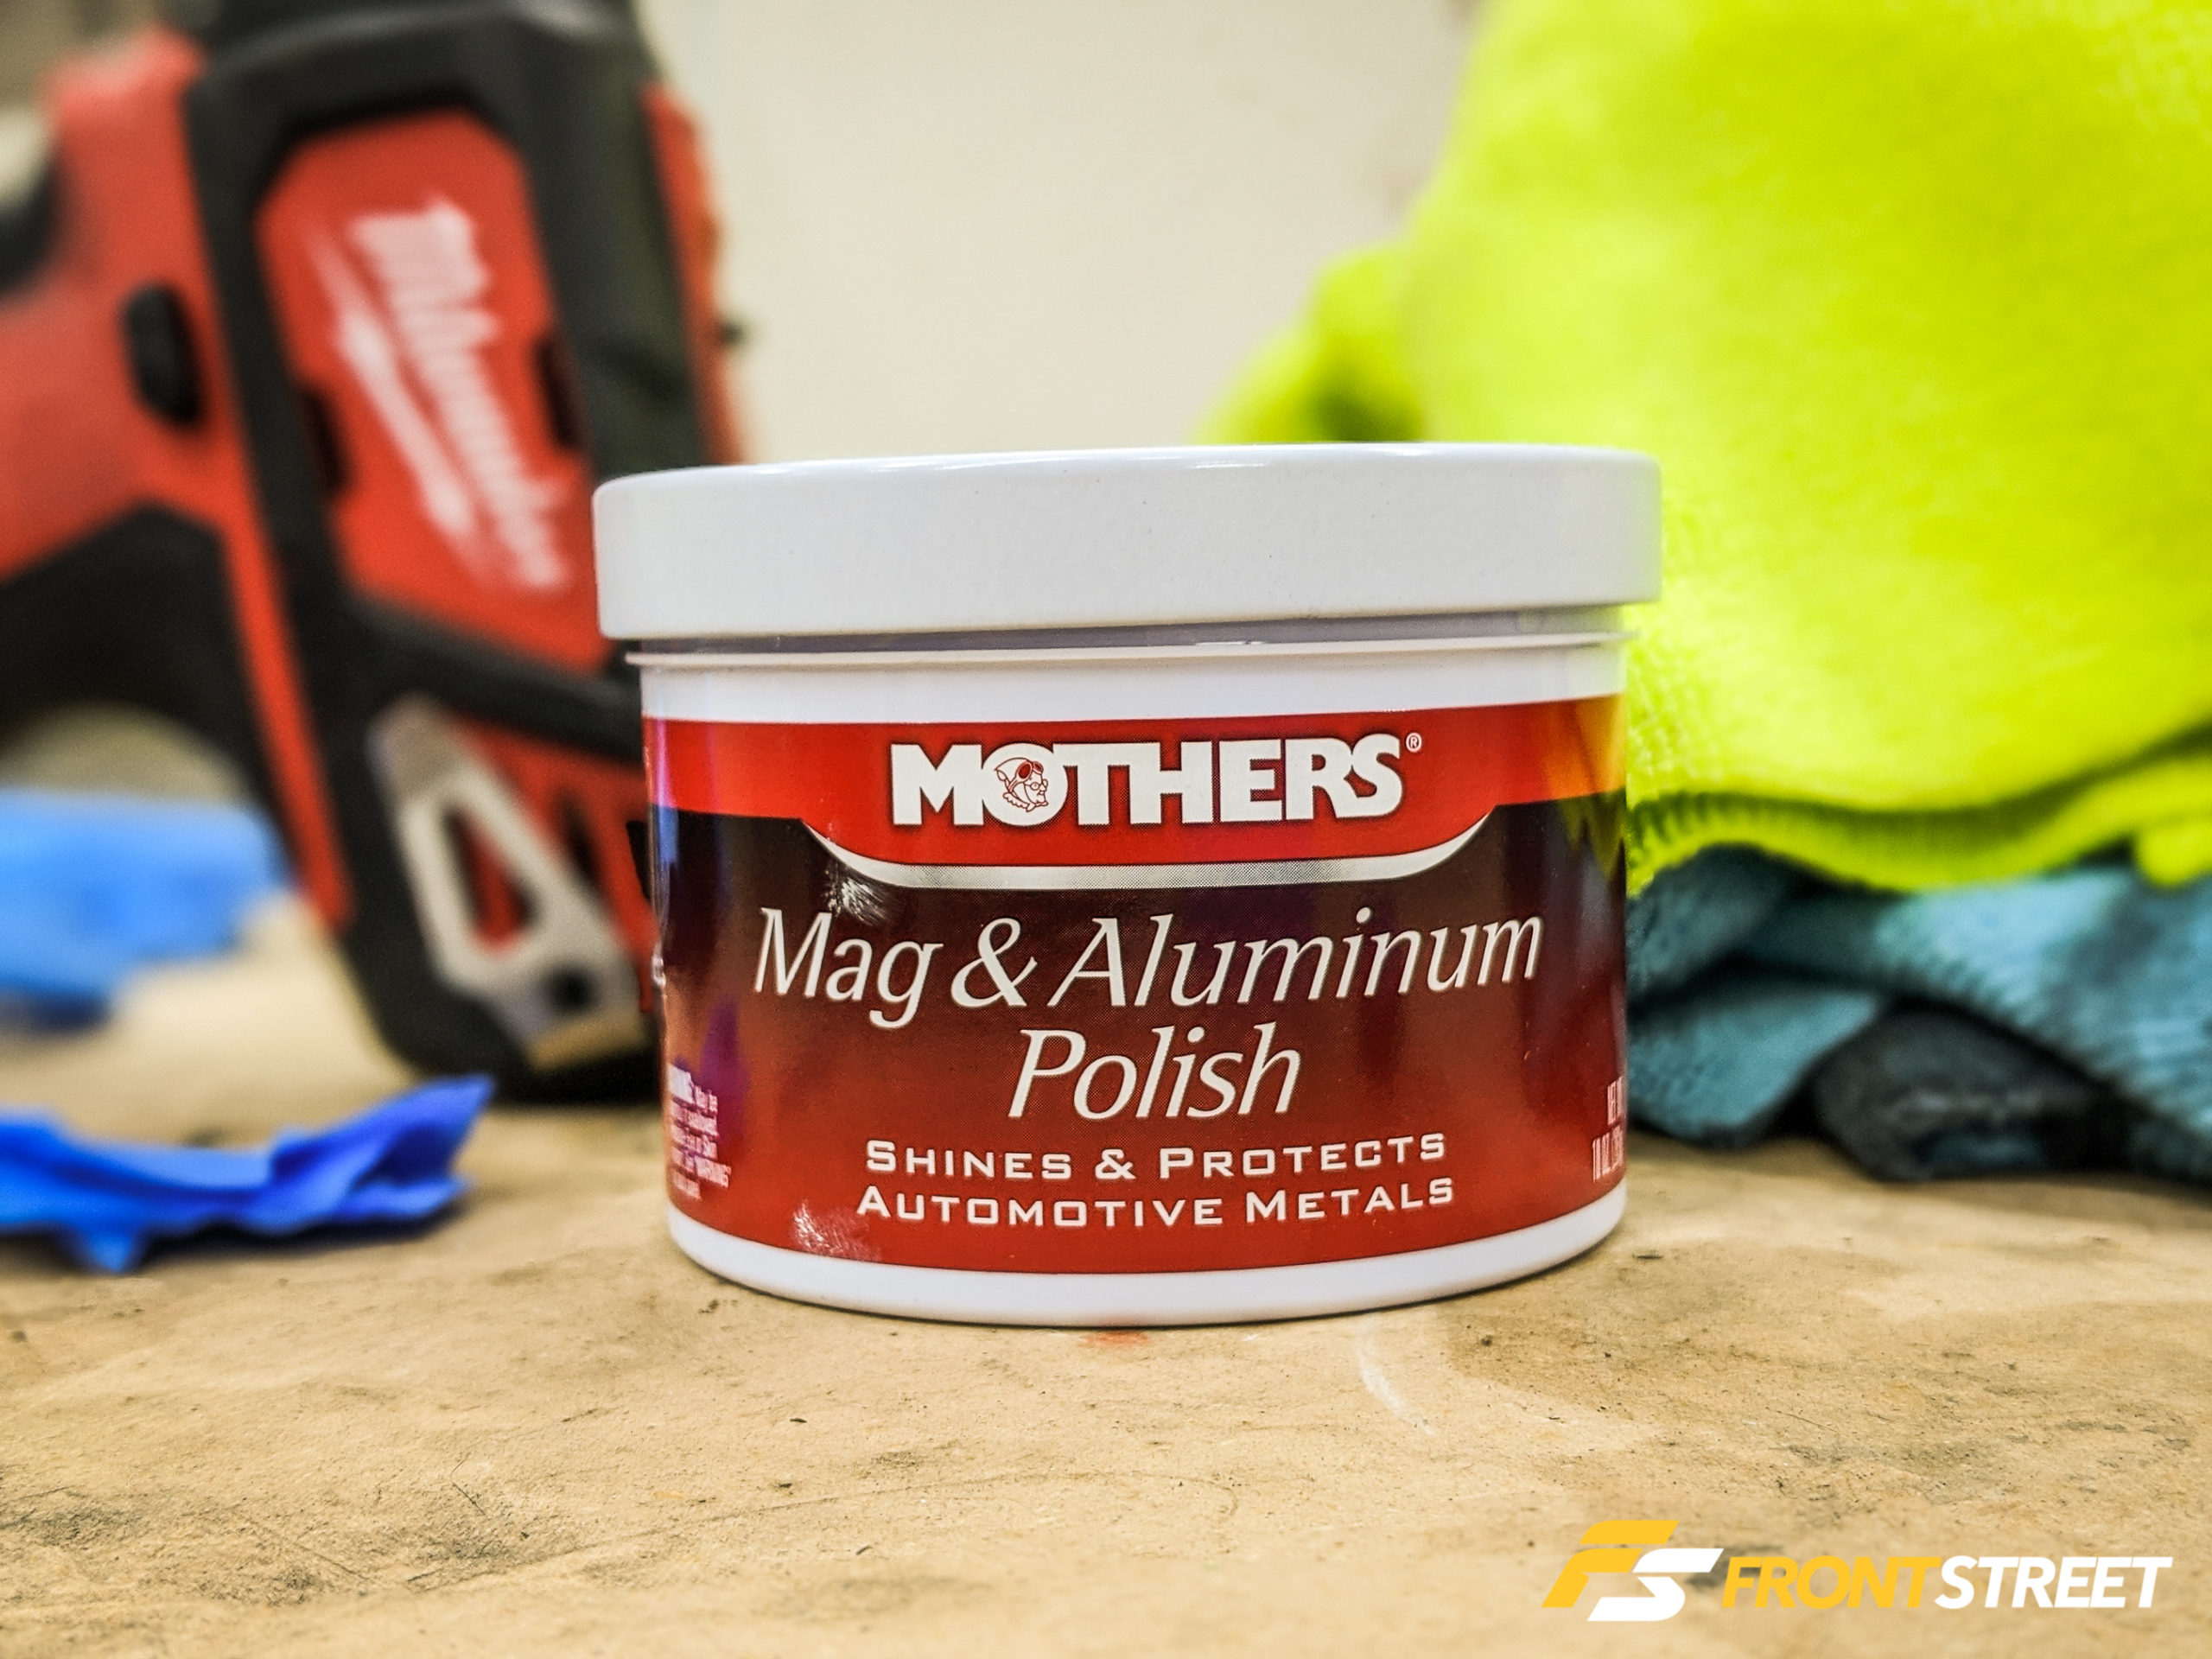
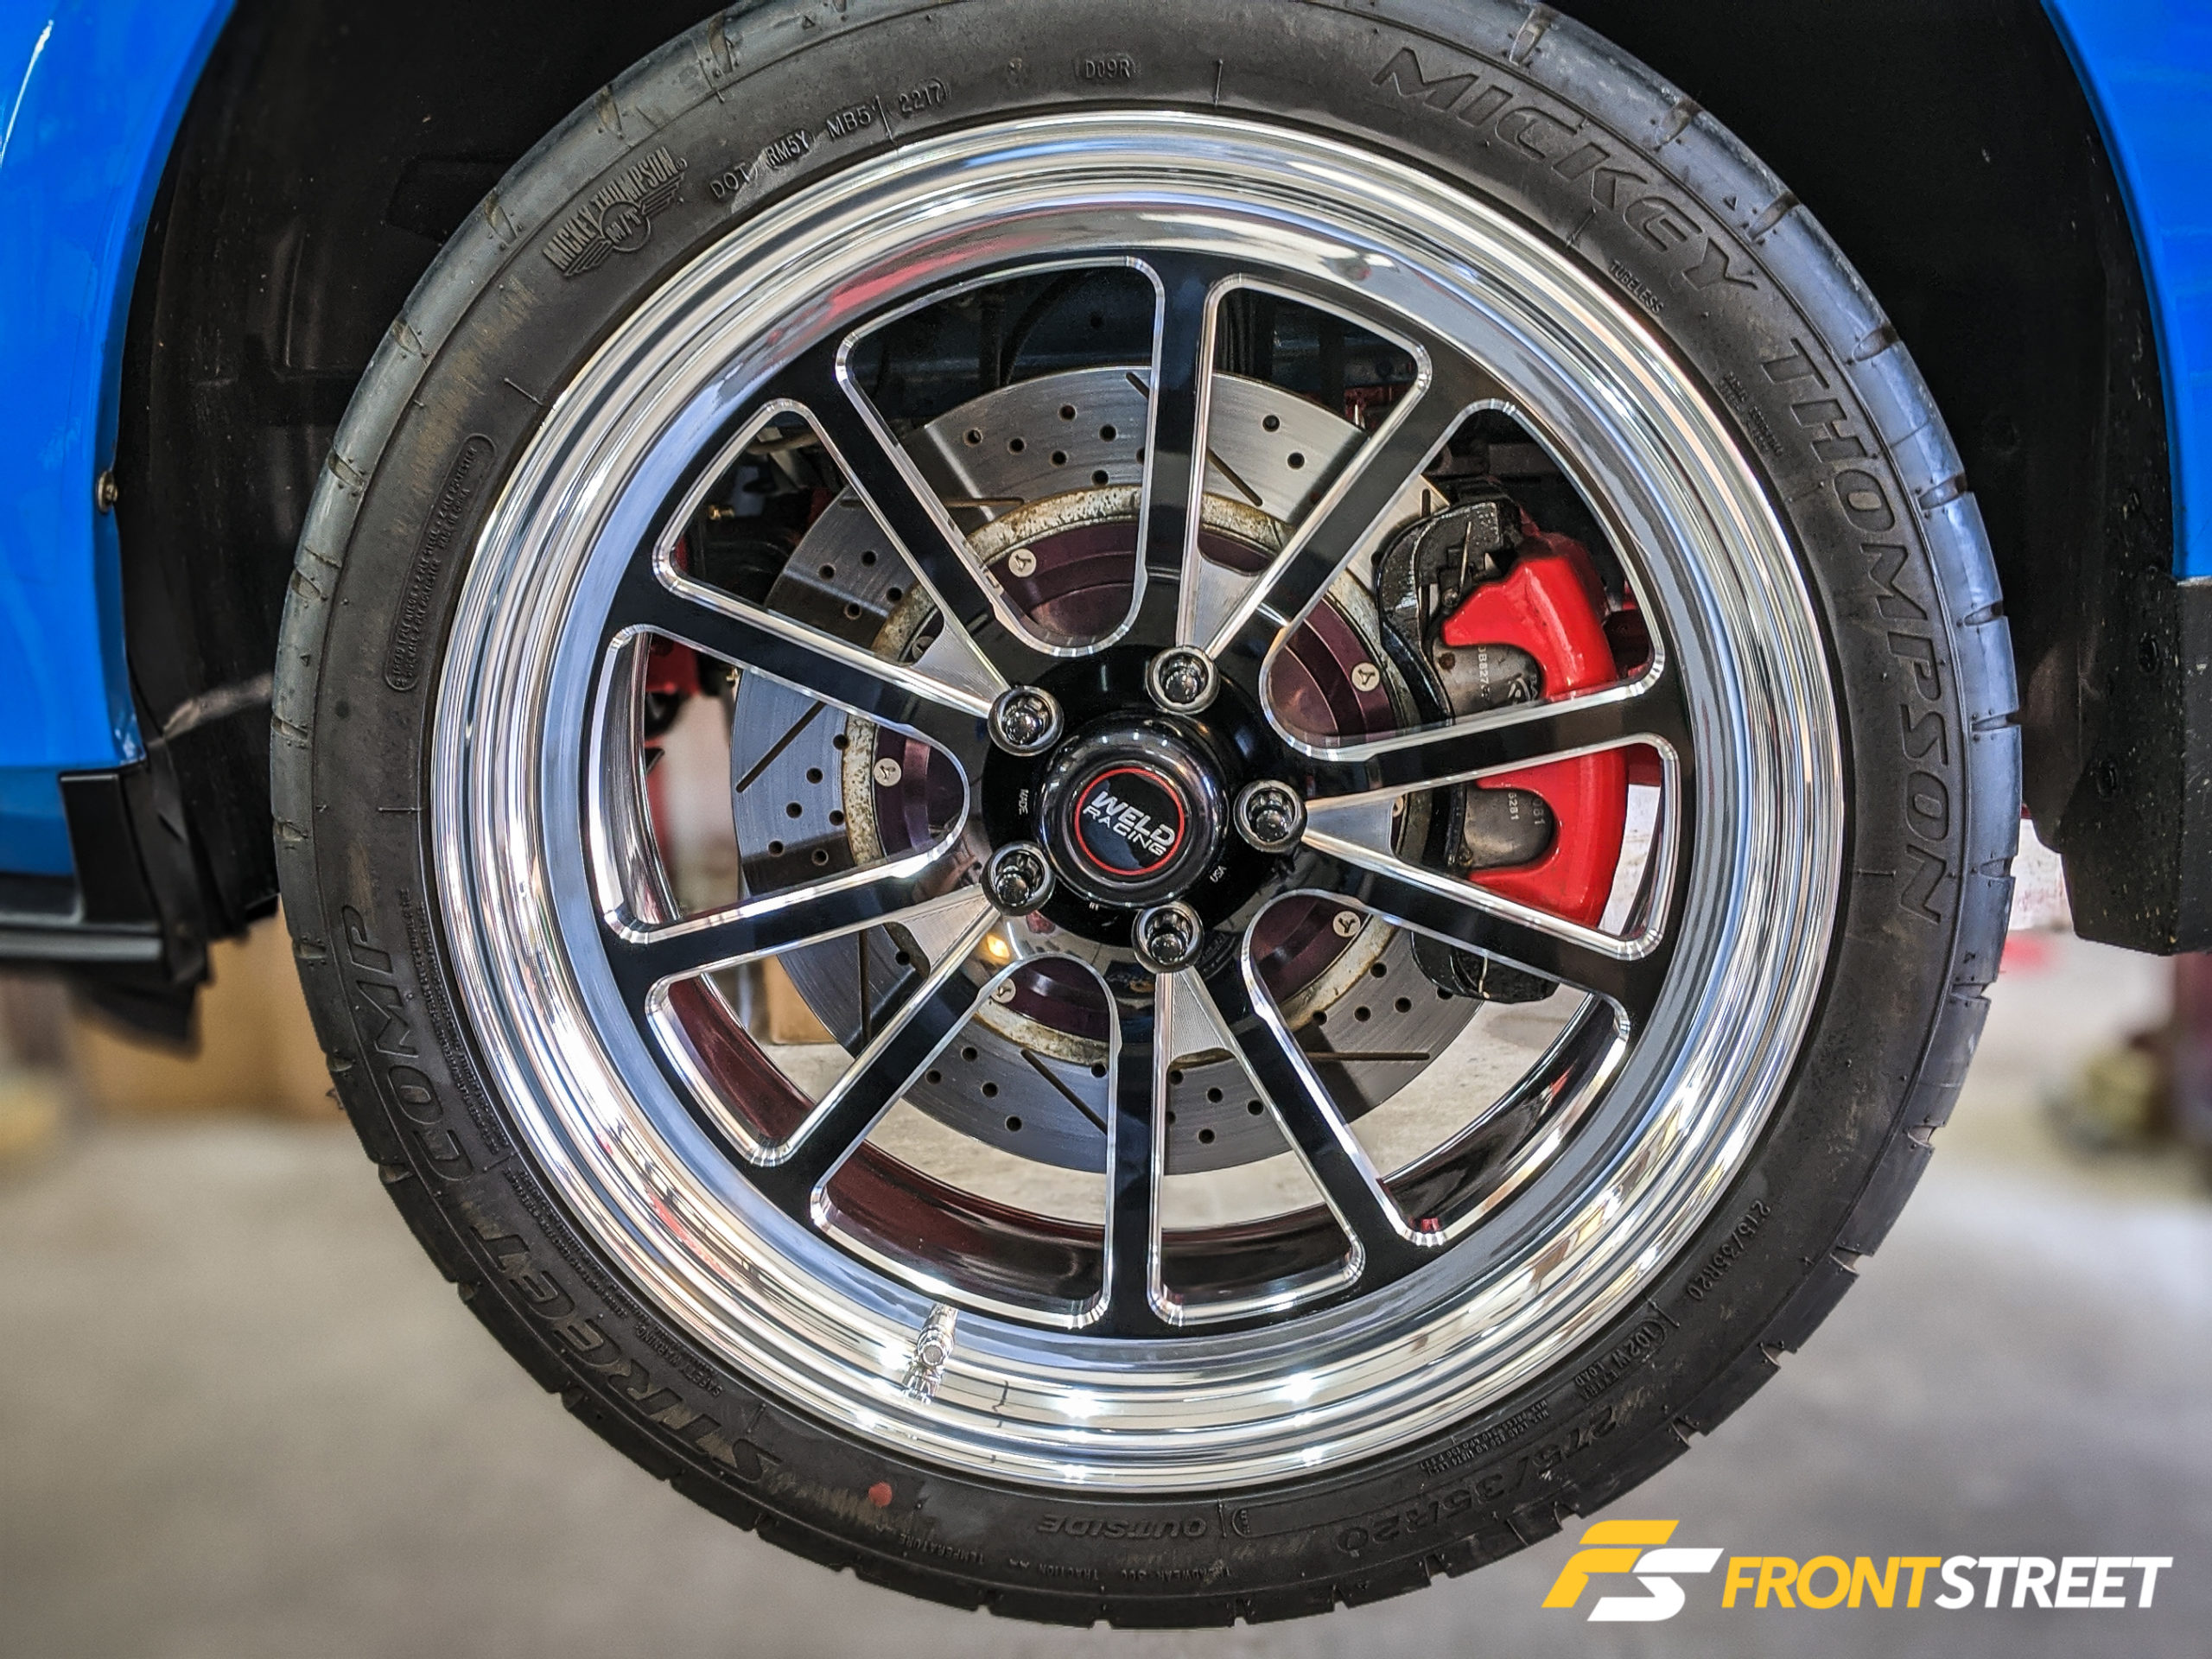
The wheels in question are Weld Racing’s S70 design in a 20-inch diameter, built in 20×9-inch front, and 20×10.5-inch rear fitments for my Mustang. Before I began working on the wheels, I reached out to a friend who works at Weld to find out if there were any specific tips he had, or whether he recommended a particular brand of polish to get the wheels looking just right. He didn’t recommend a specific brand, although he did say to look for a premium metal polish. I snagged a can of Mothers Mag & Aluminum Polish at the local Autozone. I remember using this stuff with good results on my first set of Weld Racing wheels—Draglites—that I owned many years ago, and figured I’d try it again. The Weld Wheel Care FAQ is an excellent place to start for basic information. I wanted more, so I enlisted the Google Machine, which will send you down a rabbit hole if you search the term “wheel polishing”, as many of the results will be from chemical companies trying to sell you their products, and others will show you how to care for big-rig wheels. There wasn’t much guidance on how to polish wheels like these, so I figured I’d put my thoughts down in the event someone (you, possibly?) might learn something from my experiences.
Step 1: Preparation
Supplies:
- Polishing Applicator
- Clean 100% cotton polishing cloths (you’ll need lots of these, I bought a pack of 20 microfiber cloths on Amazon and used every one)
- Premium aluminum polish
- Latex/nitrile gloves (you’re gonna get dirty!)
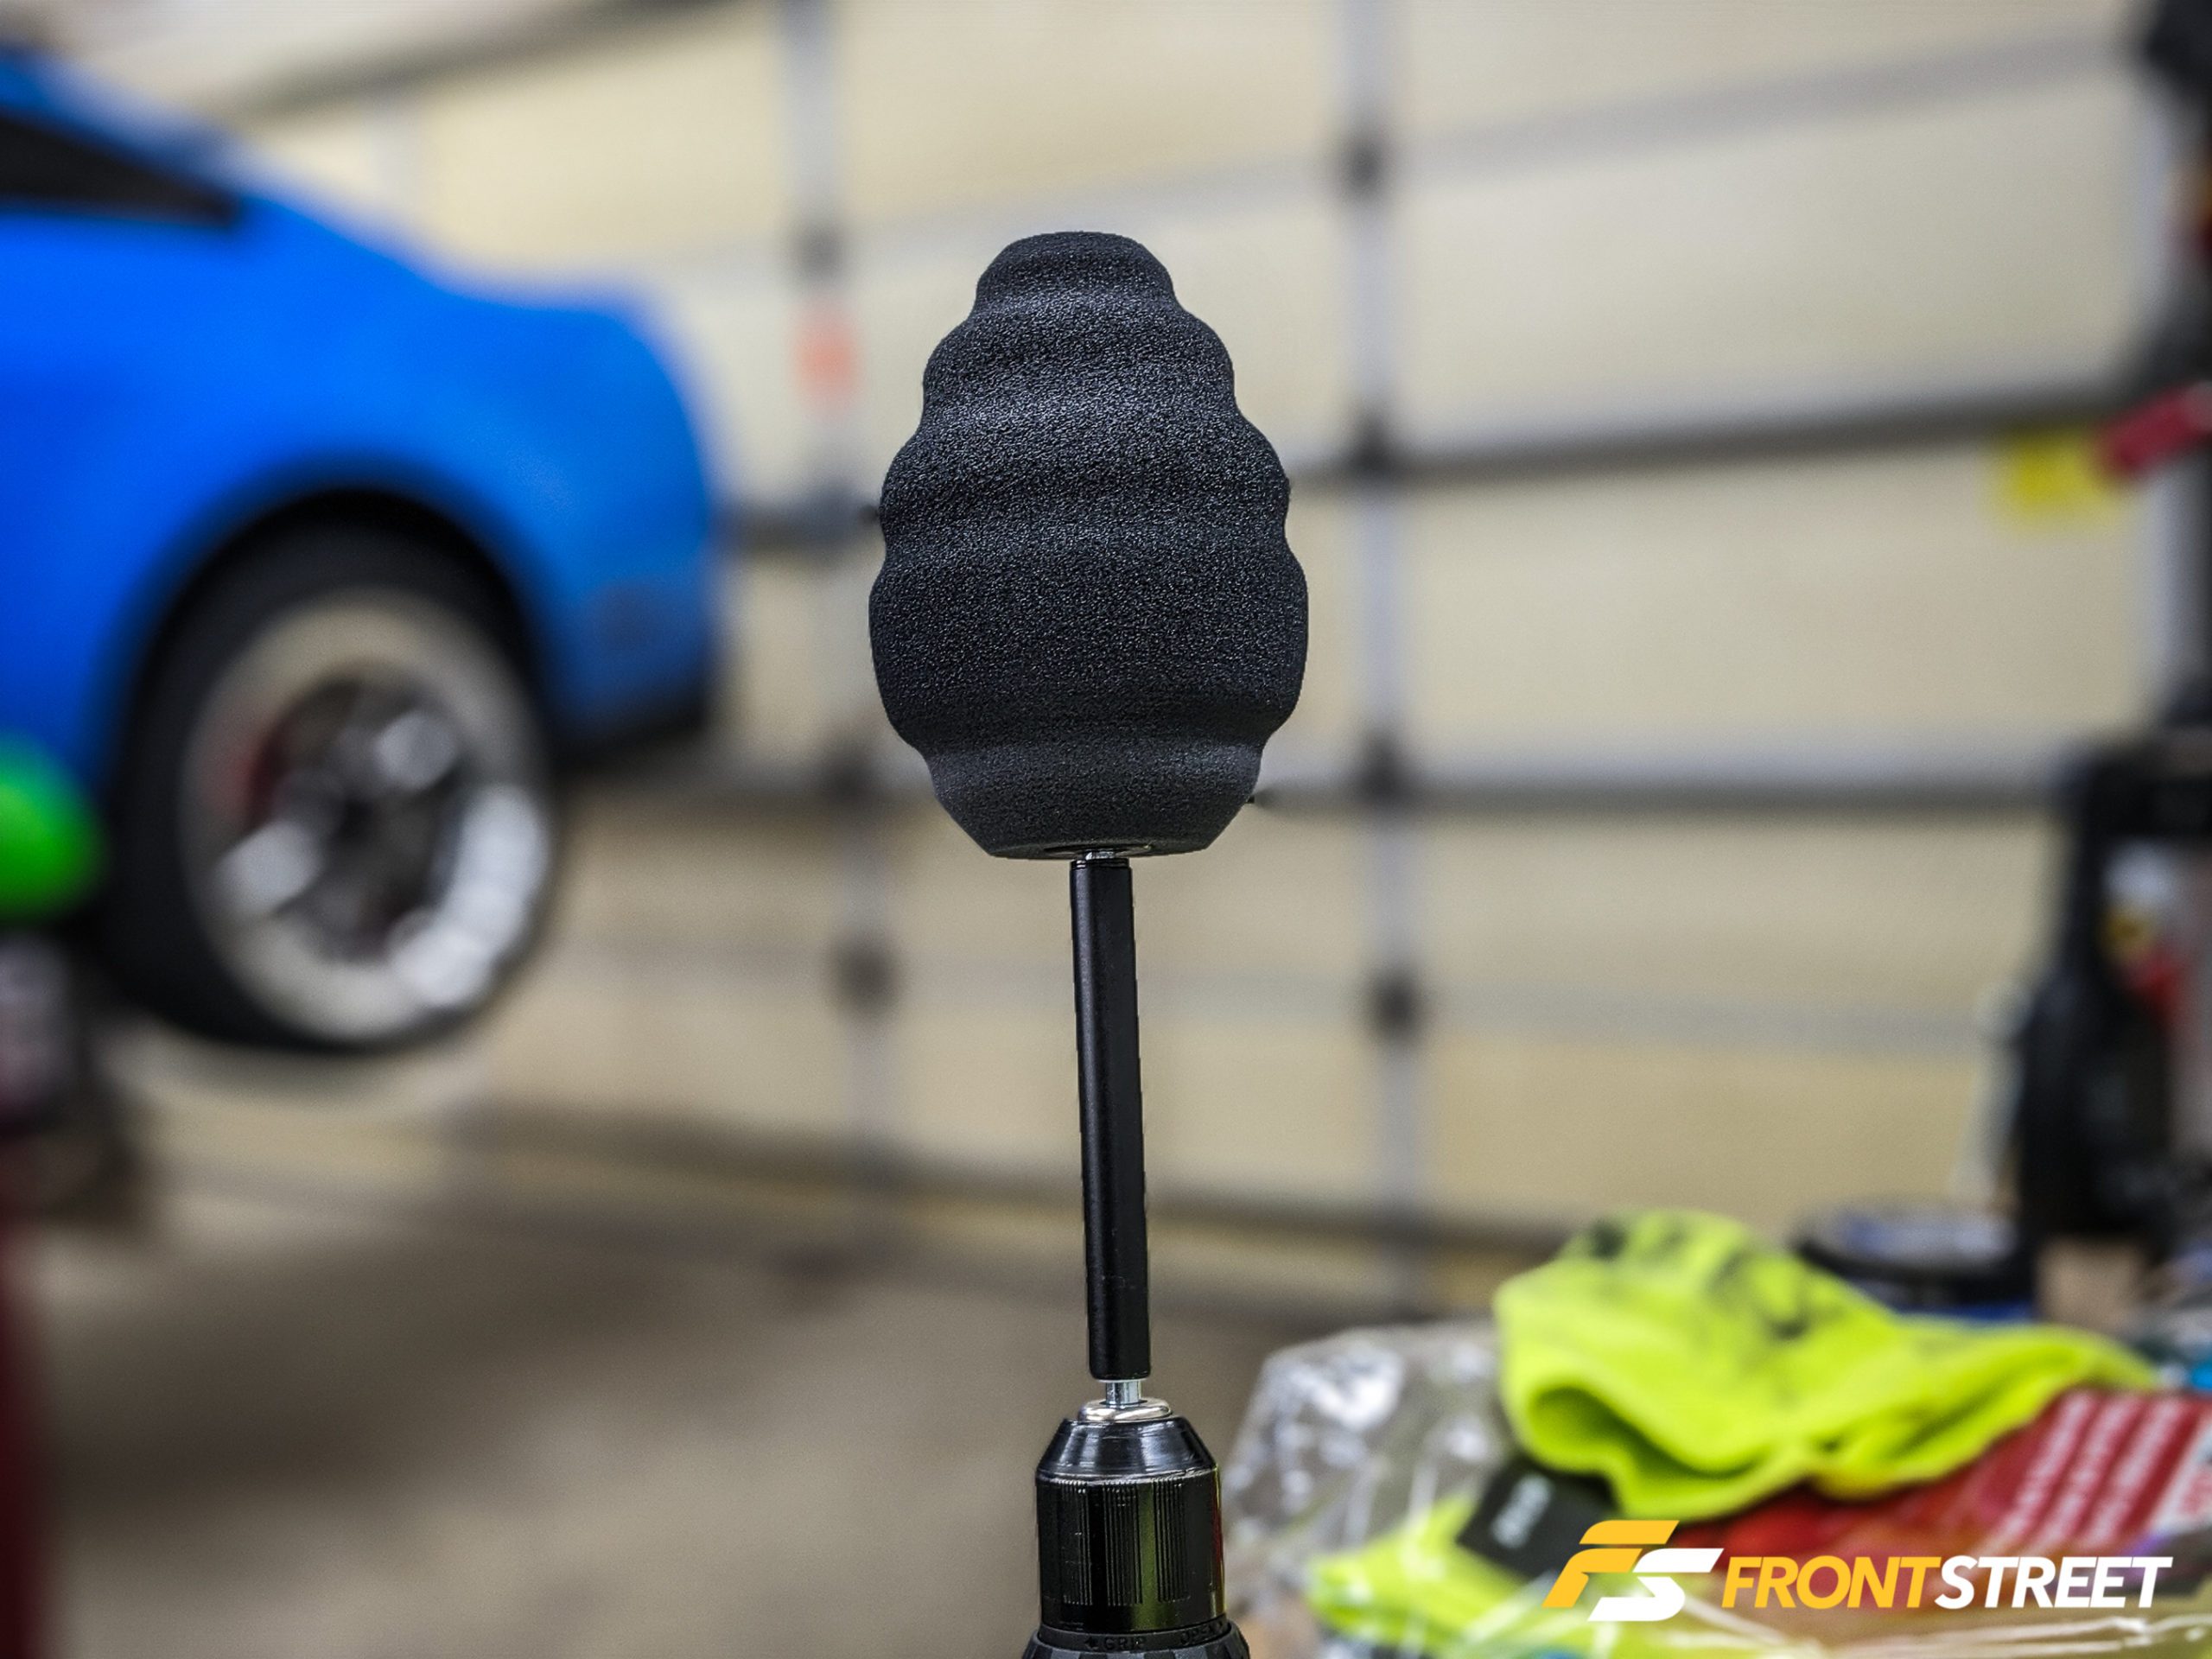
I searched around for a suitable applicator for the polish; Weld recommends using a Powerball from Mothers or a similar foam or cloth applicator. I found this multi-surface applicator from Chemical Guys and thought it would be an excellent choice to use on the S70 wheels, as there are multiple beveled edges and machined surfaces that need attention. The contoured edges looked like they’d be good to cover those areas.
Before we go any further, I’d like to make a simple point. Polishing a set of wheels is not a one-hour job. Plan an appropriate amount of time to do this. Since my car sits in a garage—and I also have a lift—I had the luxury of being able to take the wheels off the car and just leave it up in the air while I worked on them.
Step 2: Cleaning & Masking
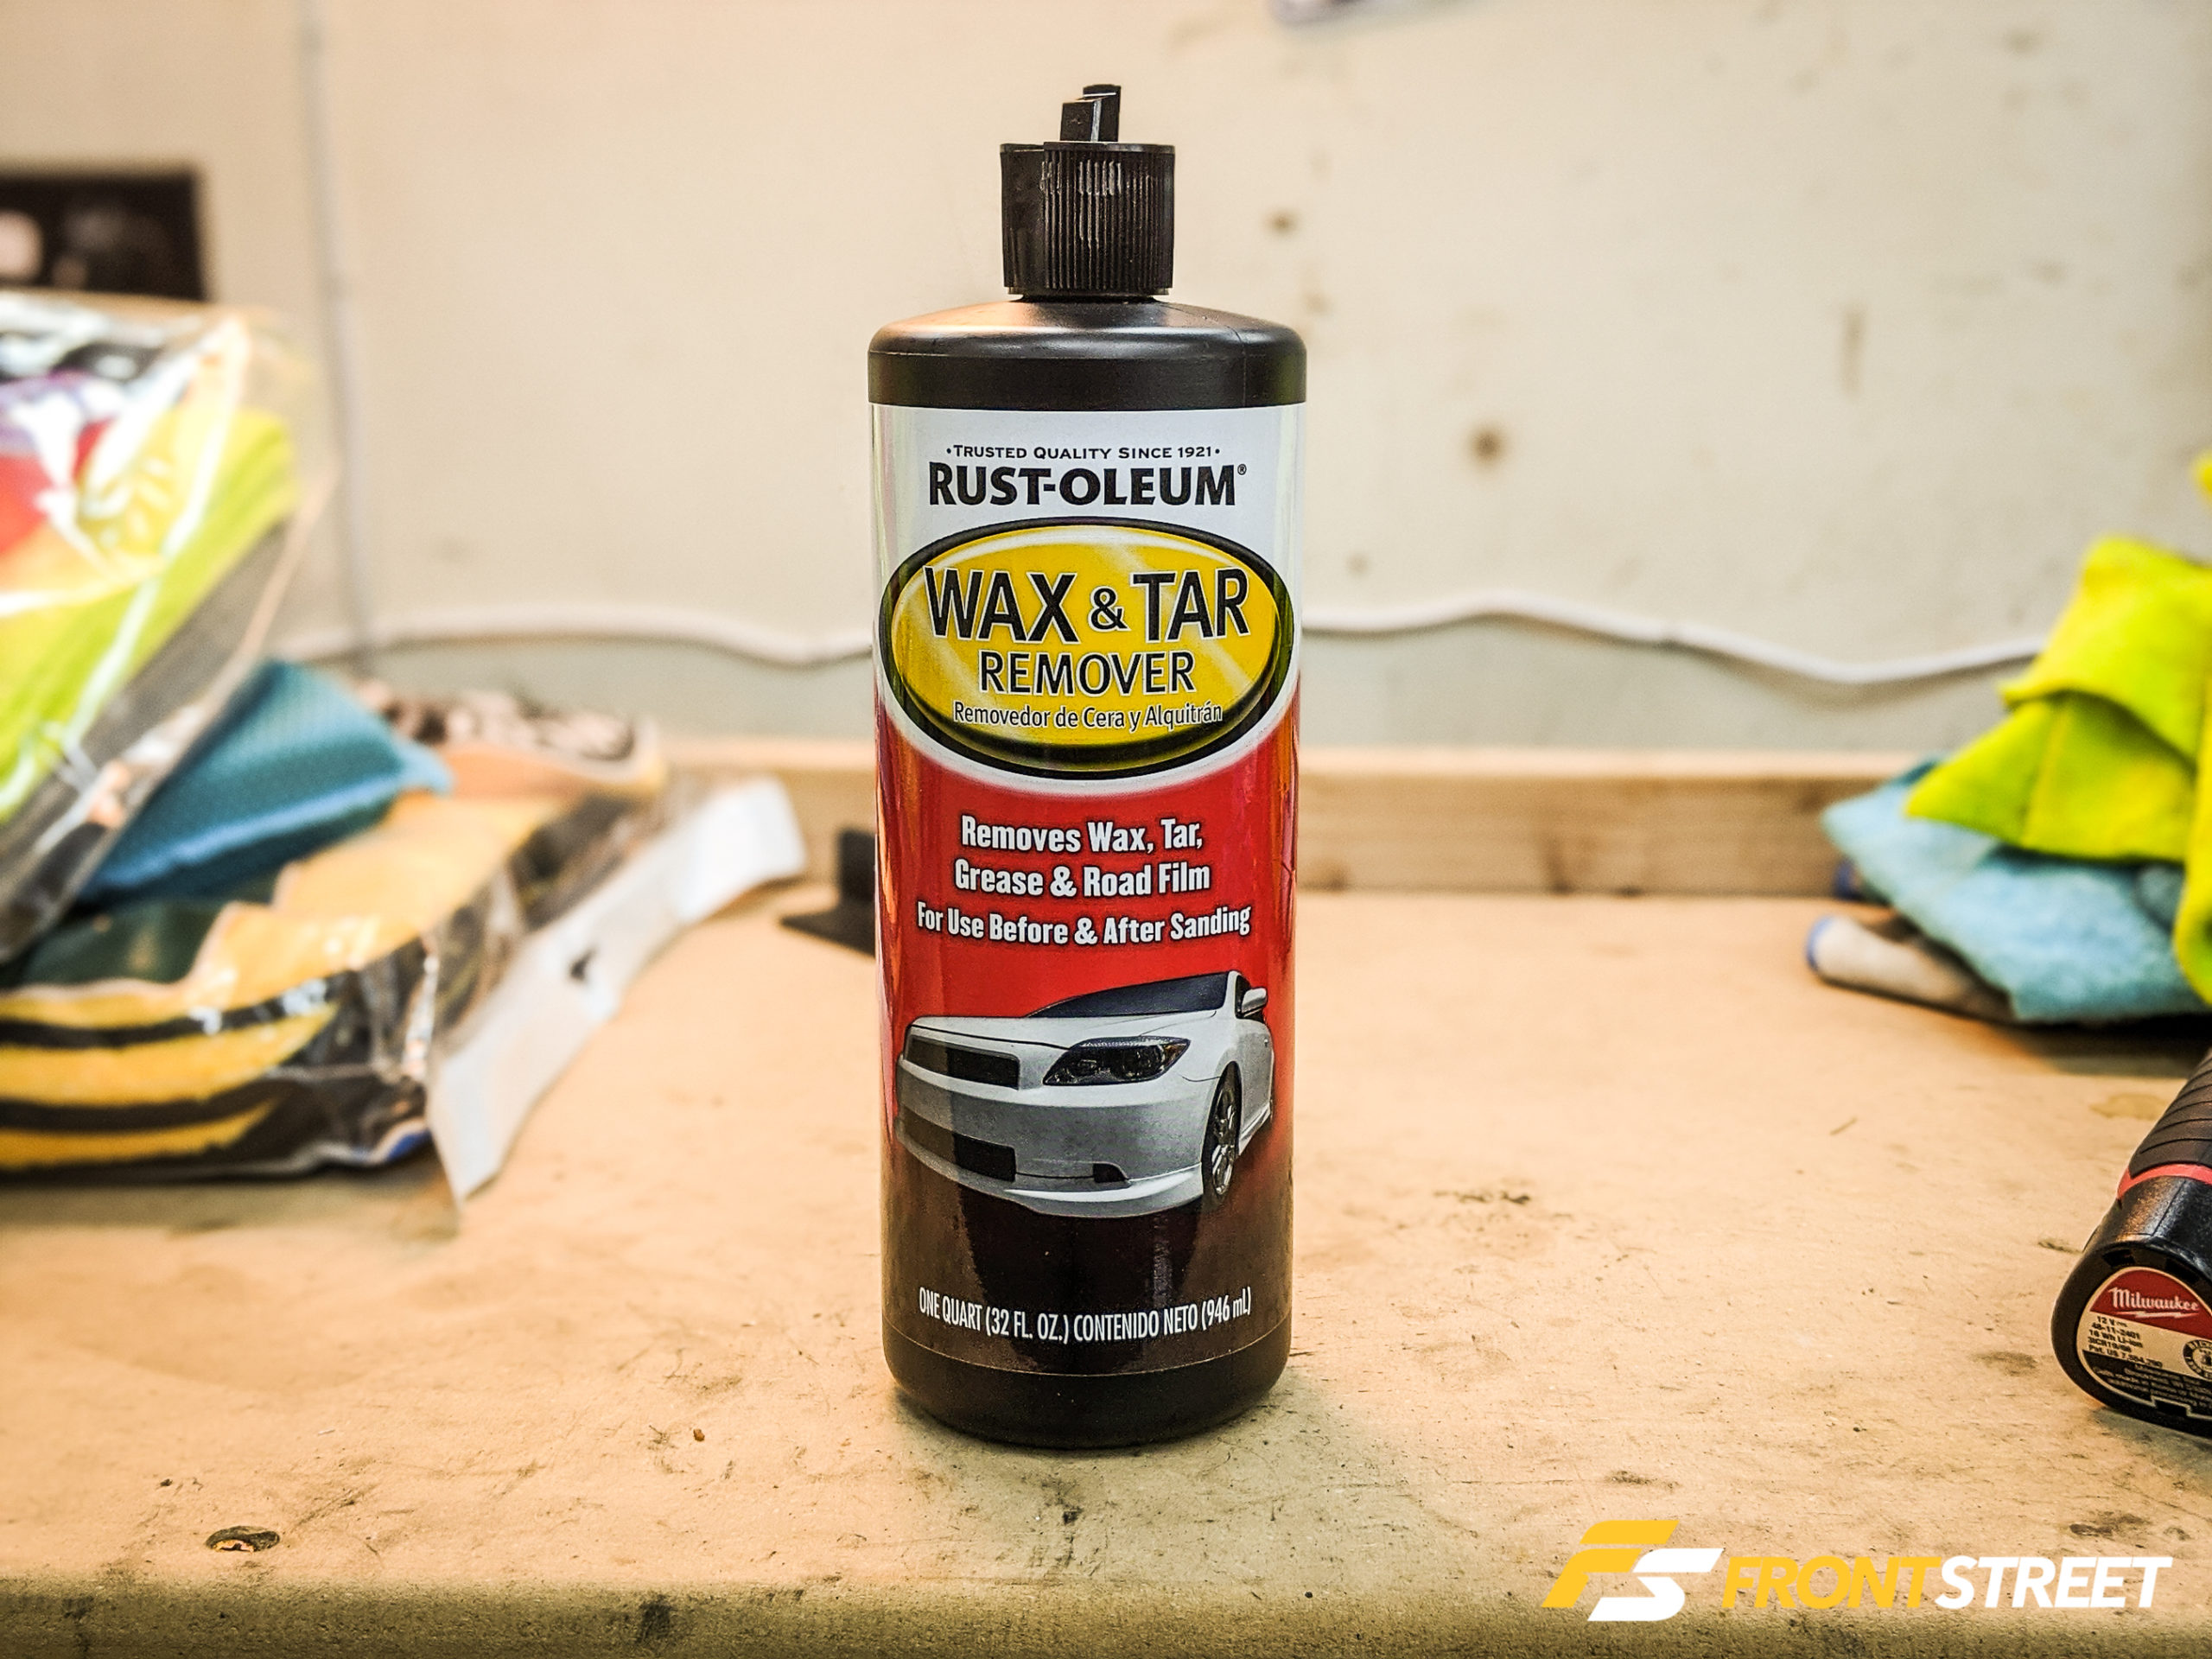
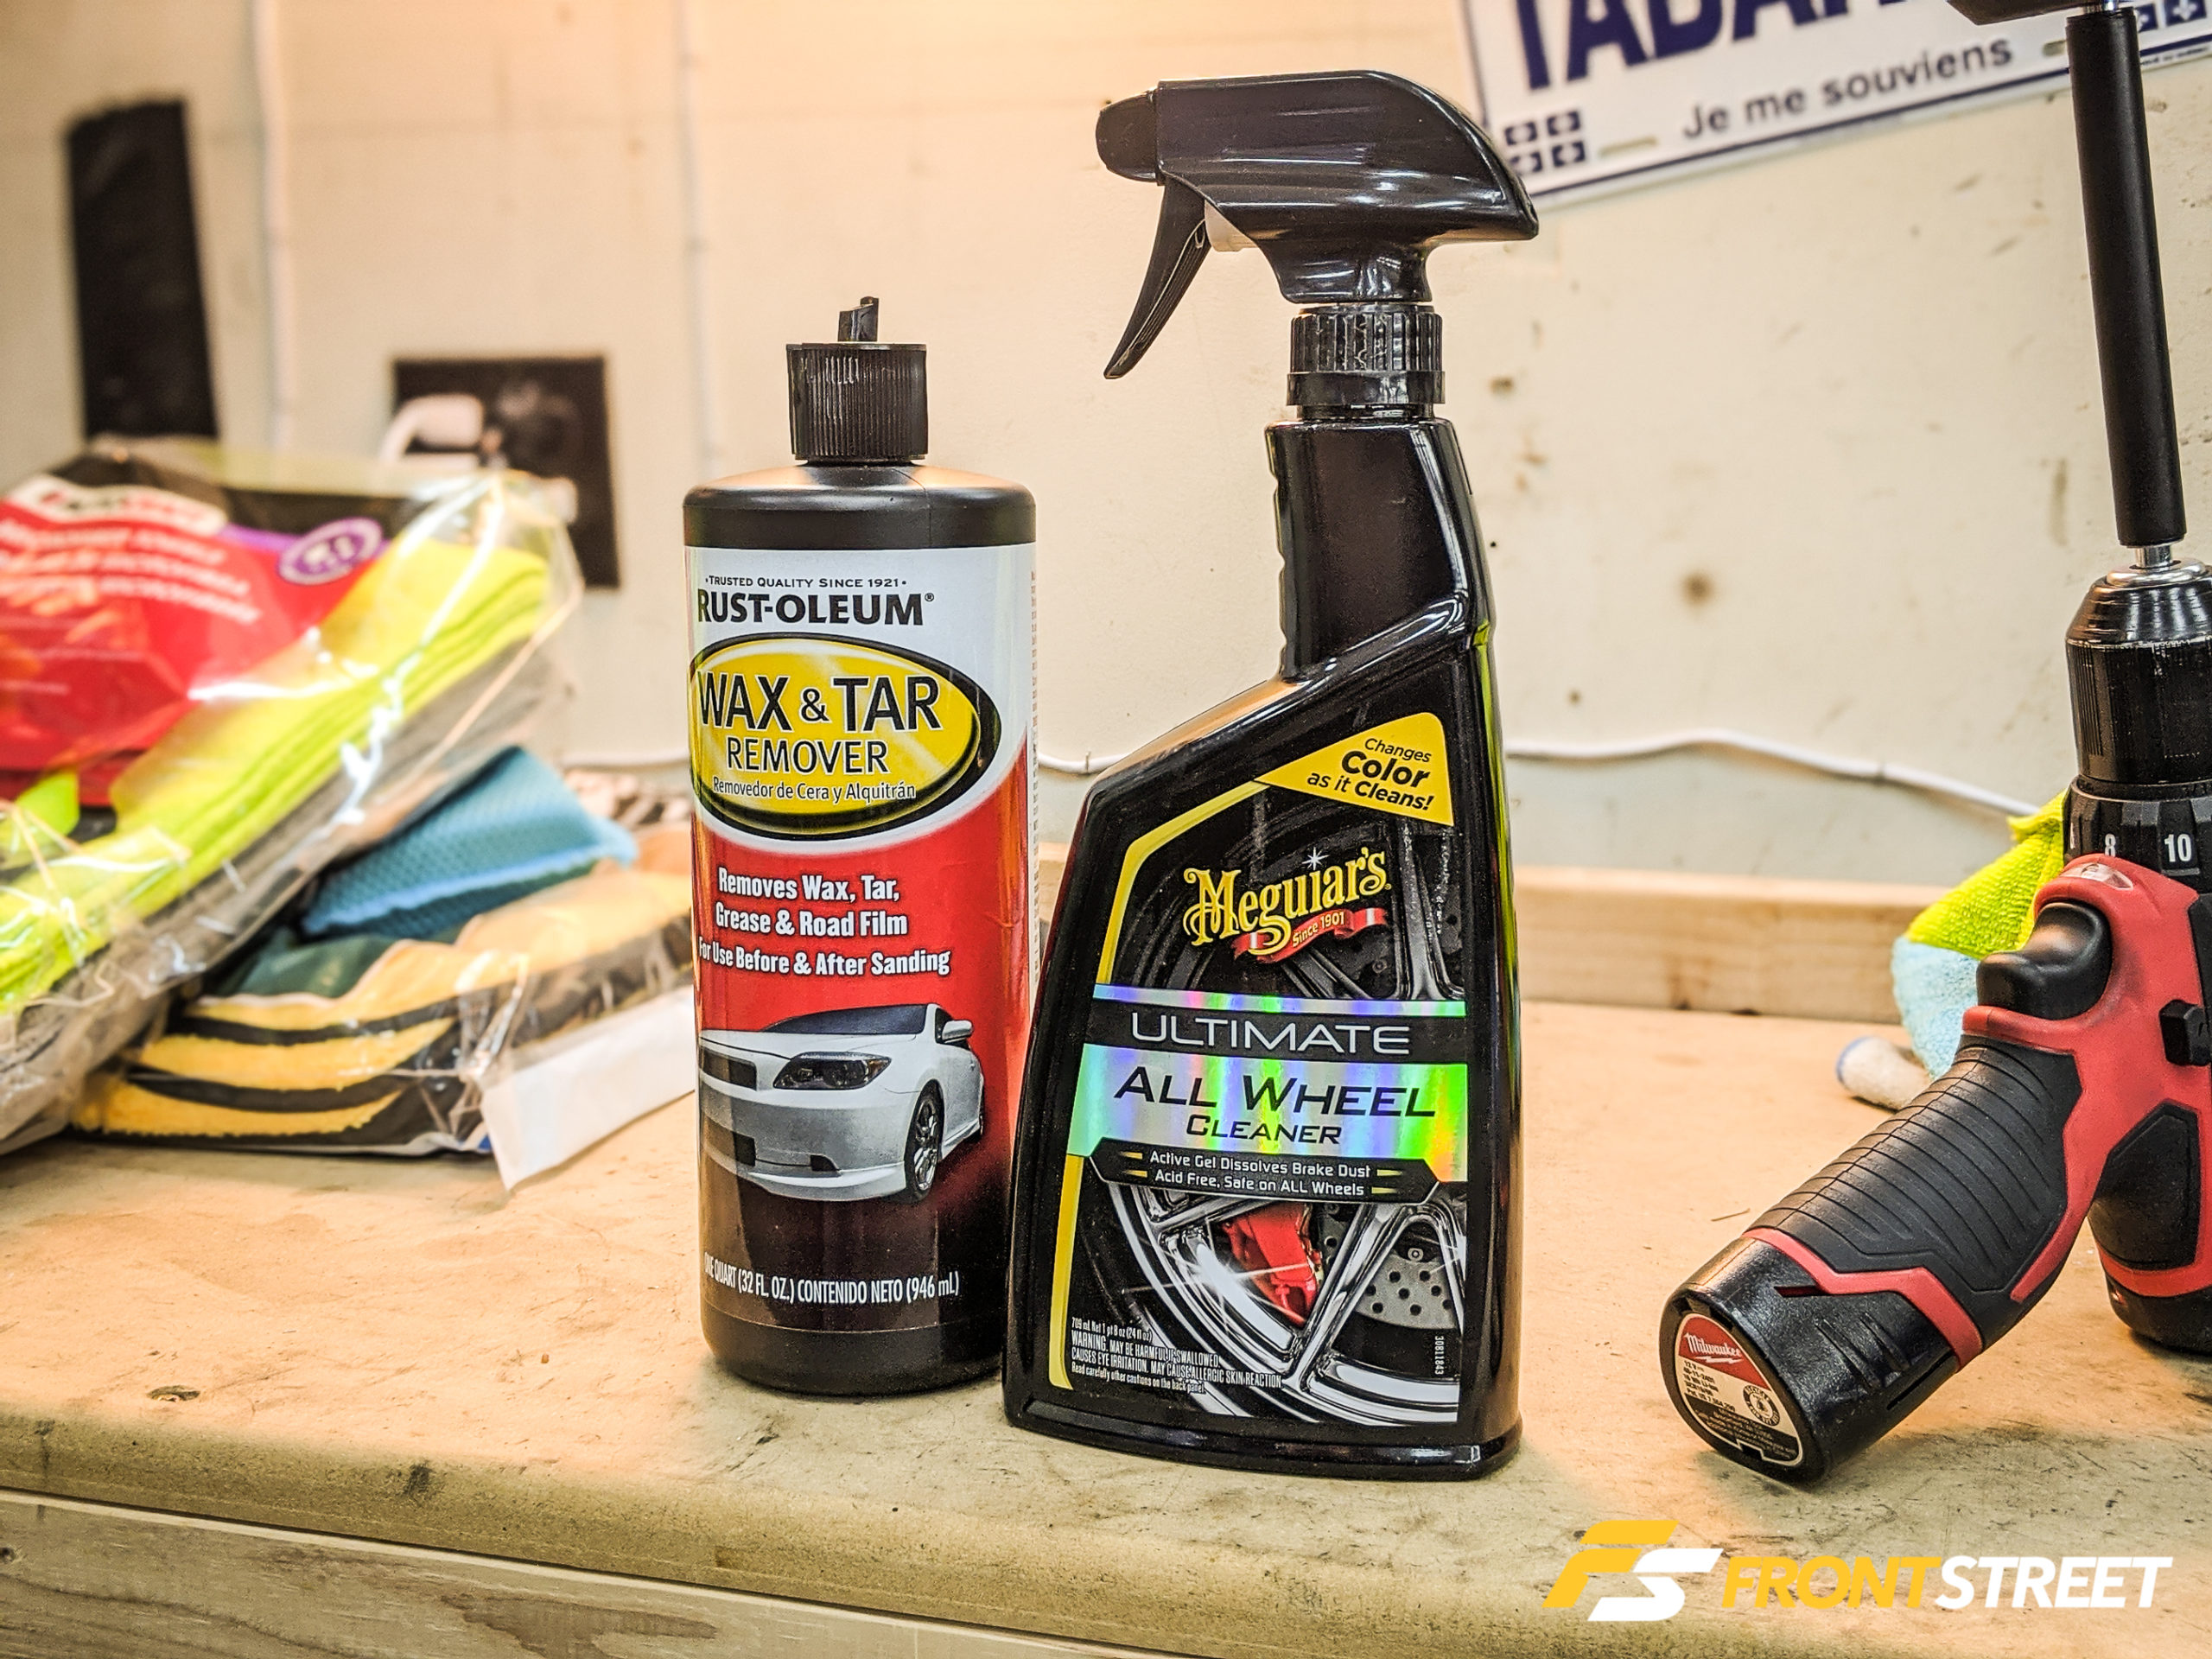
Before you ever touch the wheel polish, you must make sure that the wheels are spotless—if there is any dirt on the wheel surface, it will be ground into the wheel with the polish and potentially make them much worse. These two items seen above helped the process substantially. I had the Meguiar’s Ultimate All Wheel Cleaner on hand in the garage already. Weld says to use soap and water only, which I did, but I also tested this stuff on a small spot on the rear face of one of the wheels to make sure it was safe for the wheel before I sprayed it onto the front and let it sit.
USE AT YOUR OWN RISK; ALTHOUGH THE BOTTLE SAYS IT IS SAFE FOR ALL FINISHES, I AM NOT RESPONSIBLE FOR WHAT HAPPENS IF YOU USE THIS PRODUCT ON YOUR ANODIZED WHEELS.
After I used the wheel cleaner, I hosed the wheels down and let them dry, then followed the instructions on the Wax & Tar Remover bottle to clean each wheel’s surfaces and ensure no residual contaminants remained.
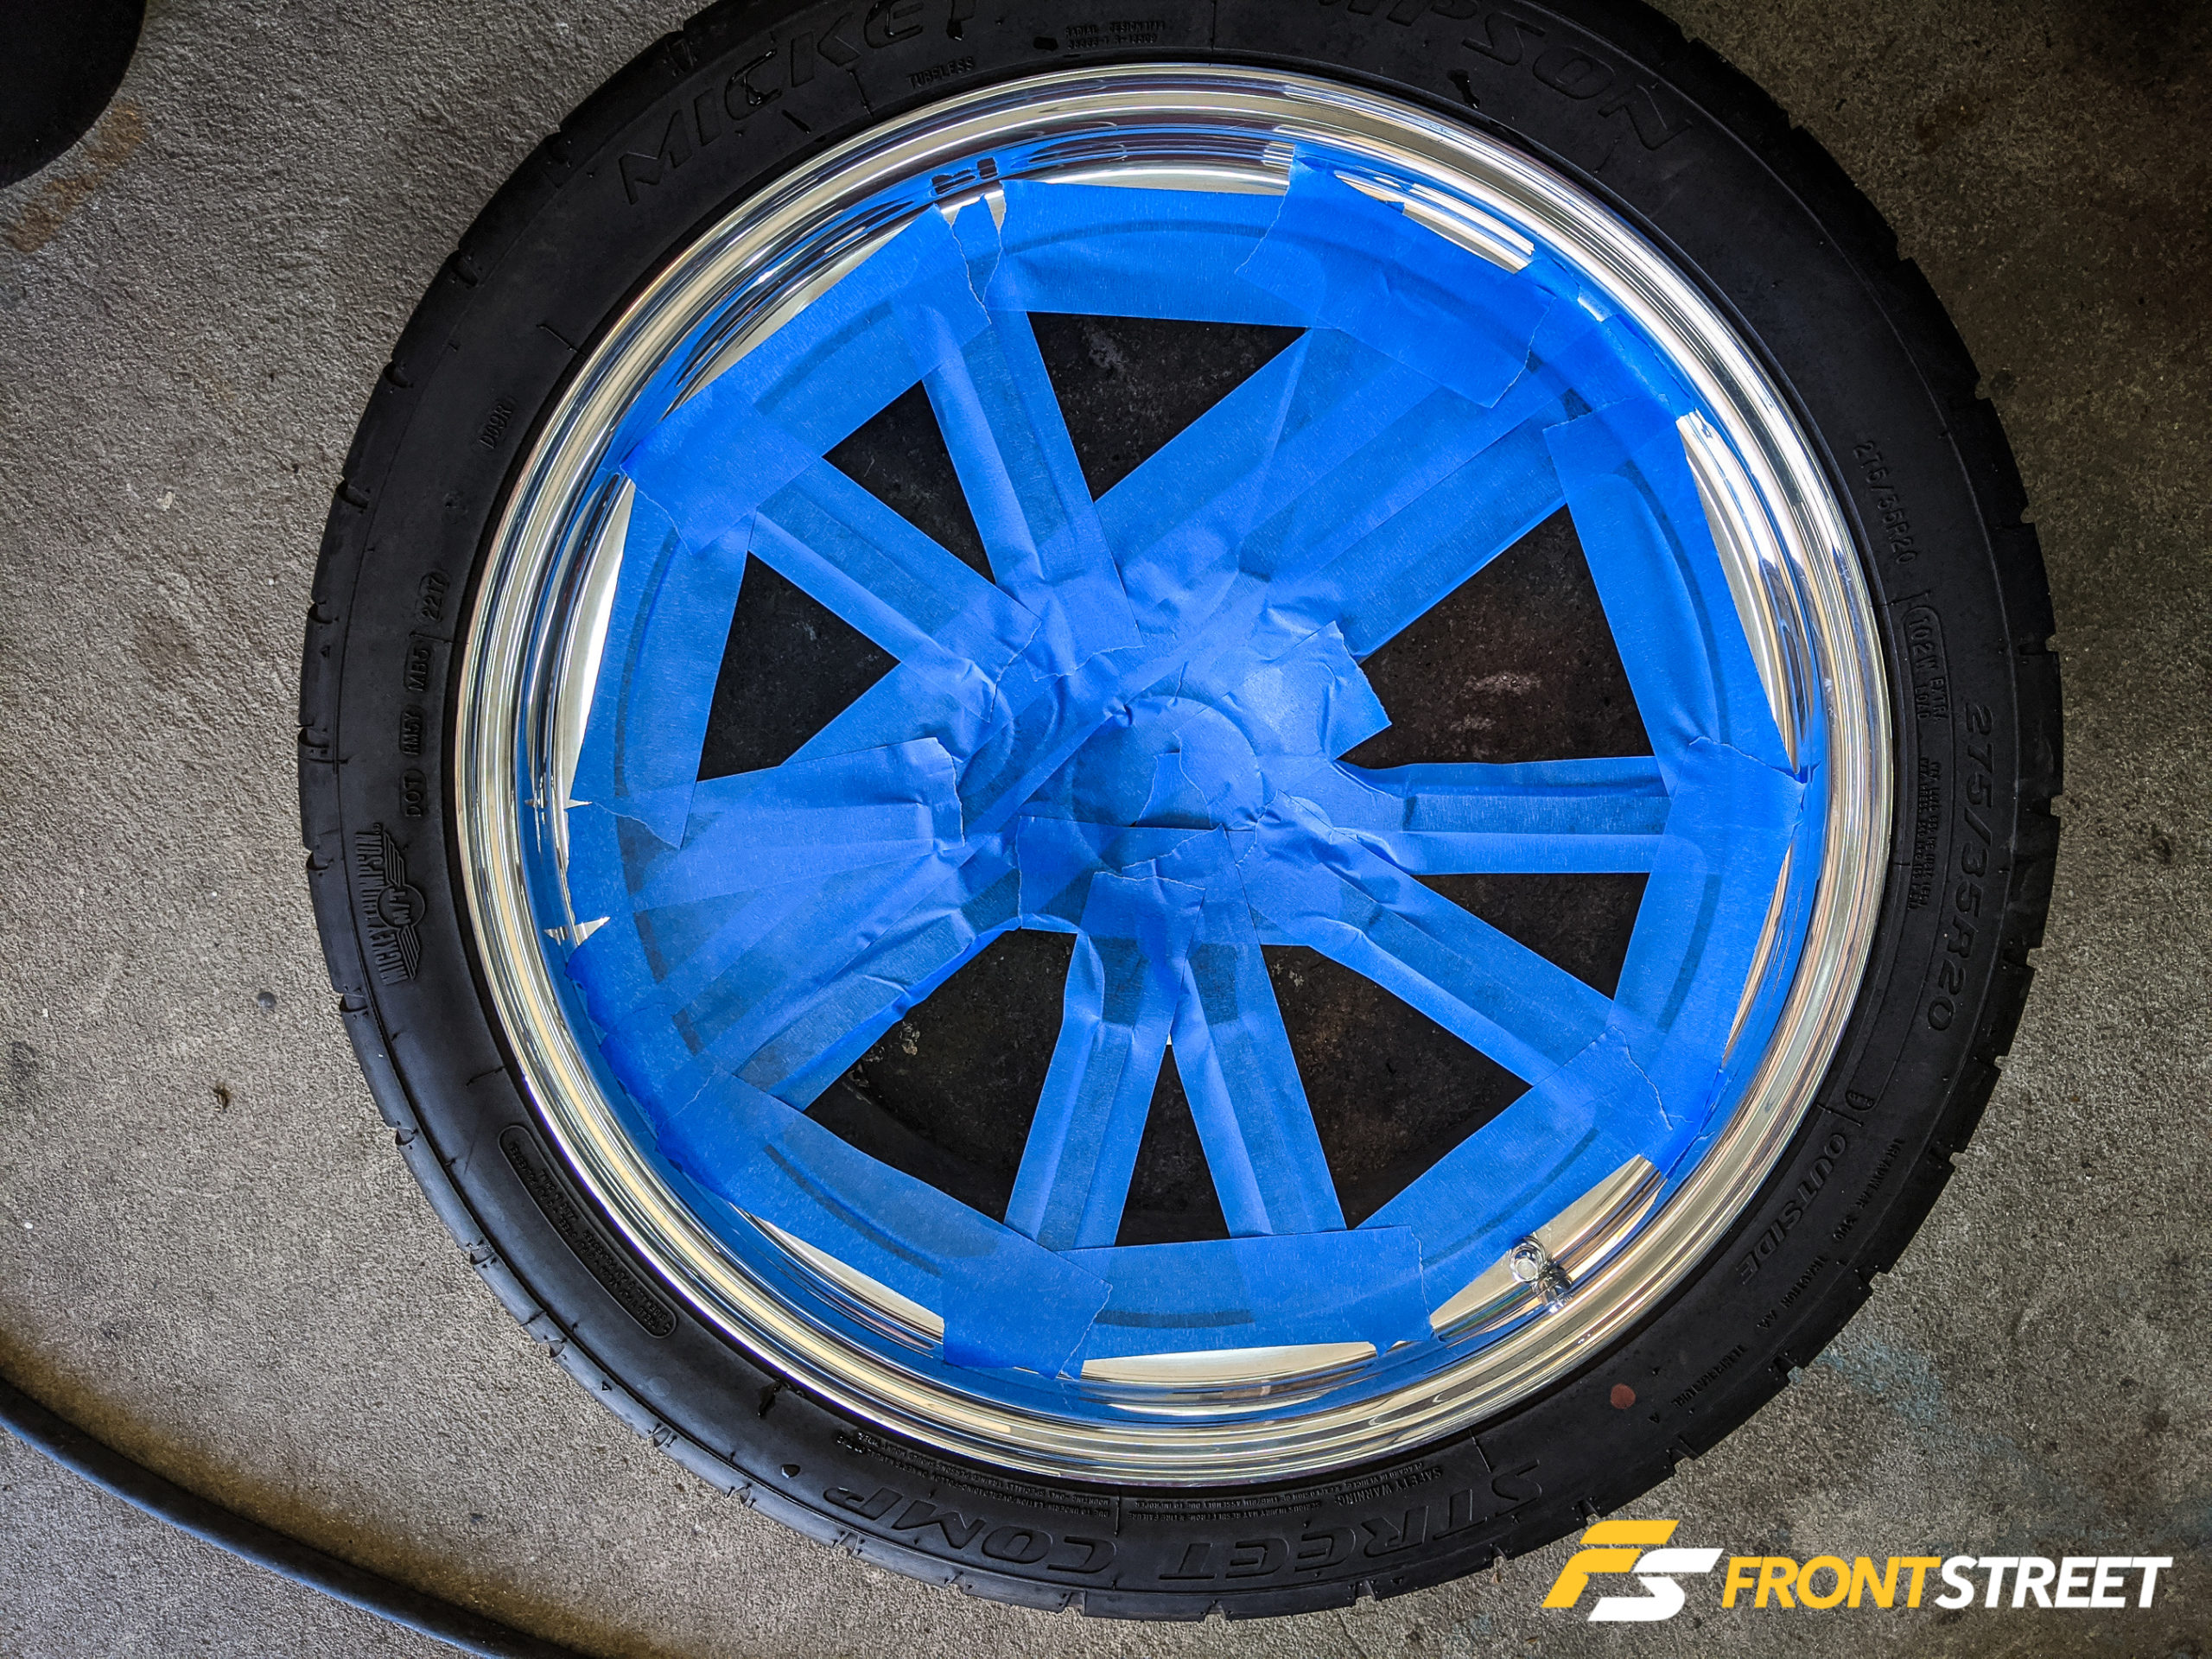
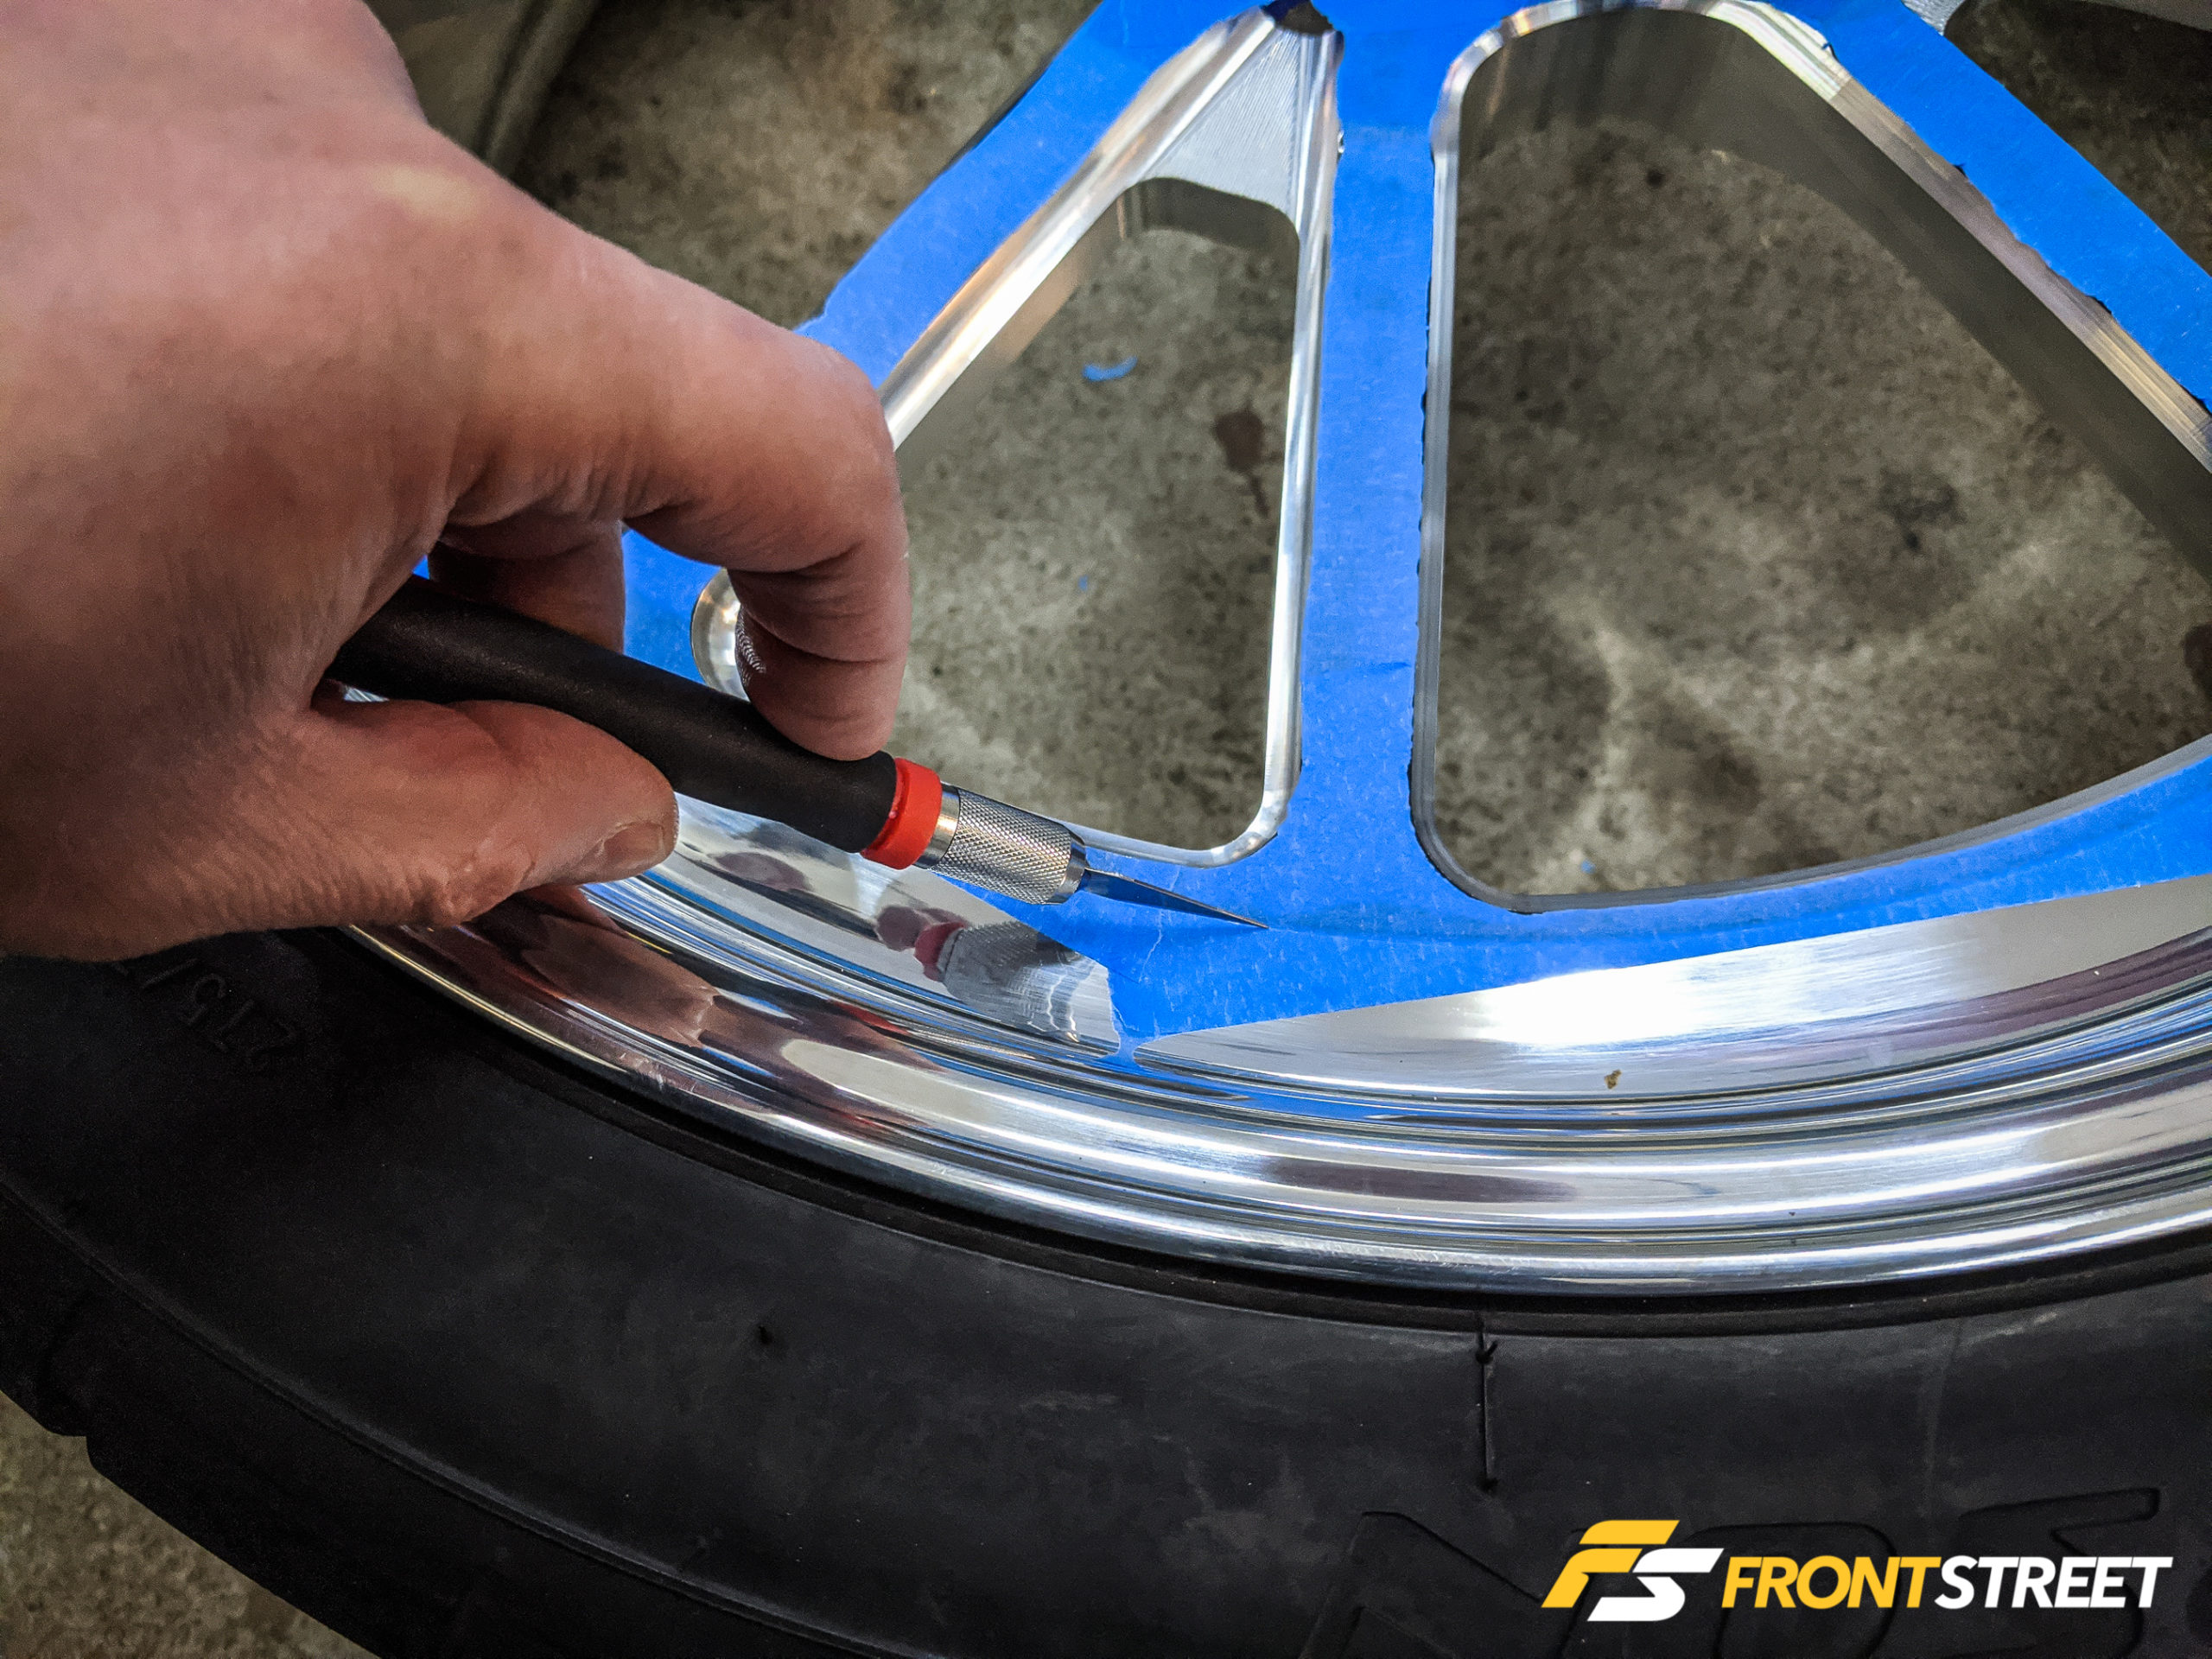
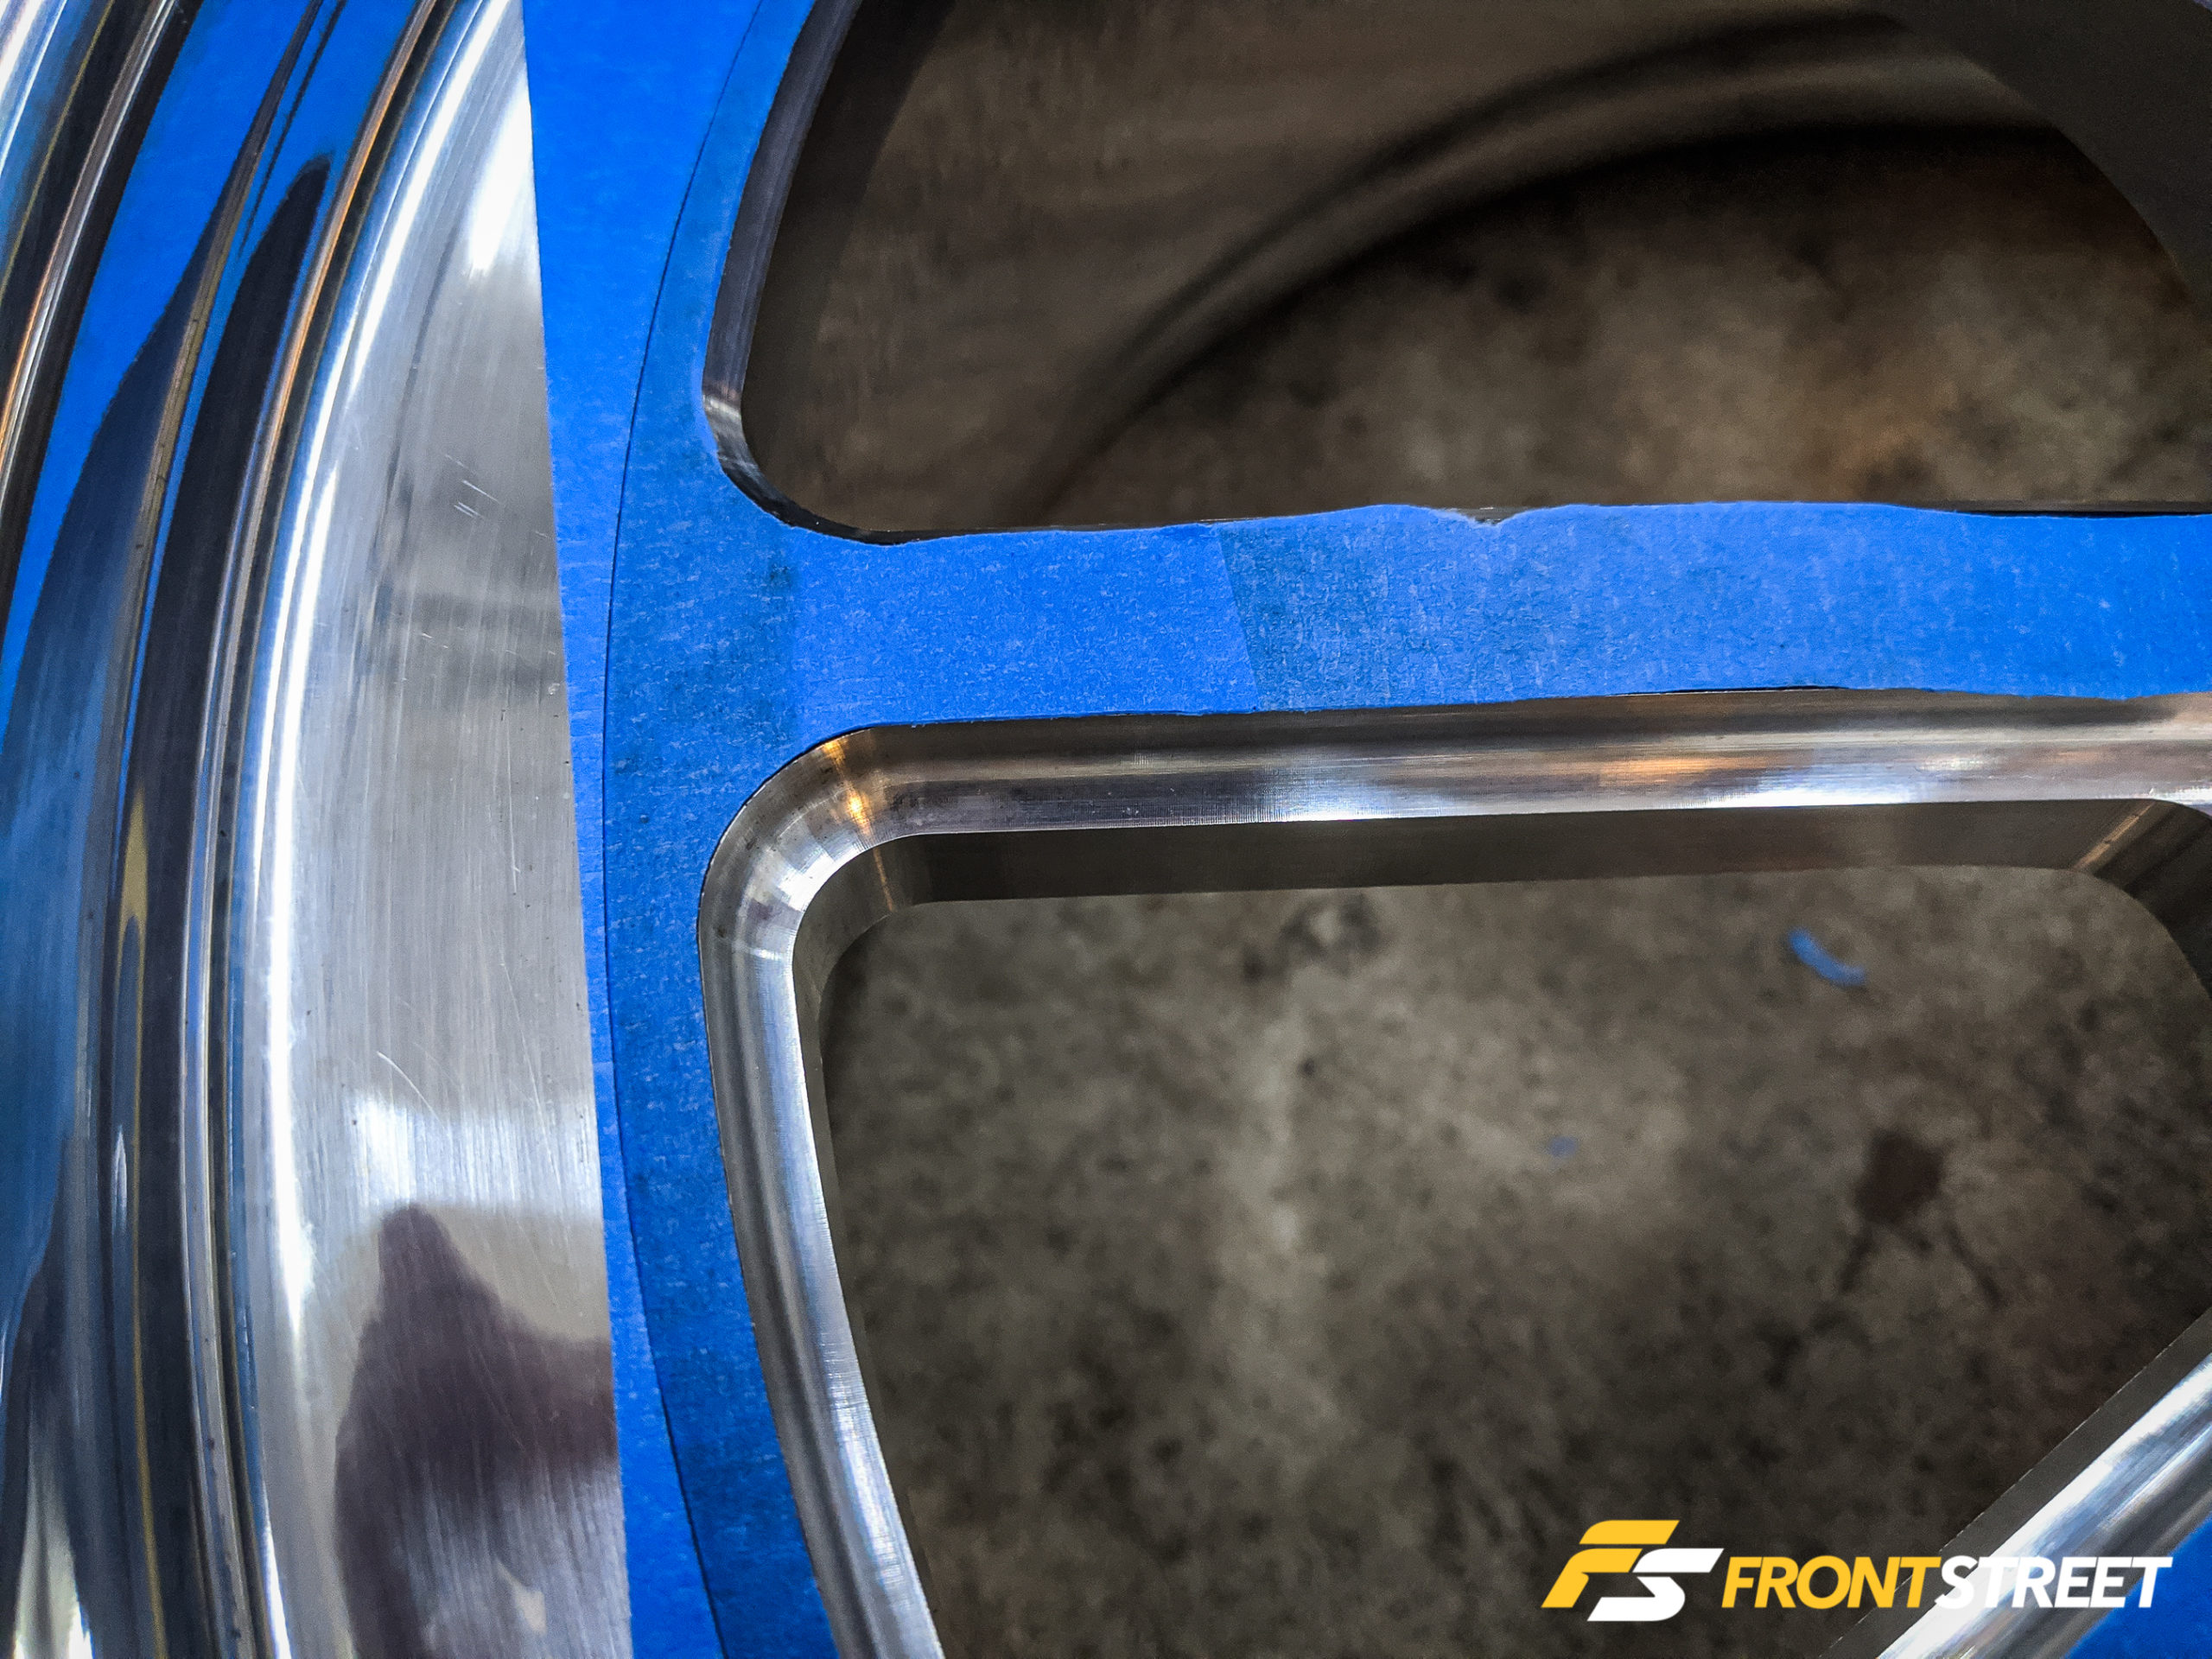
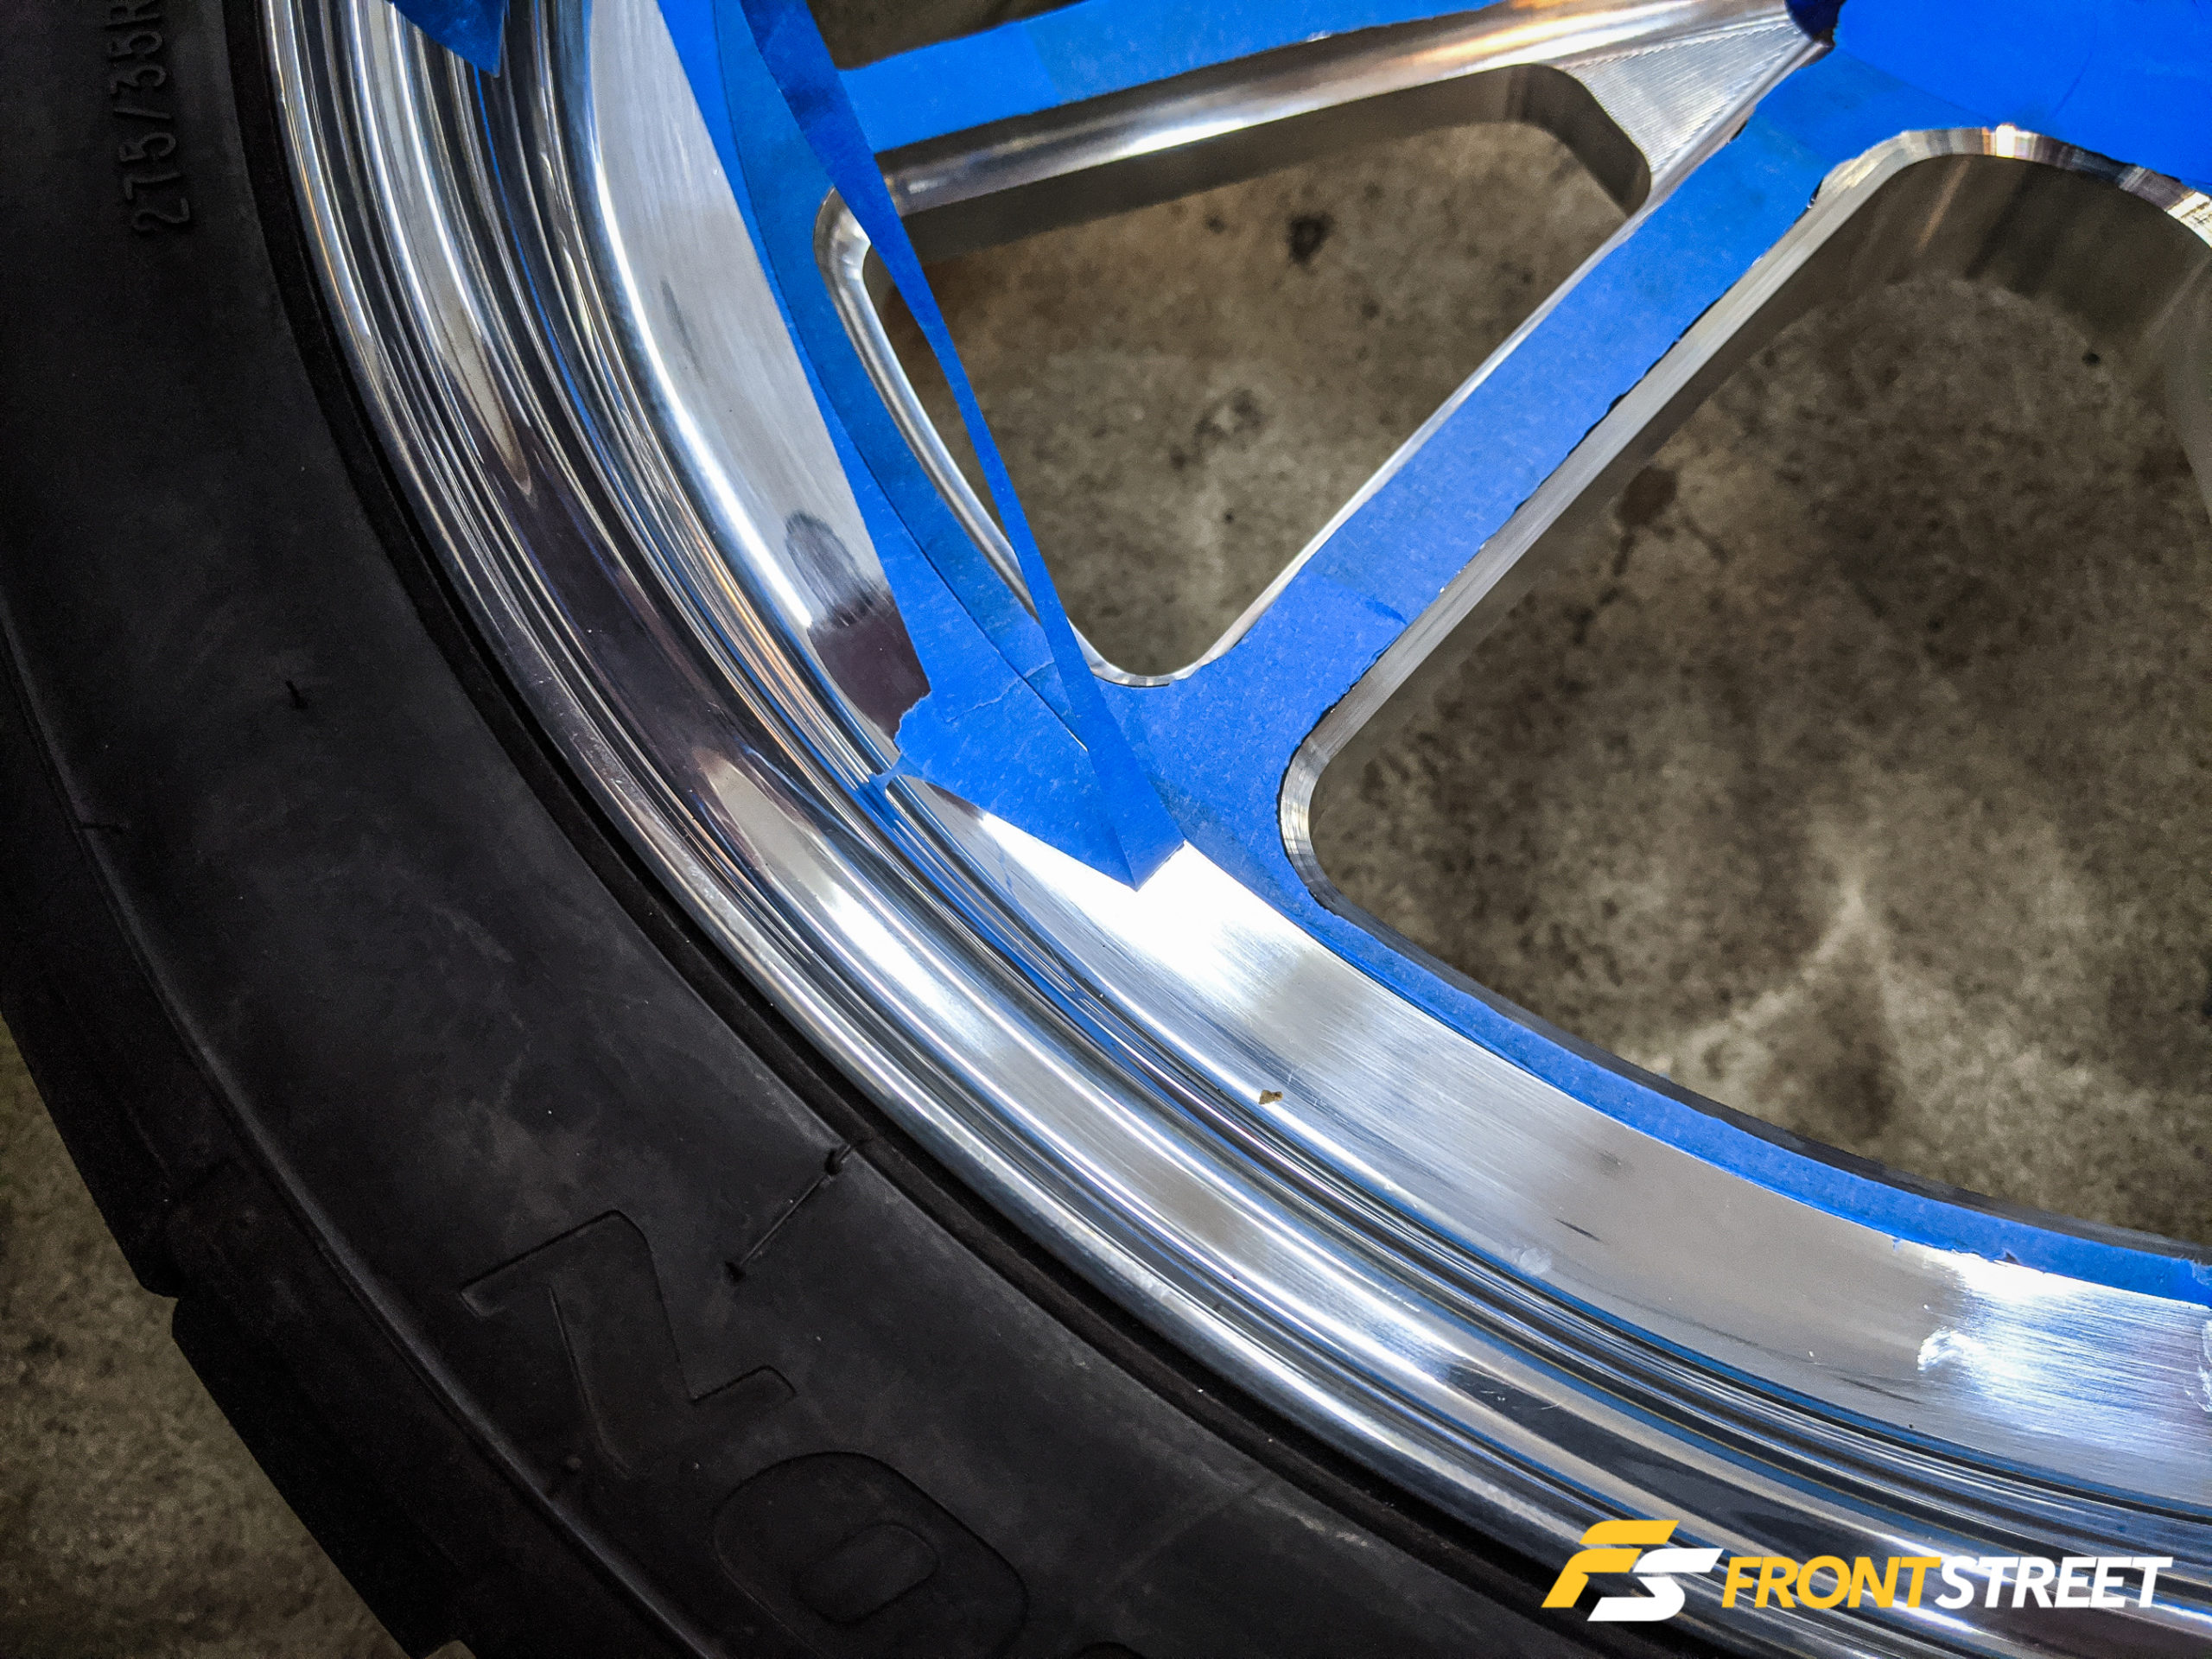
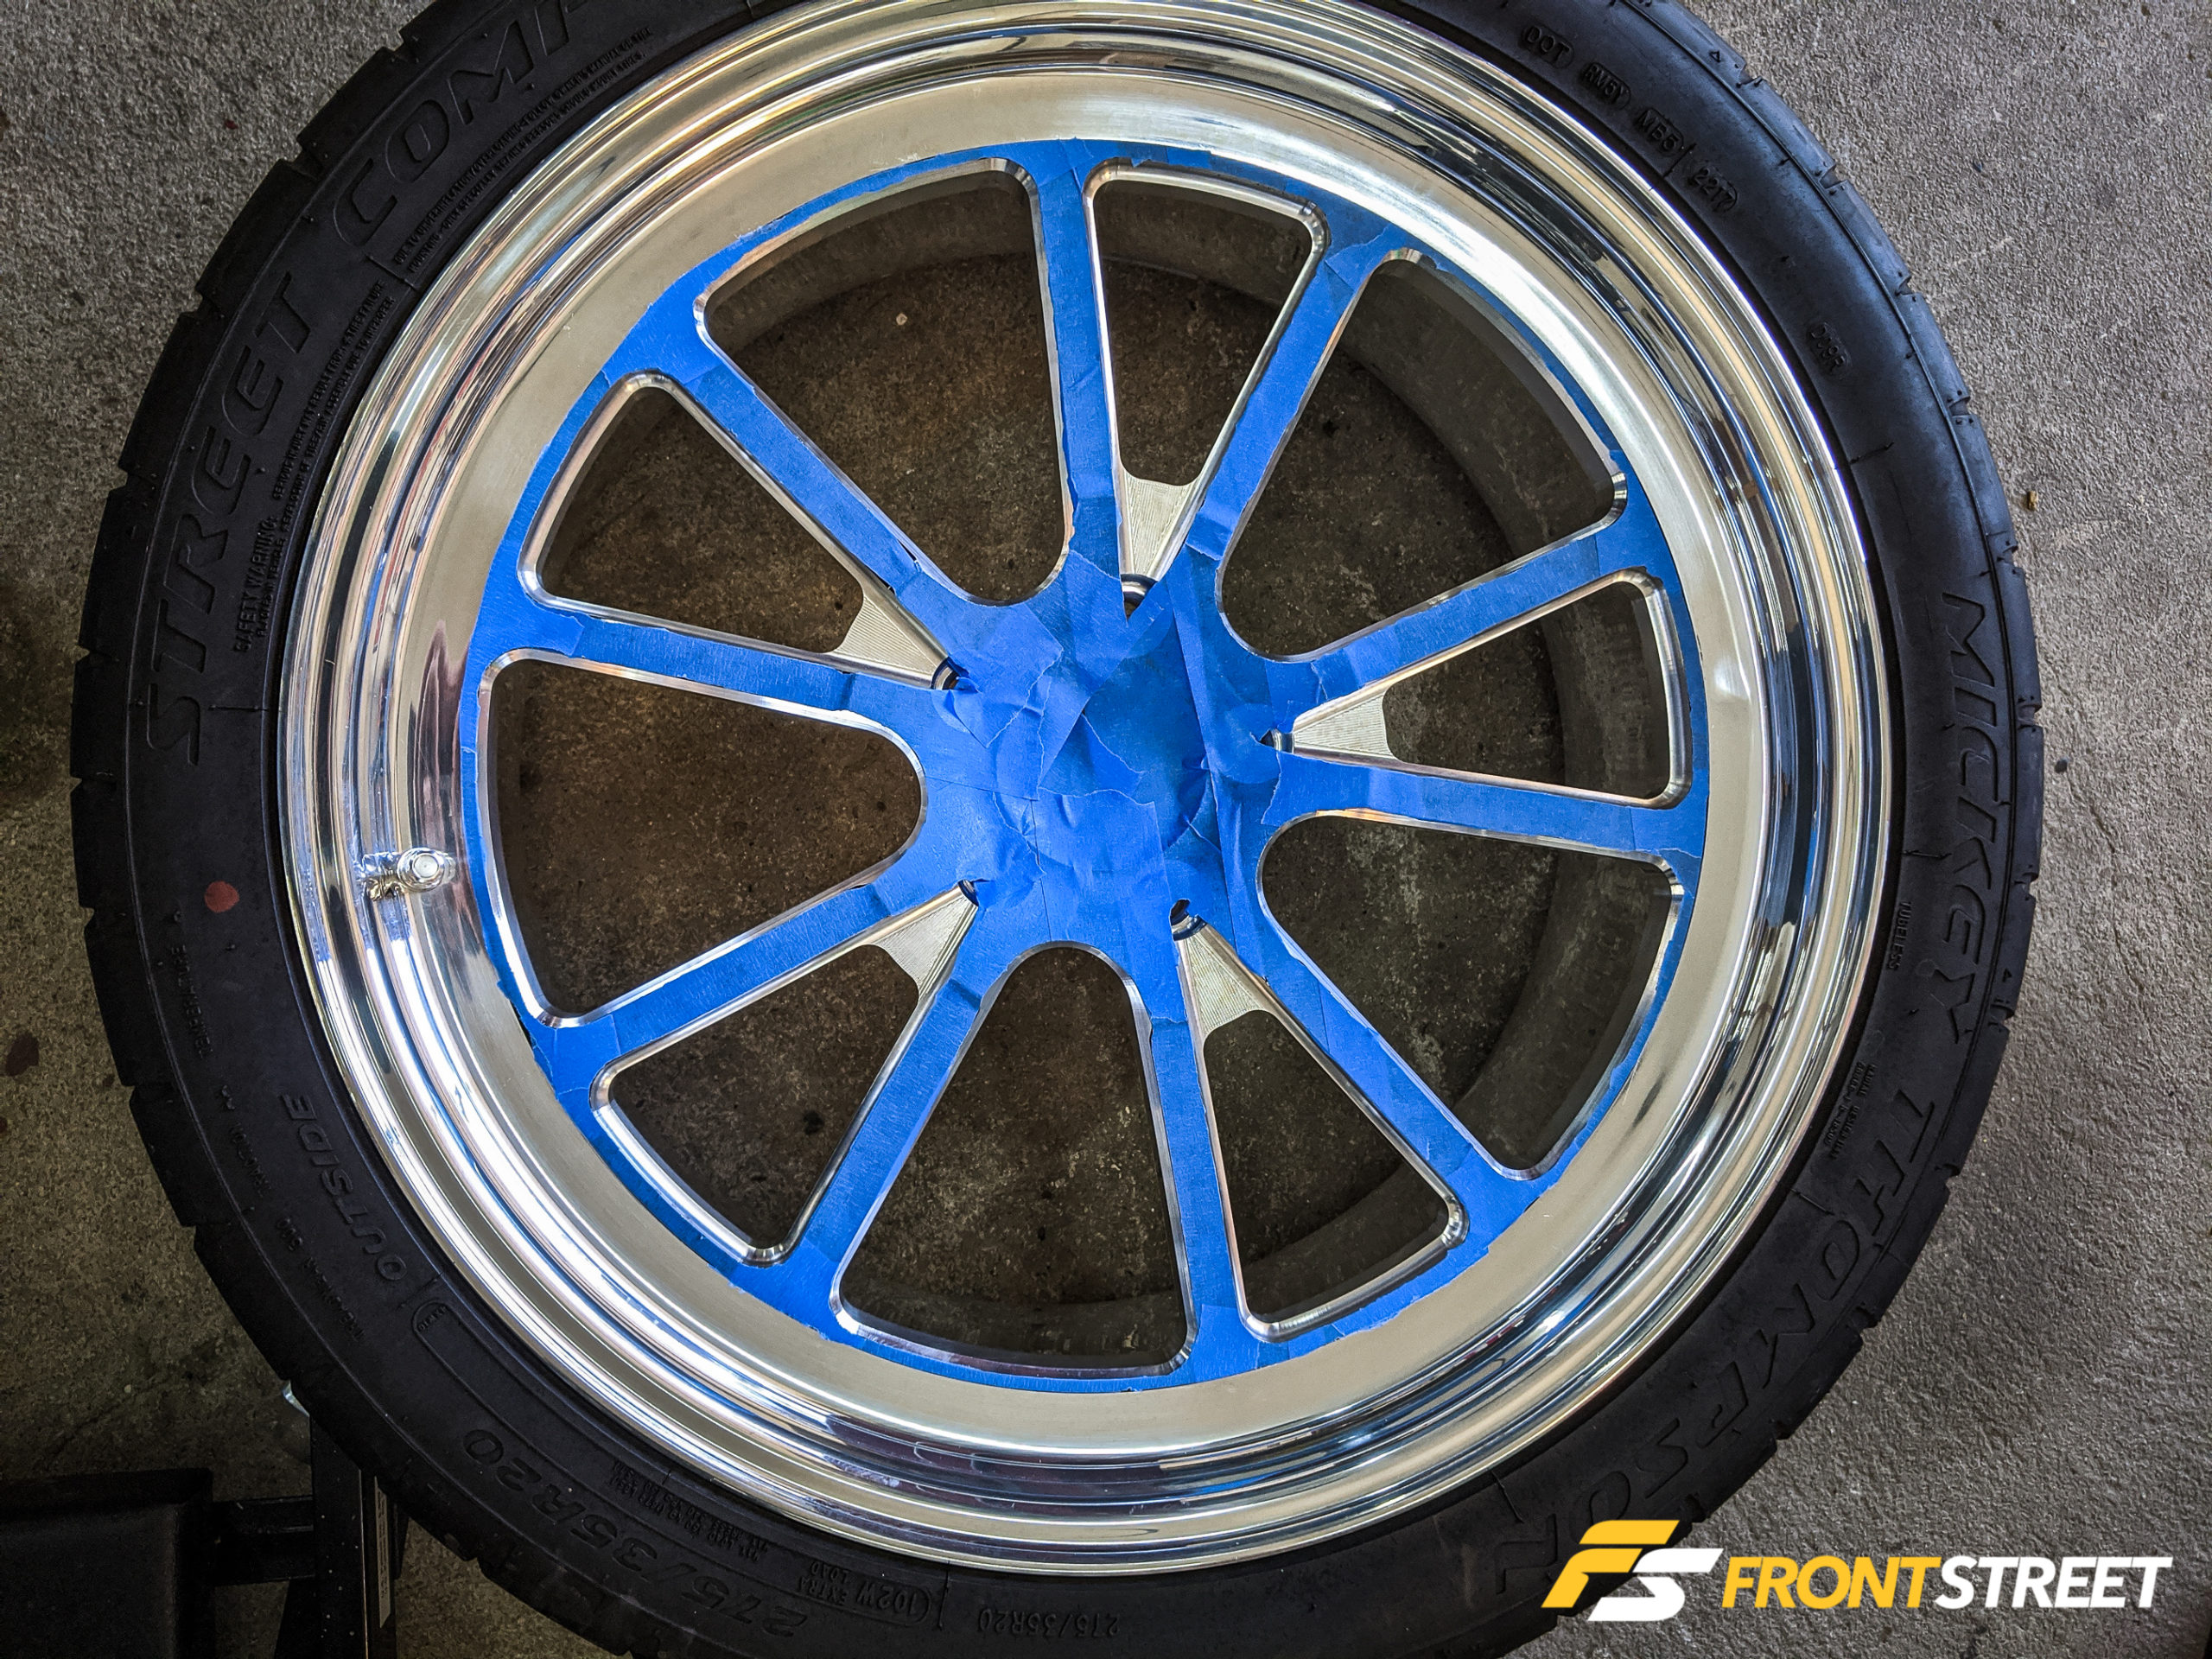
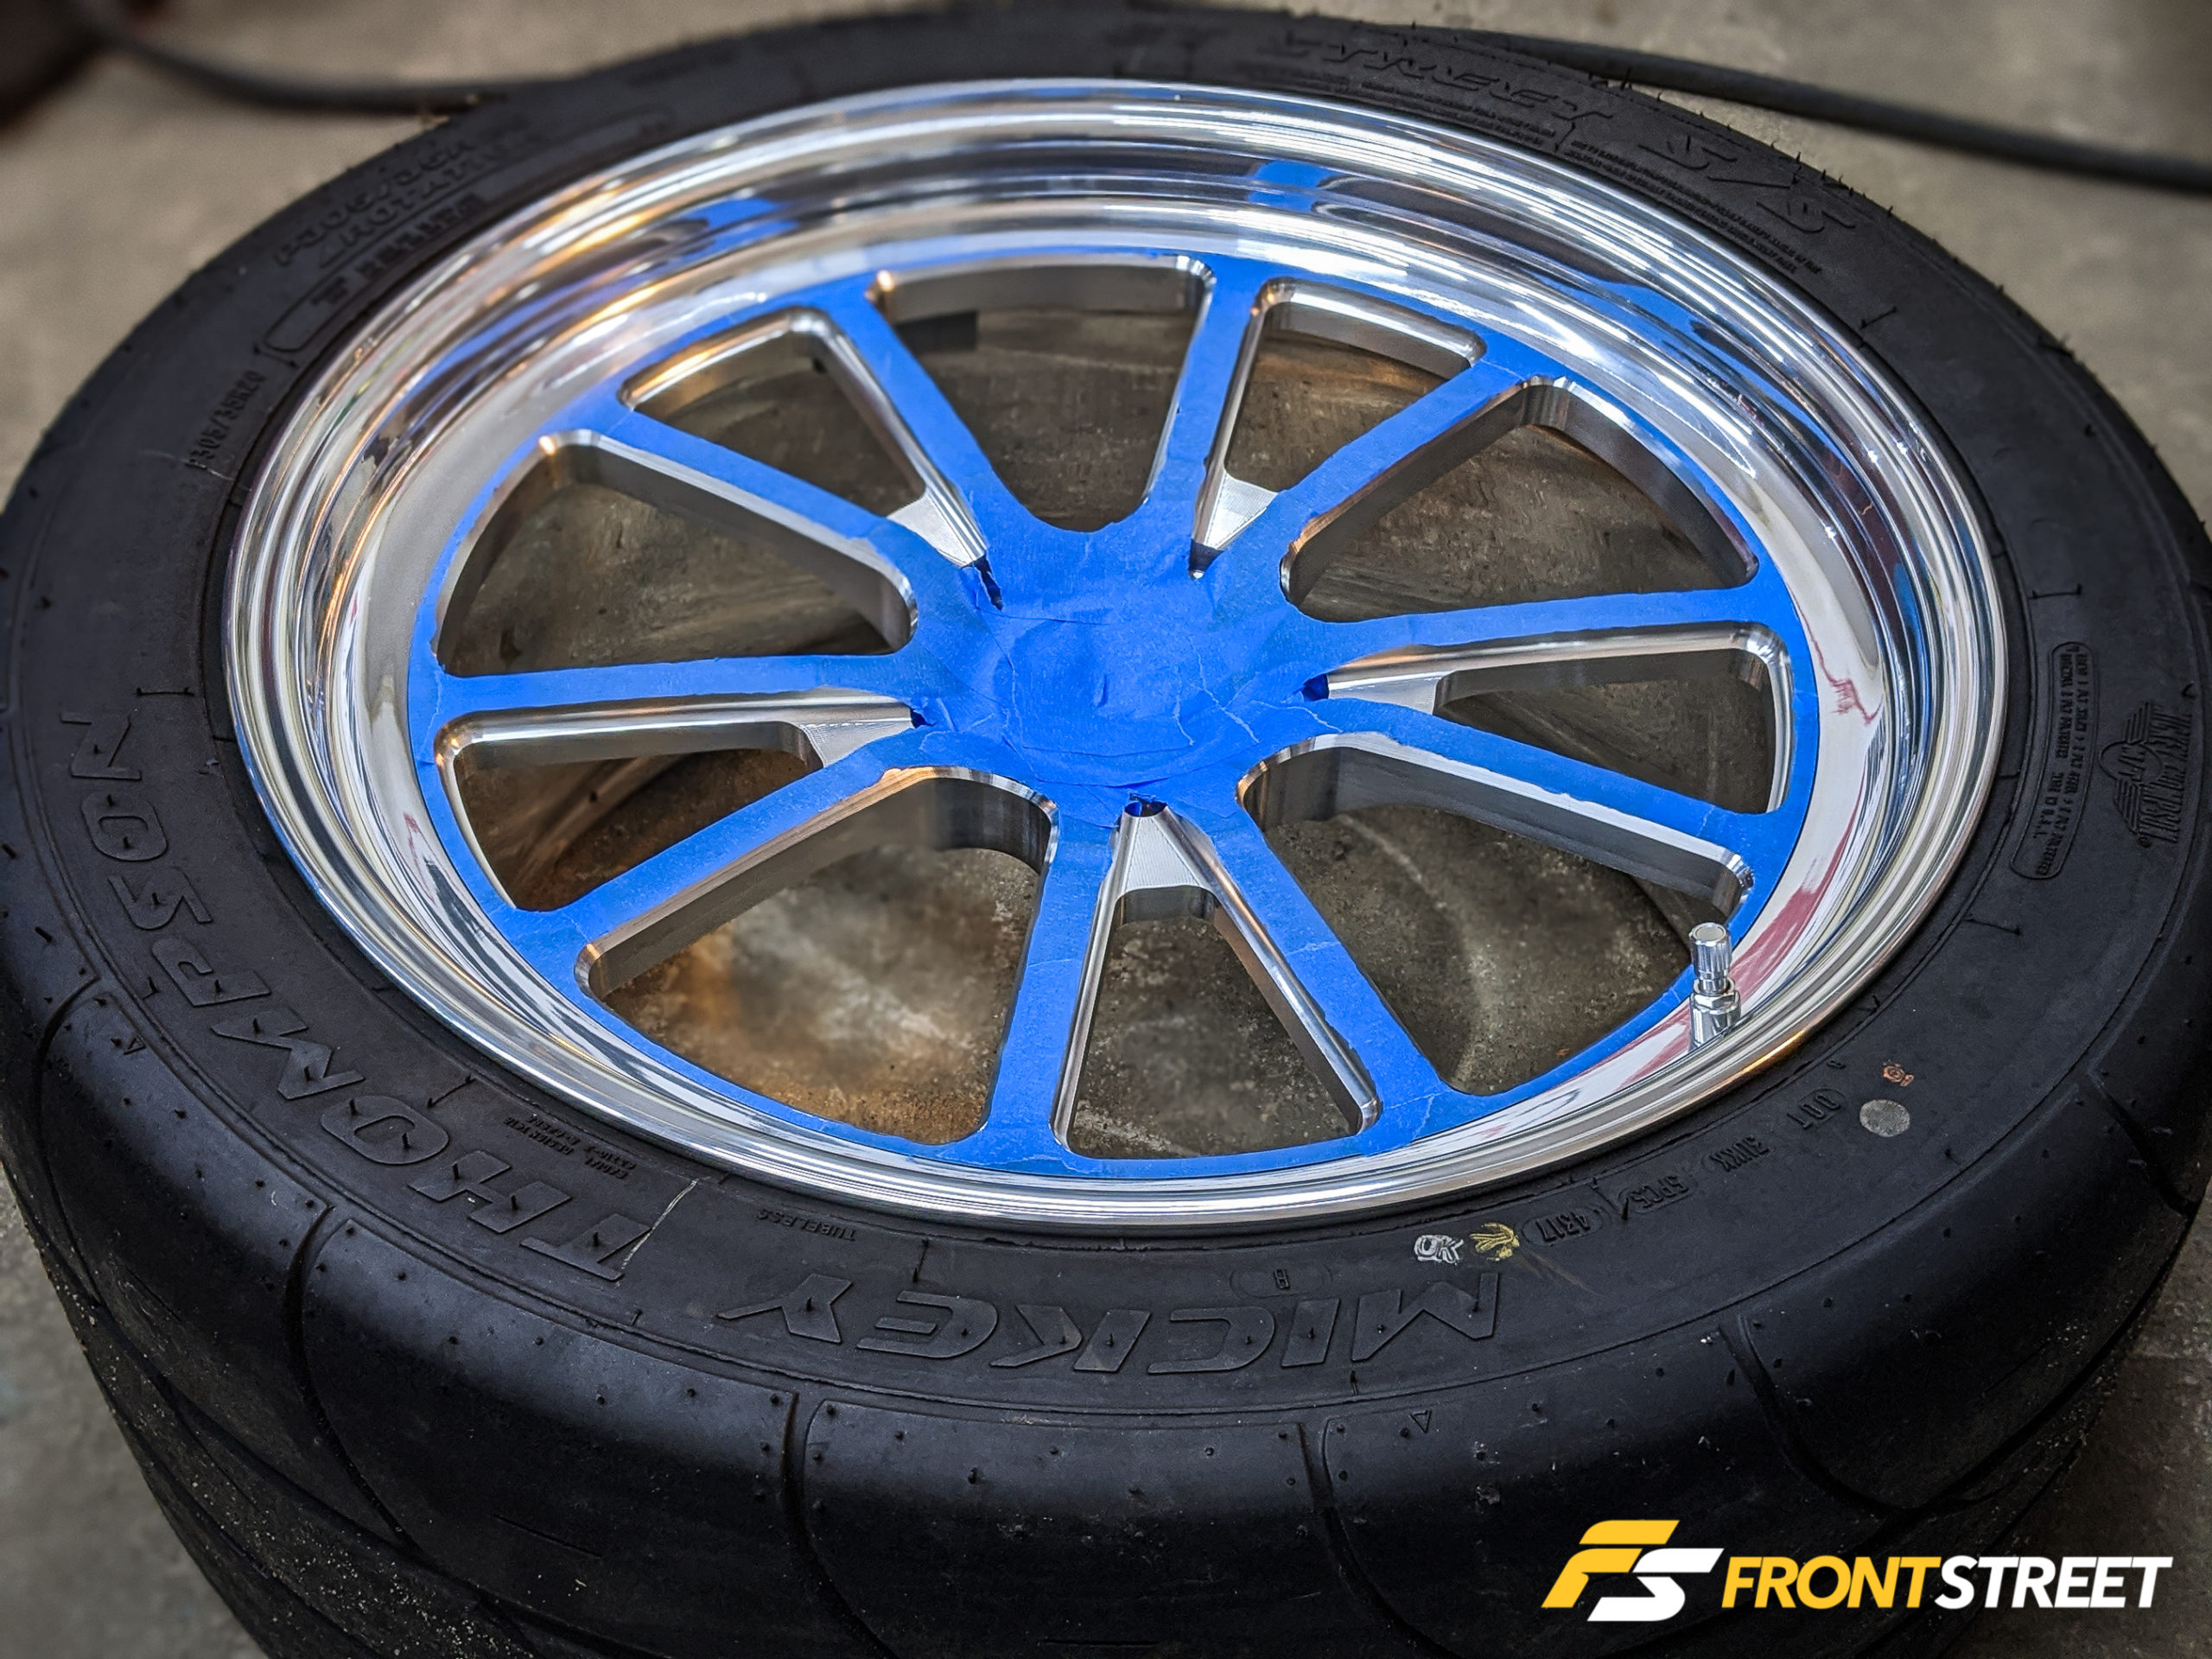
Since the S70 wheels feature both polished and anodized surfaces, I took the additional step of masking off the black anodized sections with blue painter’s tape. That part of the process was quite tedious. Once I placed the tape into position, I had to trim around the wheel’s circumference and the machined cutouts with an X-Acto knife to expose the machined surfaces while keeping all of the anodized sections well-protected—and make sure not to scratch the wheel face in the process and cause more work for myself.
Step 3: Break Out the Polish
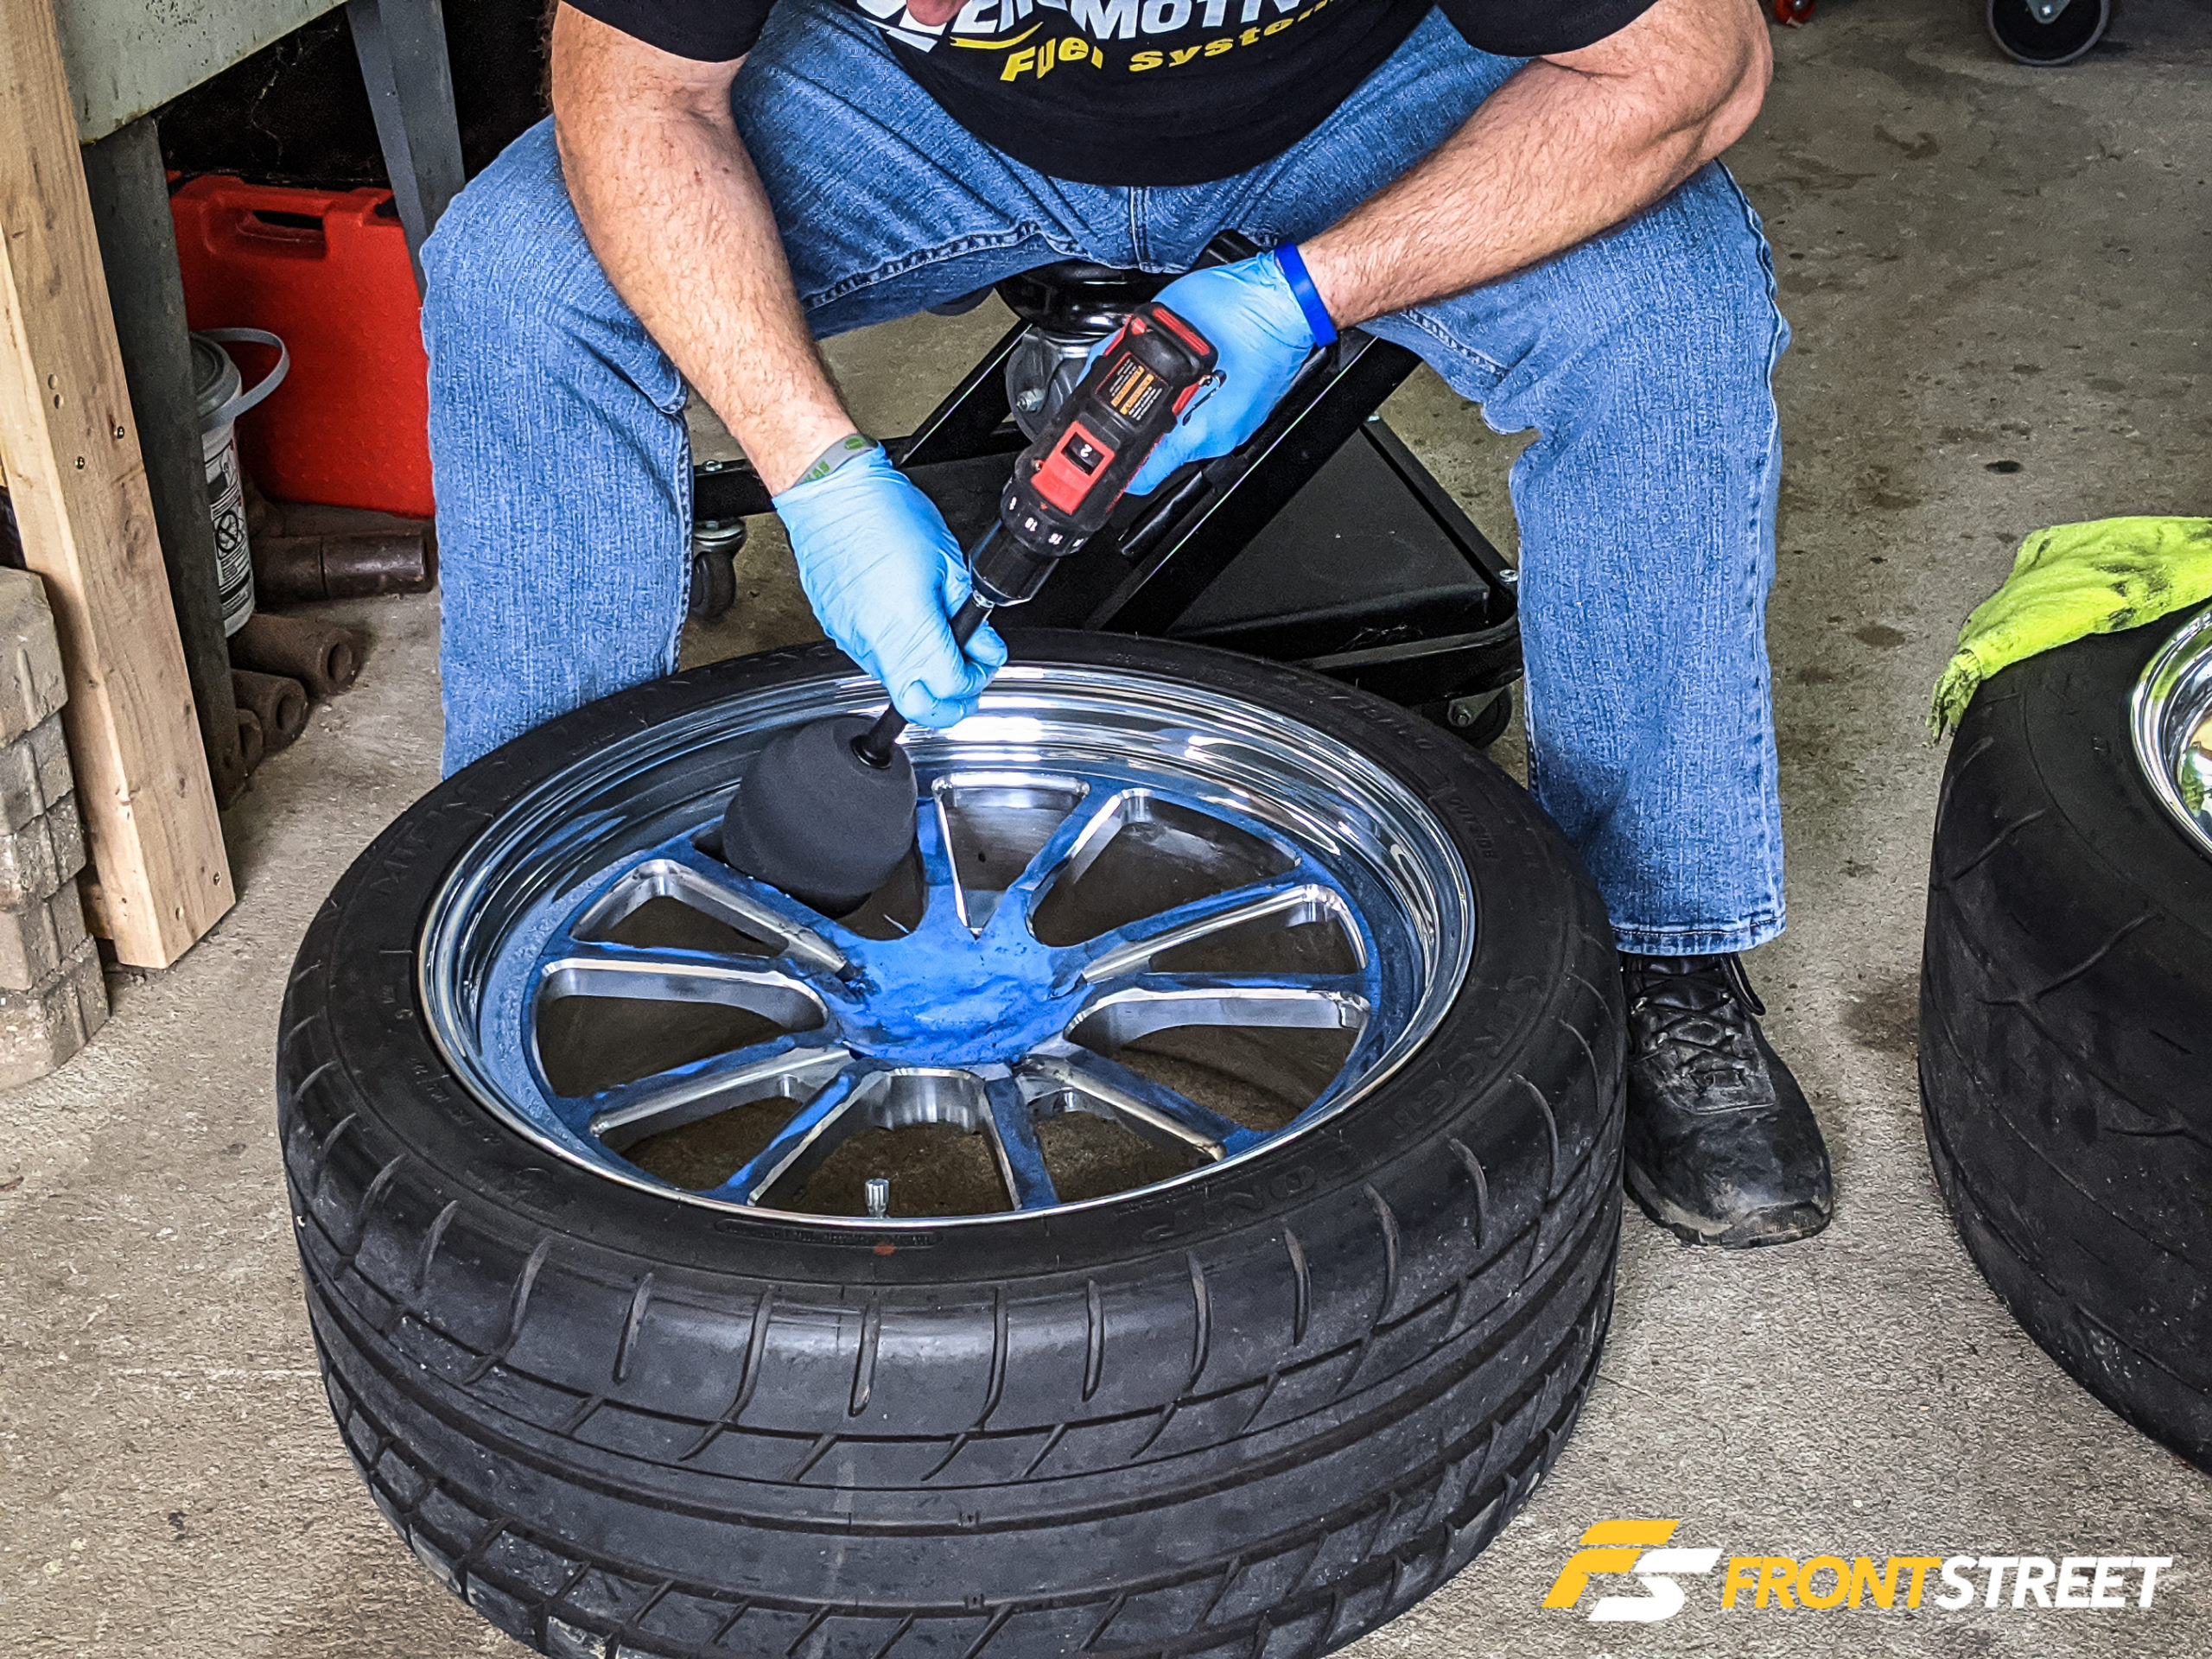
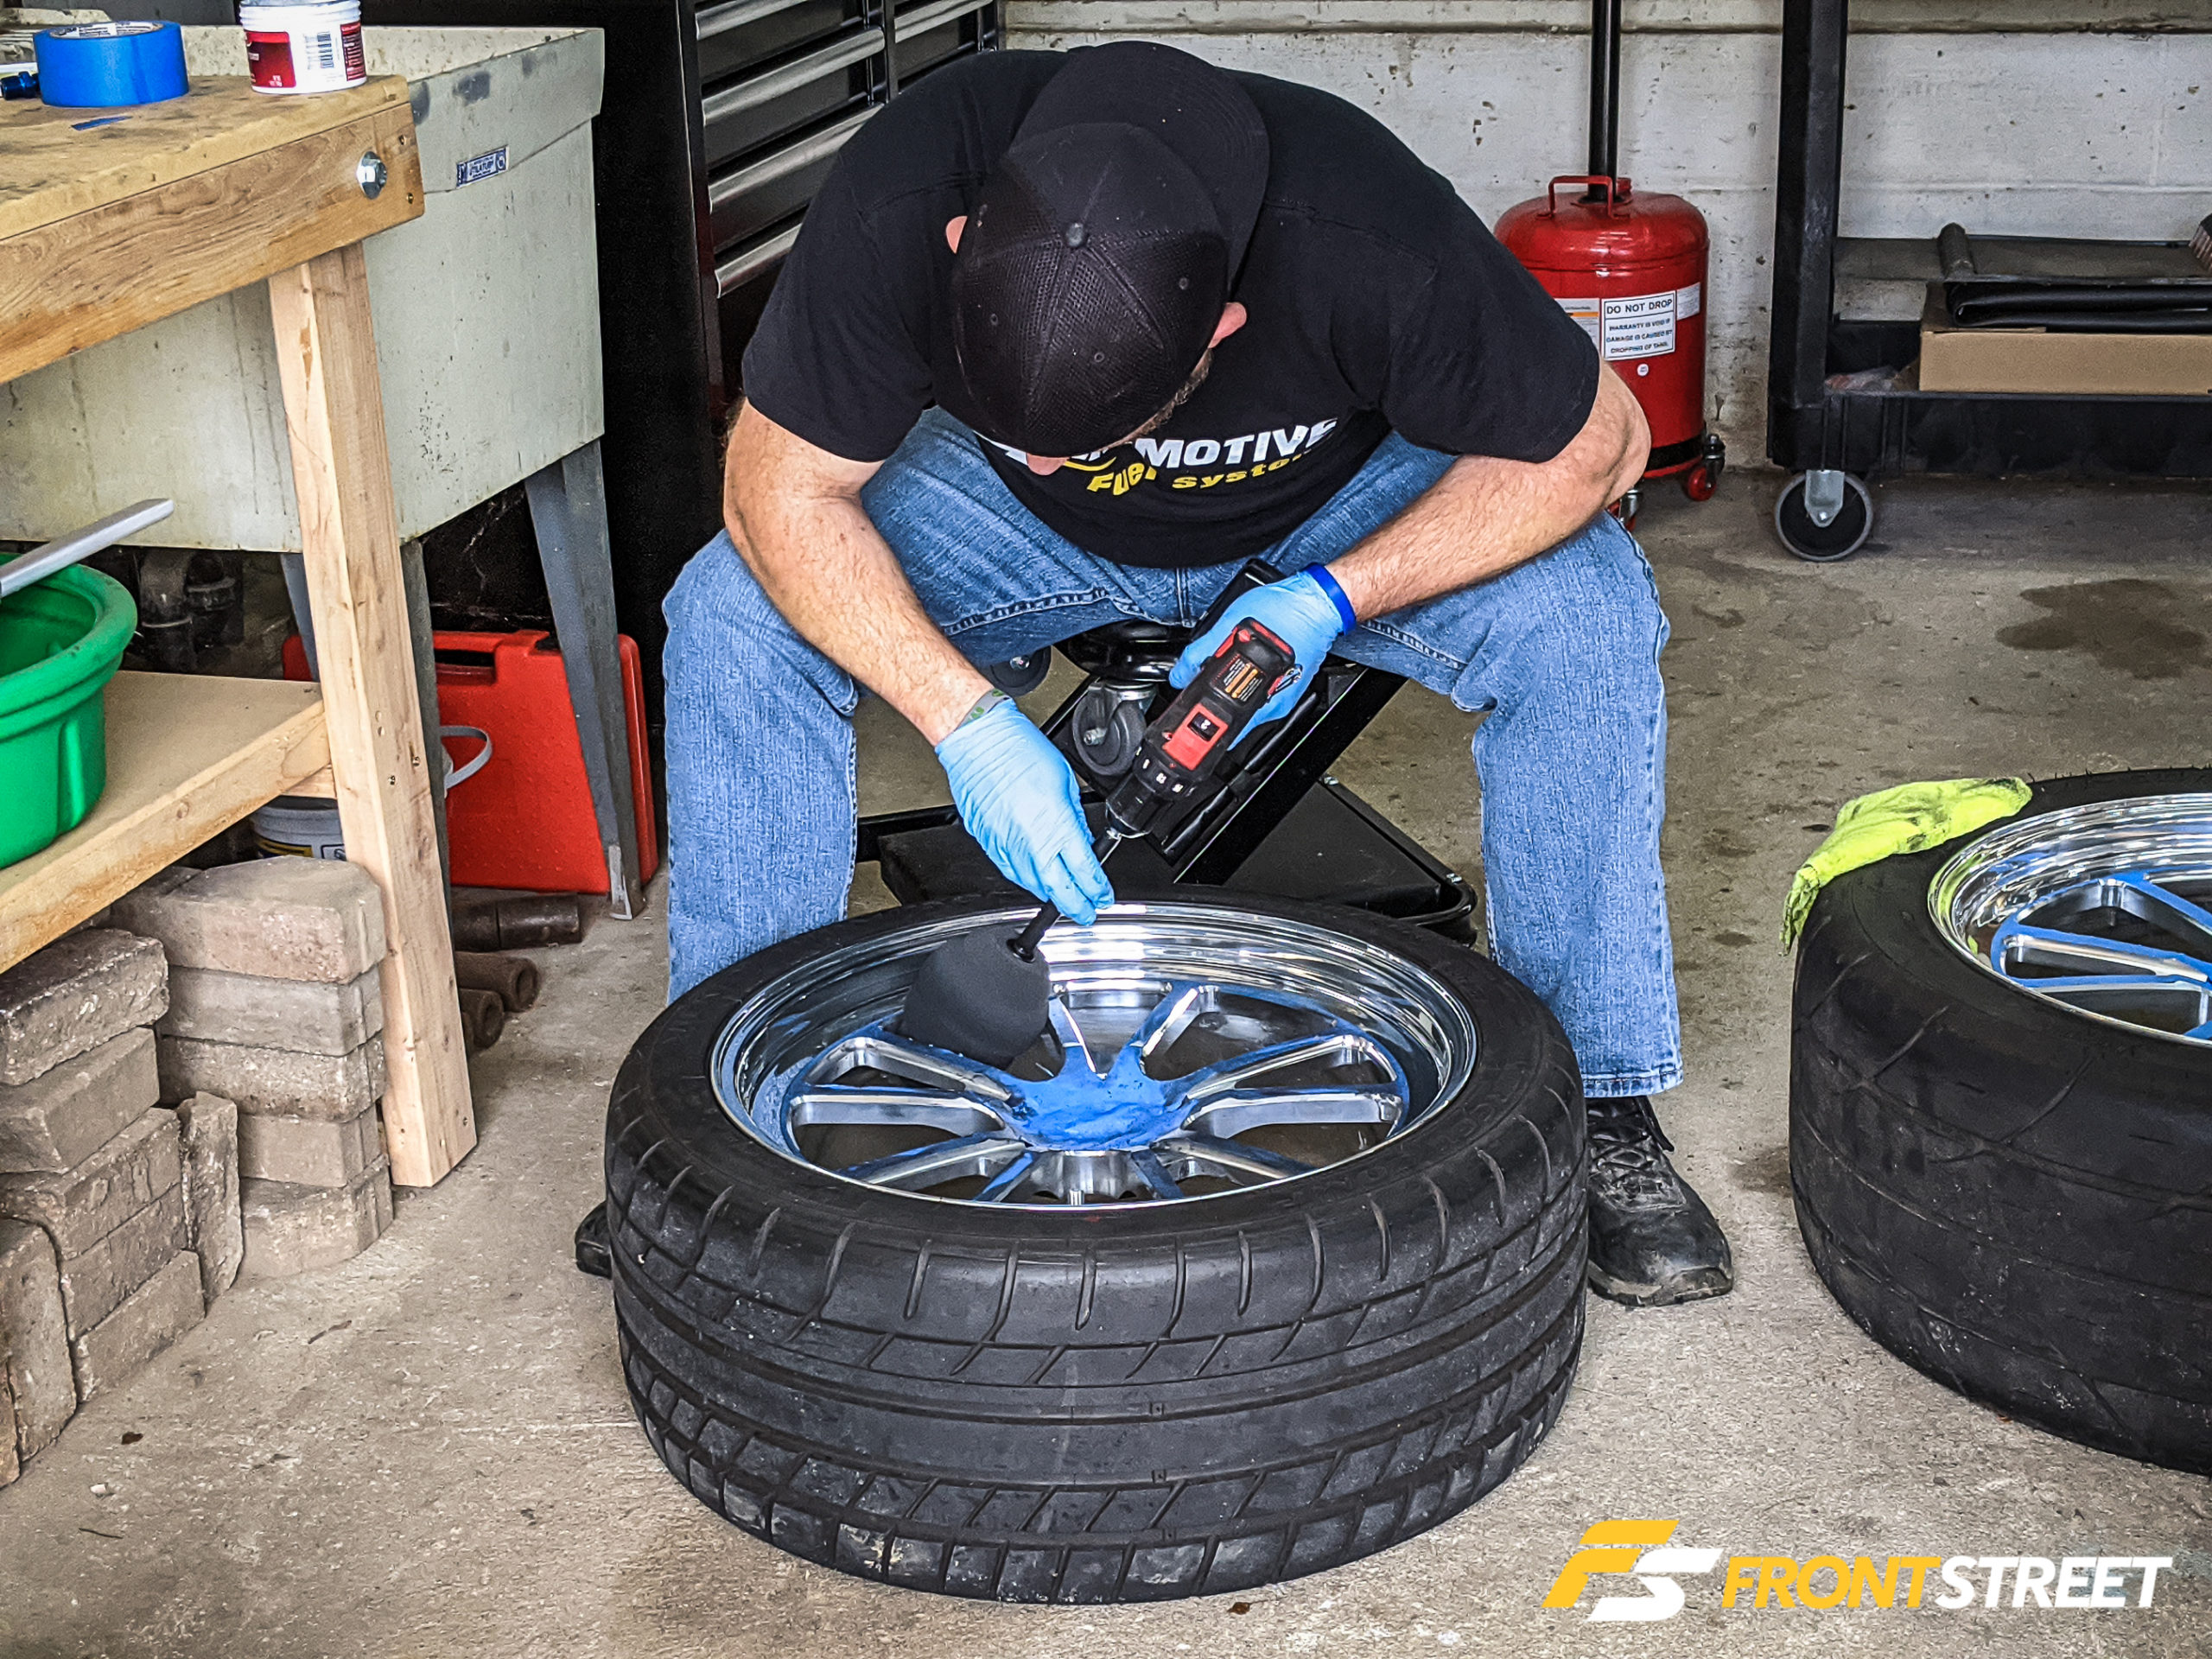
The polishing process itself is relatively simple for these particular wheels. Since they are in decent shape, I didn’t have to get too aggressive with polishing. I used my M12 Milwaukee drill and chucked up the polish applicator. You don’t need a ton of polish—I was just dipping the tip of the applicator into the can—but enough to make sure the foam doesn’t catch on a dry wheel surface and damage the applicator. You also don’t want to fling it everywhere. I worked it around the entire face of the wheel, taking care to get into the crevices and recesses of the wheel. One thing to note: you do need to exert a little bit of pressure on the applicator as it does its job, but not an excessive amount. Keep your gorilla forearms away from this project. Let the drill, applicator, and polish do the work.
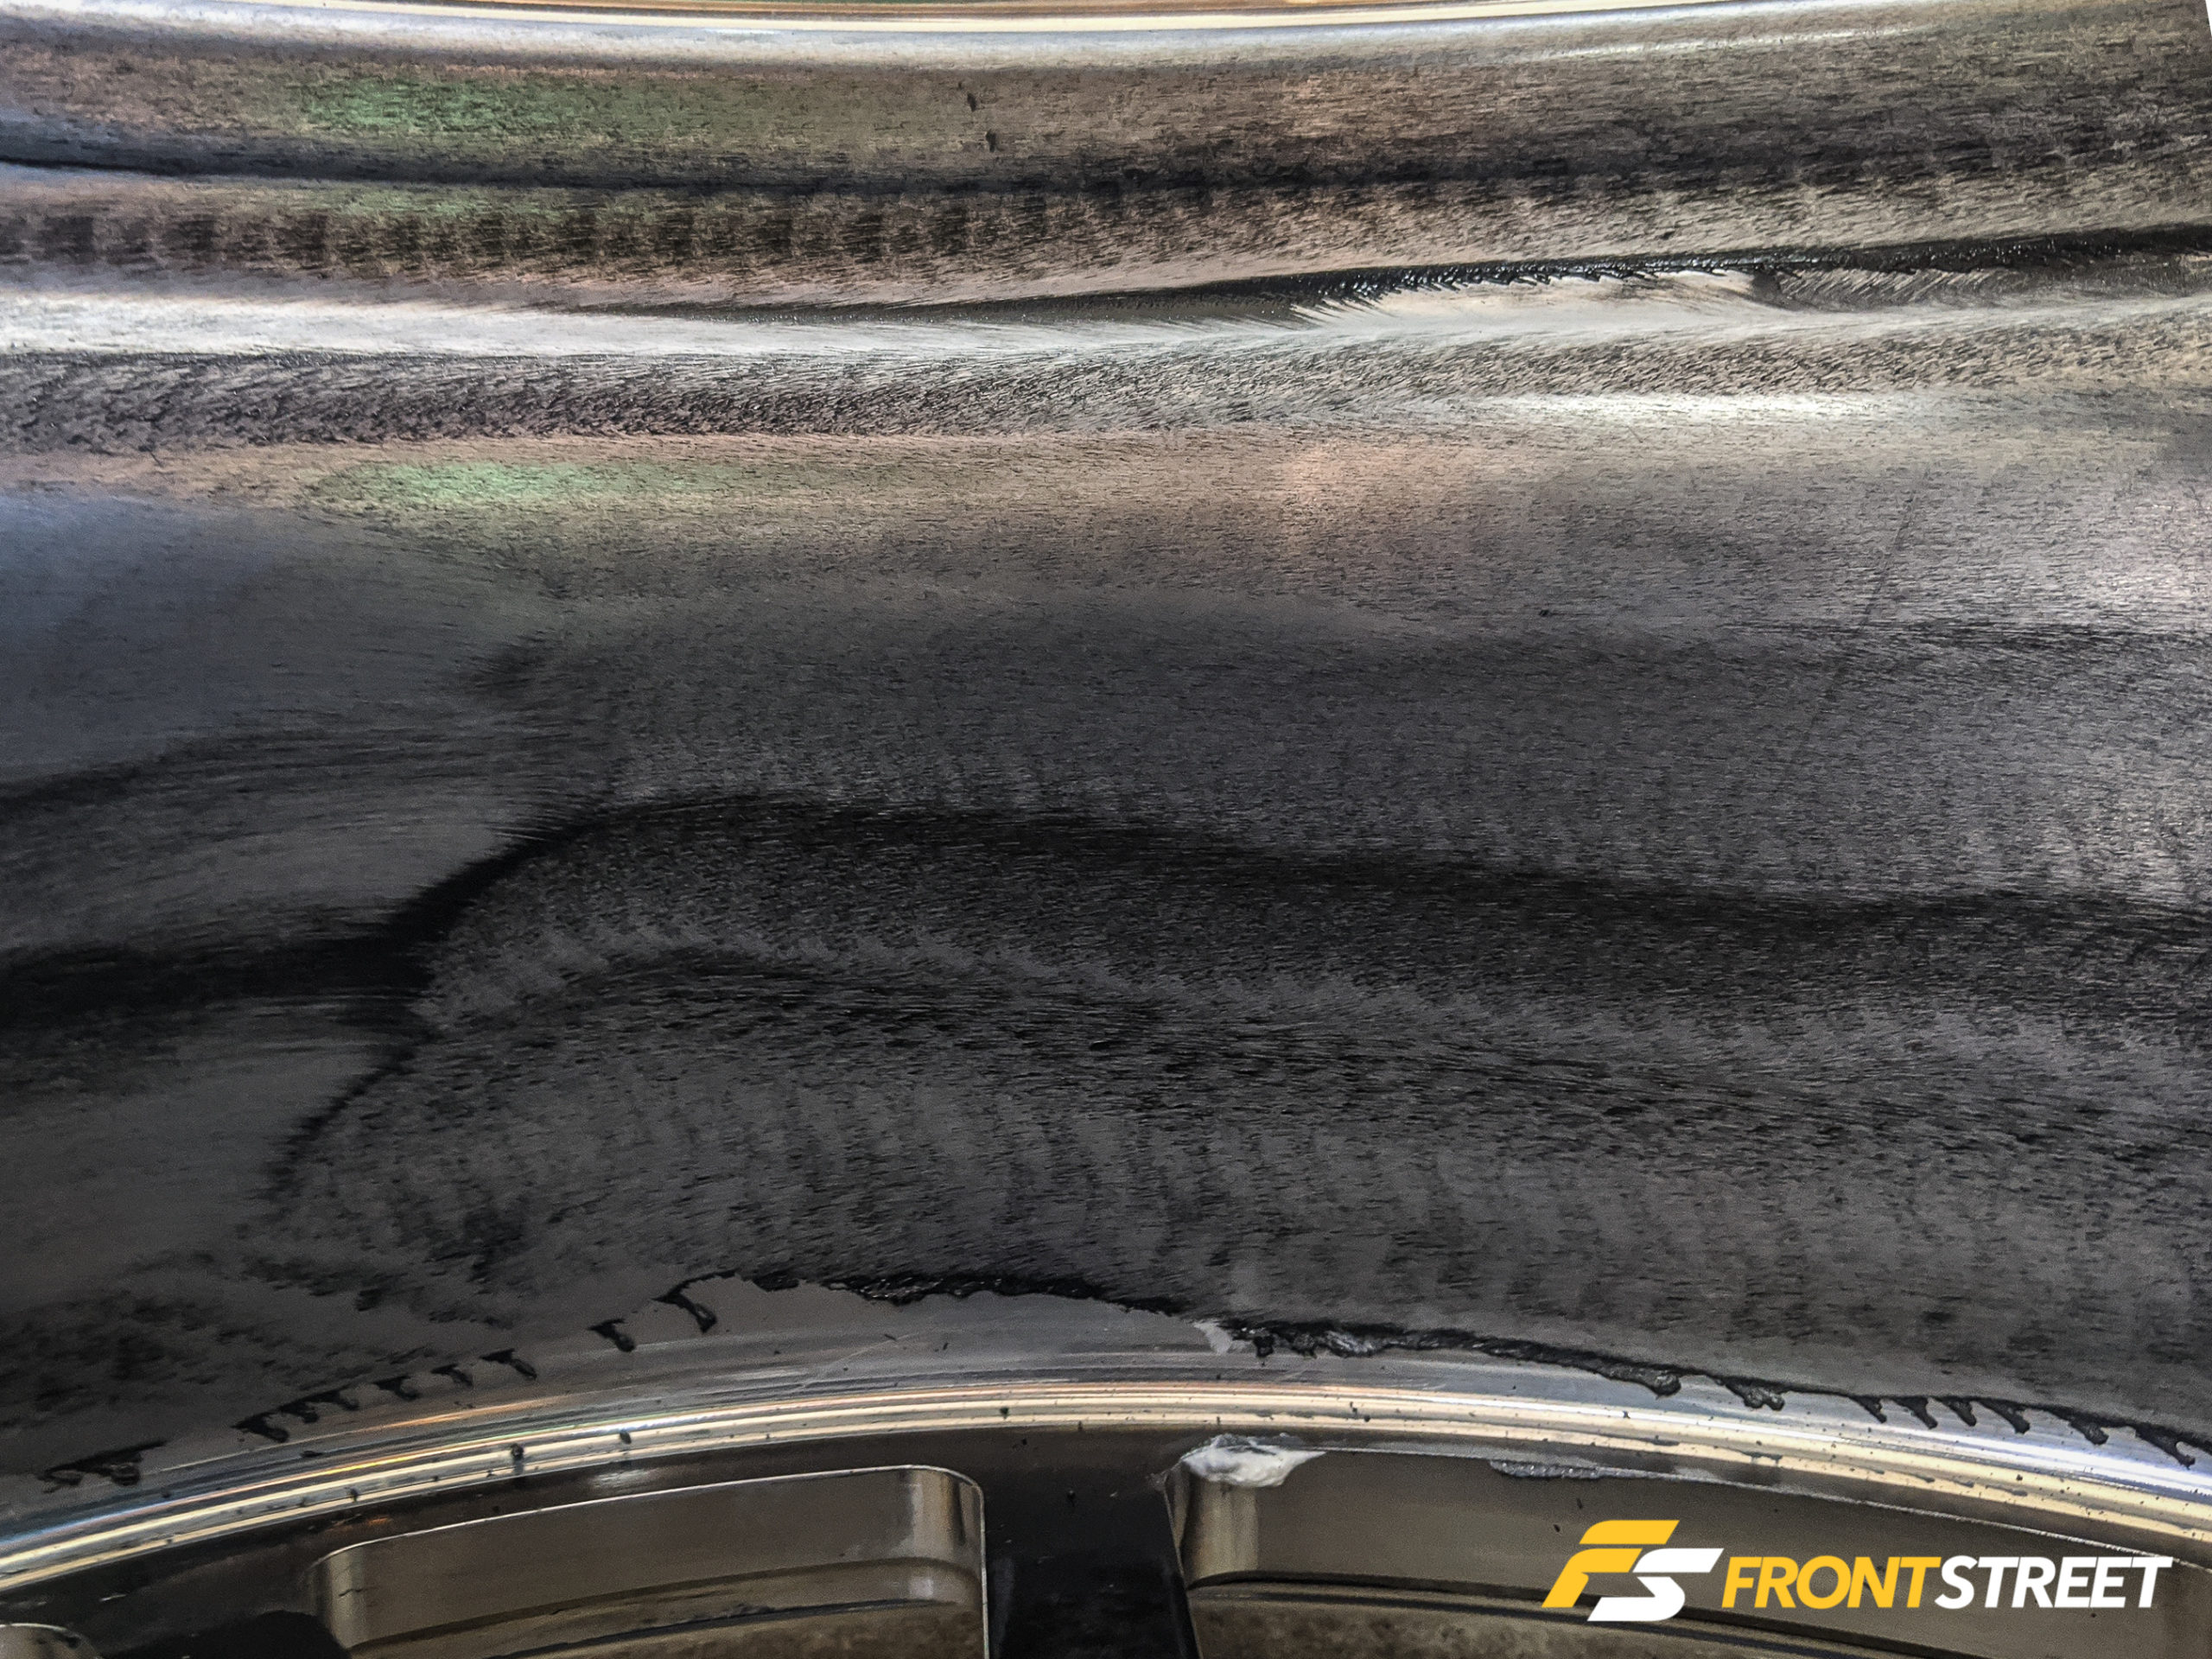
Once the polish turns black, keep going for a bit longer. From my research, 30 seconds to one minute after the polish turns black is an appropriate length of time, and work the applicator around rather than letting it sit in one spot. In situations where a wheel is severely oxidized, far more repair will be necessary up to and including sanding the wheel with several different grades of sandpaper from coarse to fine.
Keeping these wheels polished is a once-a-year process for me; as the car isn’t driven that much and is regularly cleaned, it’s much easier to keep them looking nice than it would be for someone who drives their vehicle daily and exposes their wheels to a ton of brake dust and other grit attacking the surface. In the future, I may explore the idea of sanding the inner wheel barrels with a few different grades of fine sandpaper (2000-grit or finer) to clean up the surface before polishing, as those areas are quite large and tend to collect the most fine scratches. I am lucky to have a friend with a polishing business, so before I tackle that, I’ll likely pepper him with plenty of questions.
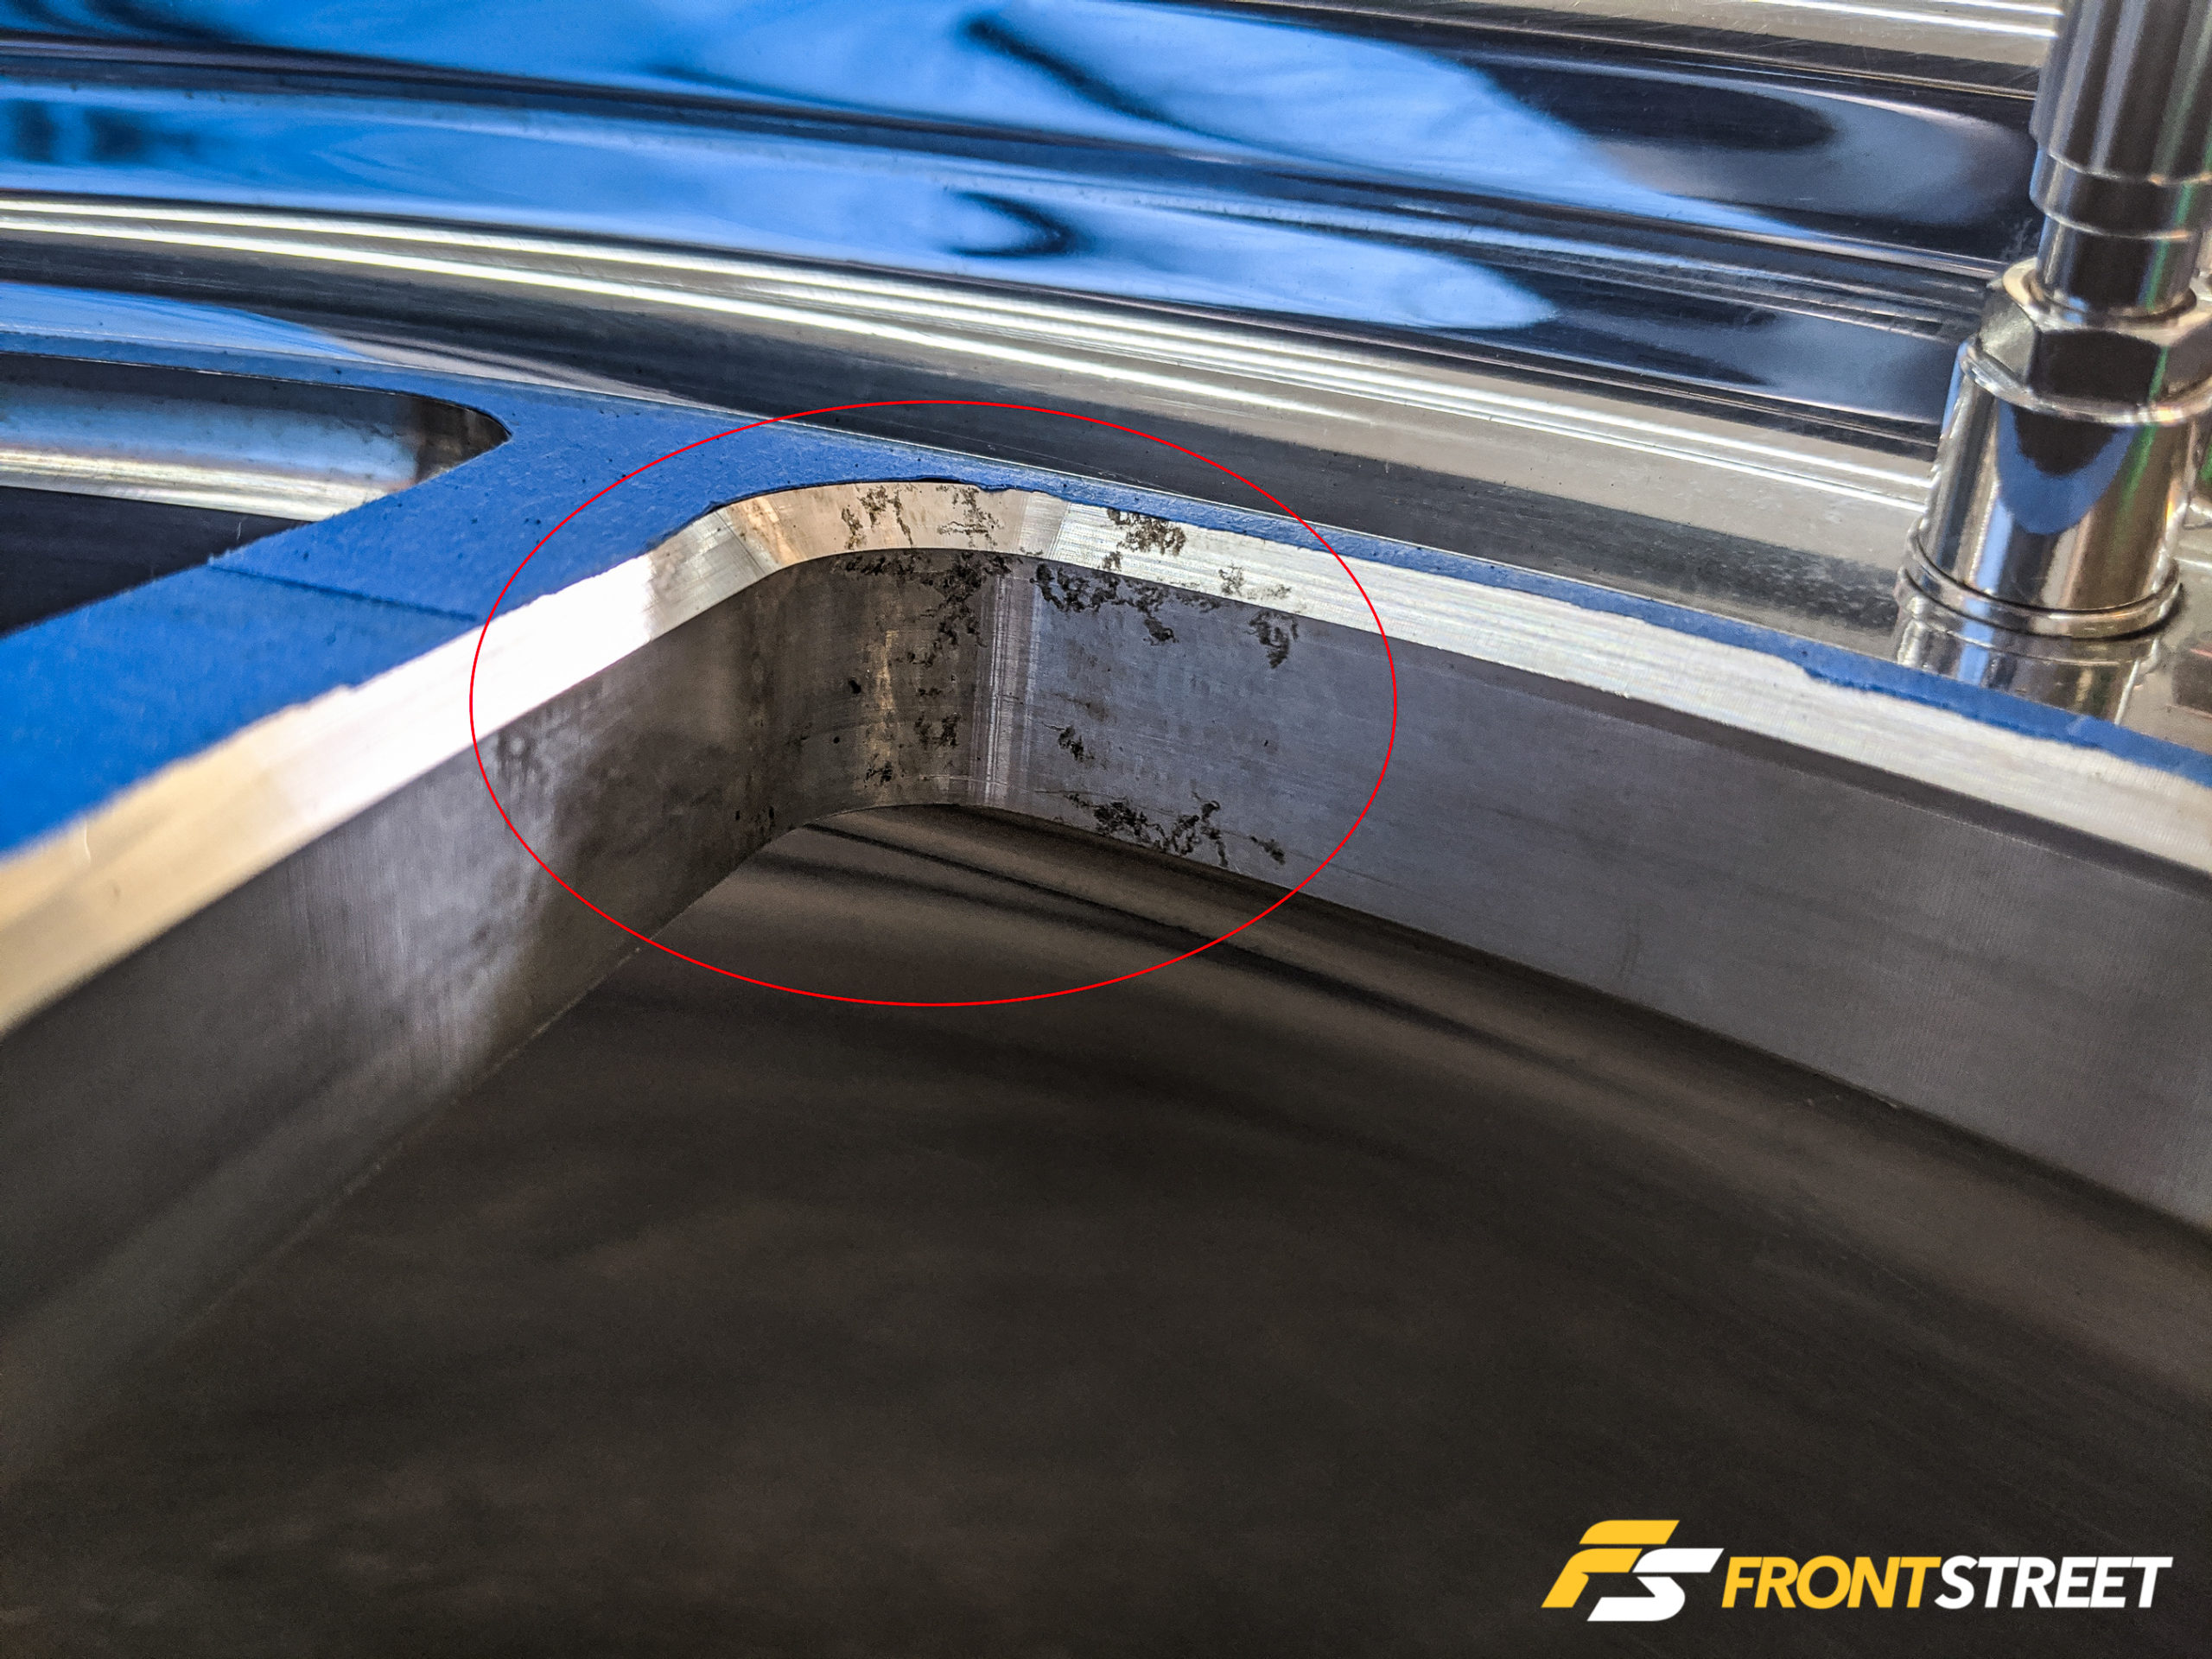
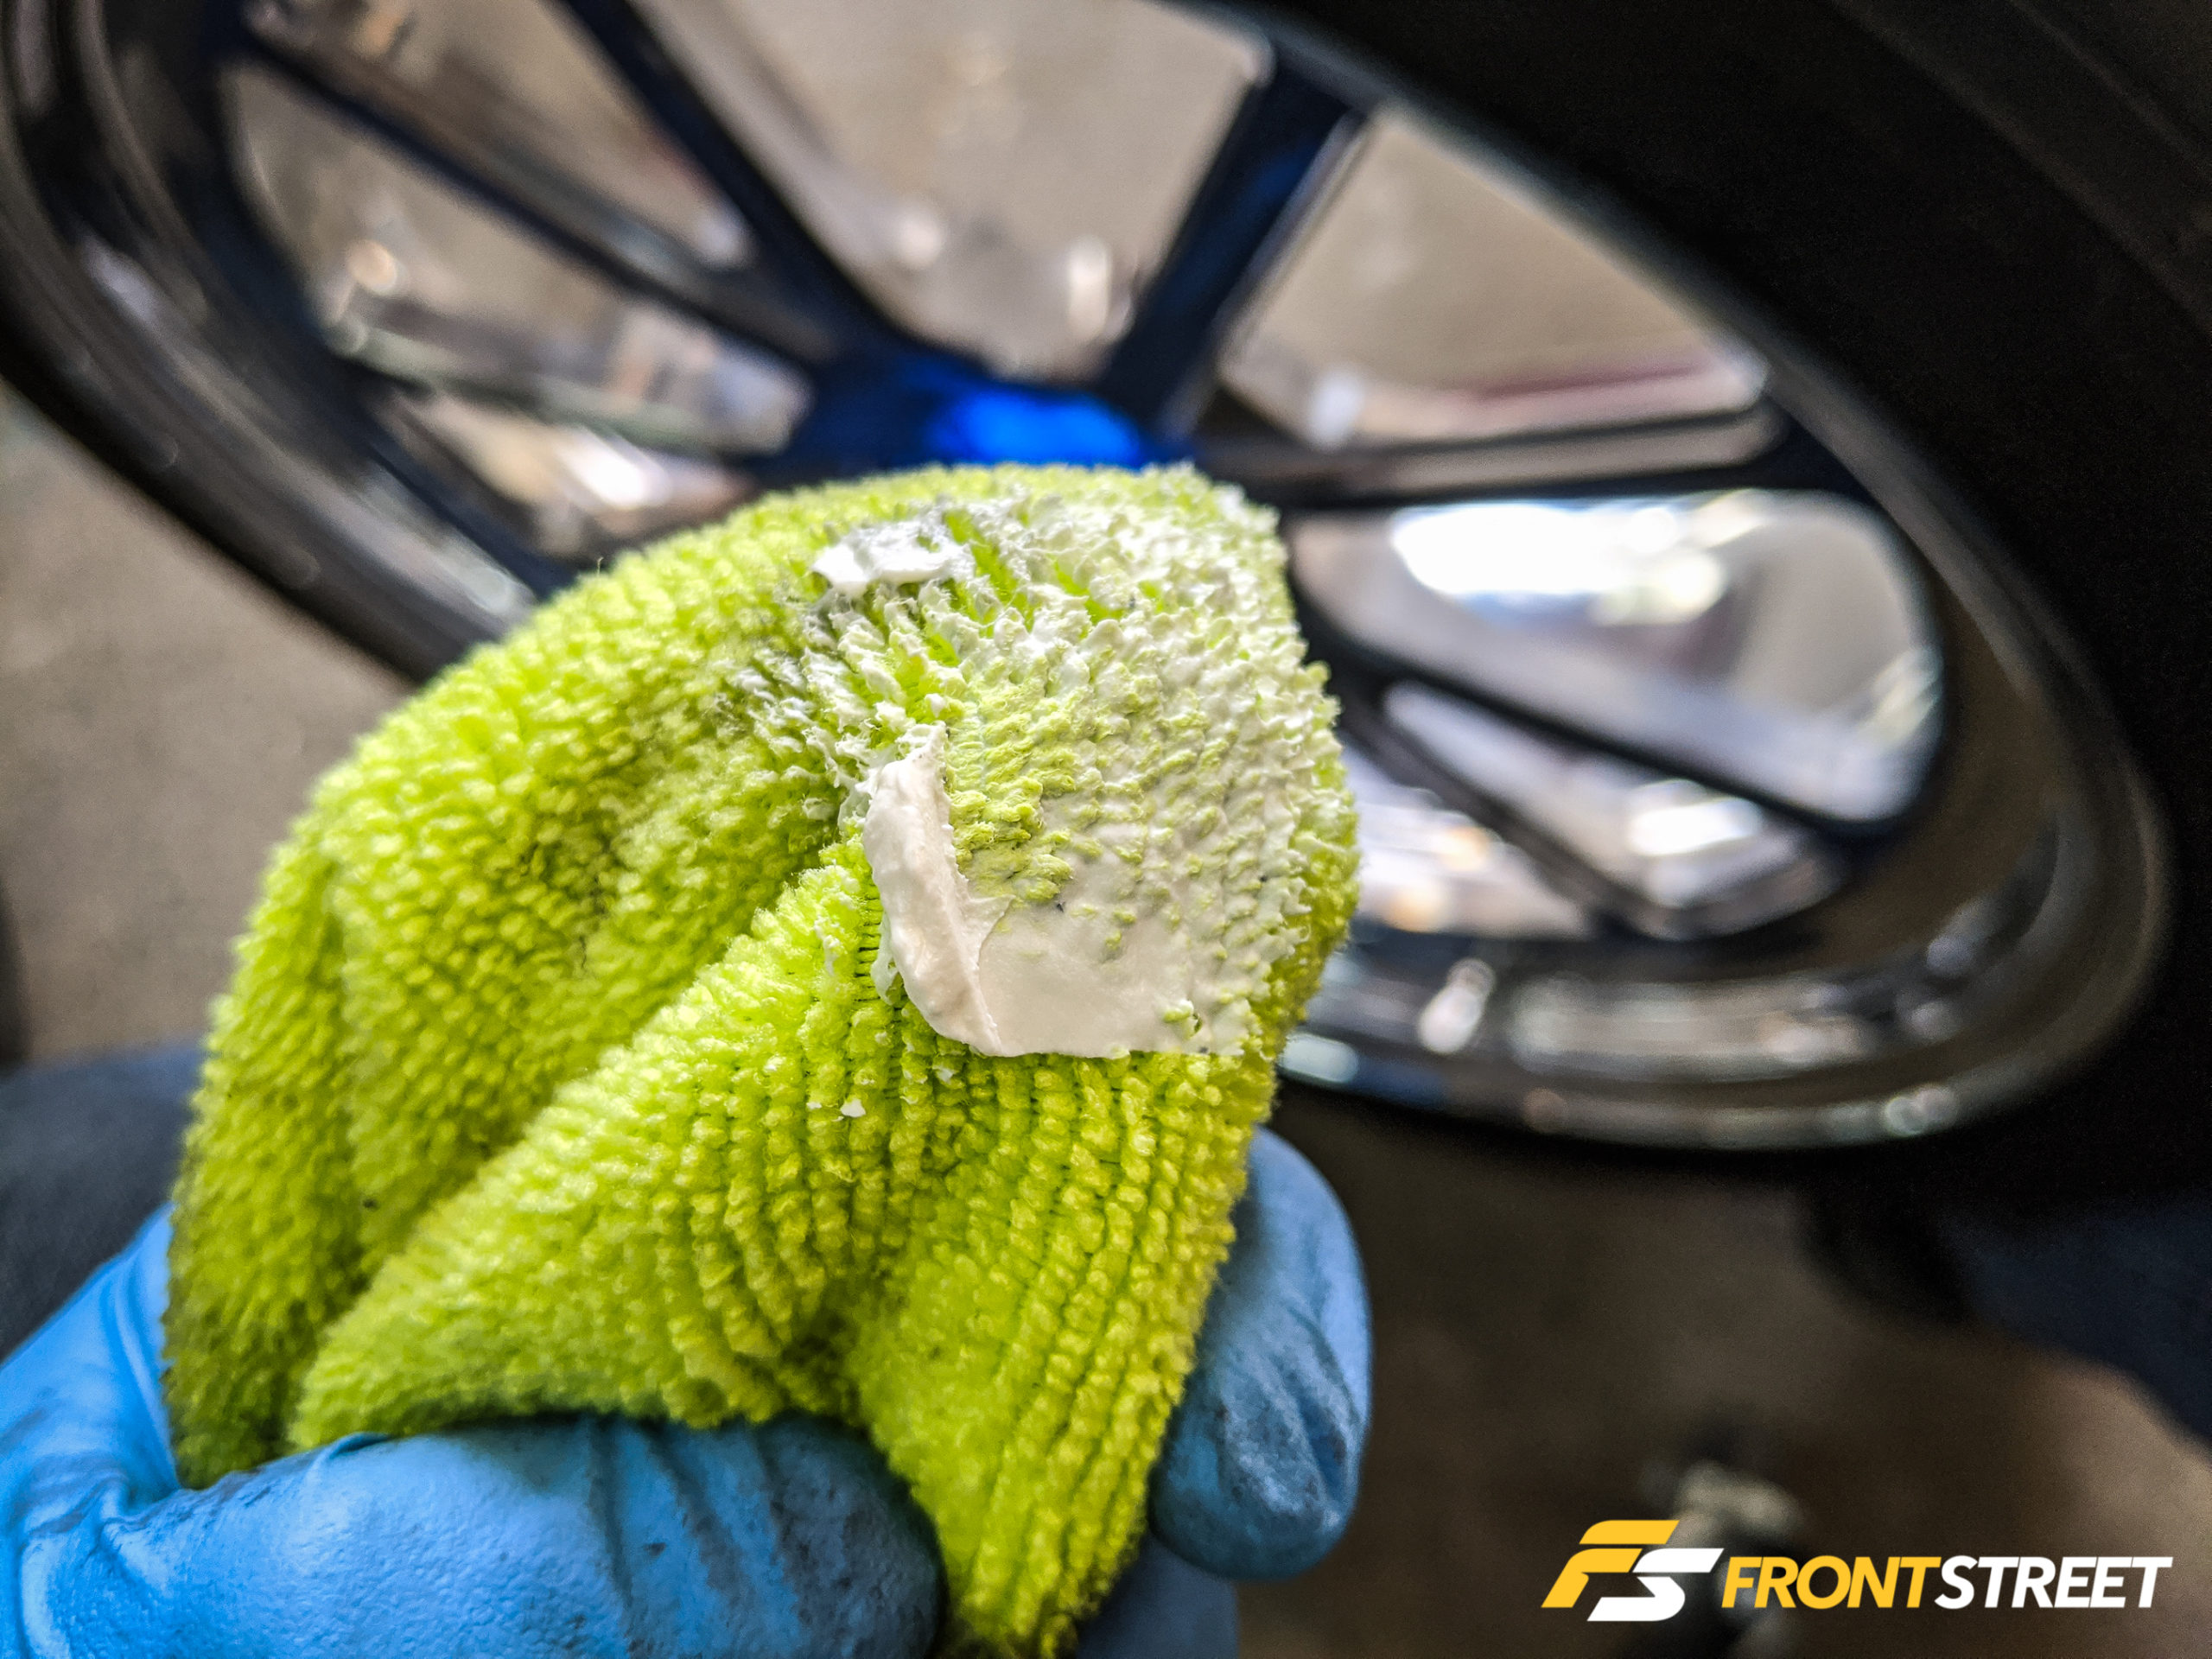
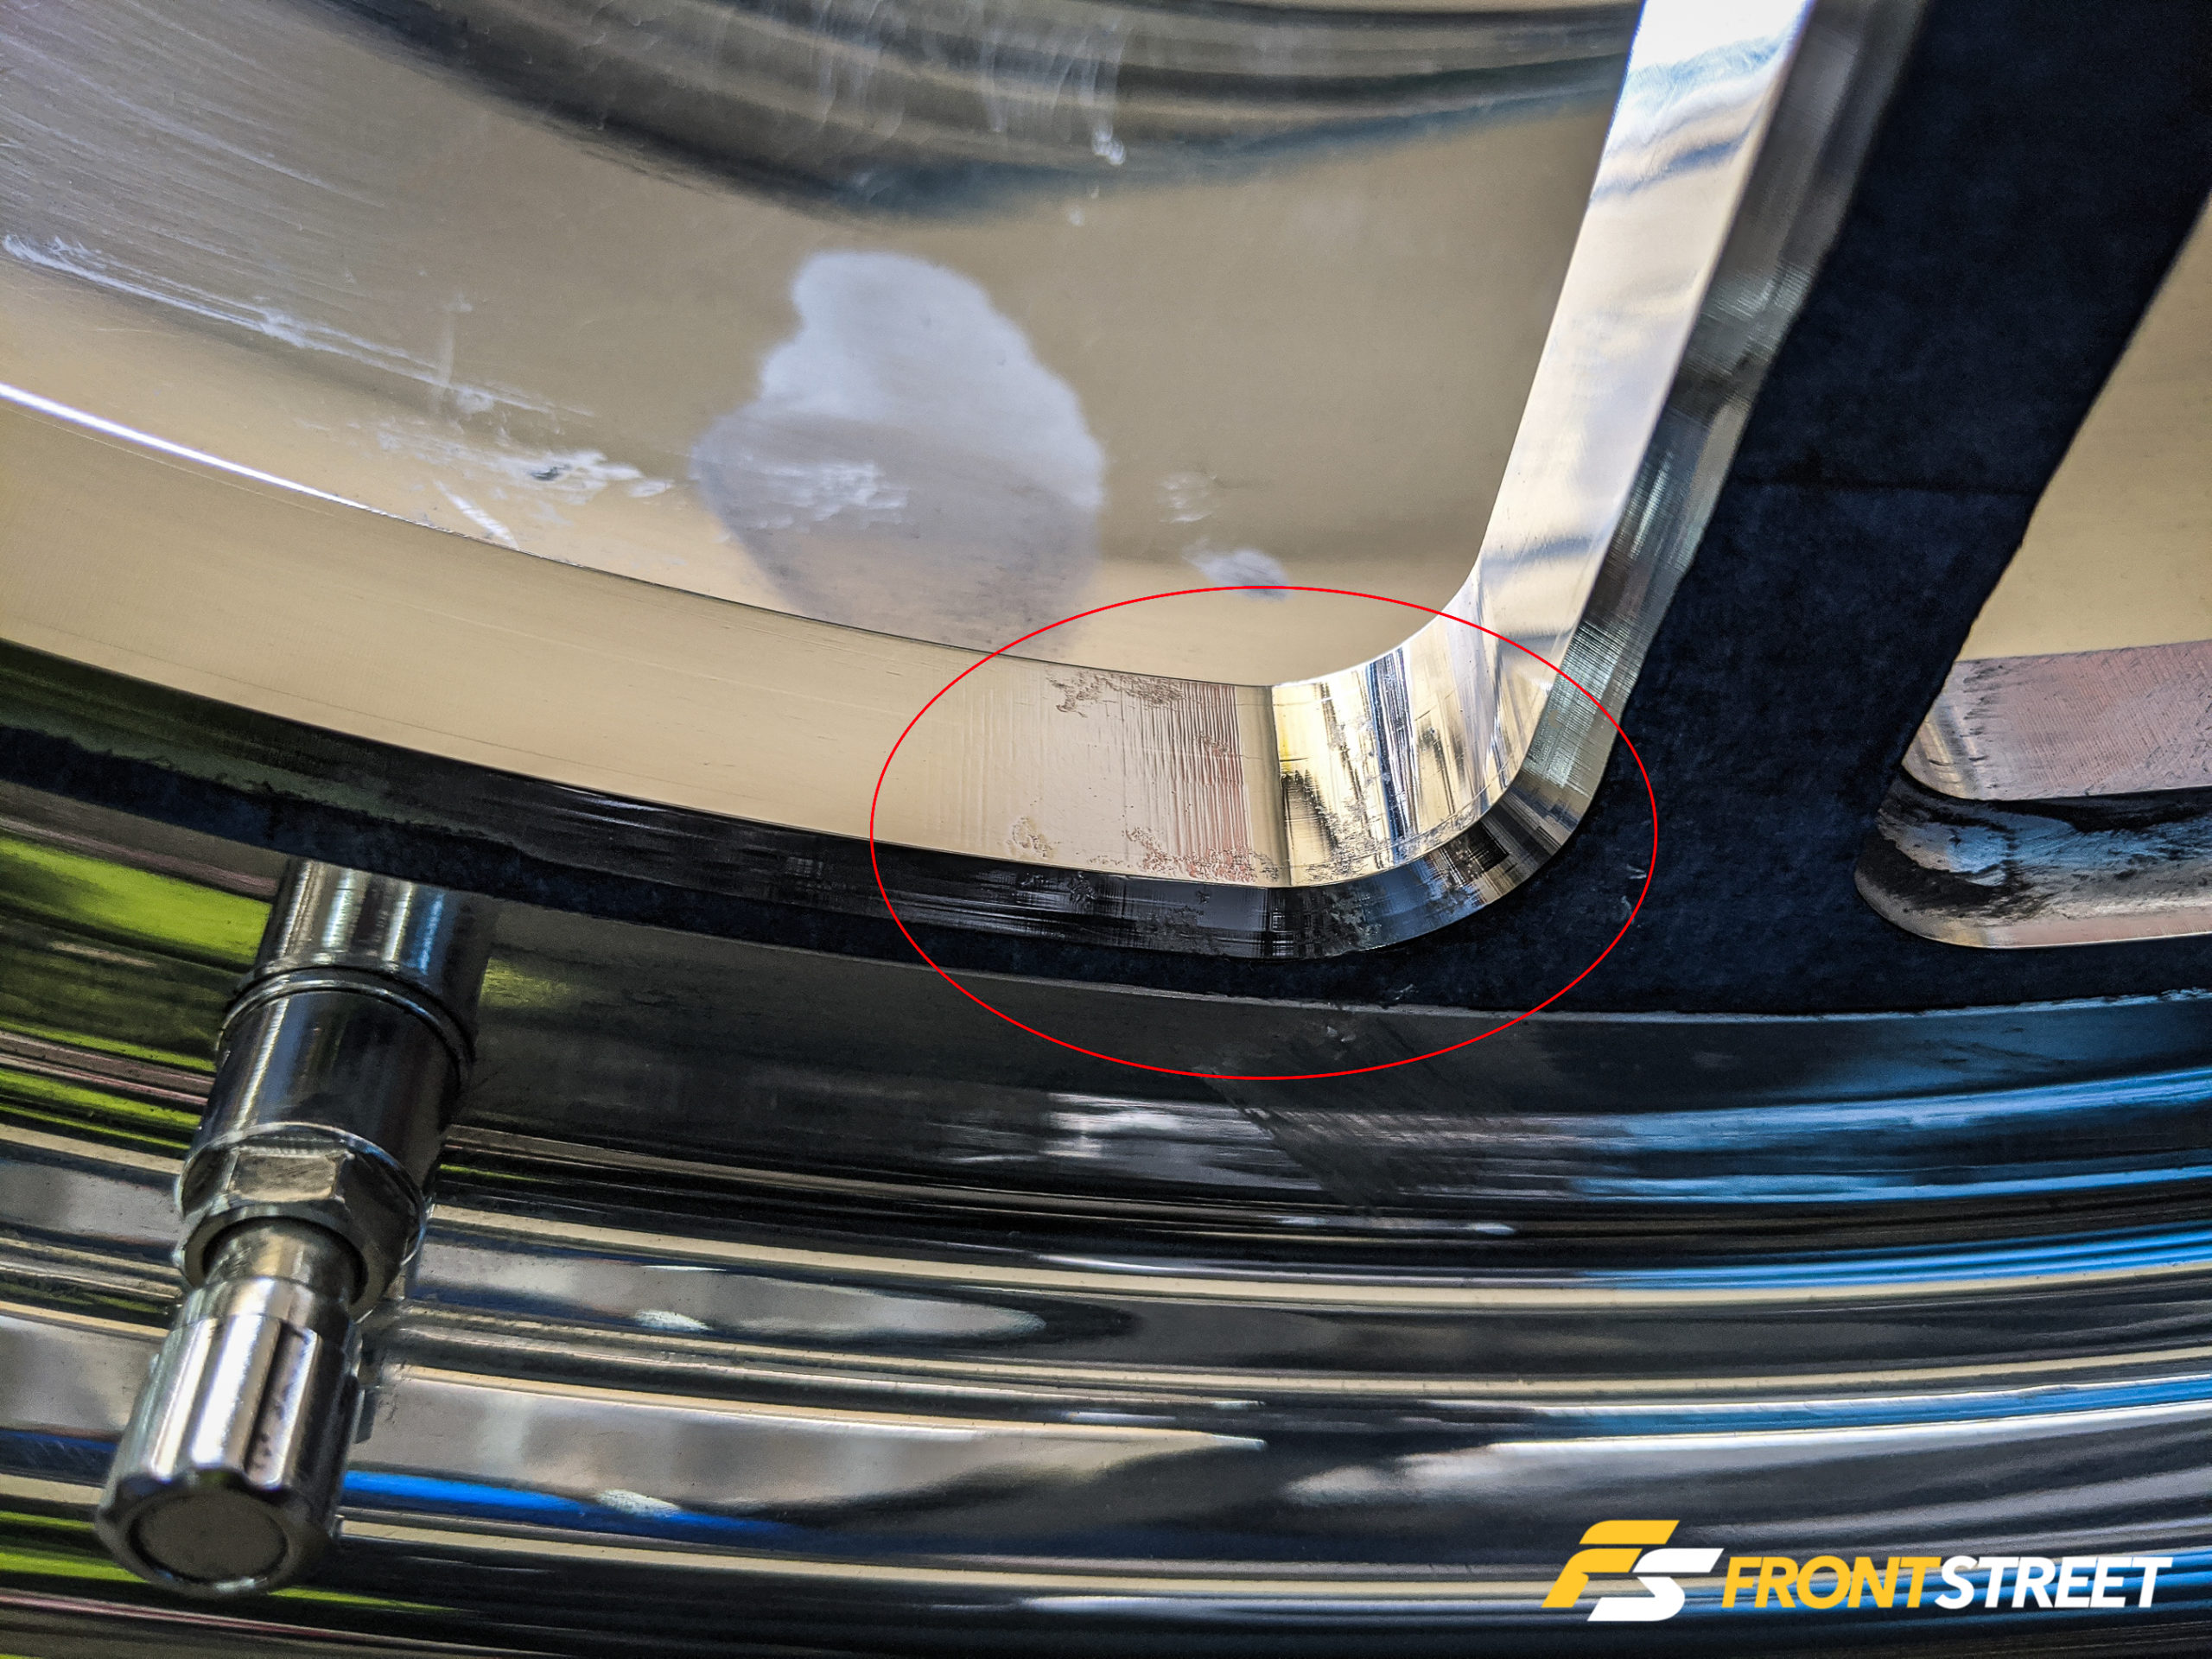
I did have two specific areas of concern. I’m not sure what happened to the wheel in the first image, but I had to work pretty hard on that section to clean it up with both the foam applicator, and then finish it up with a rag-and-polish combination. Note that the finished product is not perfect, but with the wheel on the car, it’s not noticeable. I assume it will require sanding, but I also don’t want to ruin the tool marks in the design. It might need a more aggressive polishing compound, but I can live with it for now. When I polish for next season I’ll look into further repairs.
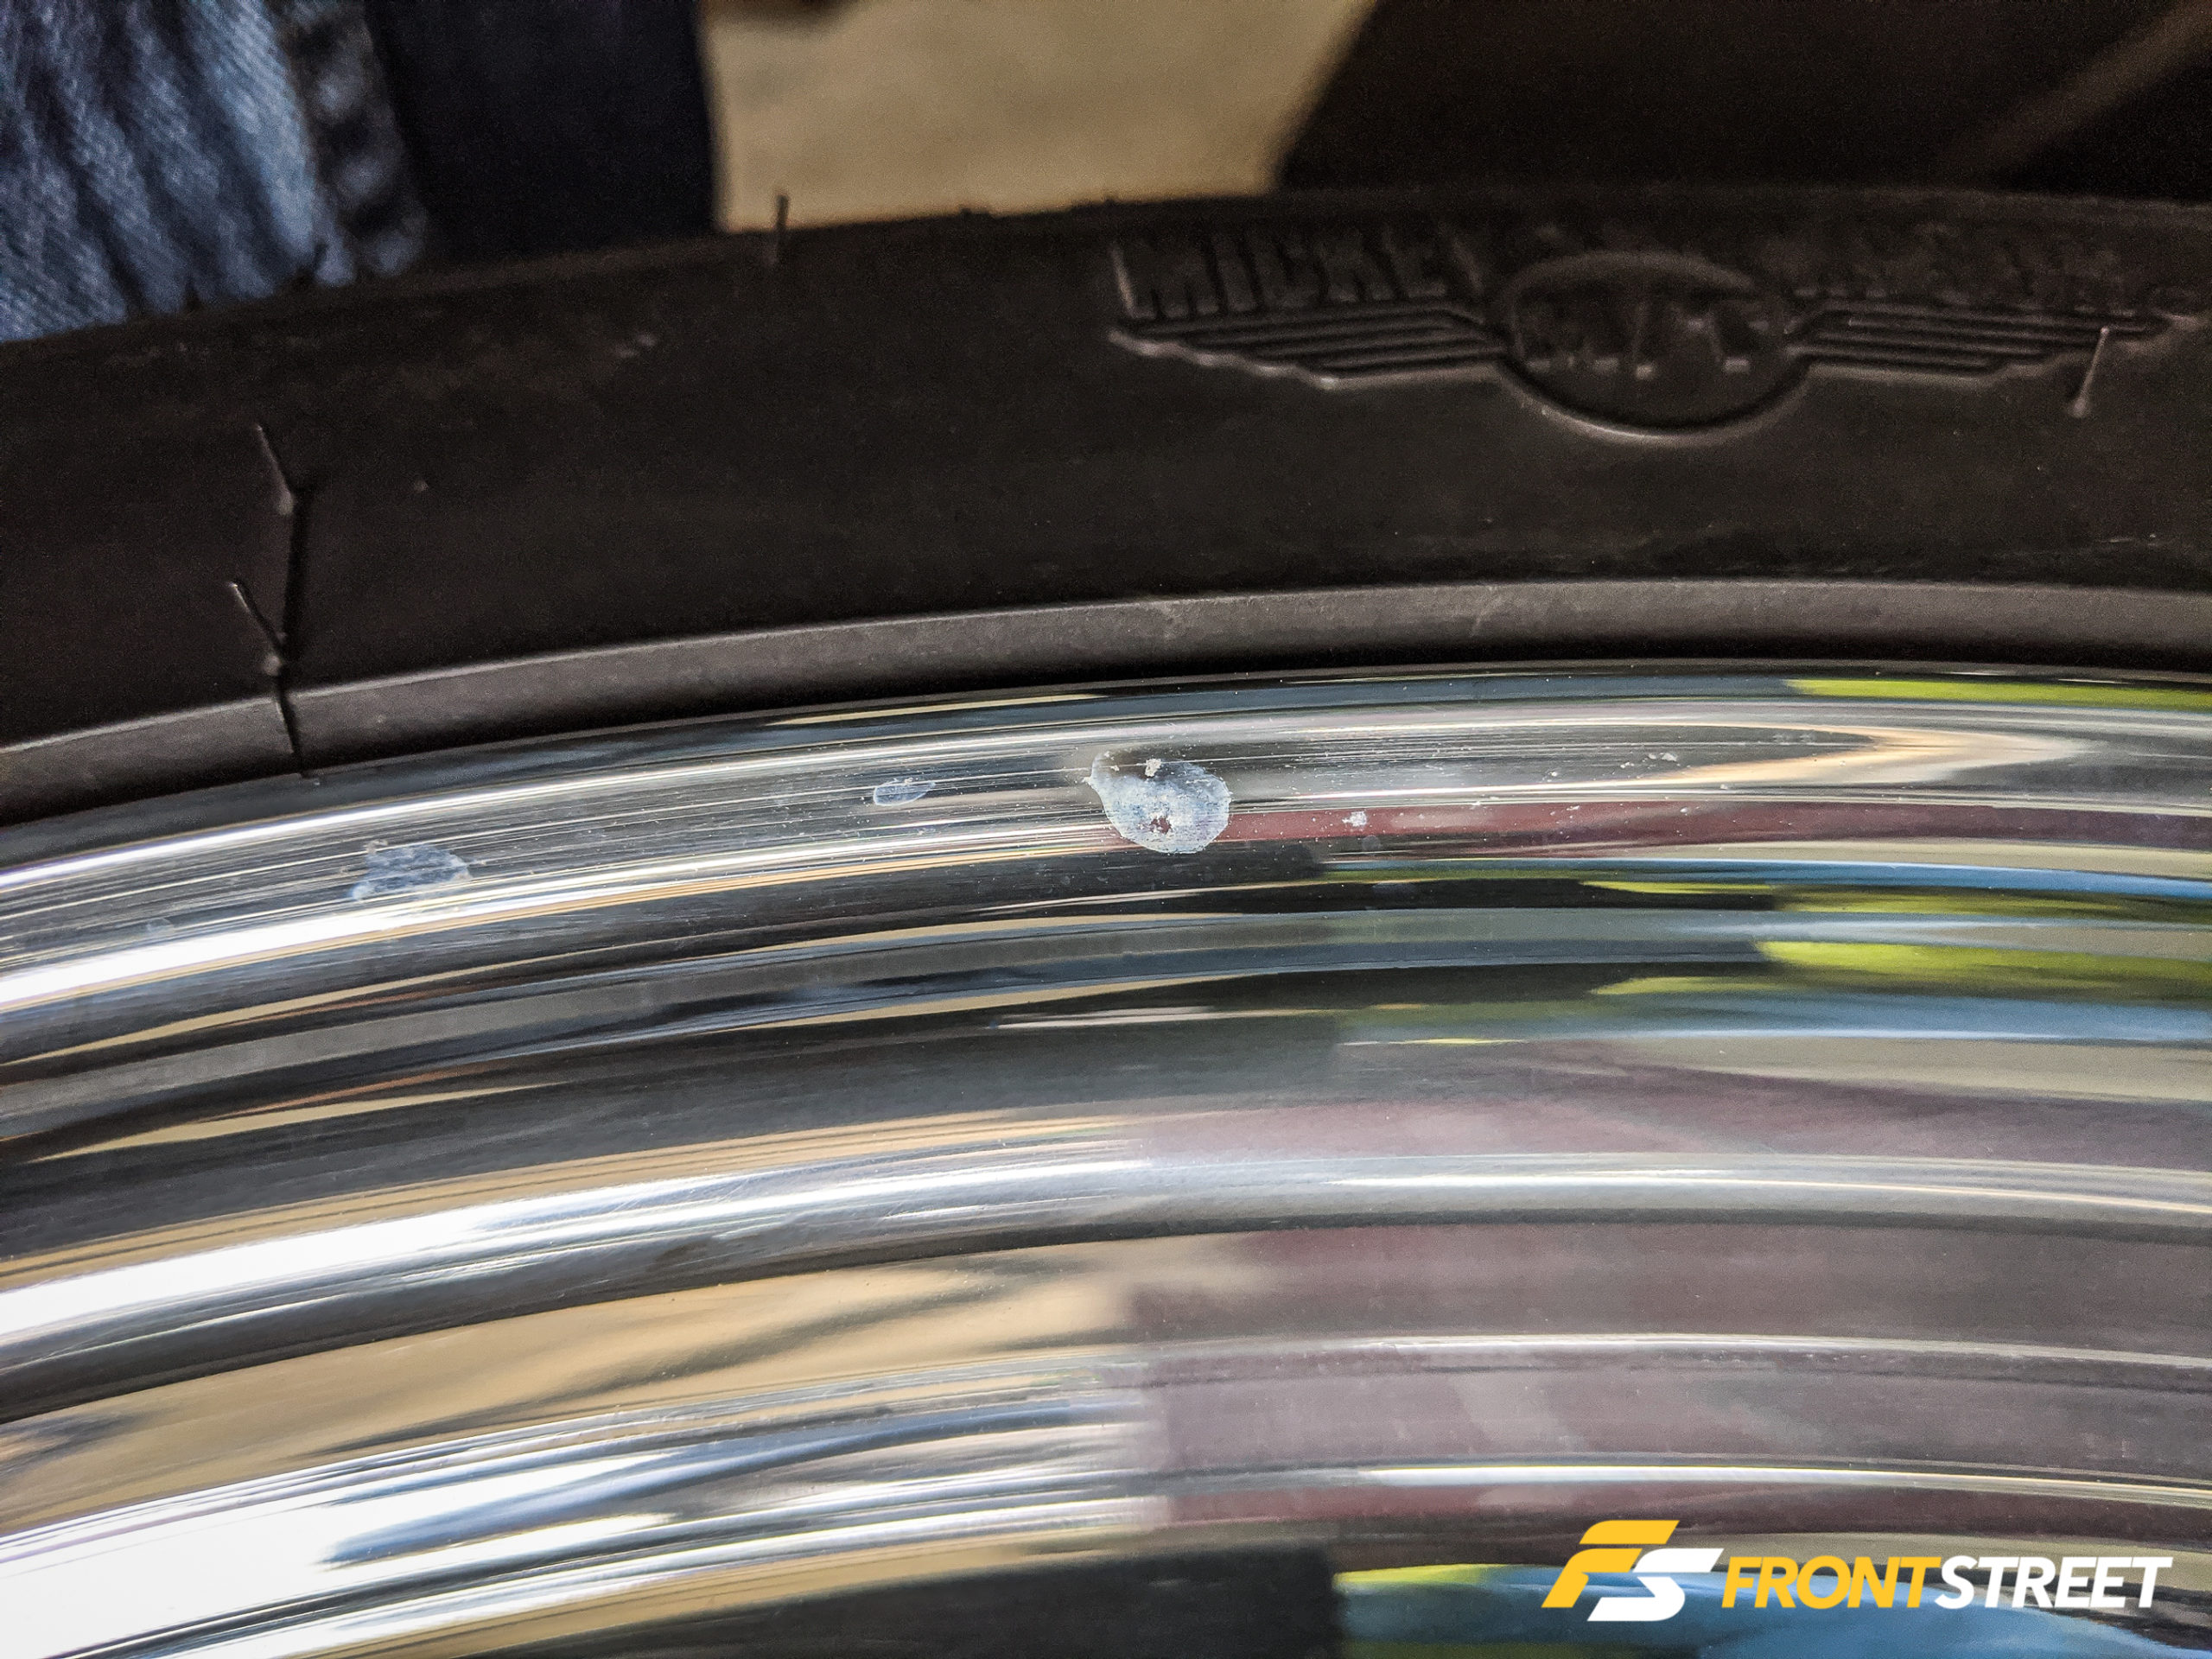
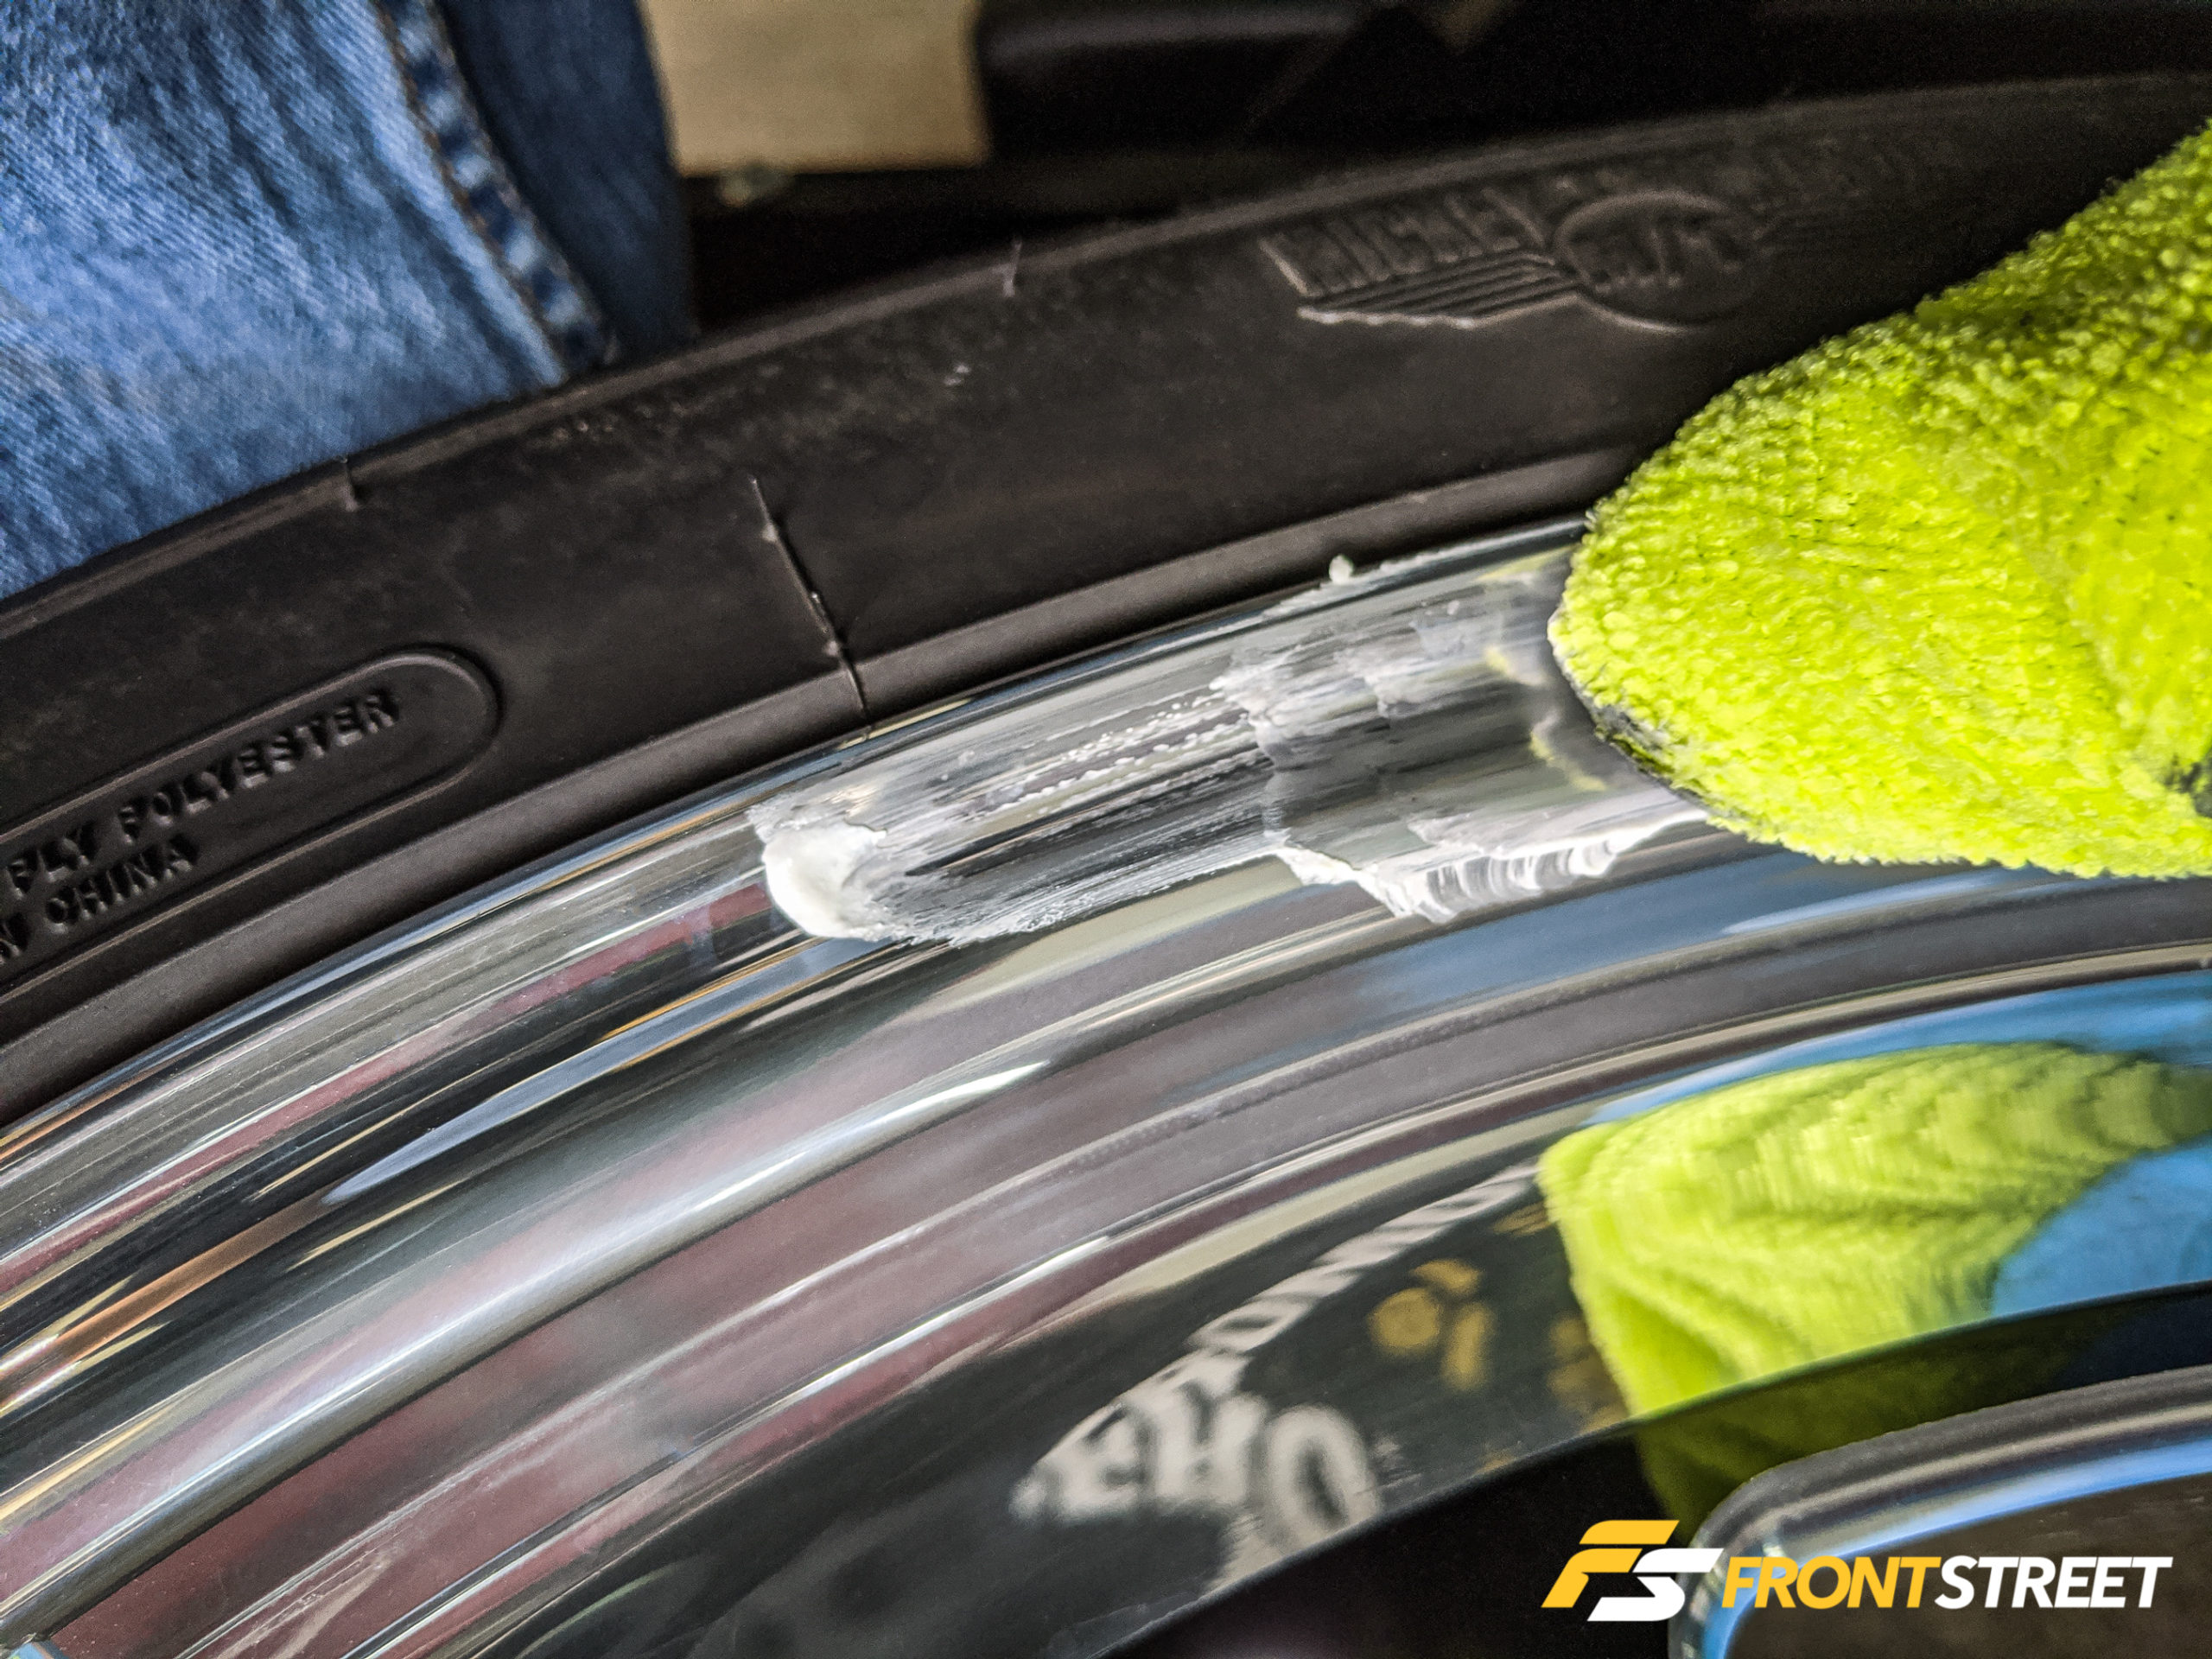
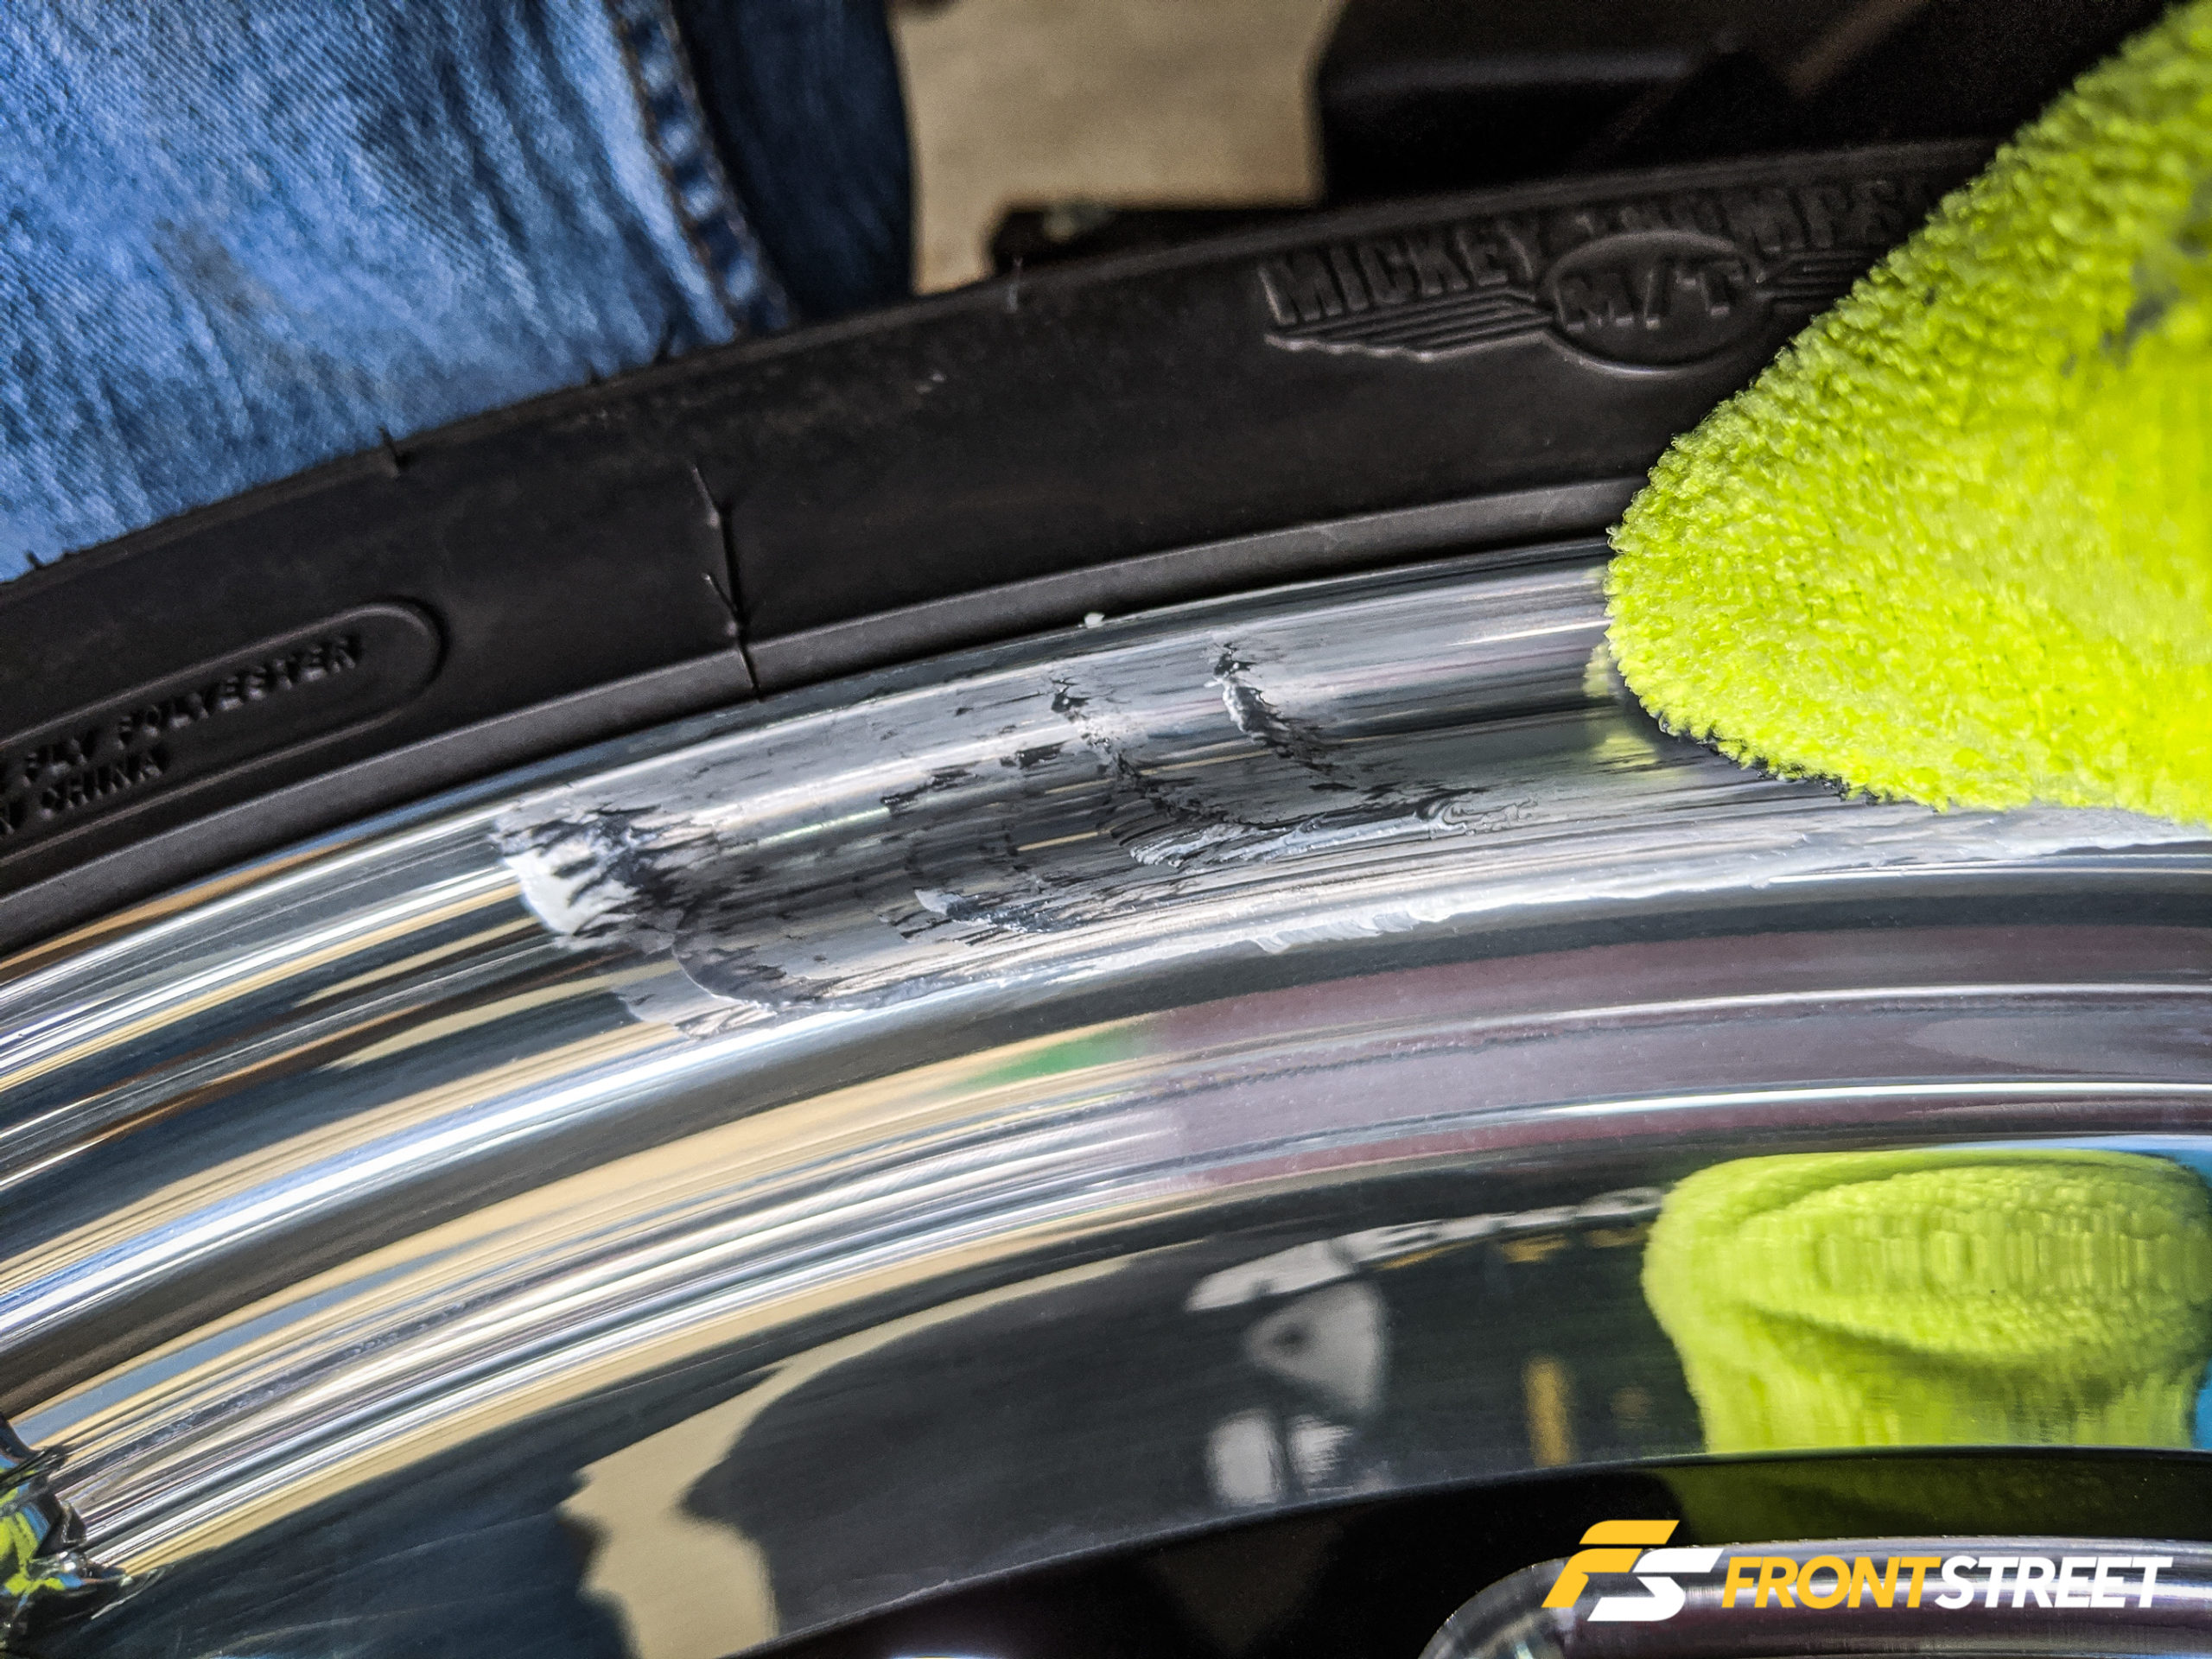
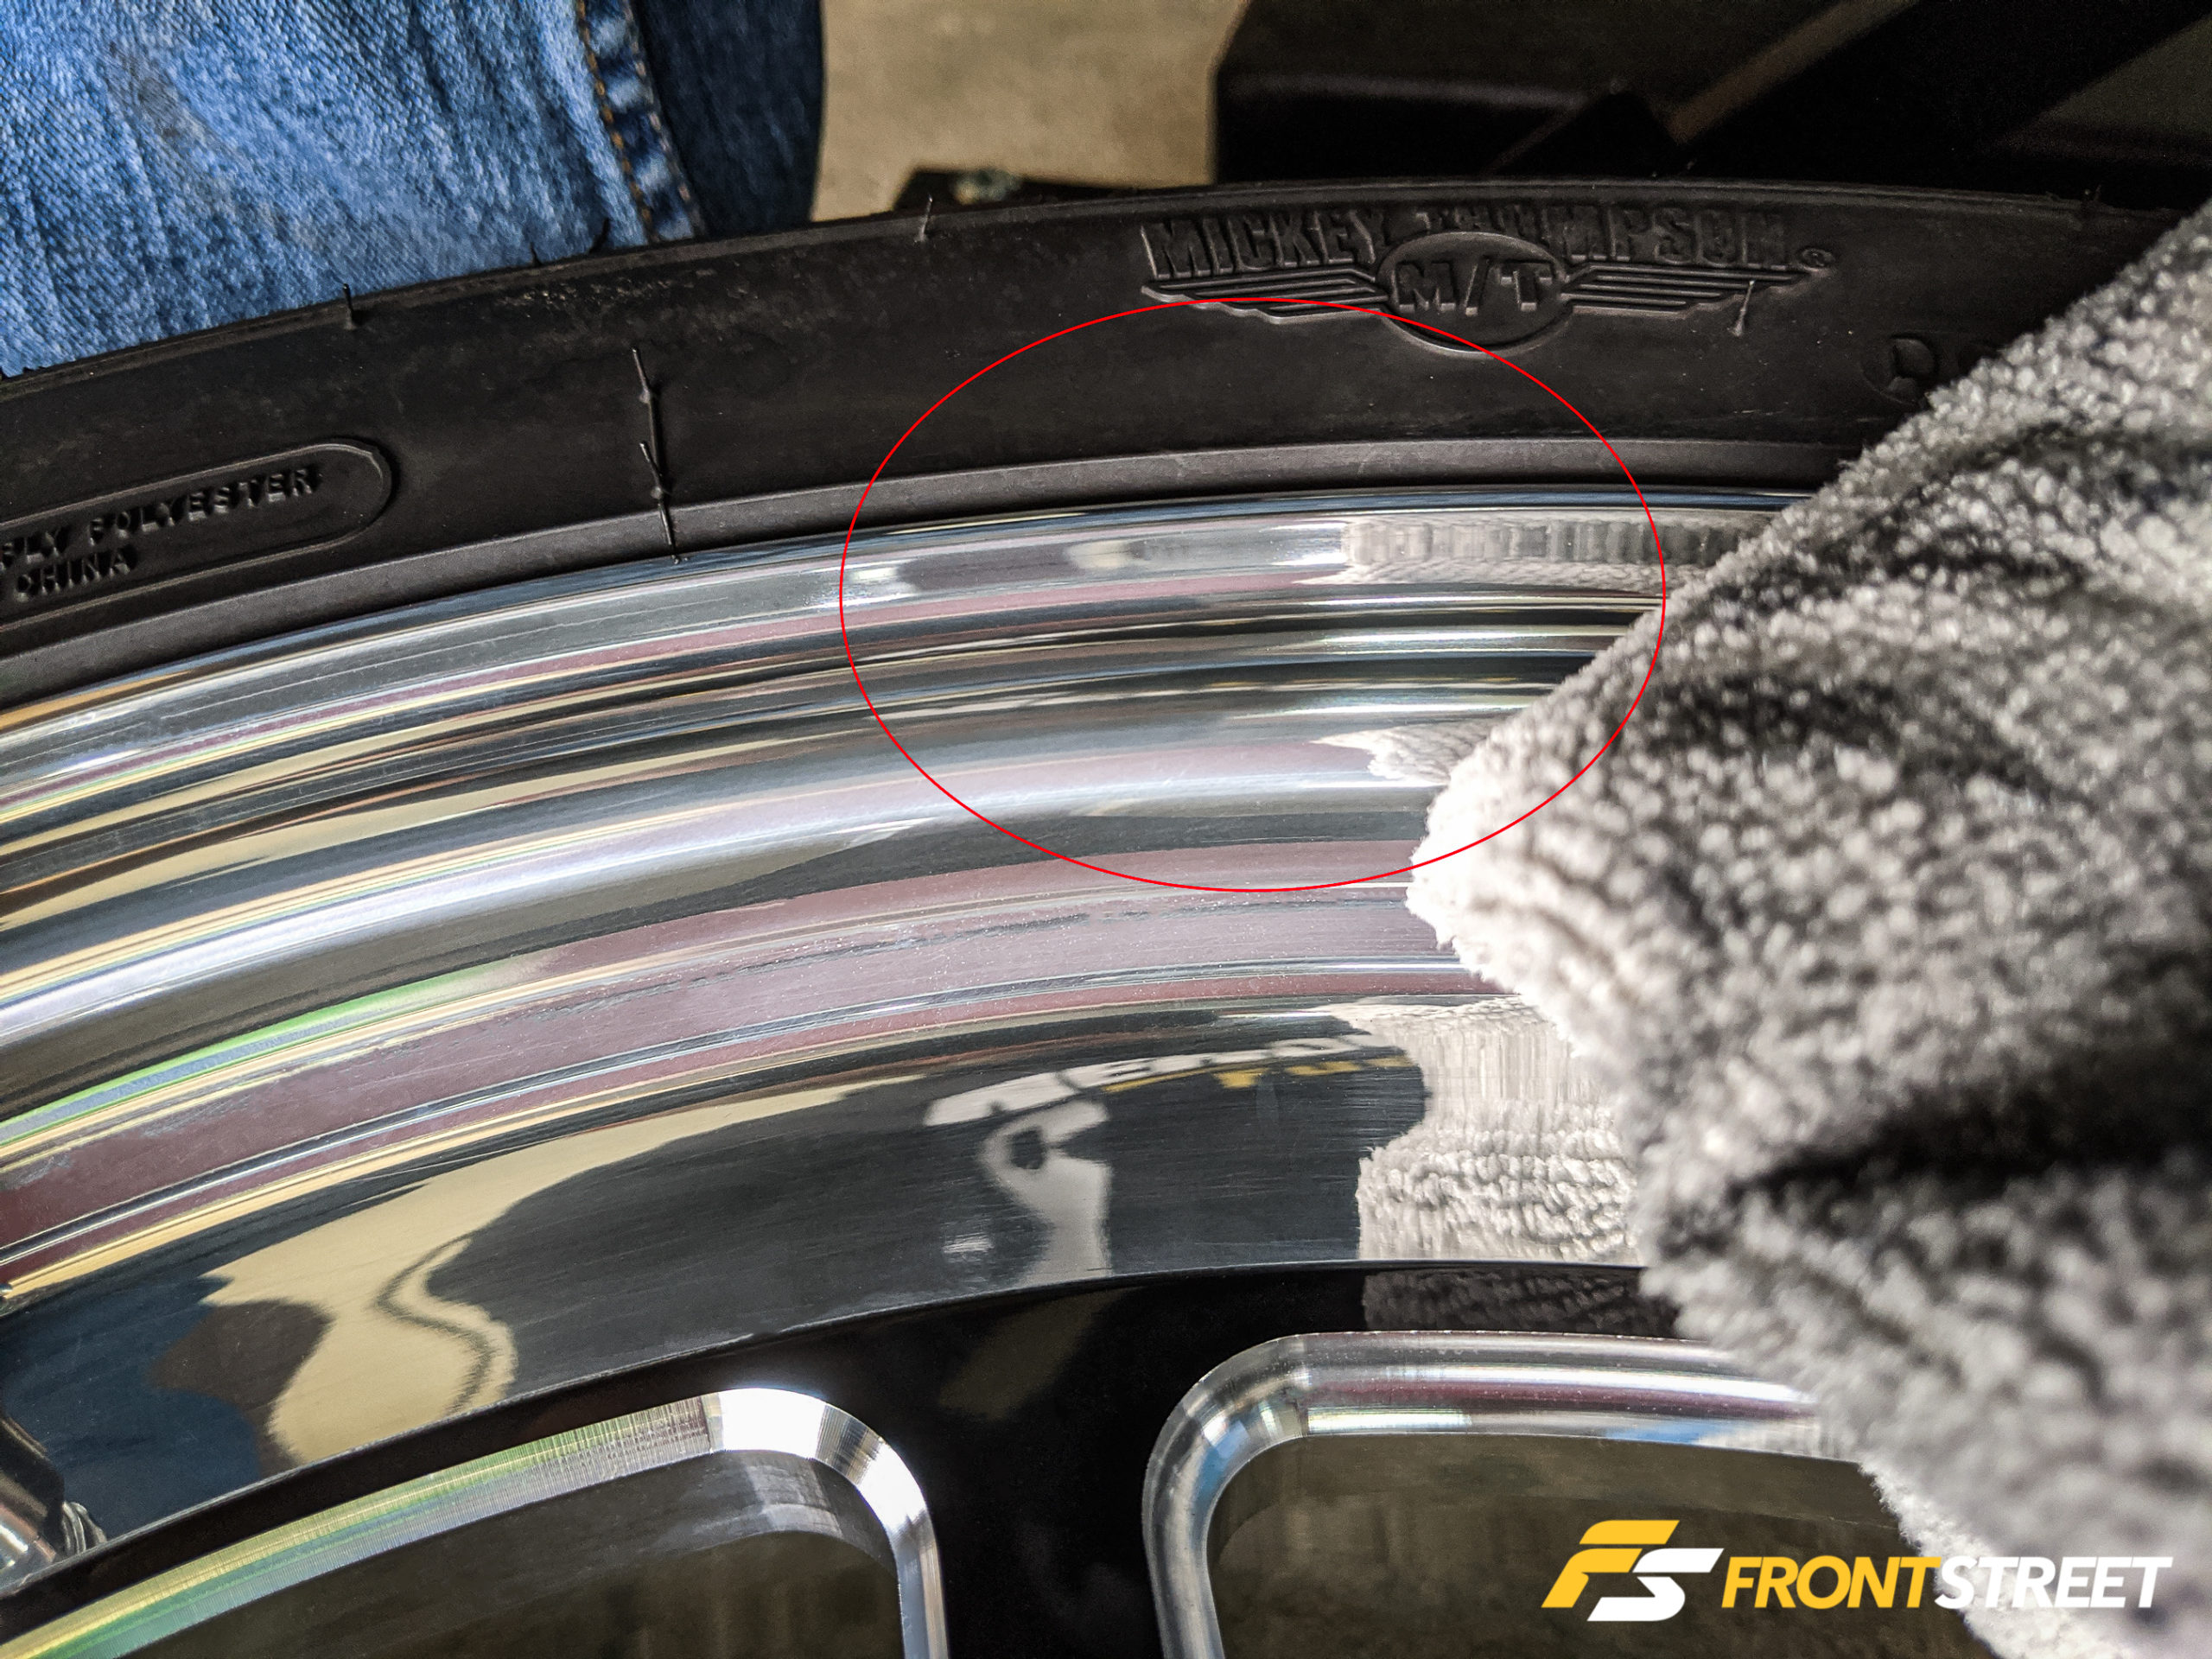
There were also a couple of water stains on the wheel; given my previous experience with aluminum wheels, I expected to have to fix these. It’s relatively easy. I used the polish on the rag so that I could work specifically on that location, rubbed it in for a bit after it turned black, then buffed it off at the end, and the spots were gone.
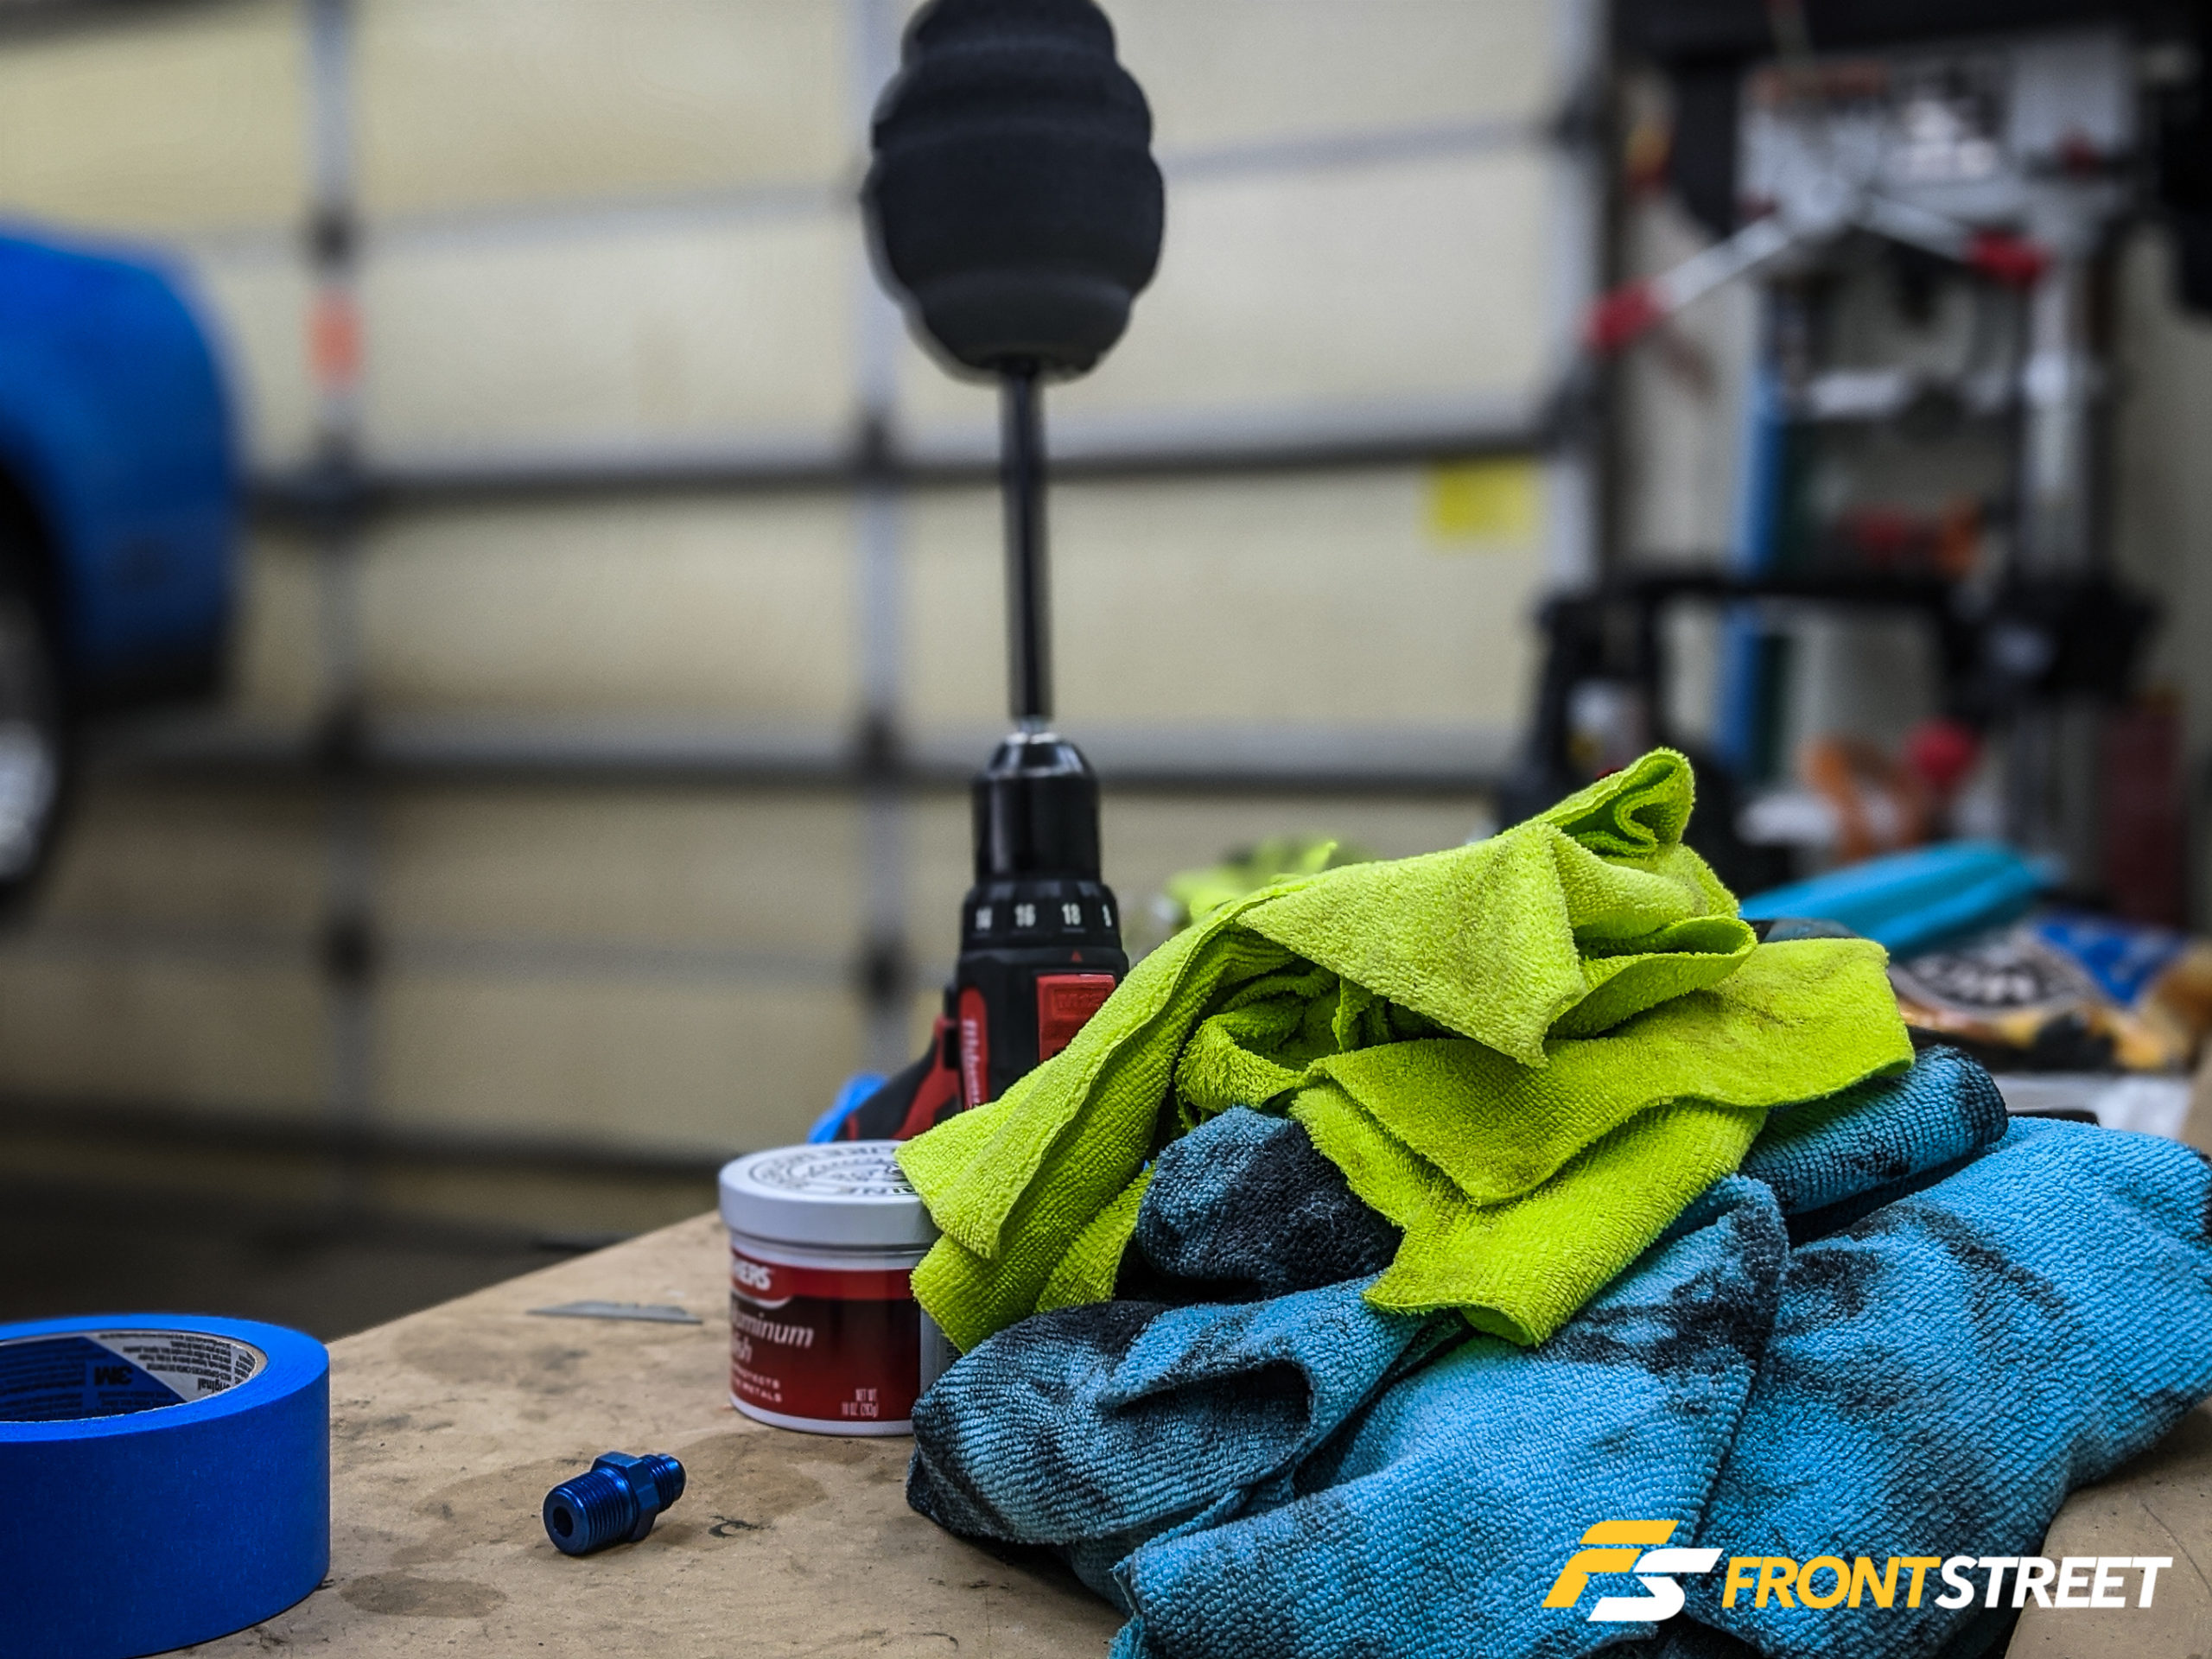
You’ll need lots of clean rags for buffing. I folded the cloths into quarters before rubbing, and once a surface turned black, I turned the rag to a fresh quarter and continued to buff until the cloth wasn’t getting dirty, signifying that the polish was removed from the surface. Some people also like to throw a coat of wax onto the surface after they are done polishing for further protection, but I didn’t do that this time as I want to see what happens to the wheel after a couple of washes. That may become part of my regimen for the future.
I purchased a pack of 20 rags and used them all. Thankfully you can just toss them into the washing machine when you’re done. I did notice that the washing machine smelled like aluminum polish after the cycle was complete, so I ran another cycle through with detergent and a load of bleach to clean up the smell. Worked like a charm.
Remember that this article is not a bible that covers every situation you’ll face when correcting polished wheels—it’s merely an overview of my experience when trying to correct the finish on my wheels. I hope it helps you in some way. The real trick is to make sure you take care of your beautiful polished wheels from the very beginning, so you don’t get into a situation where you have to break out the orbital sander. Hopefully, the information I’ve presented is helpful to you as you begin the process of bringing your aluminum wheels back to their original glory!
Disclaimer: None of these products were provided to me. I purchased them online or at my local Autozone.

