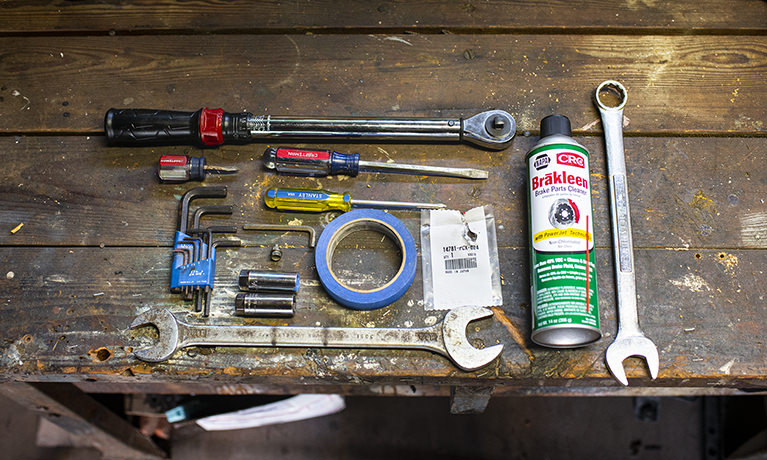
The world credits Sir Francis Bacon with the creation of the phrase, “knowledge is power,” coined in the 16th century. It’s a phrase you’ve undoubtedly heard, and due to its simplicity, it can denote a few different meanings. For starters, it suggests that as your knowledge level on a particular topic increases, the ways you can deal with that topic are also increased, which is powerful. However, it could also indicate that an individual with enhanced knowledge of a topic can potentially outwit the physical strength of another who does not have the same level of enlightenment.
Regardless of which camp you side with, we believe in the saying, and we think both meanings directly correspond to wrenching on our vehicles in the garage. Anyone who has struggled to handle a situation without proper knowledge of the topic—think the removal of a stripped bolt—knows how frustrating and exhausting the following hours/days of your life become. We’re not here to provide you with the end-all-be-all solutions to fixing those problems. We’re here to offer some quick tricks—in no particular order—and increased knowledge that should be useful the next time you’re in the garage. If you already know these, then good on you! If you don’t, we hope some will click a lightbulb on for you.
Wrench on a Screwdriver
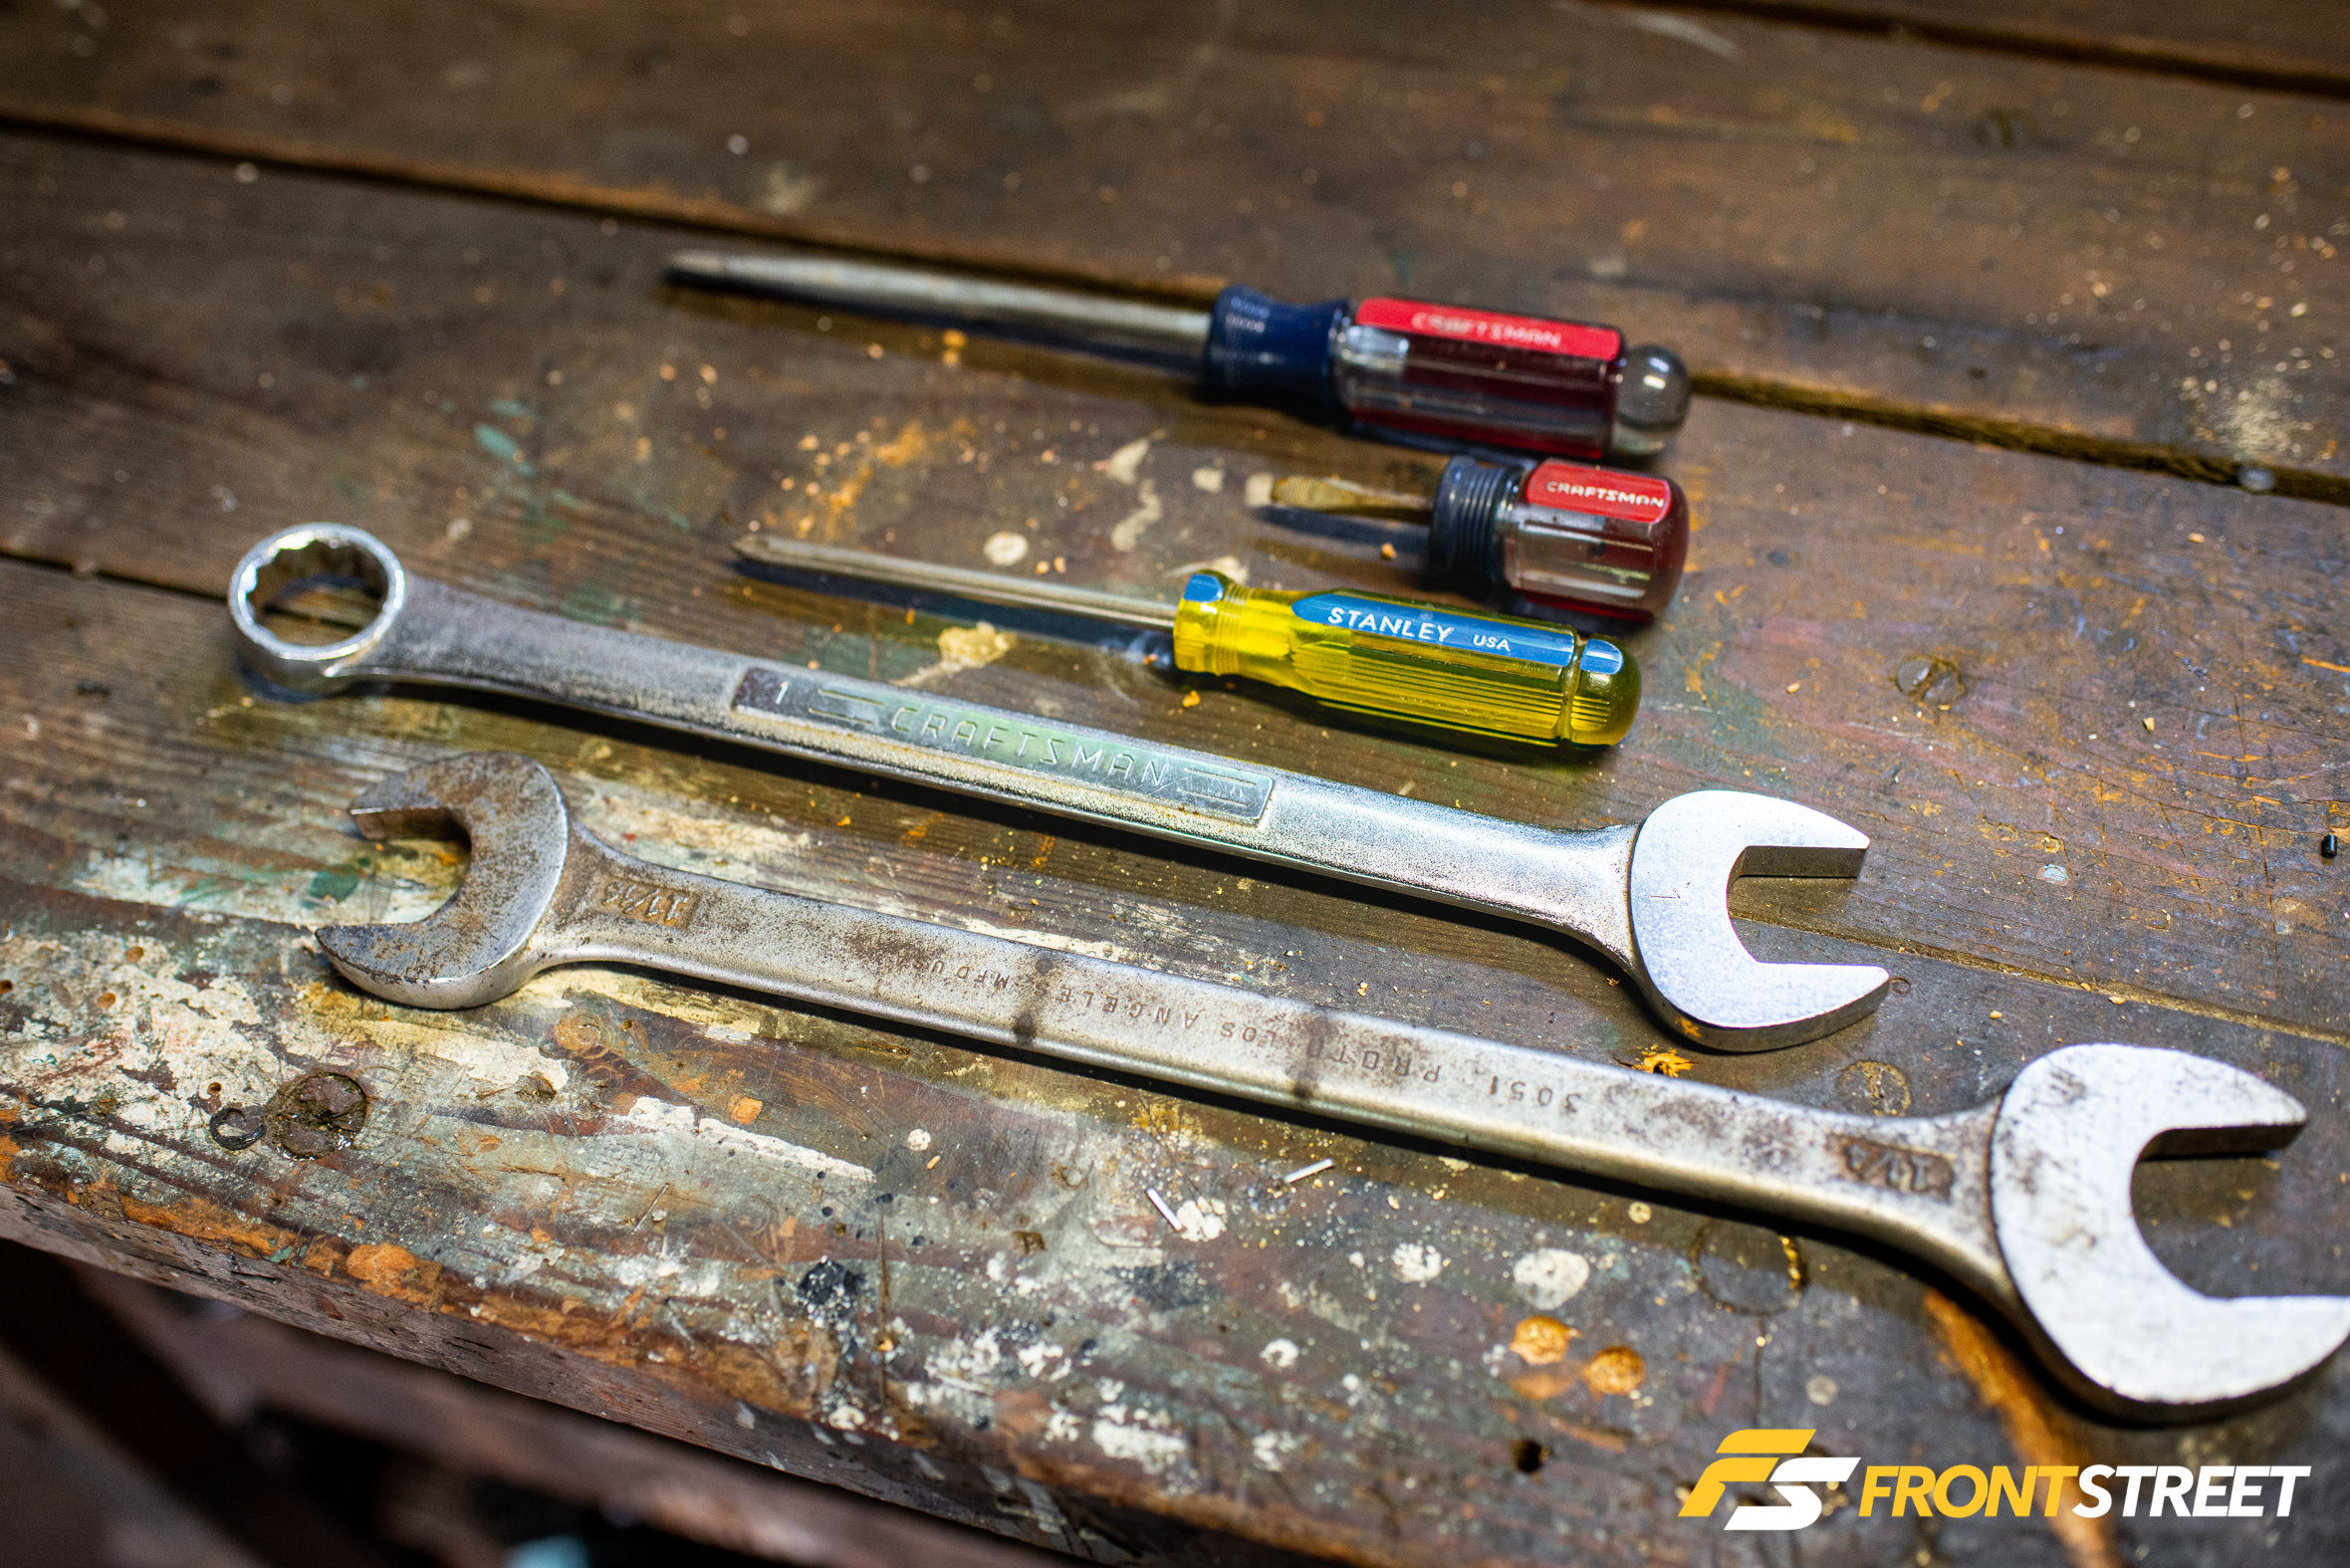
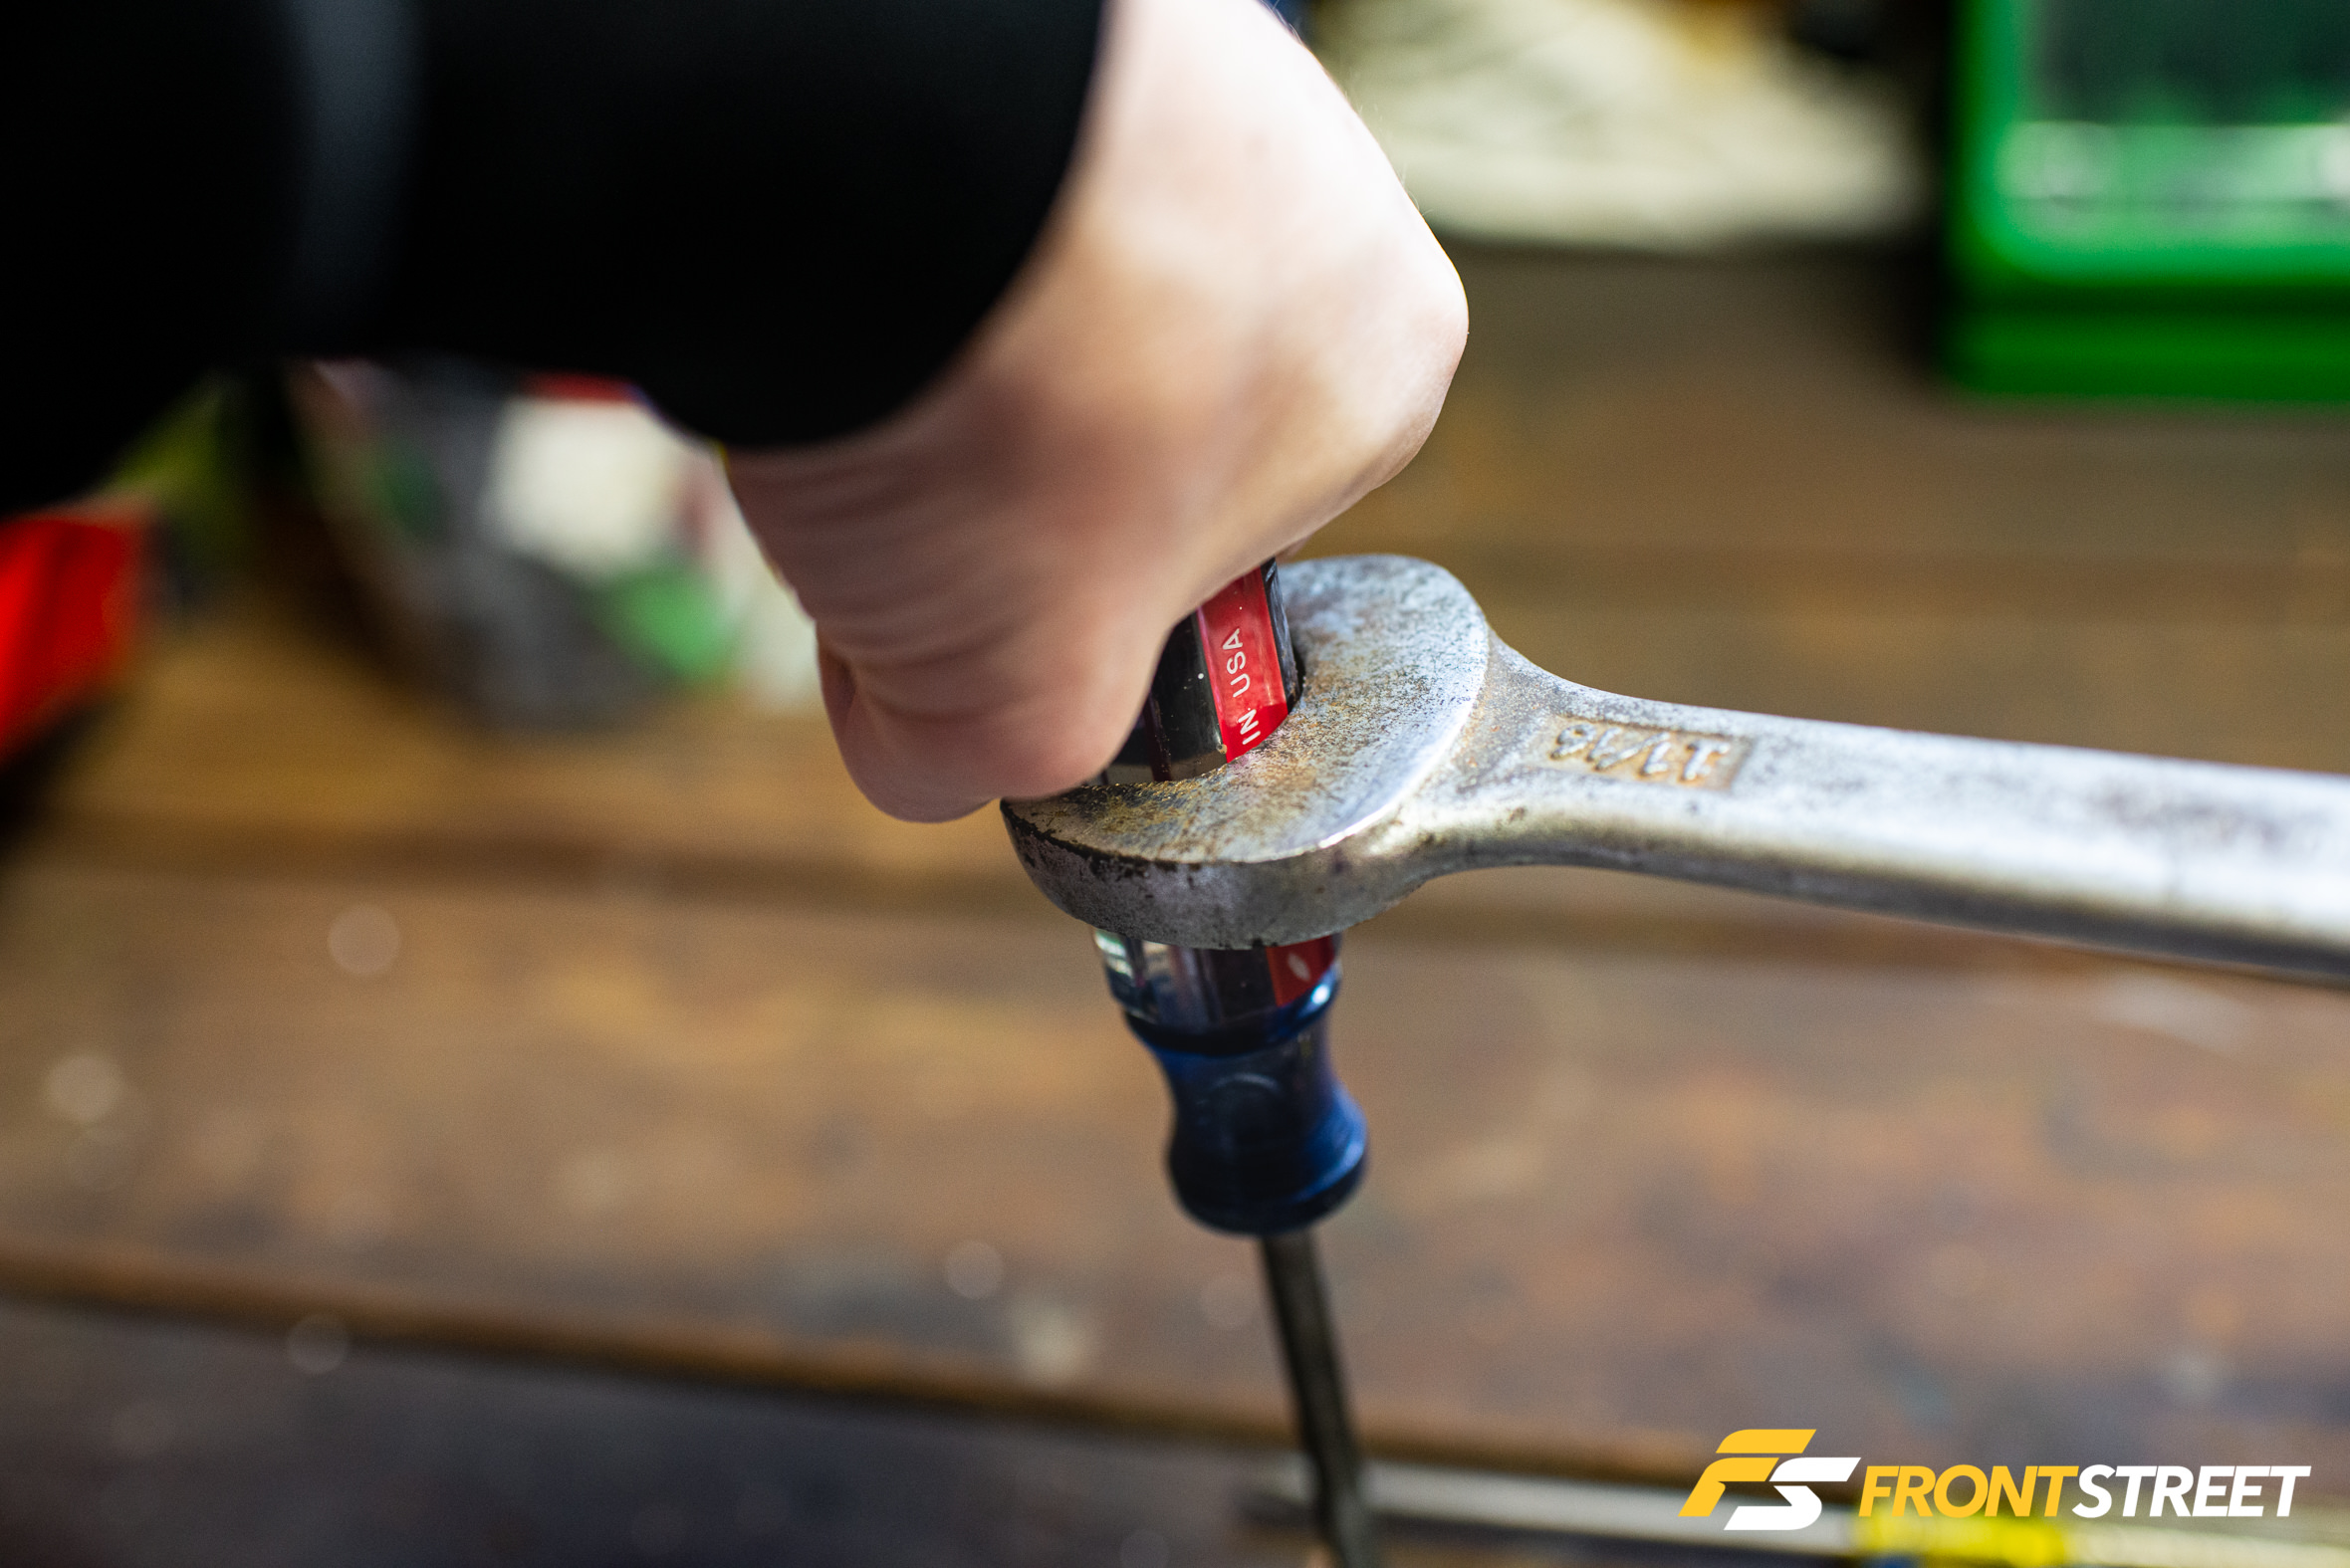
You’re staring at an older rusty screw that needs to come out. You know that if you don’t have all of your force downward, the screwdriver will slip in the screw’s head. Of course, then it’s already half-stripped, so any additional tries at loosening the culprit will result in a further-eroded chance of removing it. So you prop yourself atop your screwdriver, thrusting it downward to keep it tight inside the screw head. But now you need to sacrifice some of that downward force to turn it, and on the skinny lateral axis of the driver’s handle, you’re not getting much torque. We have the solution: a large wrench.
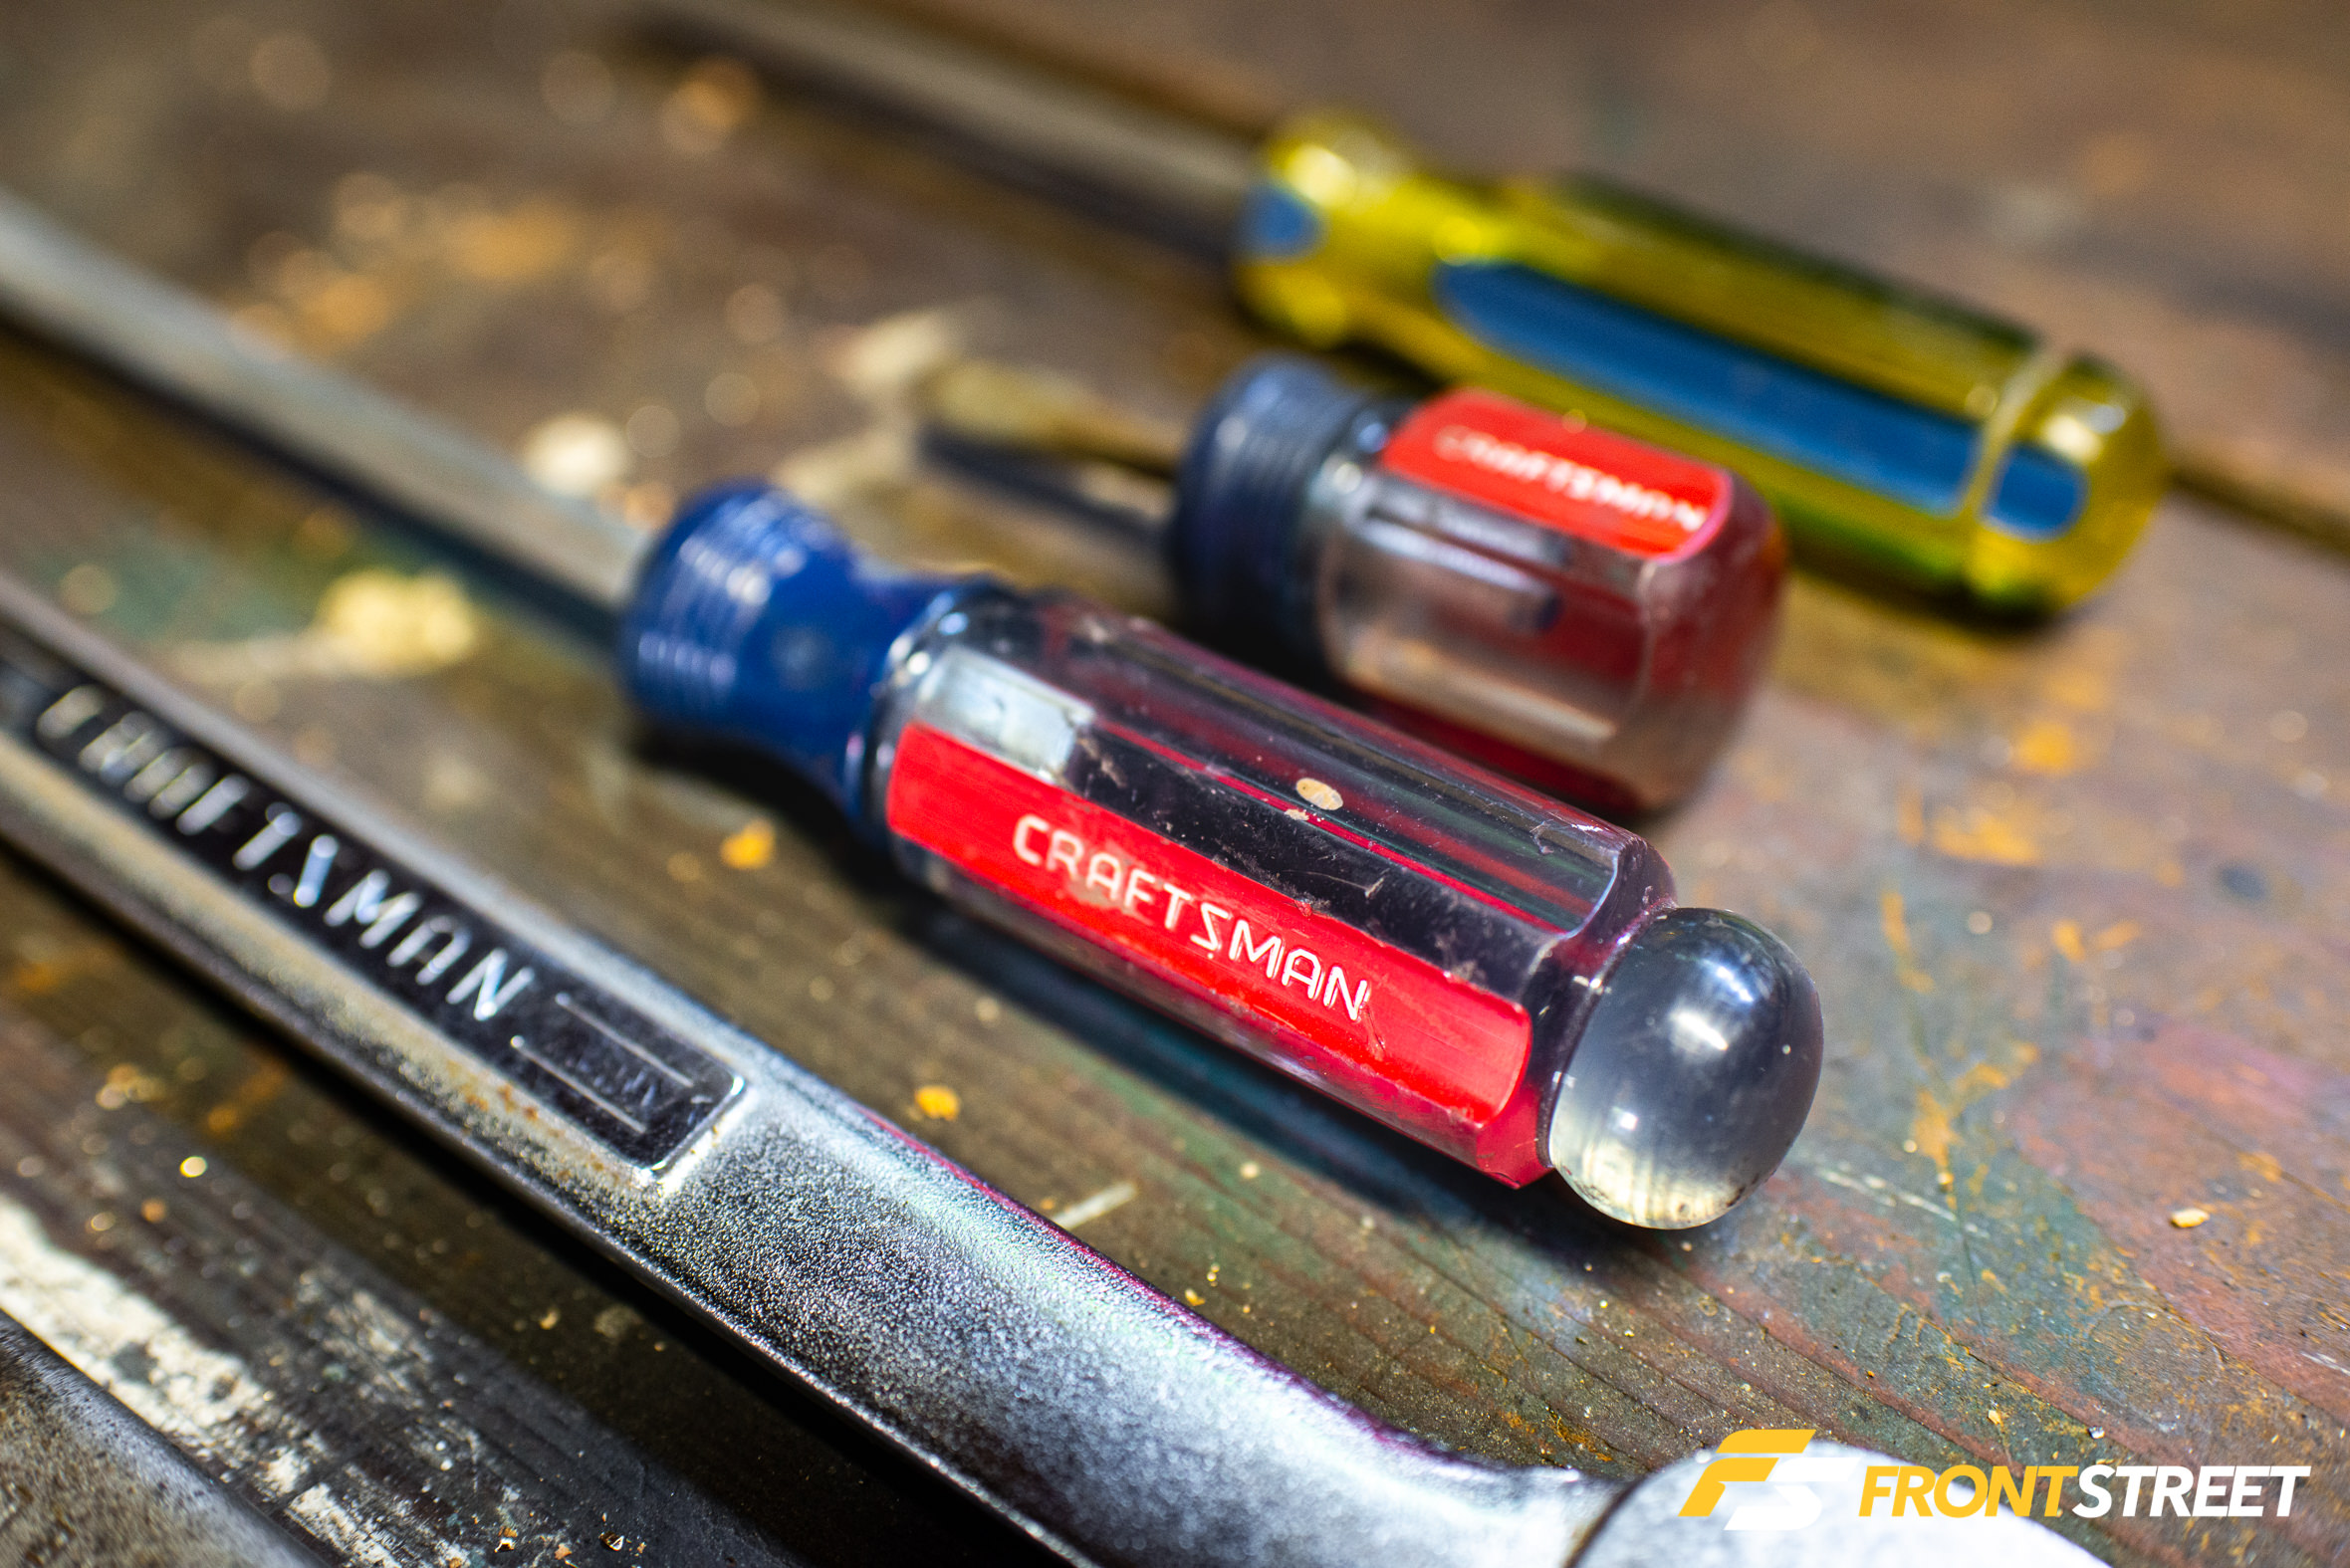
You know the stereotypical screwdriver handle—Phillips or flathead—is transparent and colored plastic. Did you ever notice those aren’t smooth and round everywhere? Well, the hex-sided portion of these tools can ultimately help you in these situations. While you’re applying downward pressure on the screwdriver, you can slide the appropriate-sized wrench over this hexagonal portion and loosen the screw using all of the wrench’s leverage—like a valve adjustment tool. Be careful, though, as this can unfortunately apply more torque than the screw’s head can handle, and if it’s stuck you’ll end up damaging the screw you’re trying to remove. Follow the usual steps: soak it with penetrating spray, maybe give it a whack or two to loosen any surface rust, always attack the screw head from directly above, and our hack just might help you.
Hex Head Bolts Used as Allen Wrench/Hex Bit Socket
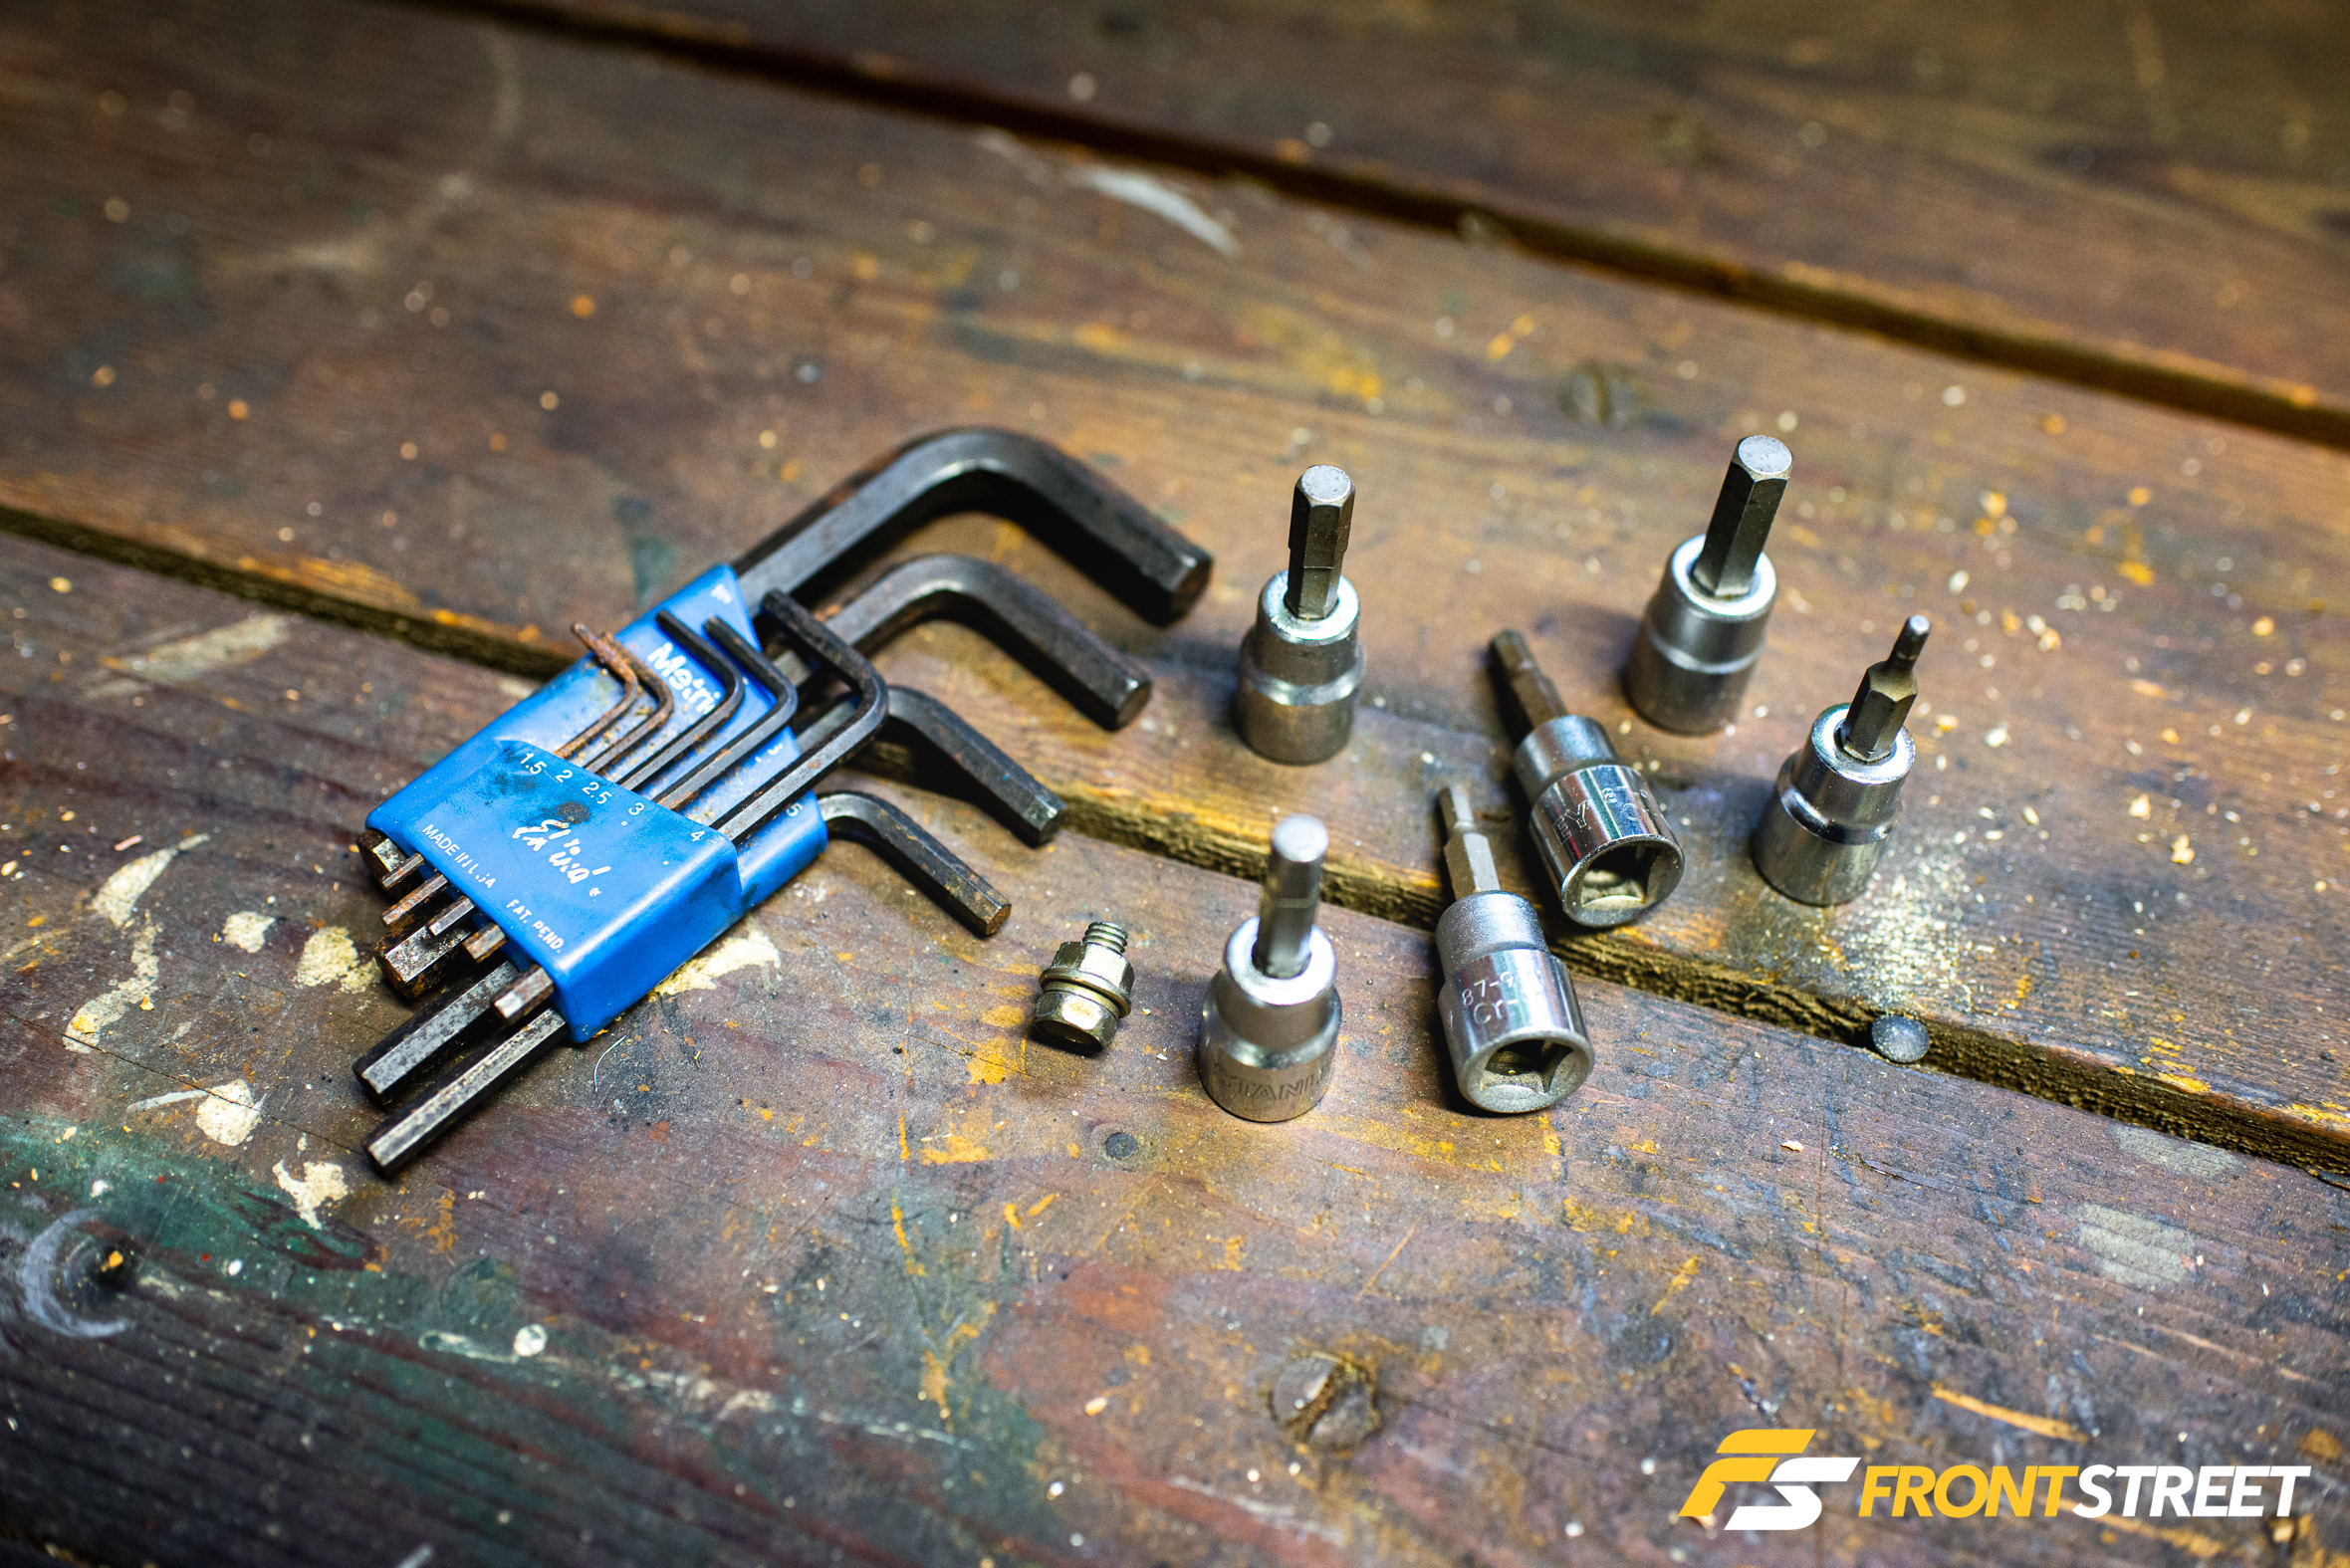
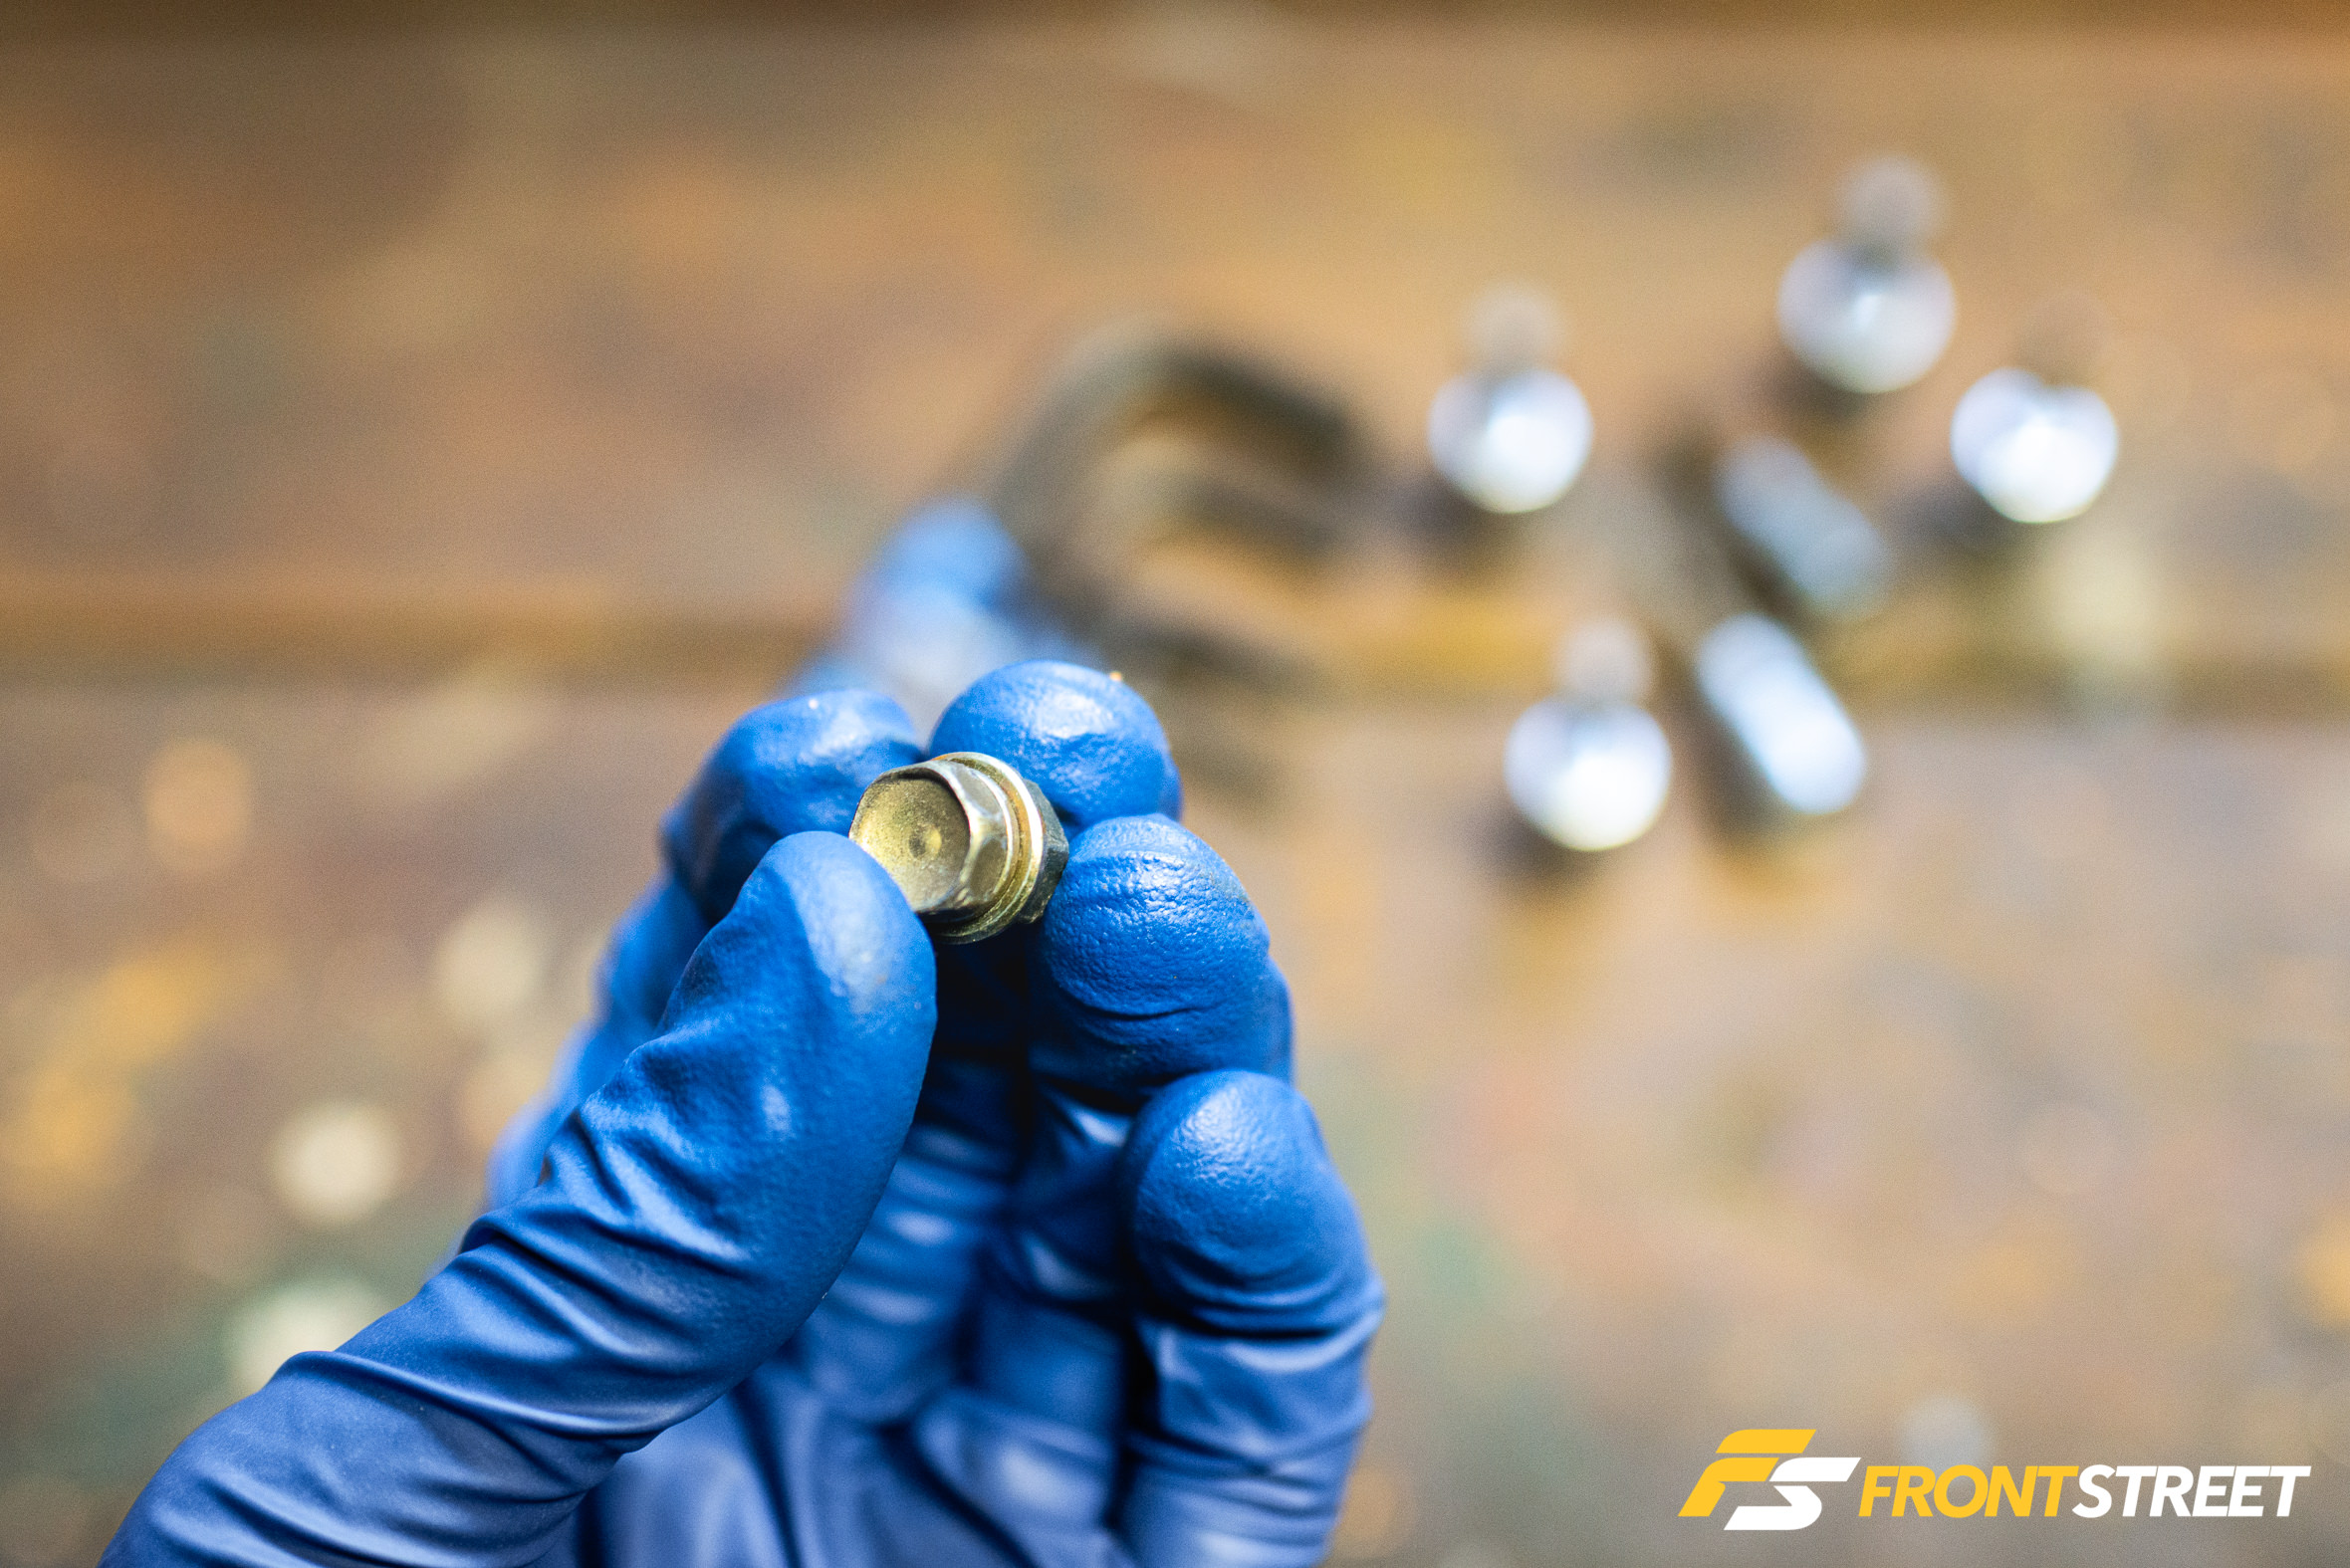
Socket head cap bolts certainly have their positives. Most have knurled edges on the outside, which allows for easy hand tightening and loosening. The bolt’s recessed section permits its use in tight spaces or countersunk for a clean, flush look. Often used by aftermarket parts companies looking for a fresher approach to hardware, they are a popular dress-up replacement for the traditional hex head hardware. The only problem is that no one knows where their Allen key or hex bit socket set is because it’s infrequently used compared to a typical hex head socket.
Fear not, we have the solution: An average hex head bolt? Yes.
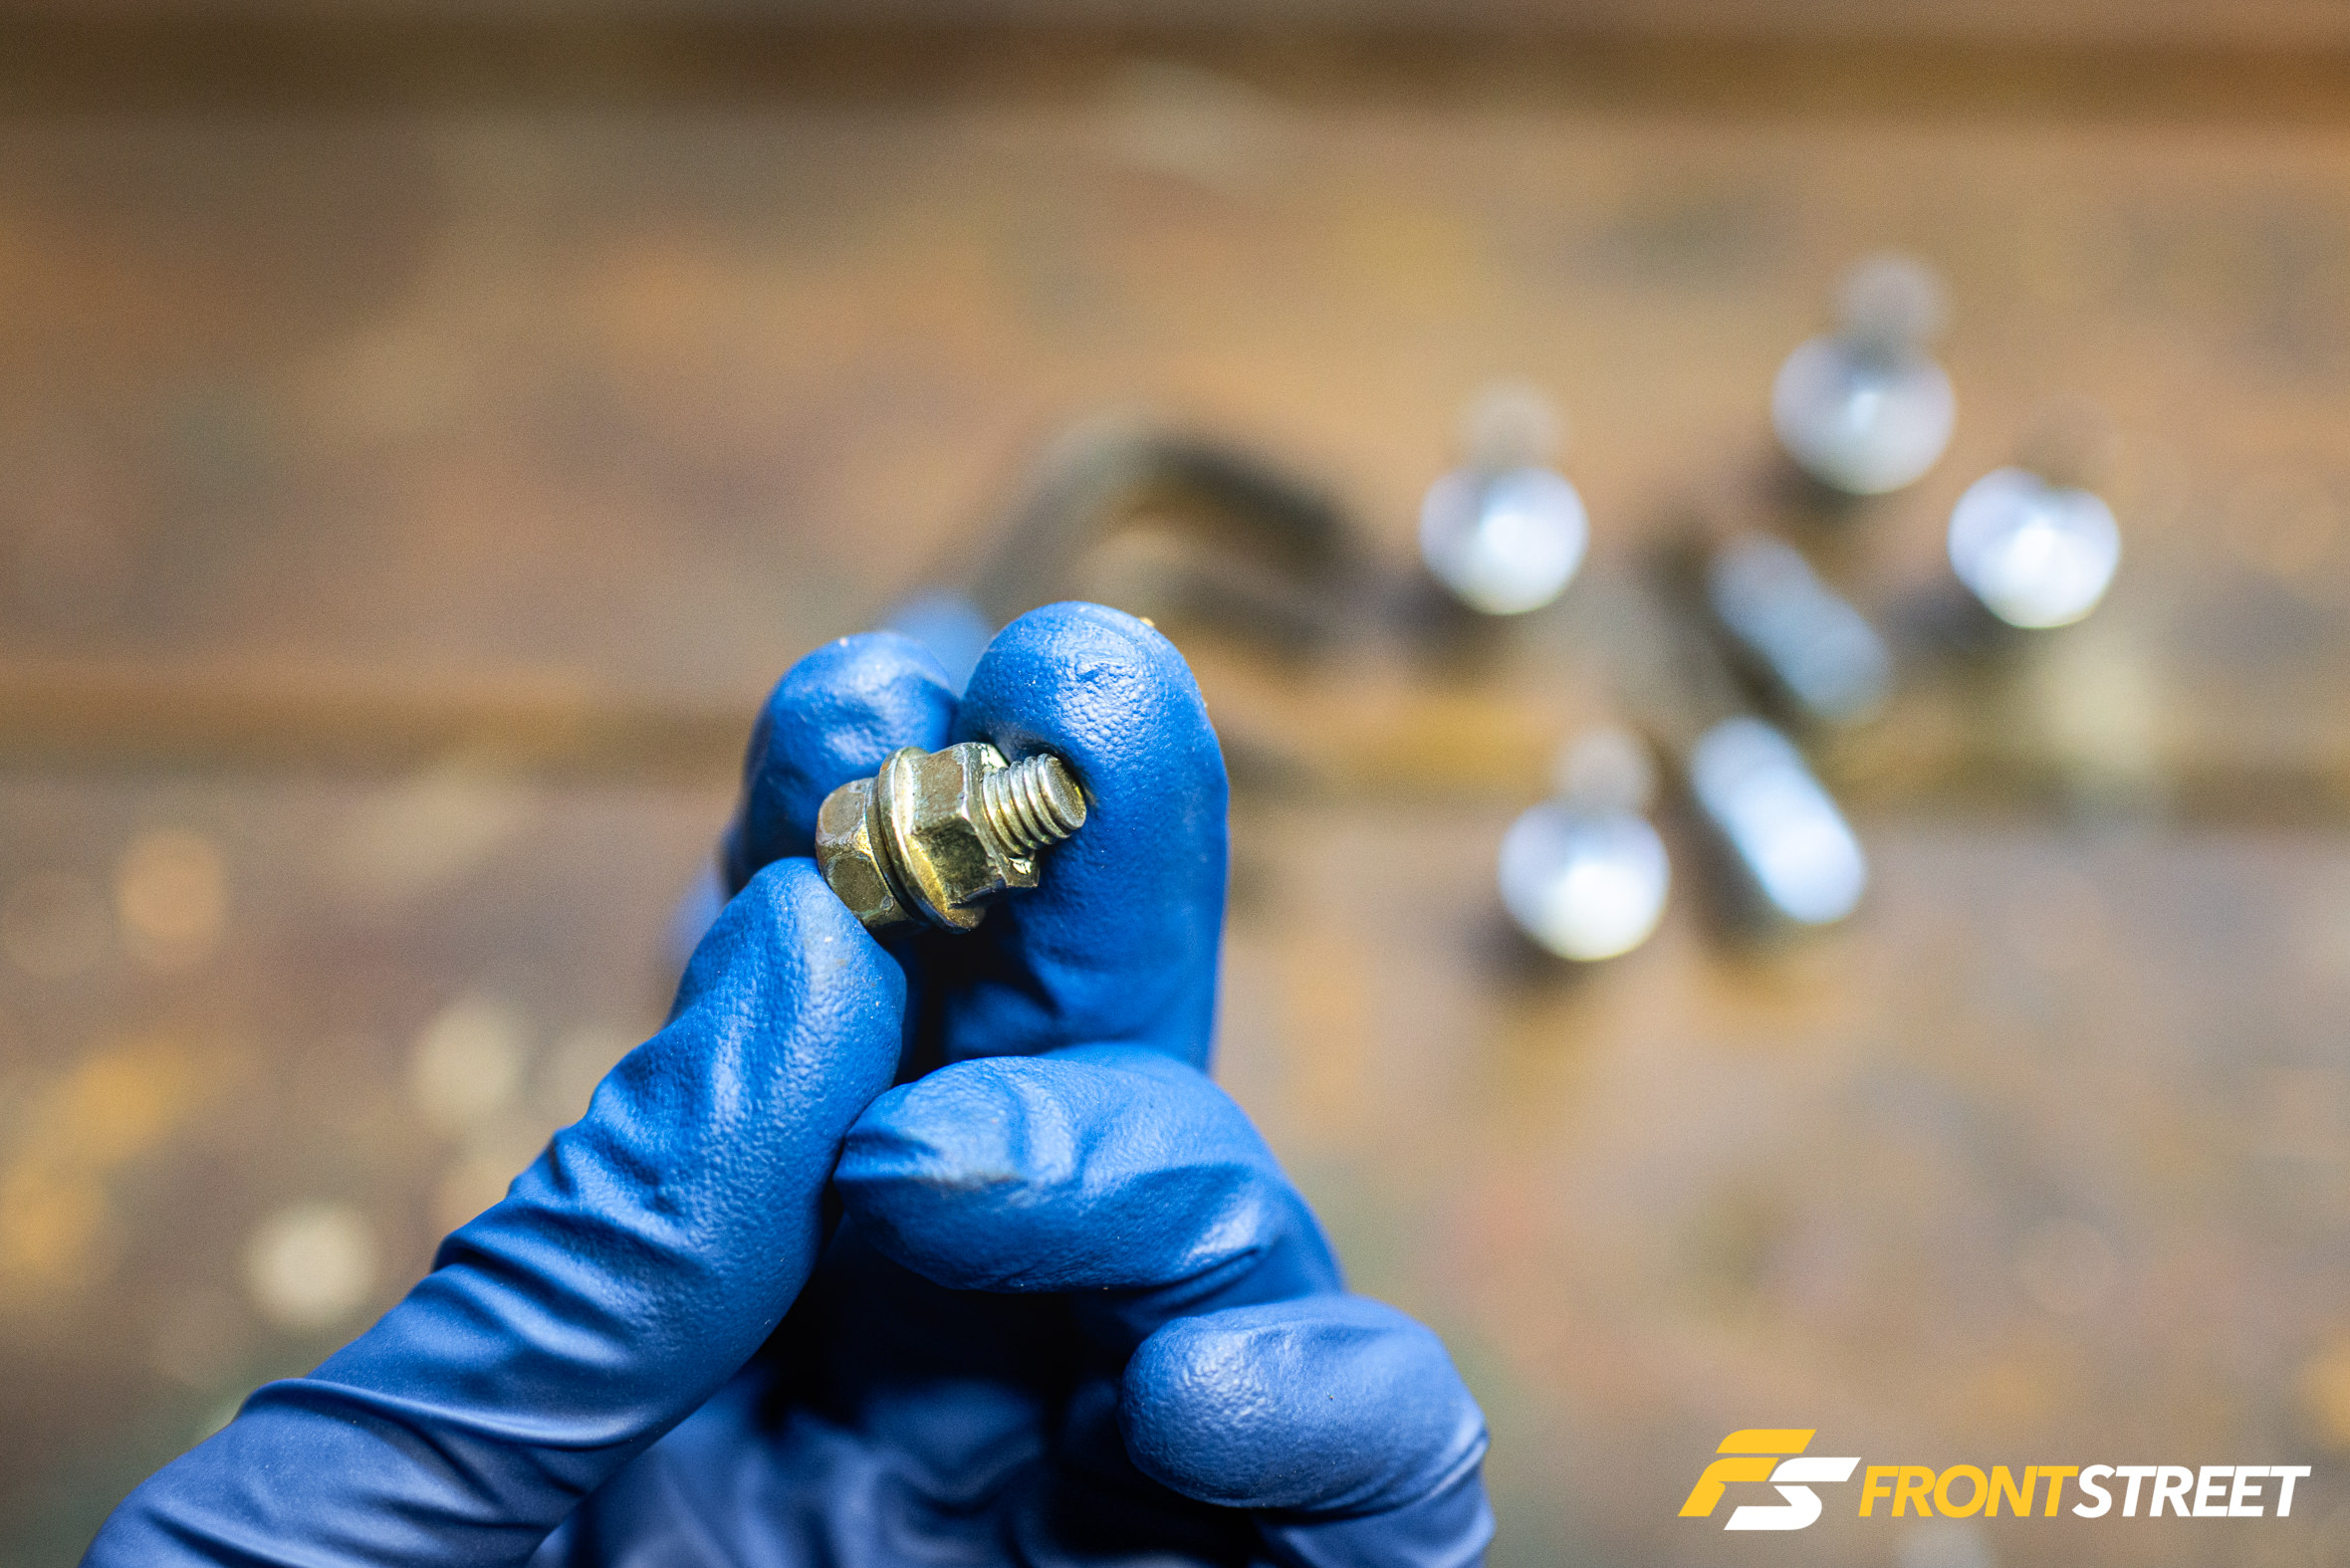
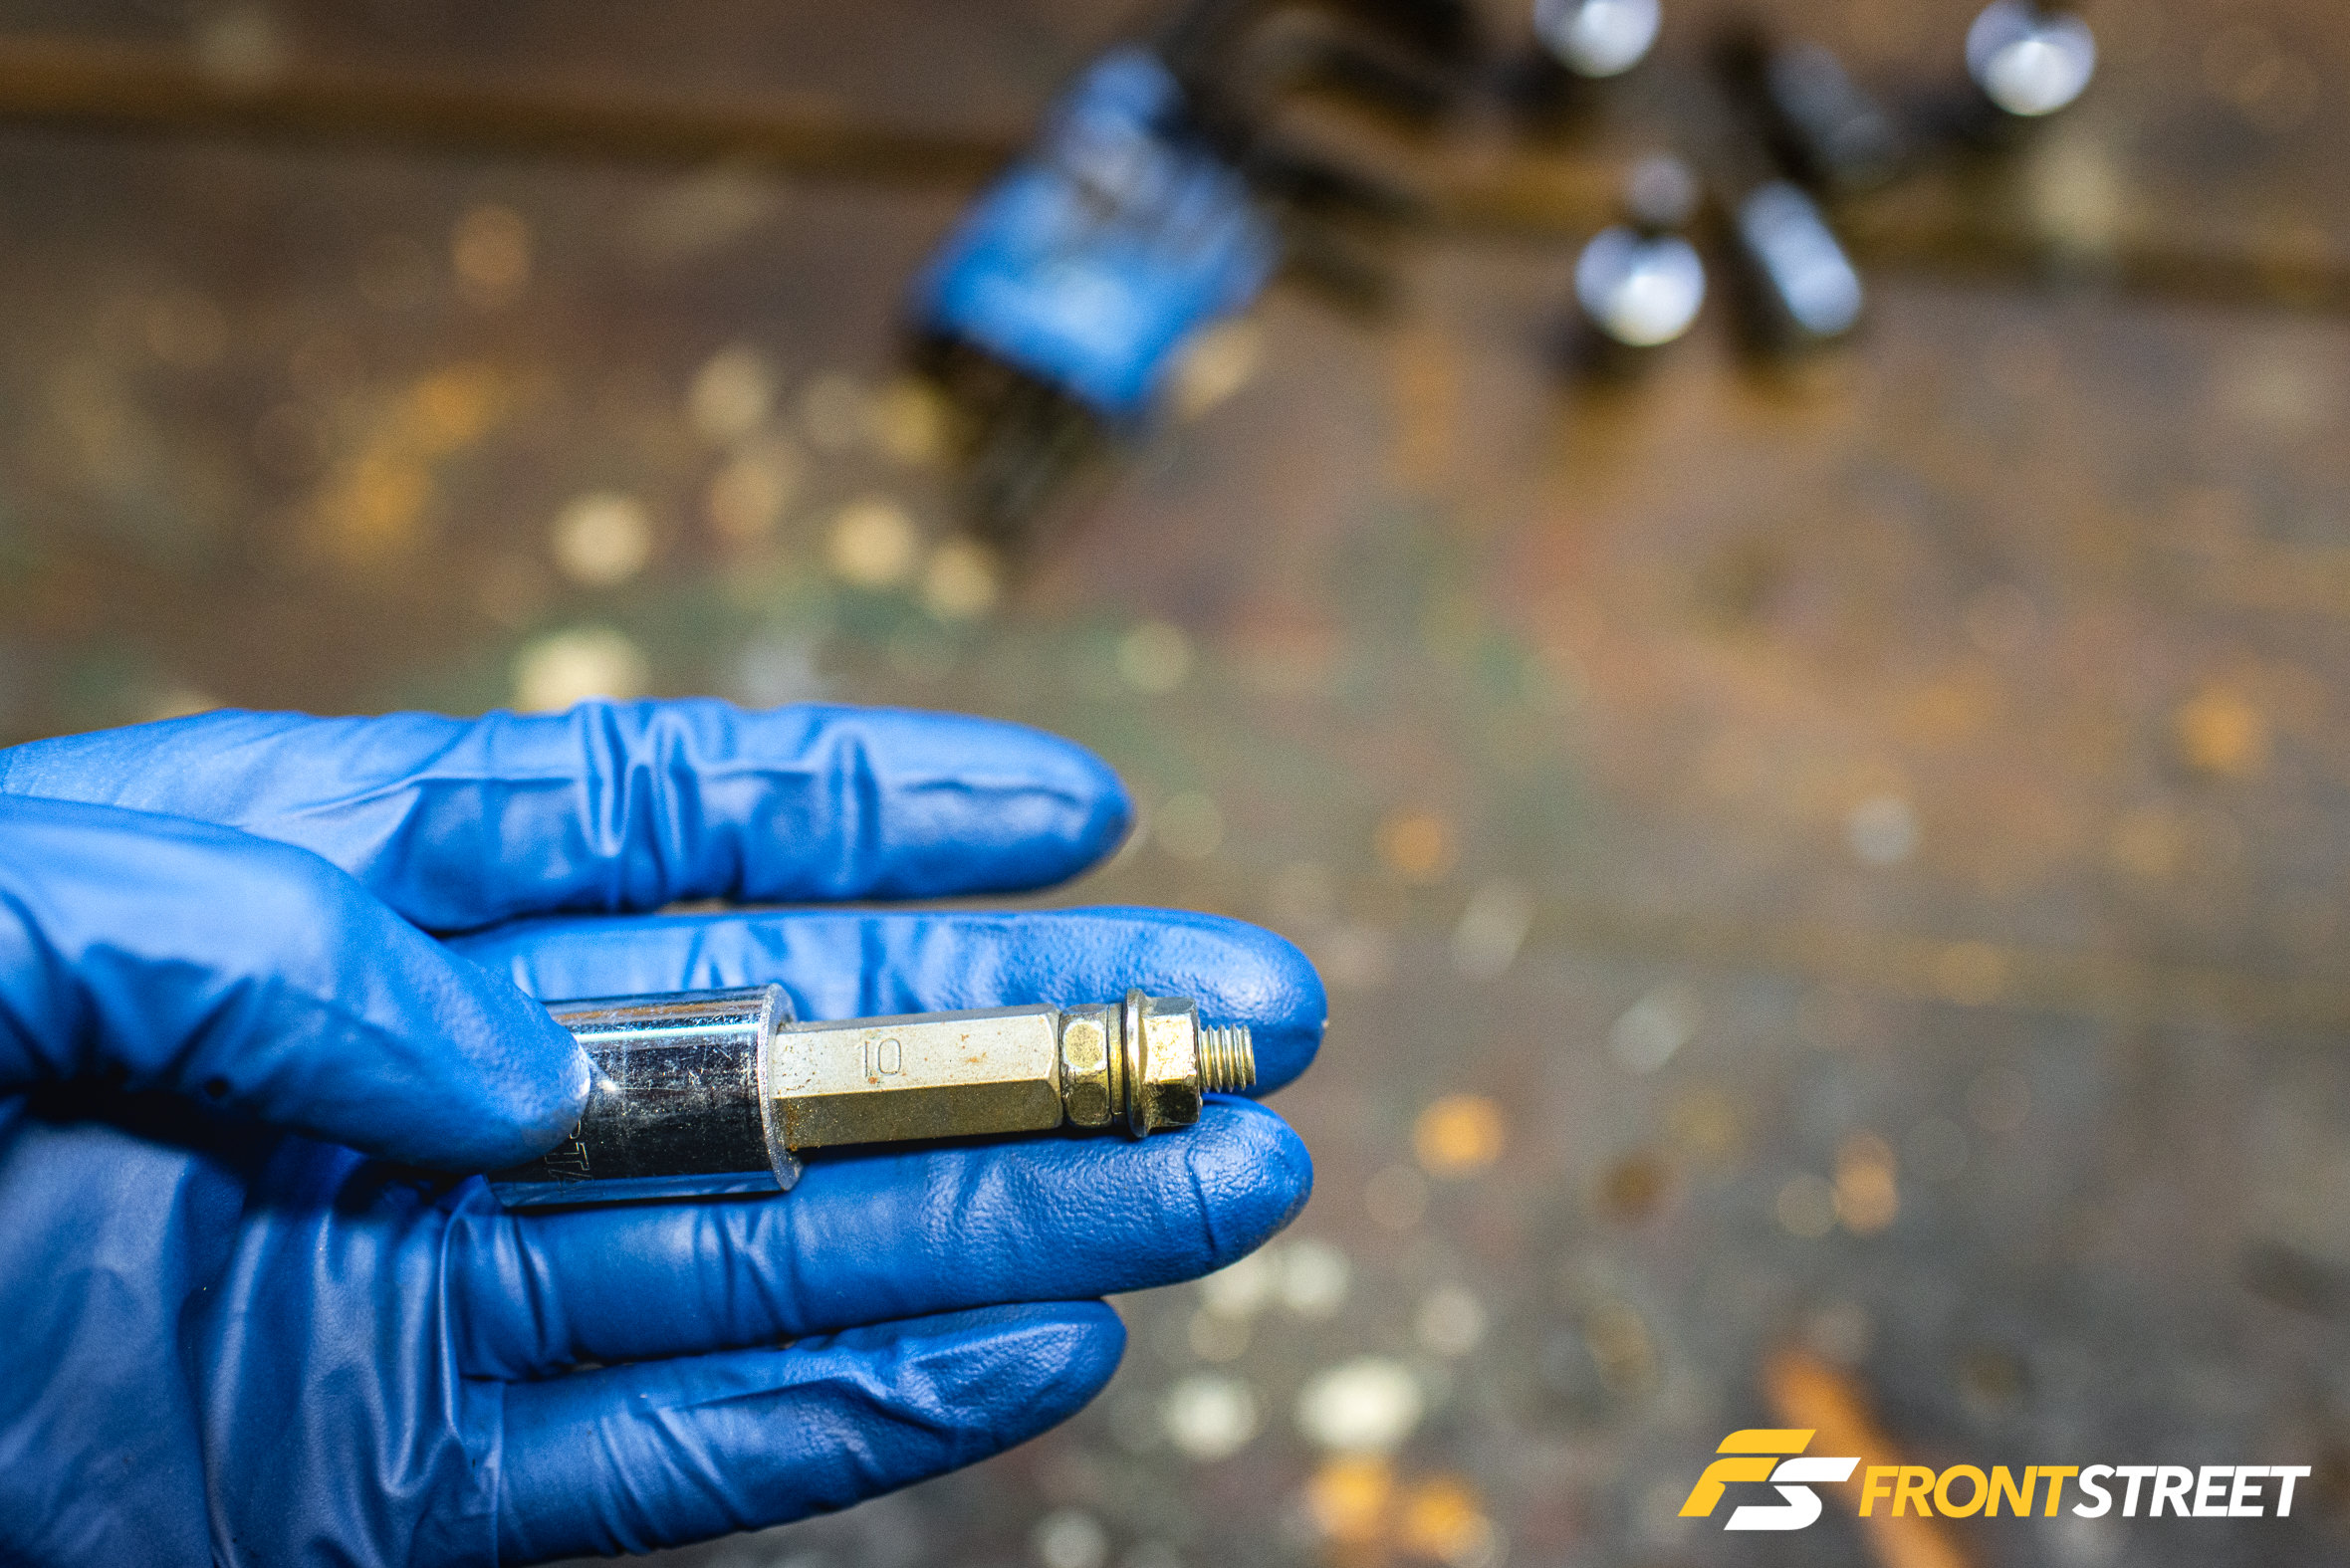
Like any other piece of hardware, that socket head cap bolt has a measurement for the size of the tool needed, and guess what? That 10mm hex bit socket or 10mm Allen Key has the same dimensions as the faithful 10mm bolt. So if you’re ever in the situation where you either can’t fit a hex bit socket due to space—think driveshaft—or can’t find the right tool, grab ahold of a 10mm bolt, thread a nut on the other side, and use the two combined as a makeshift hex bit in your 10mm socket by tightening or loosening the fastener as necessary.
Paper or Plastic Bolt Holder in Socket
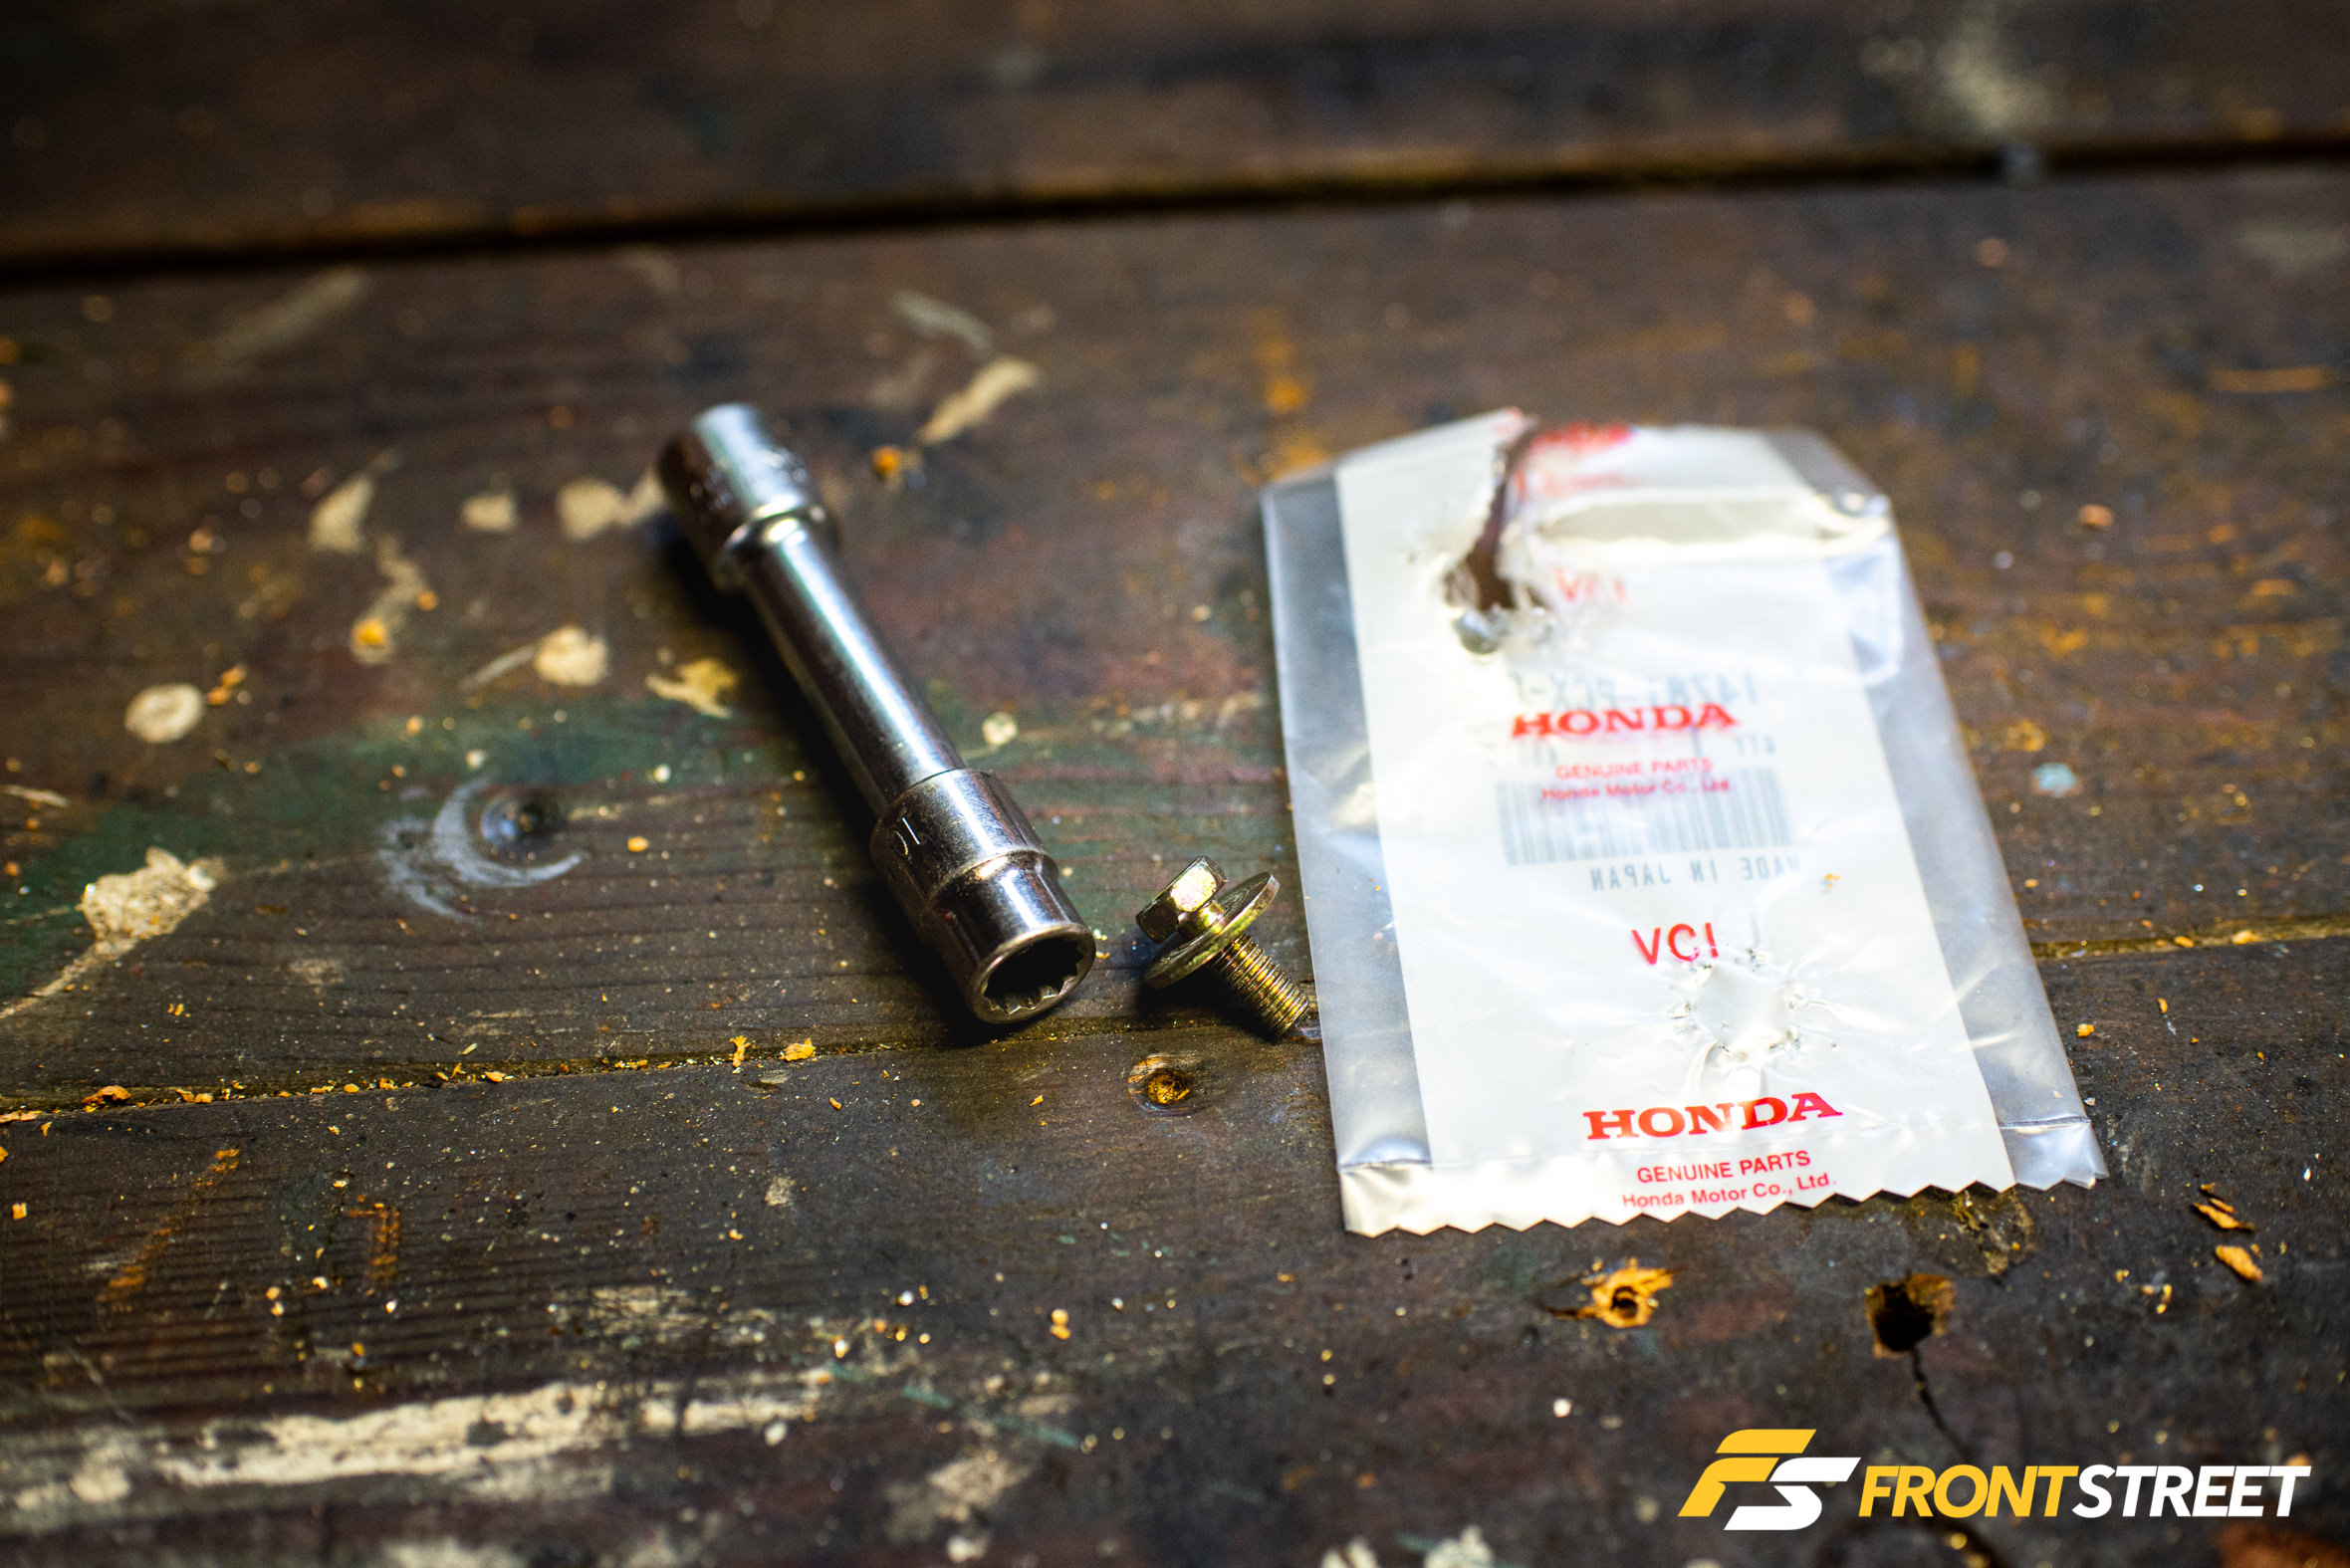
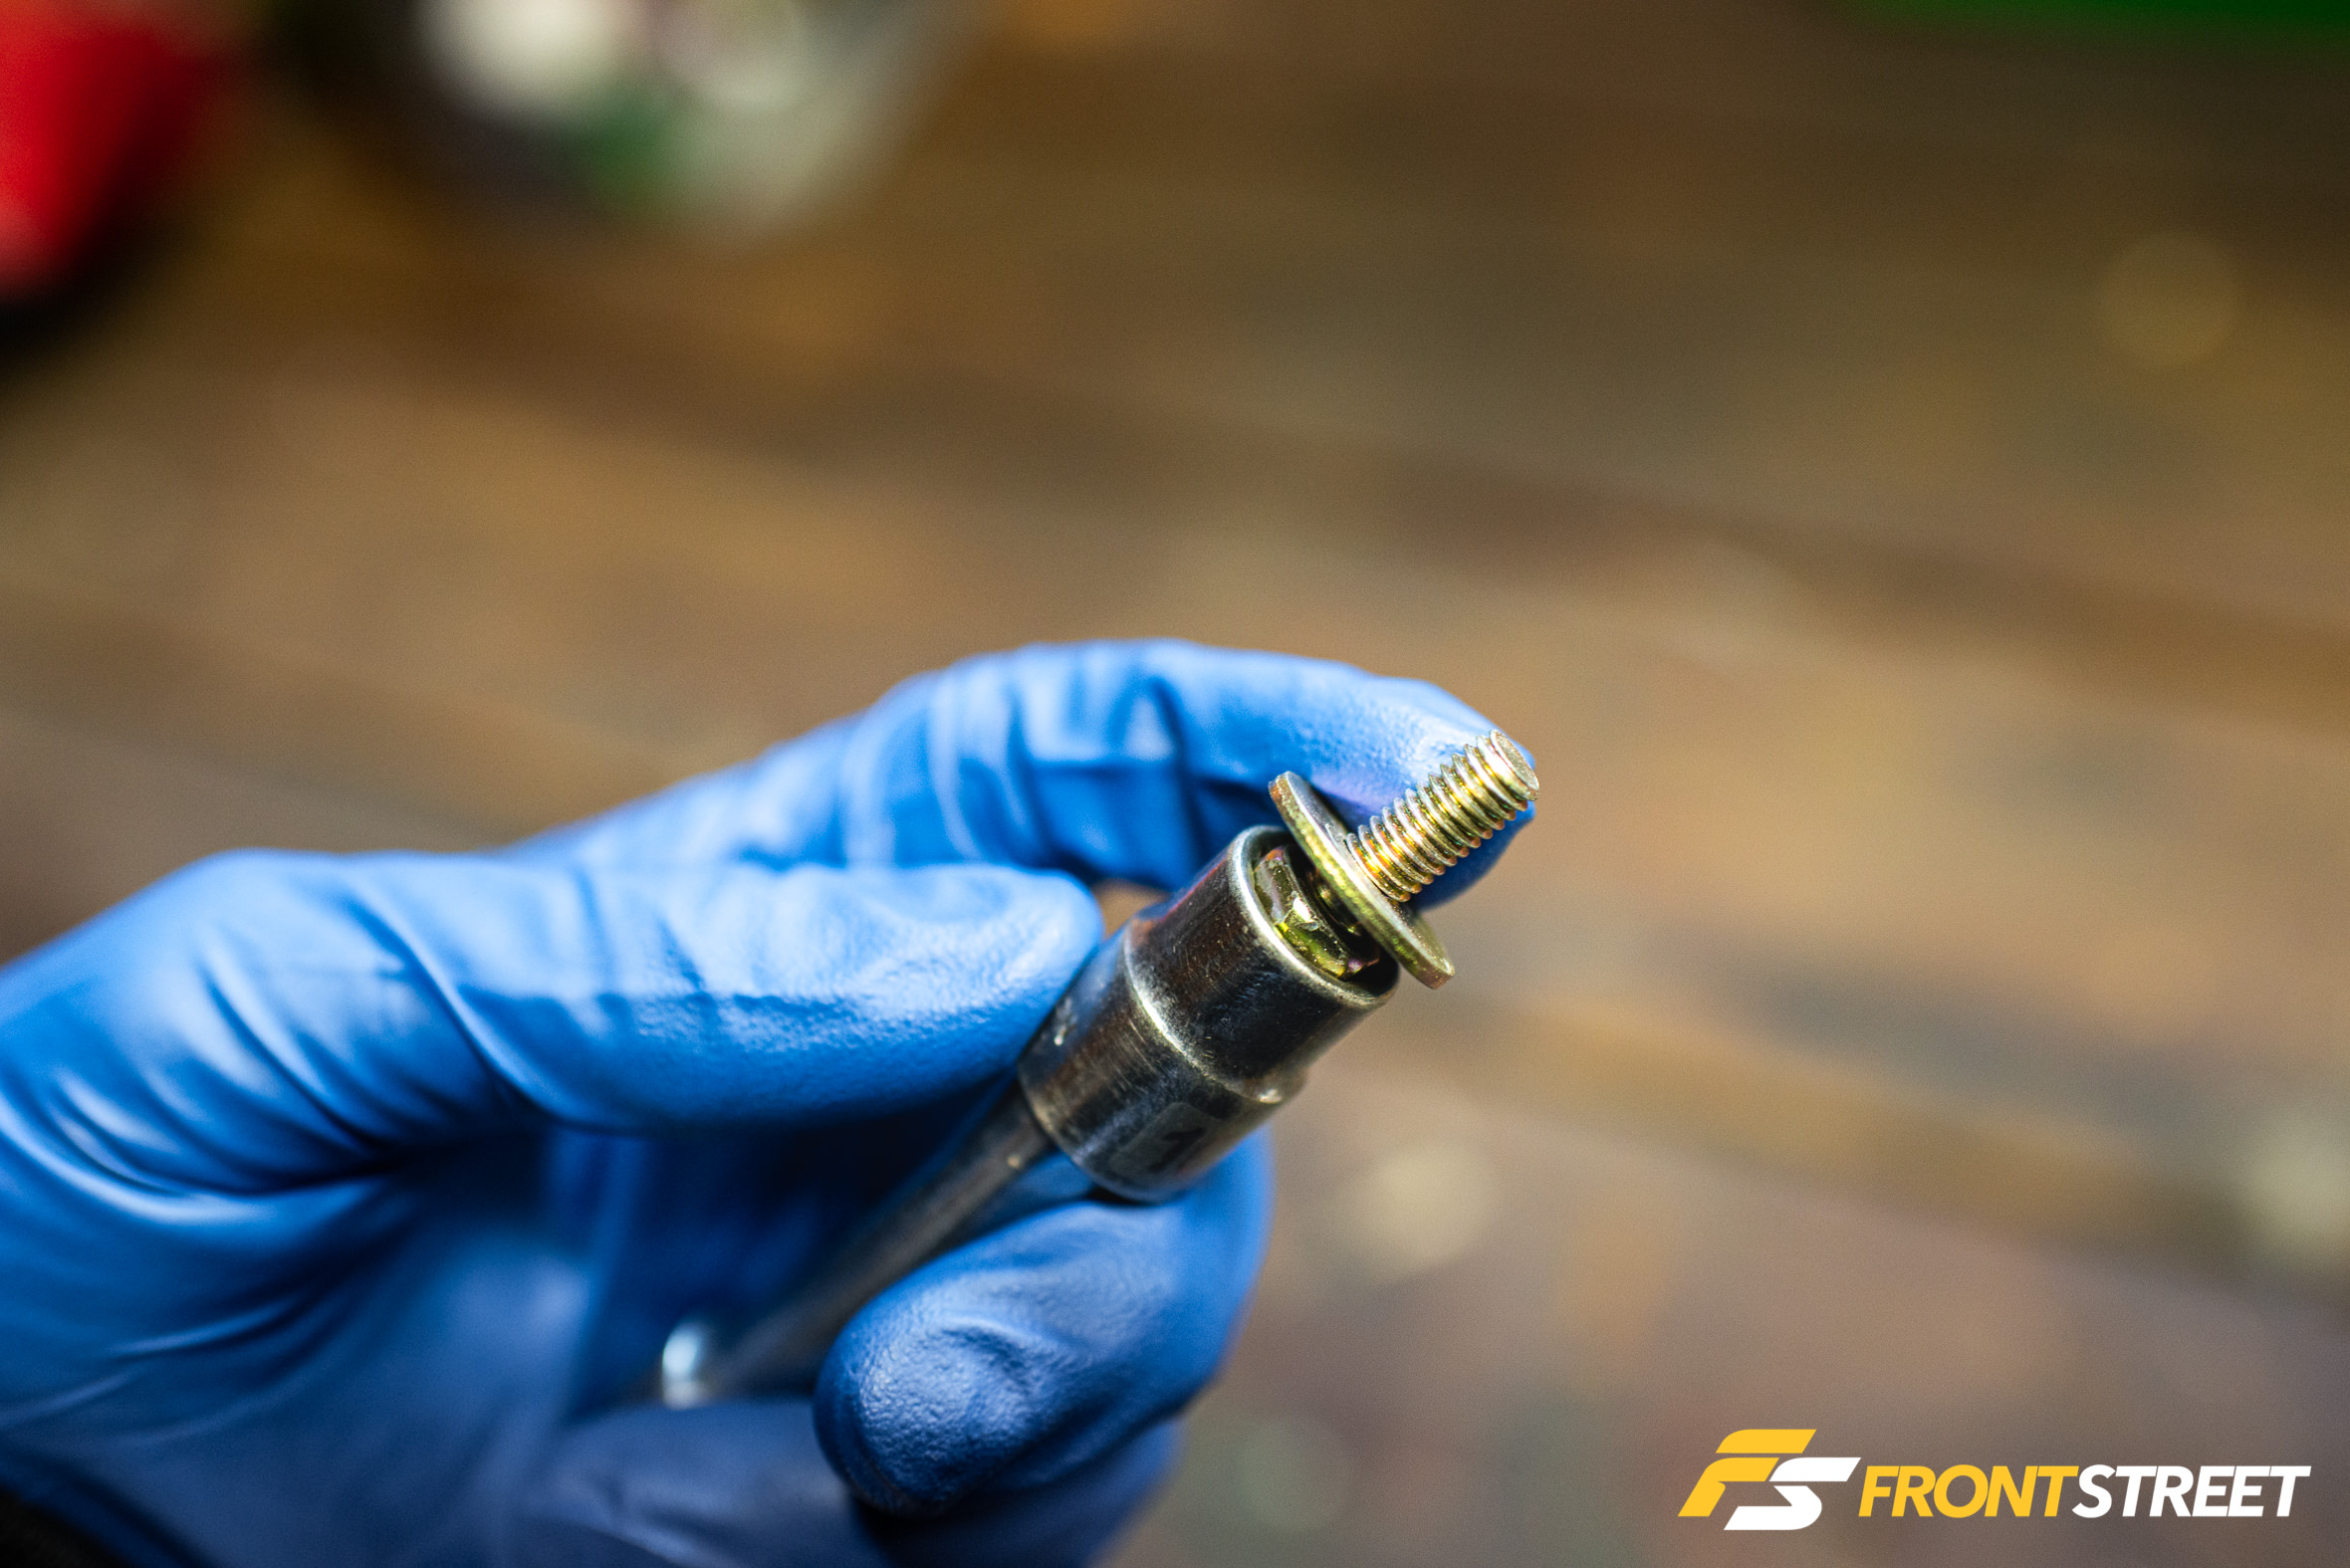
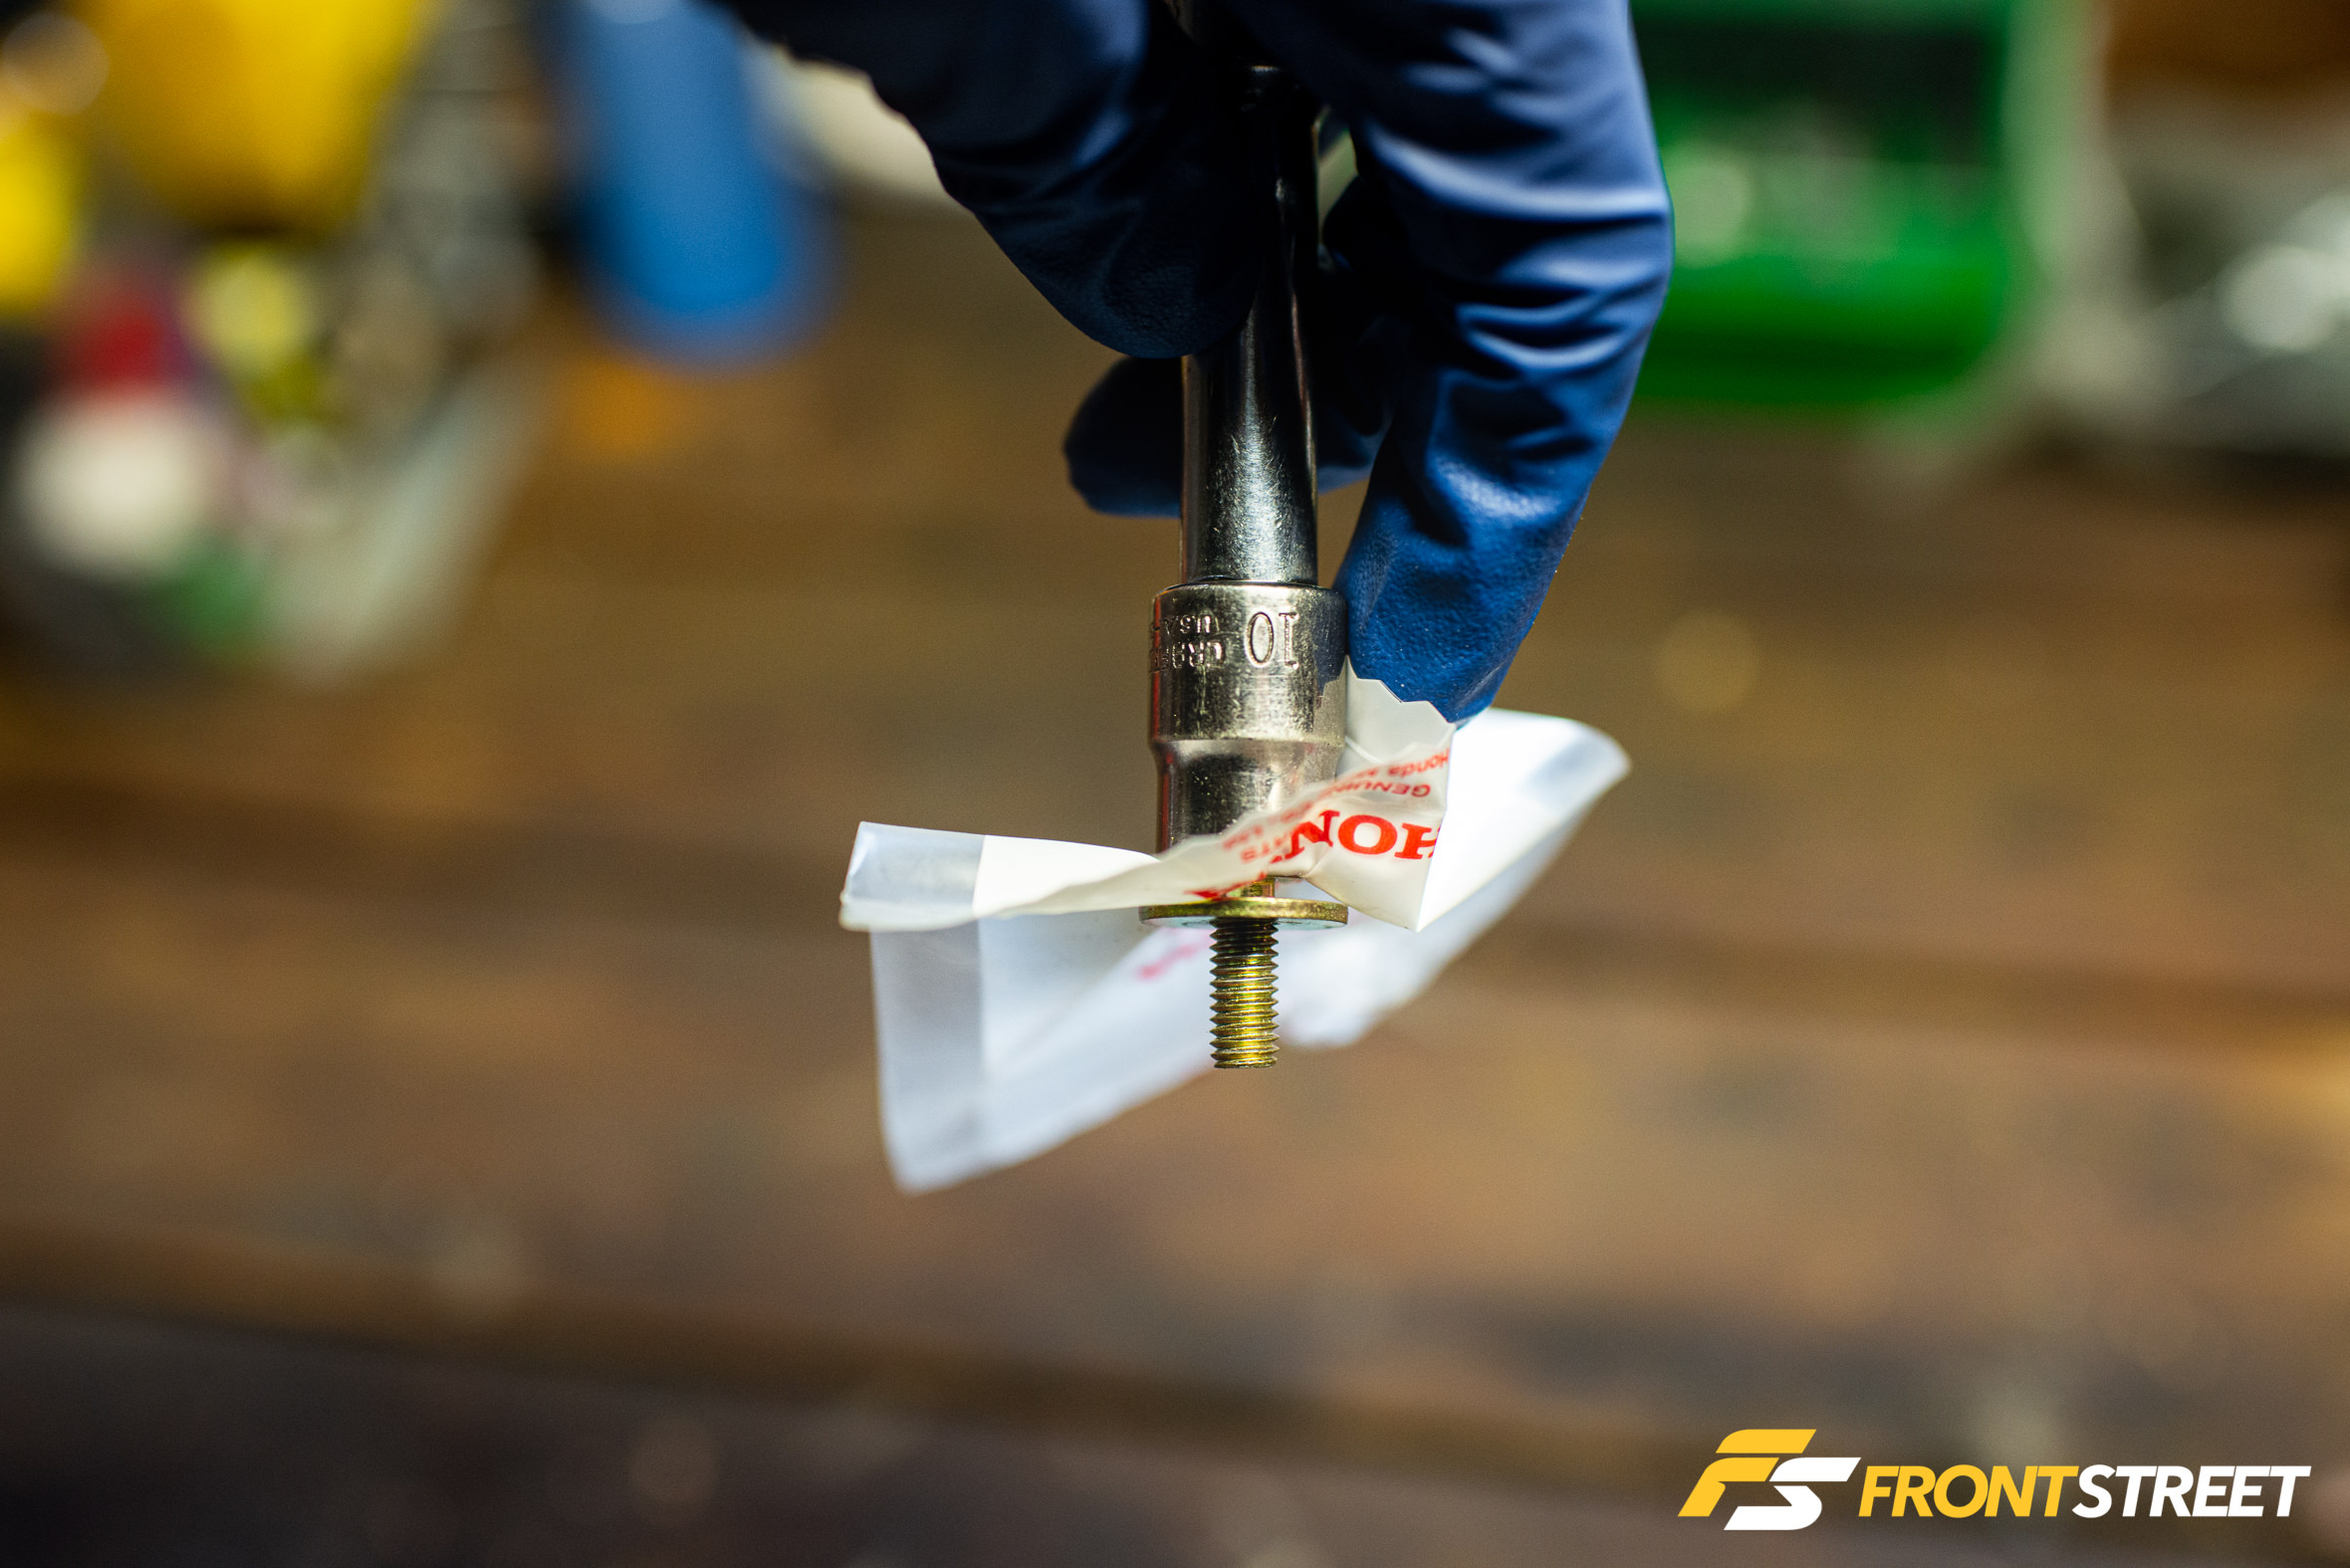
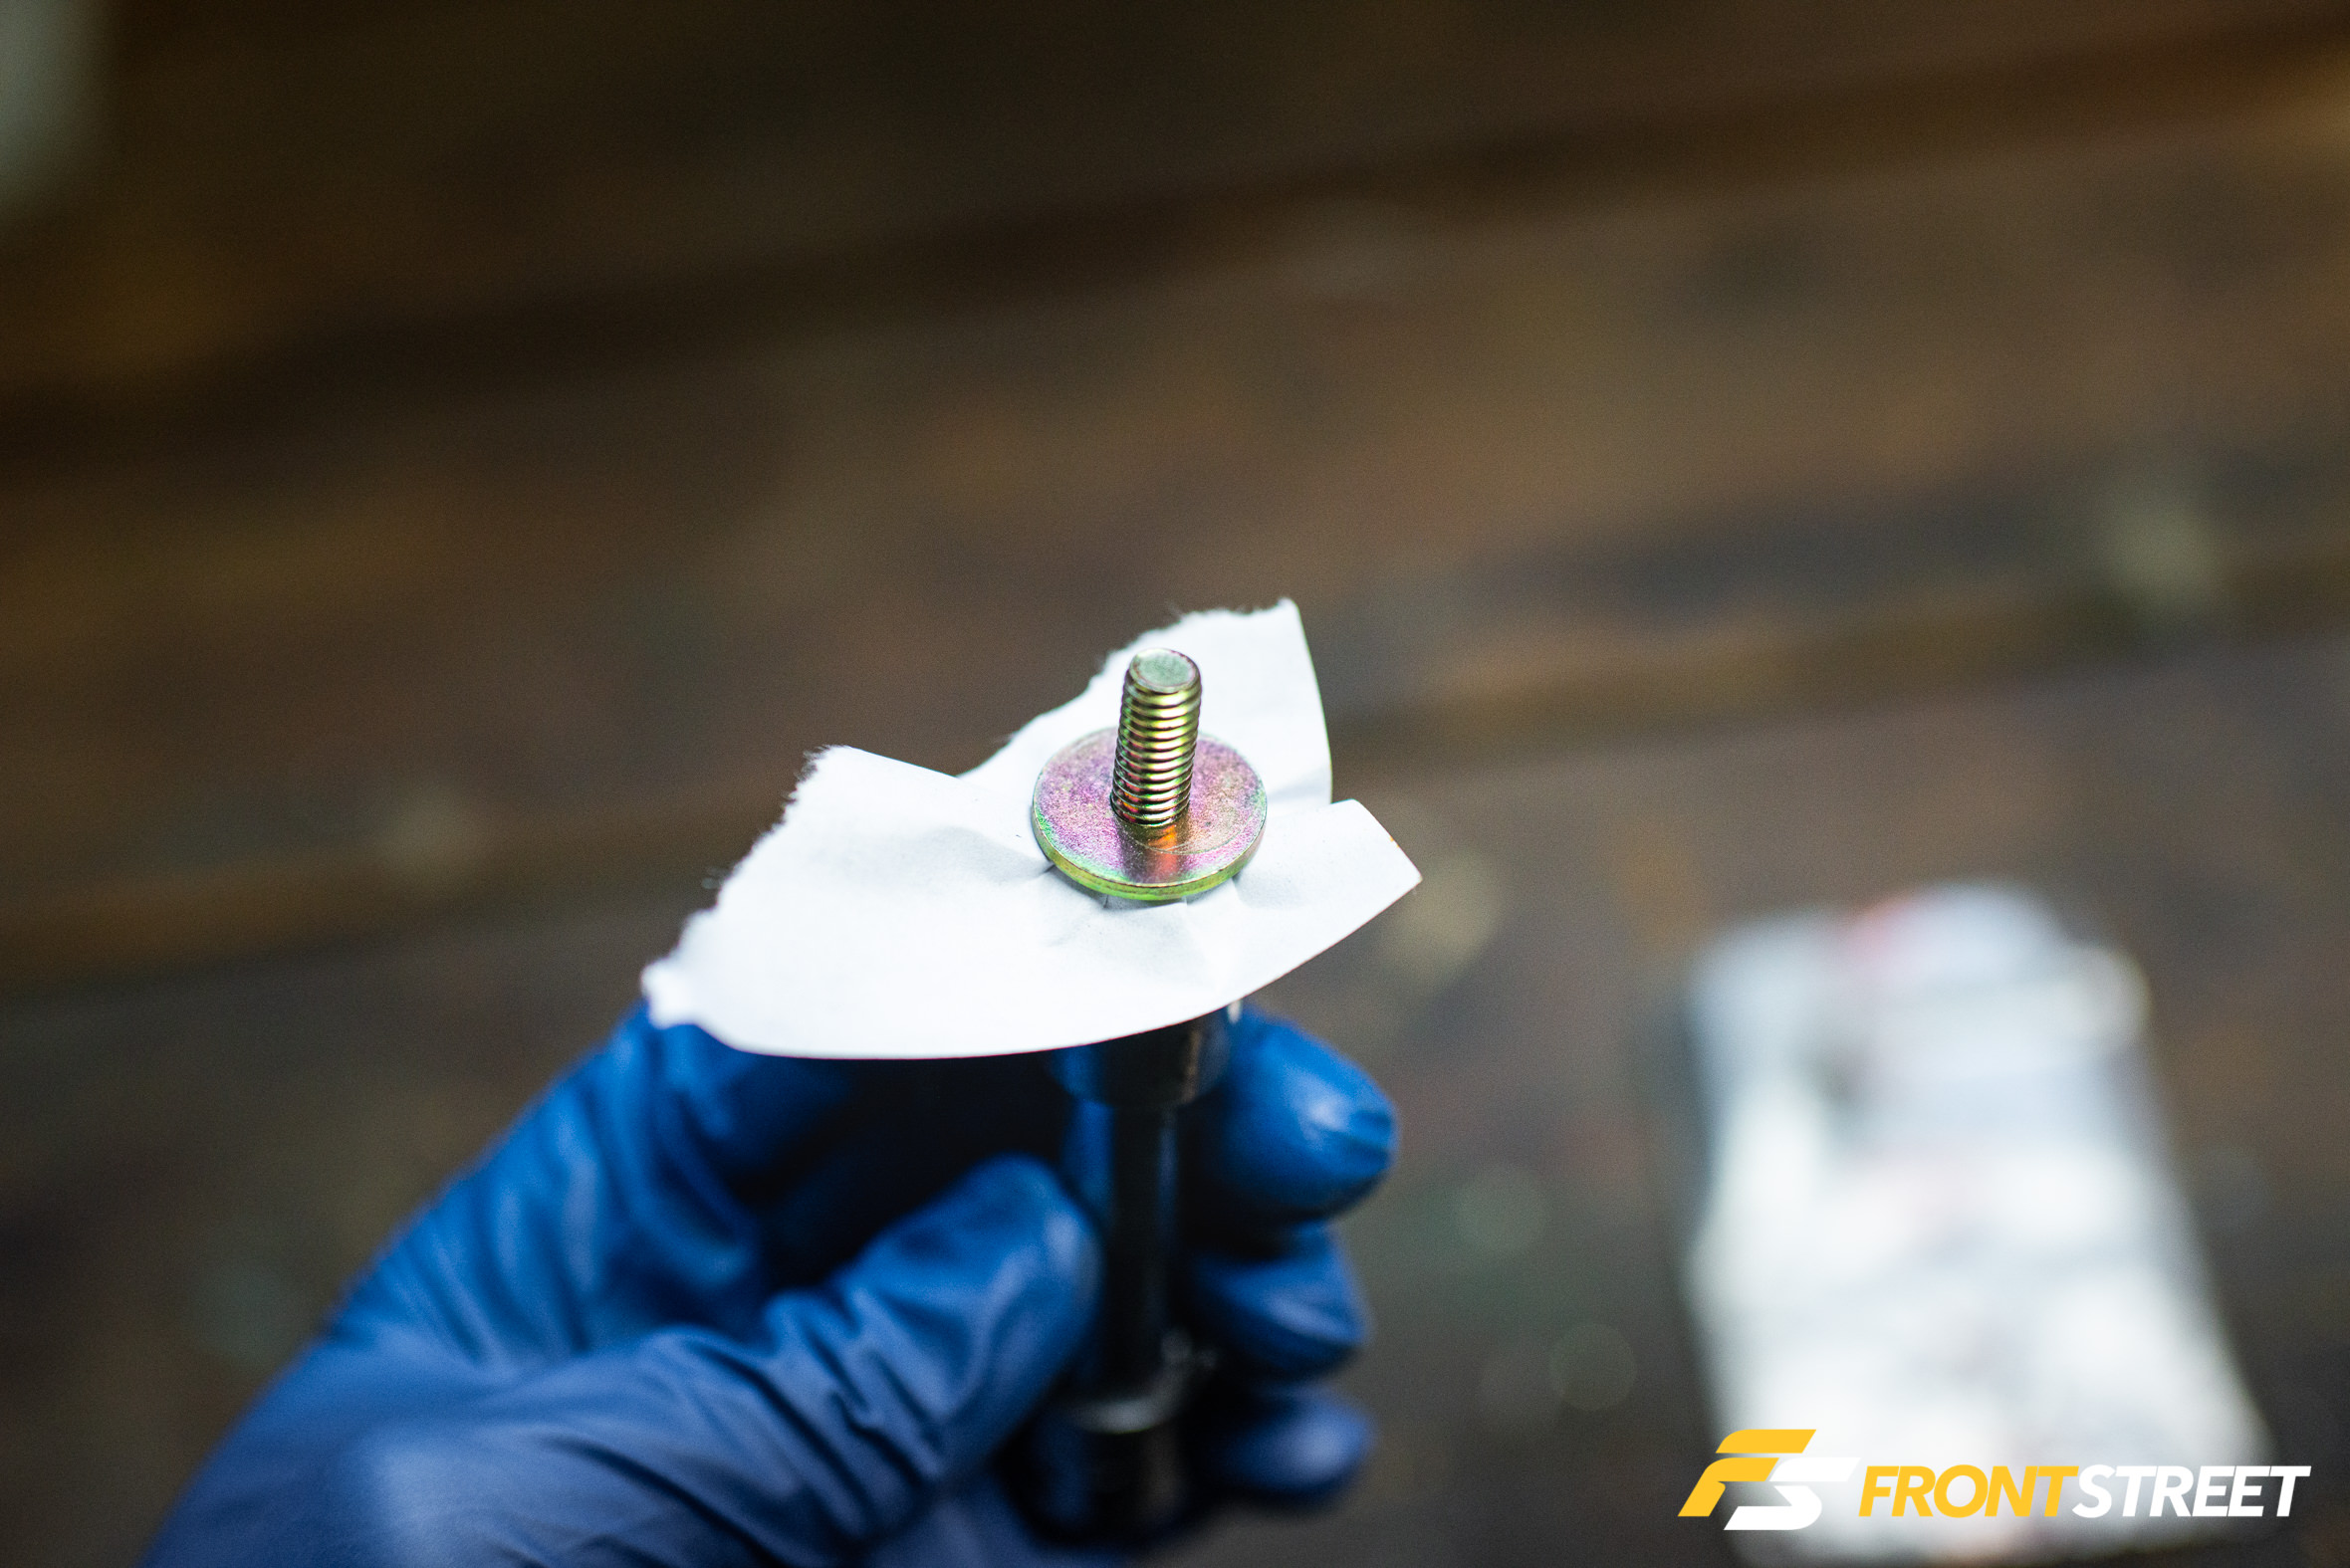
If I could only get this tiny bolt all the way down into that little crevice without droppi—oops, it dropped, rolled into the most remote area, and is now gone forever, destined to live its life rattling around inside of my car’s chassis. If only there were a way to keep that bolt properly inside my socket while I attach all 12 of my extensions onto one another and feed the mast down into my car’s abyss. Well, there is, and it’s a far easier solution than you thought: use paper.
When you place a bolt into a socket, there is a marginal gap between the bolt’s head and the socket’s confines. This allows for several types of leeway while tightening or loosening bolts and nuts. You could be fractionally off-center, you might need wiggle room to get your tool into position, and you might not want to fight your socket every time you need to remove a bolt or nut from its grasps. Whatever the reason, that gap is the precise reason hardware escapes your tool when flipped upside down. The easiest way to conquer the runaway bolt before it happens is to tighten the seal between your socket and the bolt or nut. The use of something as thin as an ordinary piece of paper, some blue painter’s tape—or my personal favorite, a plastic OEM Honda parts bag—eliminates the gap and retains the bolt.
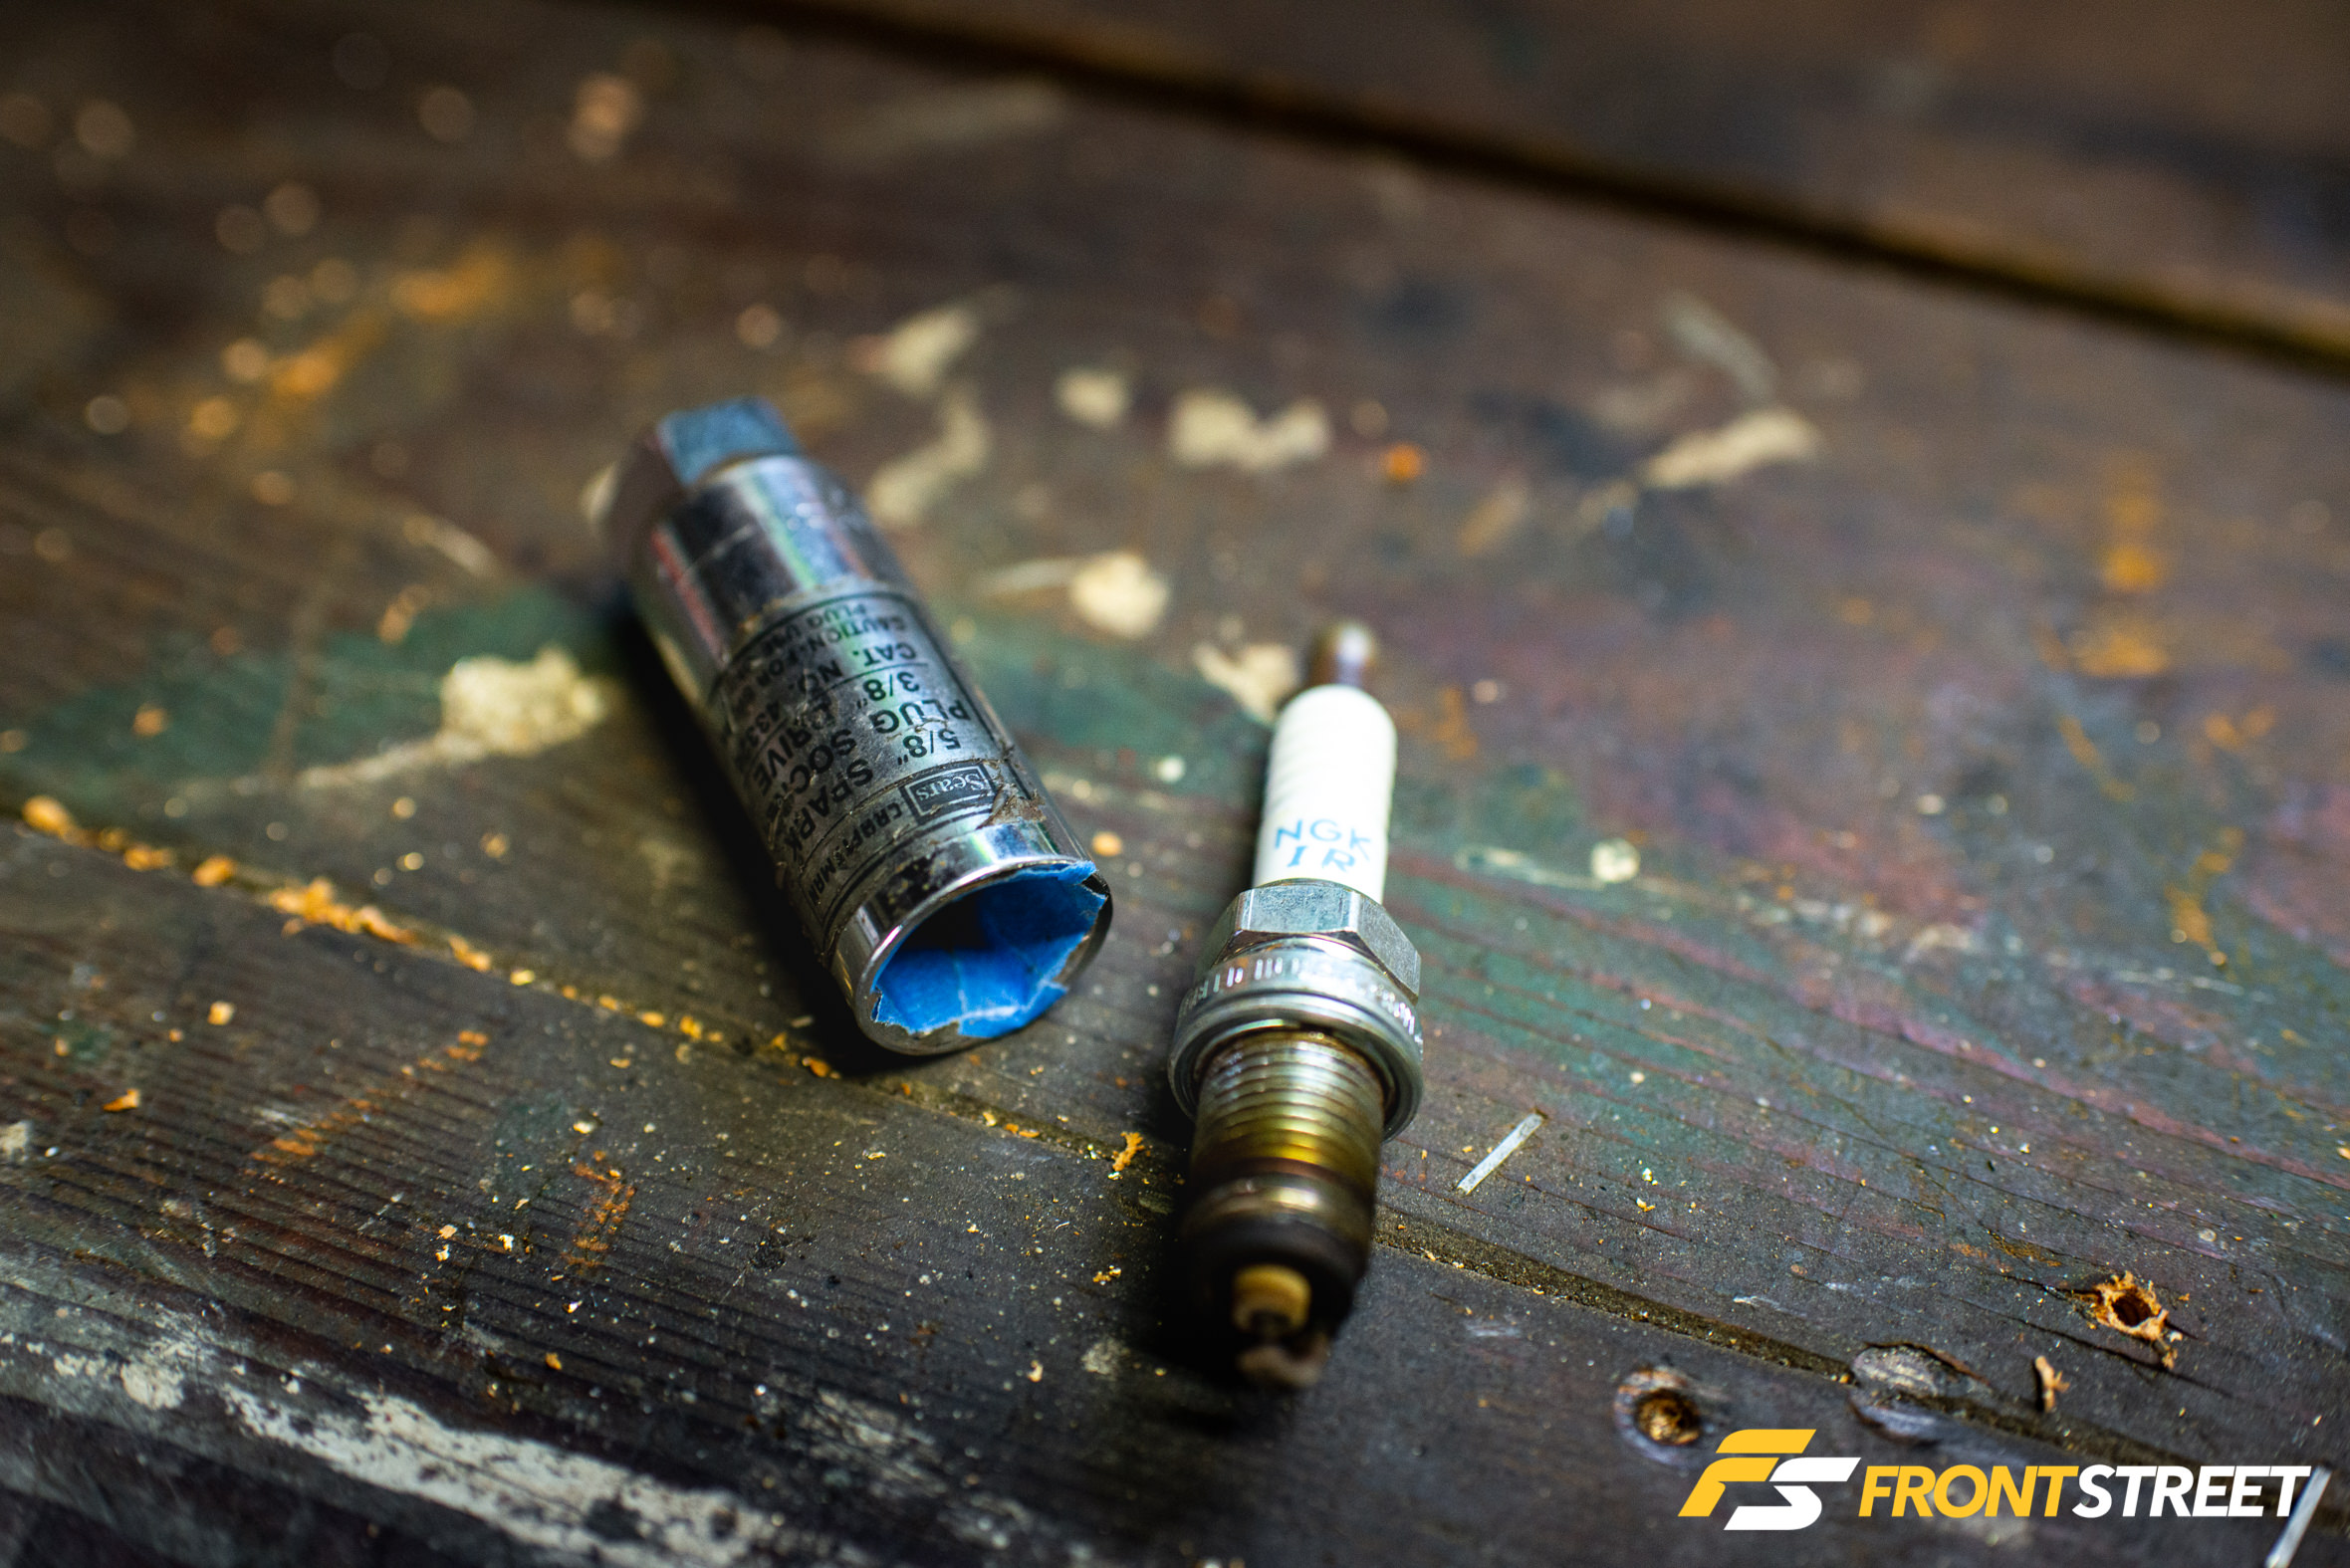
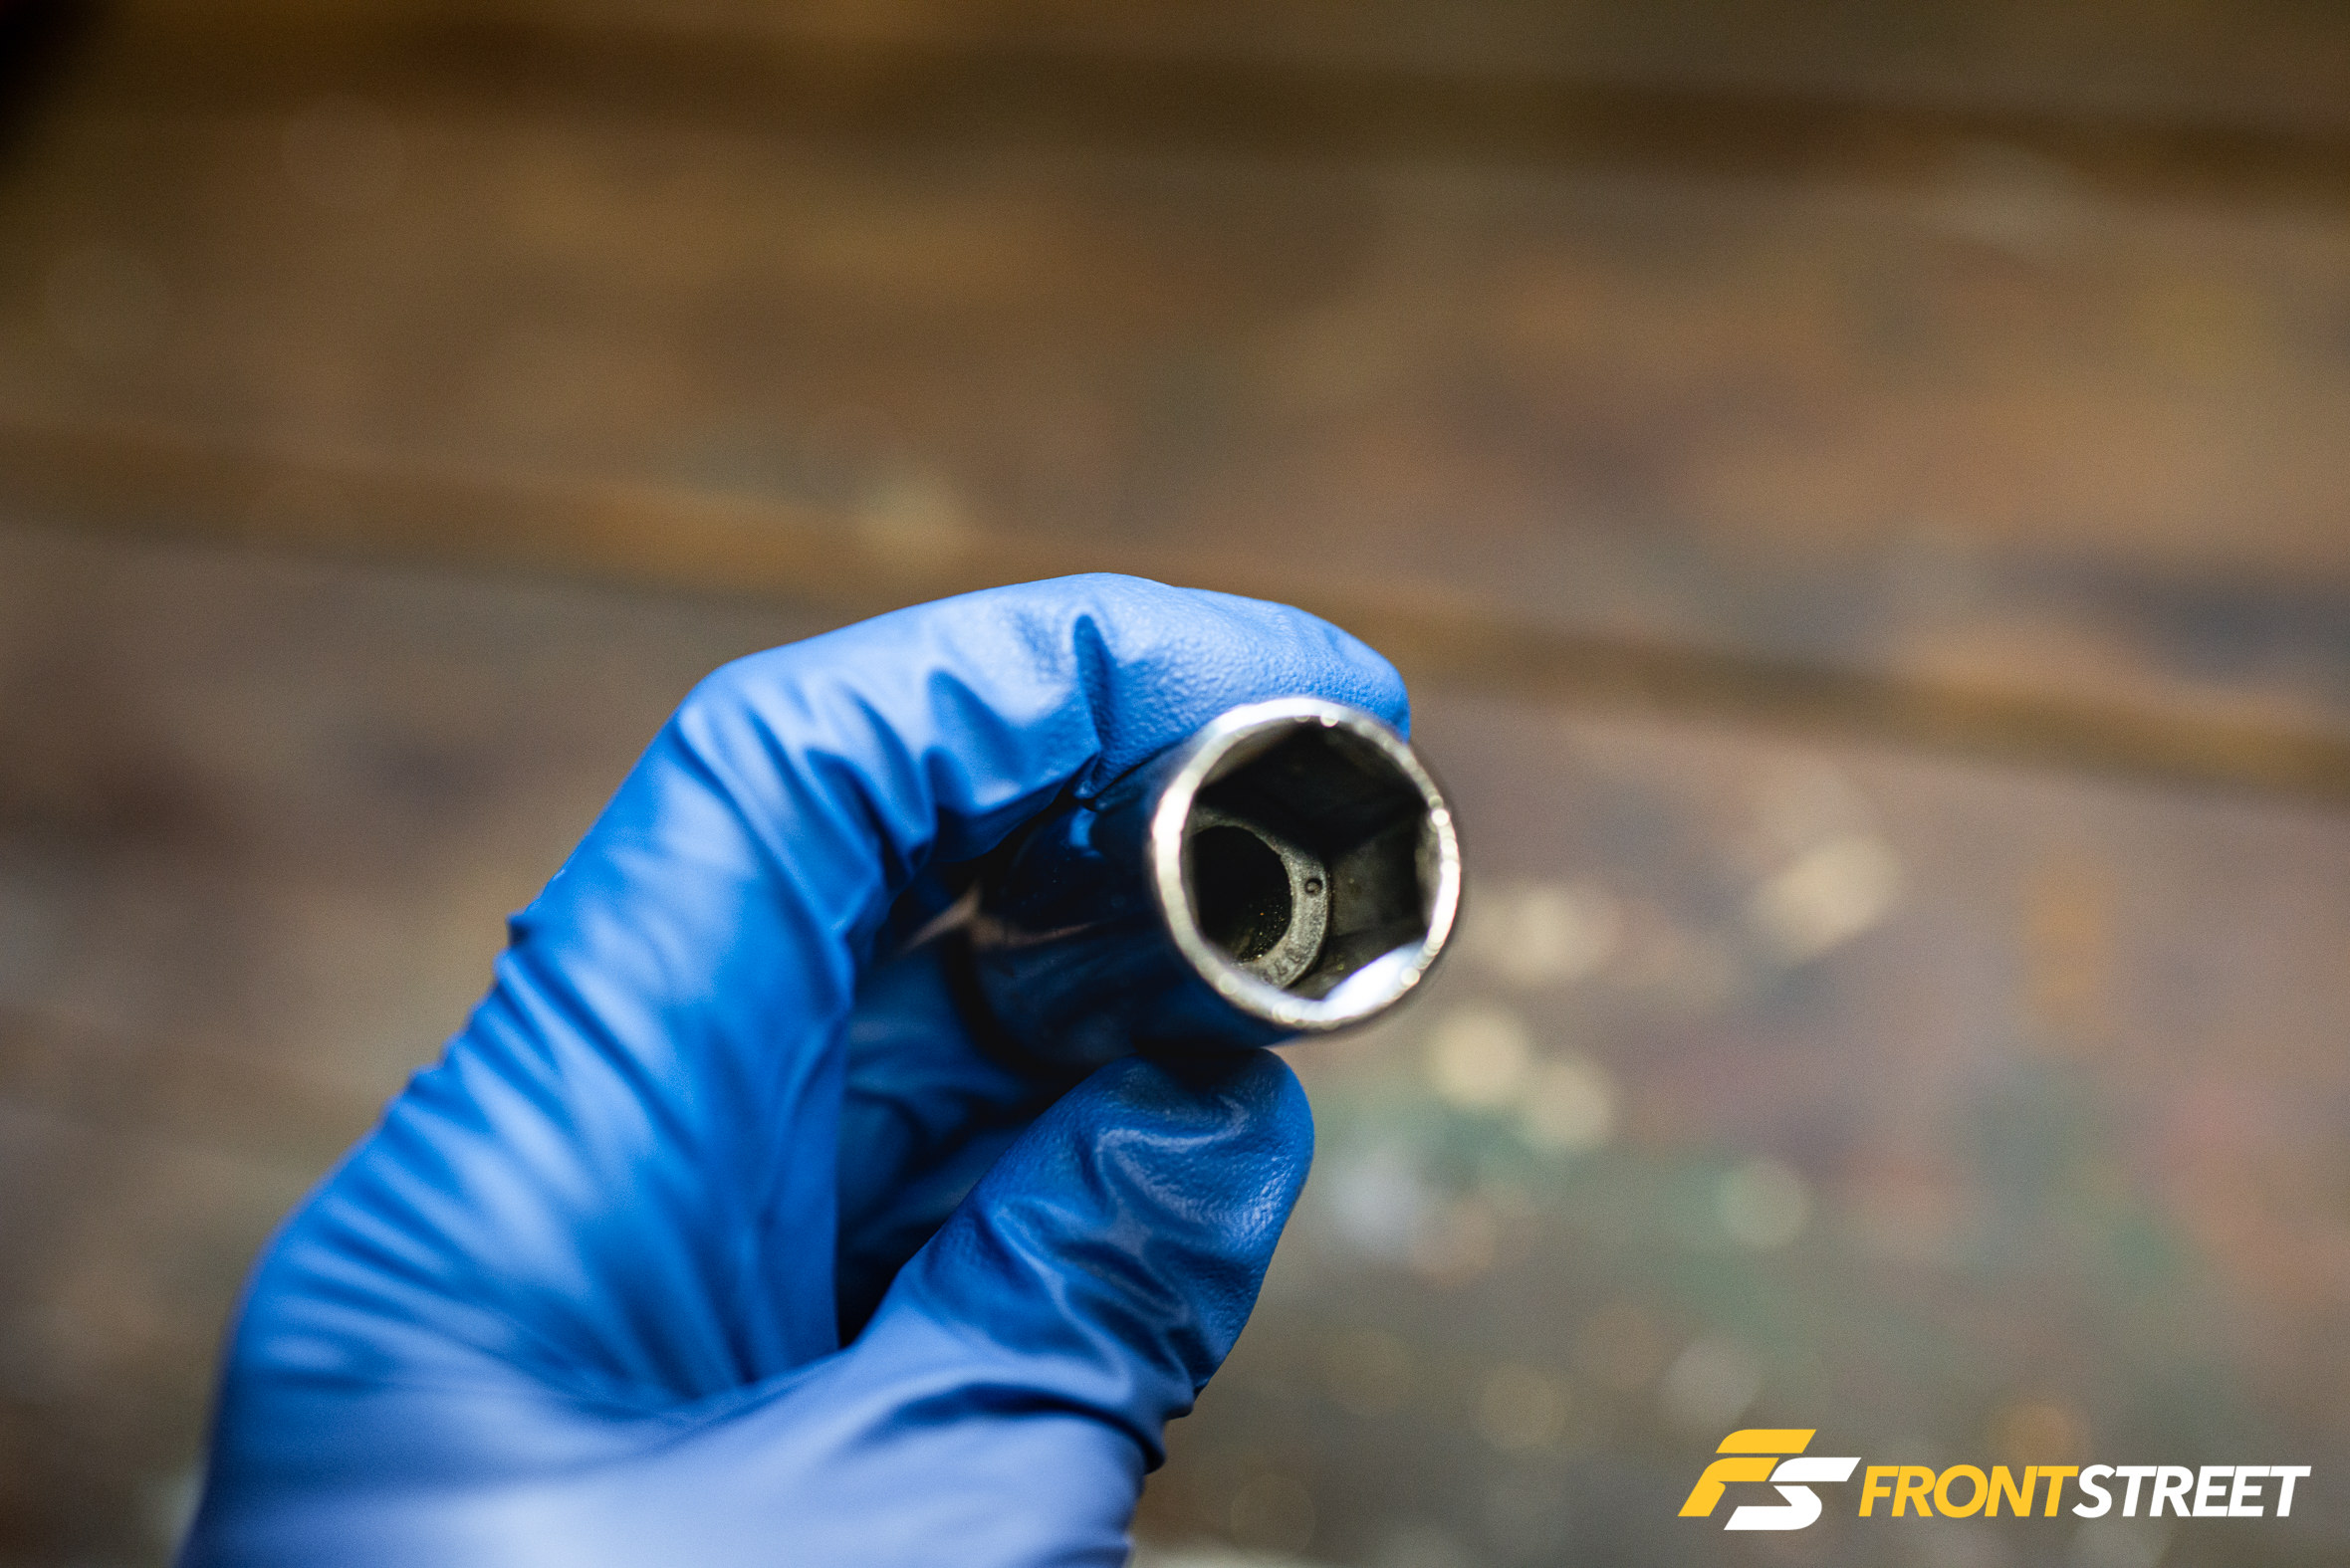
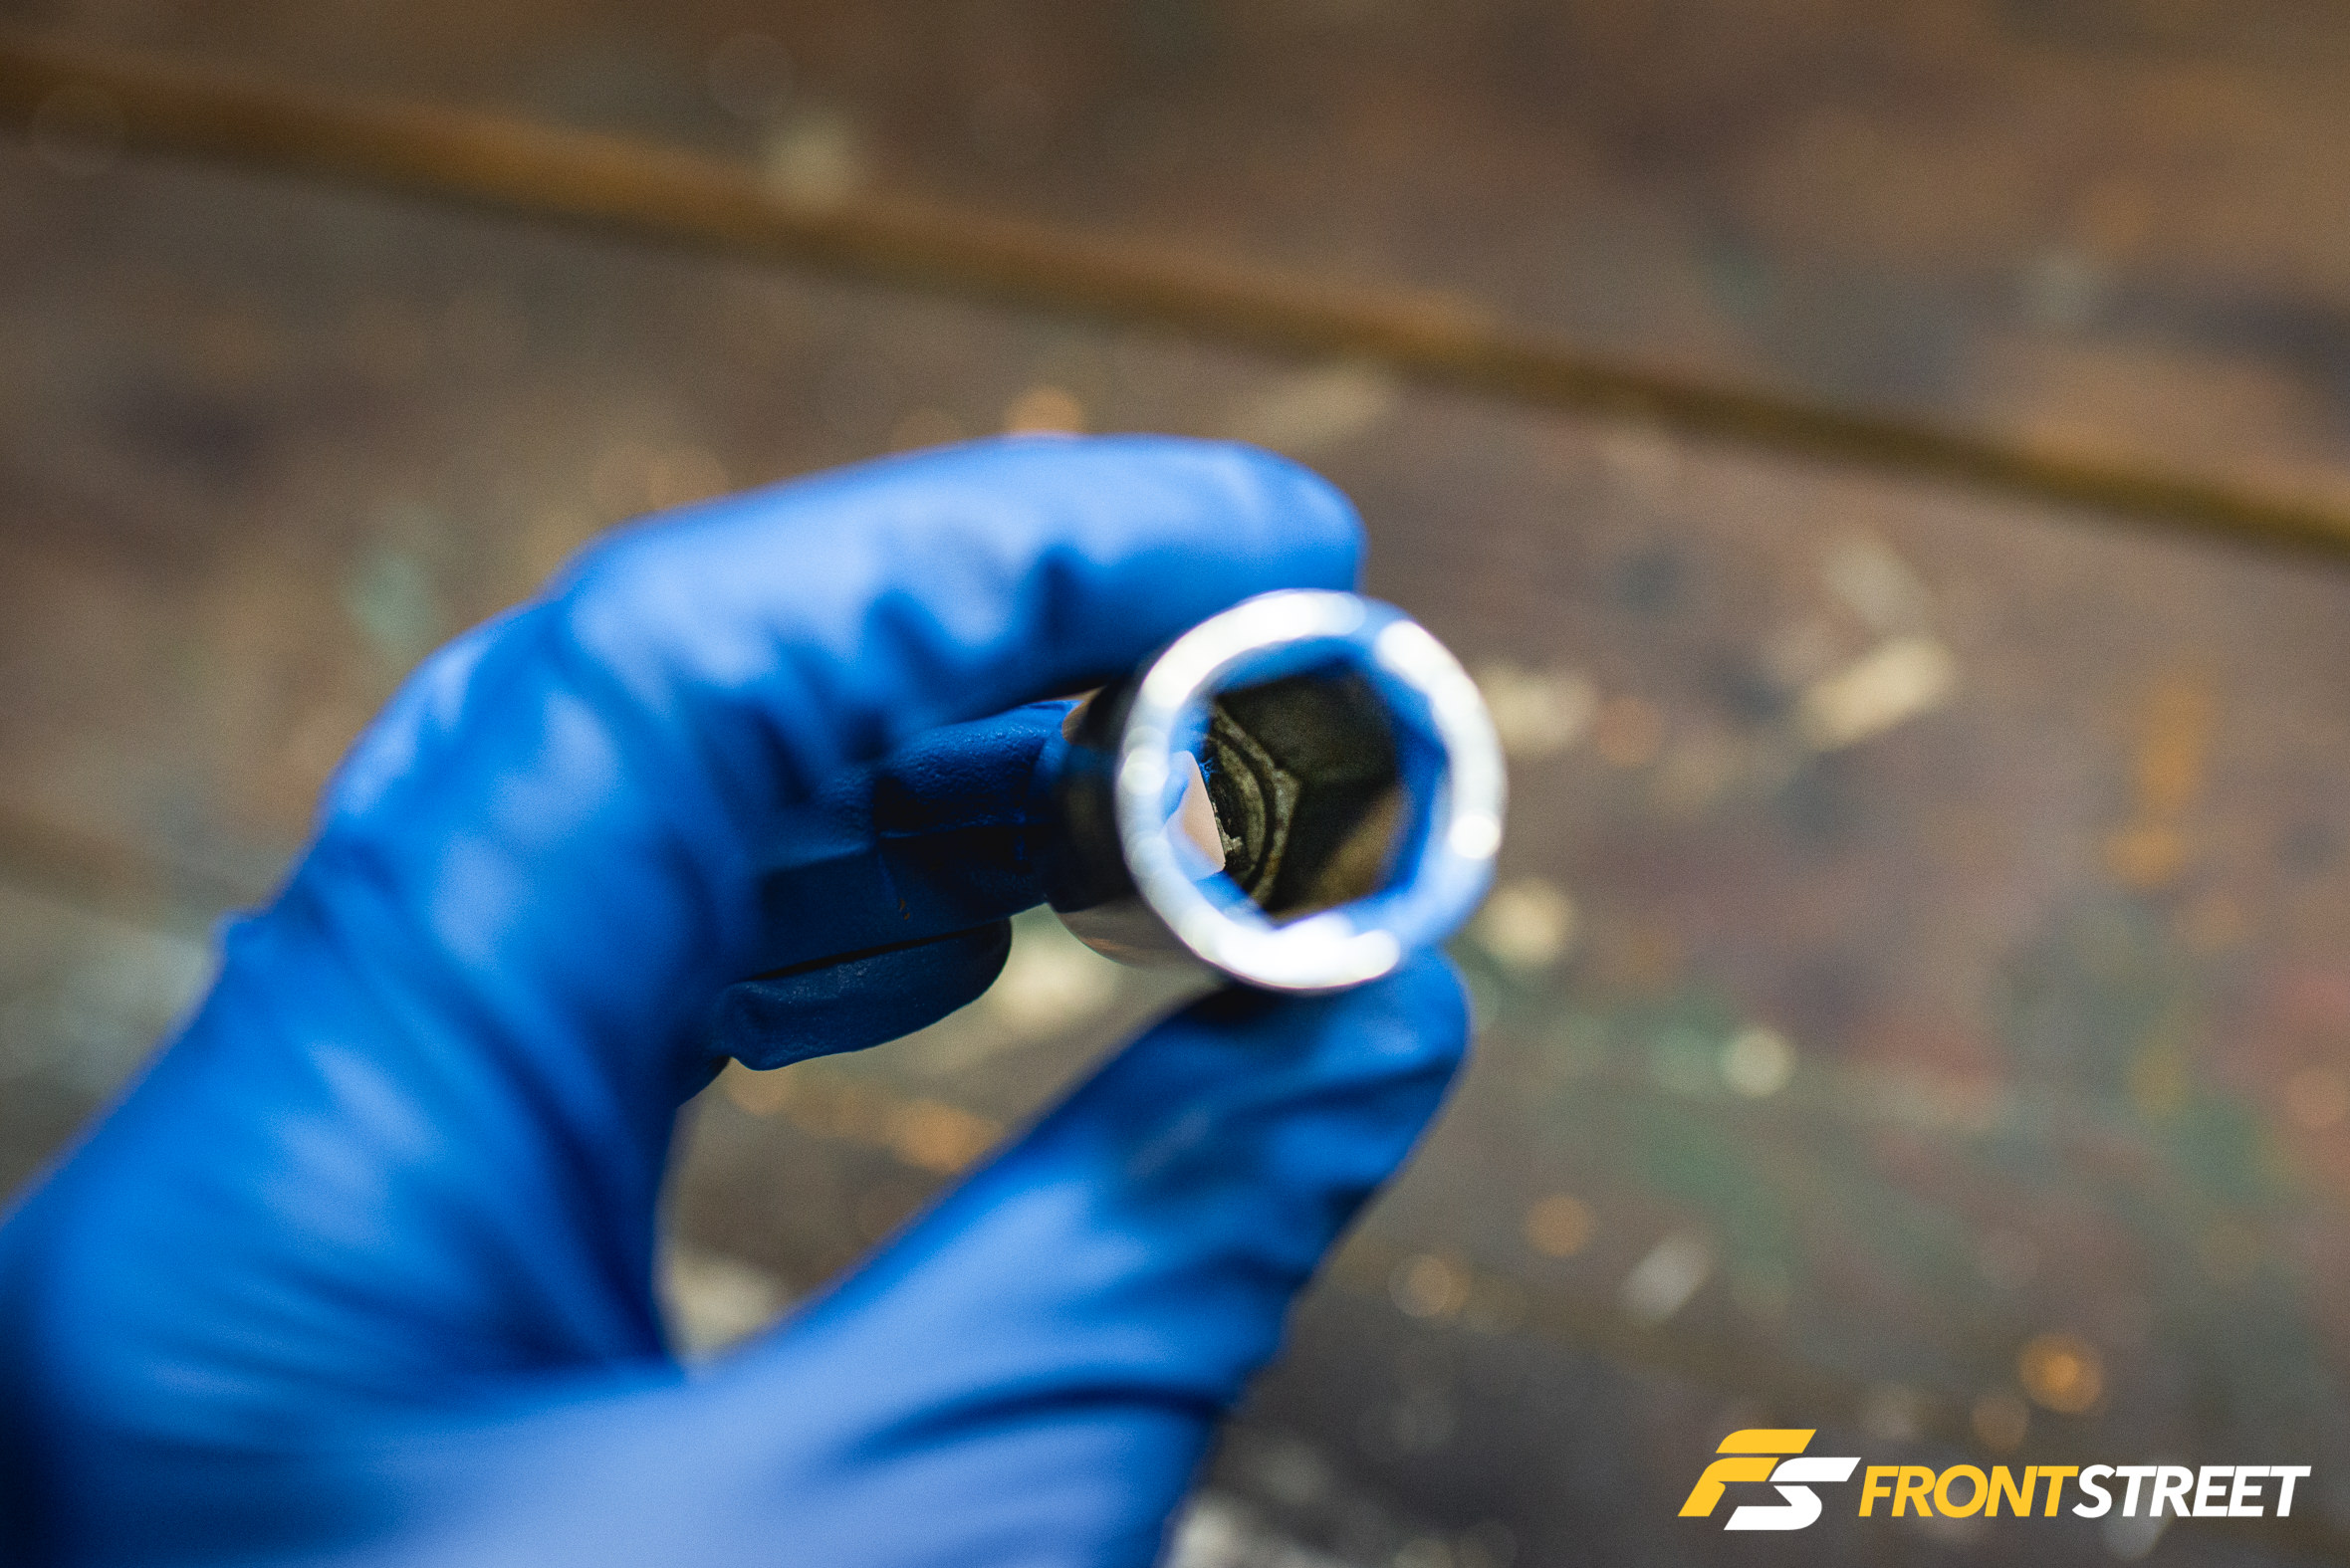
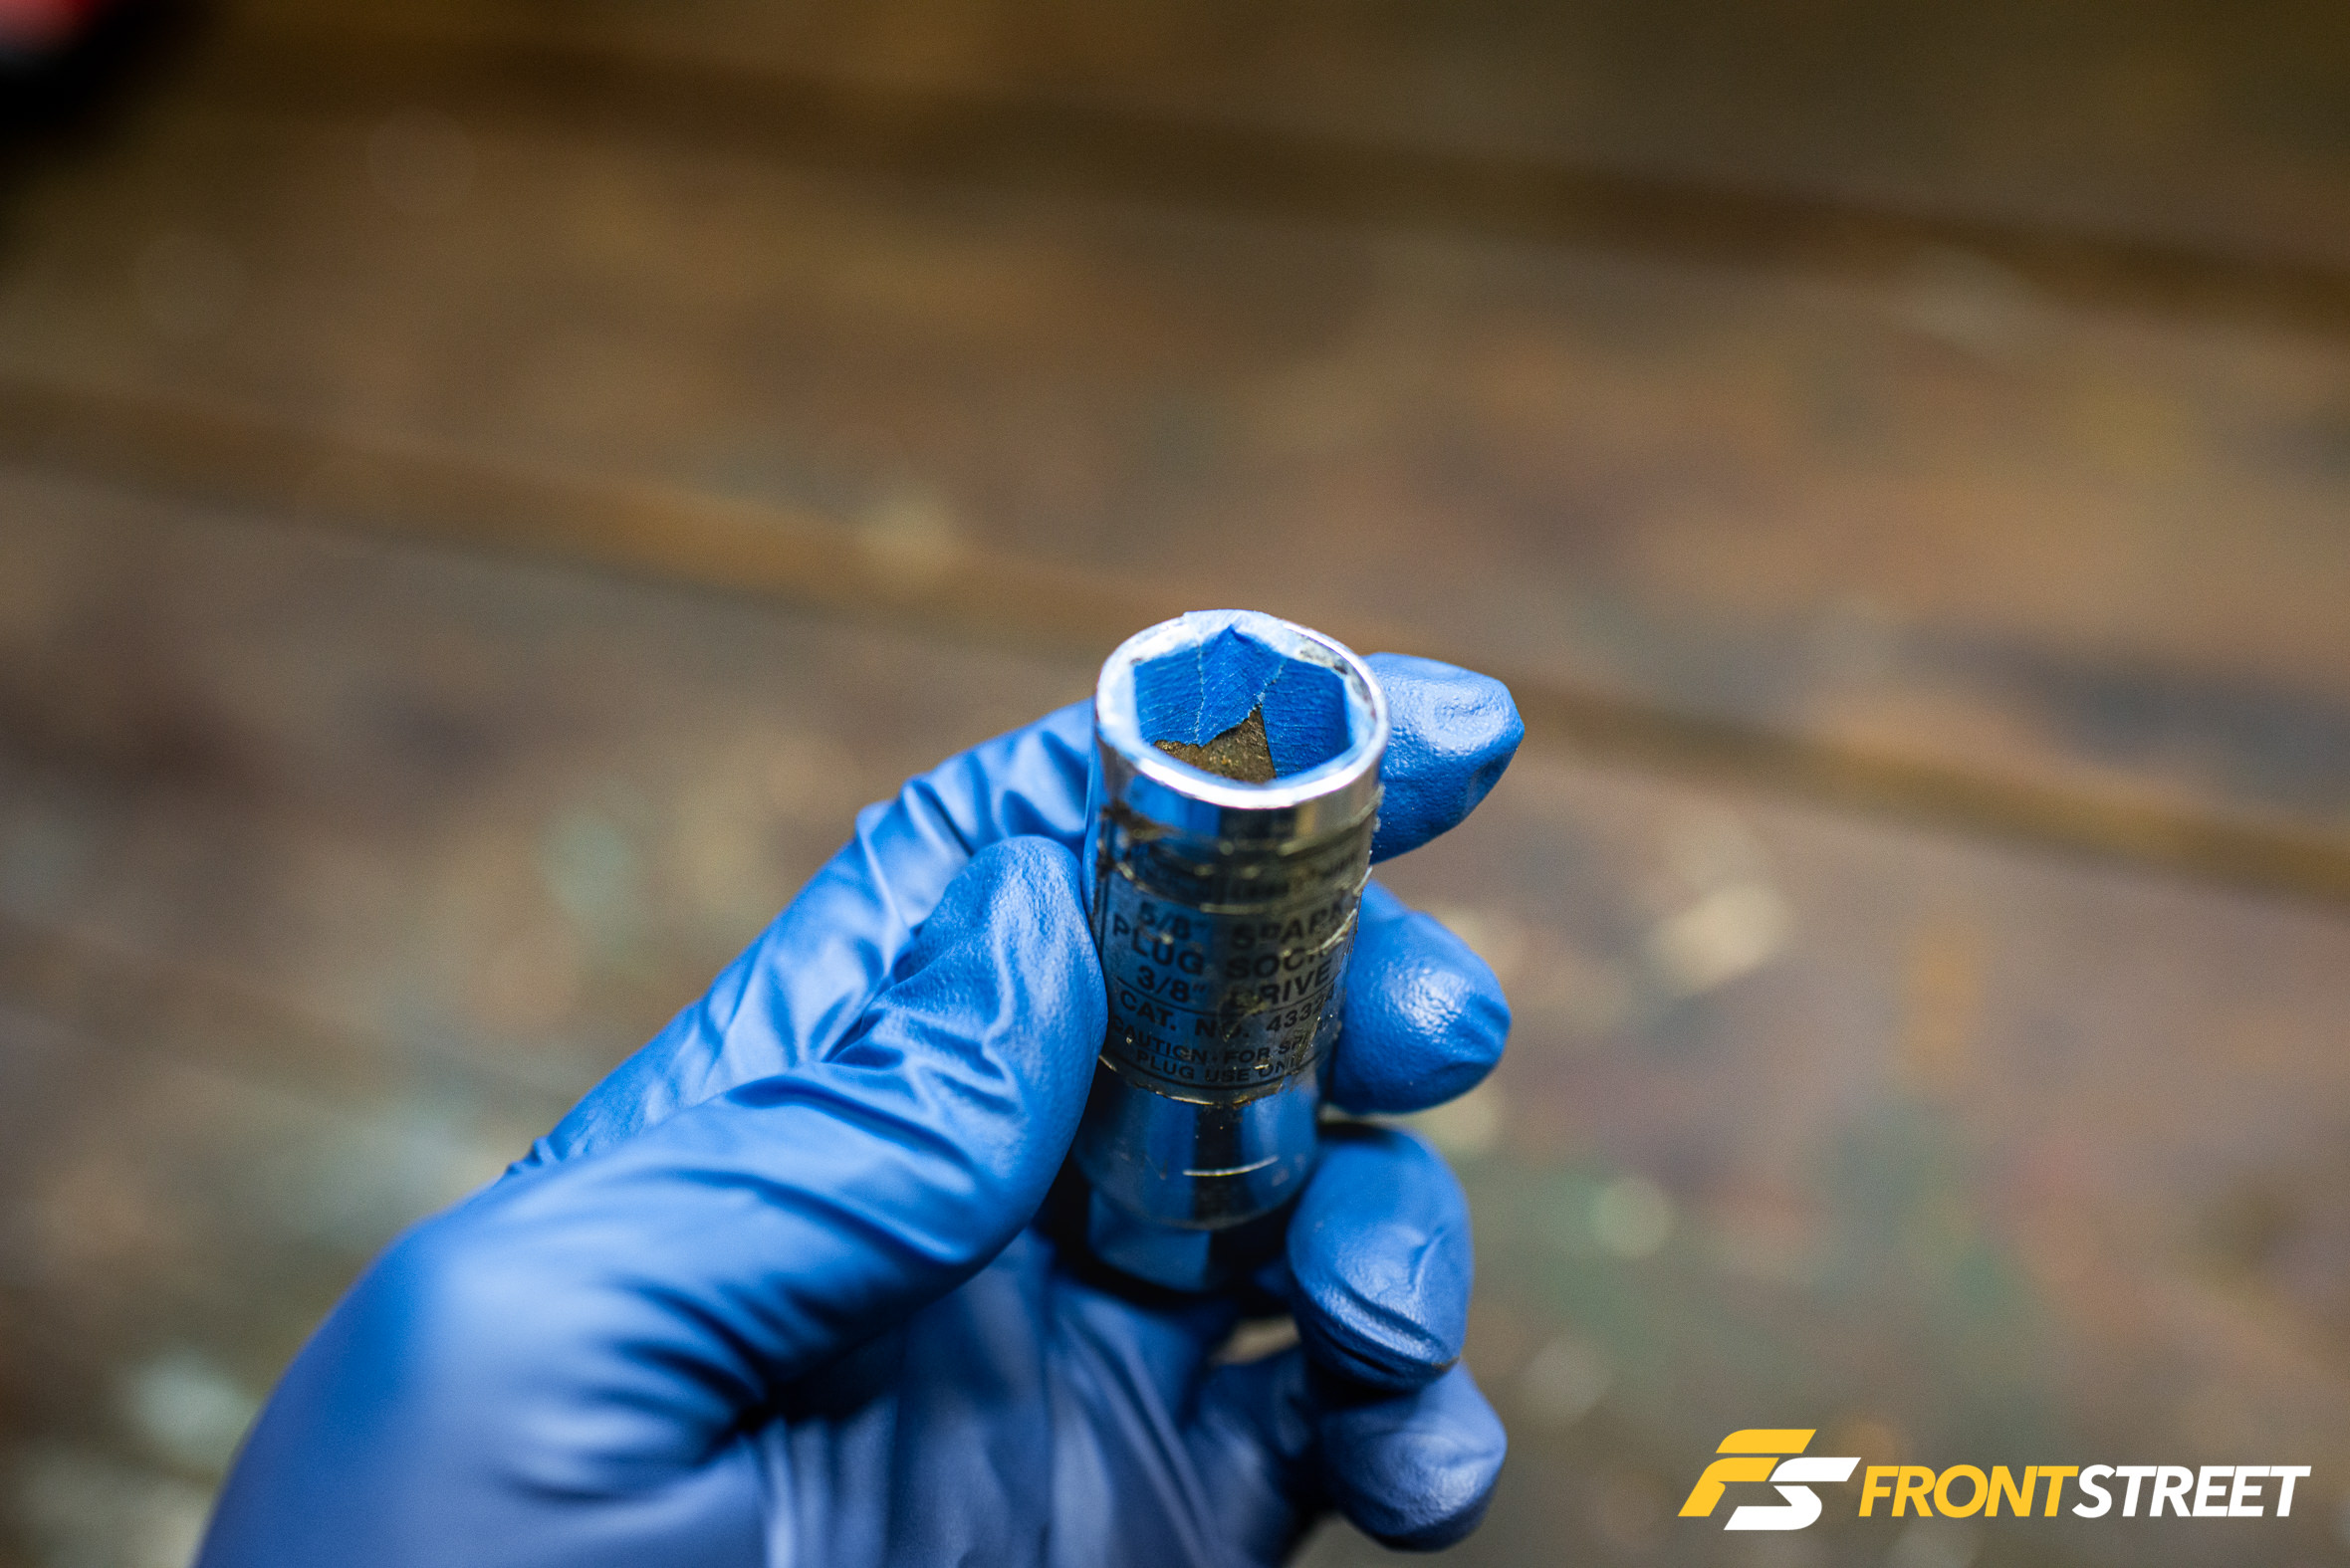
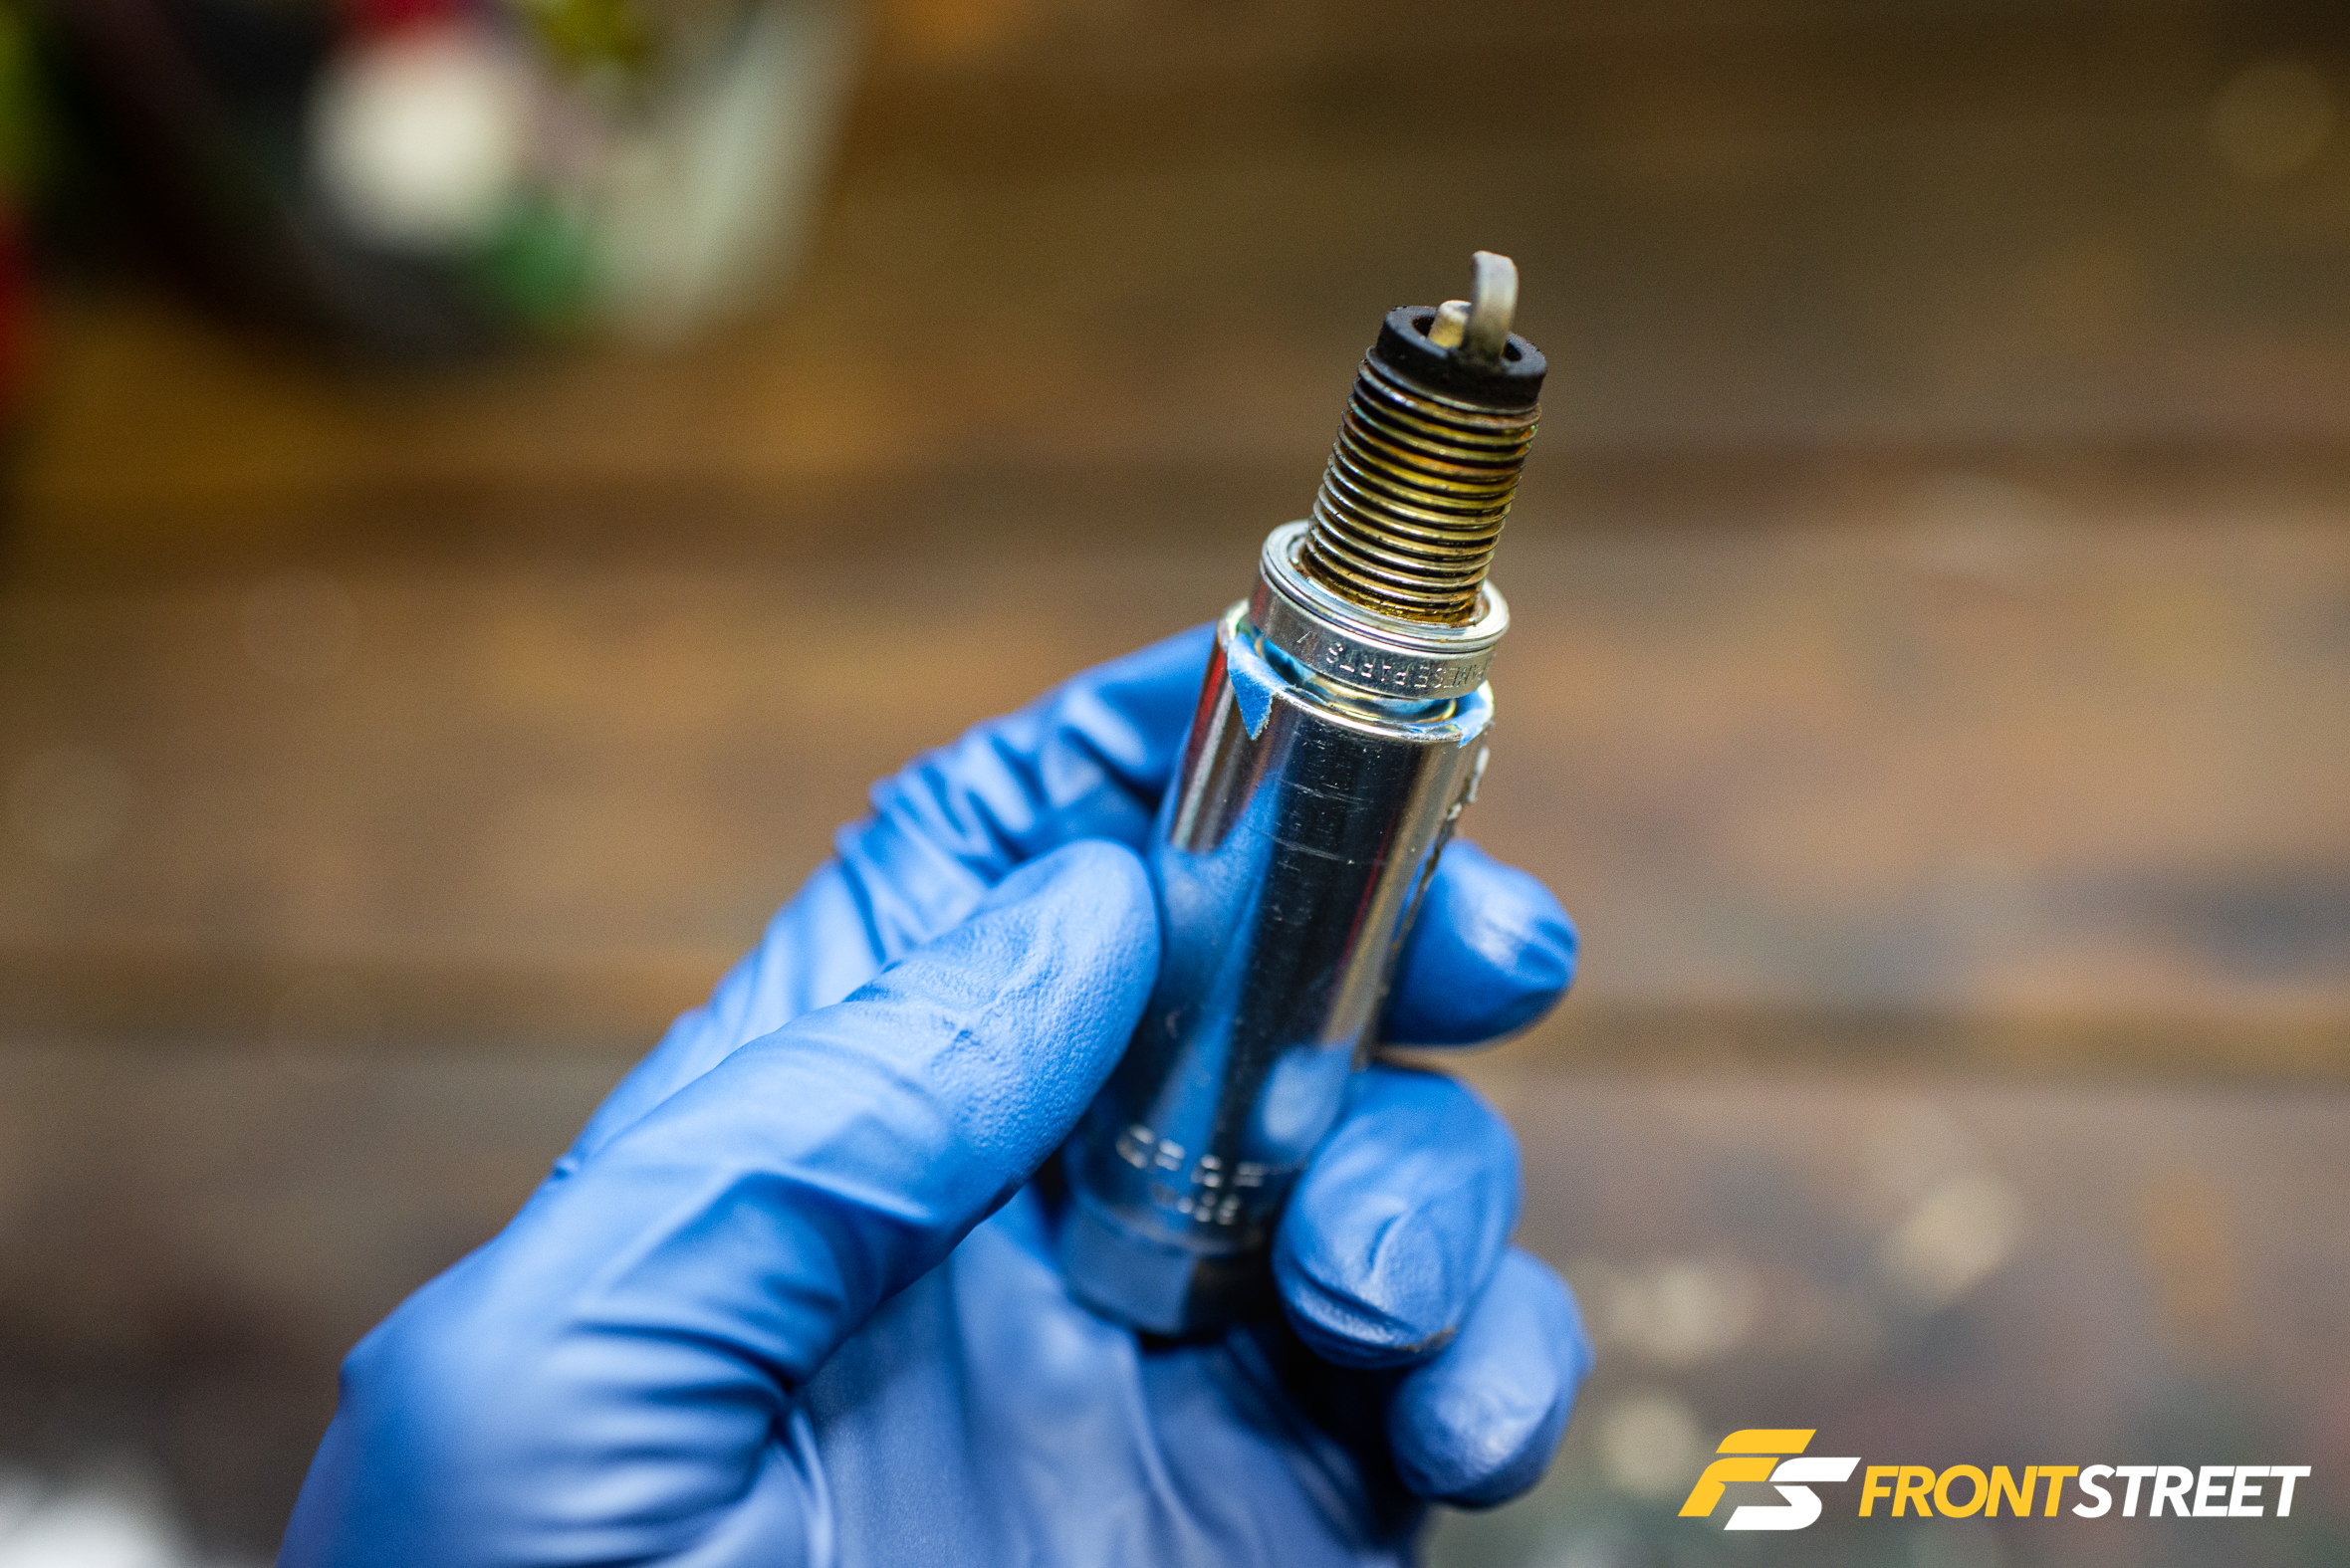
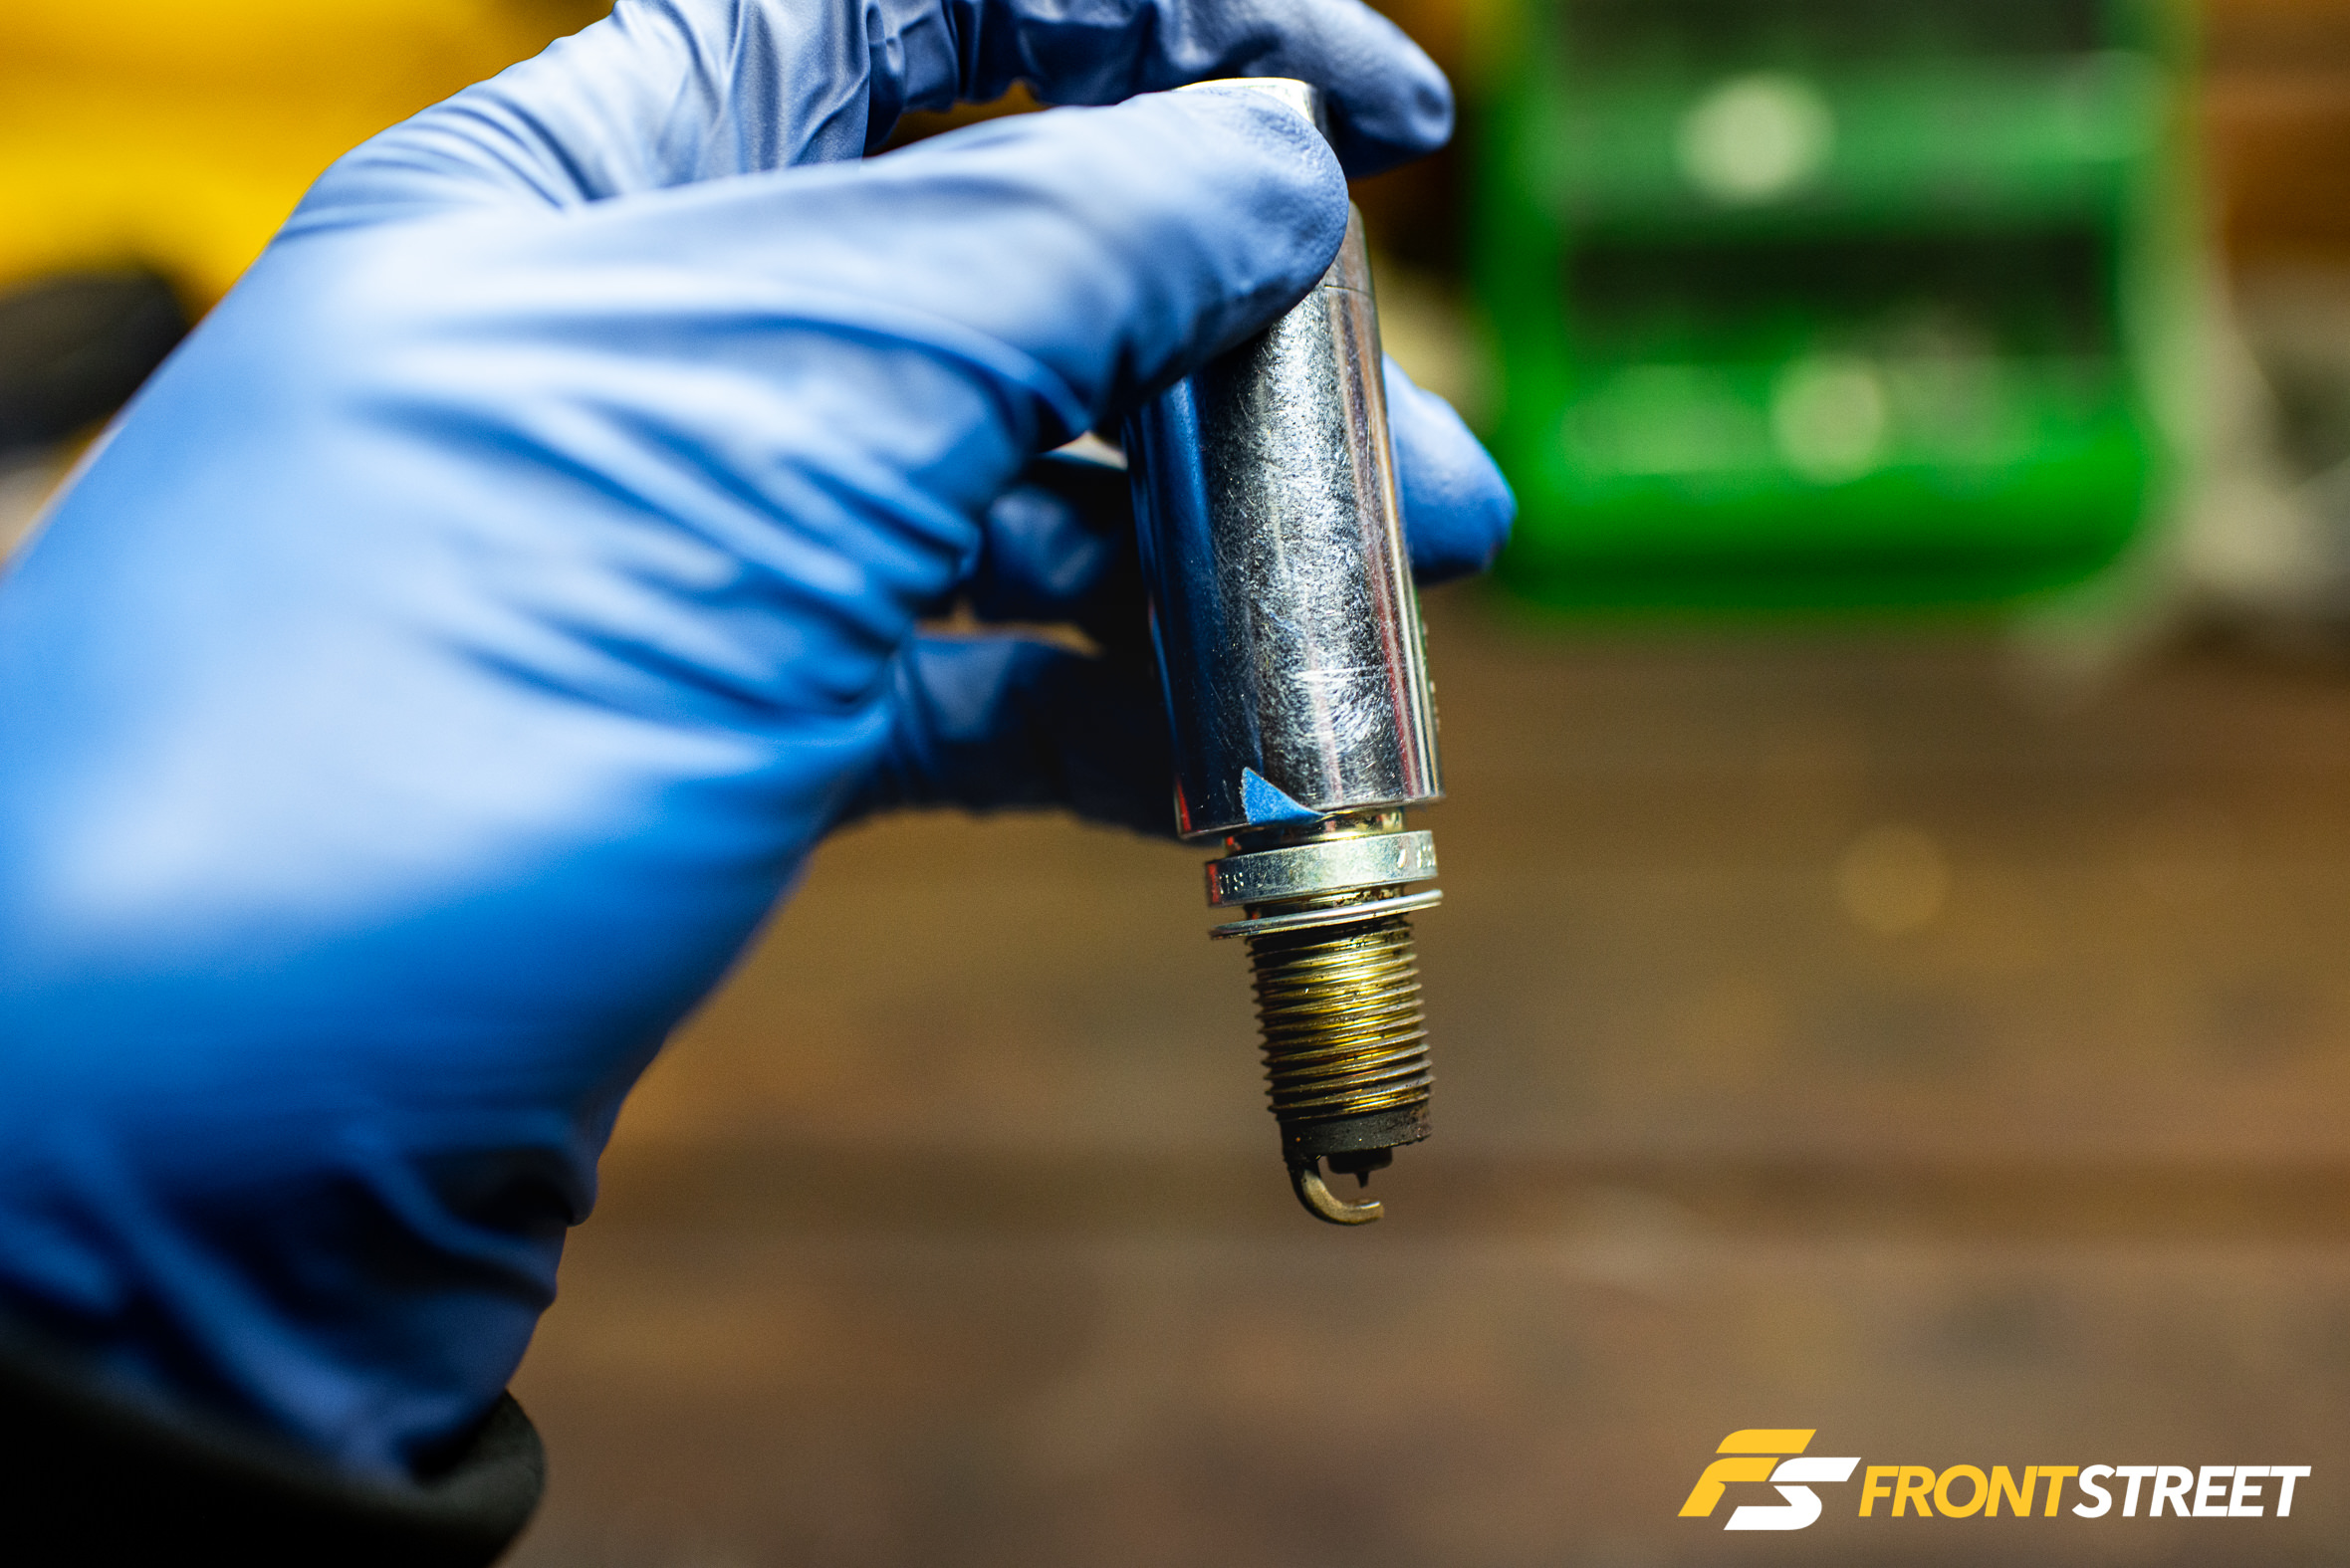
For even better use of this trick, take the rubber grommet out of your spark plug socket and line the socket’s tip in blue painter’s tape (adhesive side toward the tool, not the plug). It will correctly hold the spark plug on its way into the cylinder, but it won’t keep your socket hostage in the engine once the plug is tightened into place.
Allen Wrench Flywheel Stay
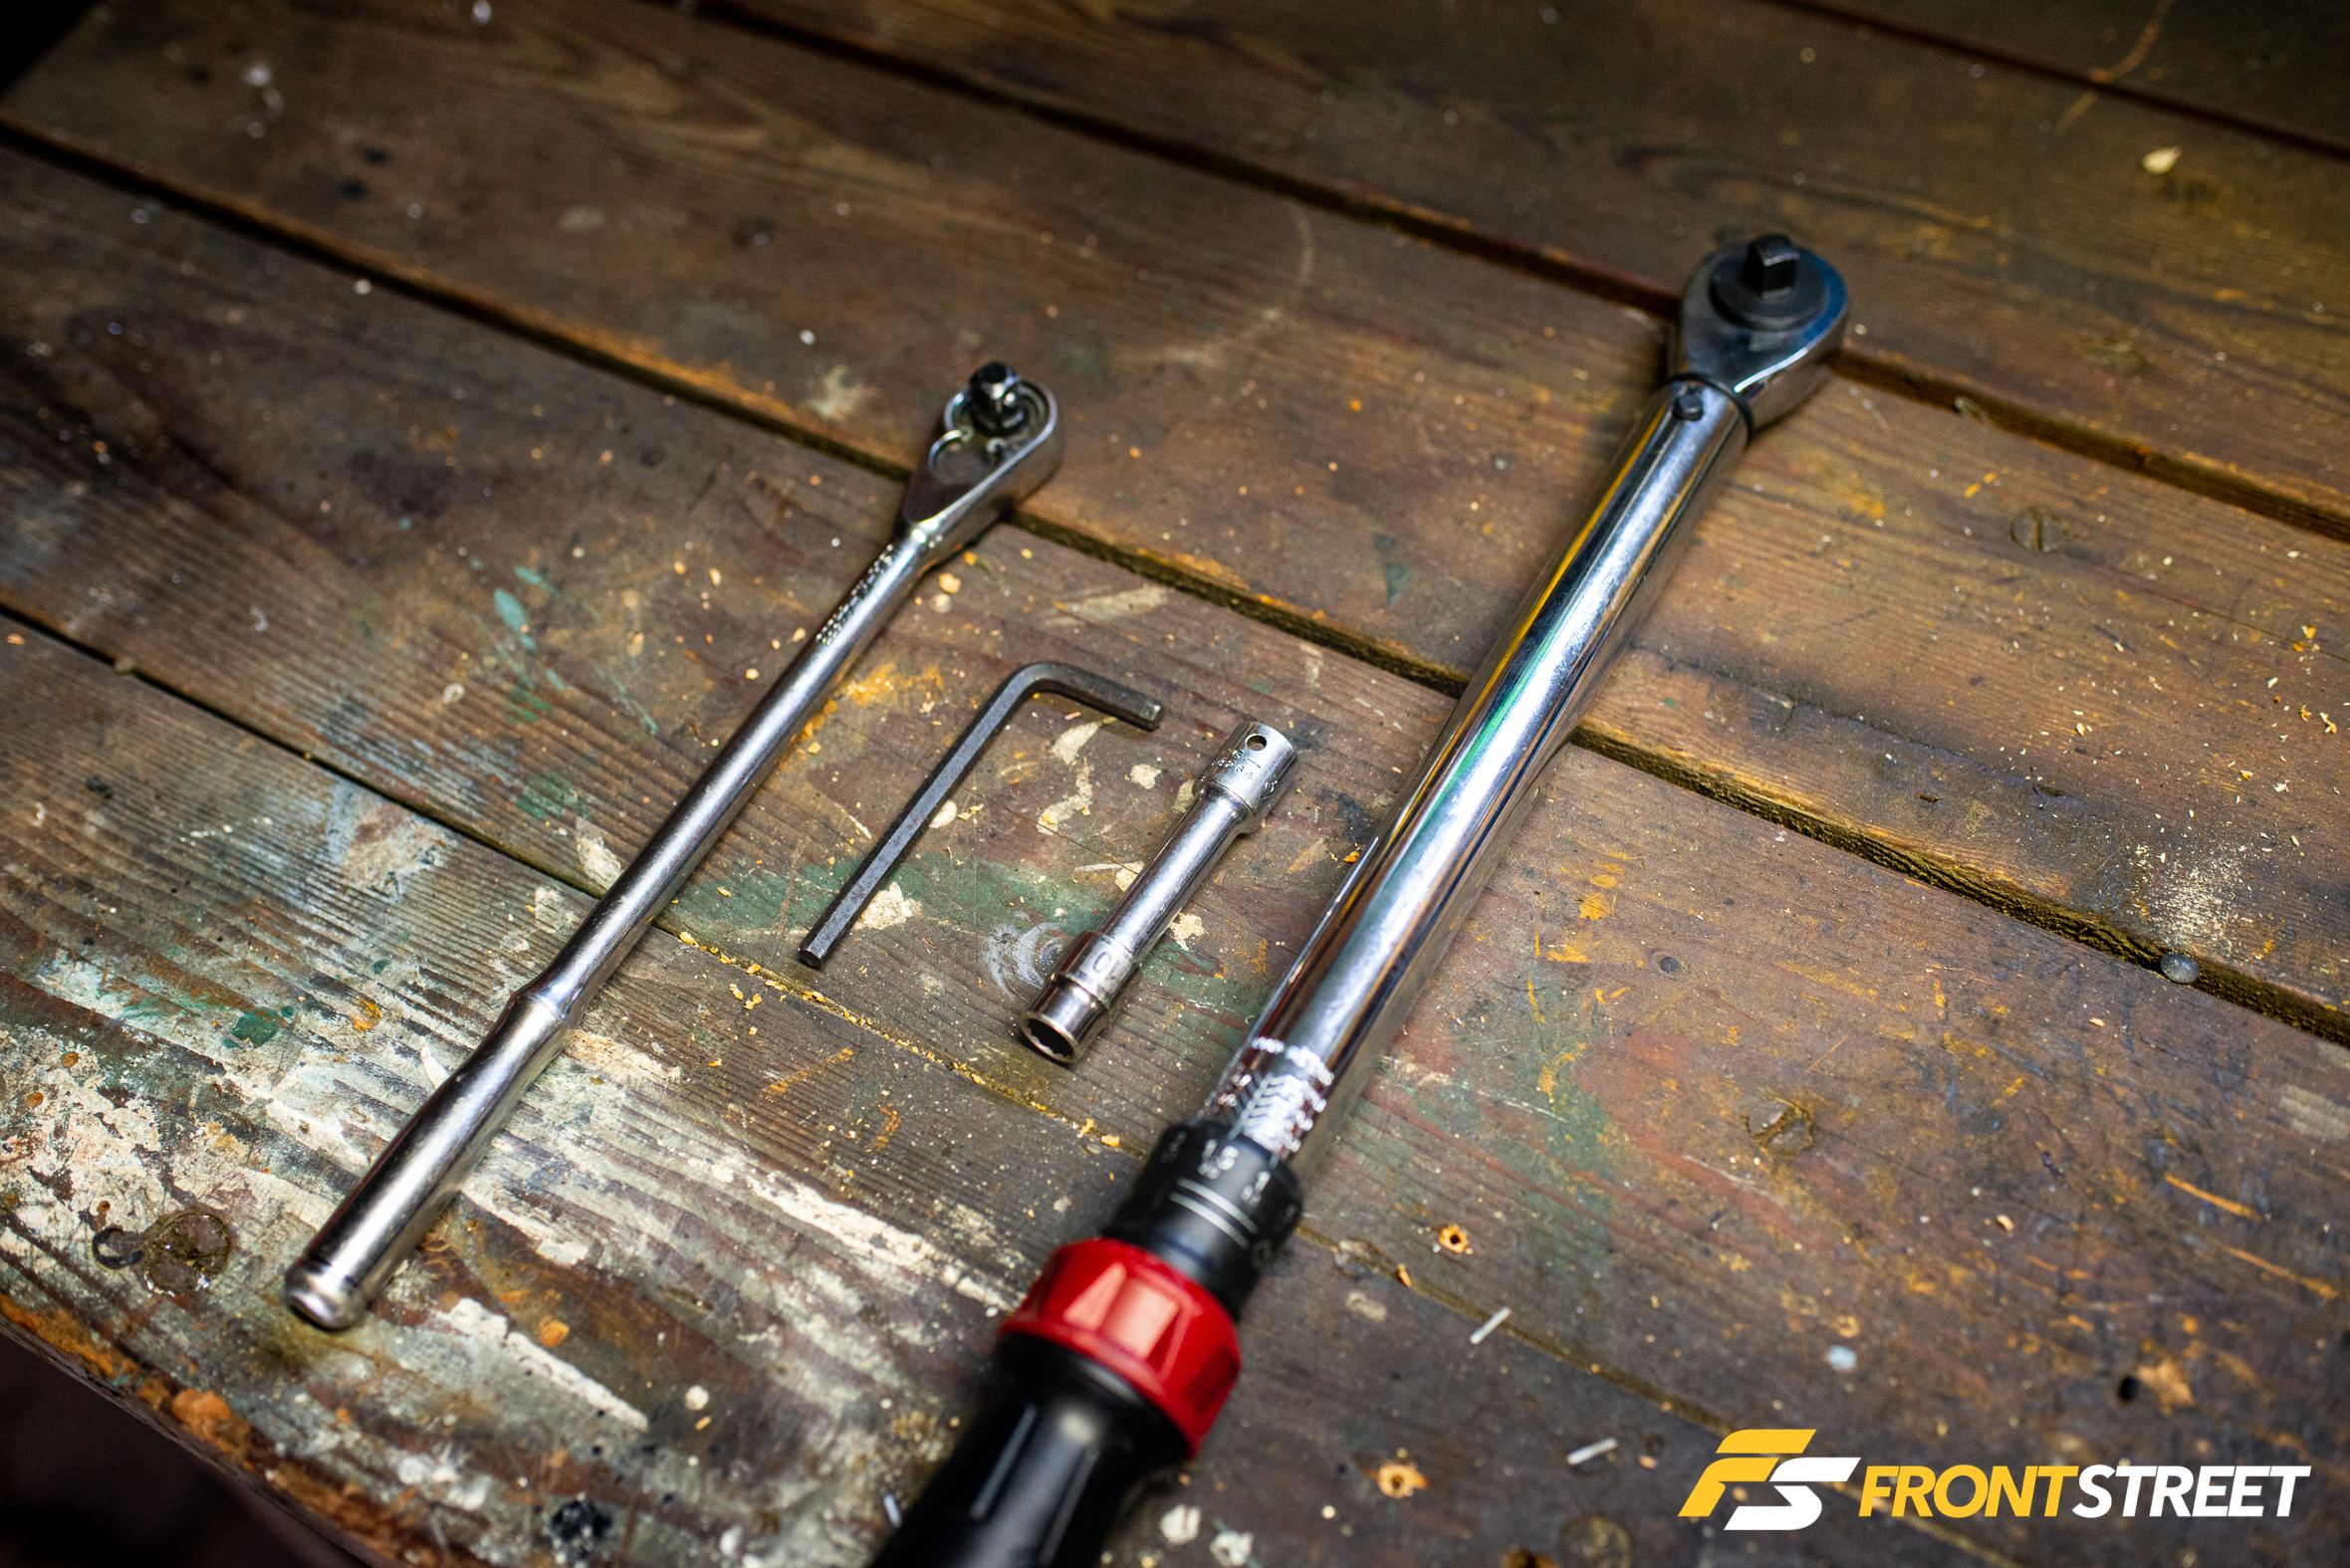

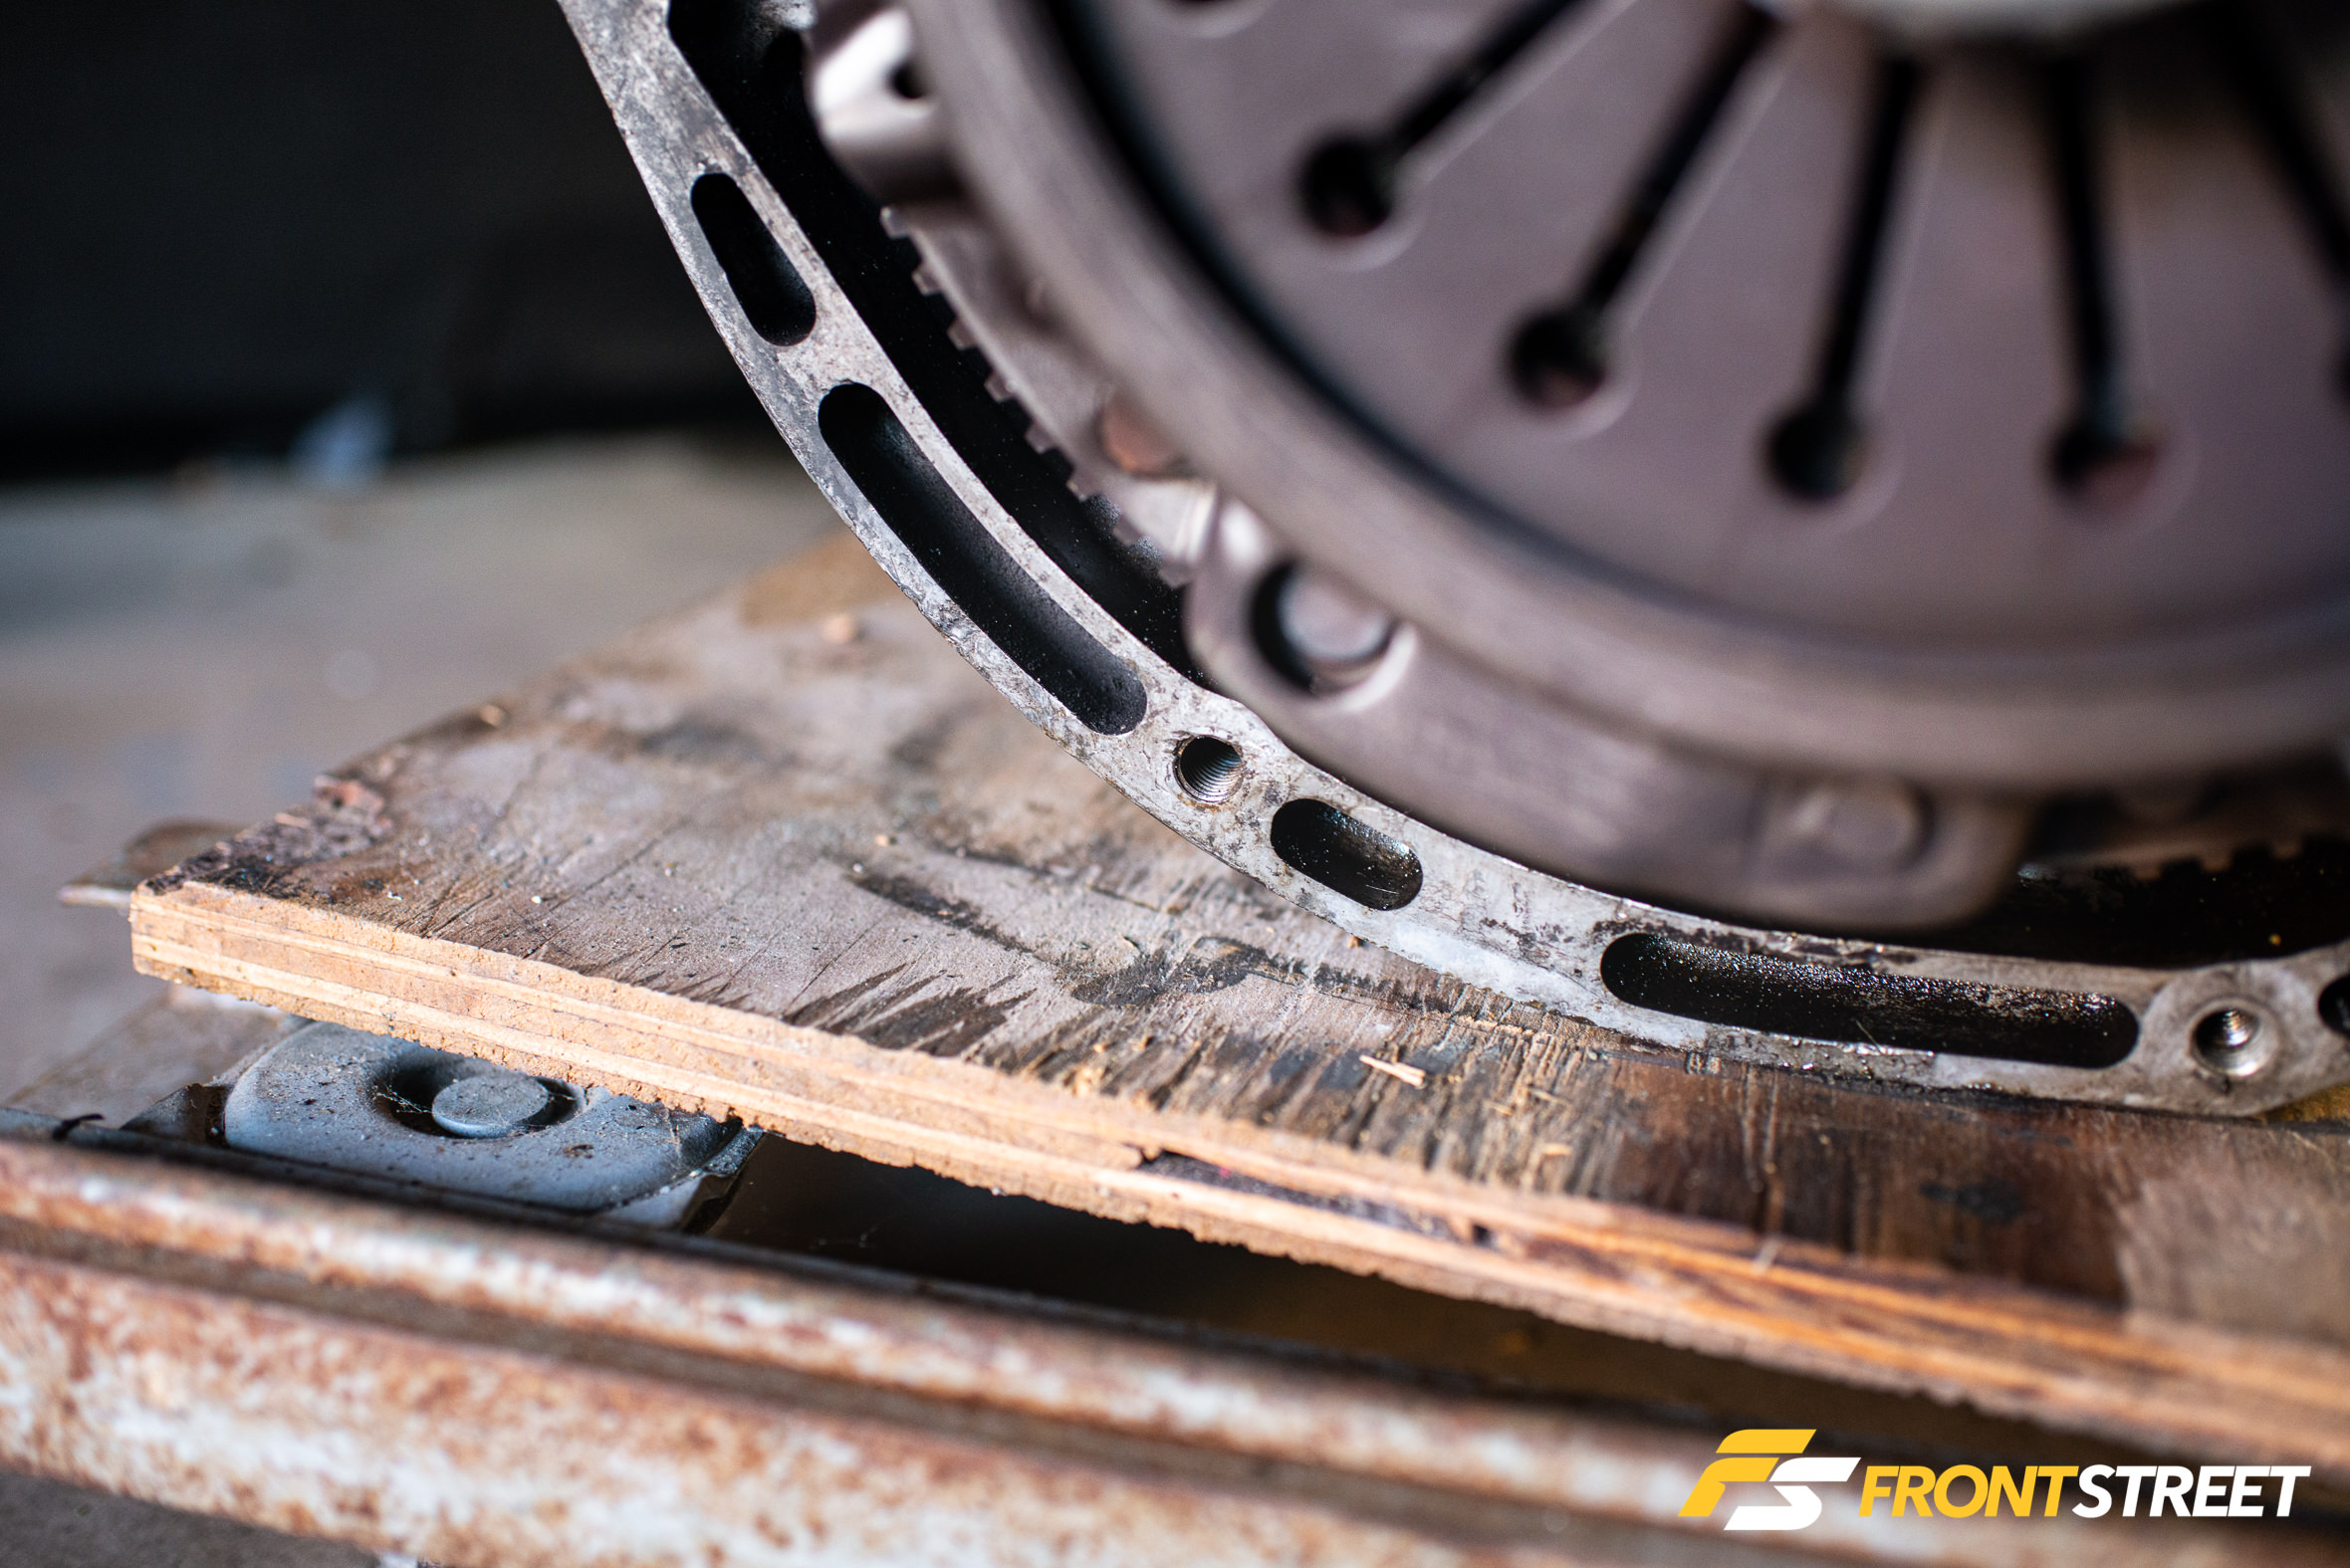
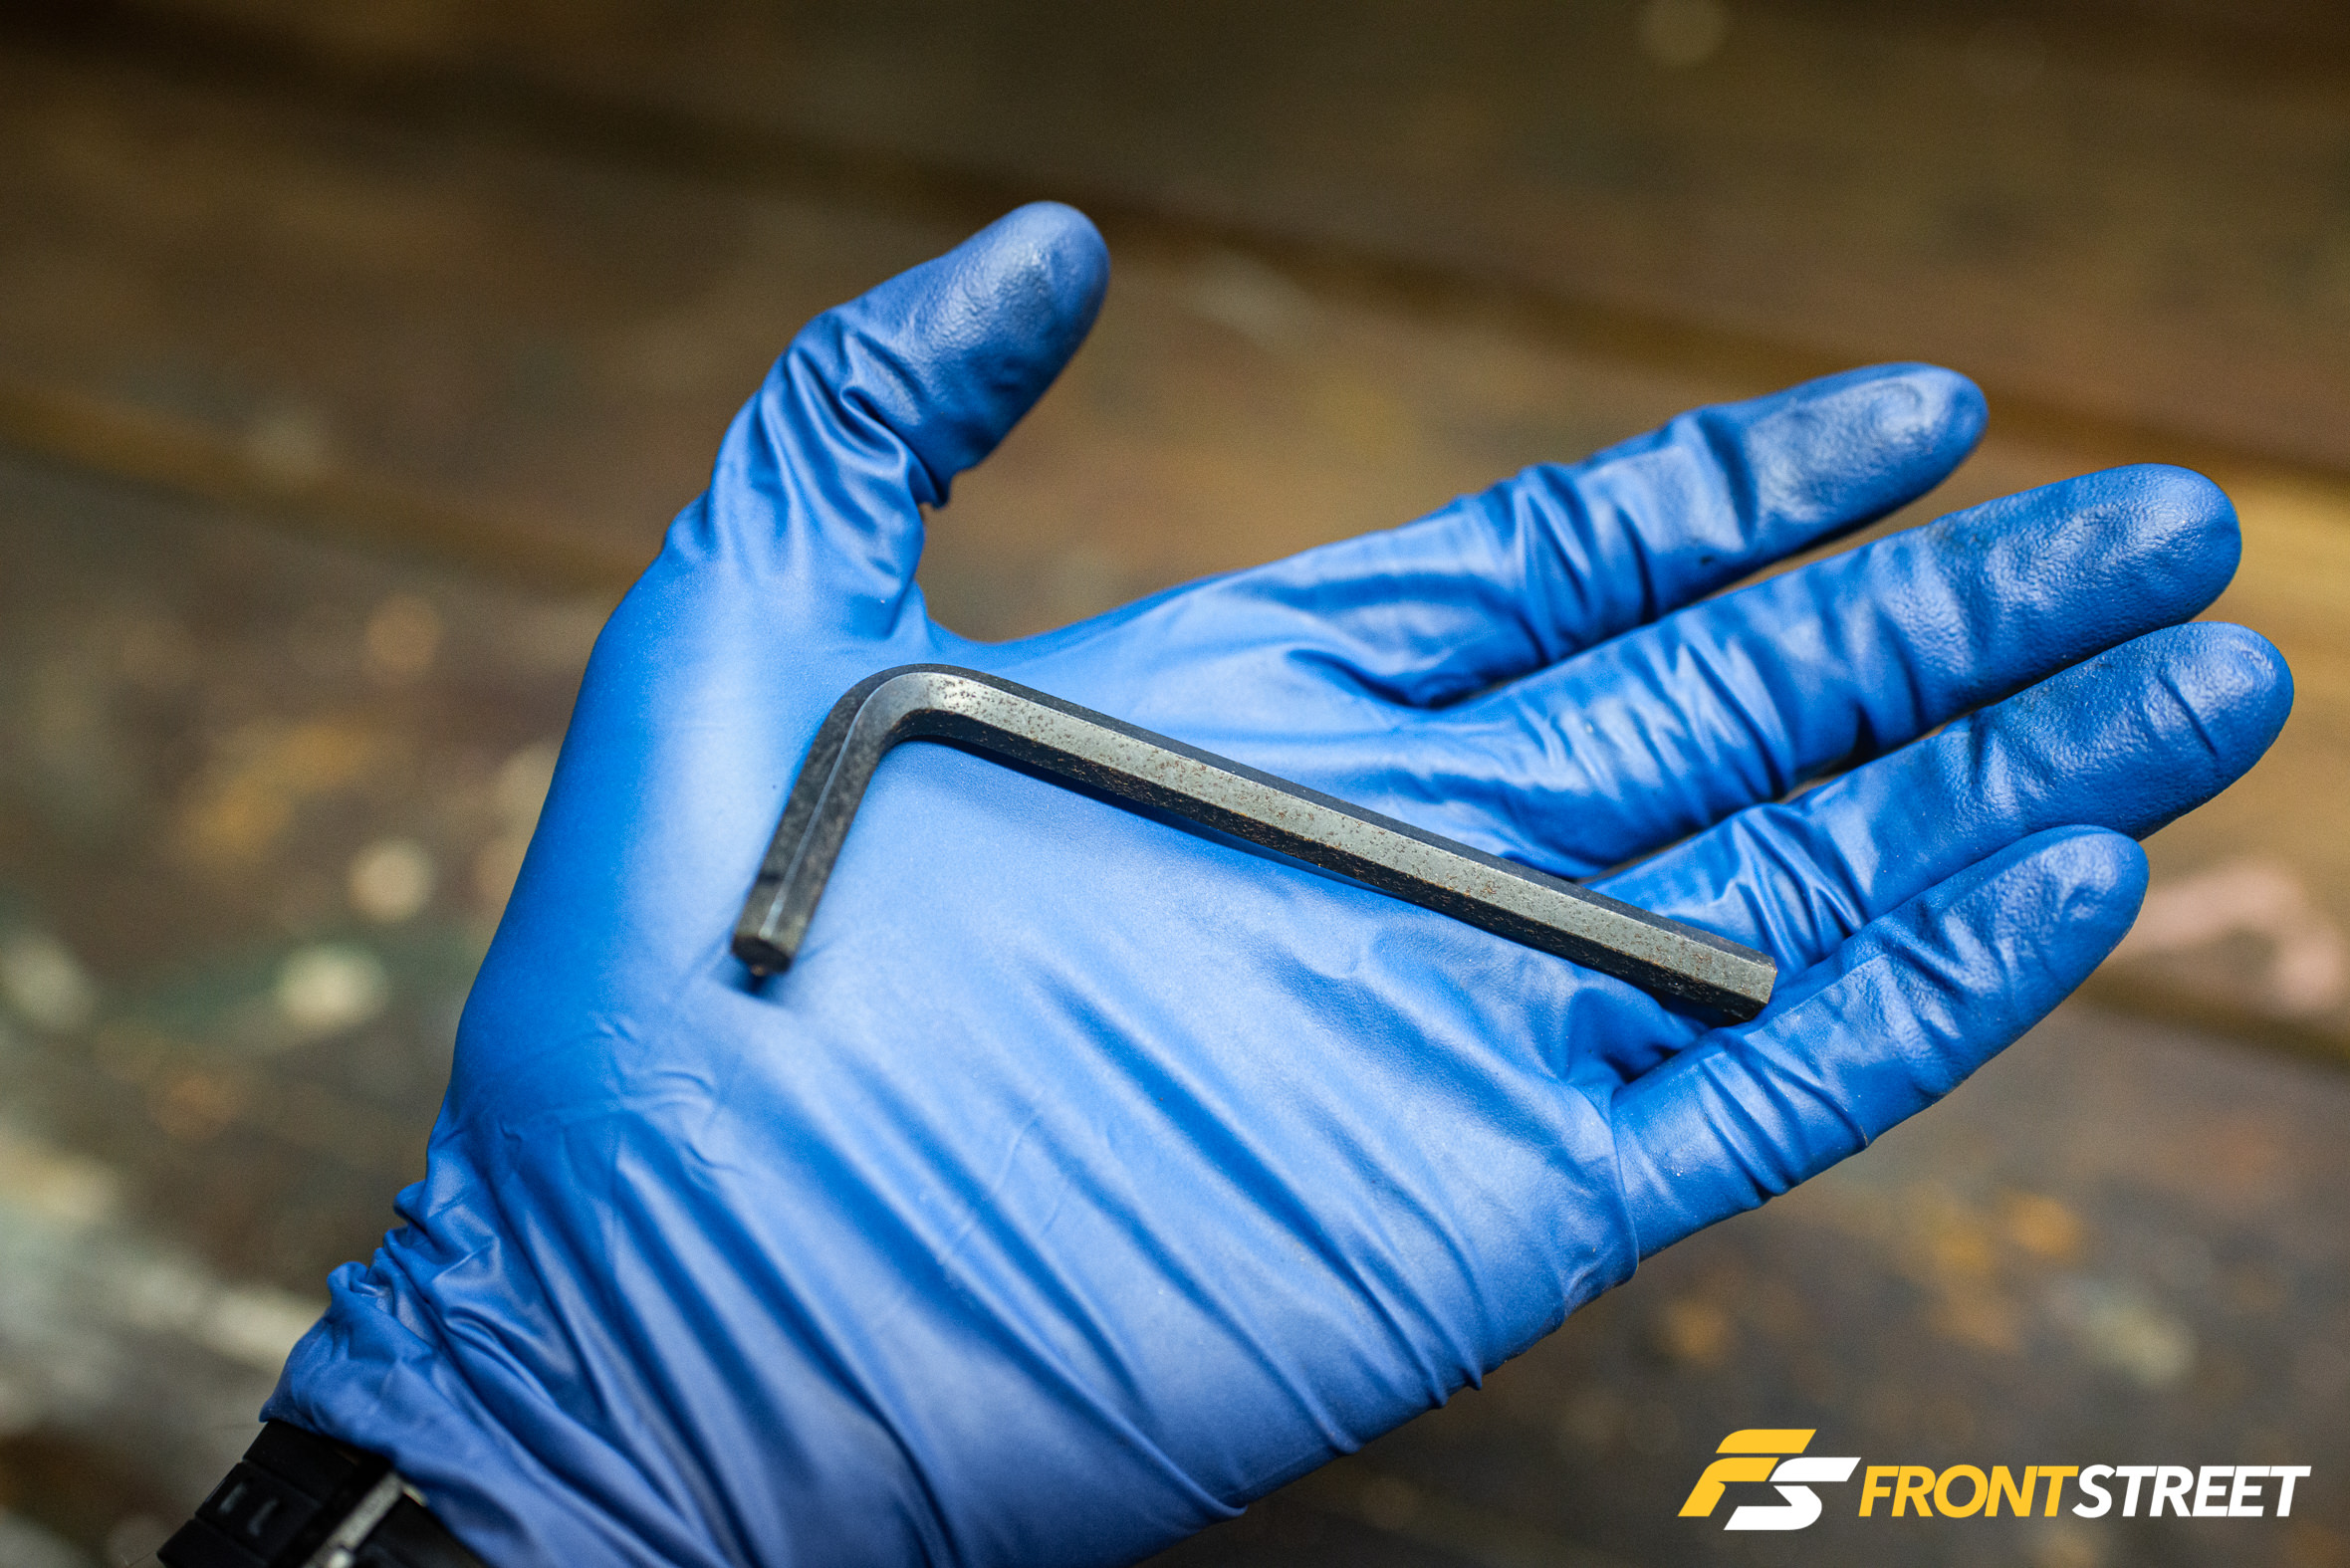
For those of us who don’t count ugga-duggas as torque specs, locking your flywheel in place during a clutch replacement isn’t exactly the most straightforward task. It often requires special tools, either fastening the flywheel teeth in position somehow or preventing the crank pulley from moving on the other side. I’ve also seen some rather crude attempts involving a pry bar. Regardless, you already own the only special tool you need for this job: an Allen wrench.
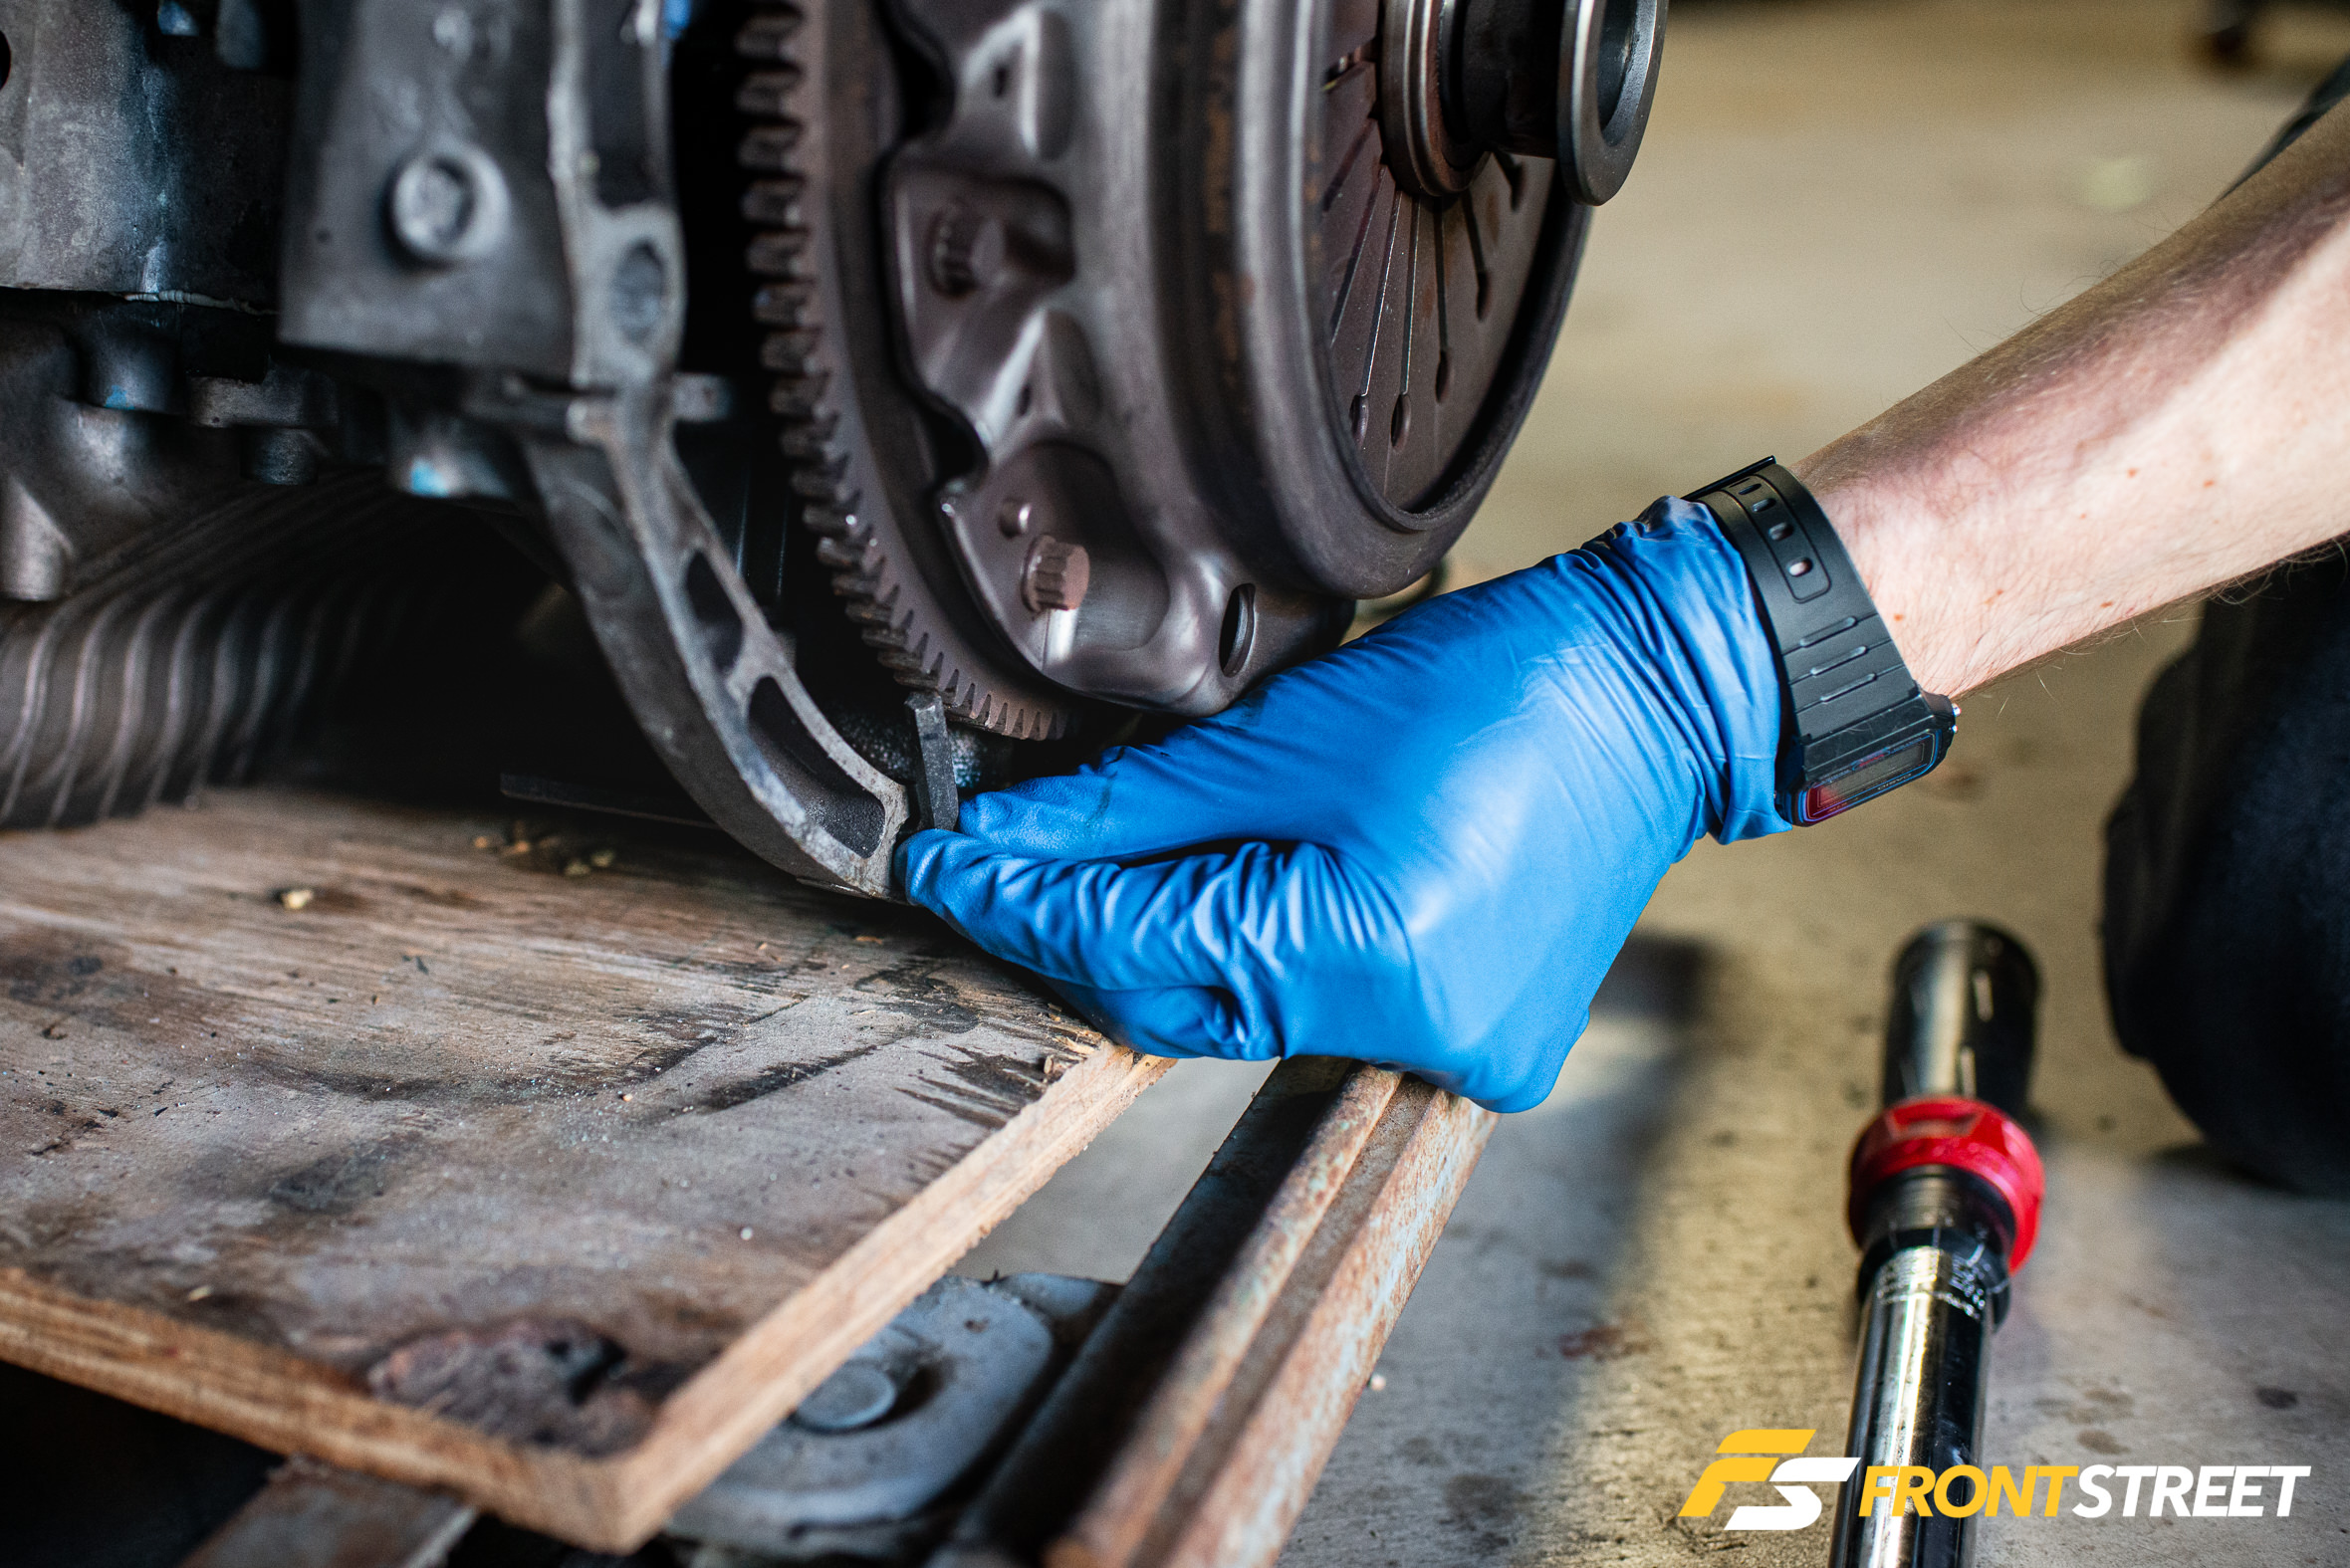
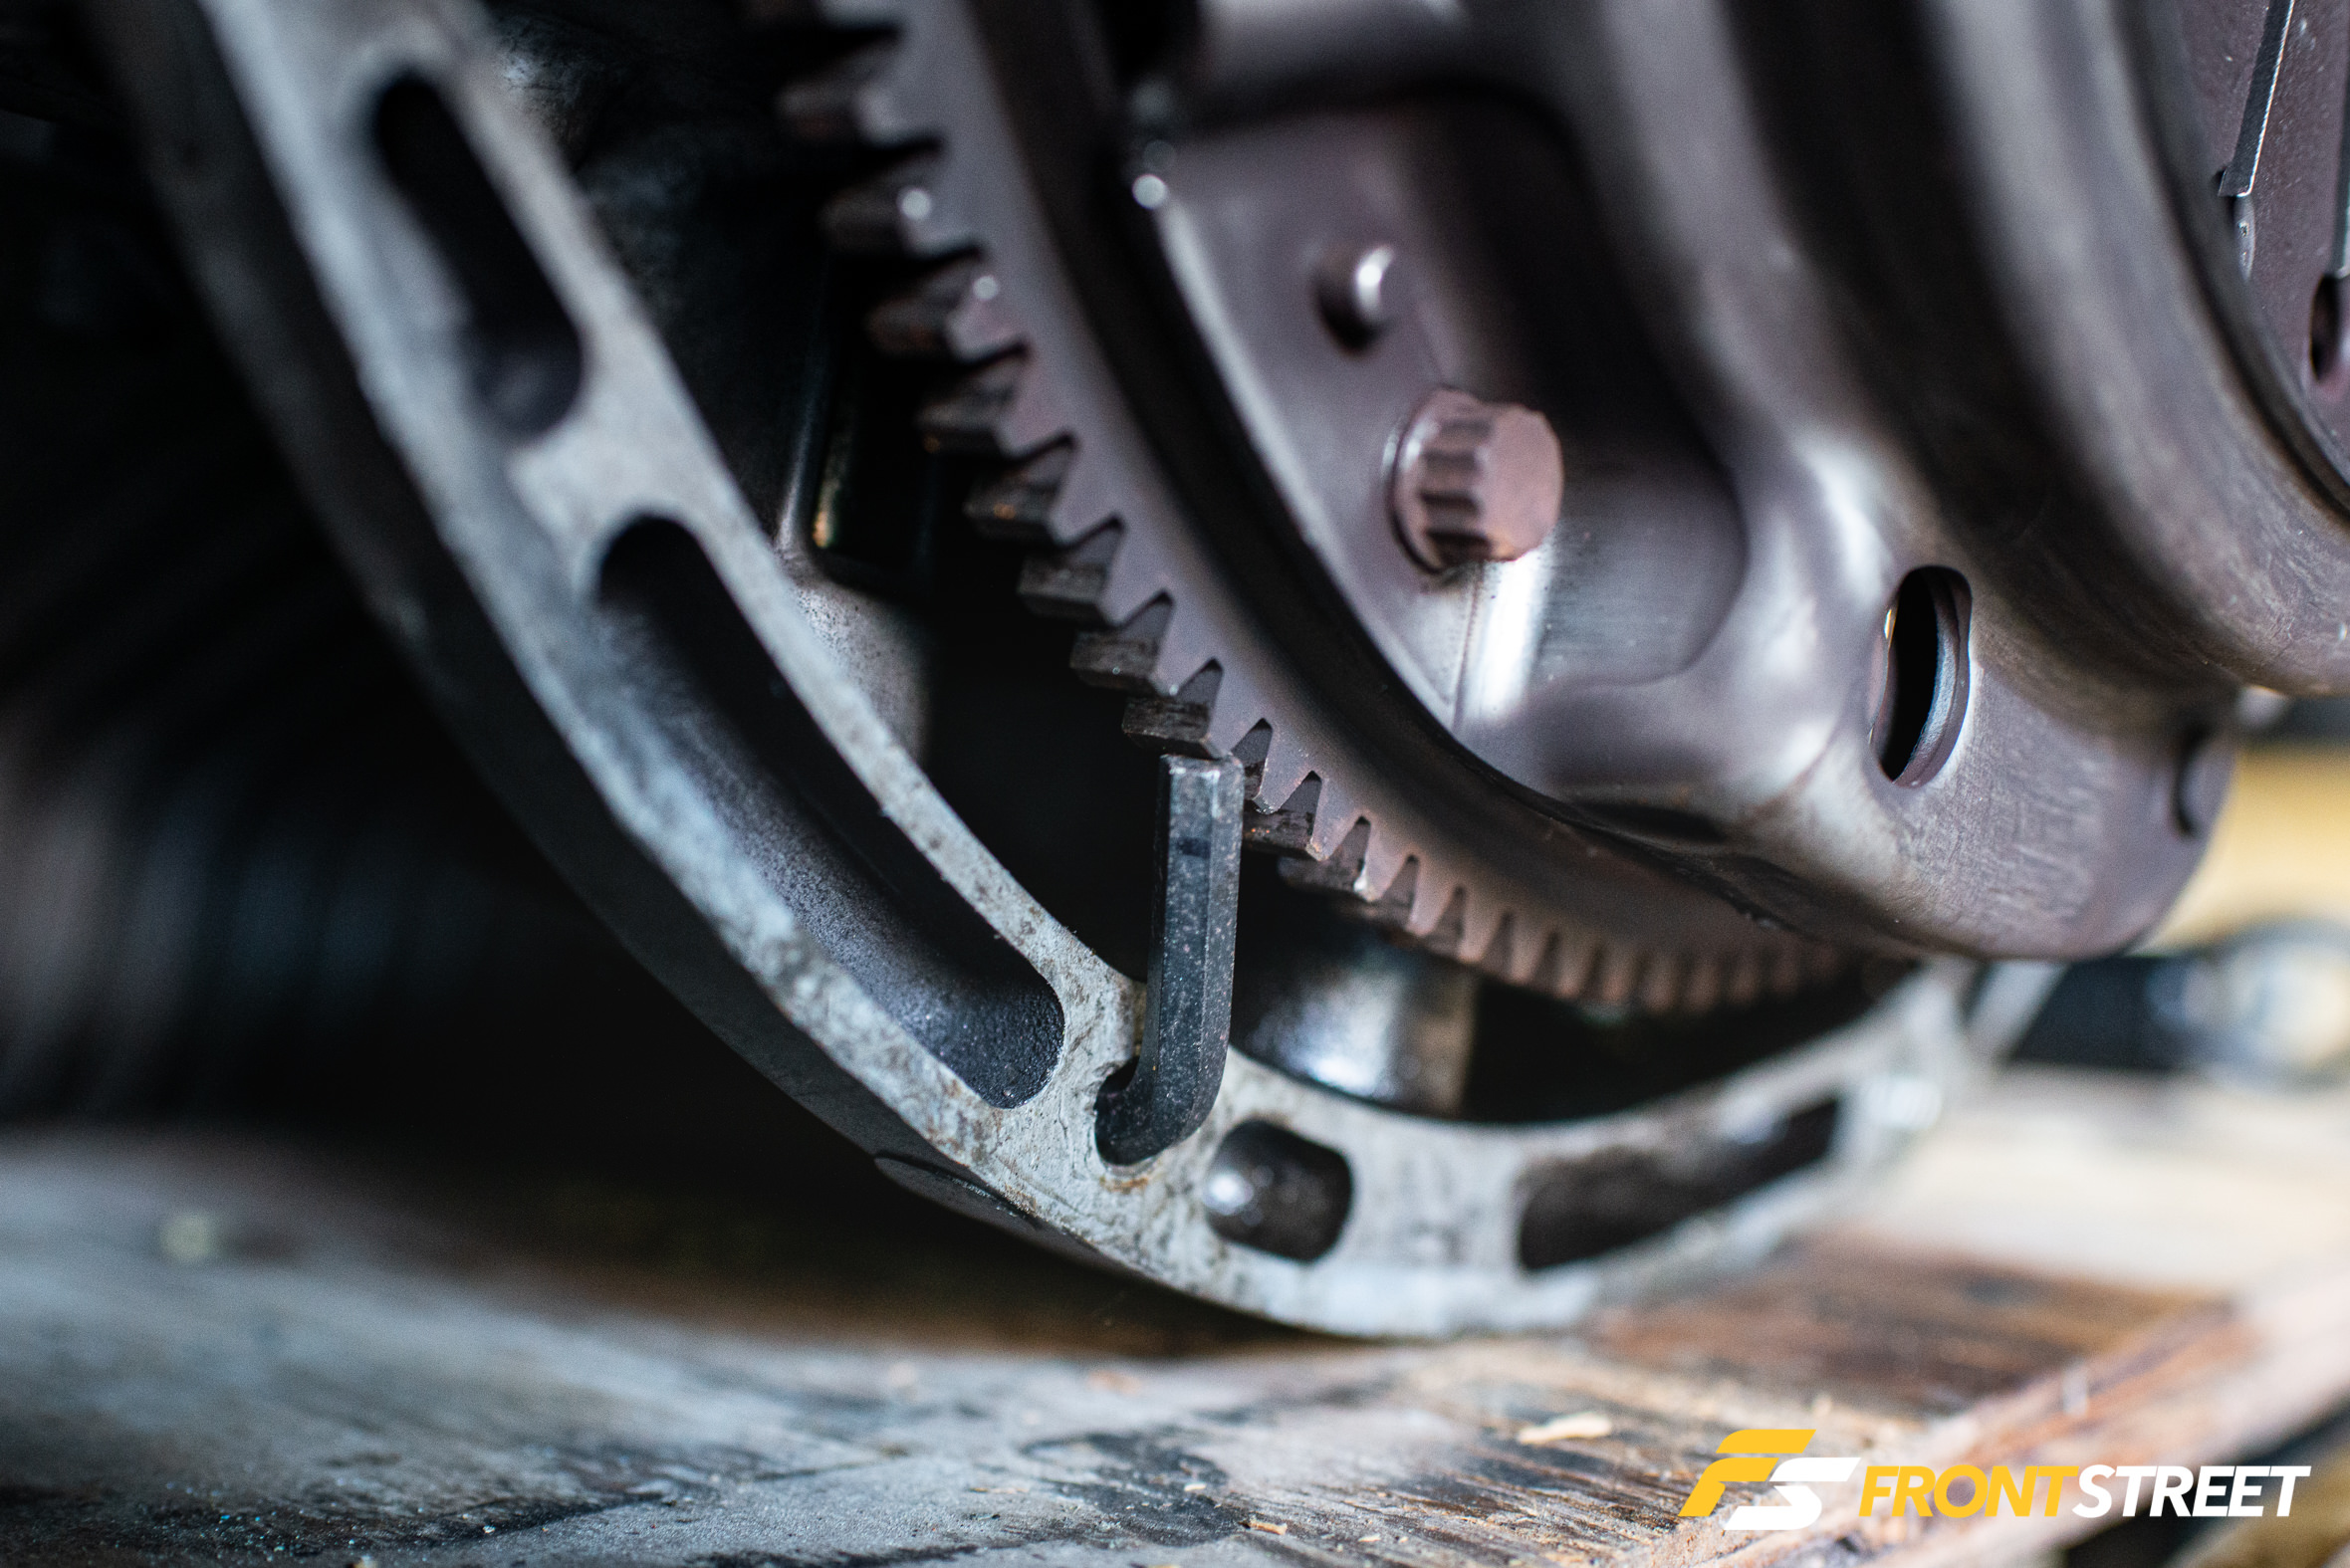
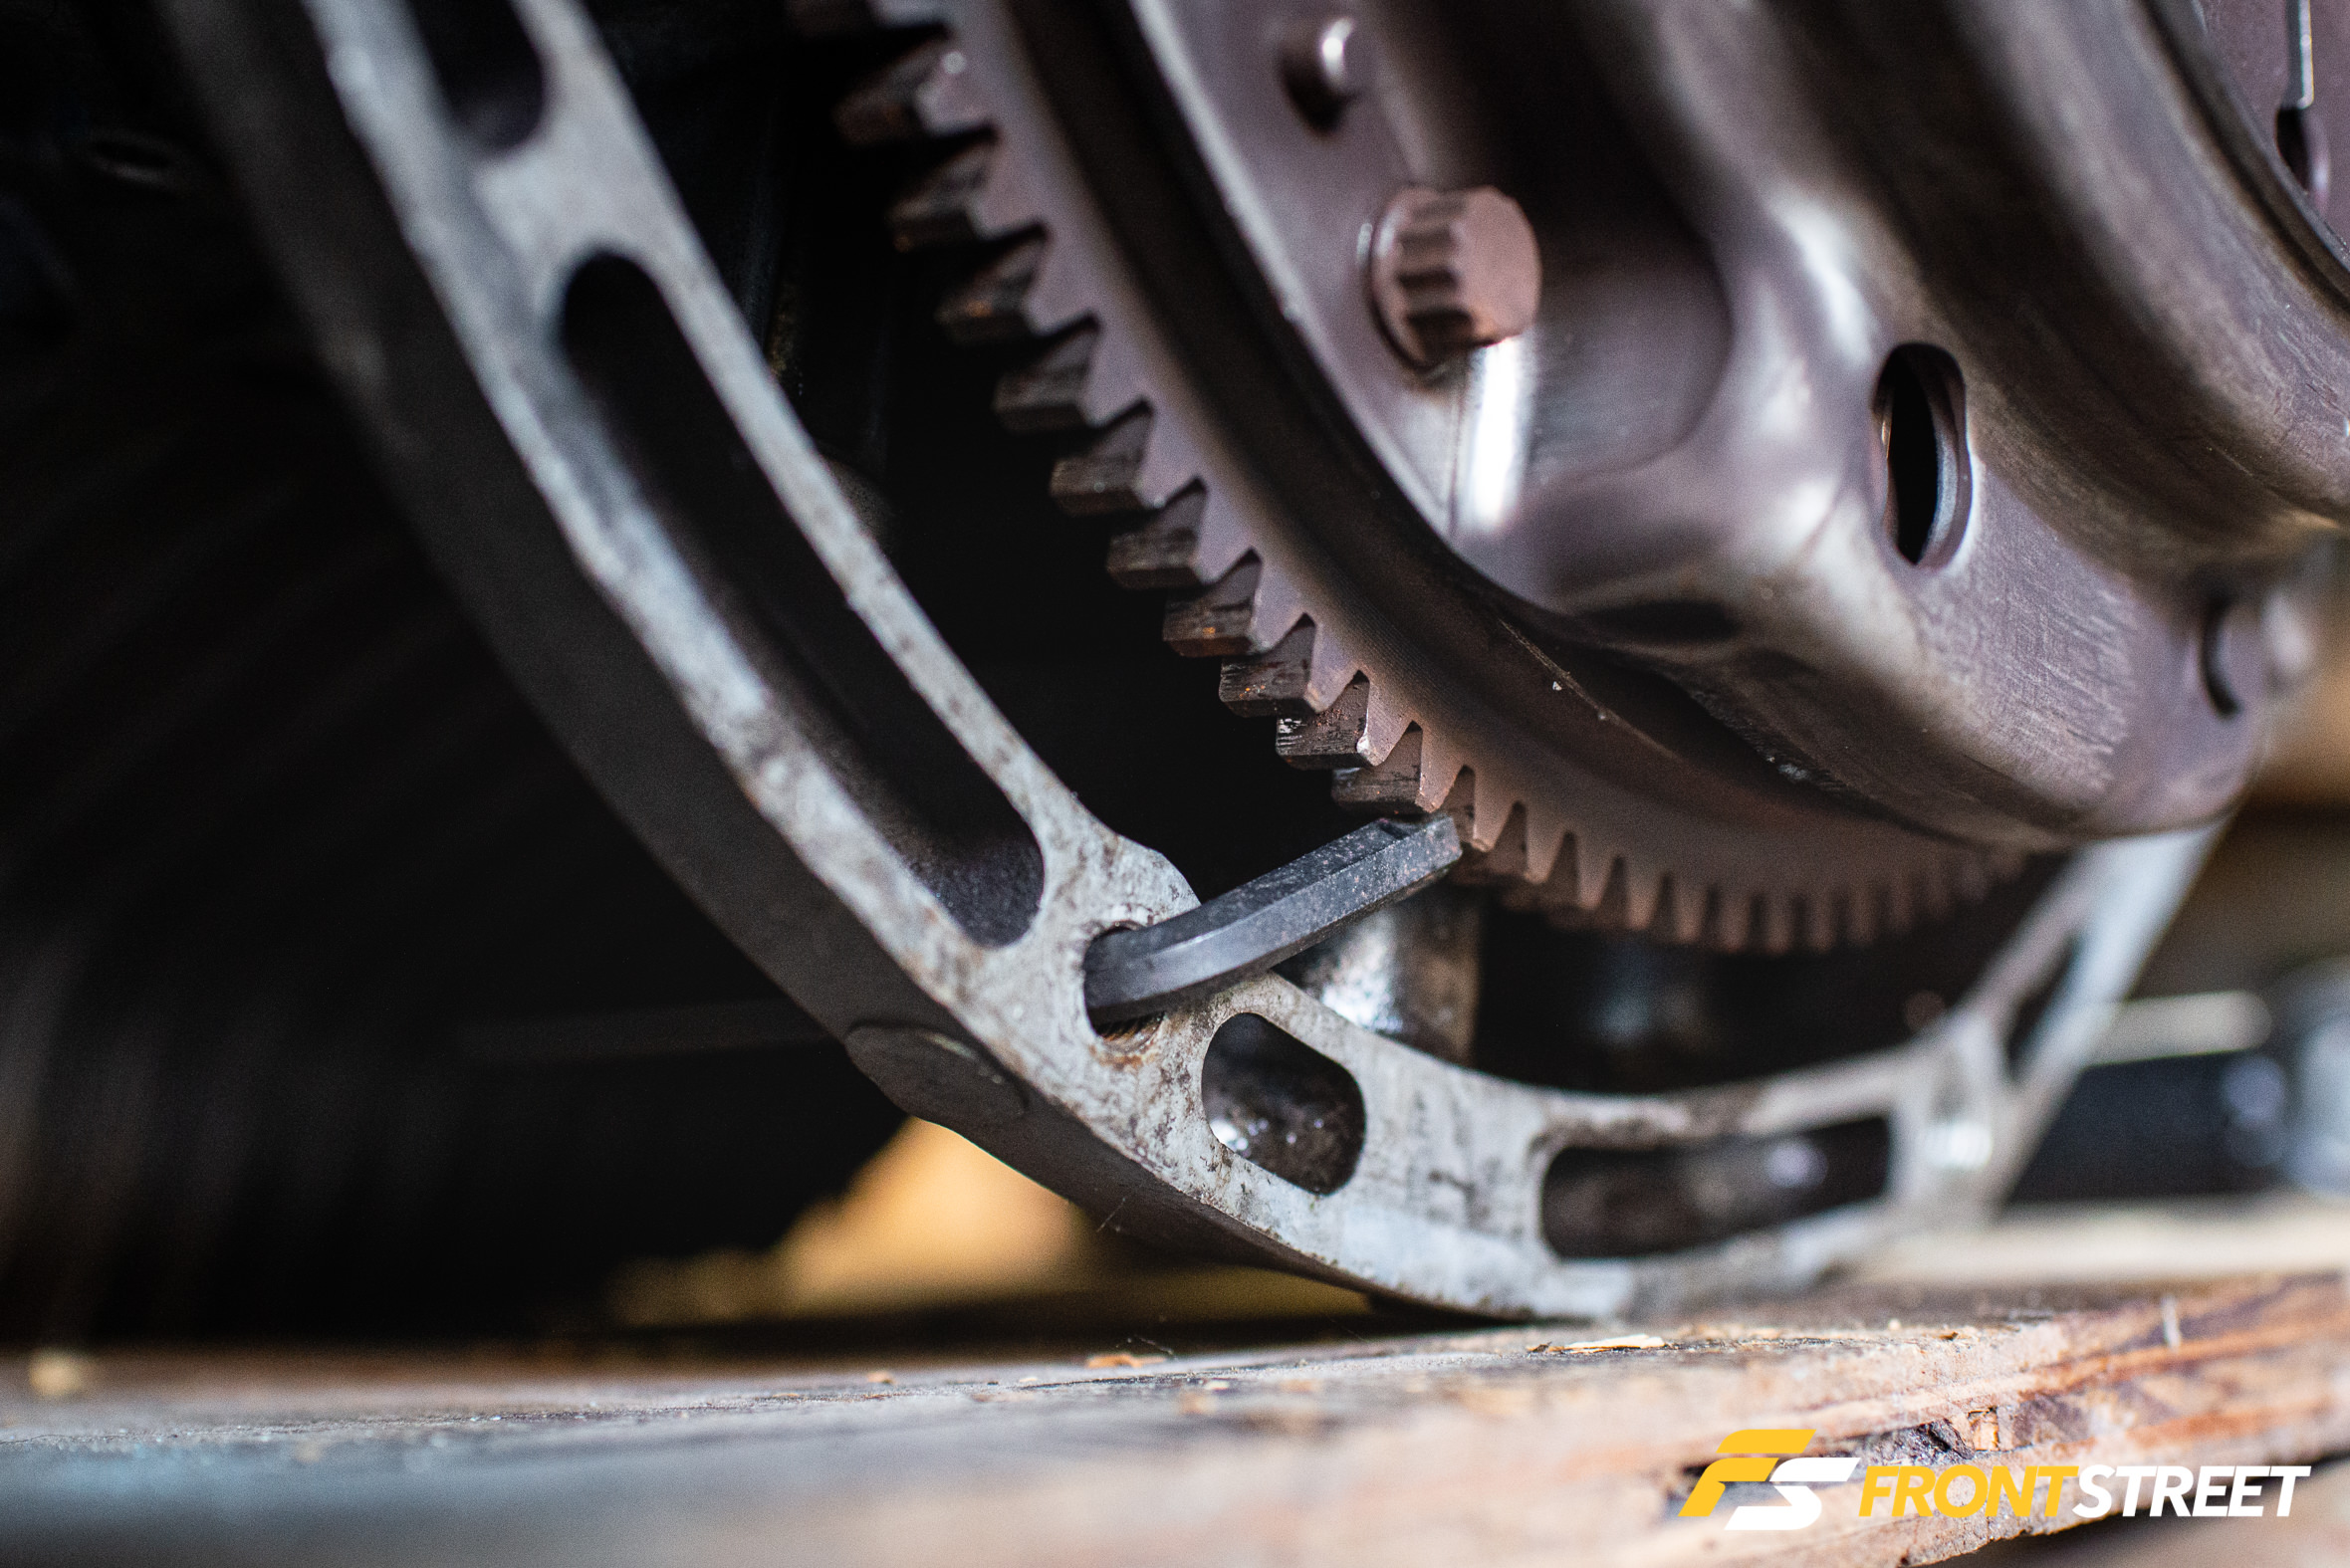
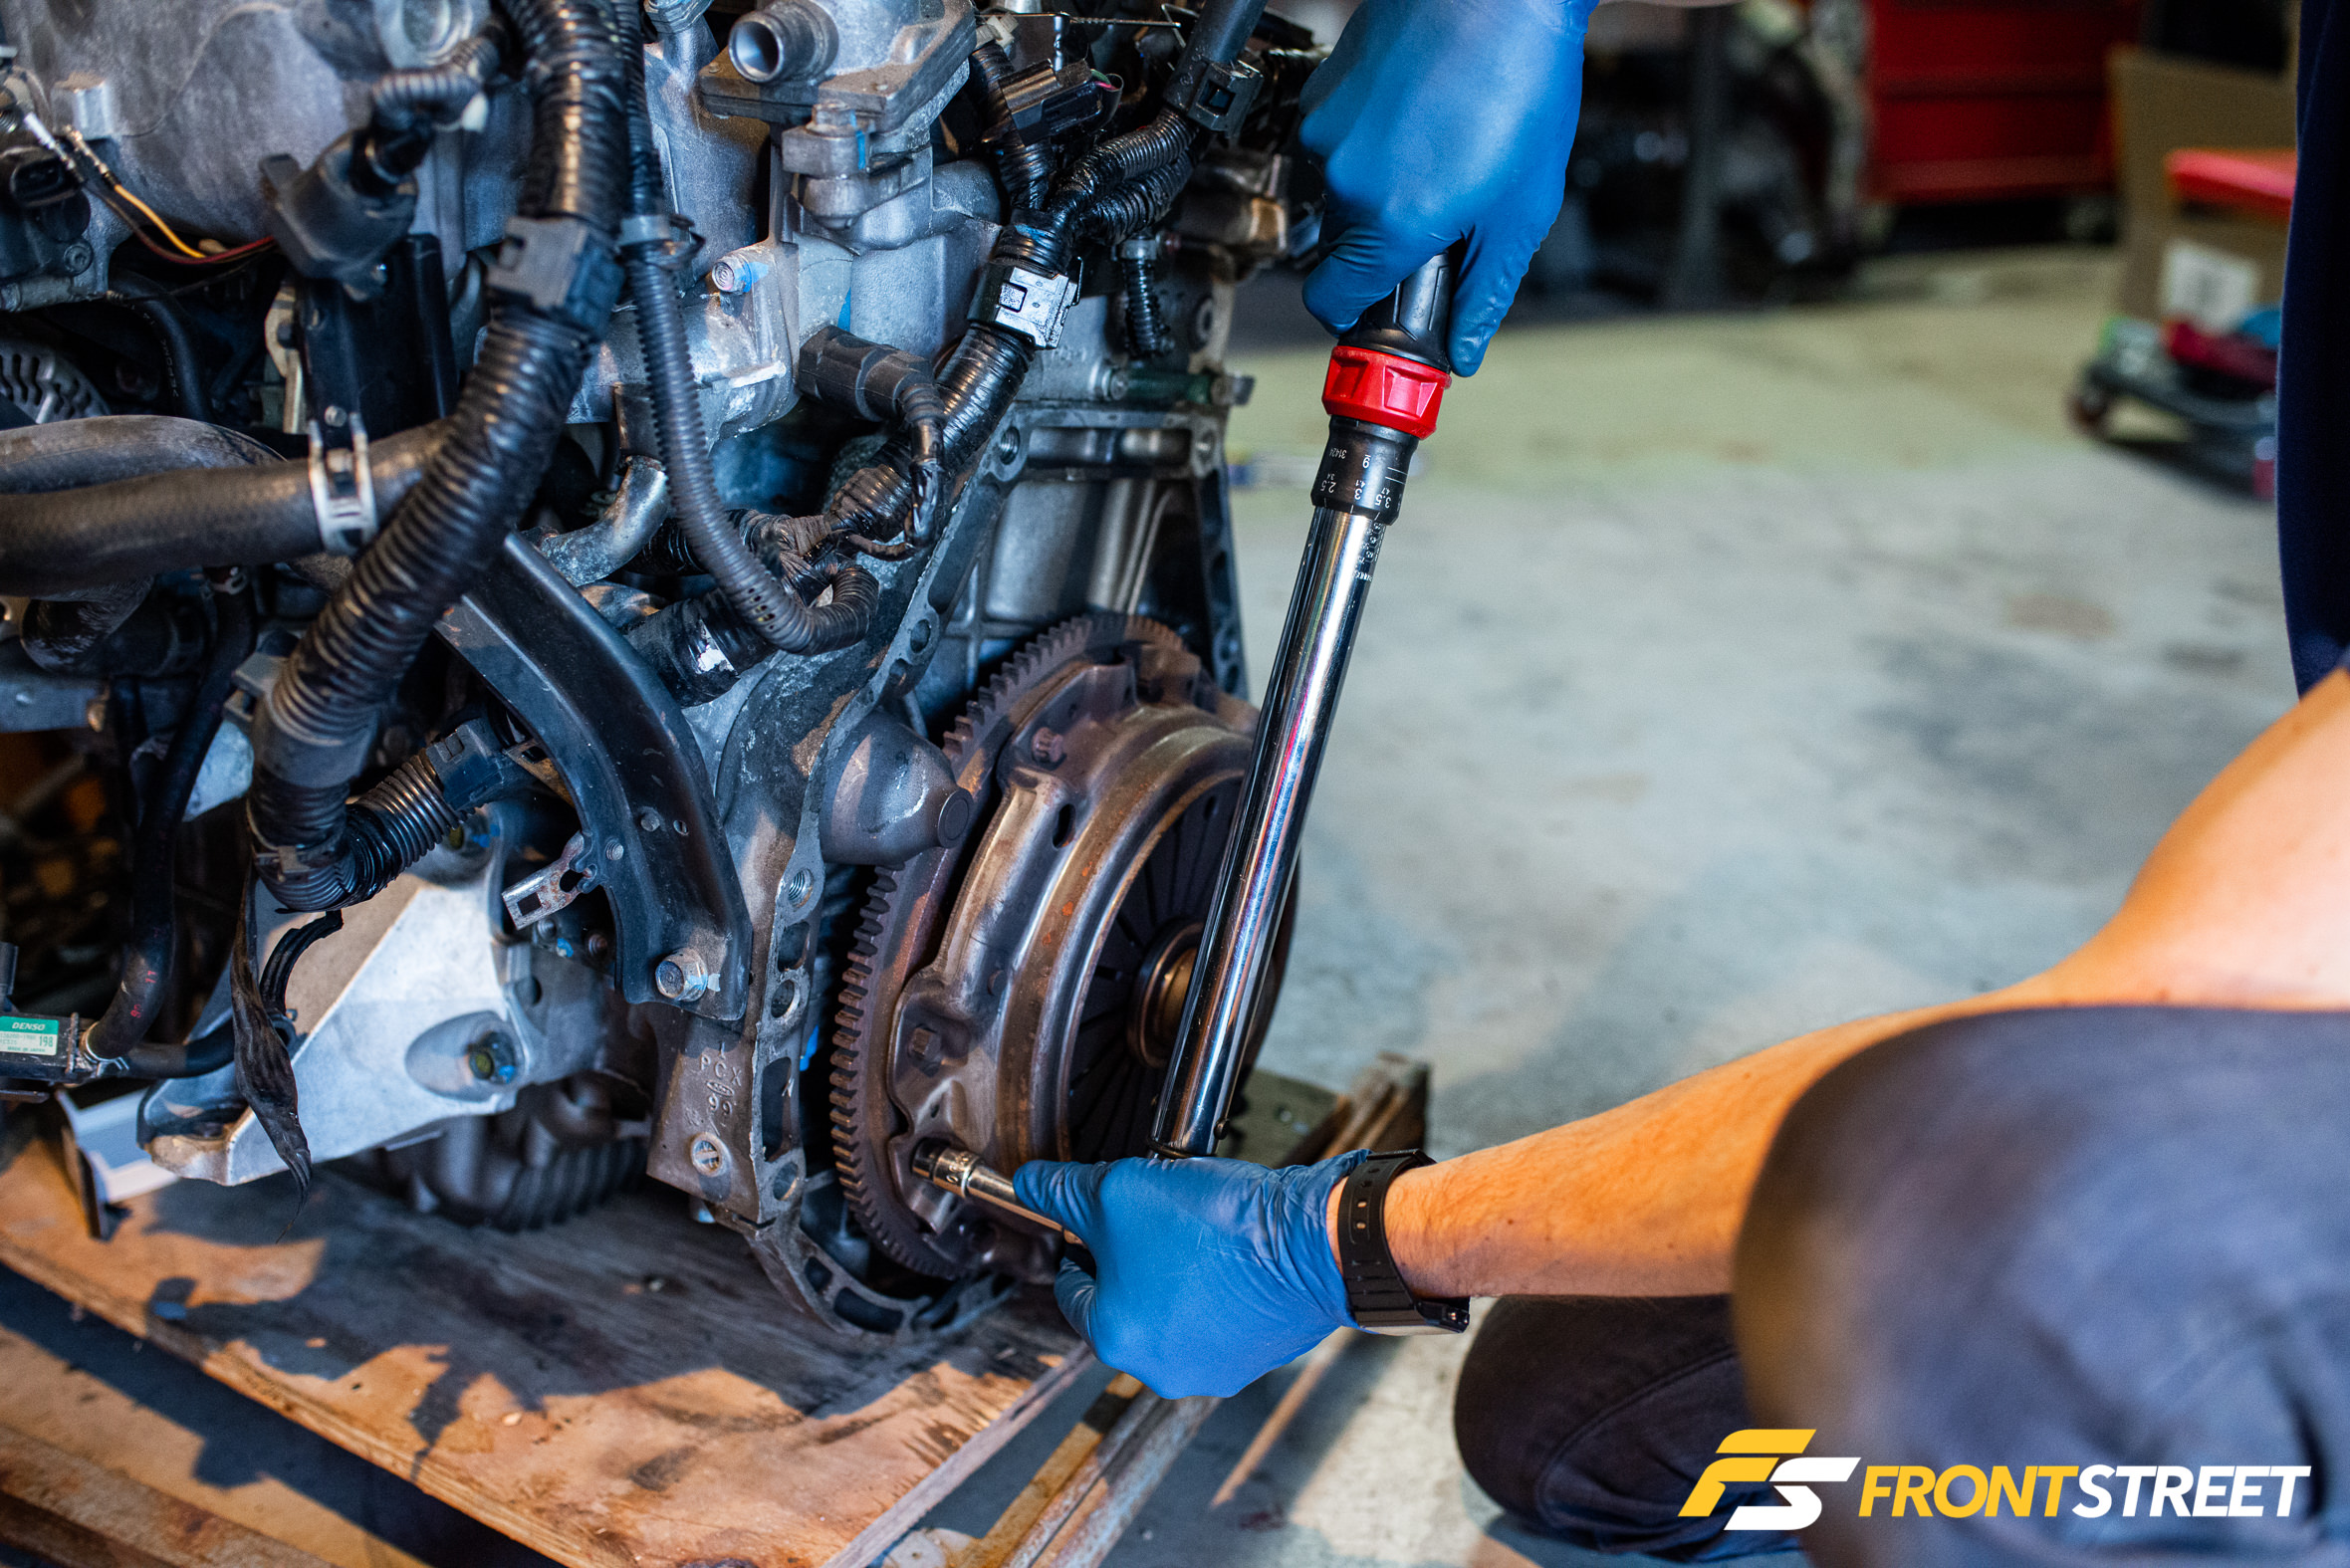
Using an Allen wrench is a graceful method that has provided me with excellent results. By placing the longer end of the wrench into a transmission bolt’s hole in the engine block, you can then maneuver the shorter end between two teeth, facing opposite the direction you’re about to start torquing. Once snugly secured within the teeth, the force acting against the wrench will hold it in place and lock your flywheel to resist spinning while you loosen or tighten your clutch bolts.
Once you’ve completed the loosening or tightening, spin the flywheel in the opposite direction, relieve the wrench’s tension, and out it comes—no pry bar needed.
Aerosol Brakleen Cap and Straw
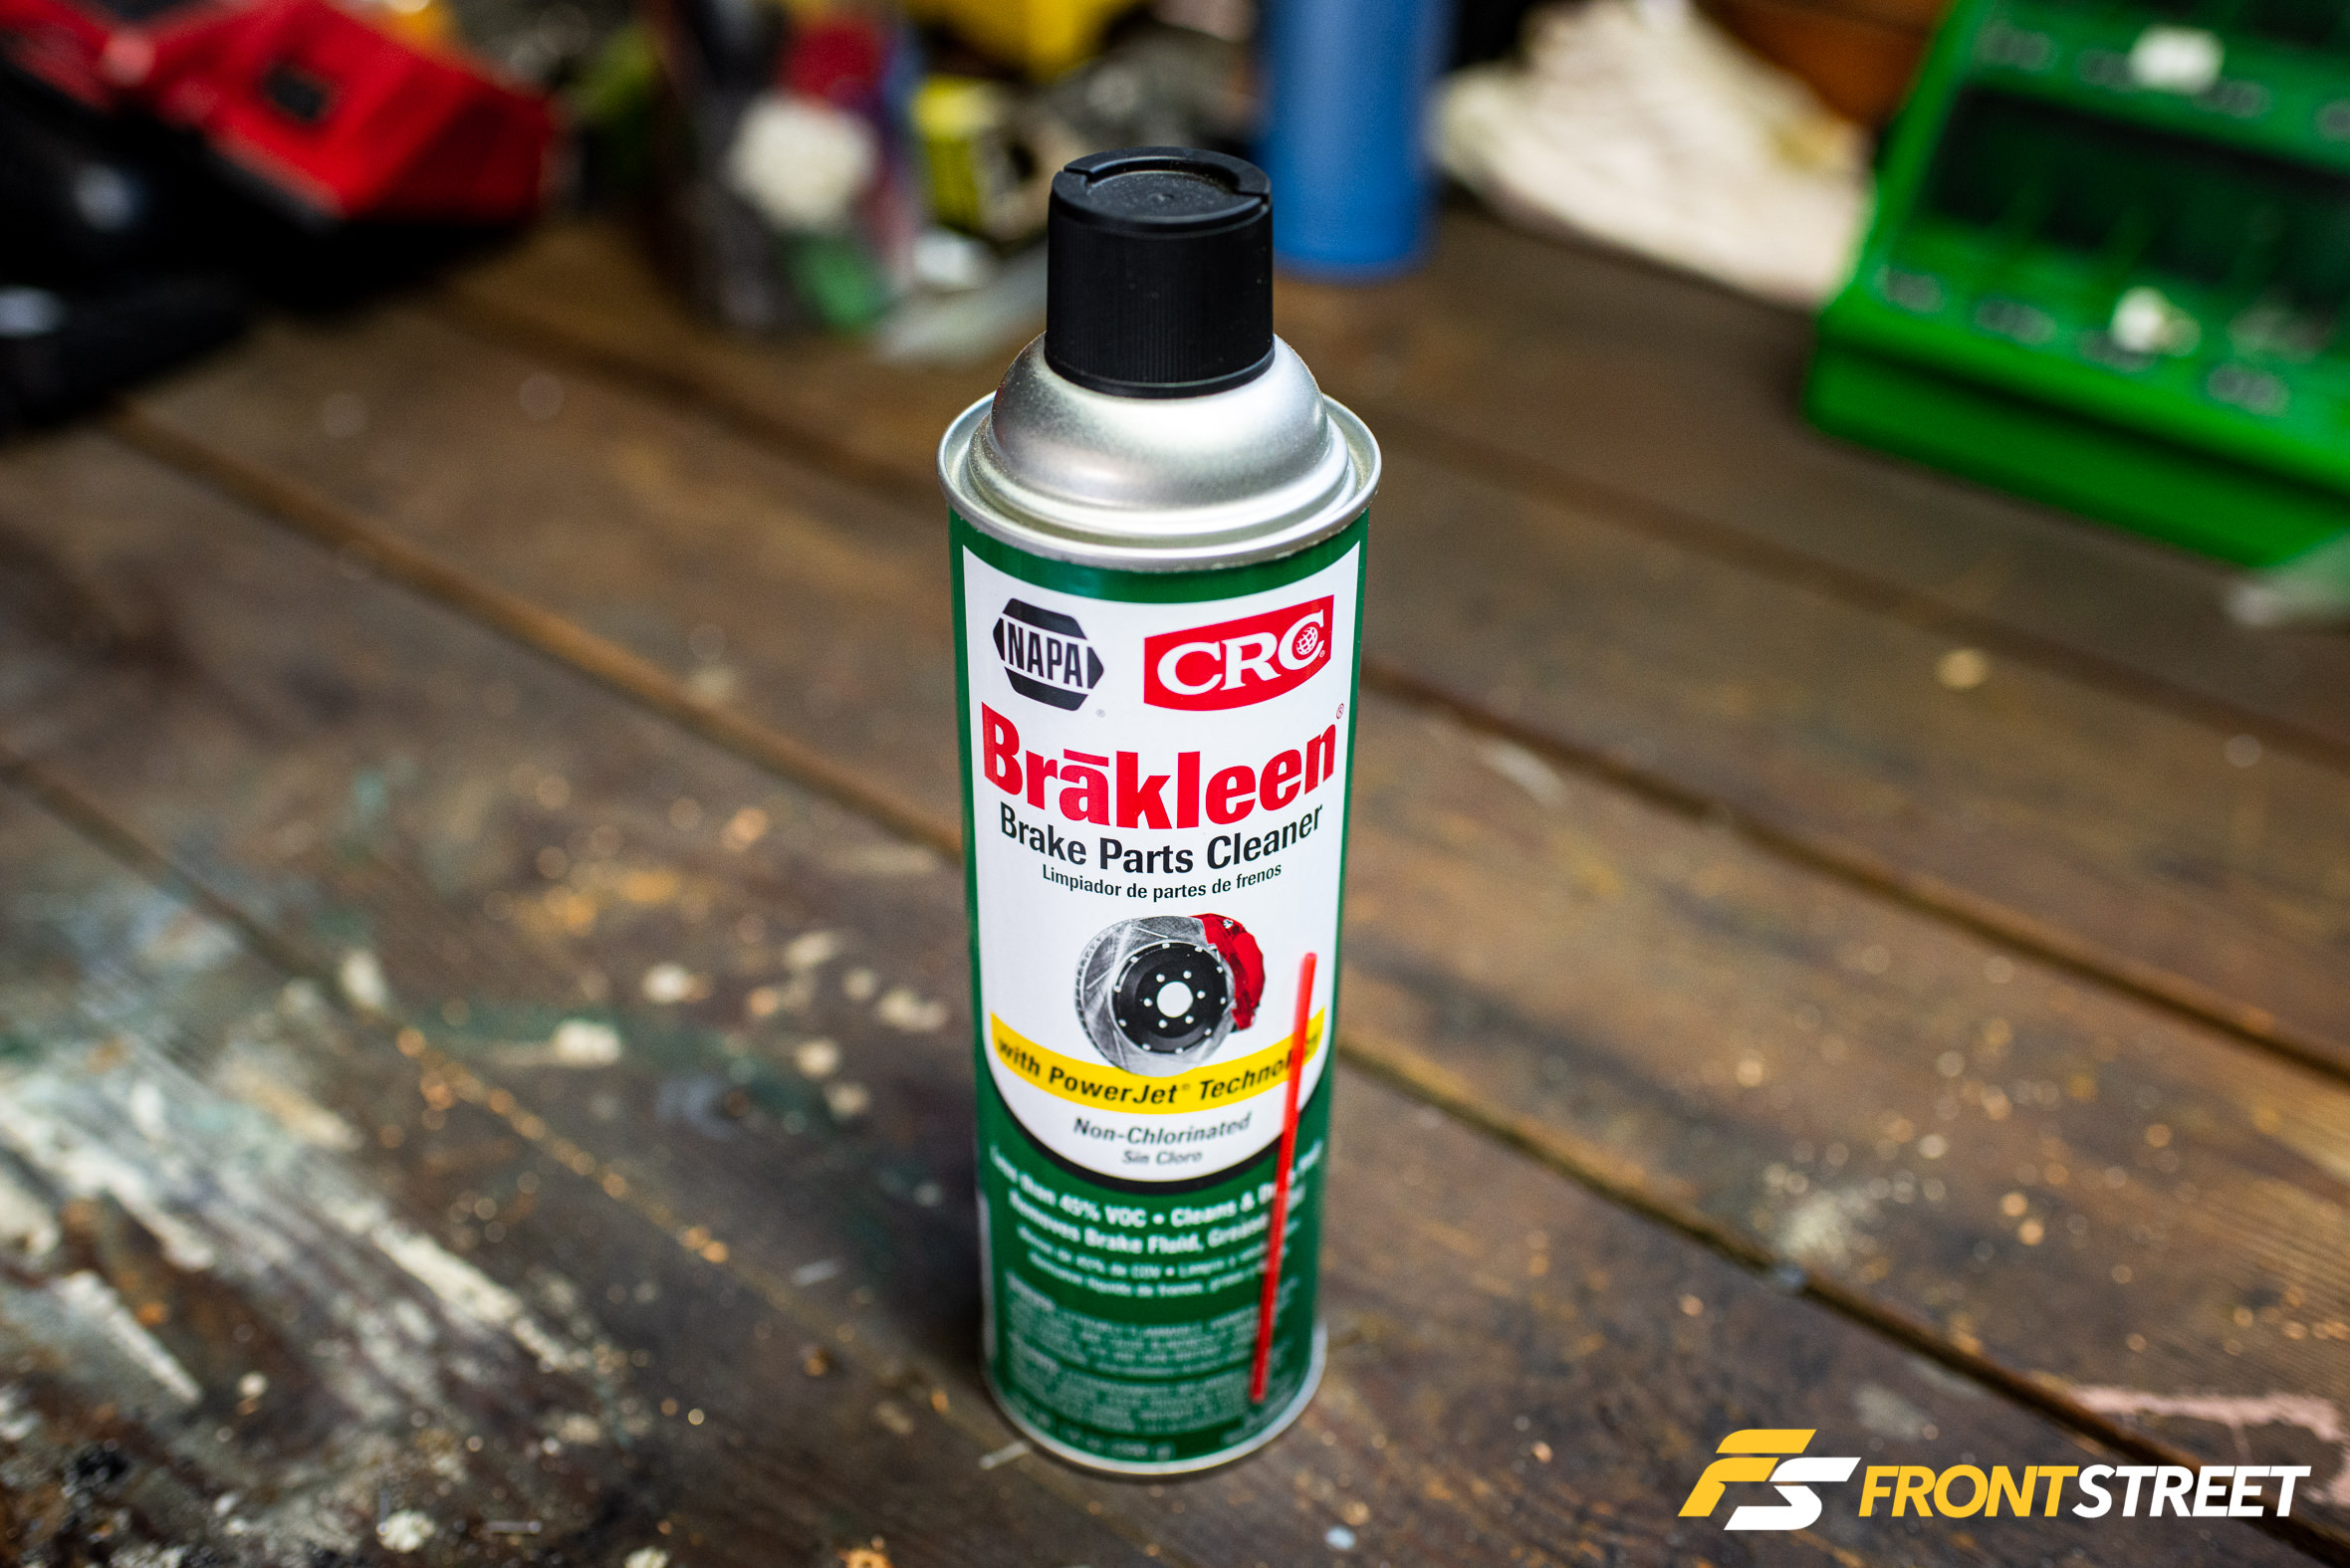
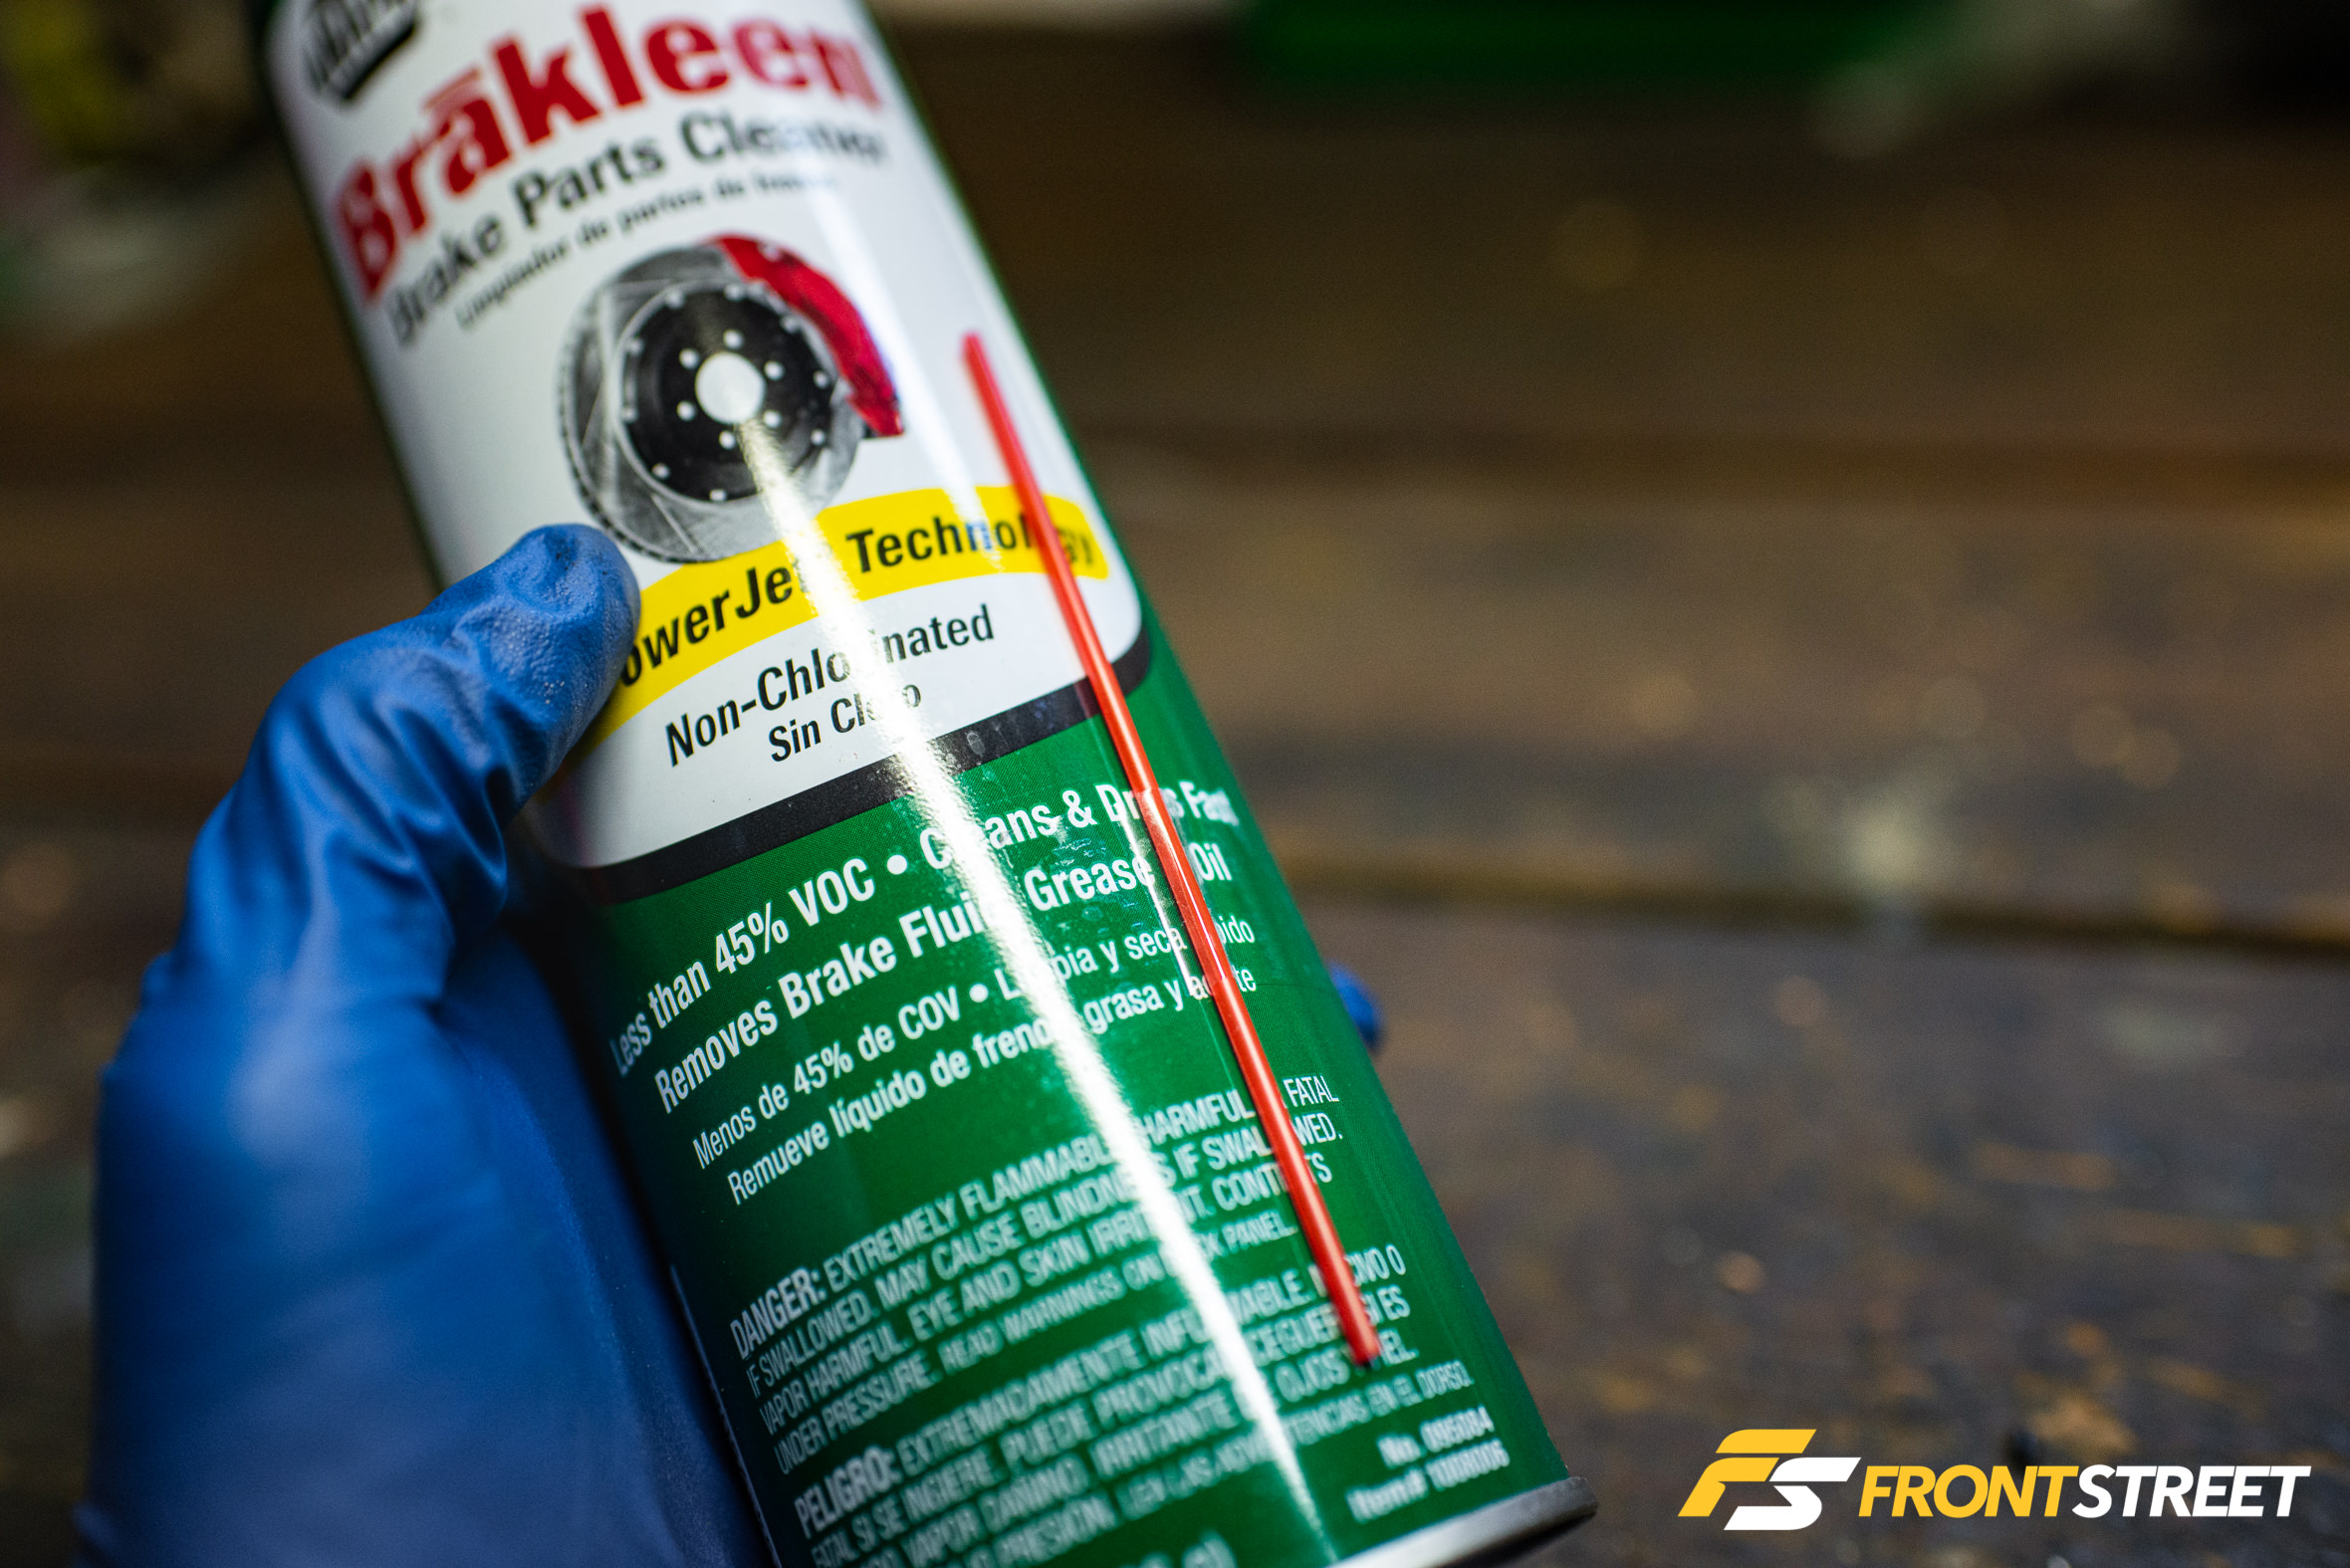
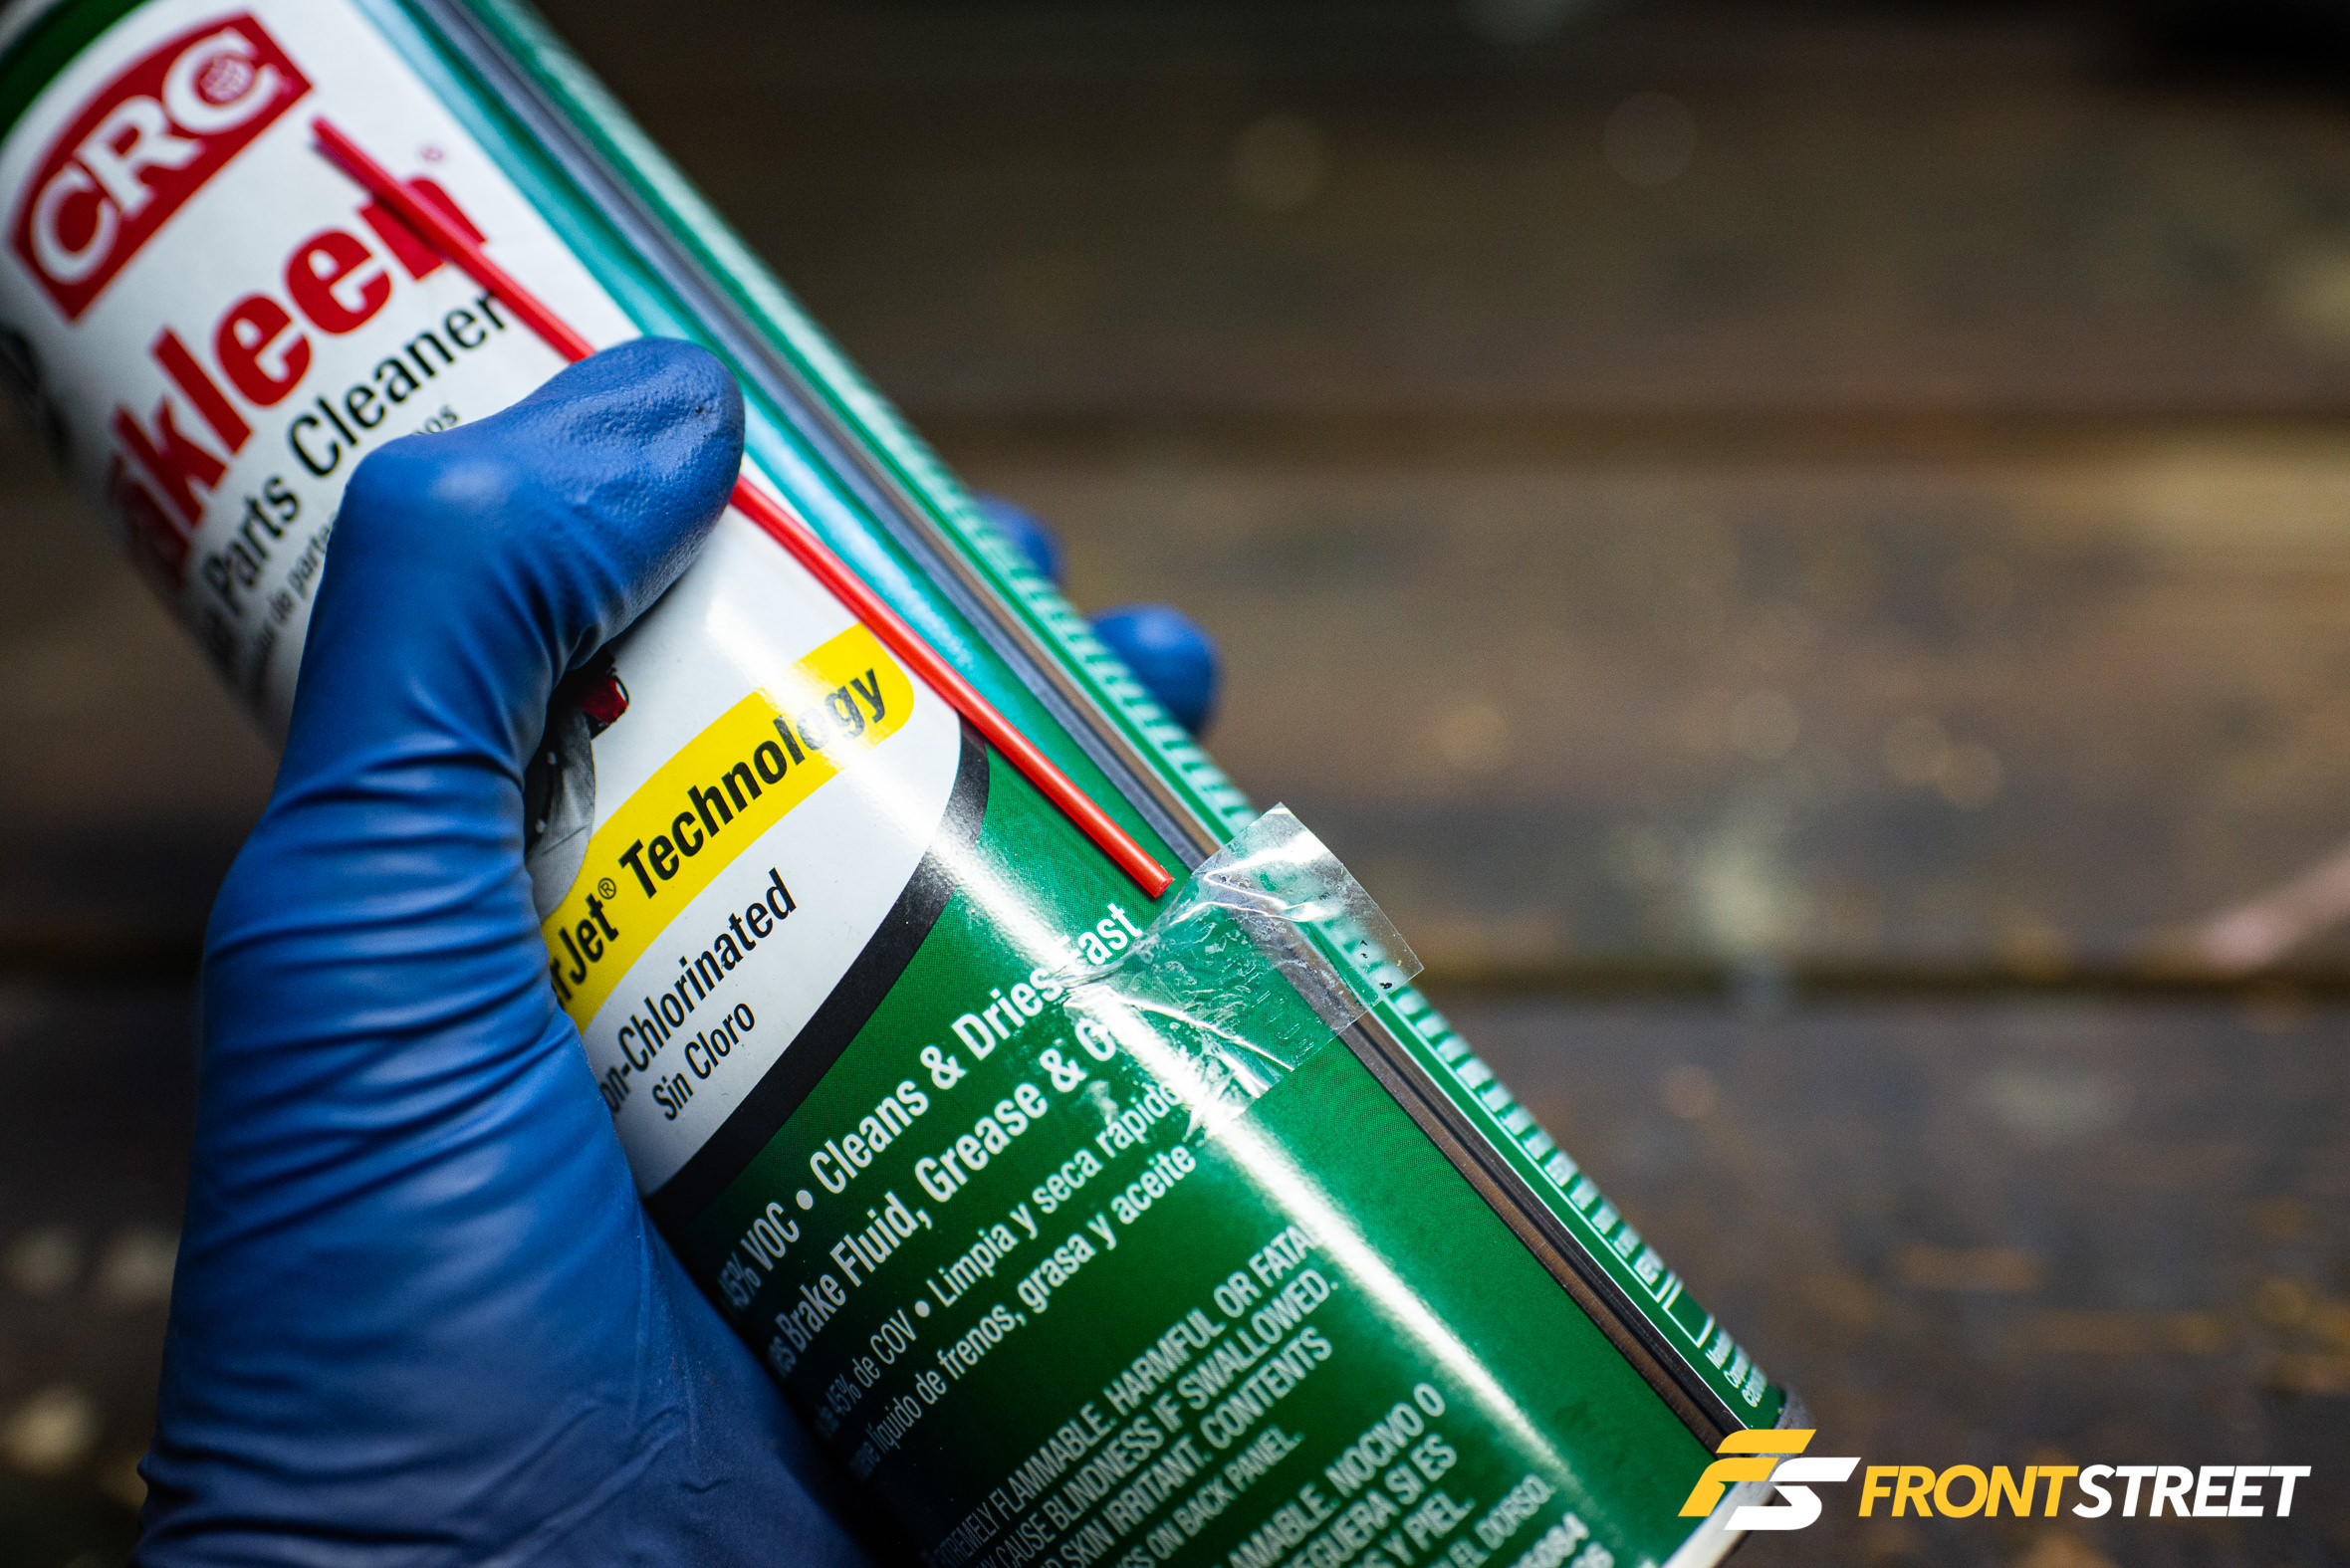
This one is significantly less involved than our other hacks, but I felt it needed to make the list because it’s good to know. Everyone in a garage uses aerosol brake clean spray. If they don’t, then they must not deal with the dirt and grime that I deal with in the garage. When the can is new, it comes with a straw taped to the outside of the can. This straw increases the accuracy and extends the reach of the spray. Except once finished with that first use, where does the straw go? You try to finagle it back into the same tape-home presented to you in the first place.
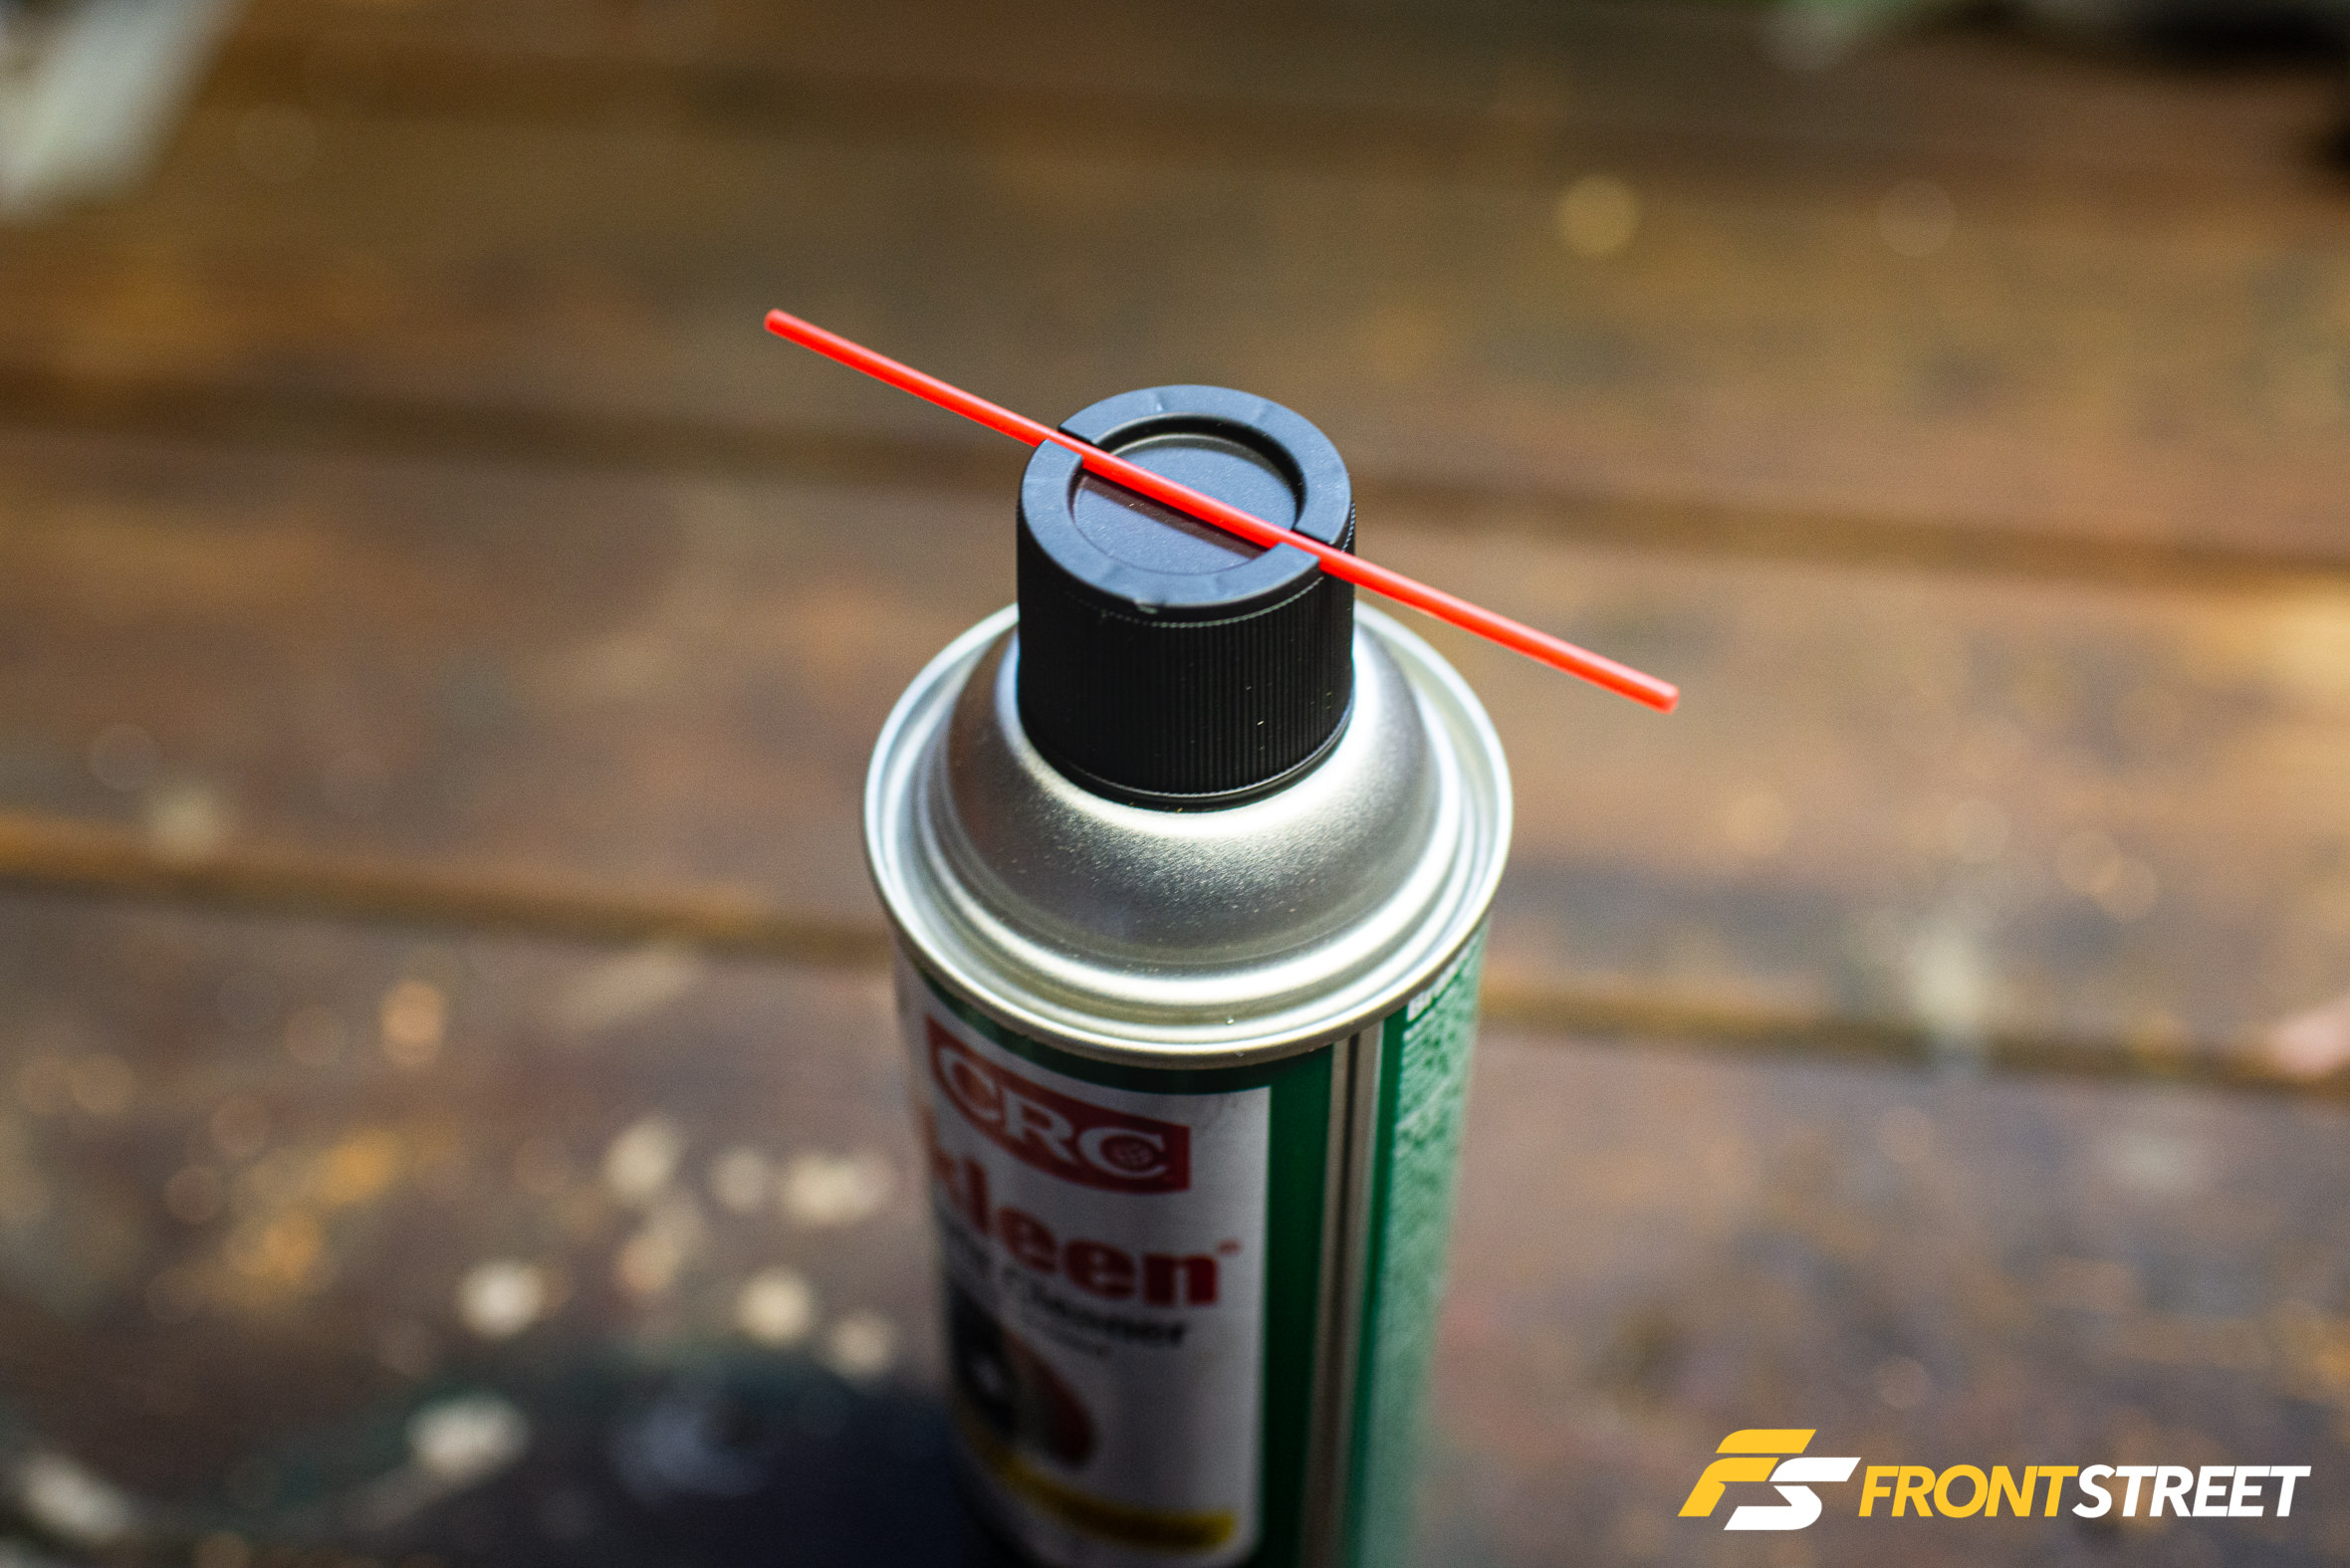
Its real home is in the cap! Just snap it down into the small crack in the lid, and boom, your straw is safe for the next use. Again, it’s not much of a trick—as it’s the intended use of that area in the cap—but more just something I thought would be helpful to share.
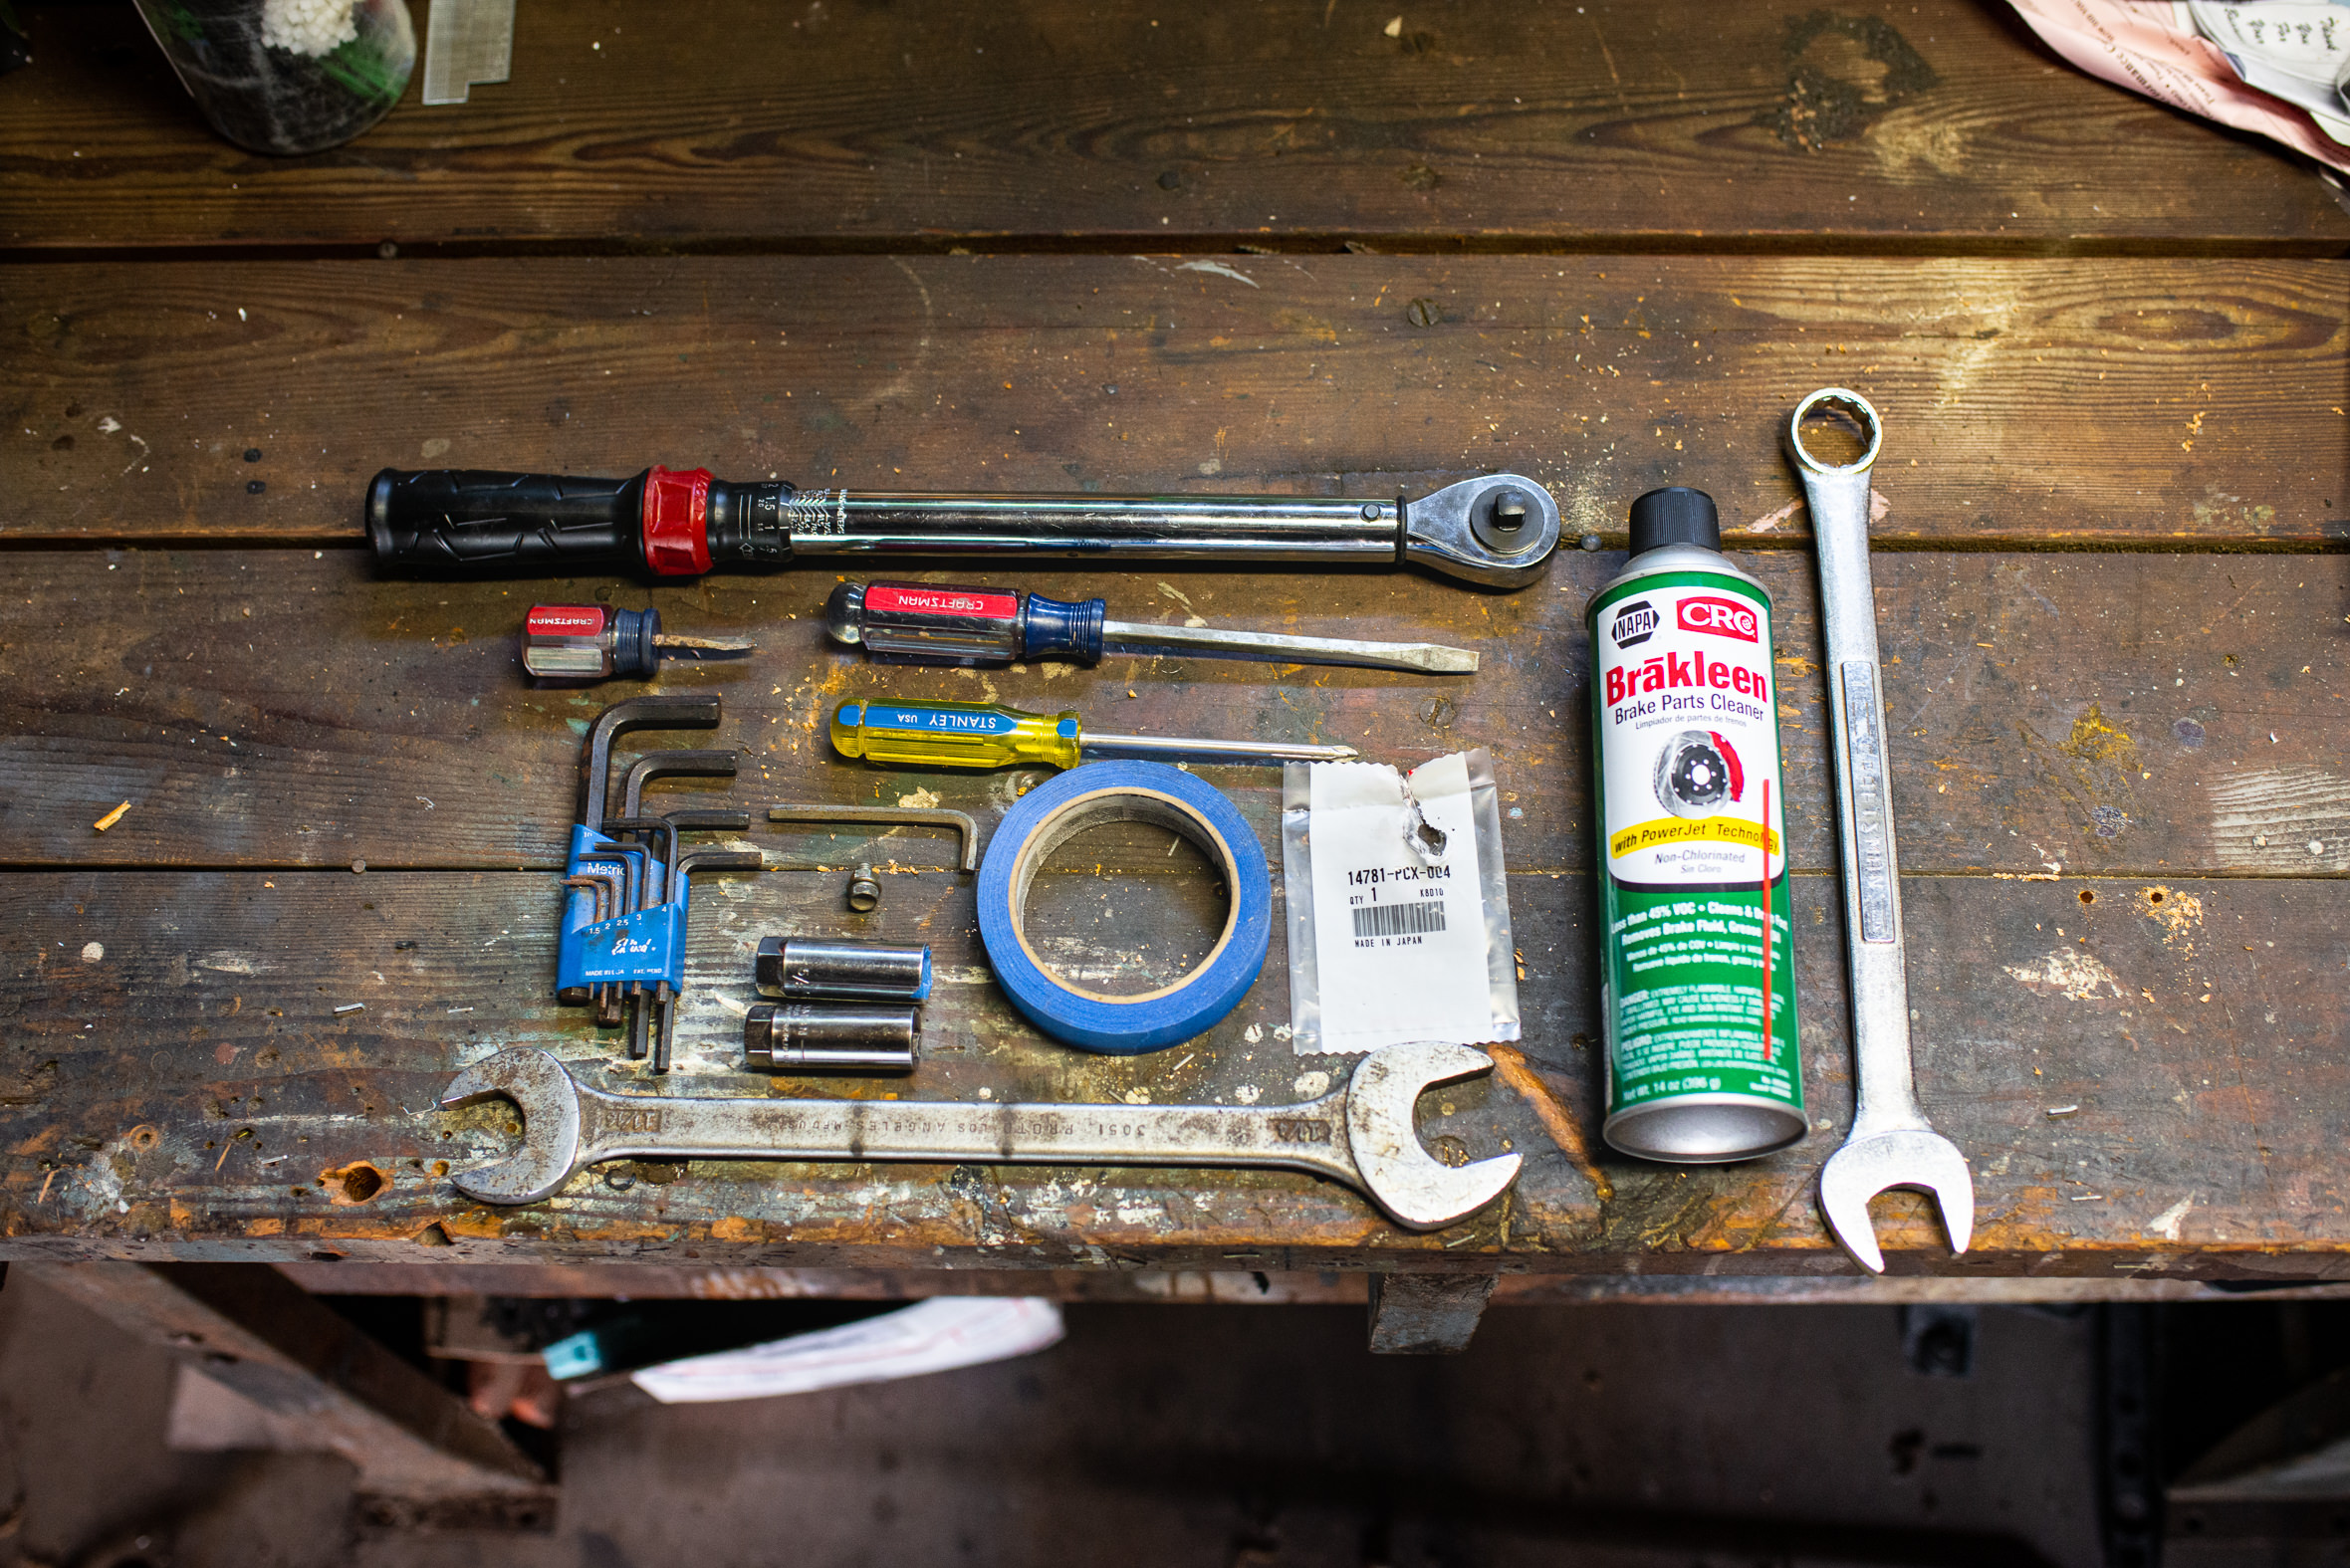
That does it for my five quick tricks to turn you into MacGyver and allow you to outsmart some issues in the garage. Next time you’re out there and a problem arises, just think about what you have at your disposal before your first attempt—it might end up saving you time in the end. If you have your own secret tricks you want to be shared, send them to us, and we’ll do a second part of this article.

