Images courtesy of Schmuck Built
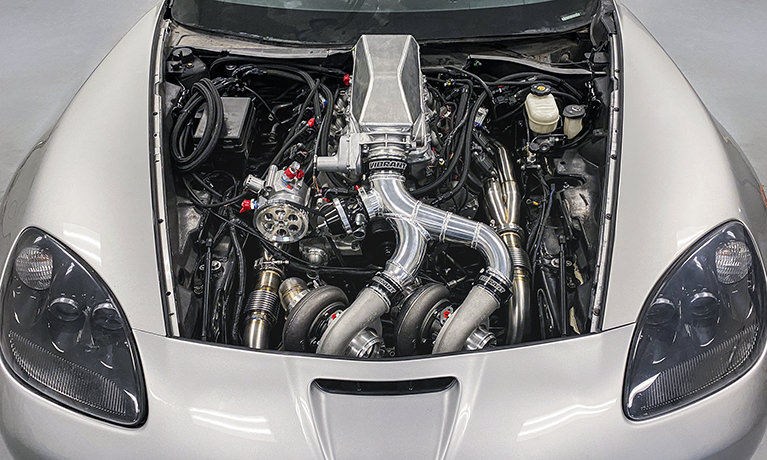
When we last left off with Jason Schmuck of Schmuck Built in Mechanicsburg, PA—the fabrication artist responsible for countless SEMA/PRI builds—he had mentioned the next project he was working on. I thought it was so impressive that I jumped at the opportunity to feature it on Front Street. Today we’re going to walk through the tools, process, and hurdles involved with creating this one-of-a-kind twin-turbocharged setup for a local customer’s C6-chassis Z06 Corvette.
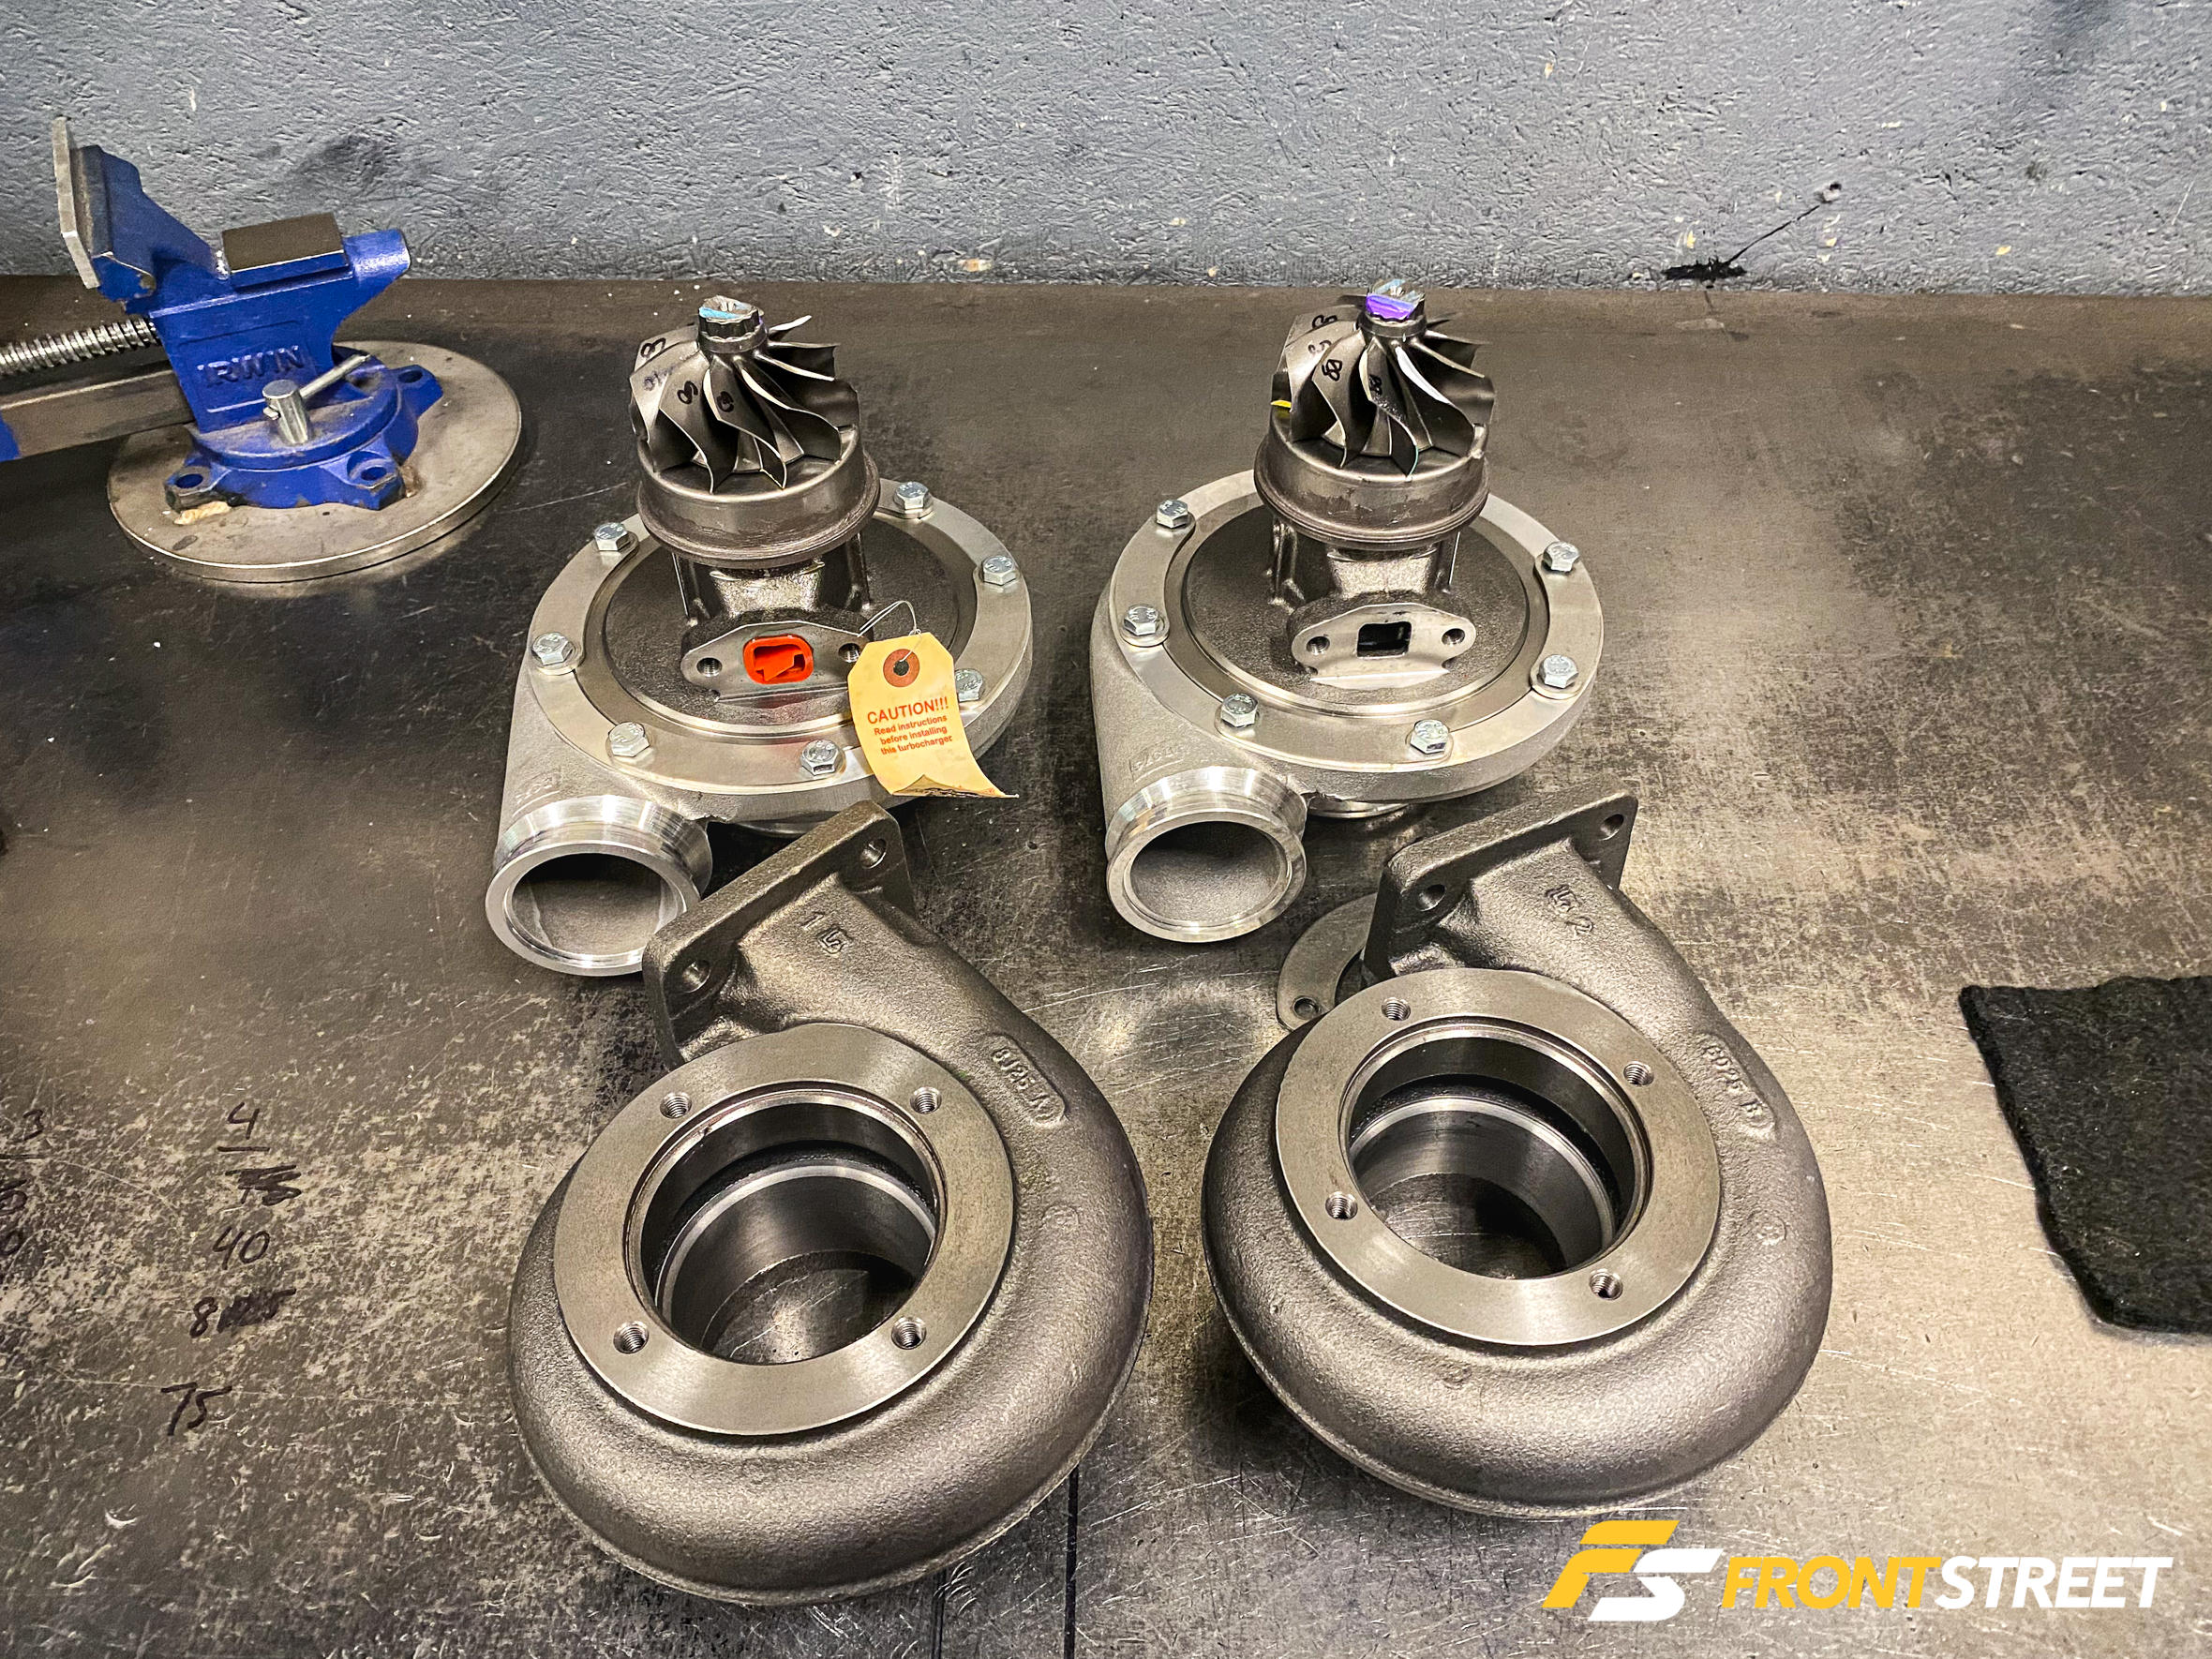
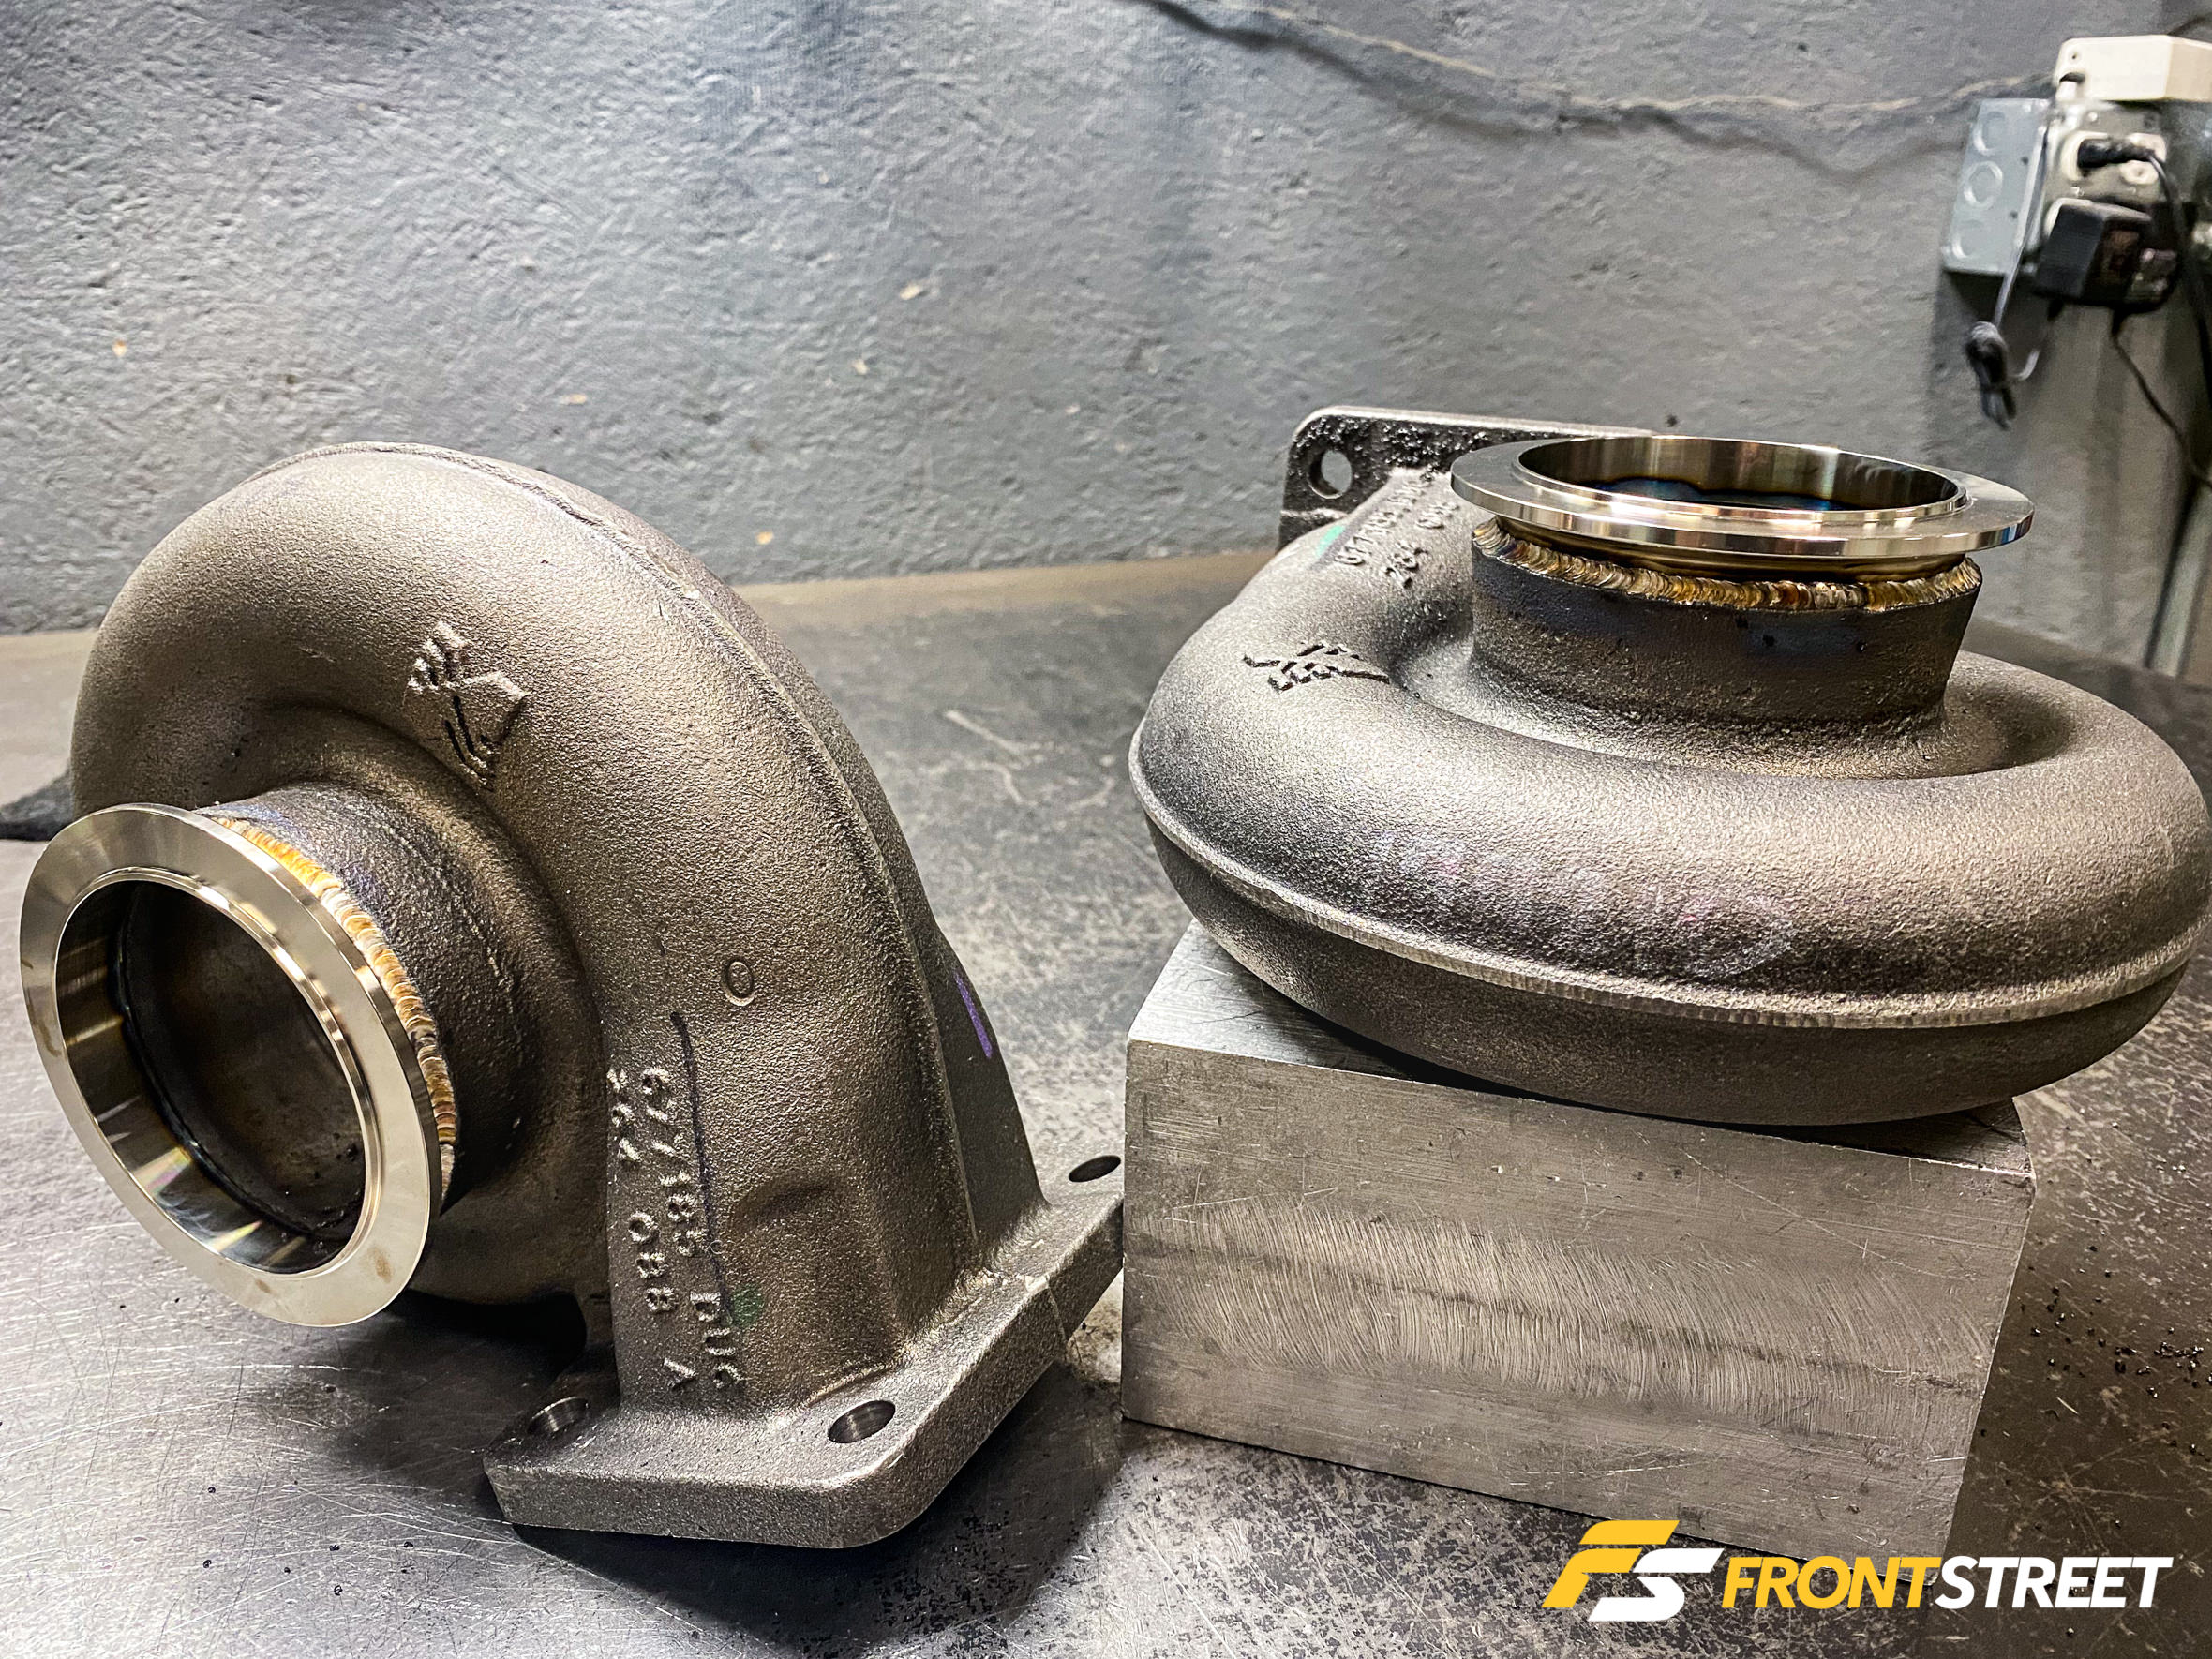
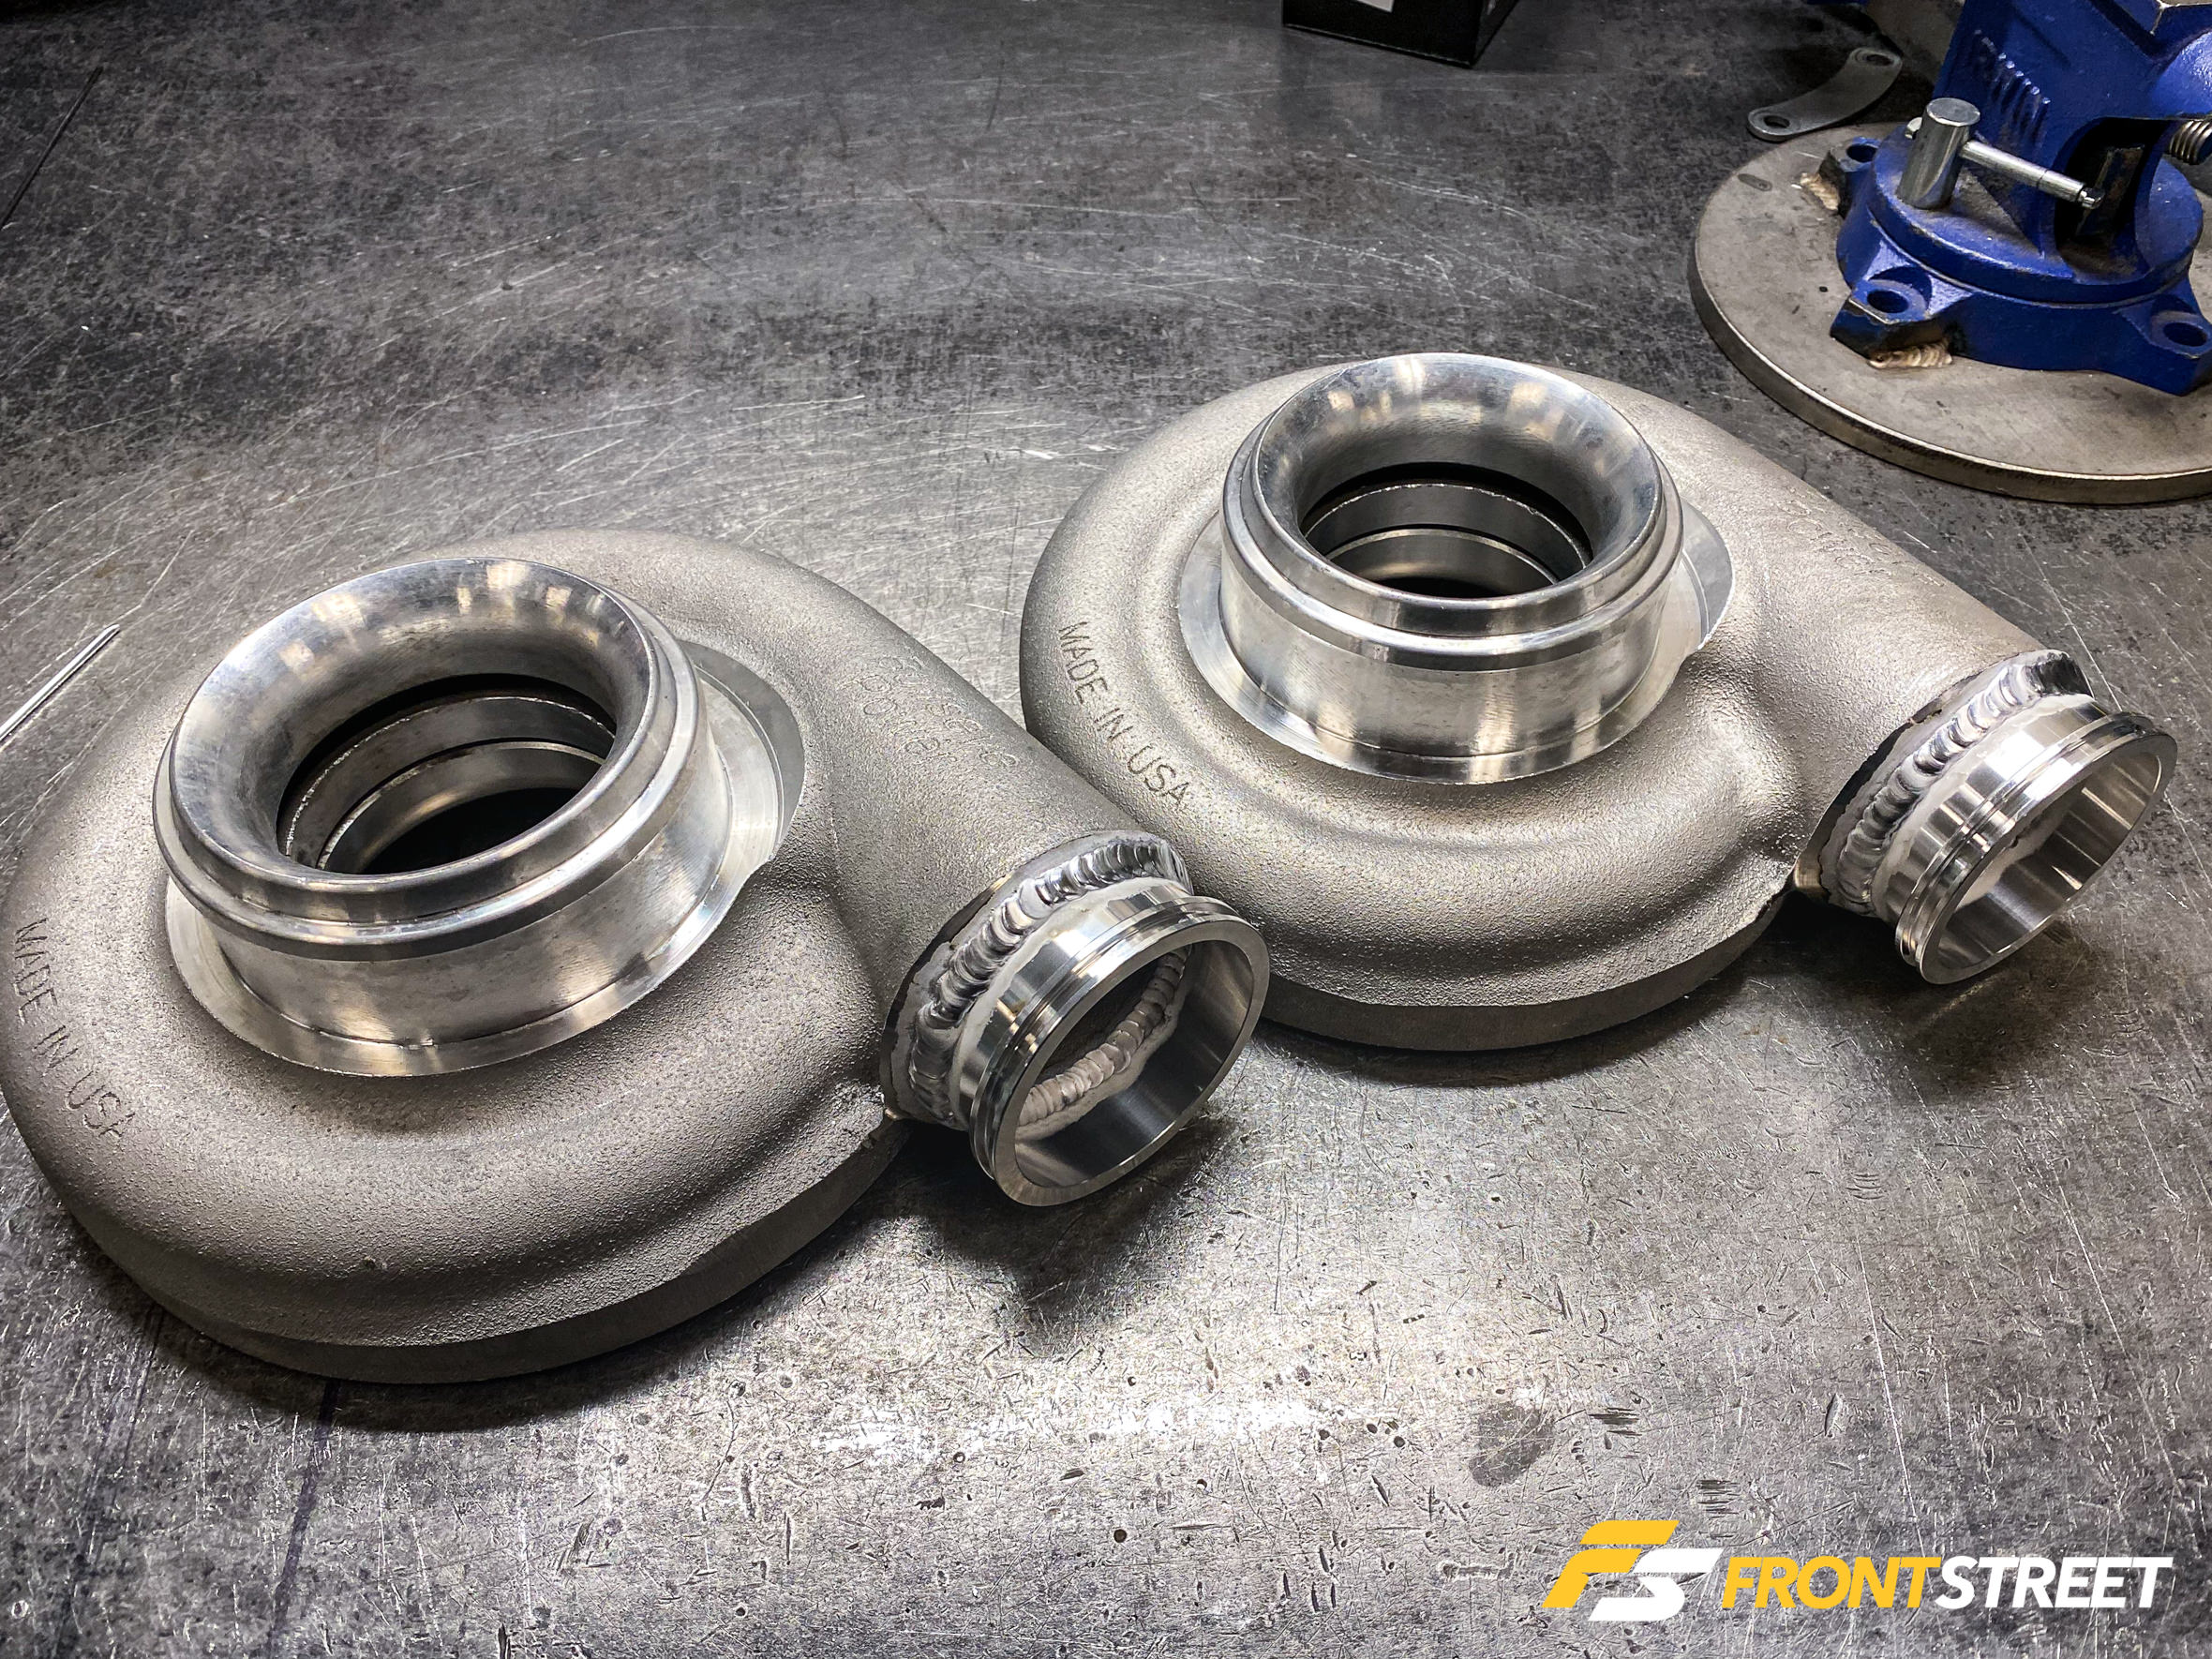
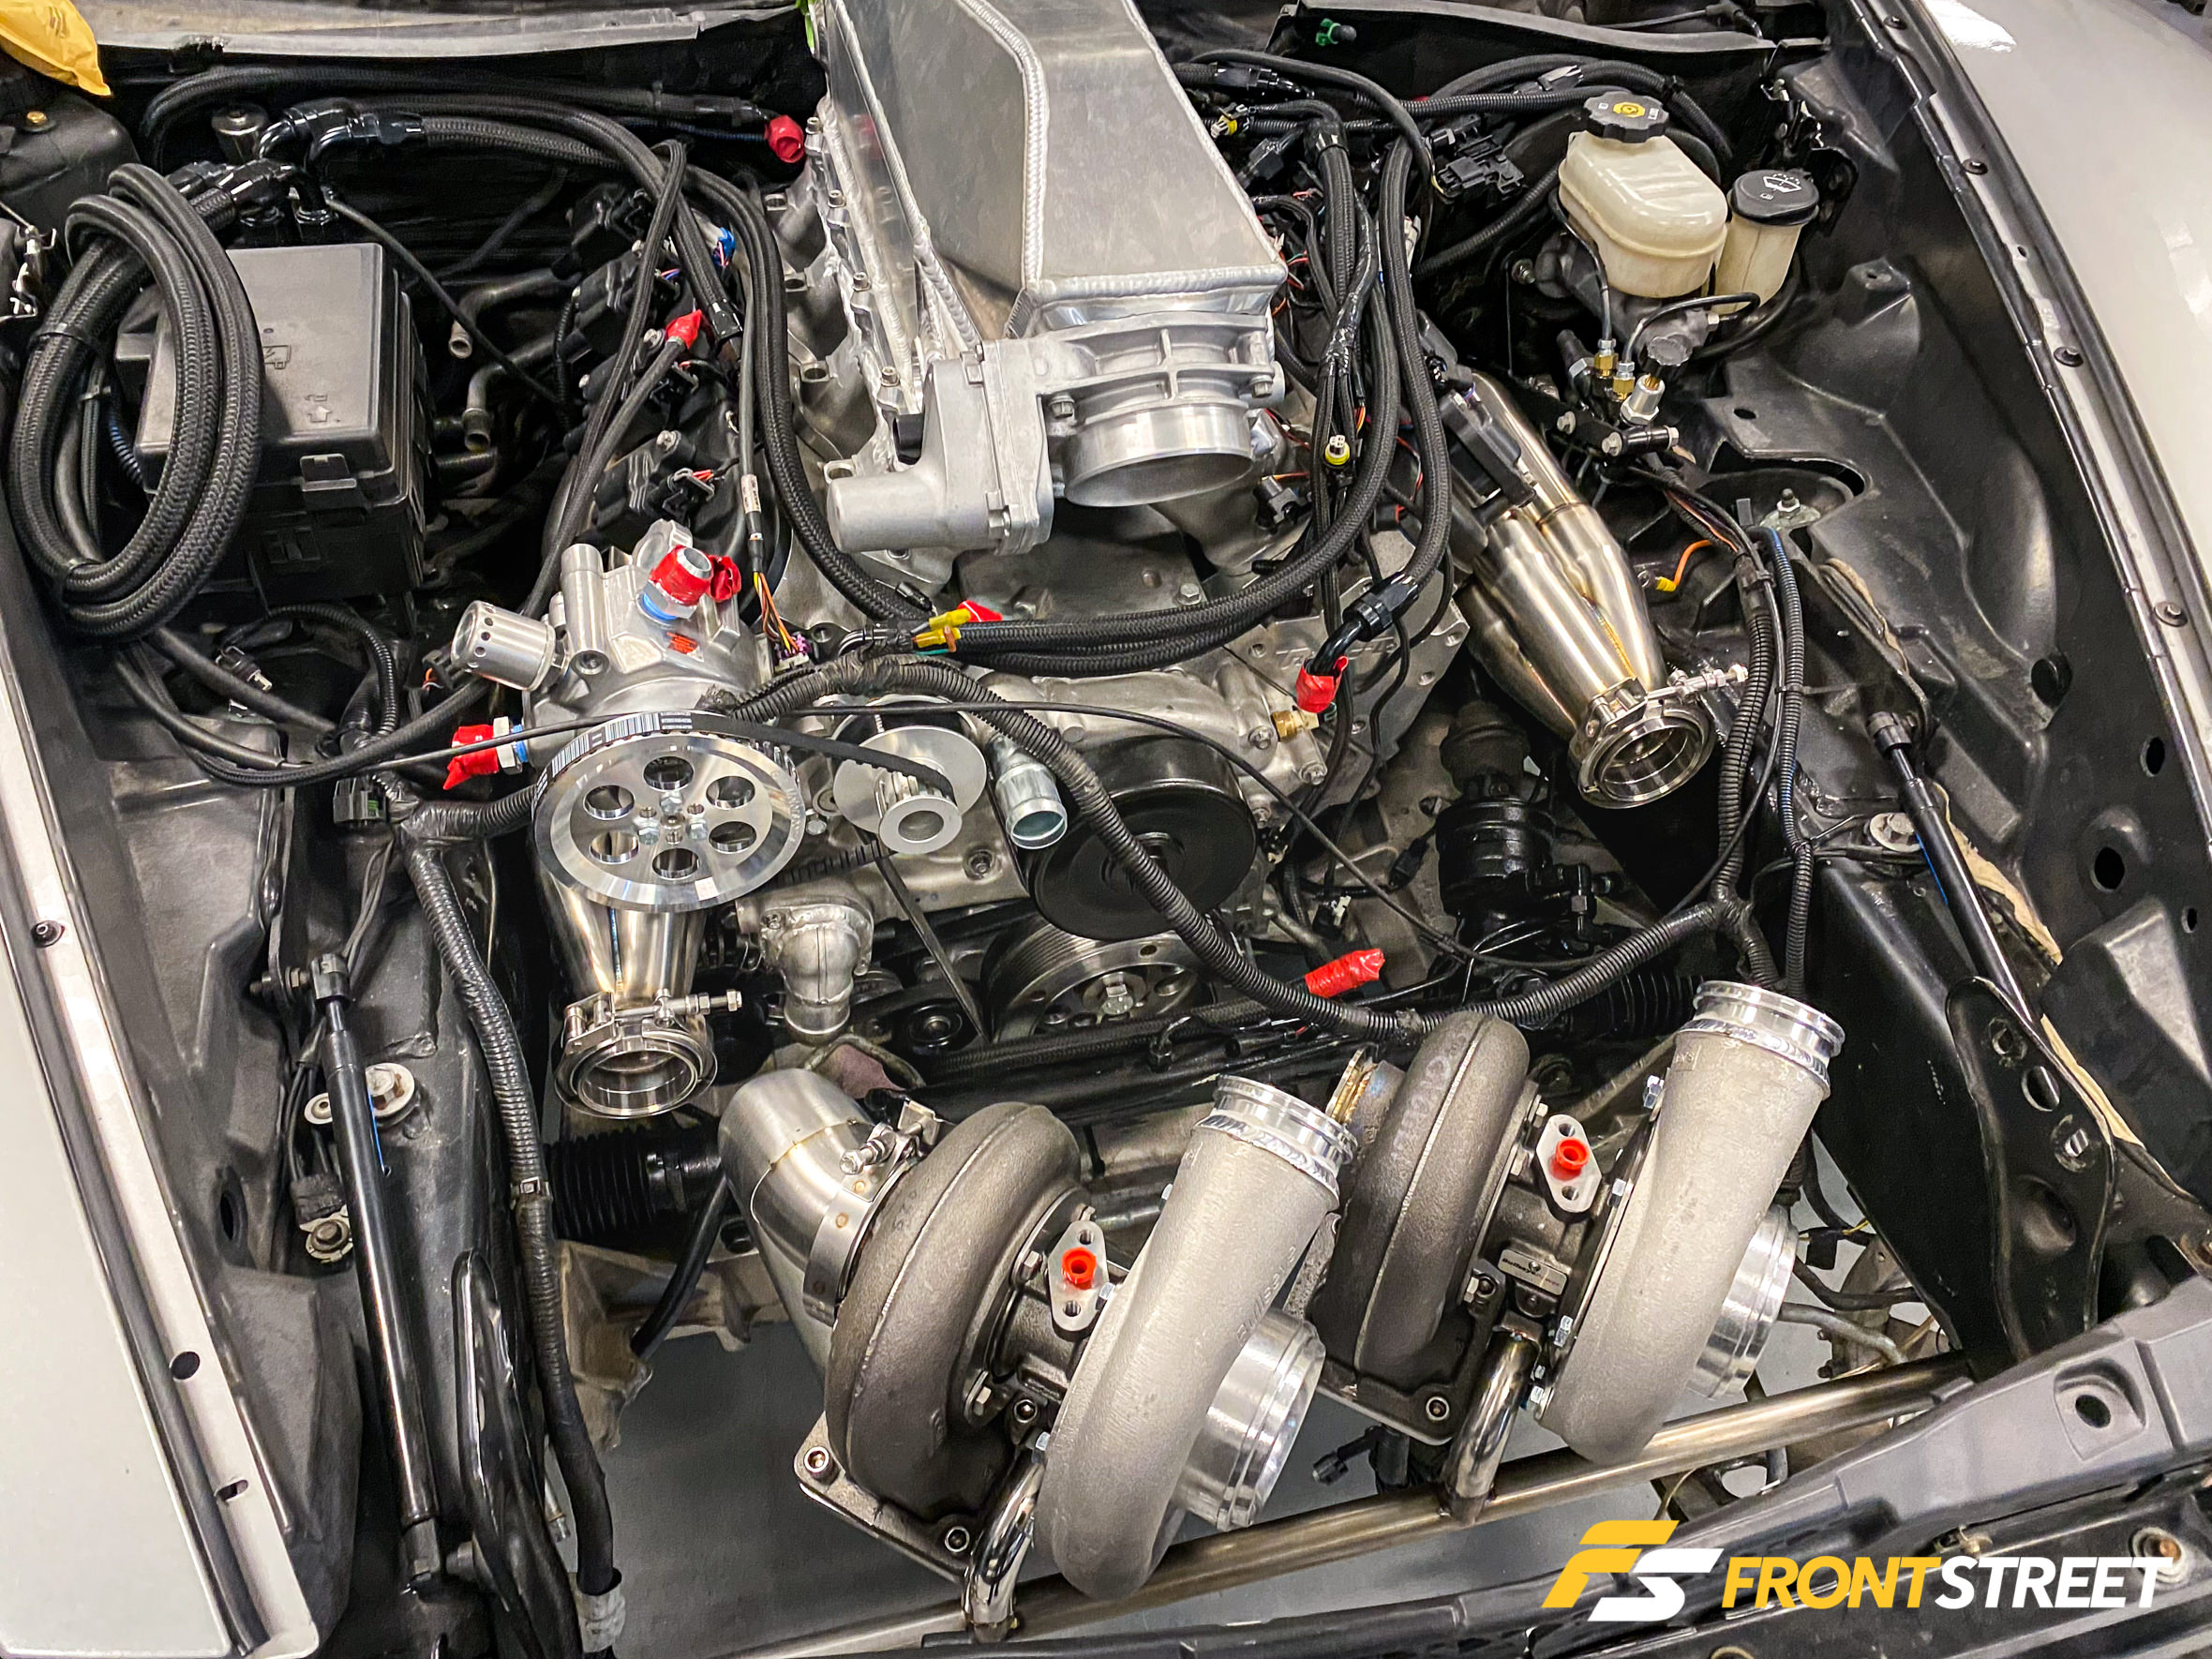
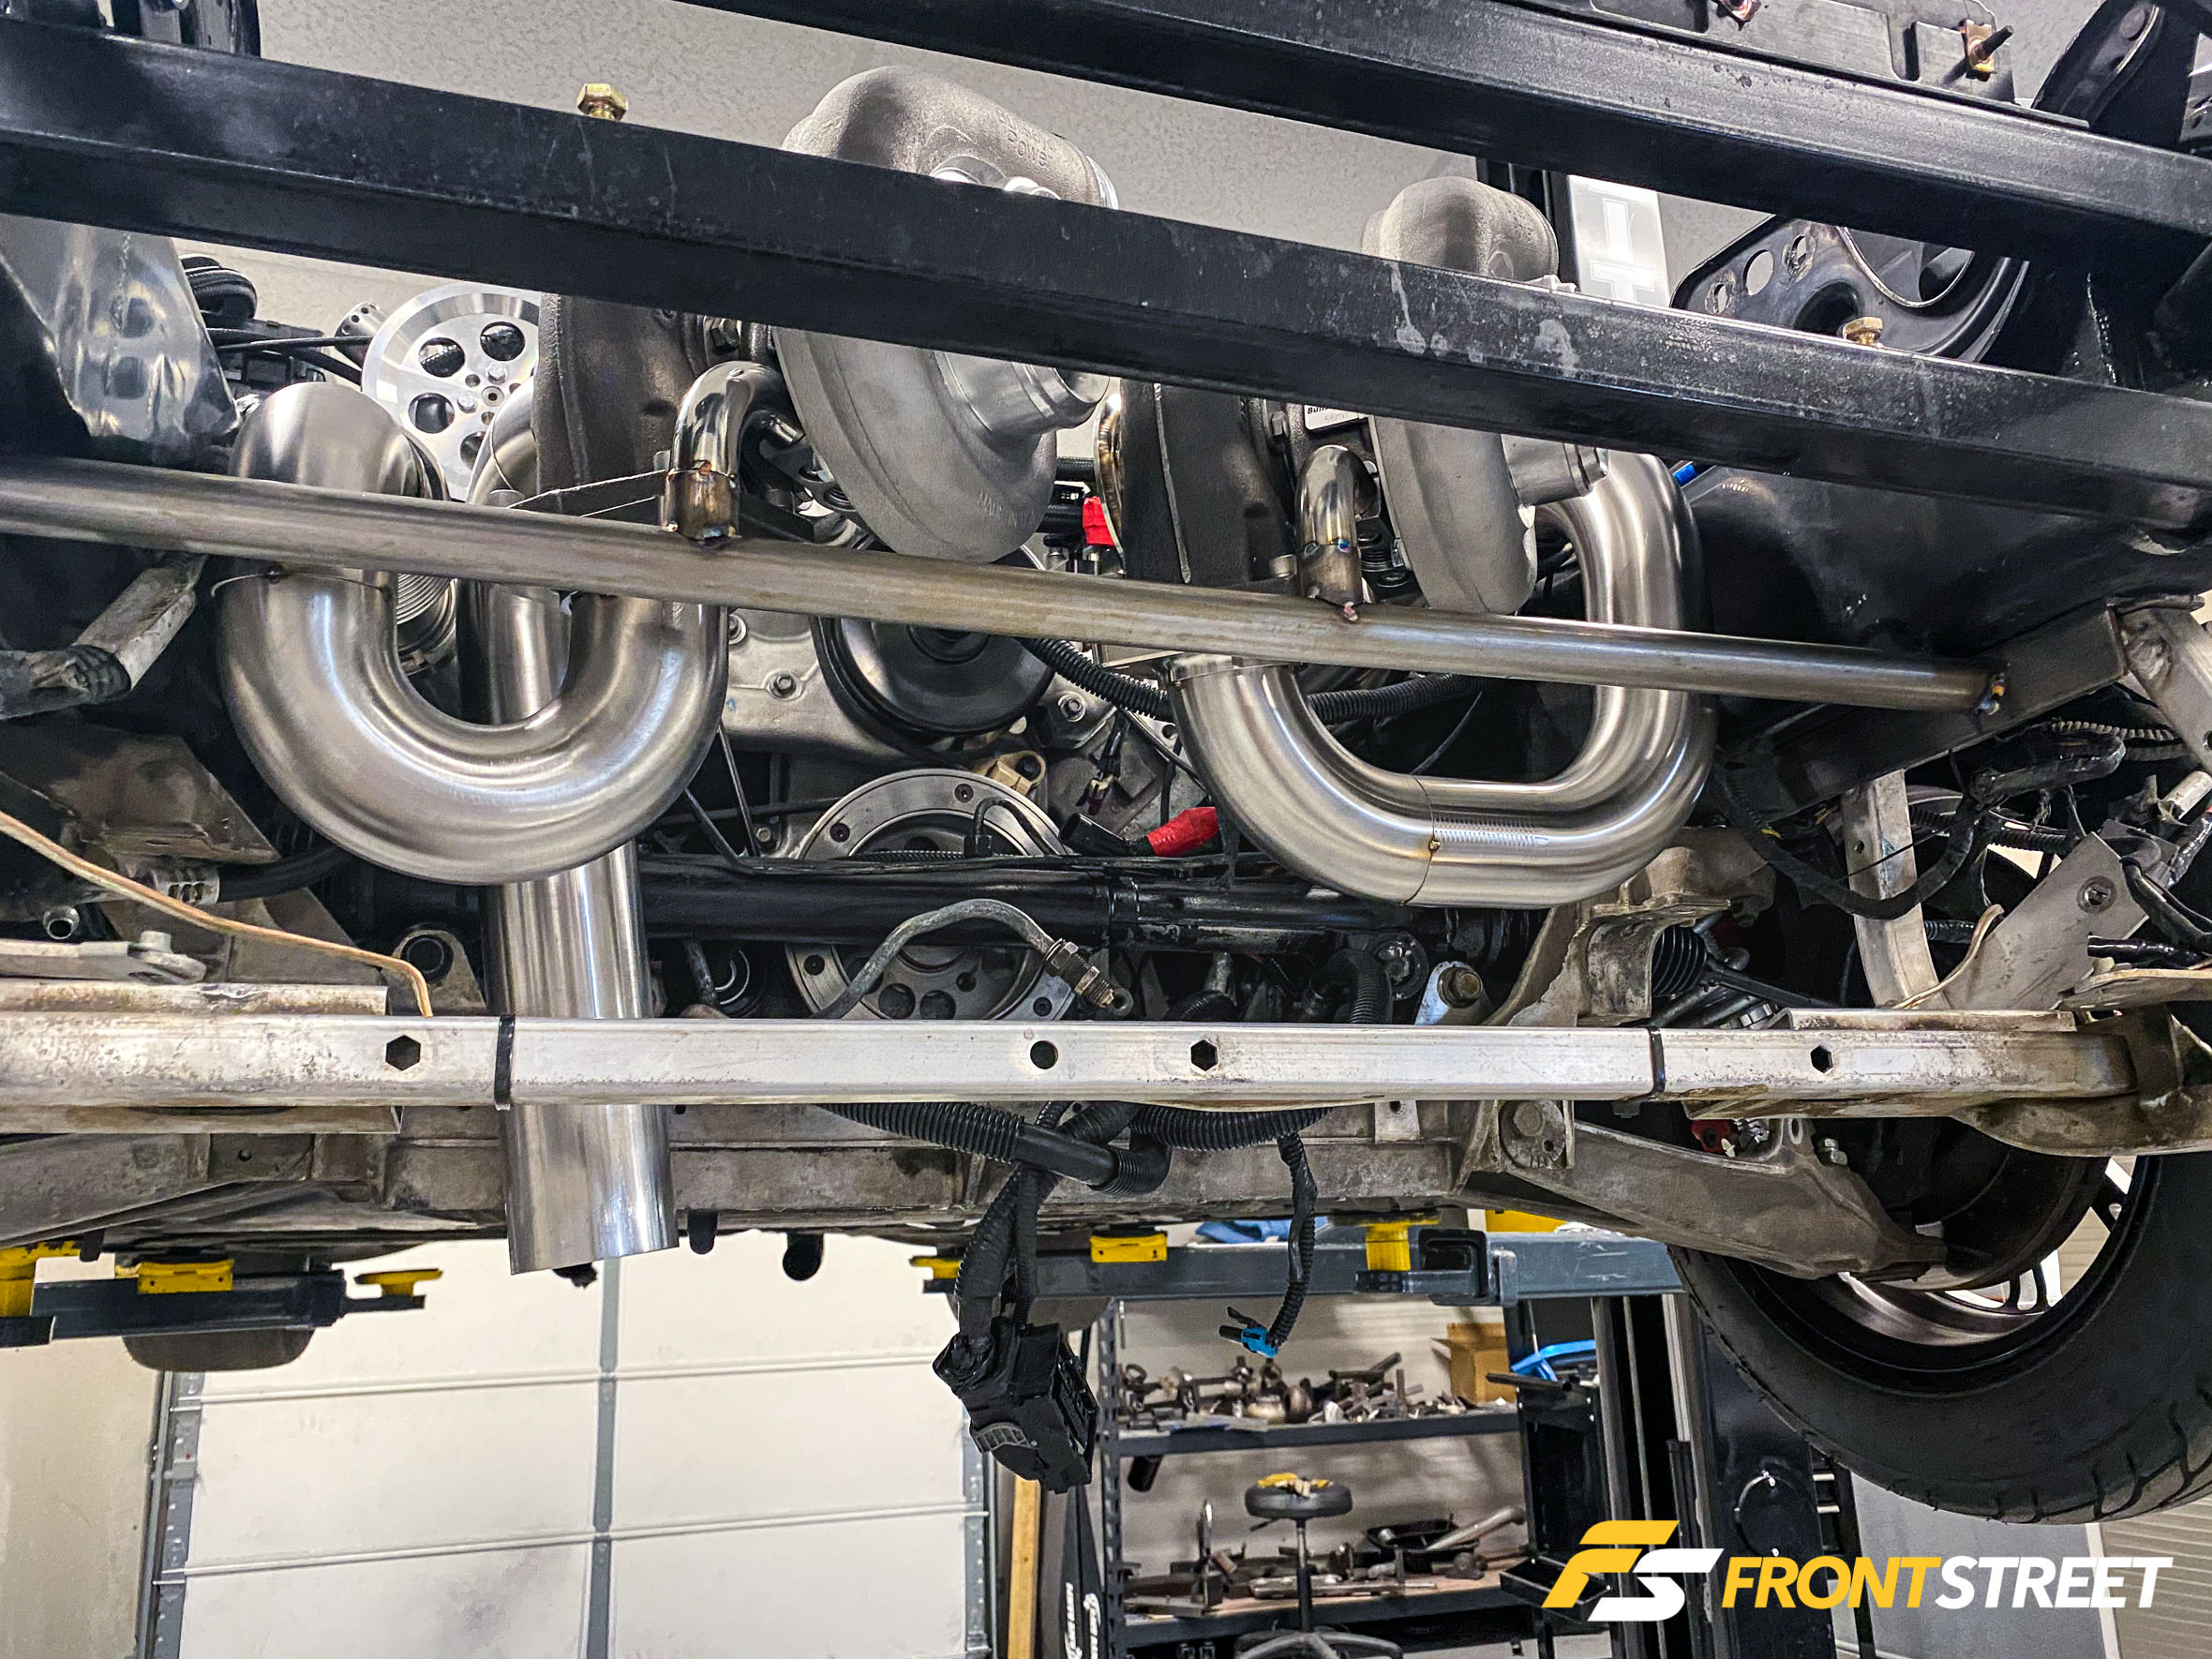
Let’s start with the most glaring aspect of this build: the turbochargers. Each side was prepped for the upcoming fabrication, first by welding a V-band connector onto both the compressor housing and the hot side, and secondly, by visualizing their placement in the engine bay.
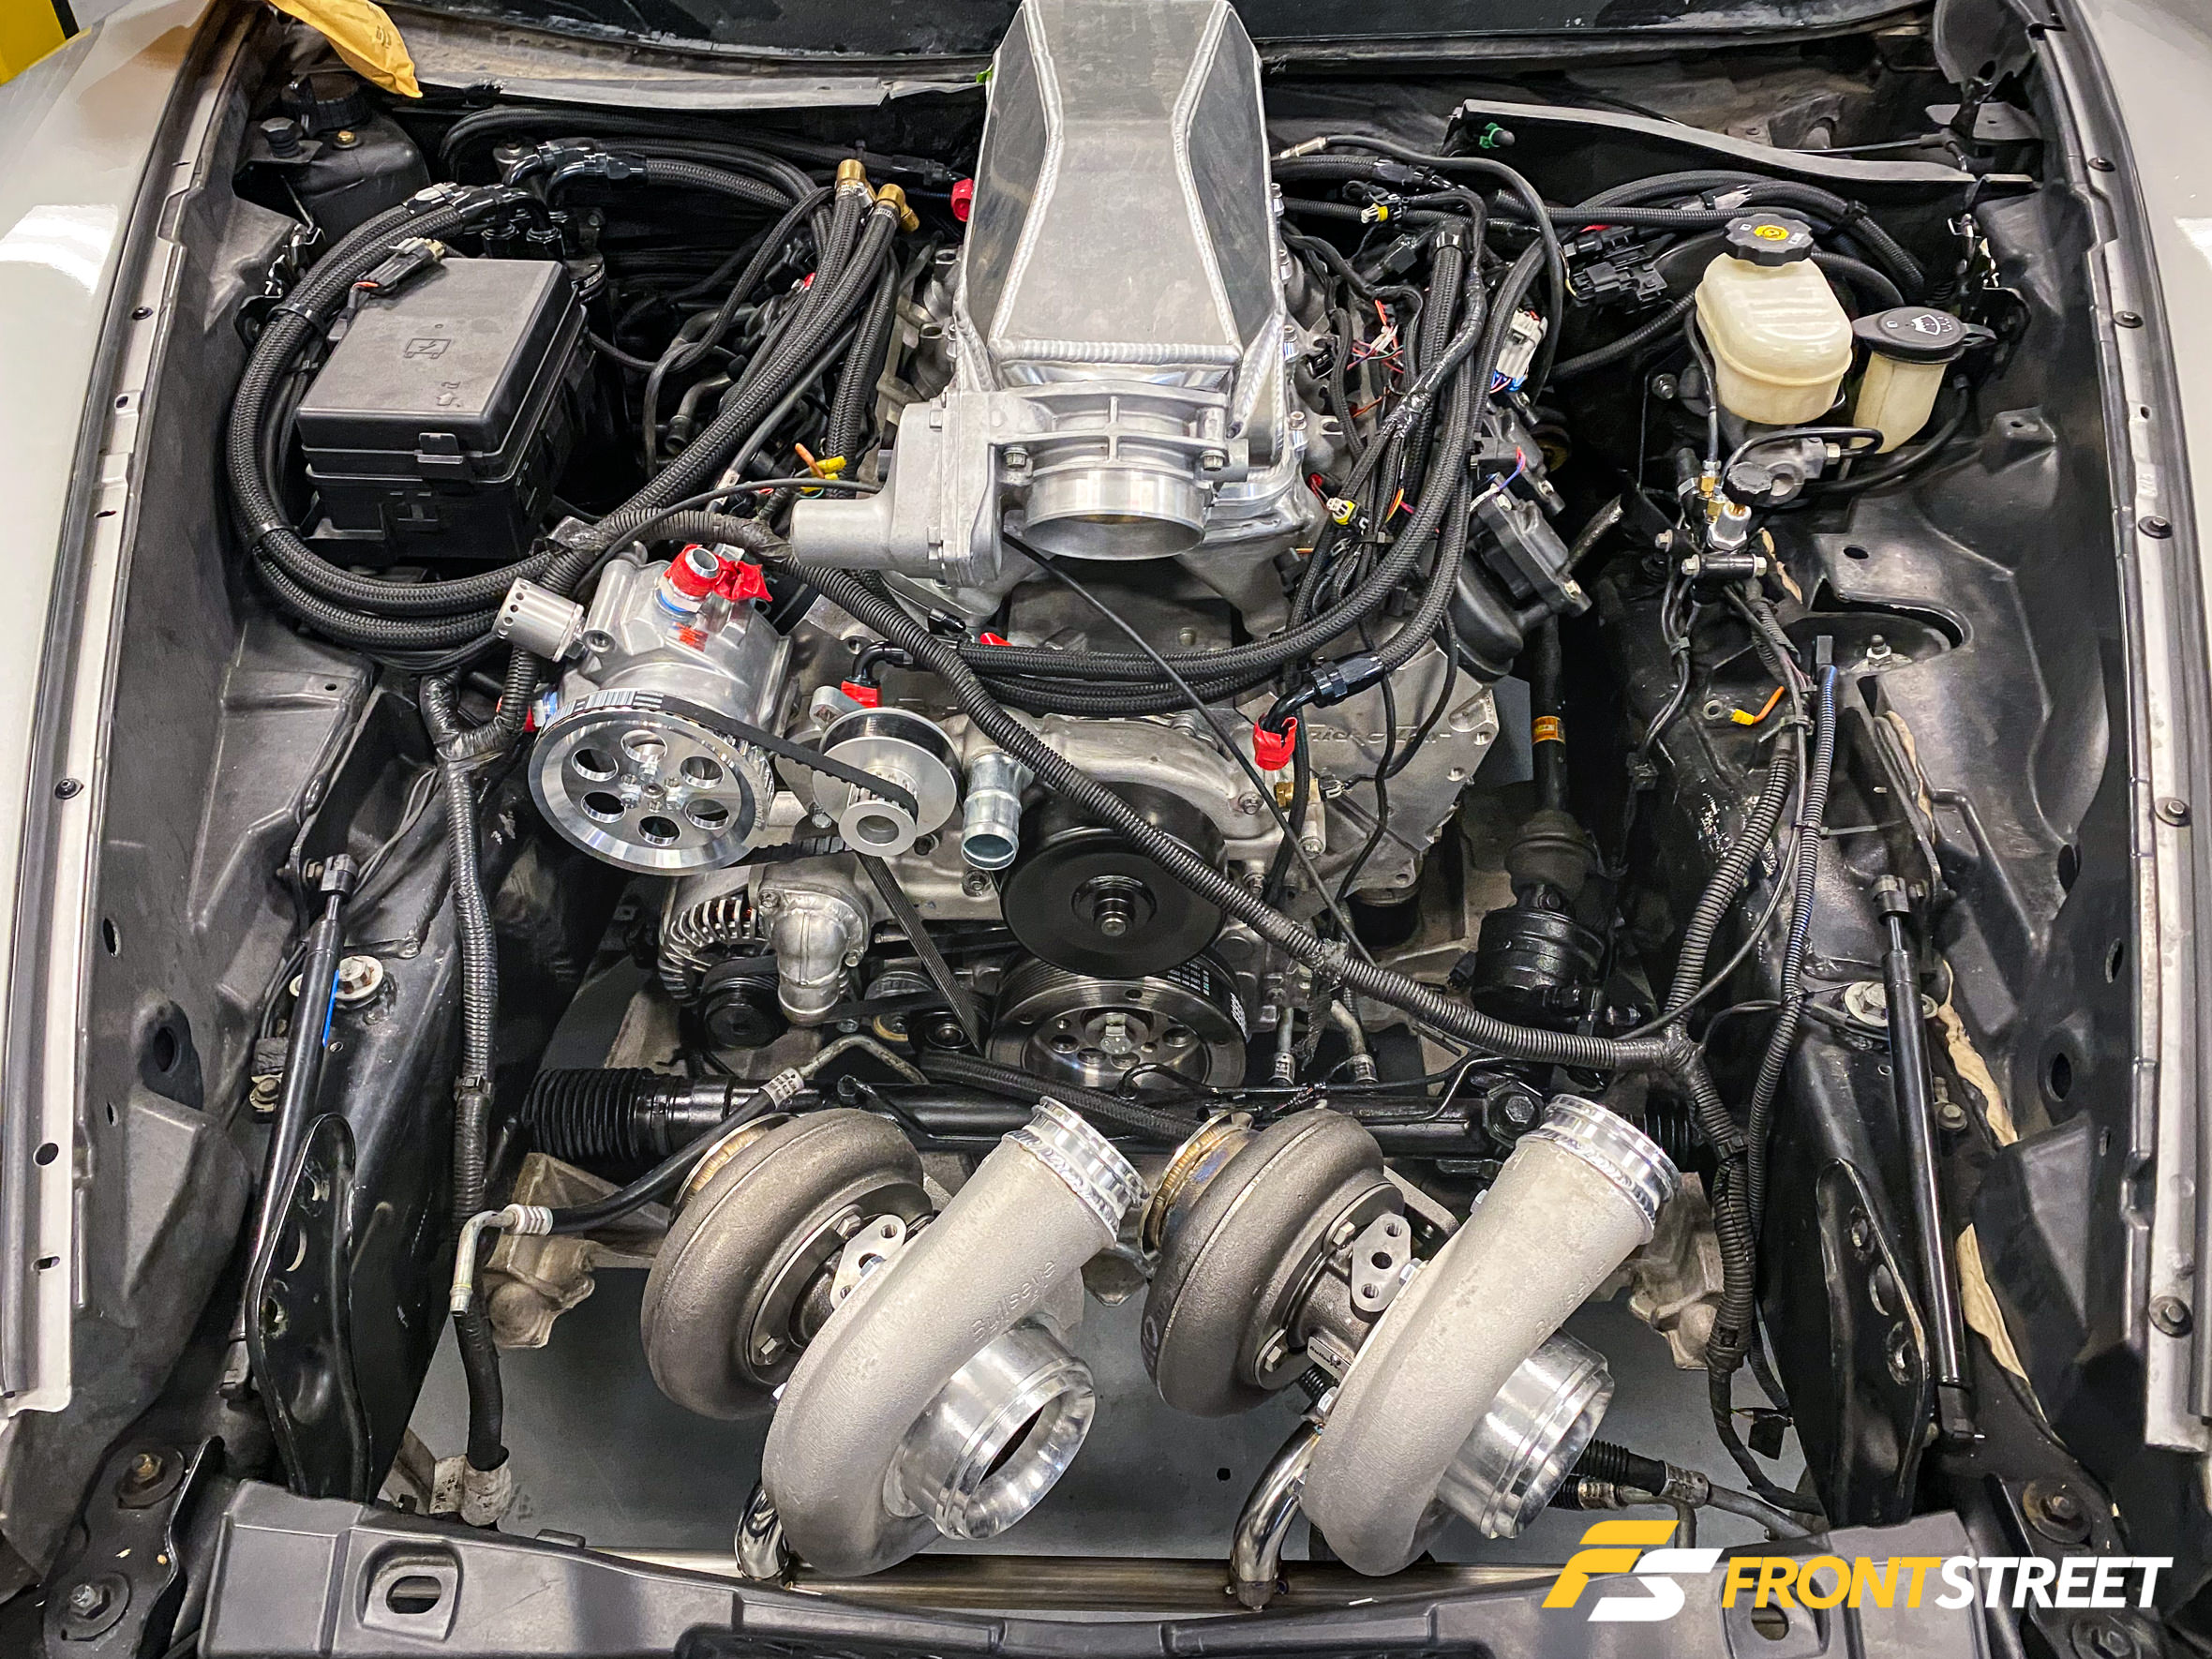
The strategic location wasn’t by chance, but the result of careful consideration from Schmuck regarding the project’s intended usage and appearance. The goal for most twin setups is to mirror each other. However, because most turbochargers aren’t built with one side in reverse rotation, the tubing leading into them can throw off the whole look and feel of the engine bay. After talking with the customer back in February, Schmuck developed this vision for a solution and executed it on his own.
“He came to me and said he was relocating everything on the front of the car, that he was giving me as much space as I could possibly get, and that I could do whatever I wanted with it,” says Schmuck.
“I wanted something that I’ve never seen before. One of the things that drives me nuts with twin-turbo kits is you can never make them look decent because the compressor housings face the same way. Depending on where you put the turbos, you fight yourself to make it look good.”
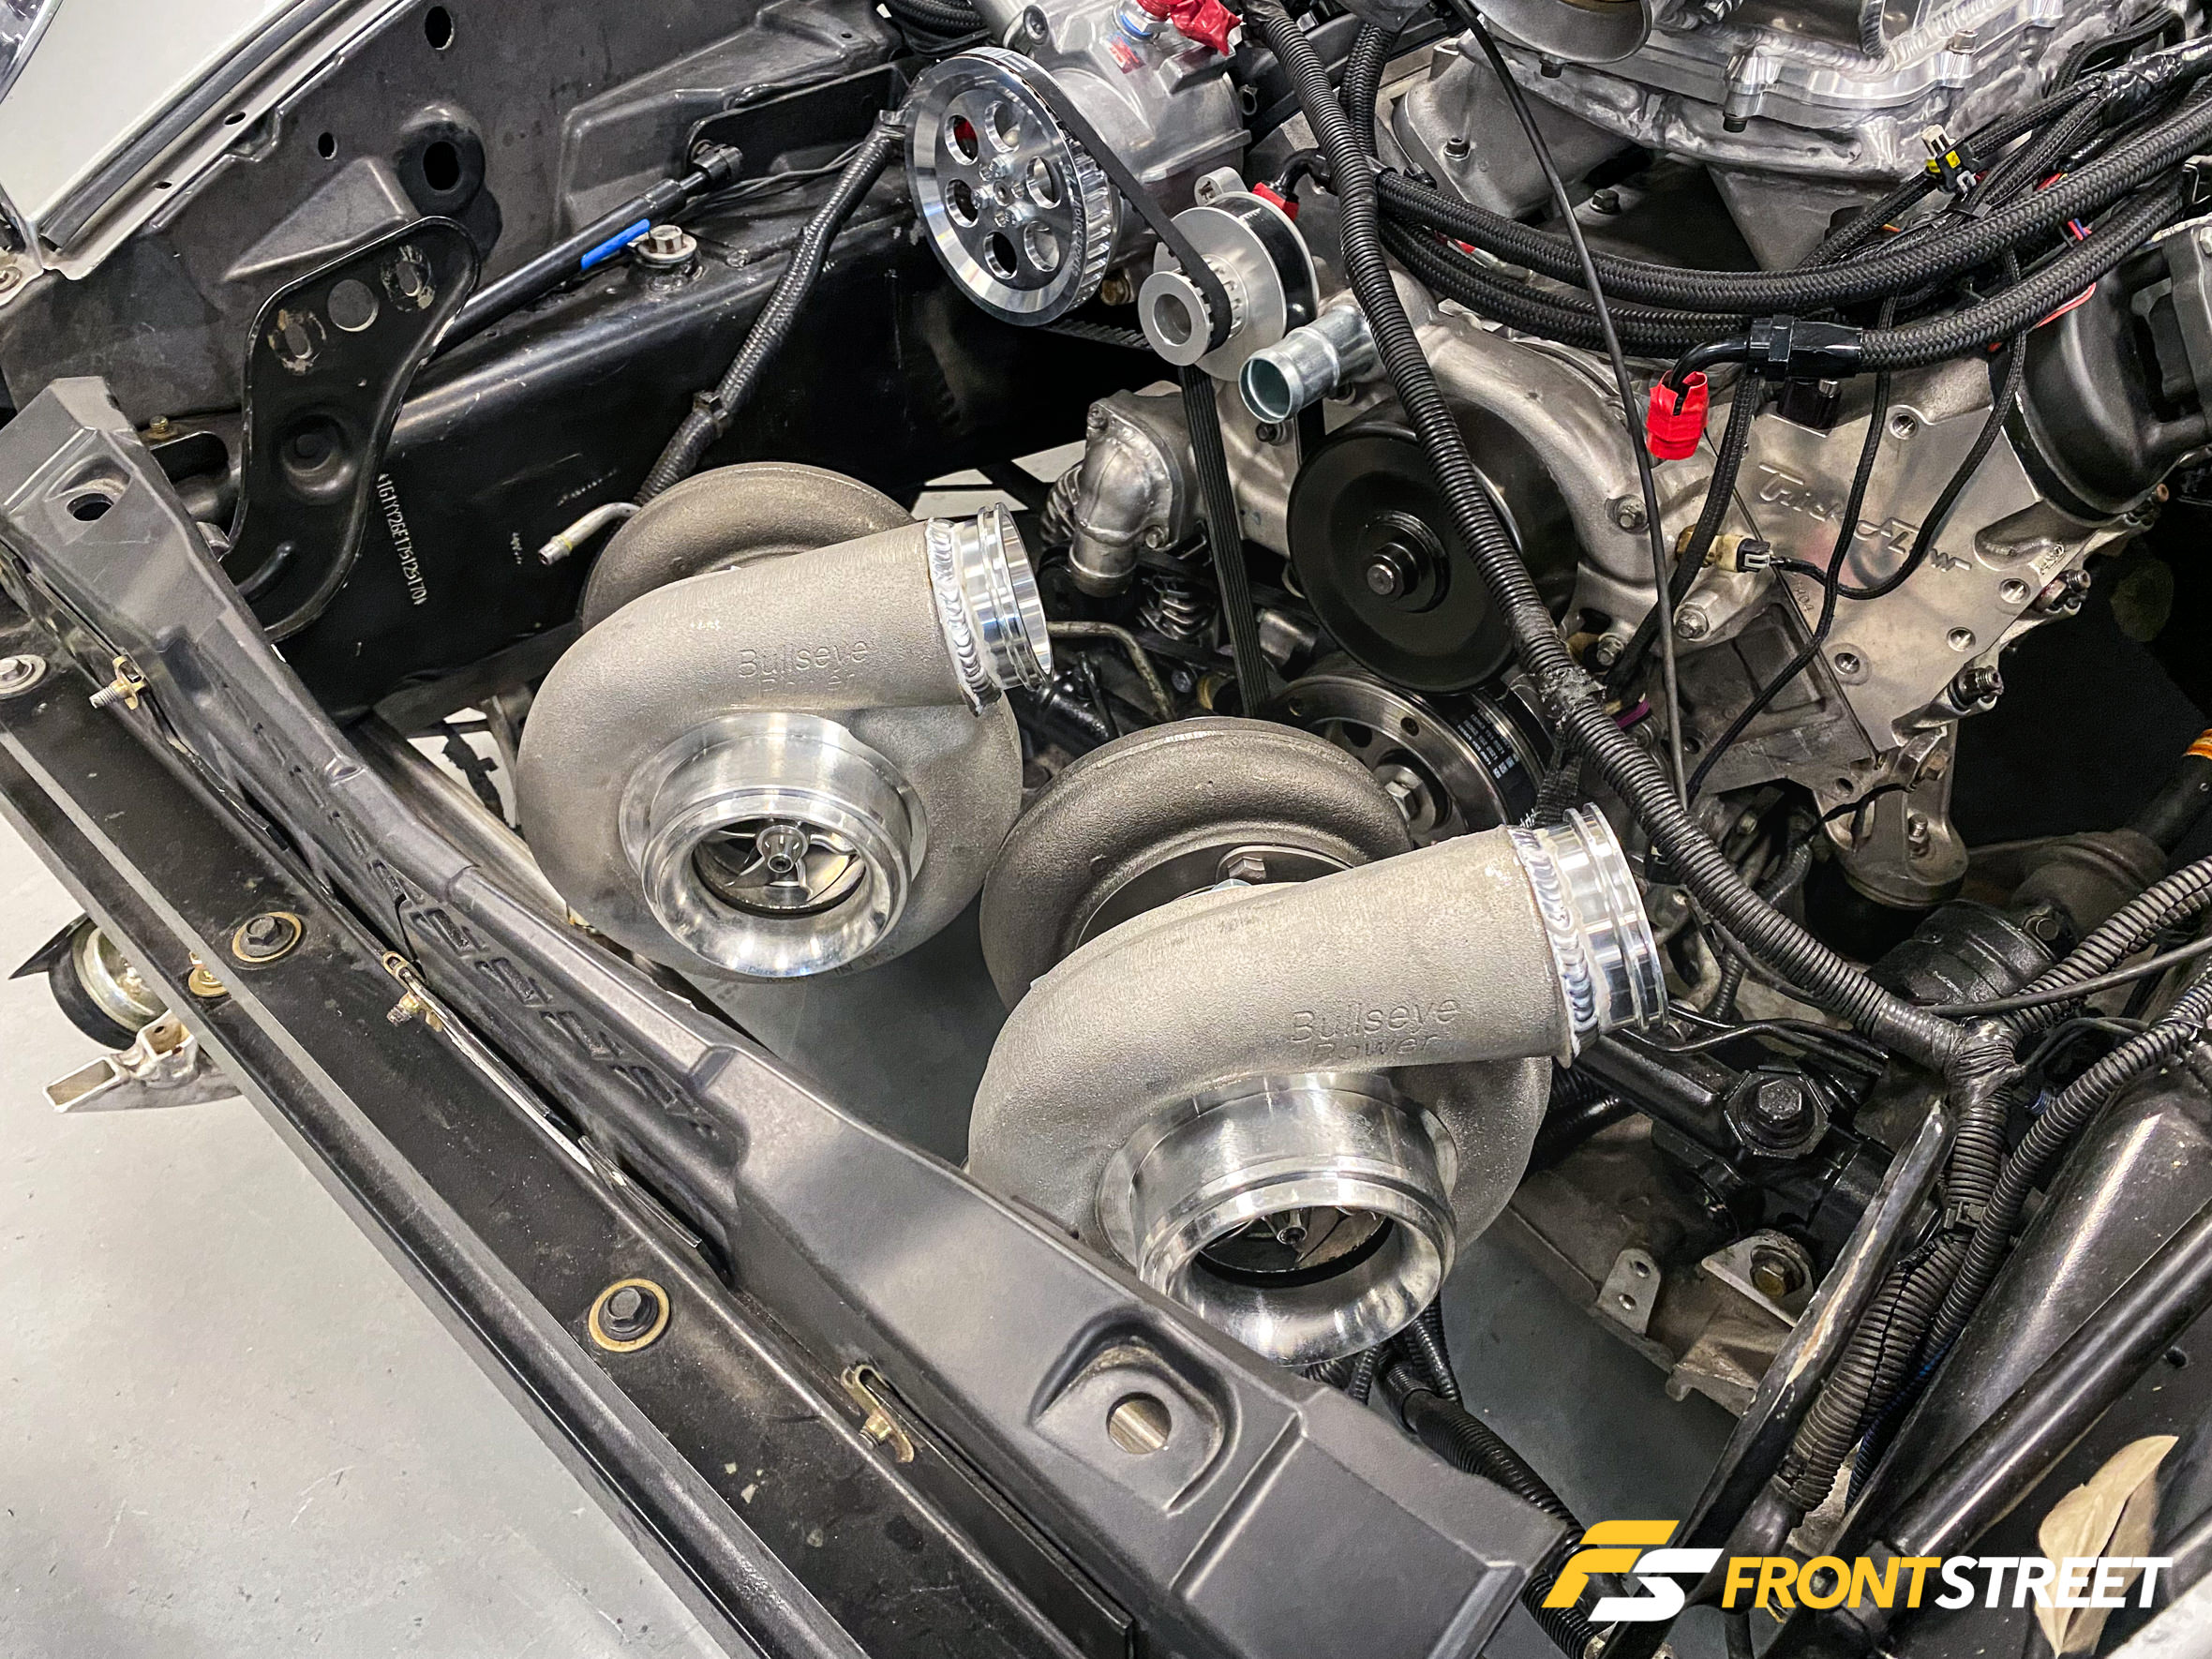
But it’s not as easy as merely seeing the turbocharger location and executing it. For one, turbochargers are quite cumbersome when they get to be this size, so holding them in place with your hands during fabrication is out of the question. Even if it were possible, there is no way to generate precise measurements and identical-looking angles by handling multiple pieces in an approximate location. Sturdy mounting solutions are the only way fabrication of this nature can be completed. Schmuck turned to Maven Performance for a reliable and secure turbocharger mounting solution. By supporting the hefty turbocharger on its oil drain, these mounts distribute the weight onto the chassis instead of the engine’s exhaust studs and tubing.
“The manifolds have the flex bellows, so the heat expansion of the metal can be taken up by them without cracking anything,” he says.
Speaking of manifolds, it was time to start the meat and potatoes of the project—the exhaust fabrication. Per usual, when we’re talking about a Schmuck Built project, the component manufacturer of choice is always our supporting sponsor, Vibrant Performance. With so many automotive fluid and tubing solutions available in their catalog, Vibrant produces the cutting-edge supplies that Schmuck needs to seamlessly and effortlessly complete any job.
For this project, he found himself using the following Vibrant Performance products:
- 1 7/8-inch, 2.5-inch, 3.0-inch, and 4.0-inch diameter stainless steel tubing and bends
- 2.5-inch, 3.0-inch, and 3.5-inch diameter aluminum tubing and bends
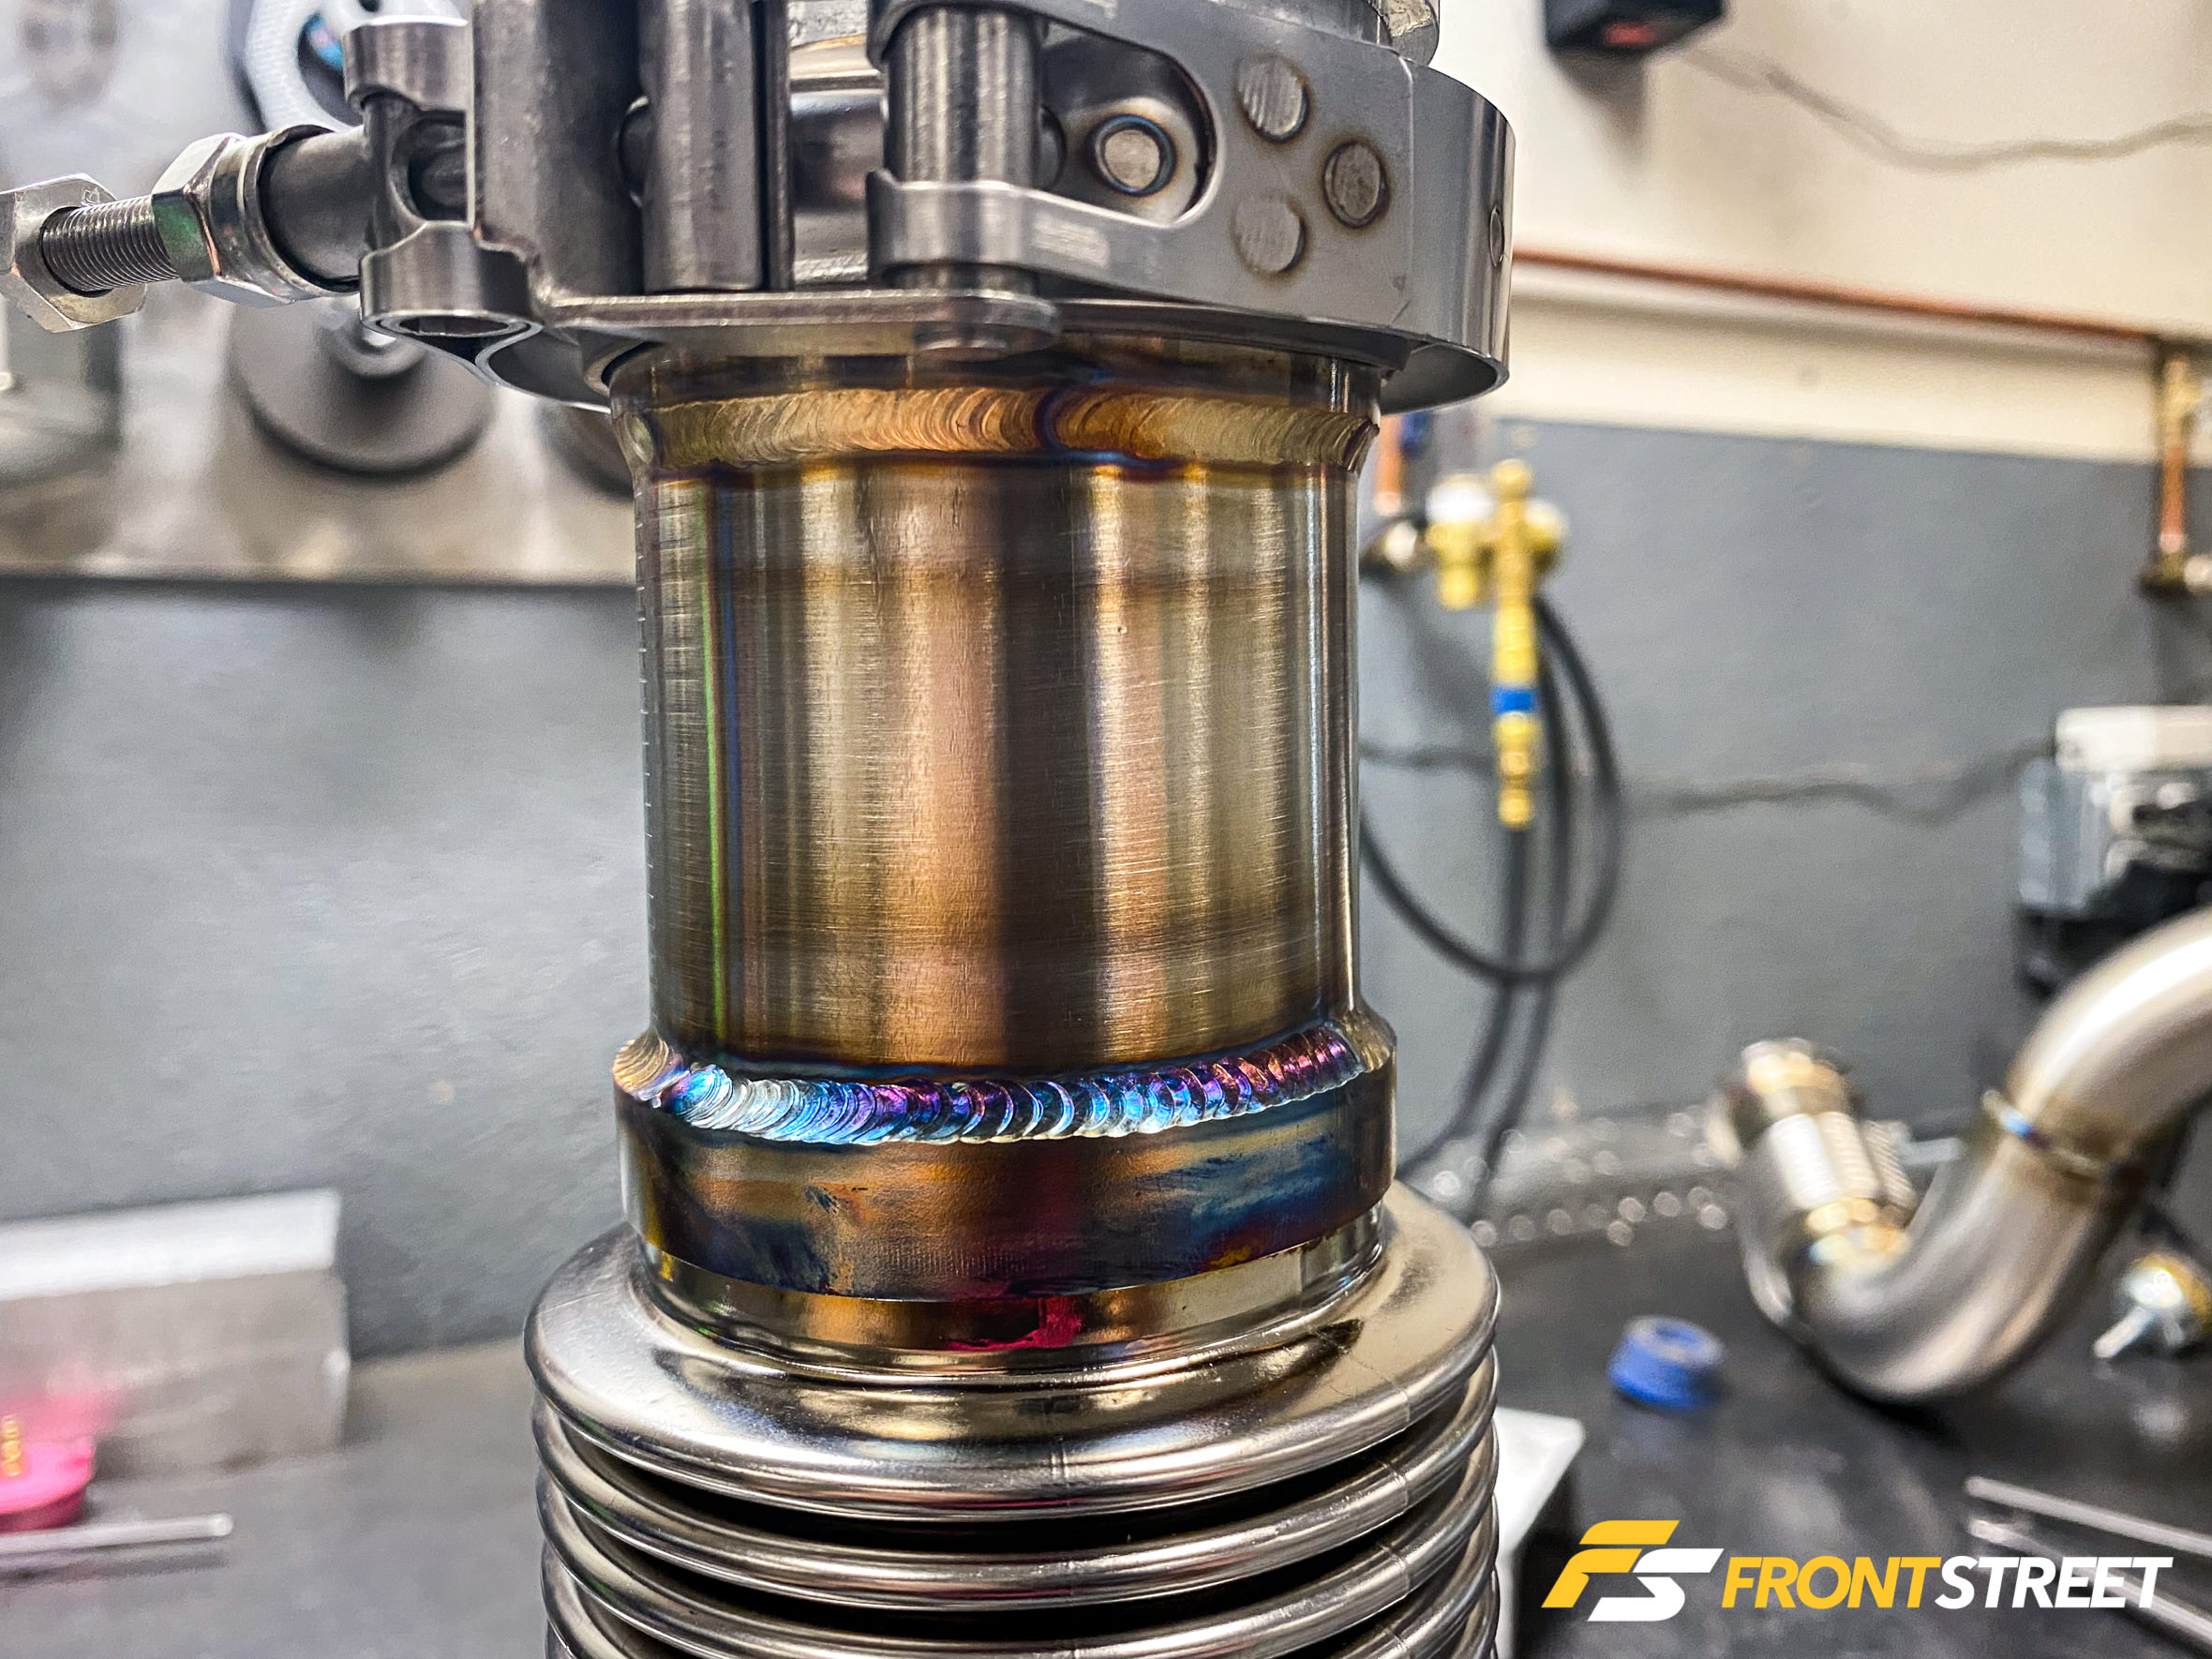
- 321 stainless steel flex bellows
- Stainless steel header flanges
- Stainless steel transition cones
- HD clamps
- V-band connectors
- Oxygen sensor bungs and other miscellaneous fabrication components
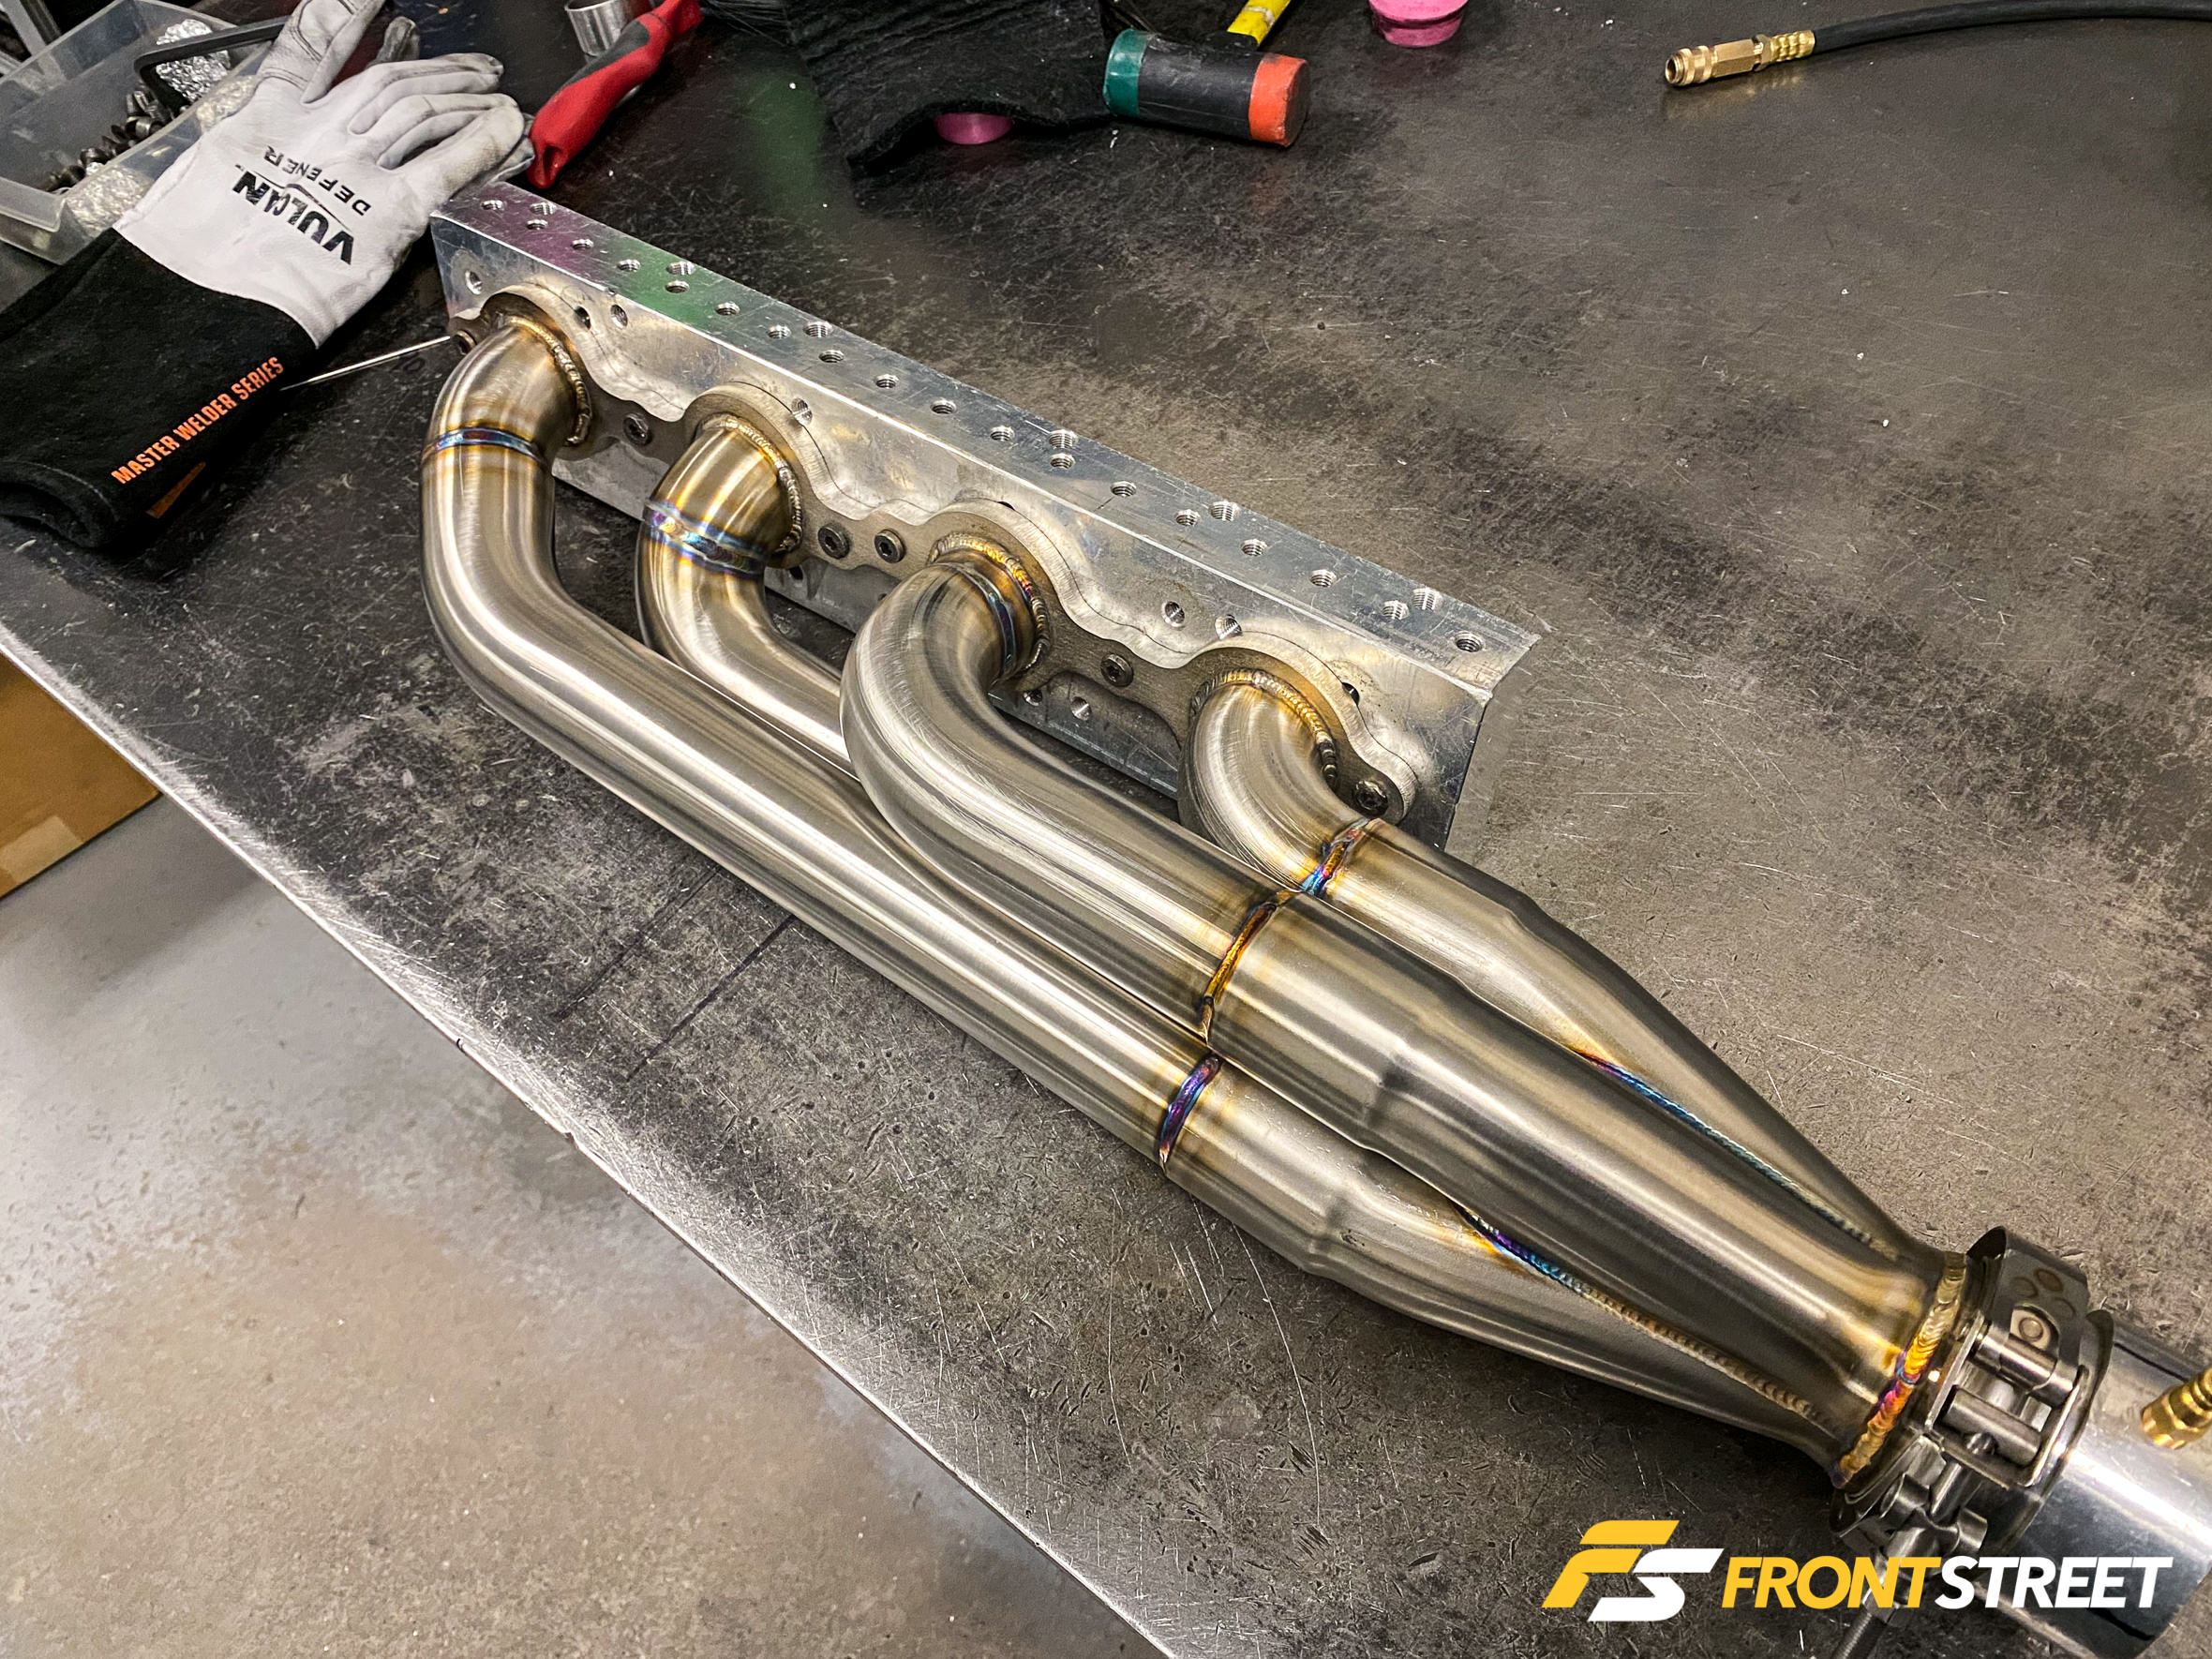
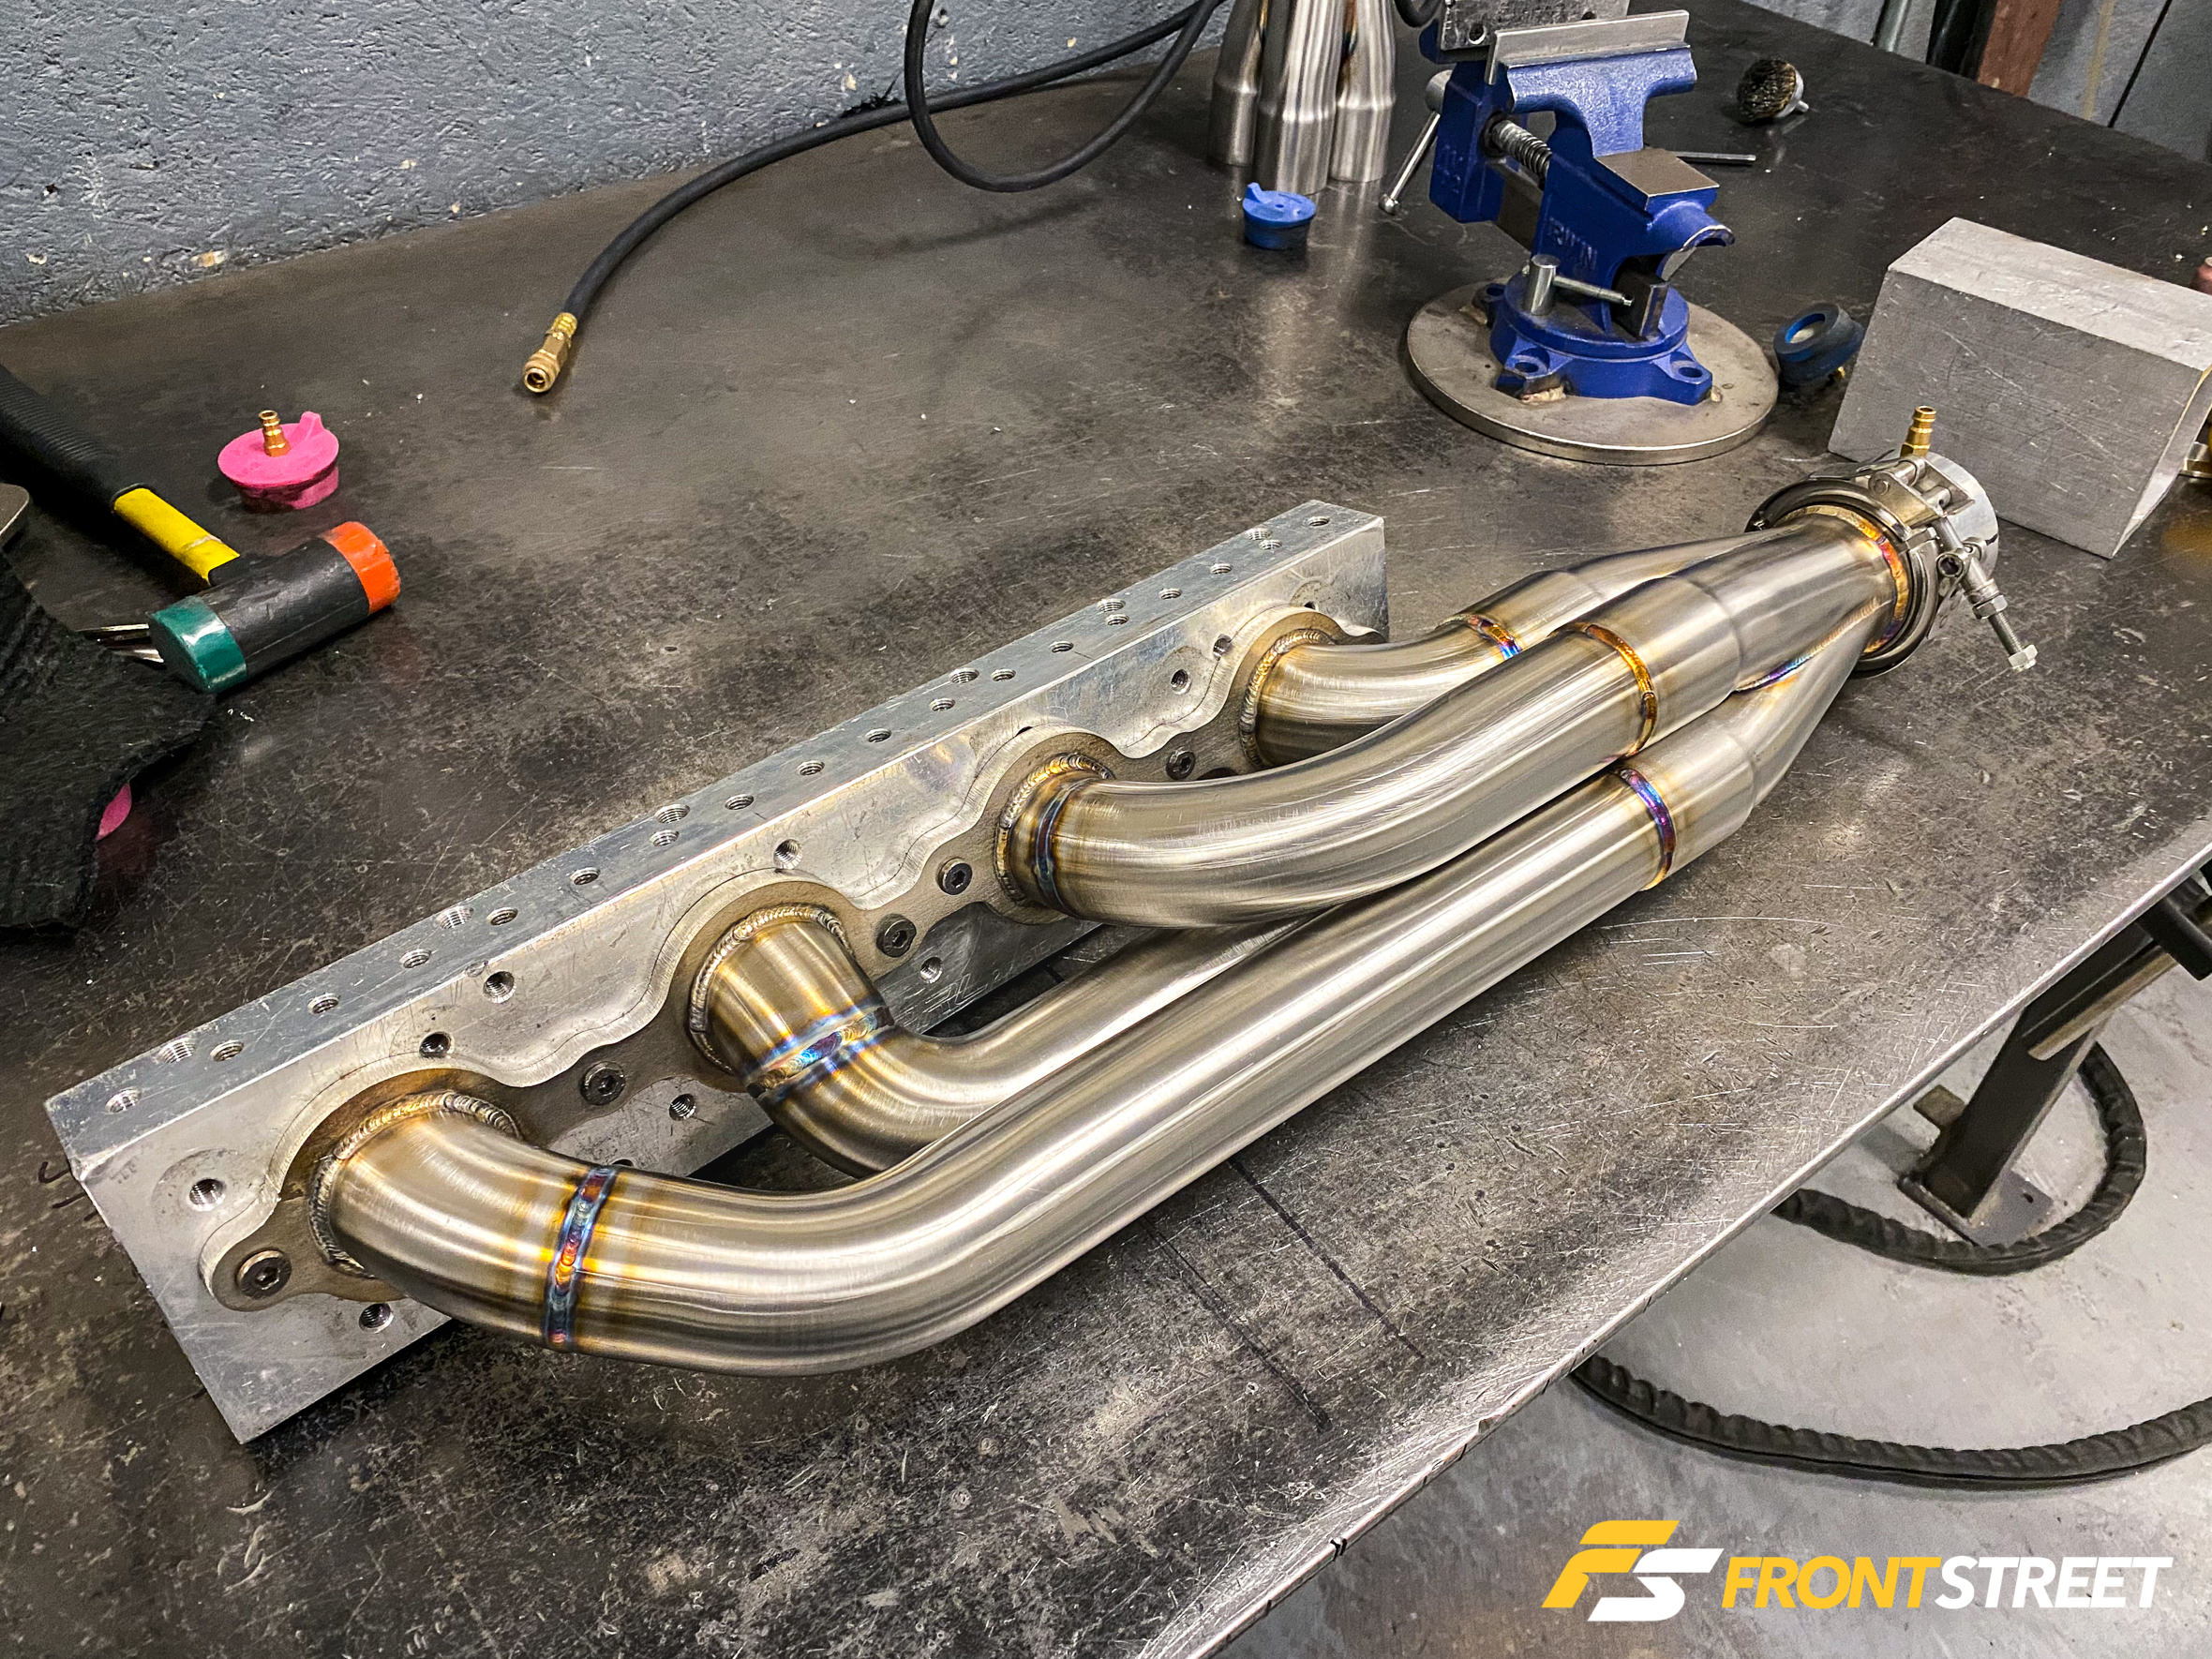
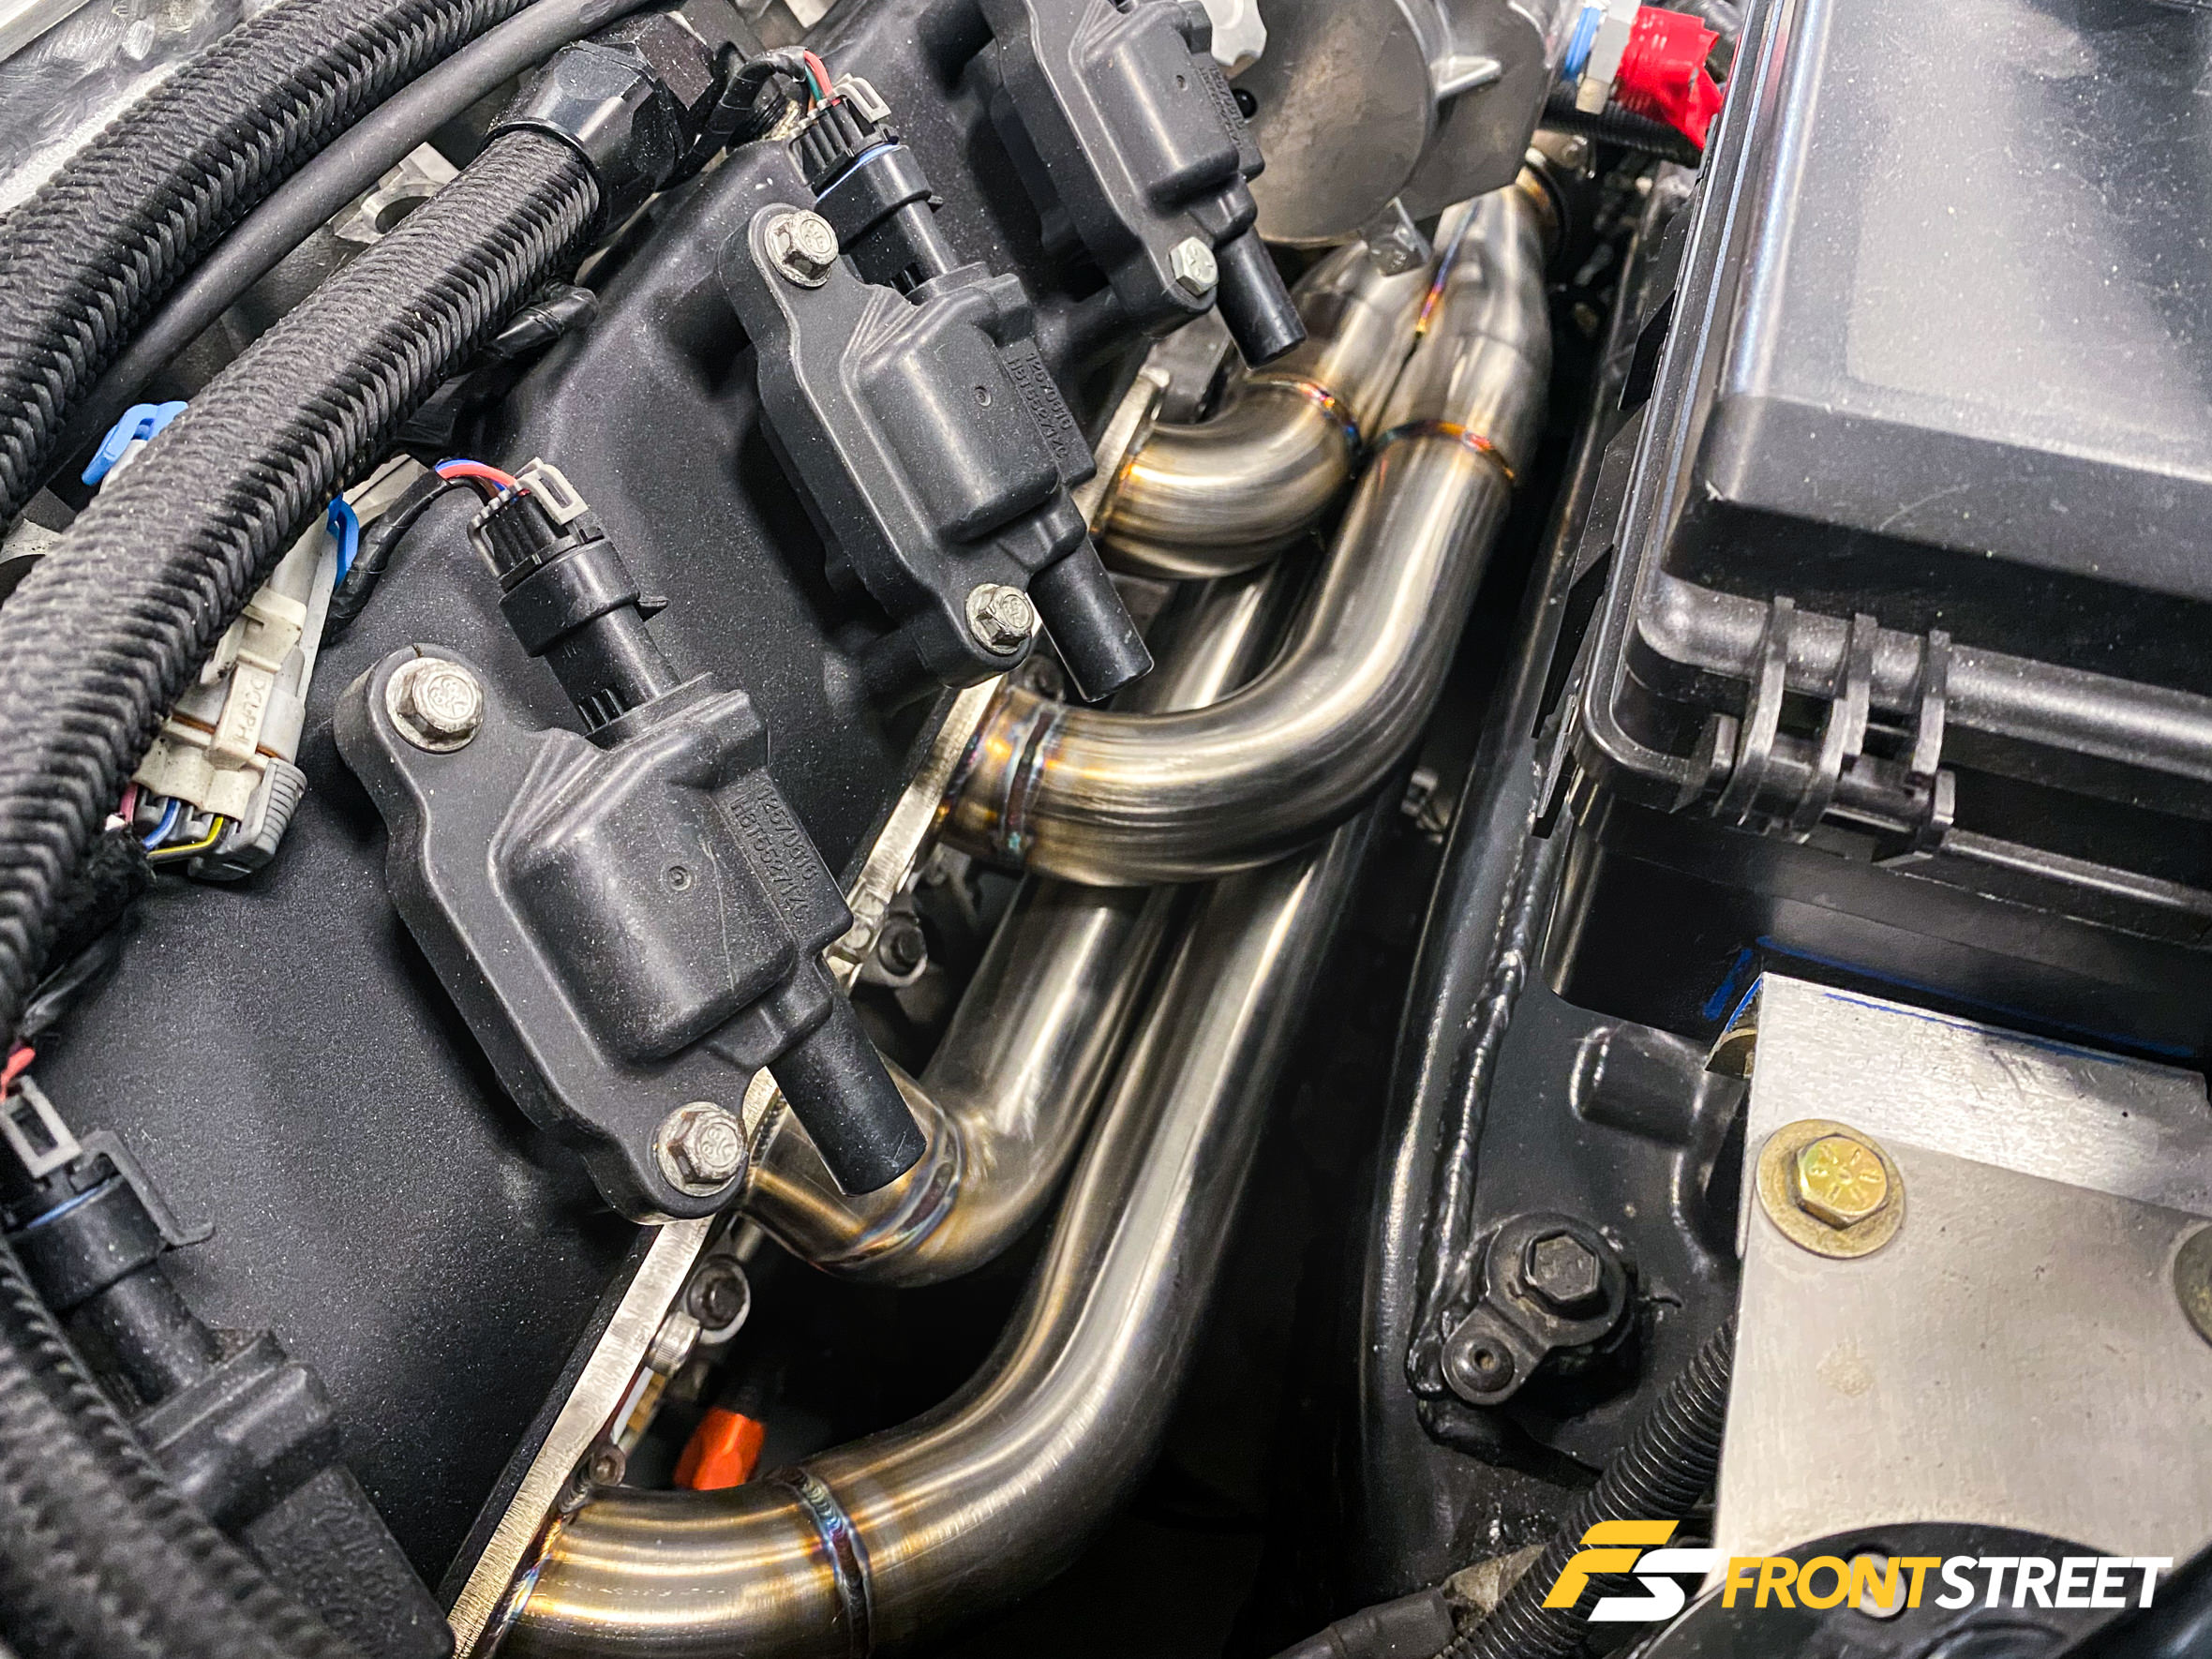
The tubing assigned to free the spent exhaust gases had to be custom-built for this setup After measuring the clearance on both sides and analyzing all of the necessary bends, Schmuck combined the stainless steel header flanges, each port’s 1 7/8-inch tubing for the runners, 2.5-inch collector tubing, and the new 321 stainless steel flex bellows into a set of beautiful turbo manifolds. Good news for LS-engined Corvette owners looking to turbocharge their vehicle: Schmuck has been working on the fixtures to make a similar setup into one of his off-the-shelf products, so look out for that to be available in the future.
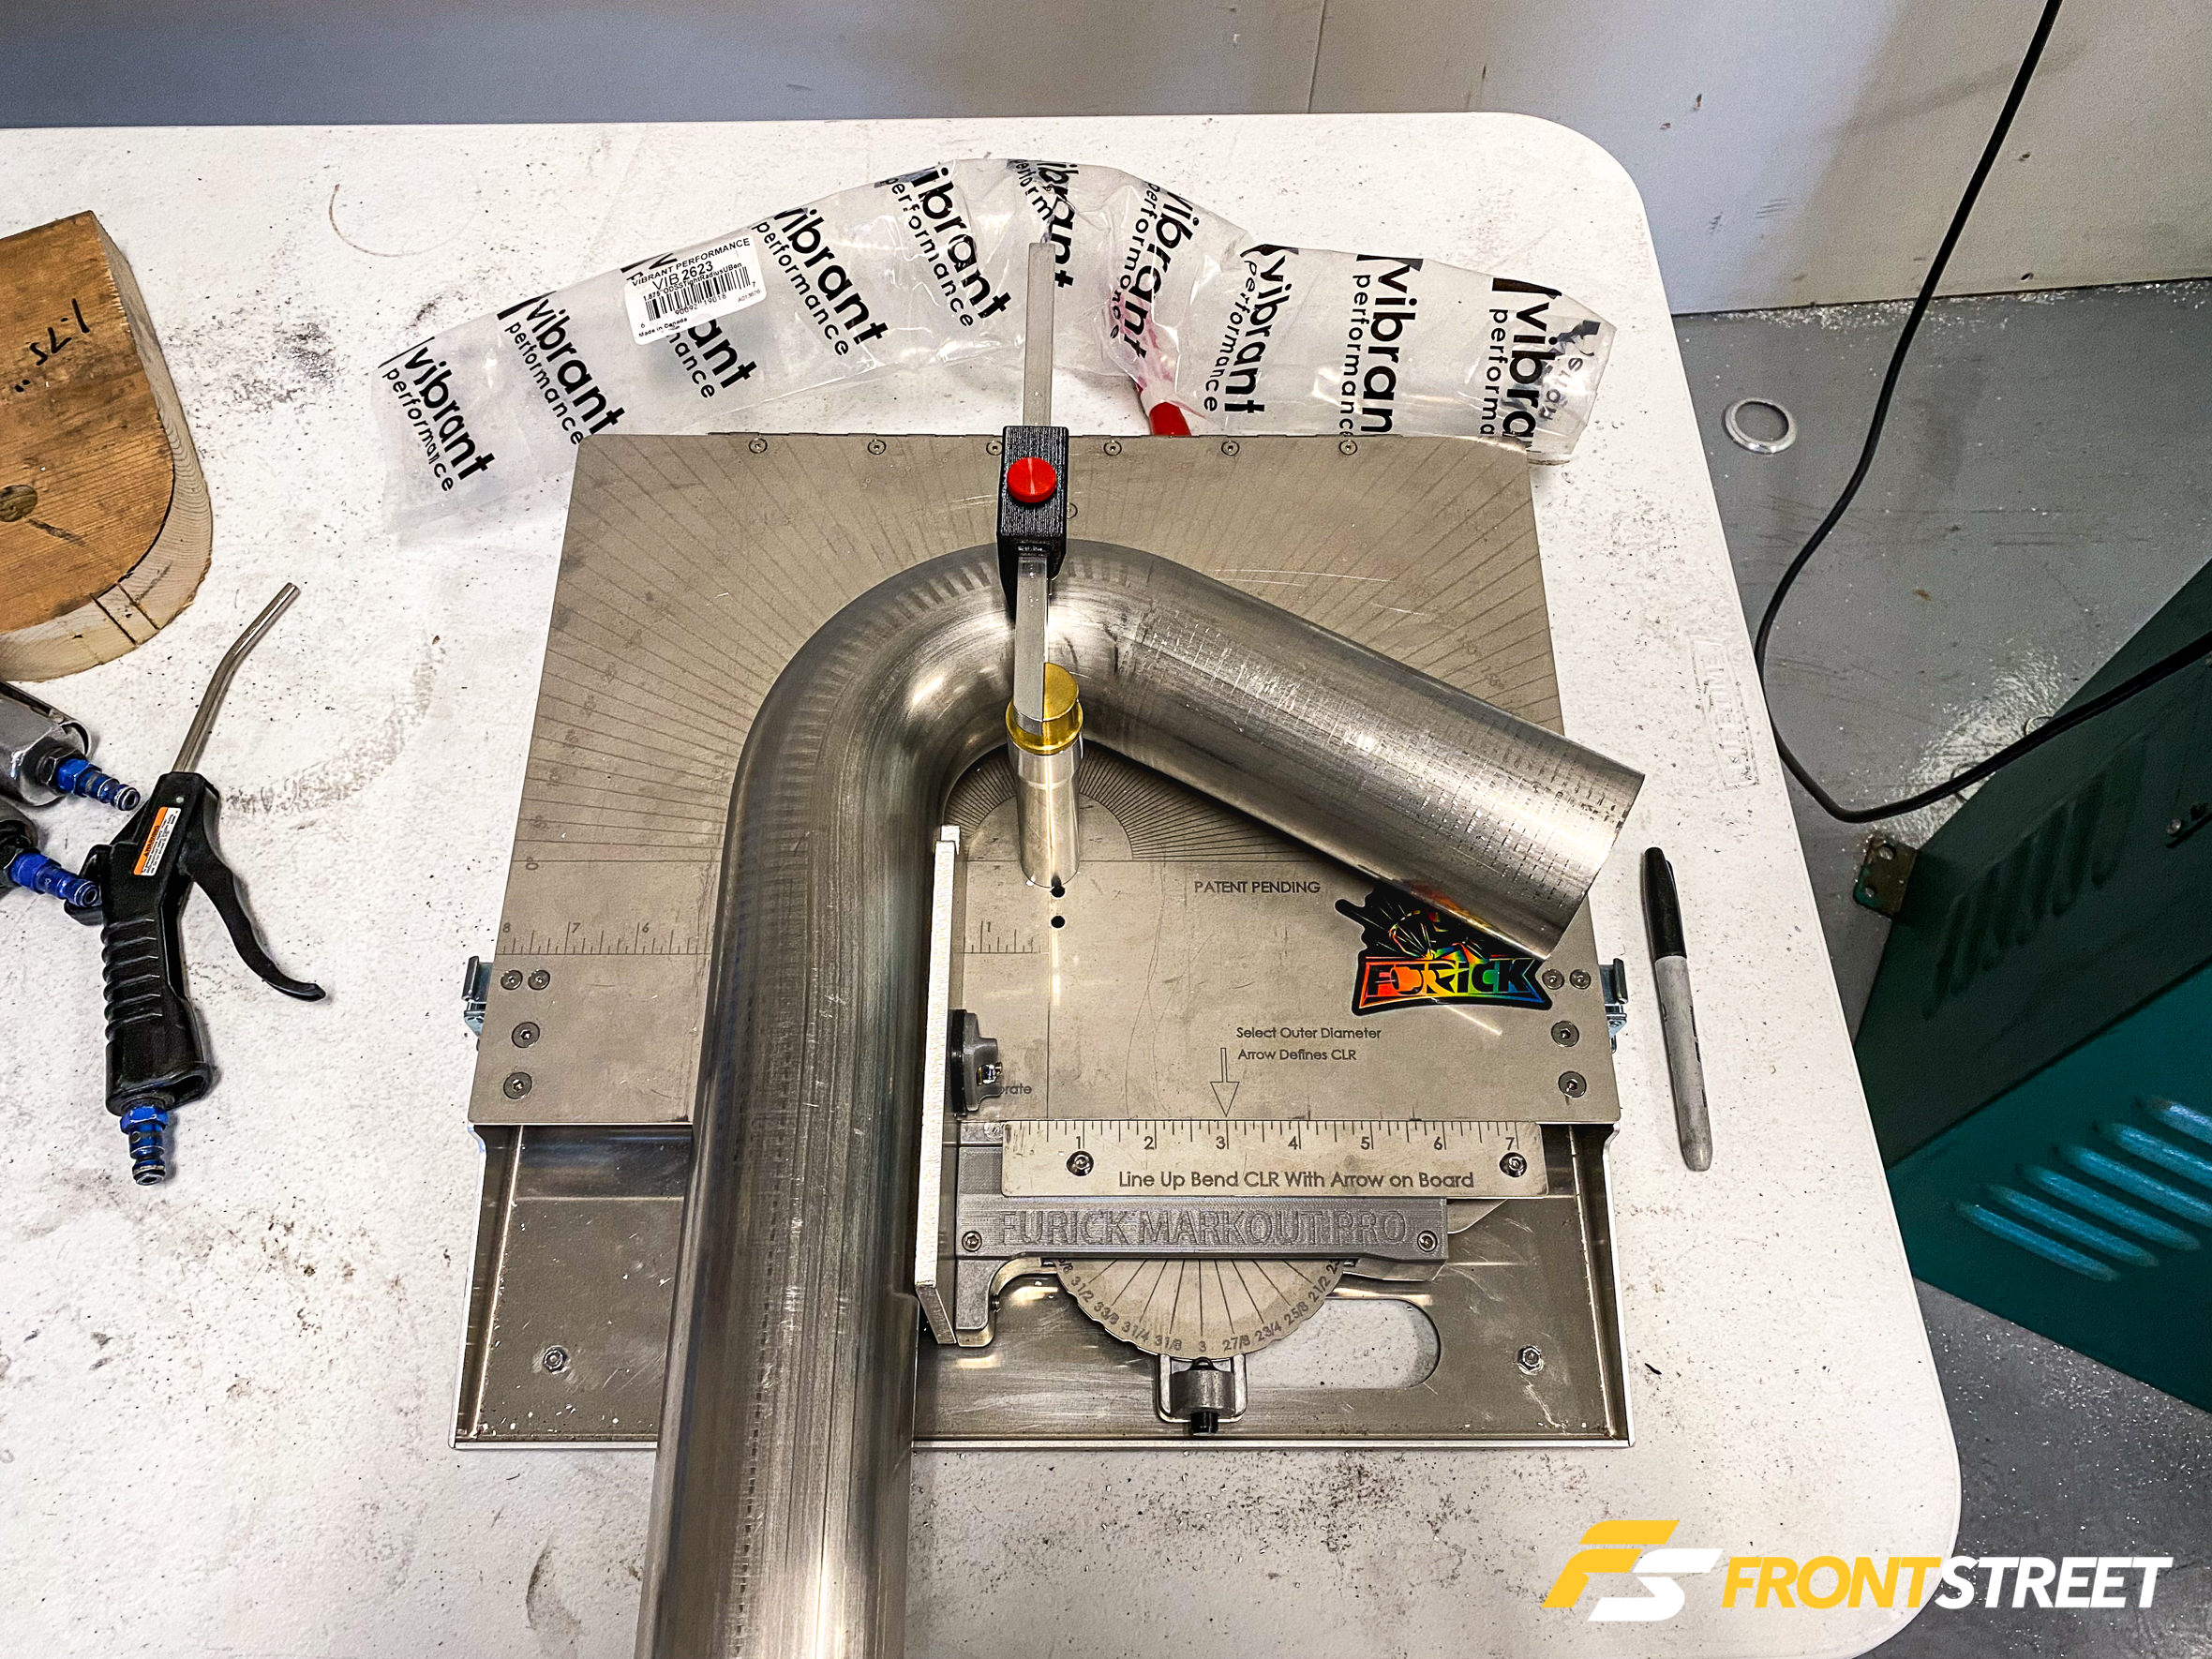
With the turbochargers mounted and the turbo manifolds in place, it was time to mark his bends for the downpipes and intermediate pipes in a precise manner. To do this and achieve identical angle cuts on any tubing, Schmuck uses the Furick Markout Pro. It’s a tool he claims is likely not for everyone but helps him with specific projects like this one.
“I saw [Mike at Furick Cup] post a couple of teasers of it on Instagram. Then, I saw it in person at PRI and instantly gave a deposit,” says Schmuck.
It’s for a variety of sizes in eighth-inch increments—up to 4.0-inch. What you can do is set it for the diameter of your tubing and the centerline radius of your bend so that you can lay it out. If you know your bend is going to be 62.5-degrees for your cut, you can stick a 90-degree bend in there, line everything up, set up the Markout Pro, and turn the dial until you get to the degree mark you want. Draw your line on your pipe, cut it, and you’re done.”
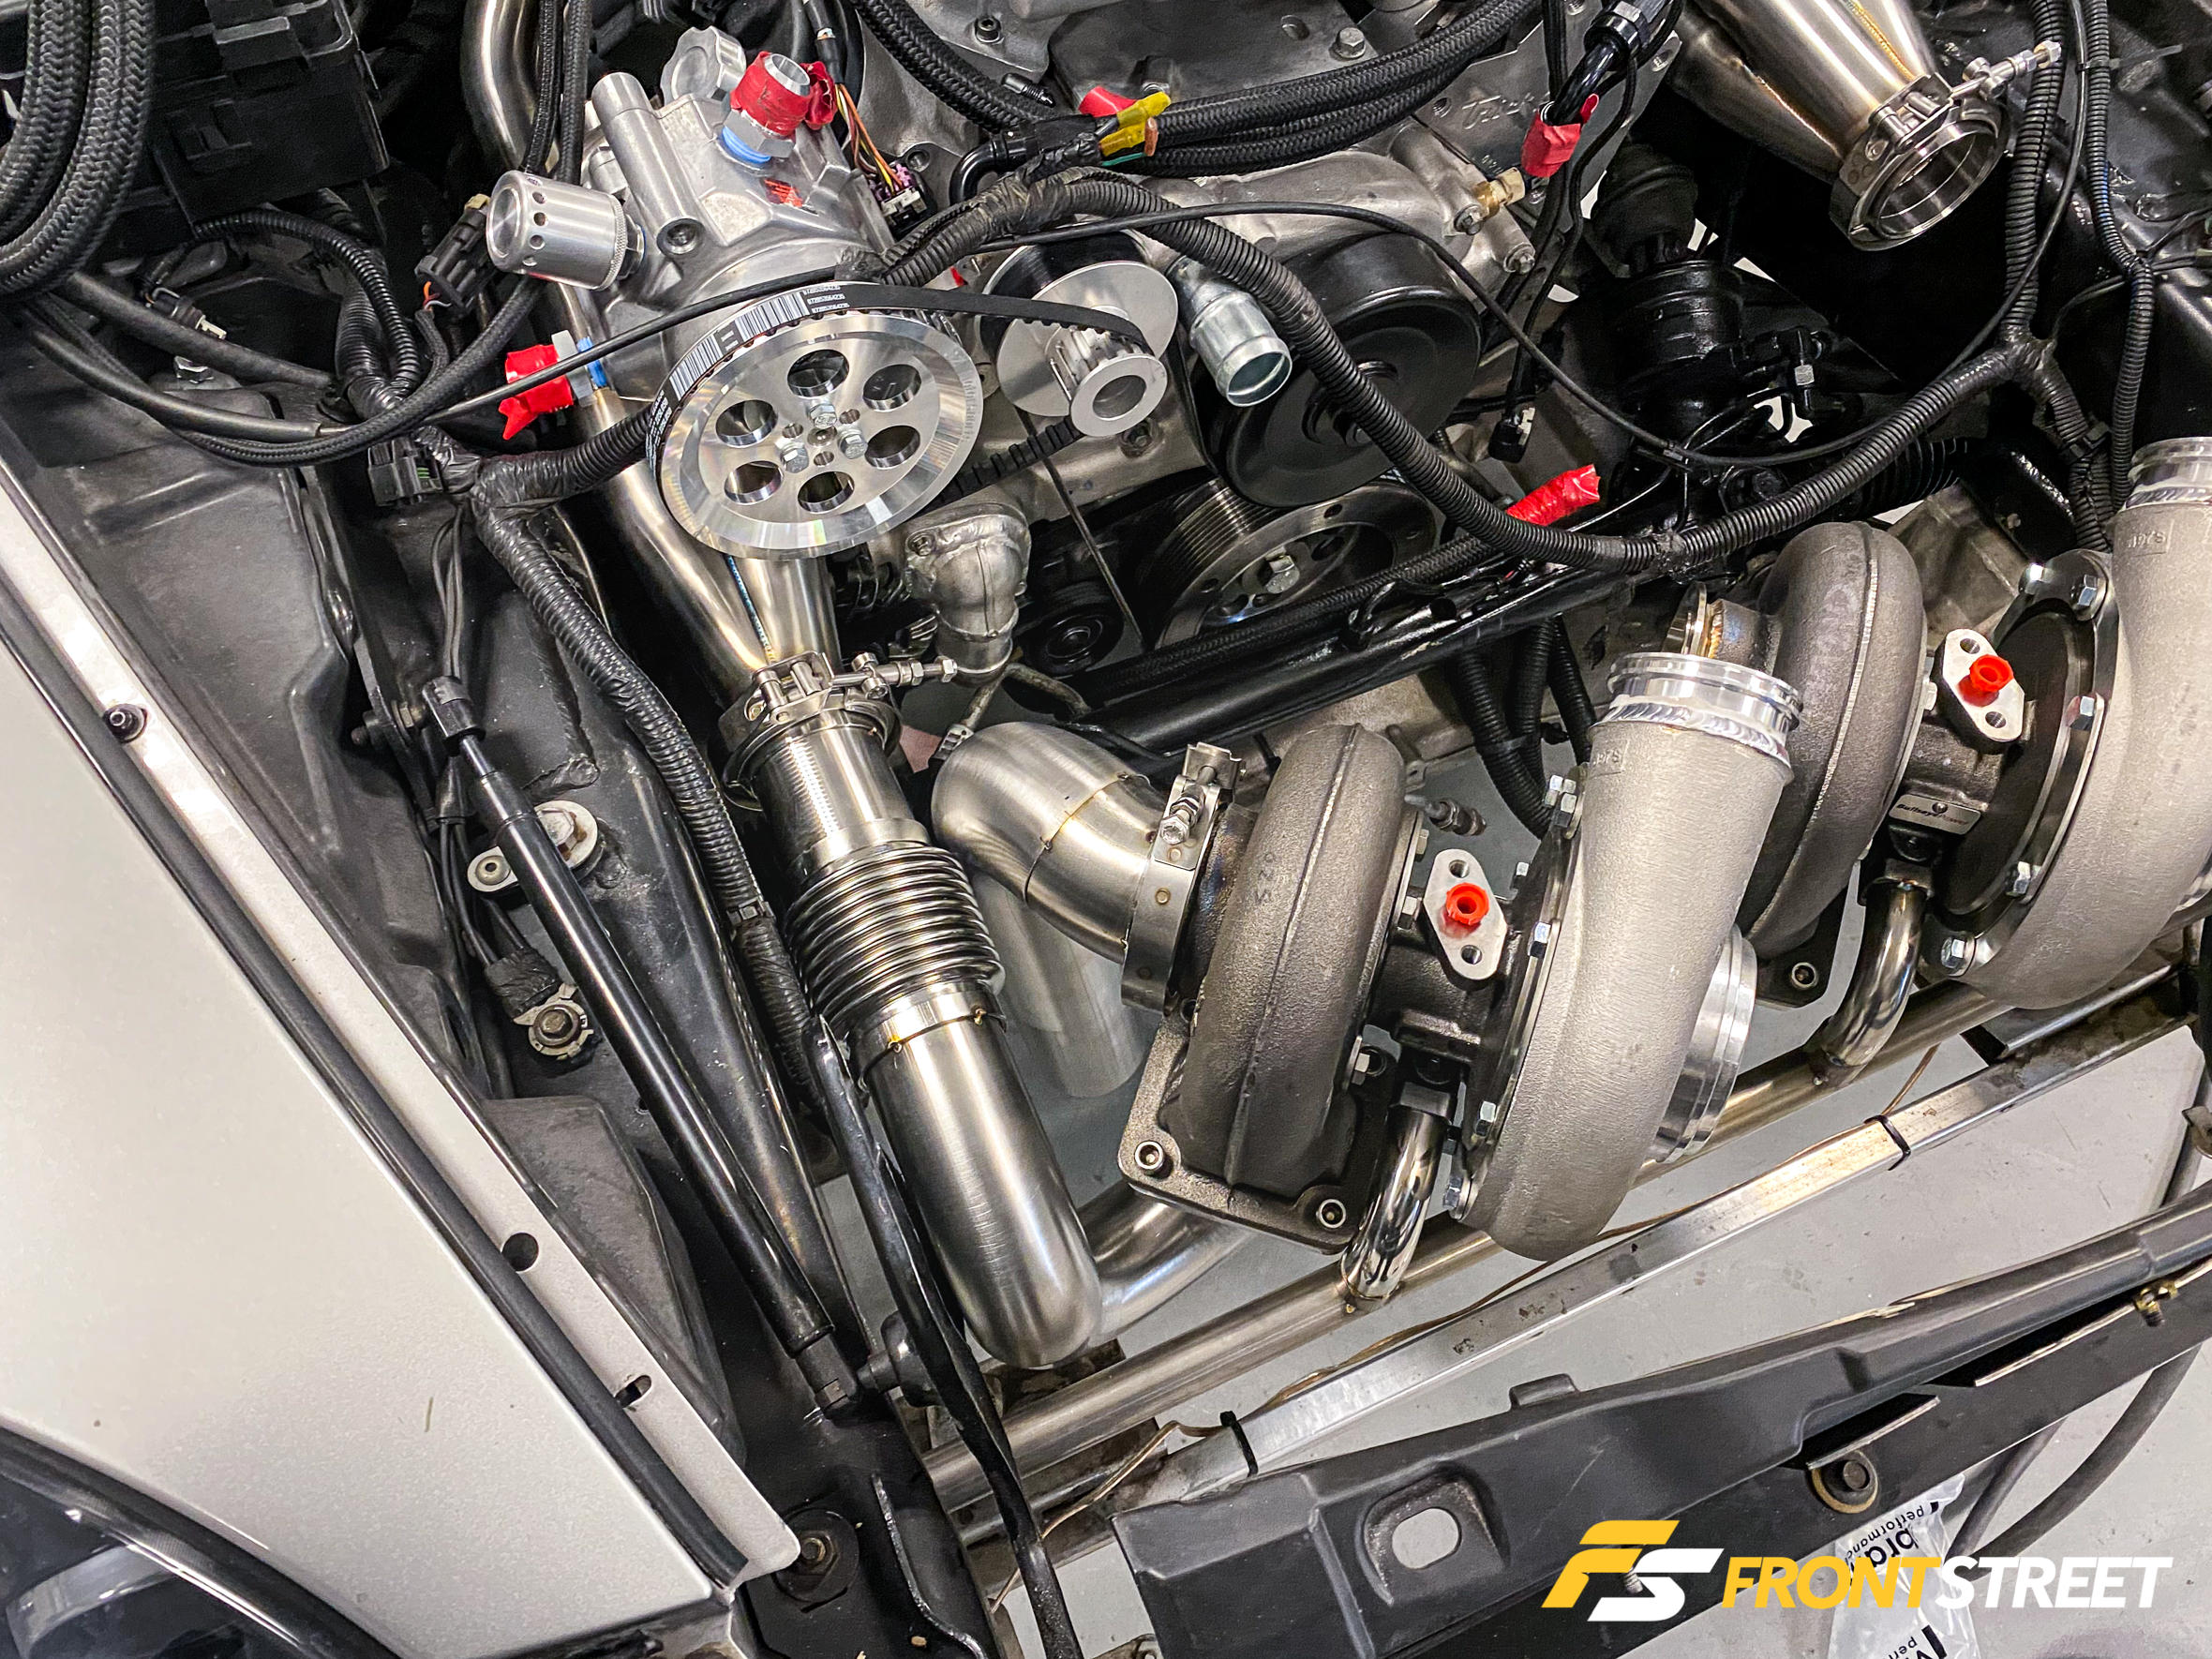
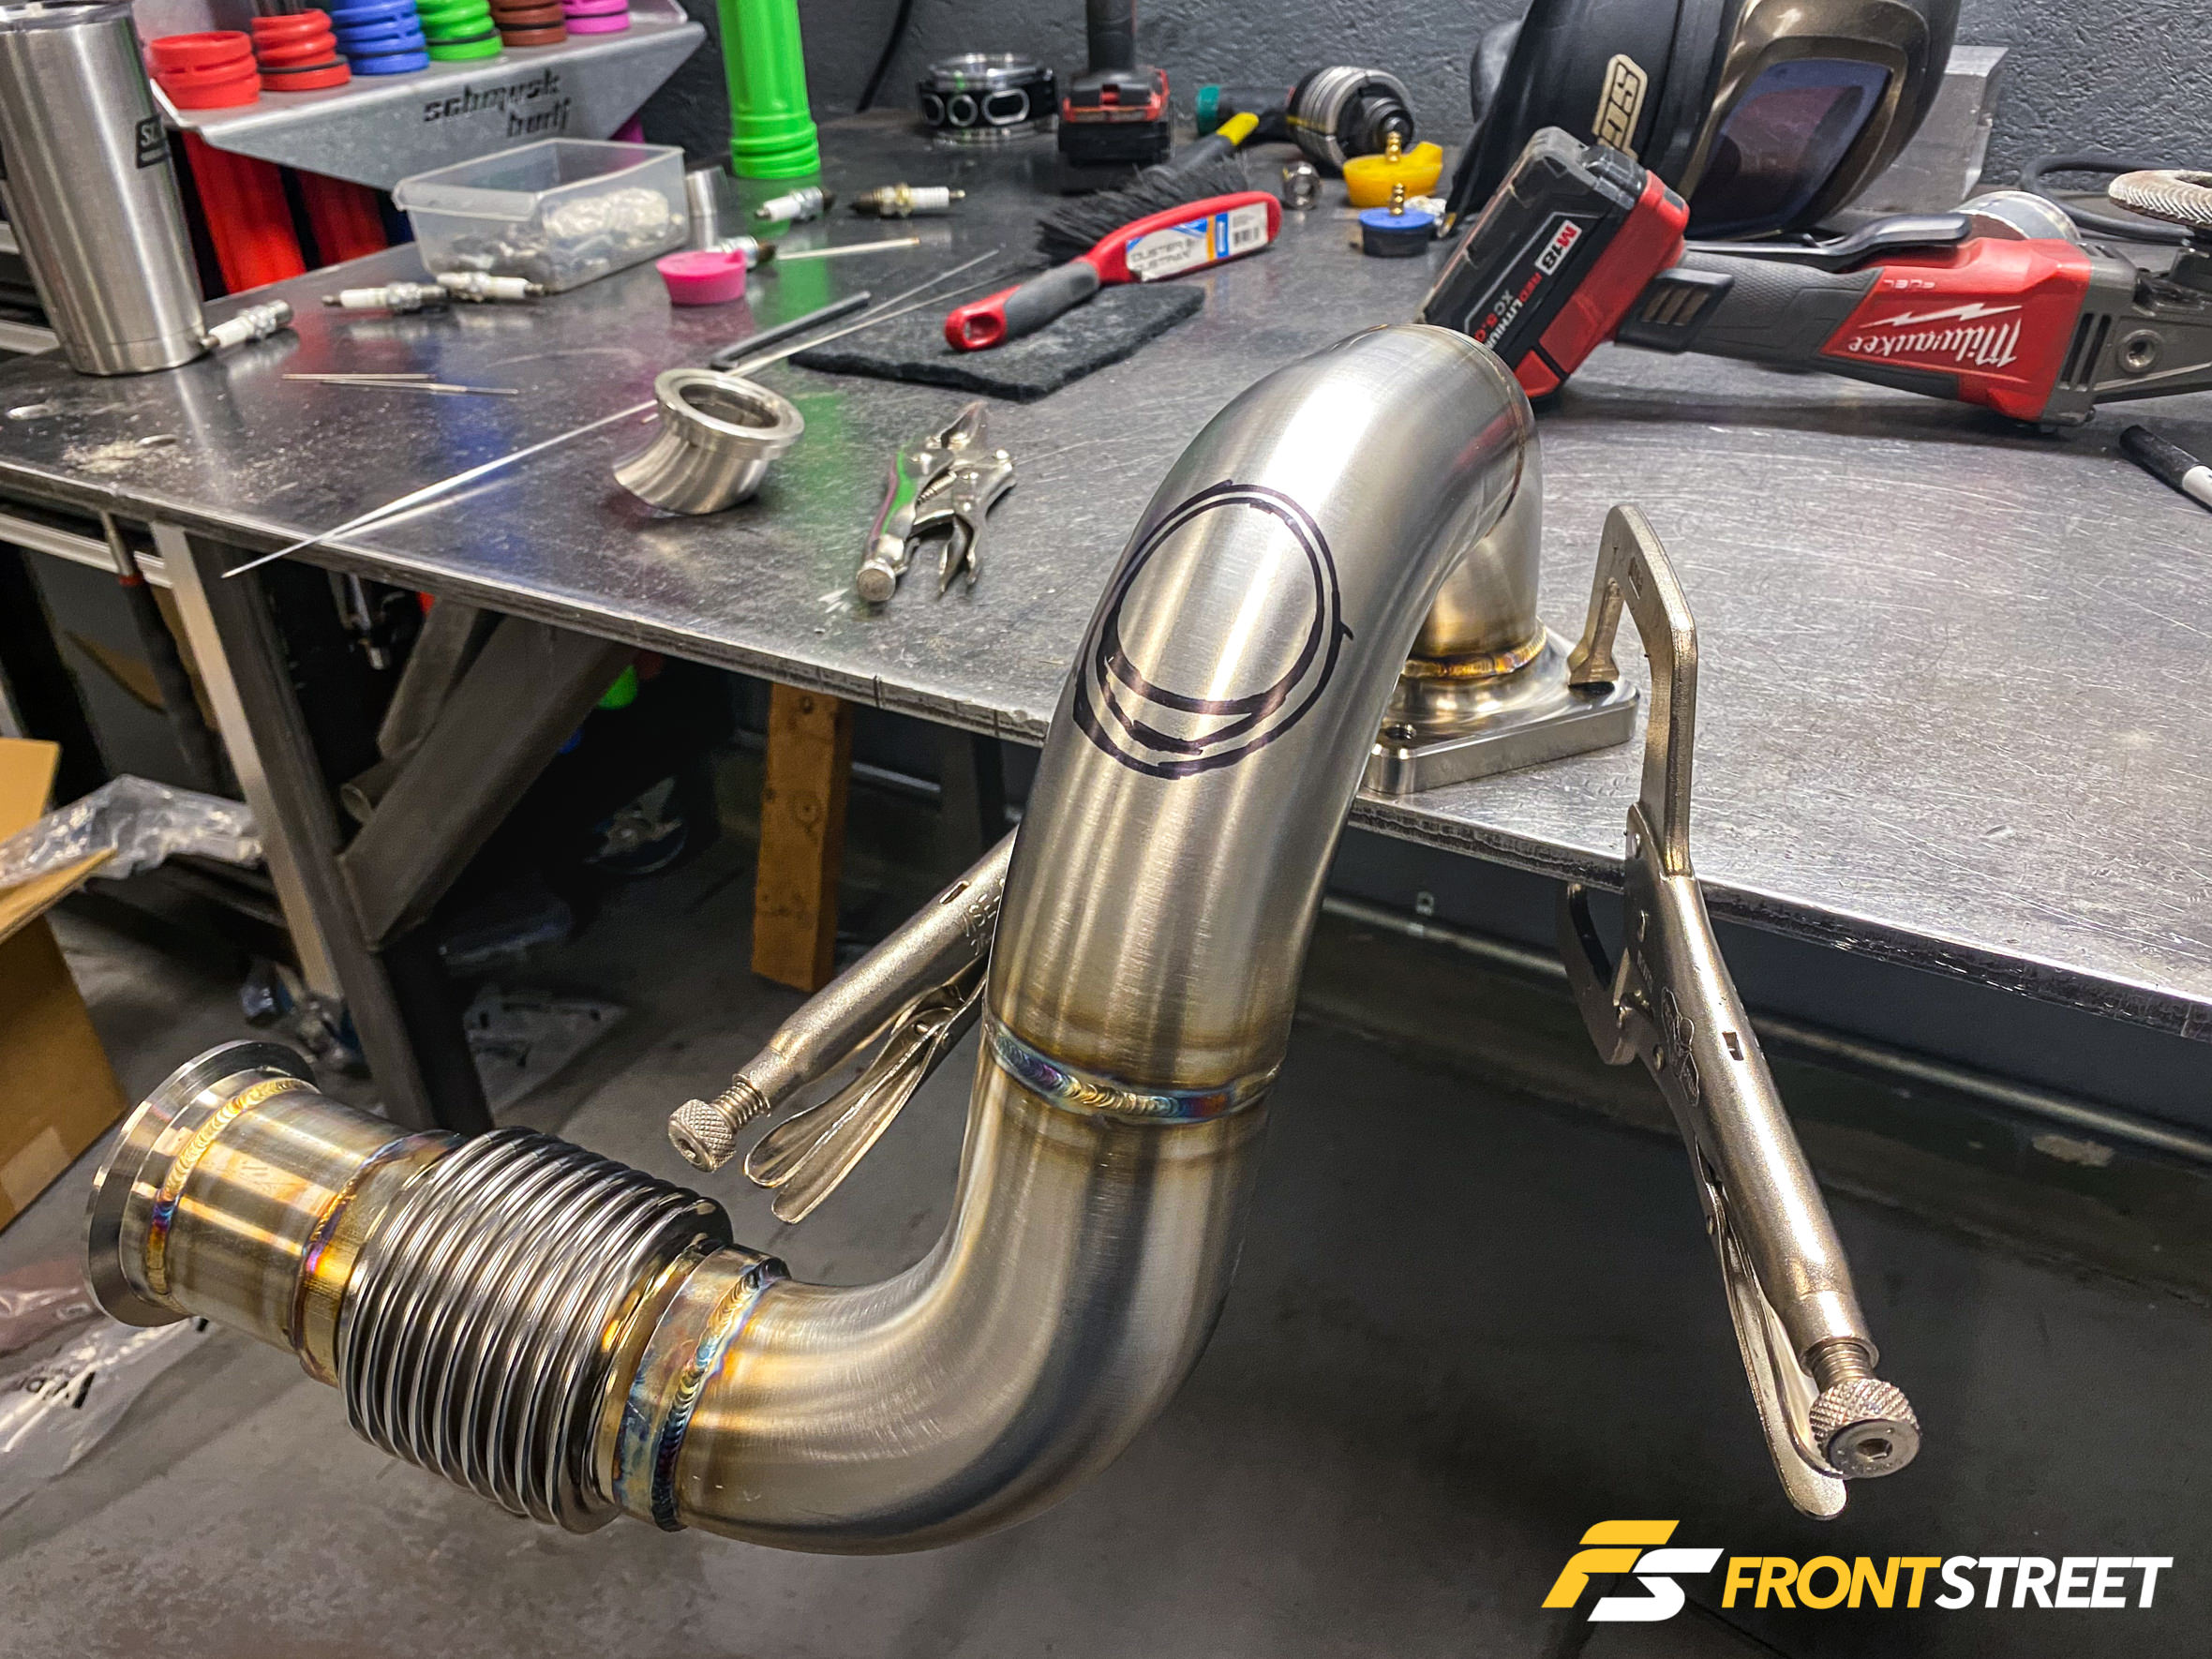
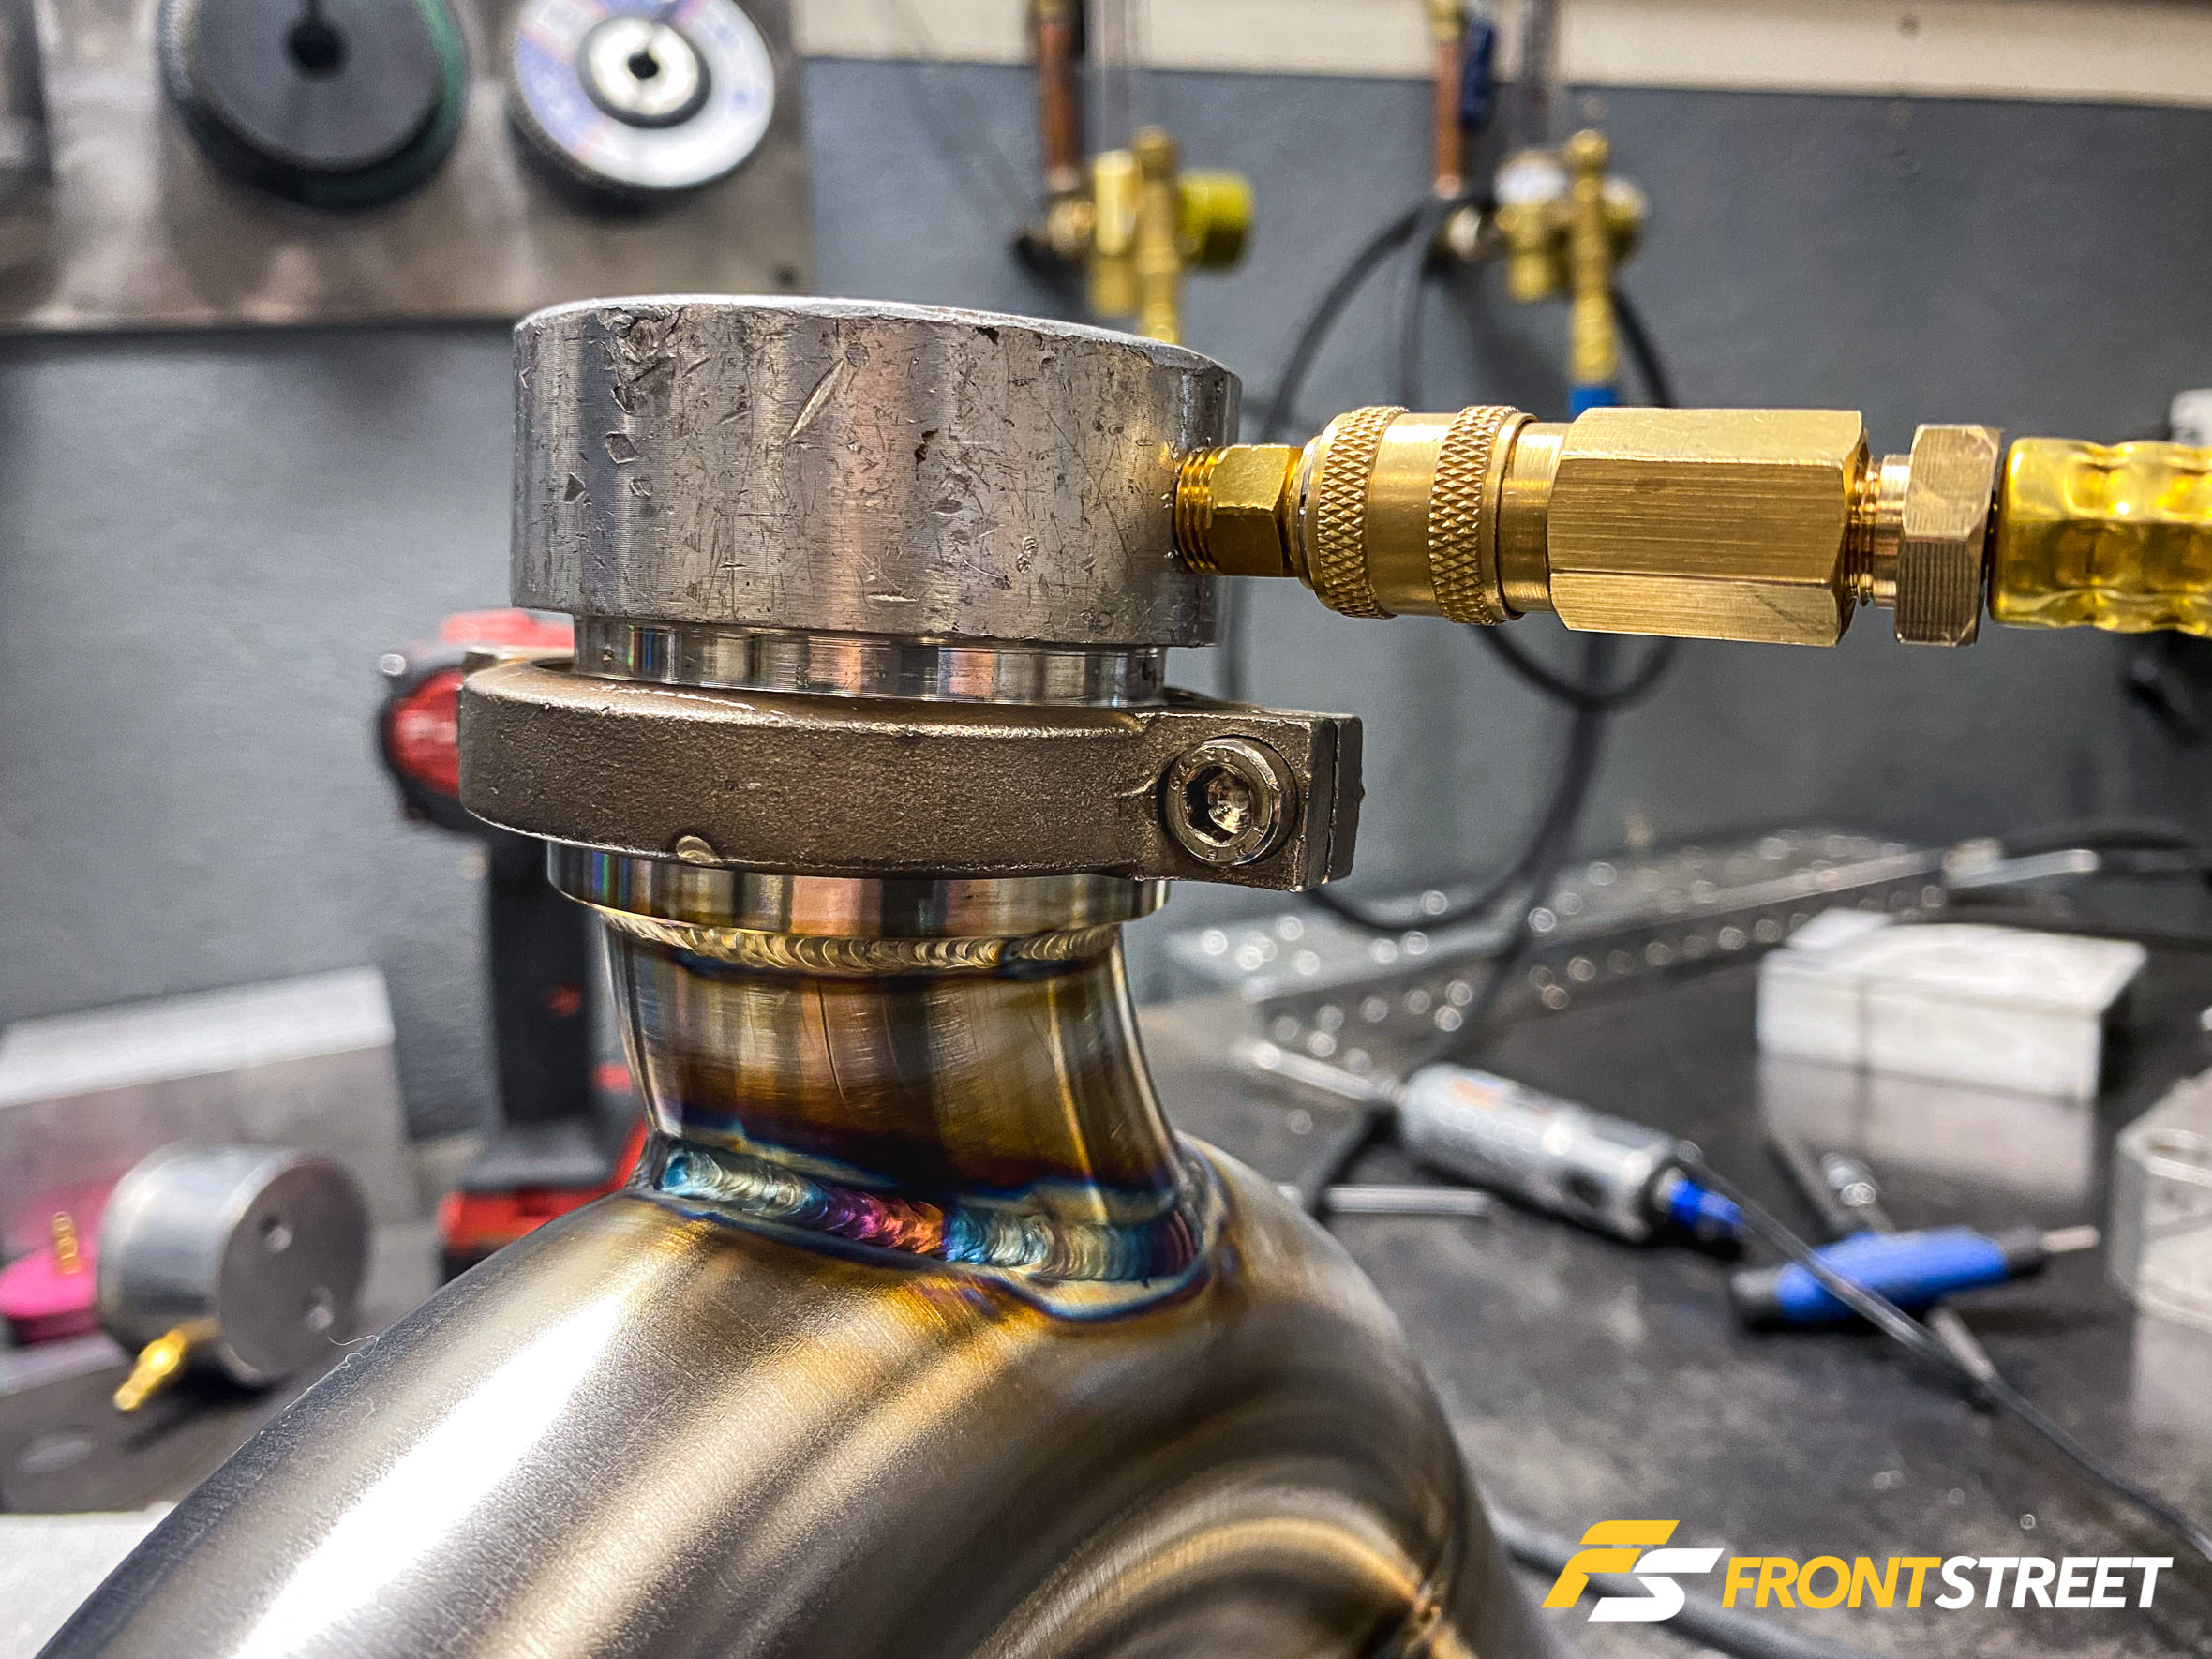
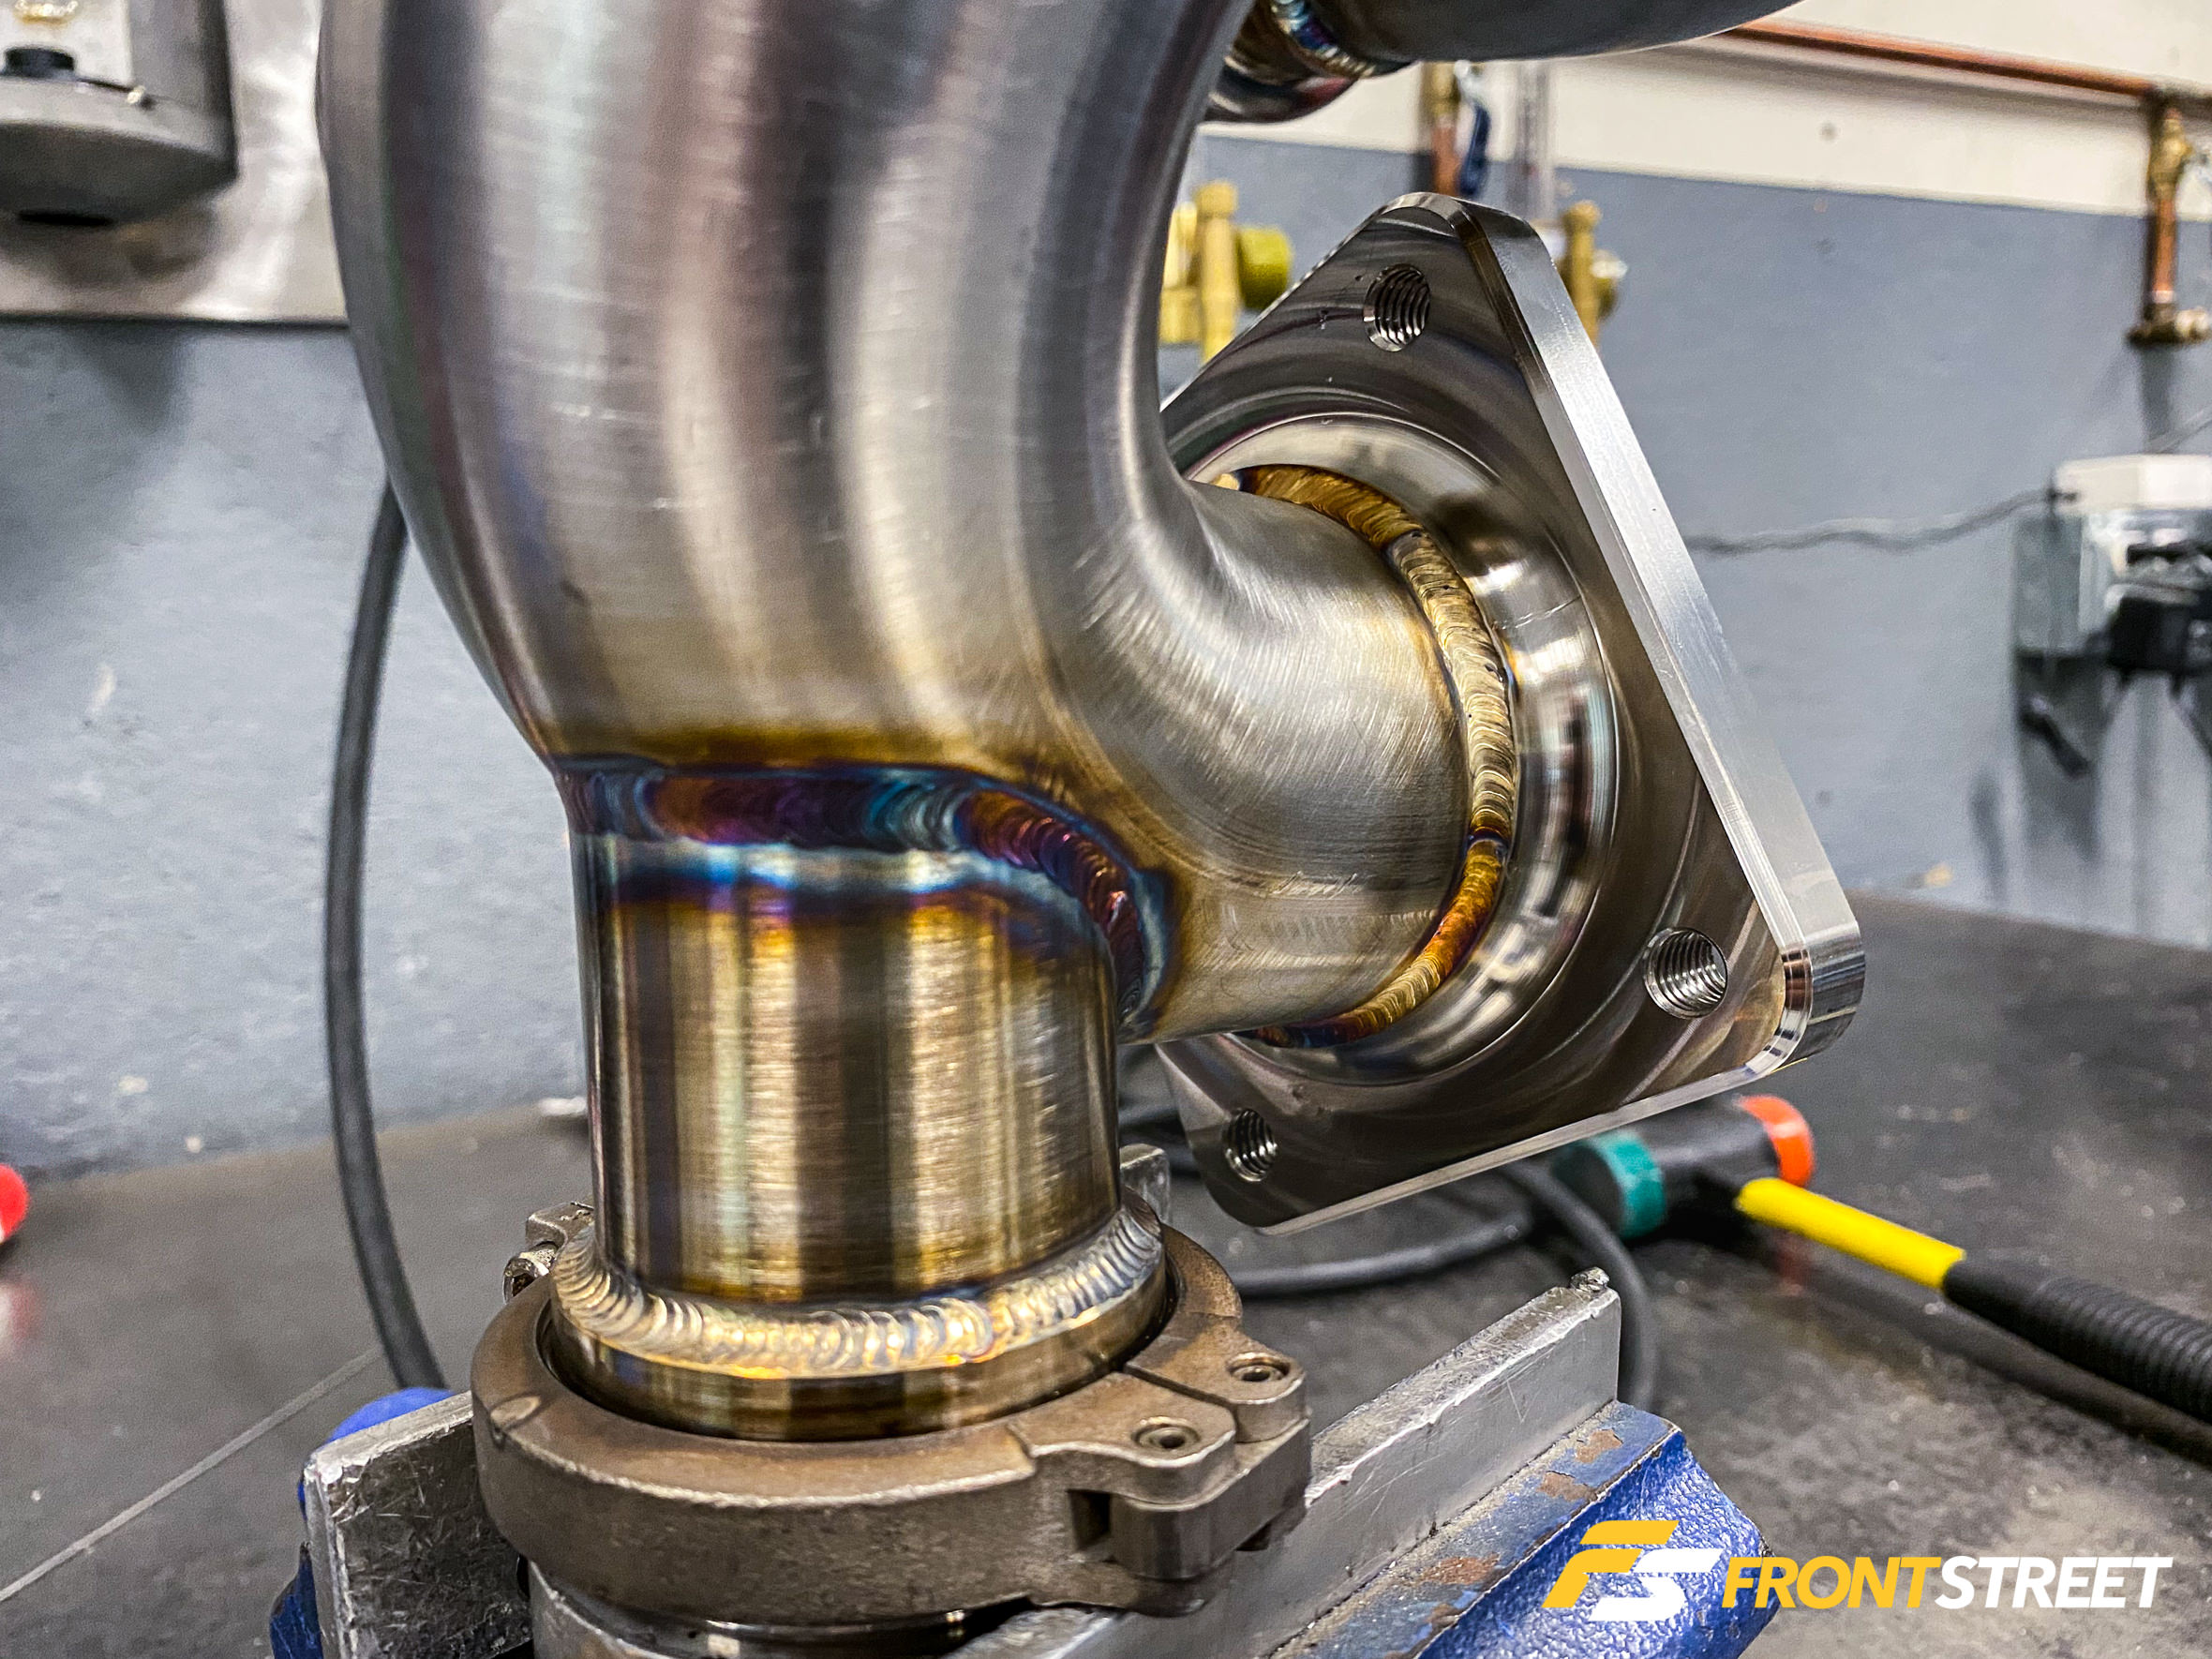
With construction completed on the intermediate pipes, he began planning and marking the wastegate and dump tube route. This visualization is important as it can’t interfere with any of the other tubes in its vicinity during installation or performance.
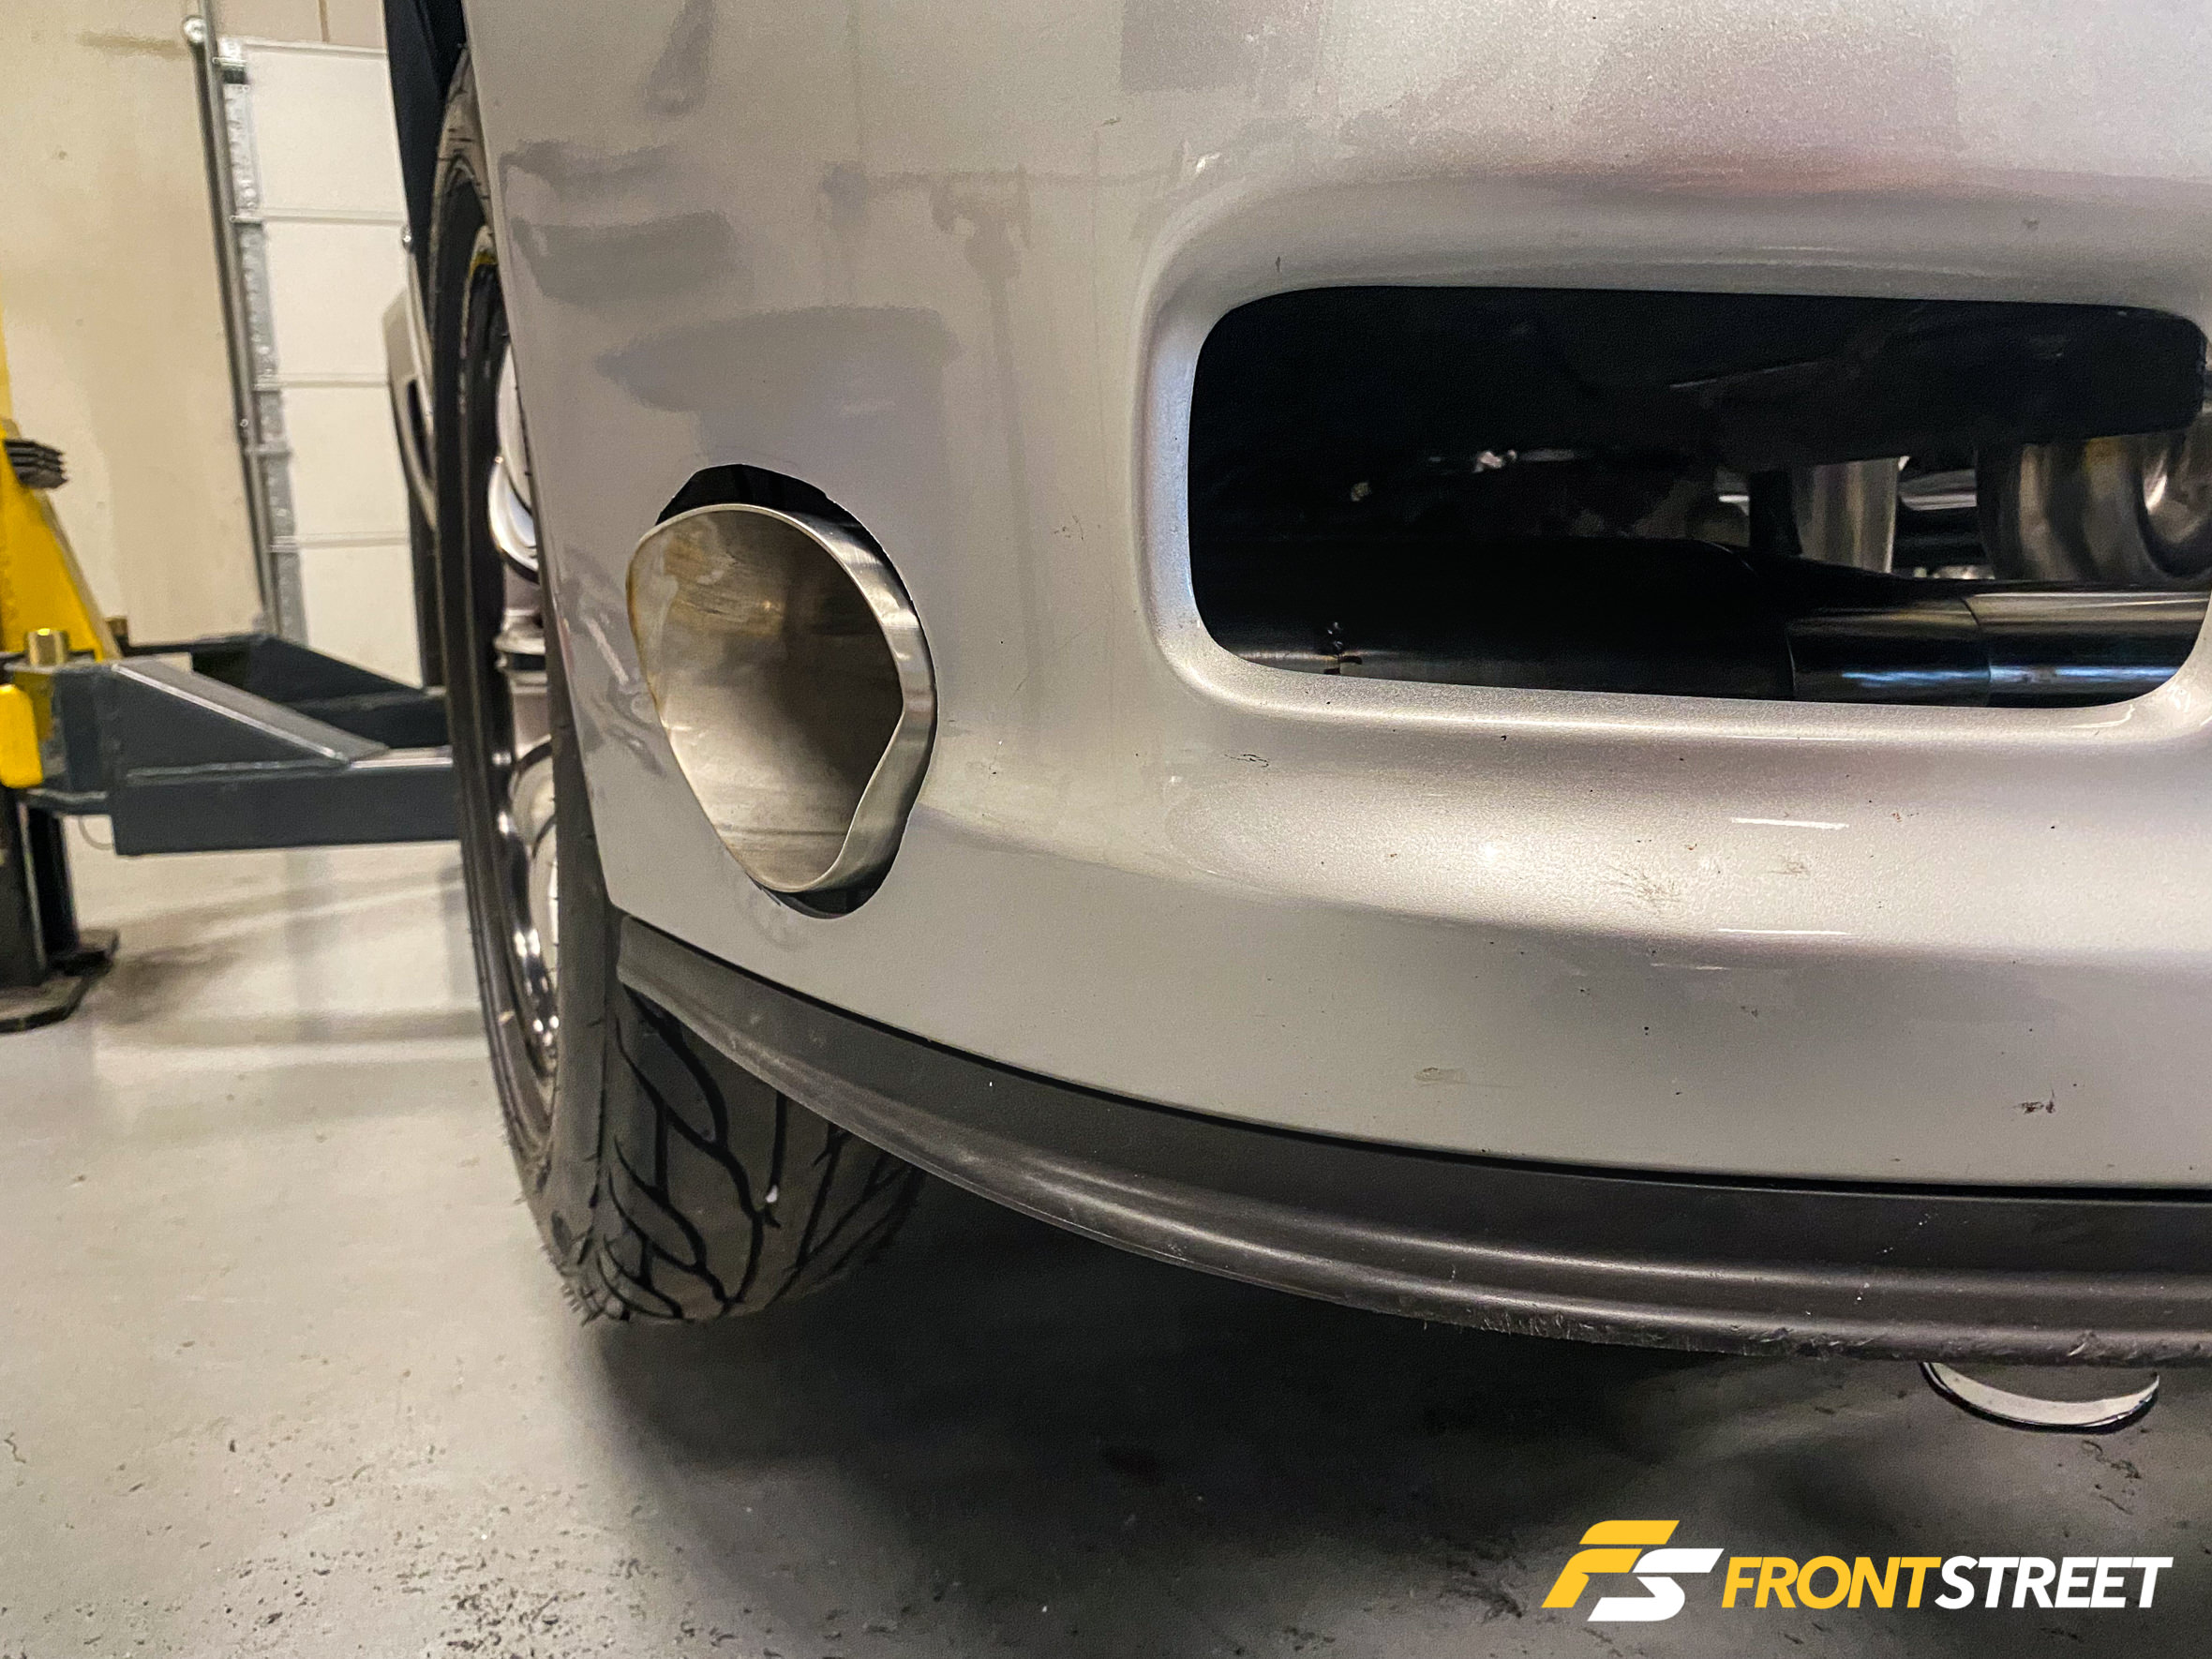
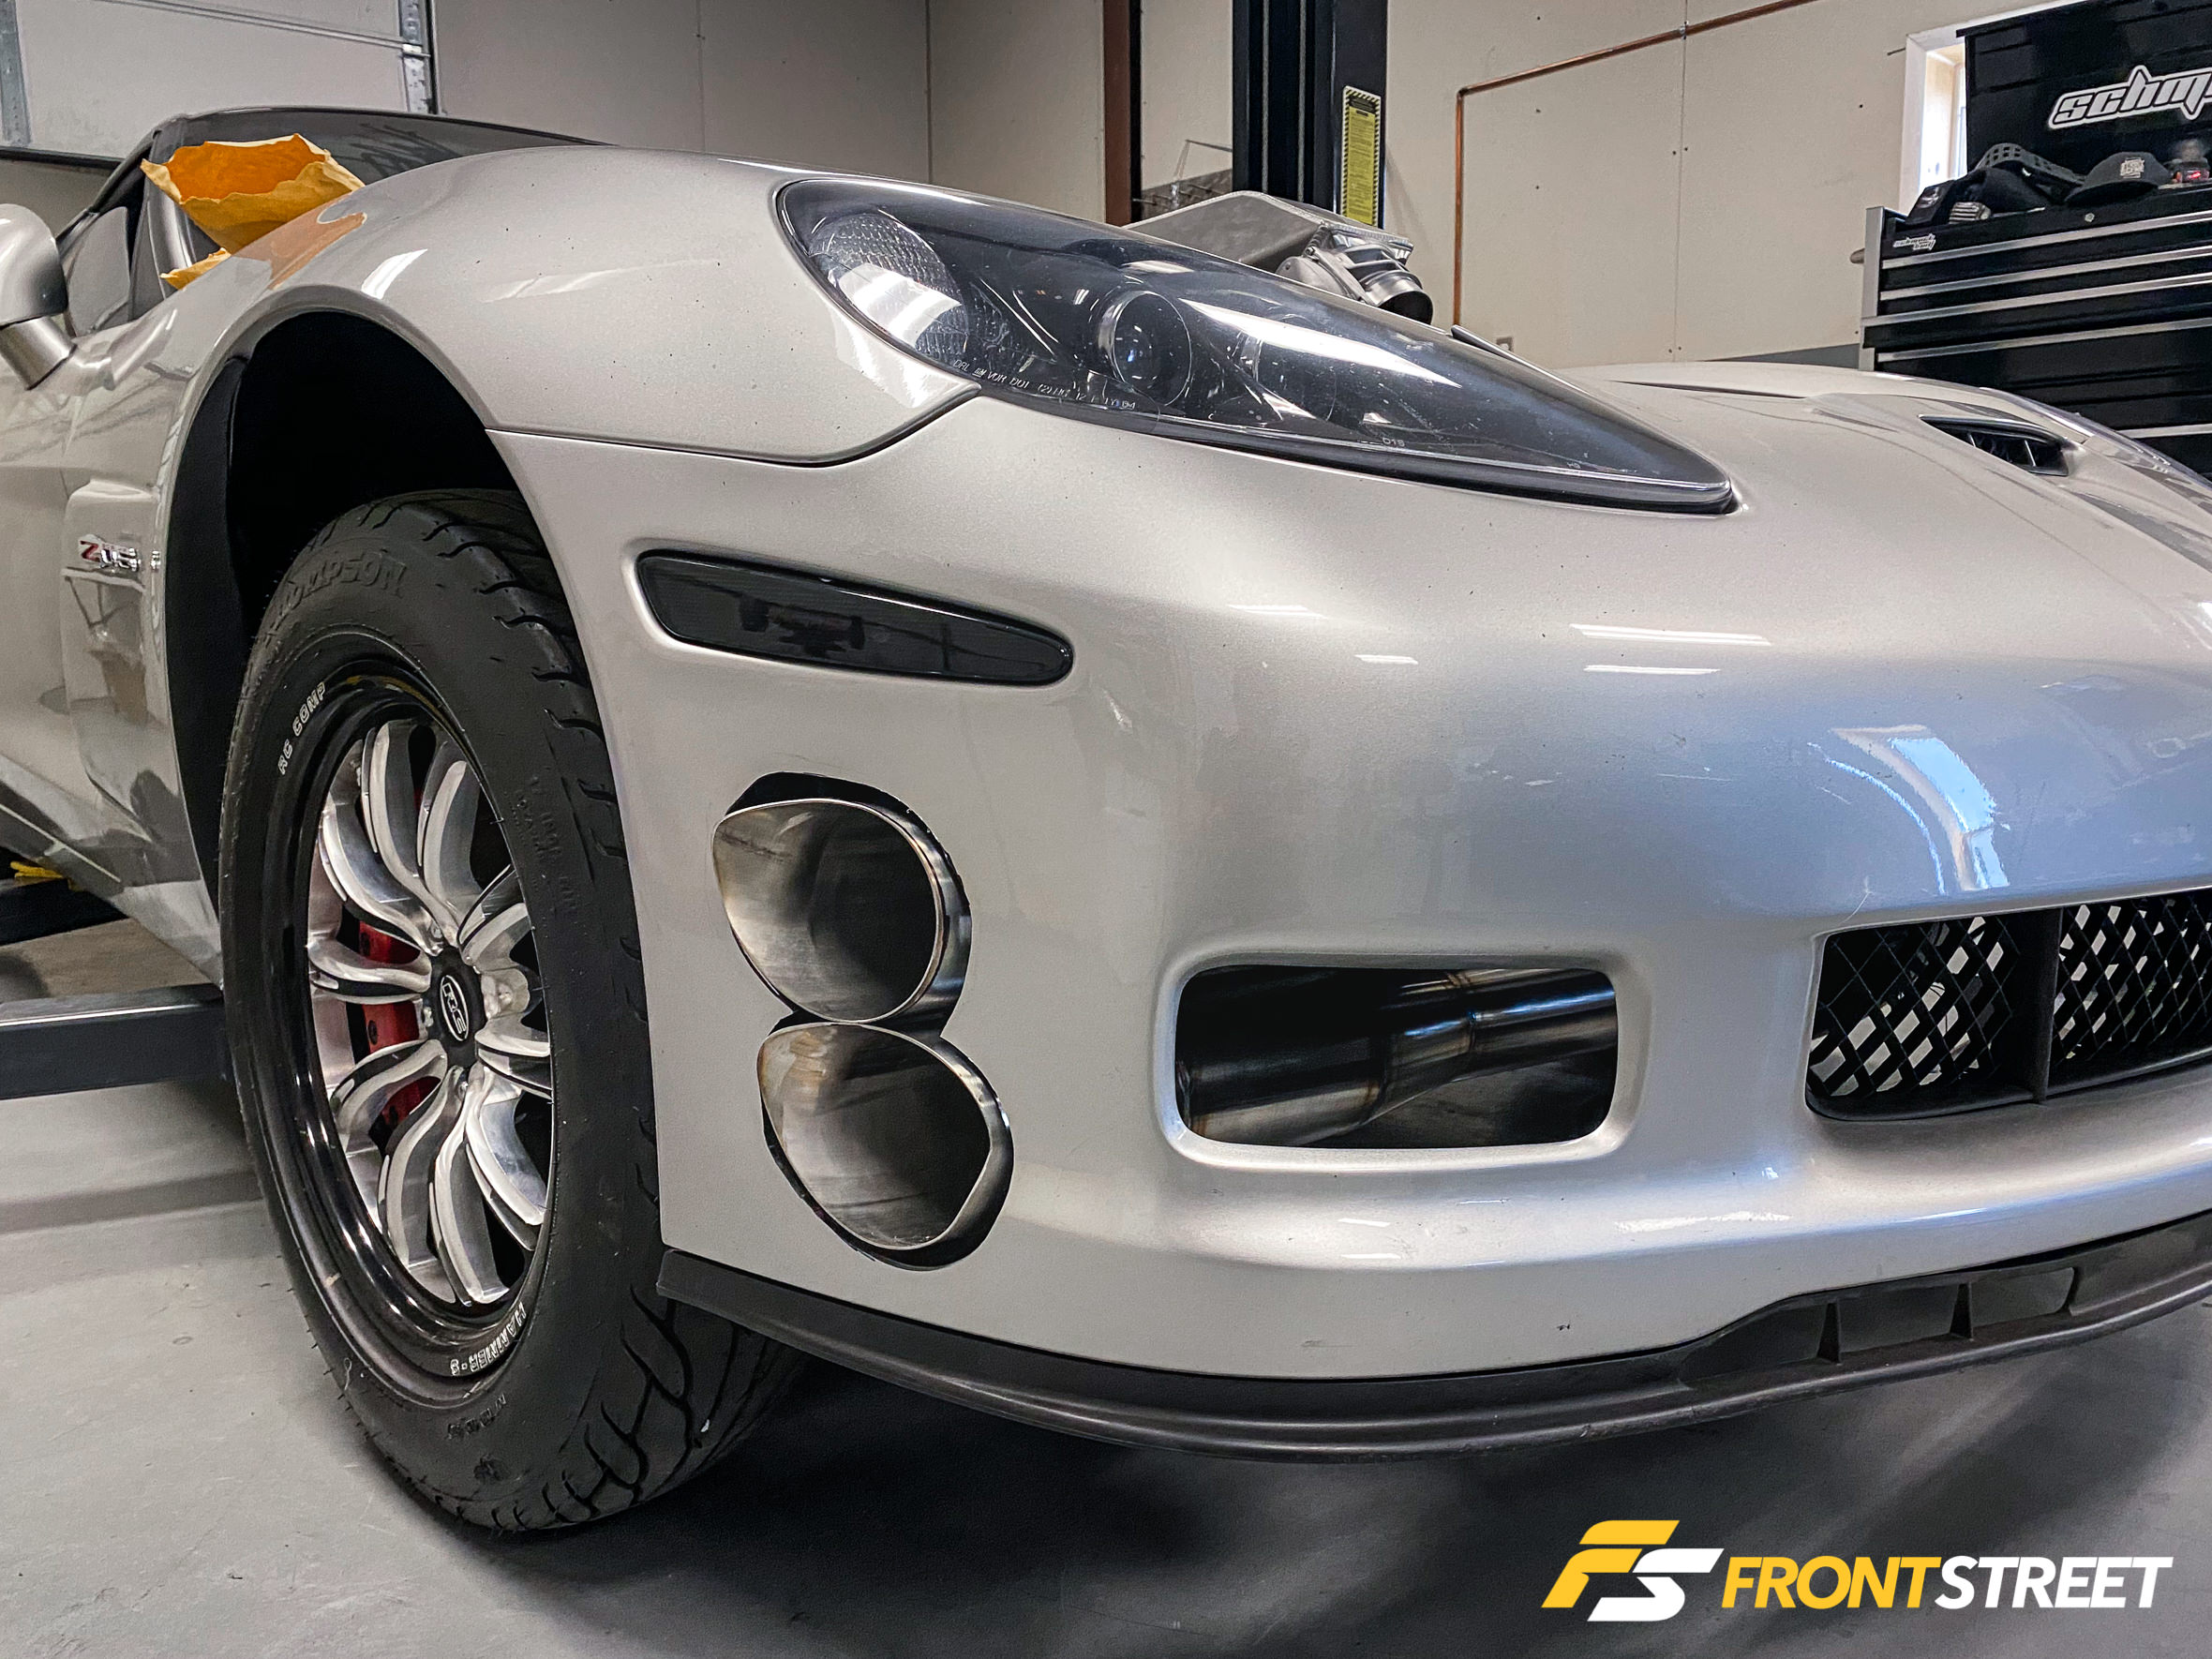
After those elements were designed and implemented on each side, Jason developed an incredible set of downpipes with unique slash-cut, bumper-exit tips for completing the exhaust flow. By fashioning a hidden hanger mount solution, he was able to cut the tubing to match the subtle body line carried through the bumper for an exquisite set of tips with a crazy detail.
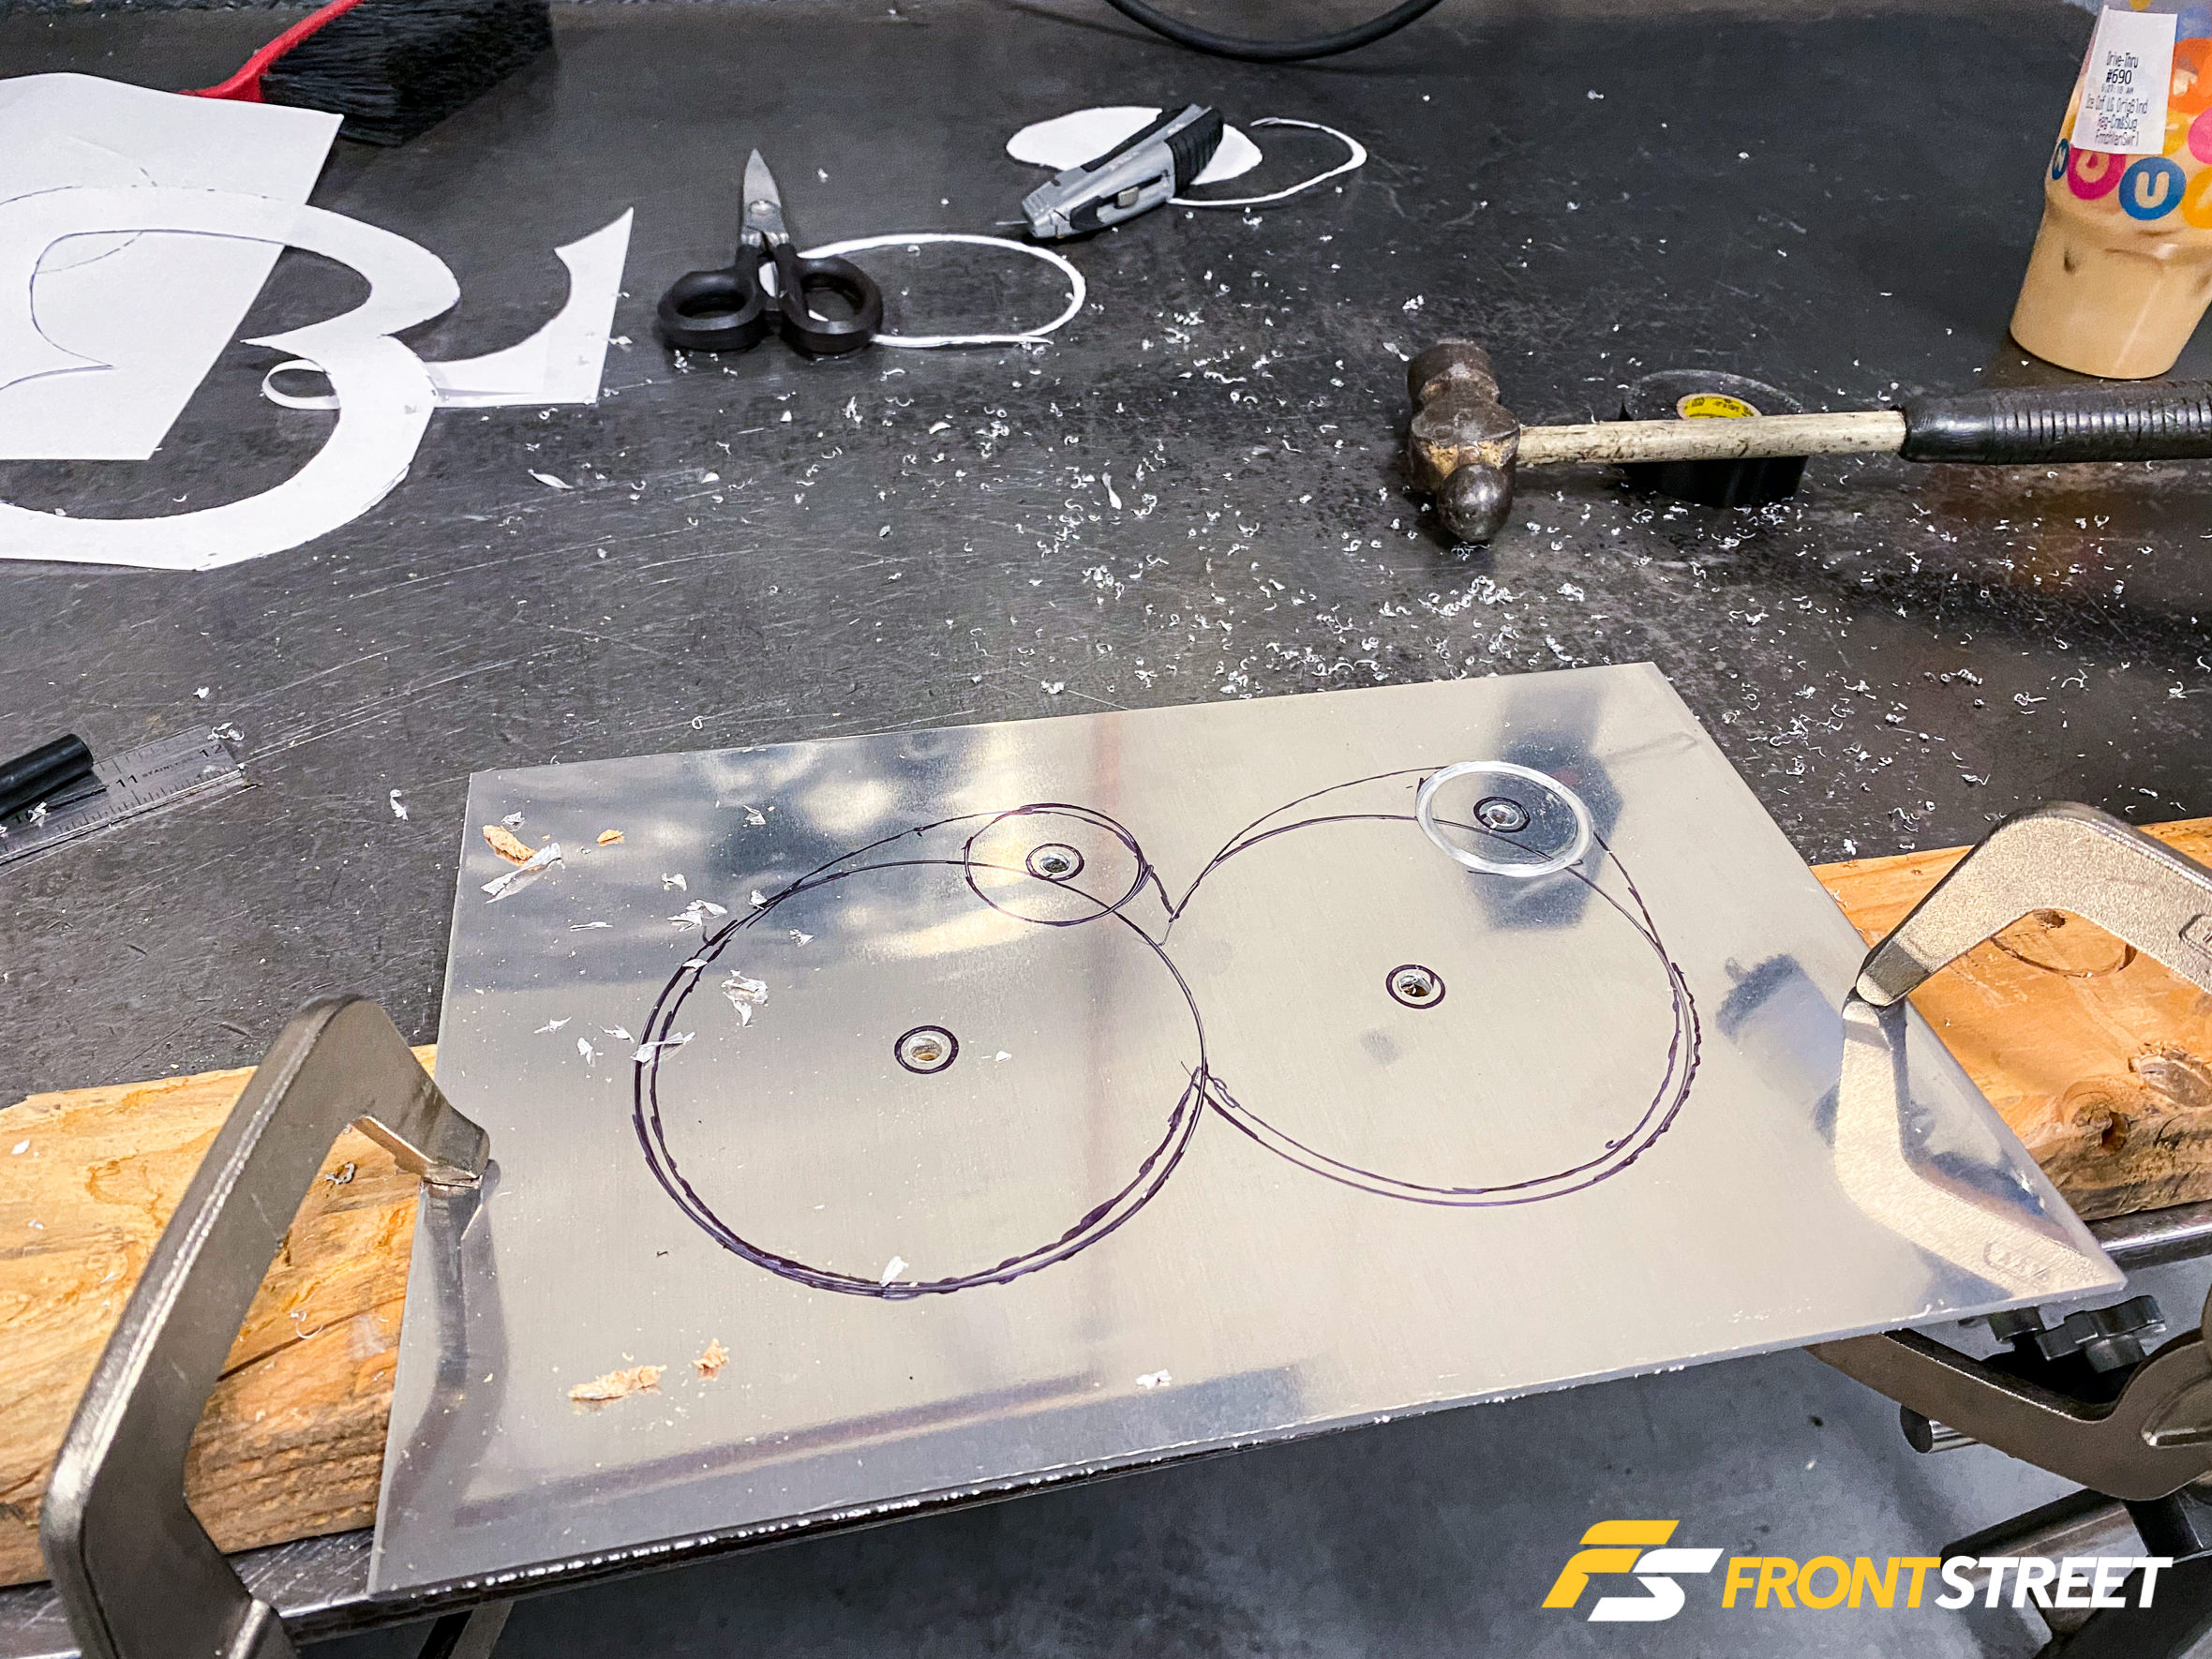
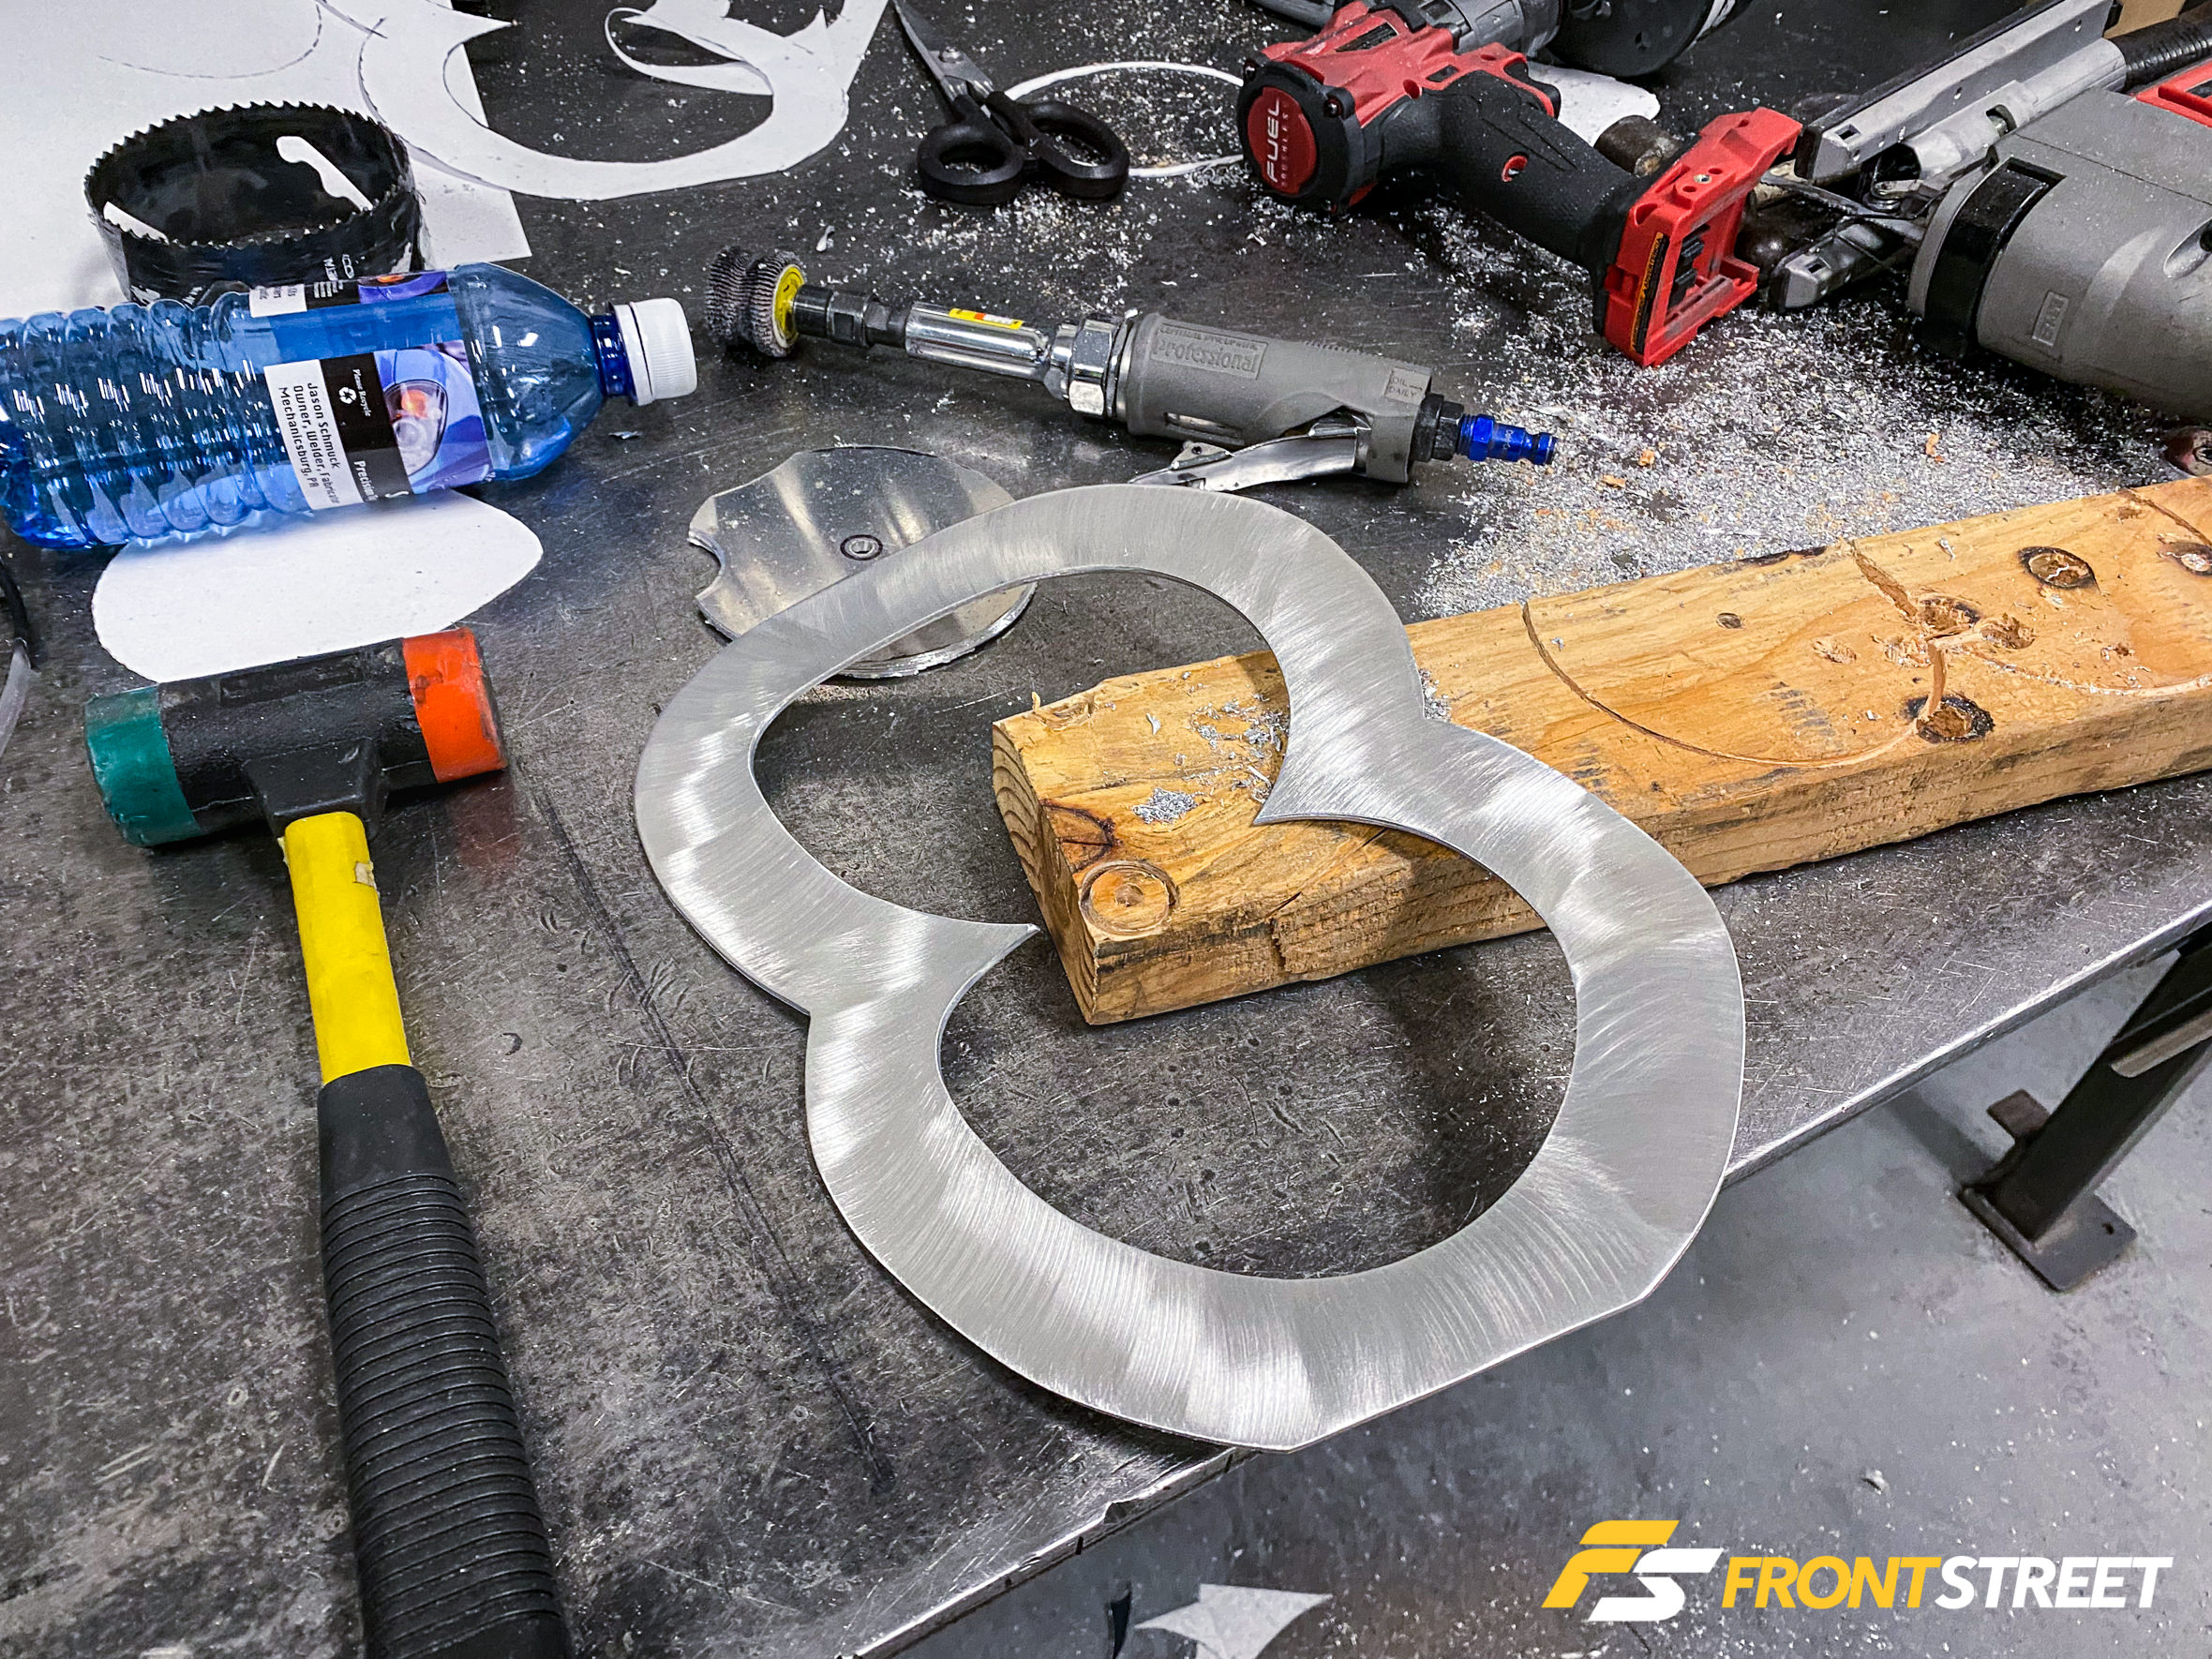
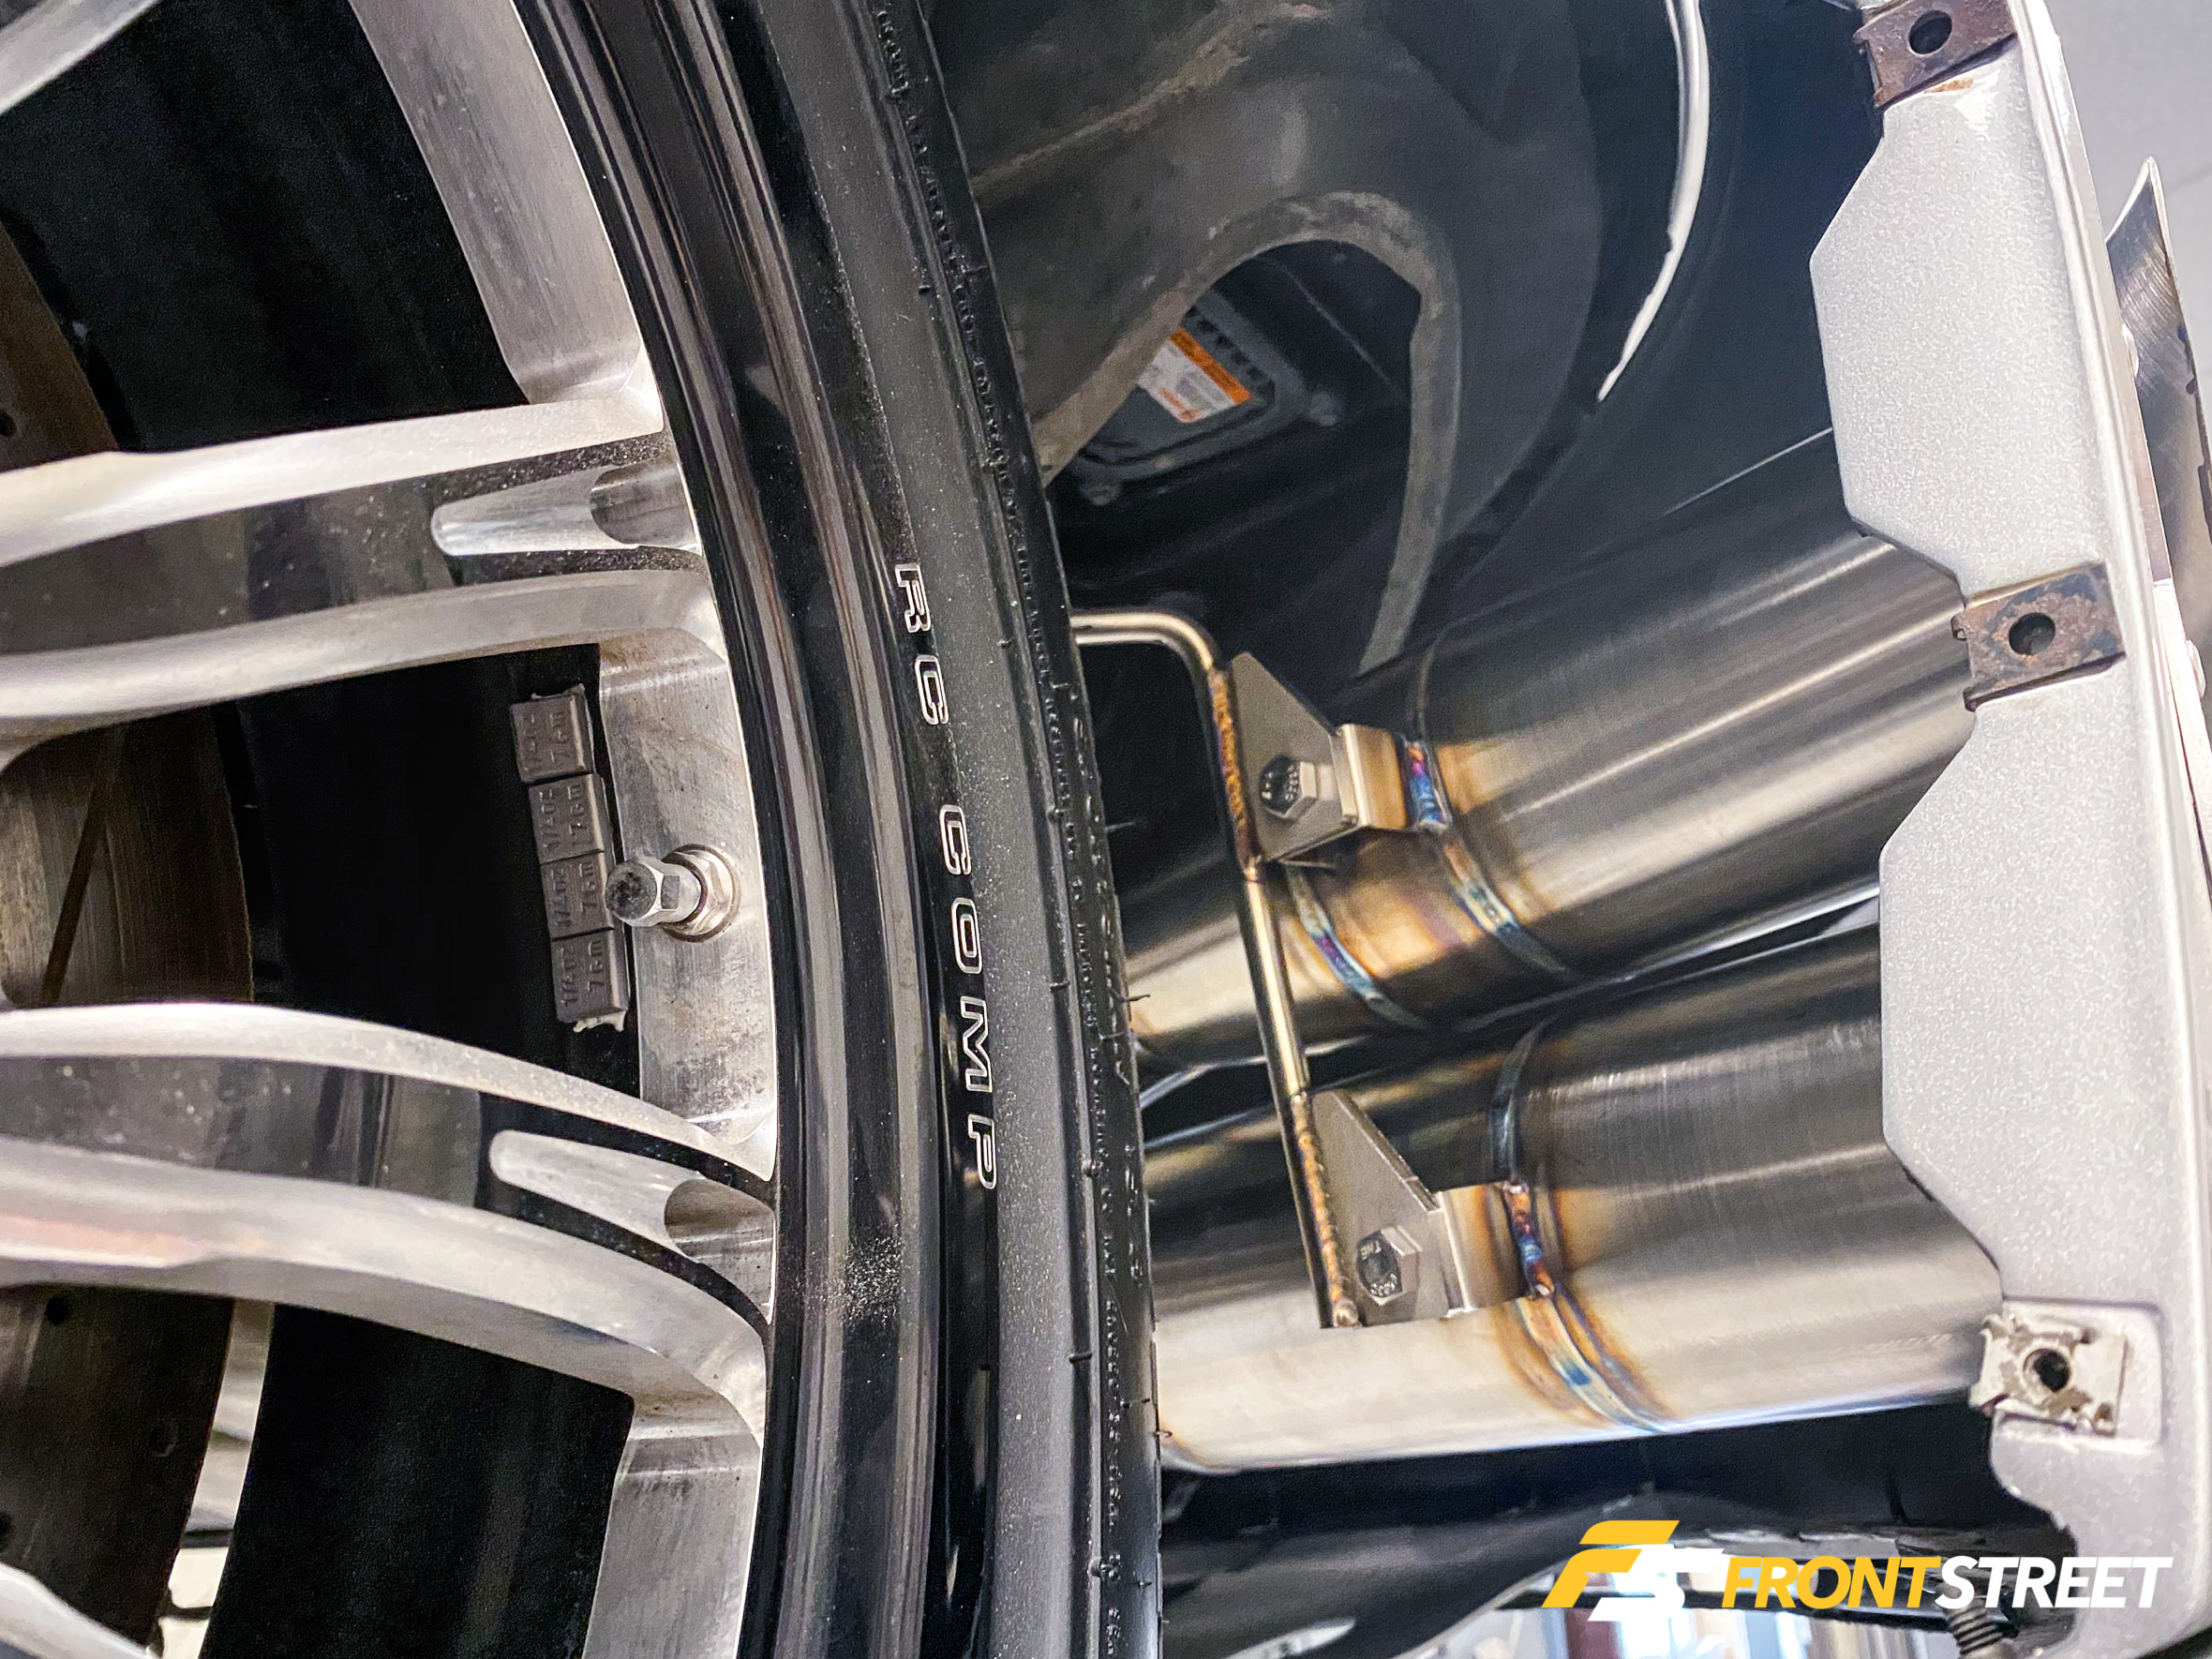
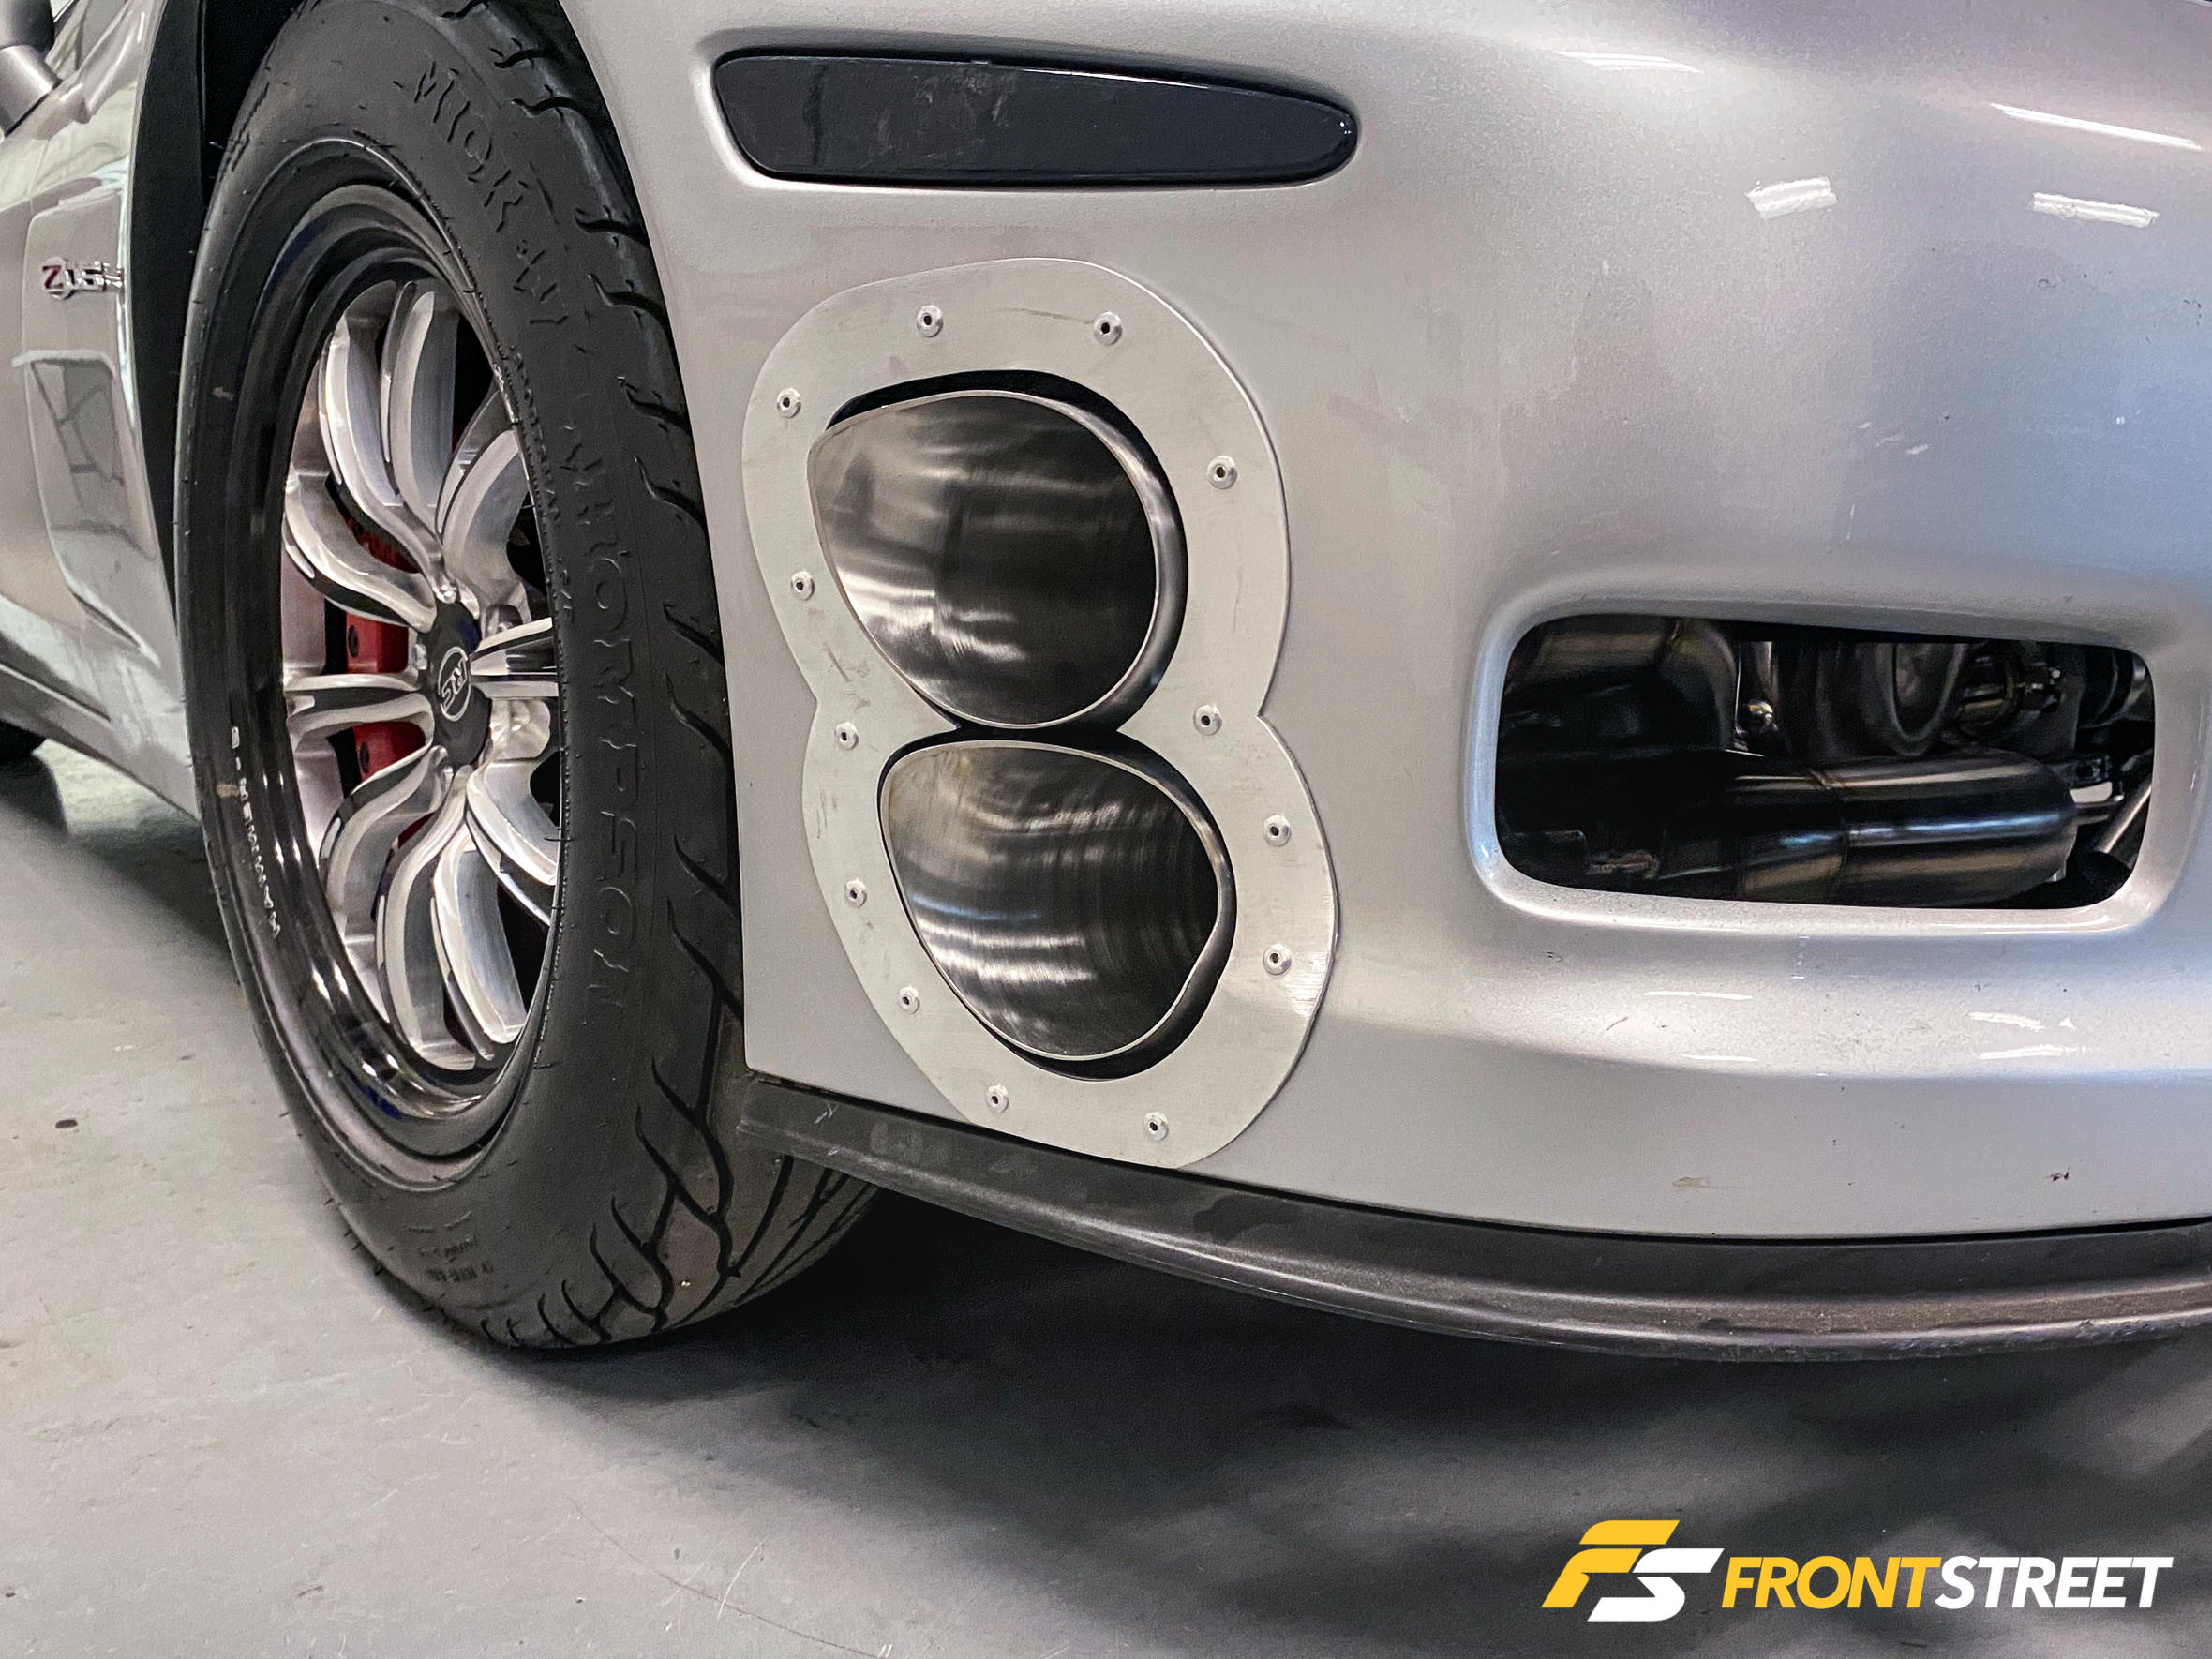
“I actually have a whole day into those exhaust tips and the trim ring. I made that trim ring by hand. The tip was pretty much made by cutting a little bit, then fit it. Cut a bit, and fit it. I cut a hole through the bumper first, made the teardrop fit in where I wanted it to sit, and marked it out from the shape of the bumper,” says Schmuck.
“Most people would have slash cut it and left it at that. I thought about how I can transition this so that it matches the contour of the bumper at the bottom.”
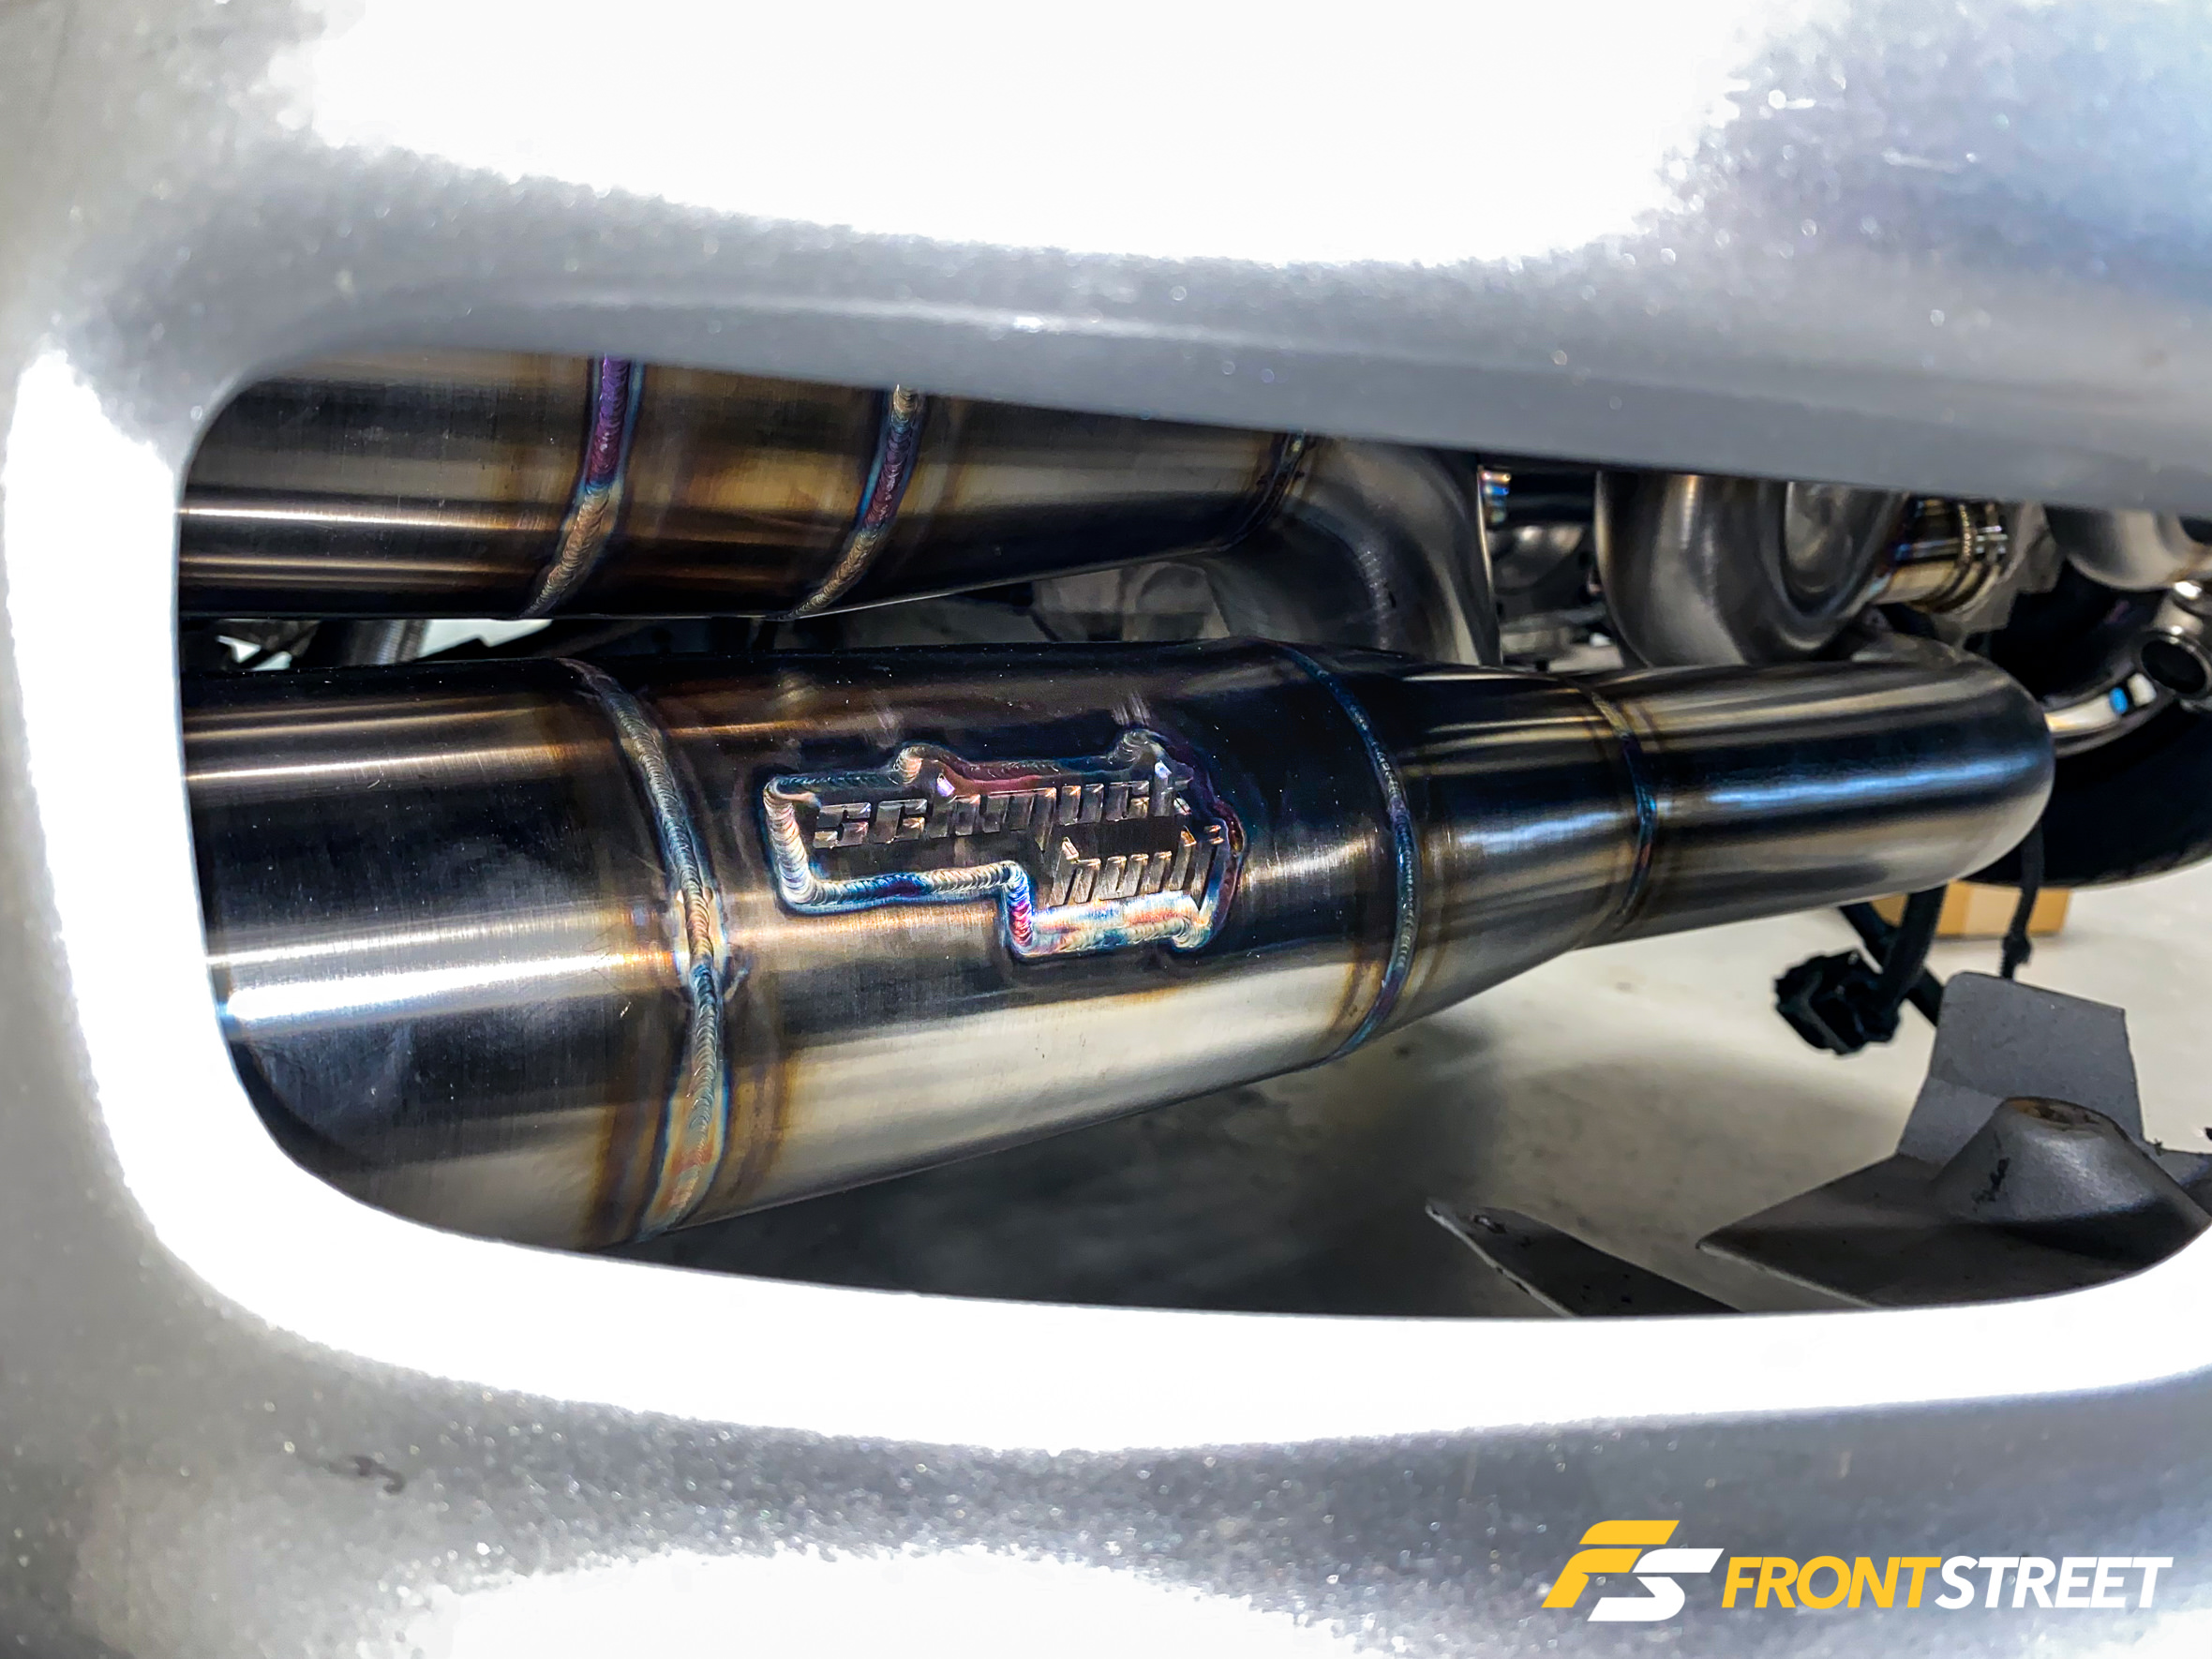
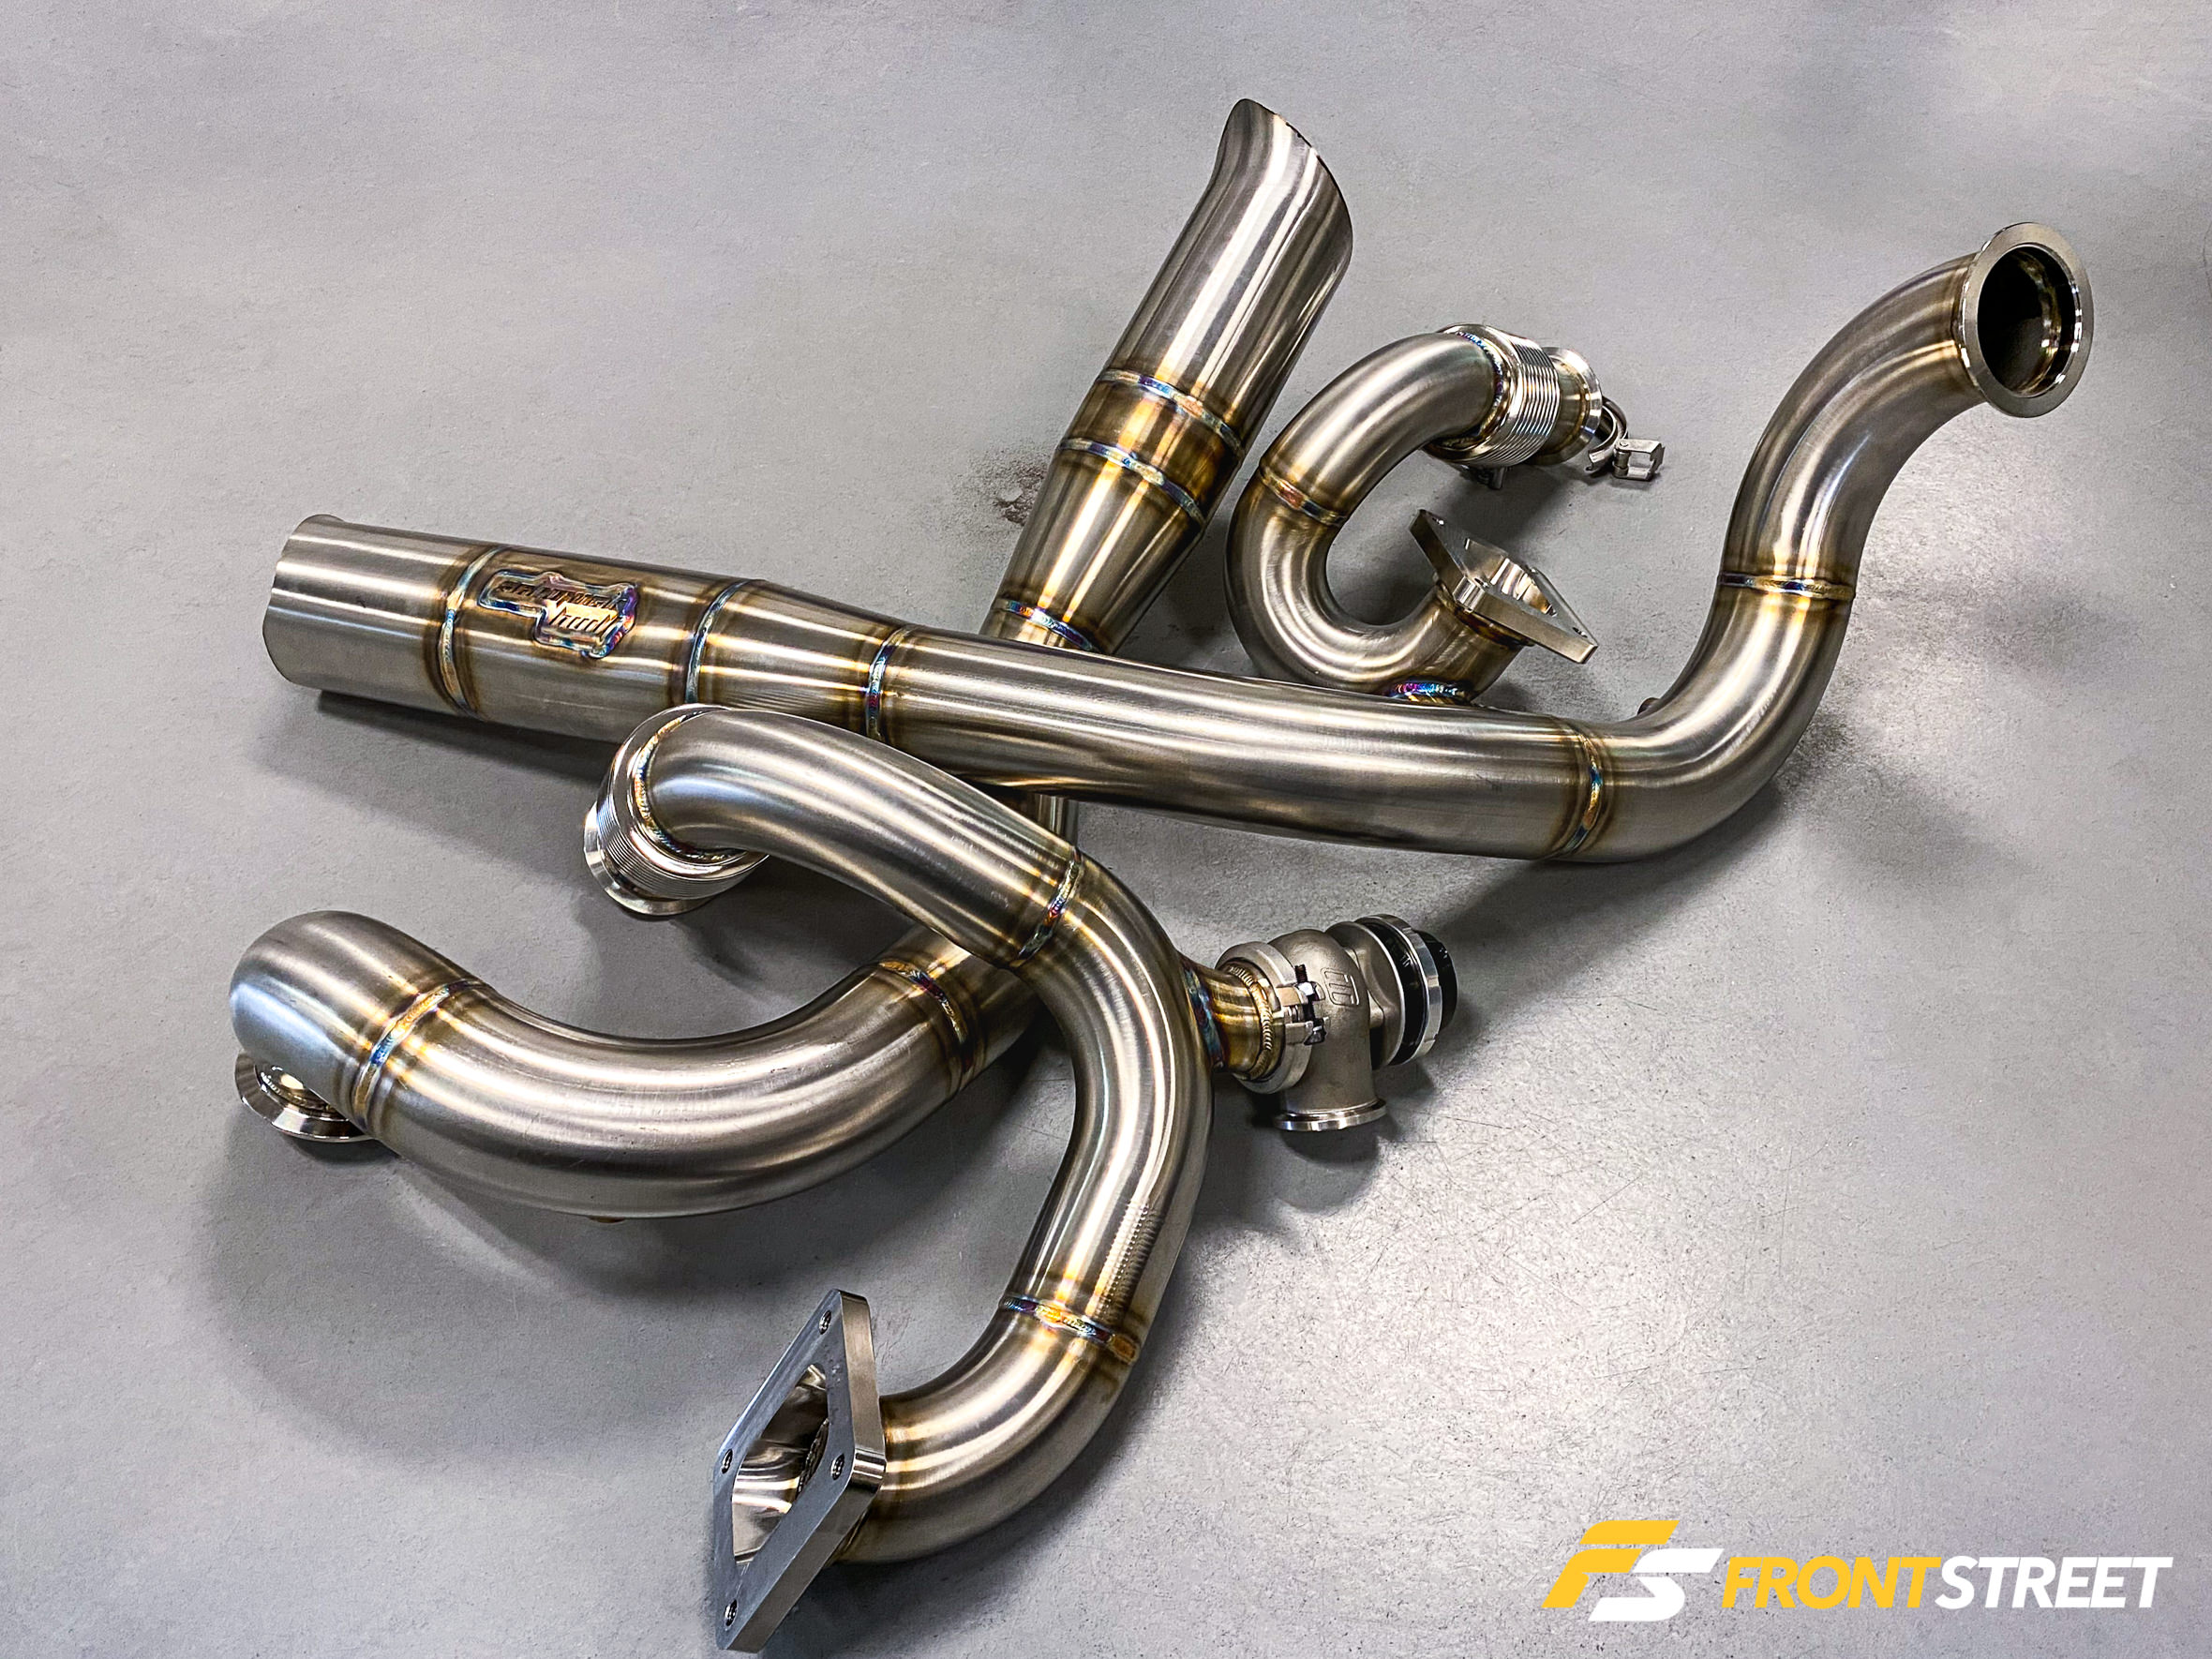
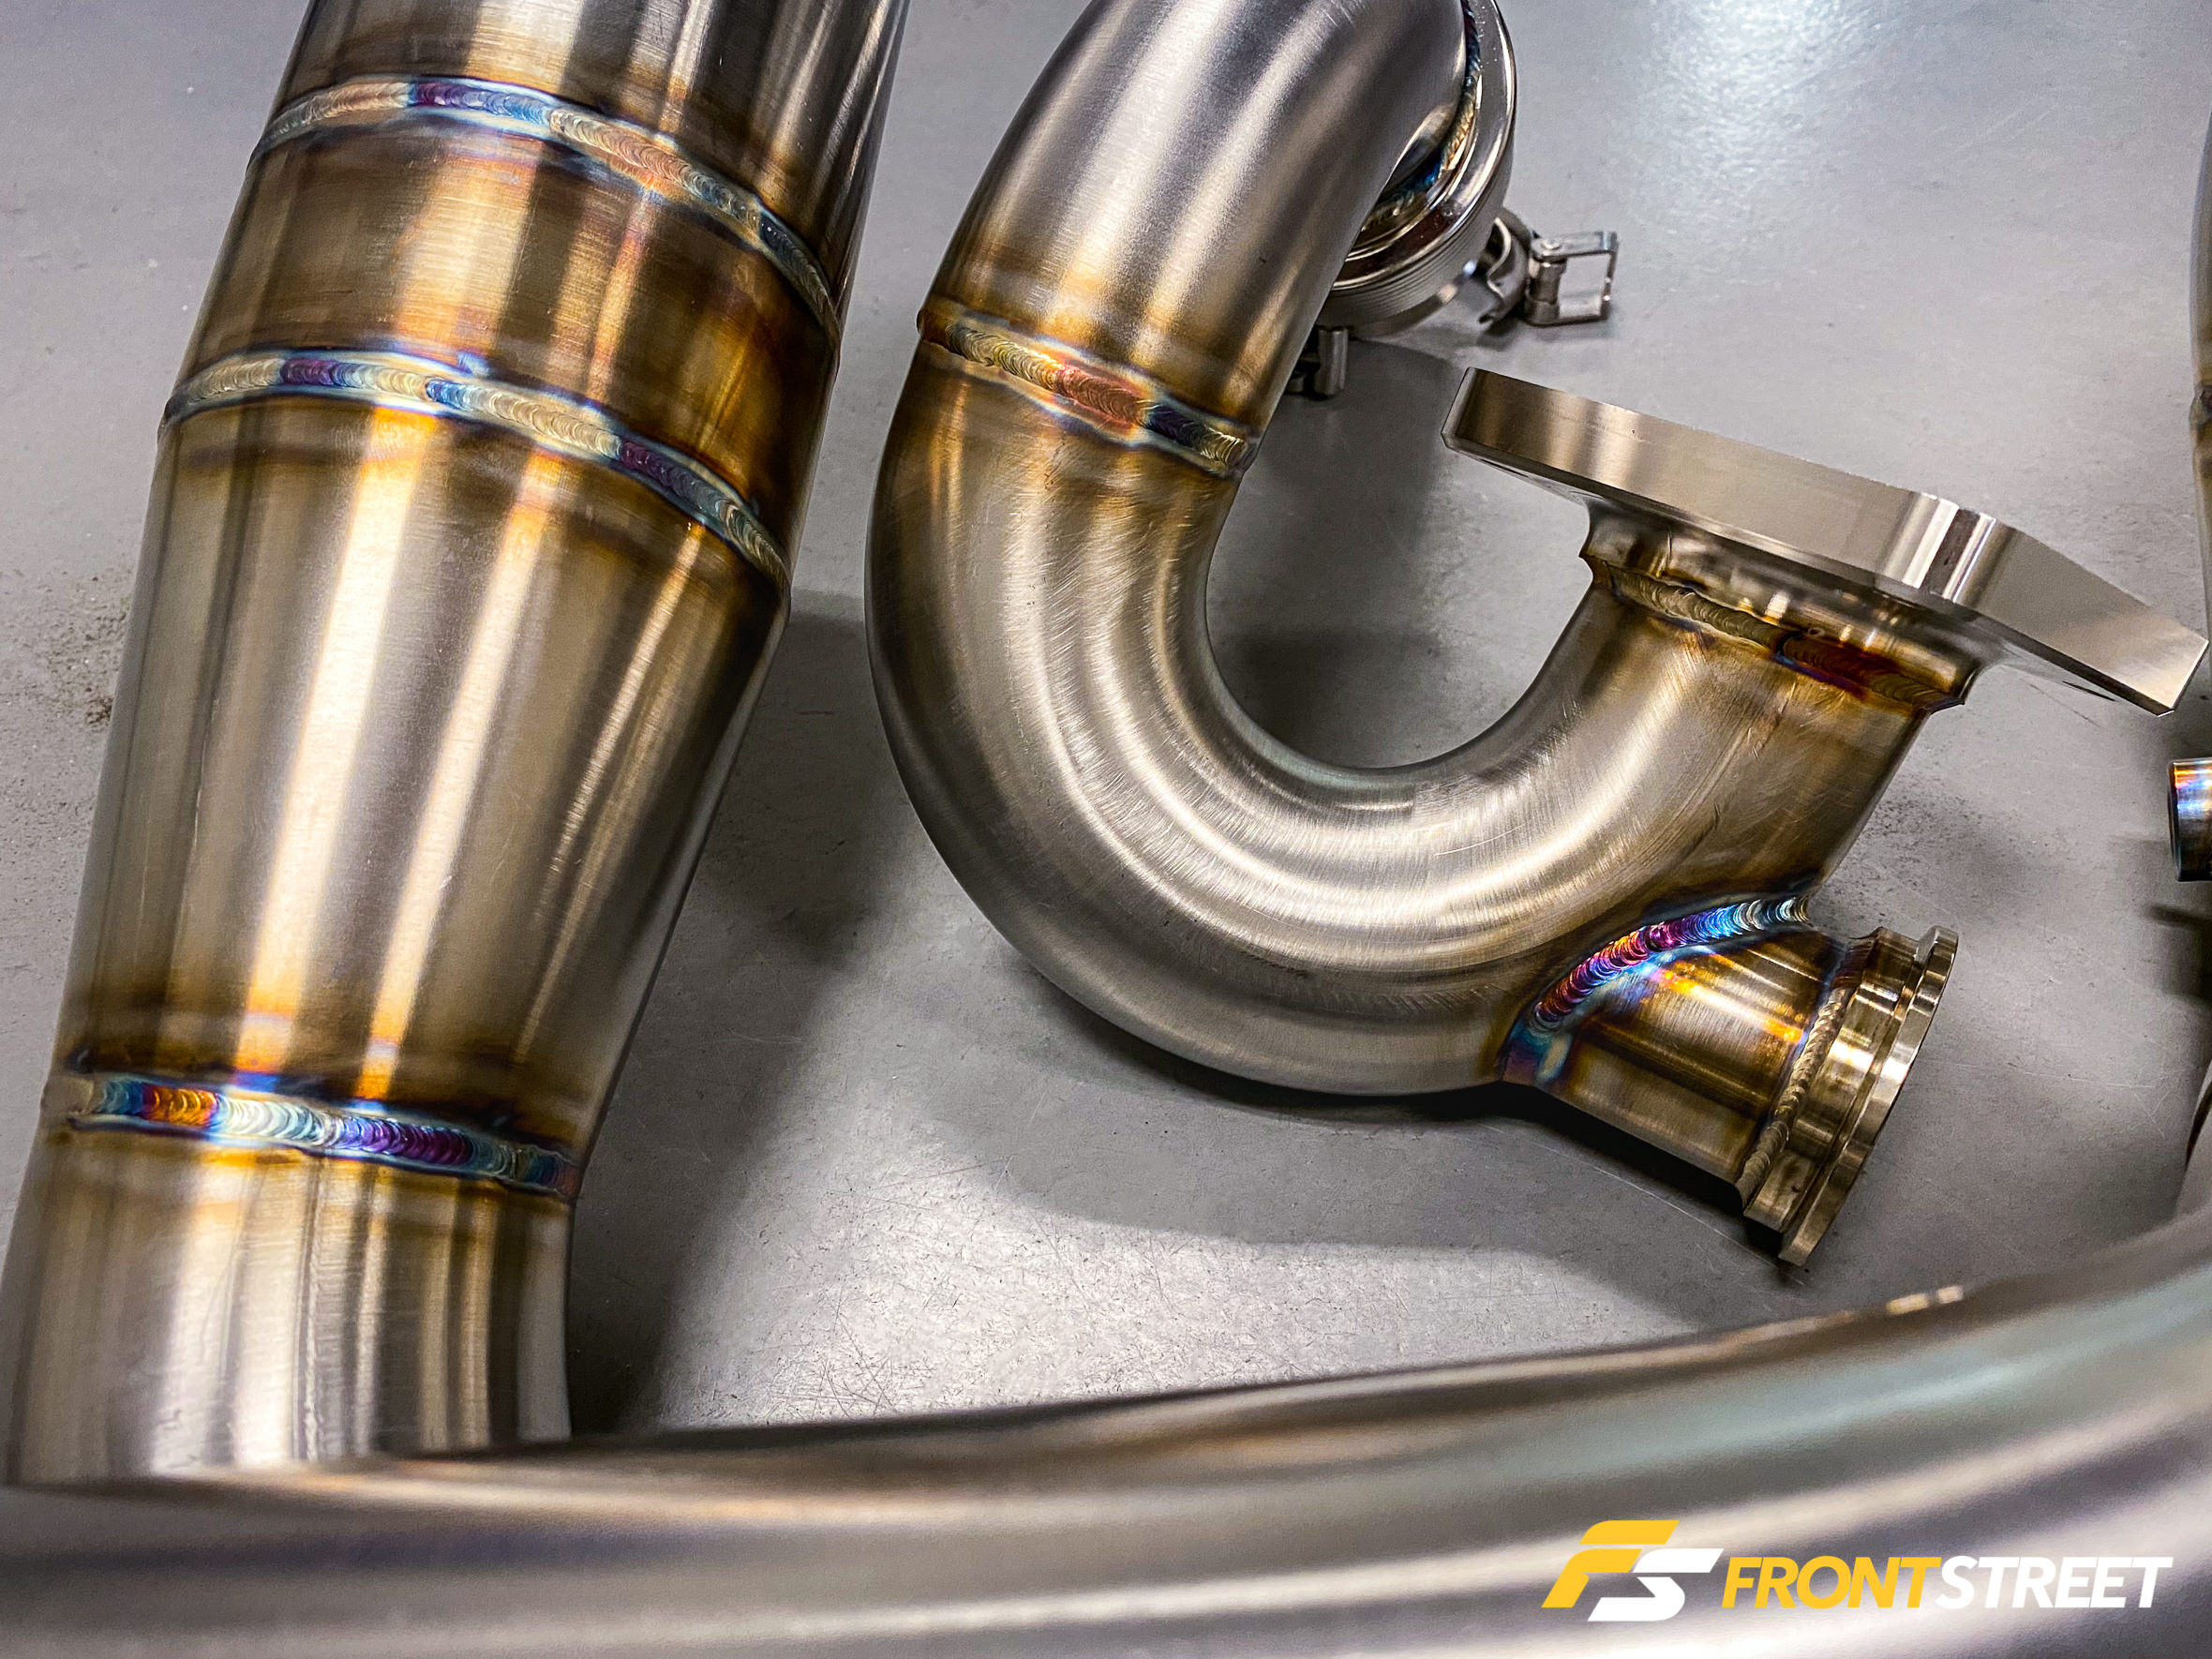
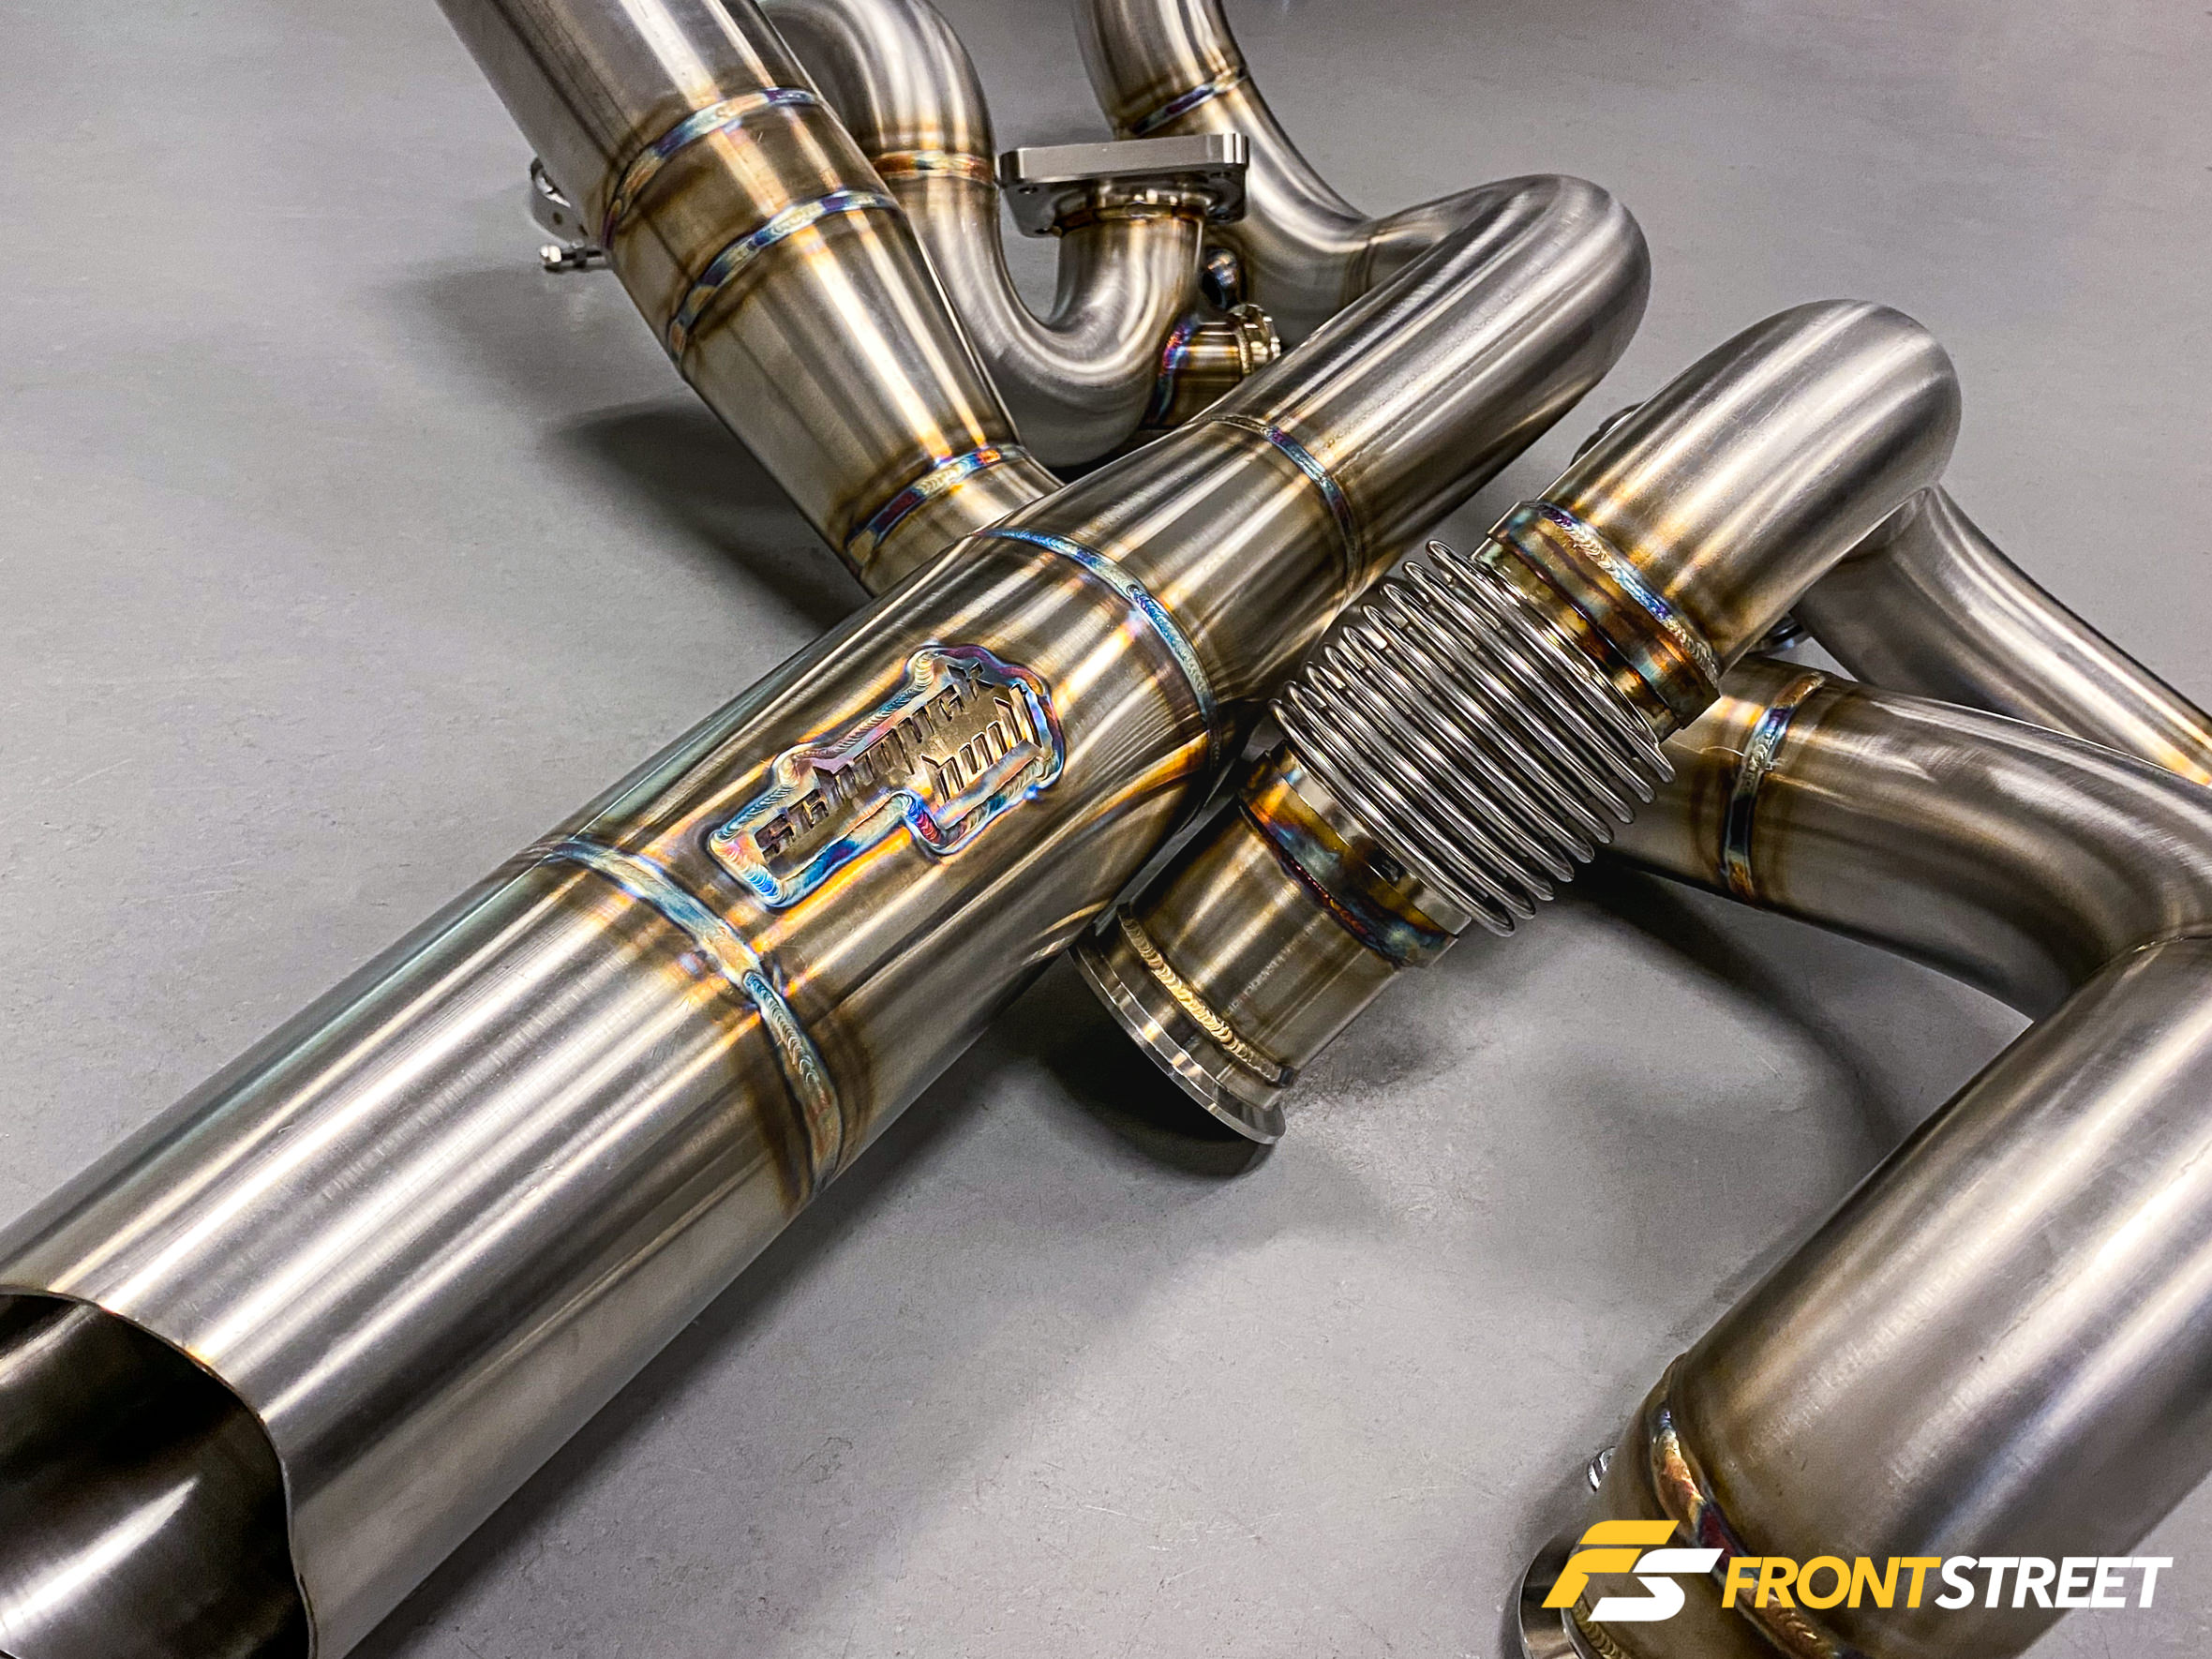
With the completed piping laid out and finished with the industry-standard for high-horsepower boost control—a pair of Turbosmart Hypergate 45 wastegates—we wondered how on Earth he could map out the route of so many large diameter tubes in such a small area? It’s something he admits is not without its frustrations, but he always figures out a way to keep them organized, easy to install, and efficient.
“The hardest part was figuring it out in my head first so that I didn’t screw myself later. If you look, there’s so much crossing in there. I had to plan out the intermediate pipes on the passenger side to make sure that I left room for the downpipes to come through because everything has to criss-cross. Then you also throw in wastegate placement, especially on the passenger side, to avoid either of the downpipes going across and out that side. The passenger-side wastegate was the last thing I put in. I wanted to get everything in around it and then put that in last just to make sure that it fit,” he explains.
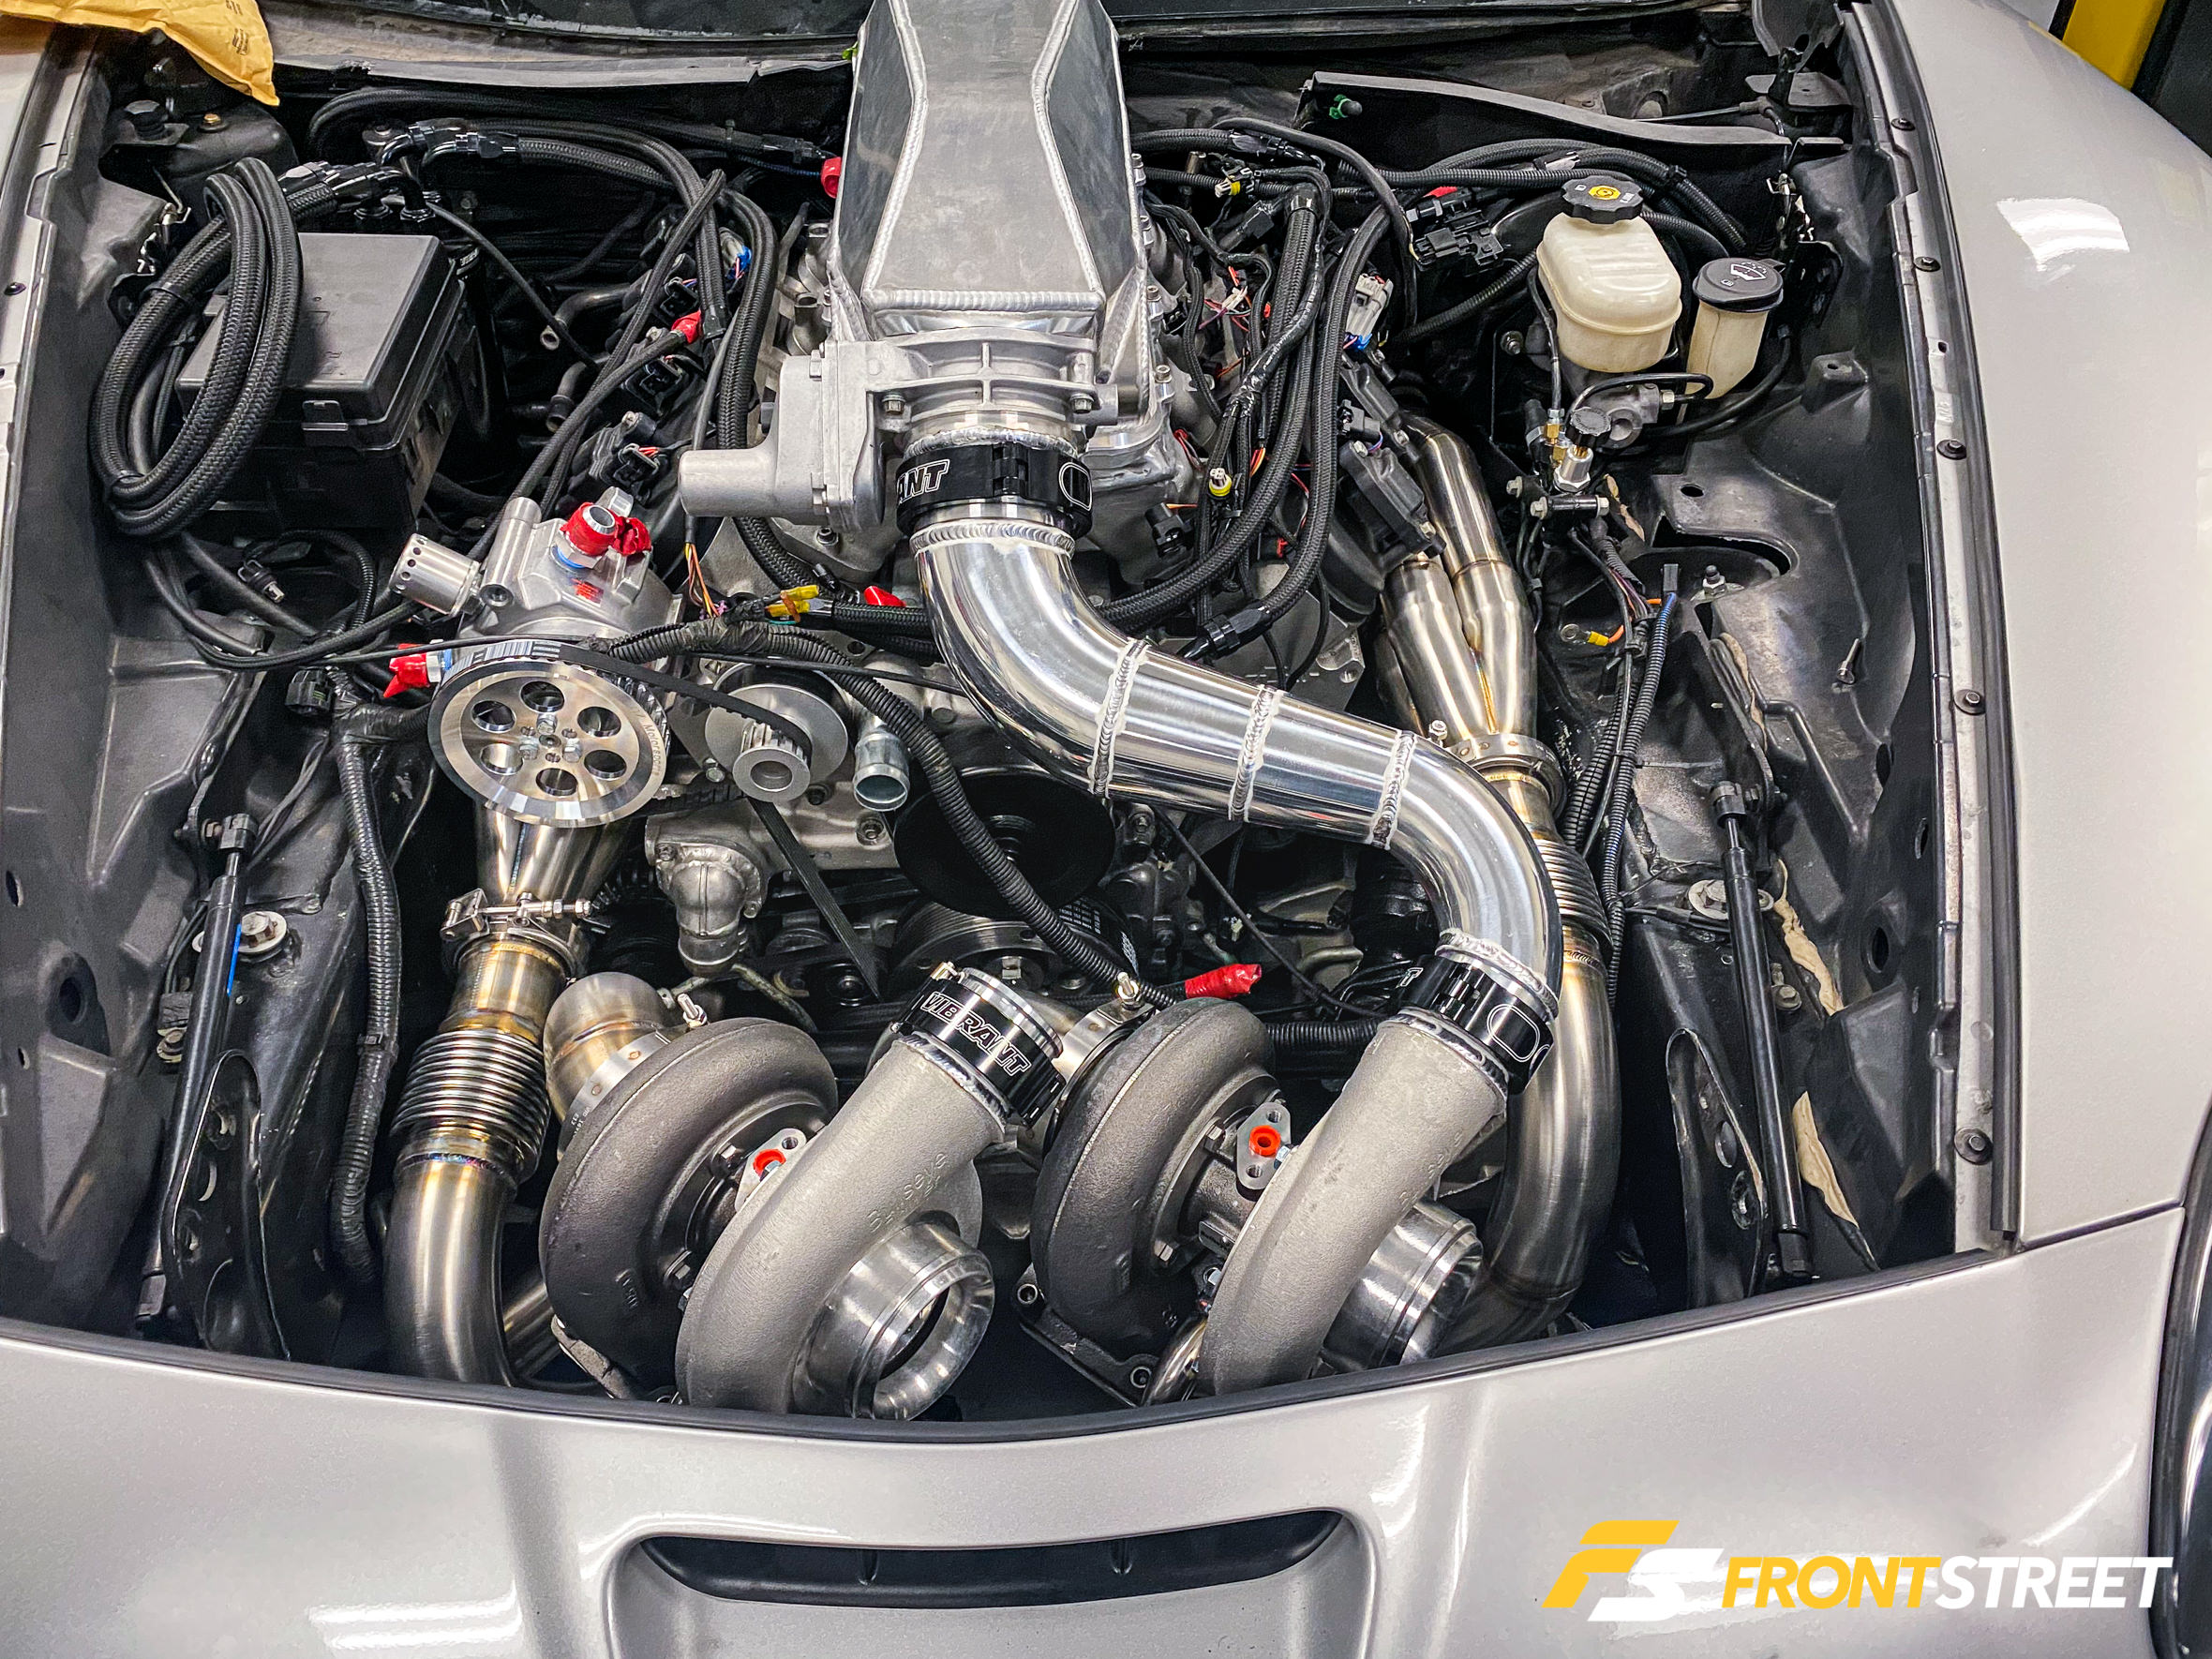
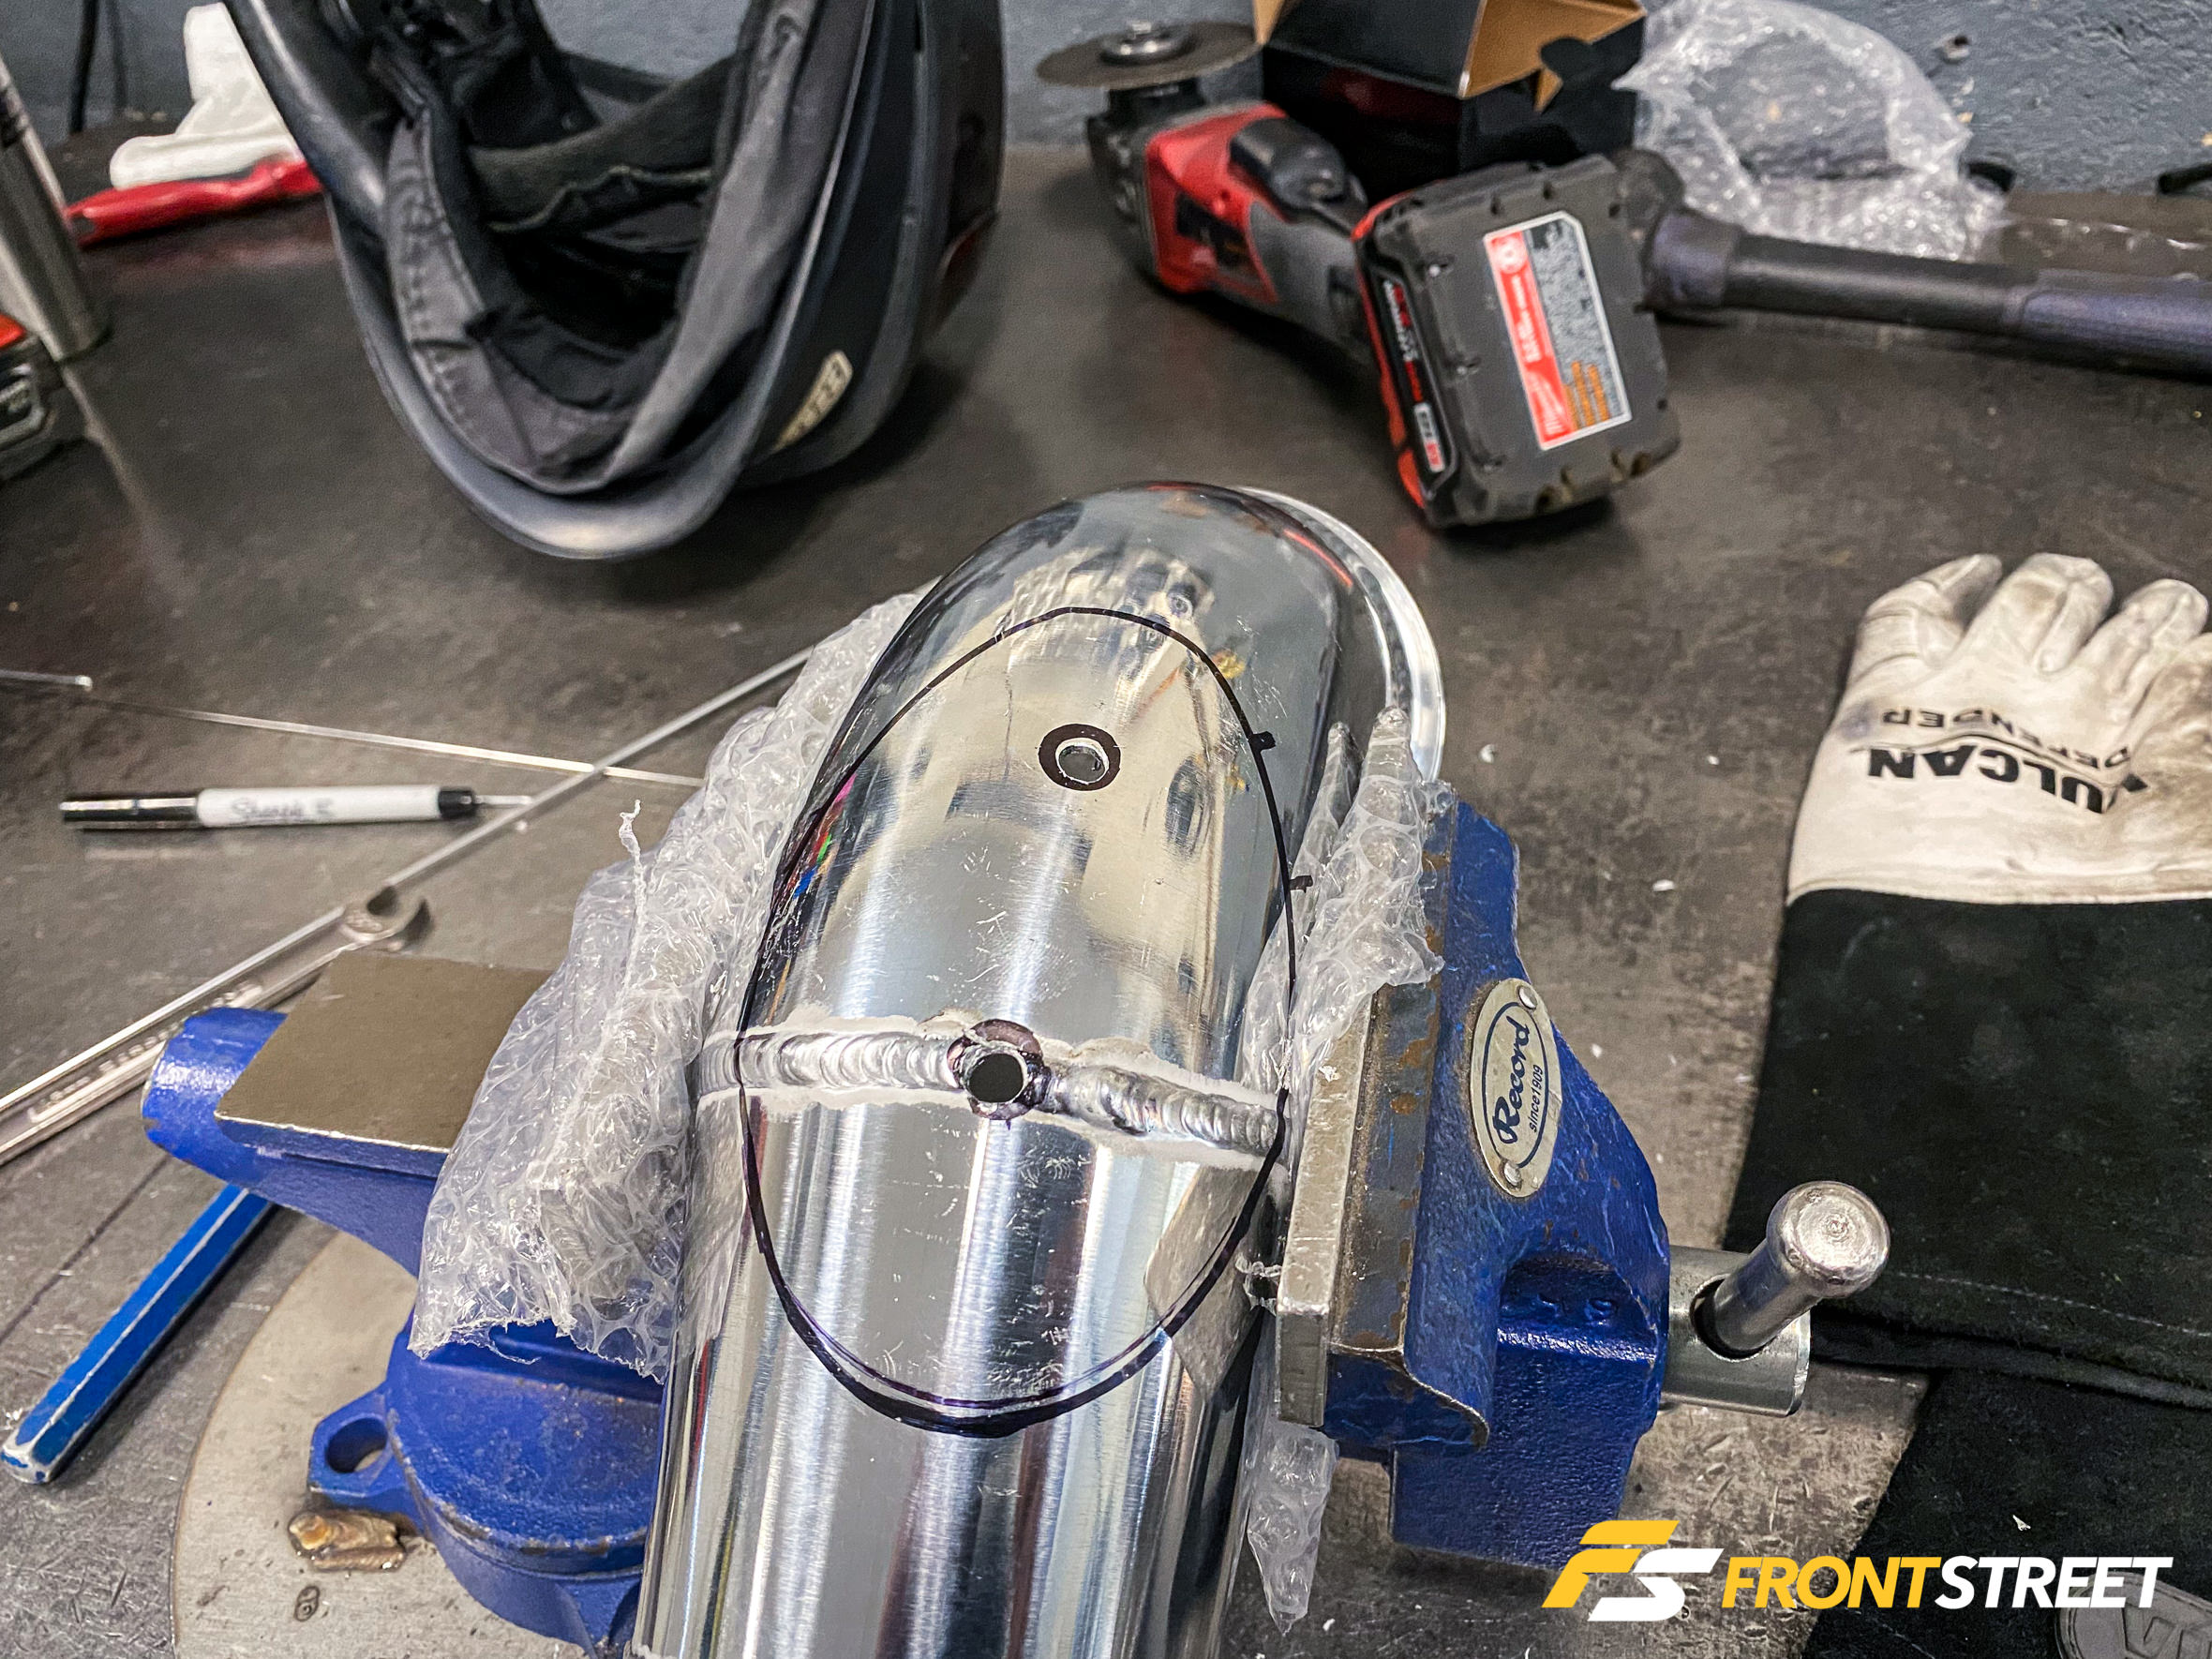
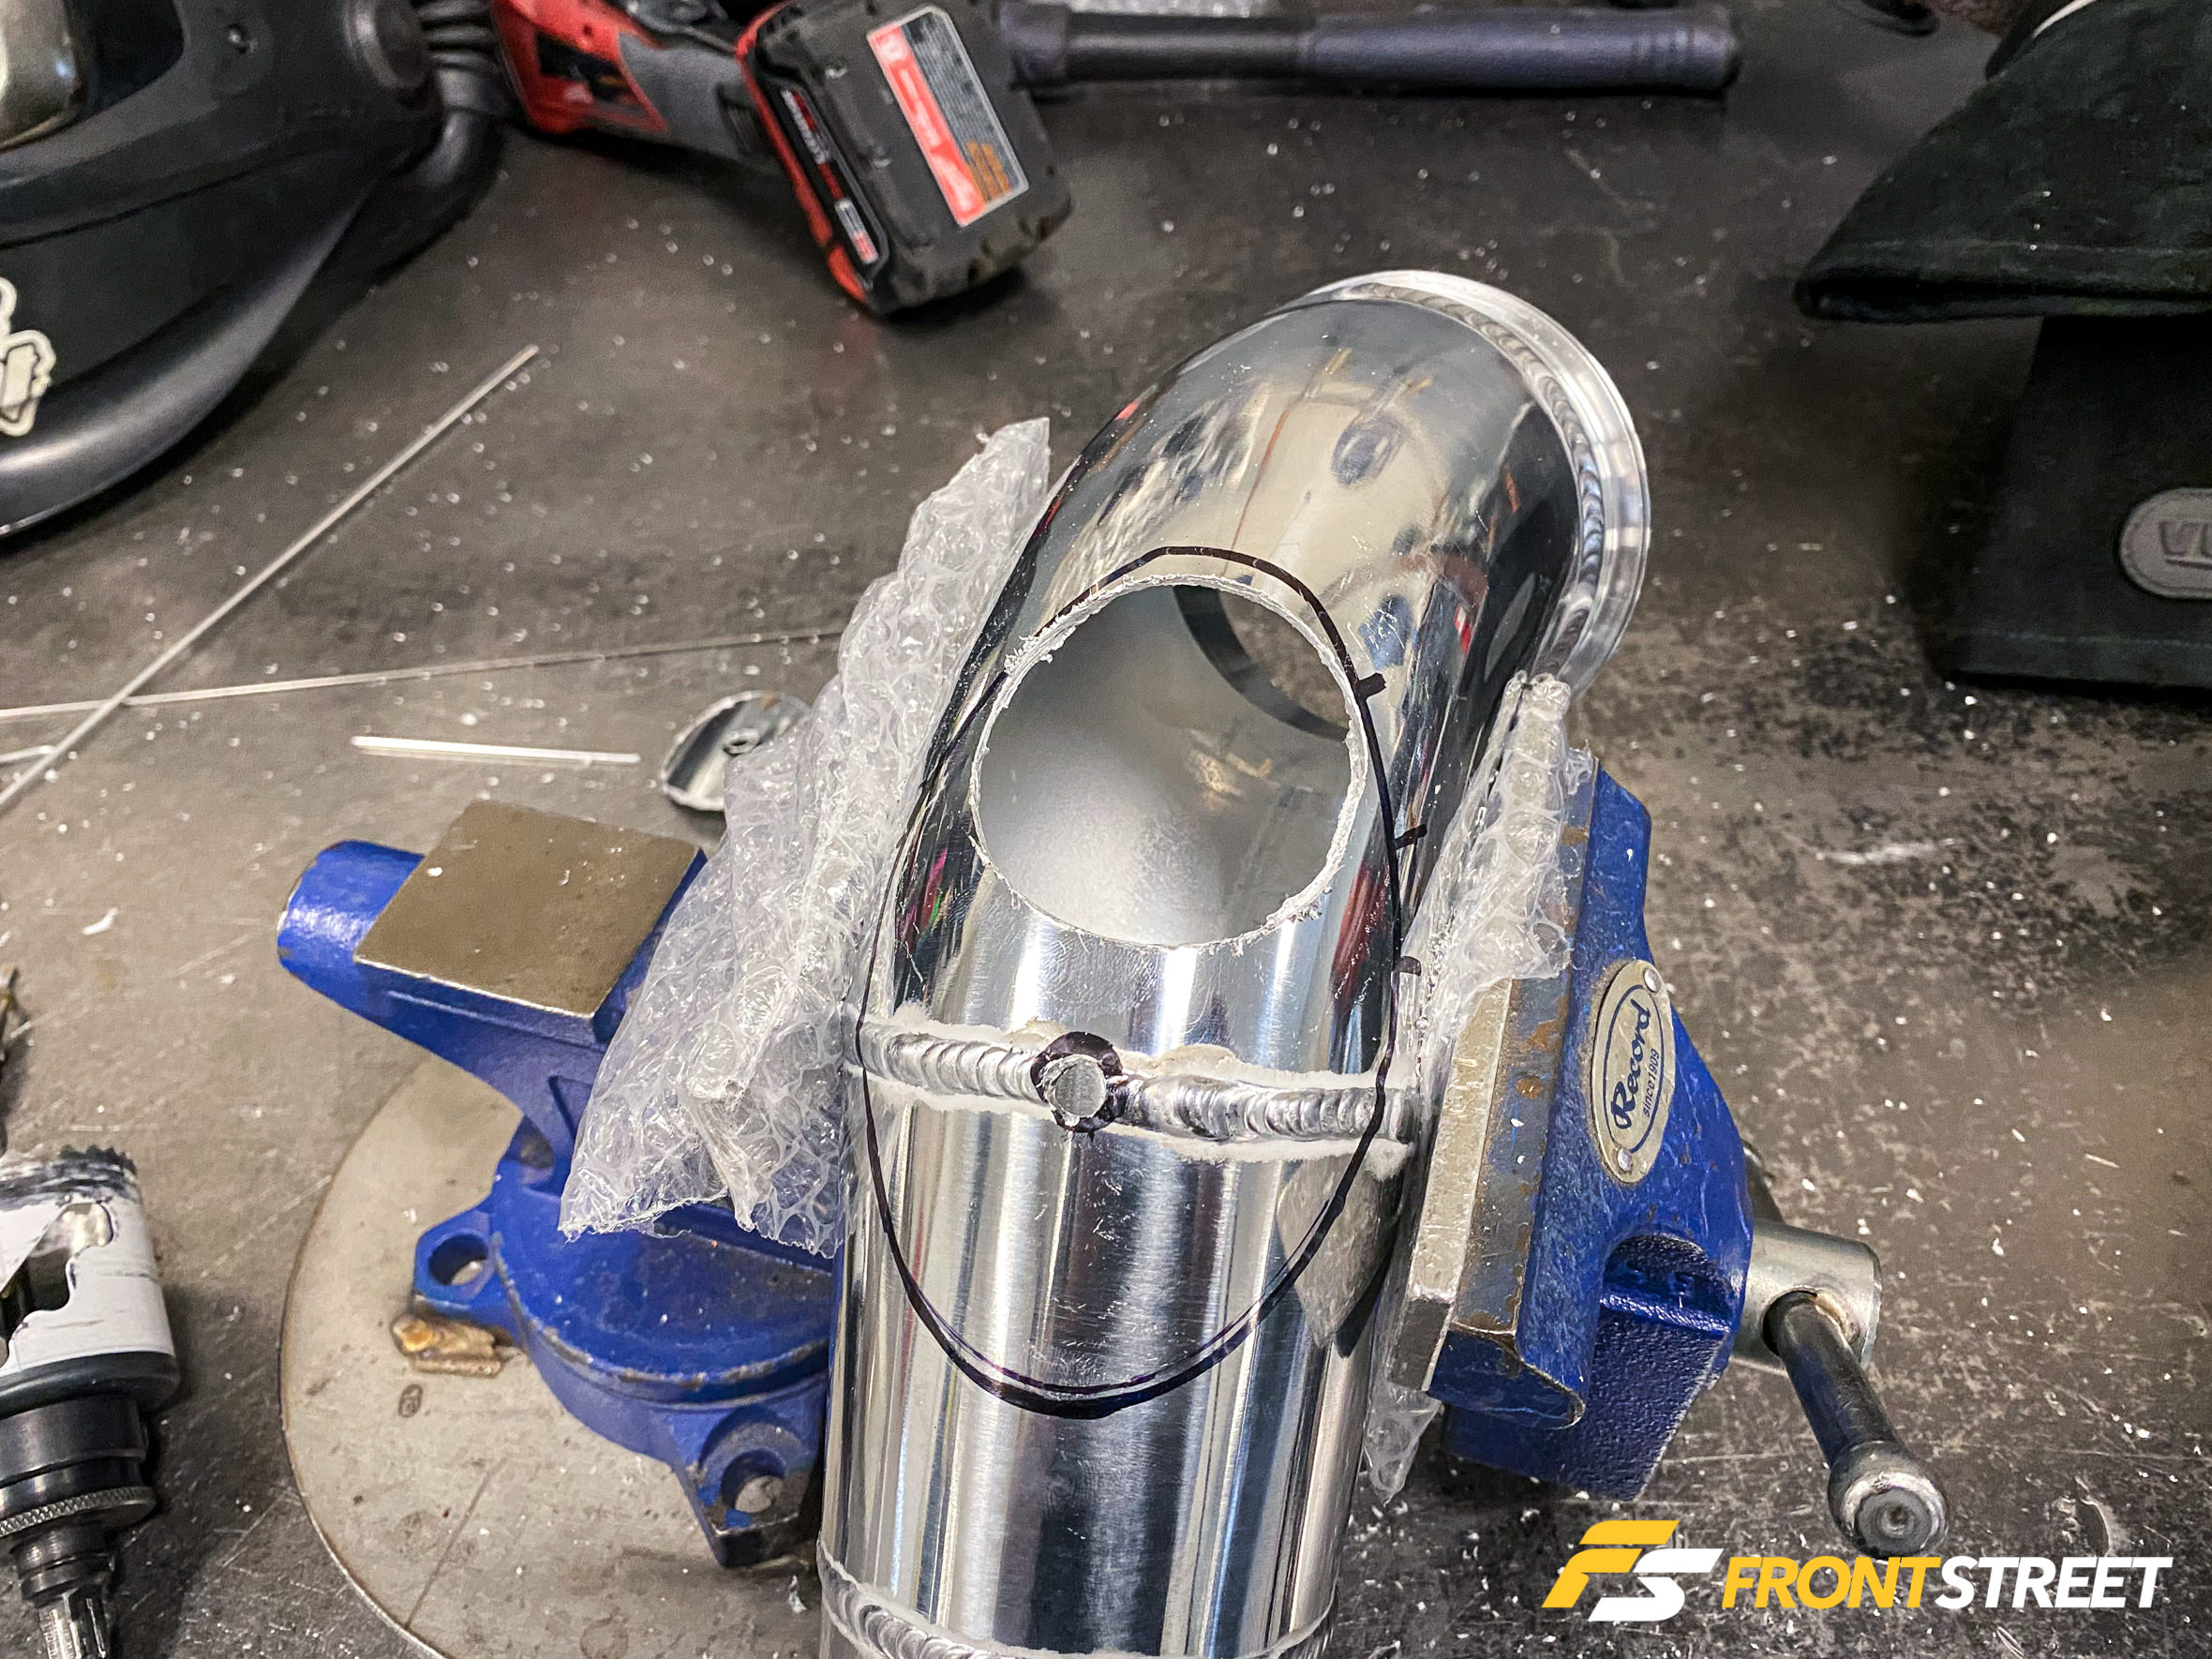
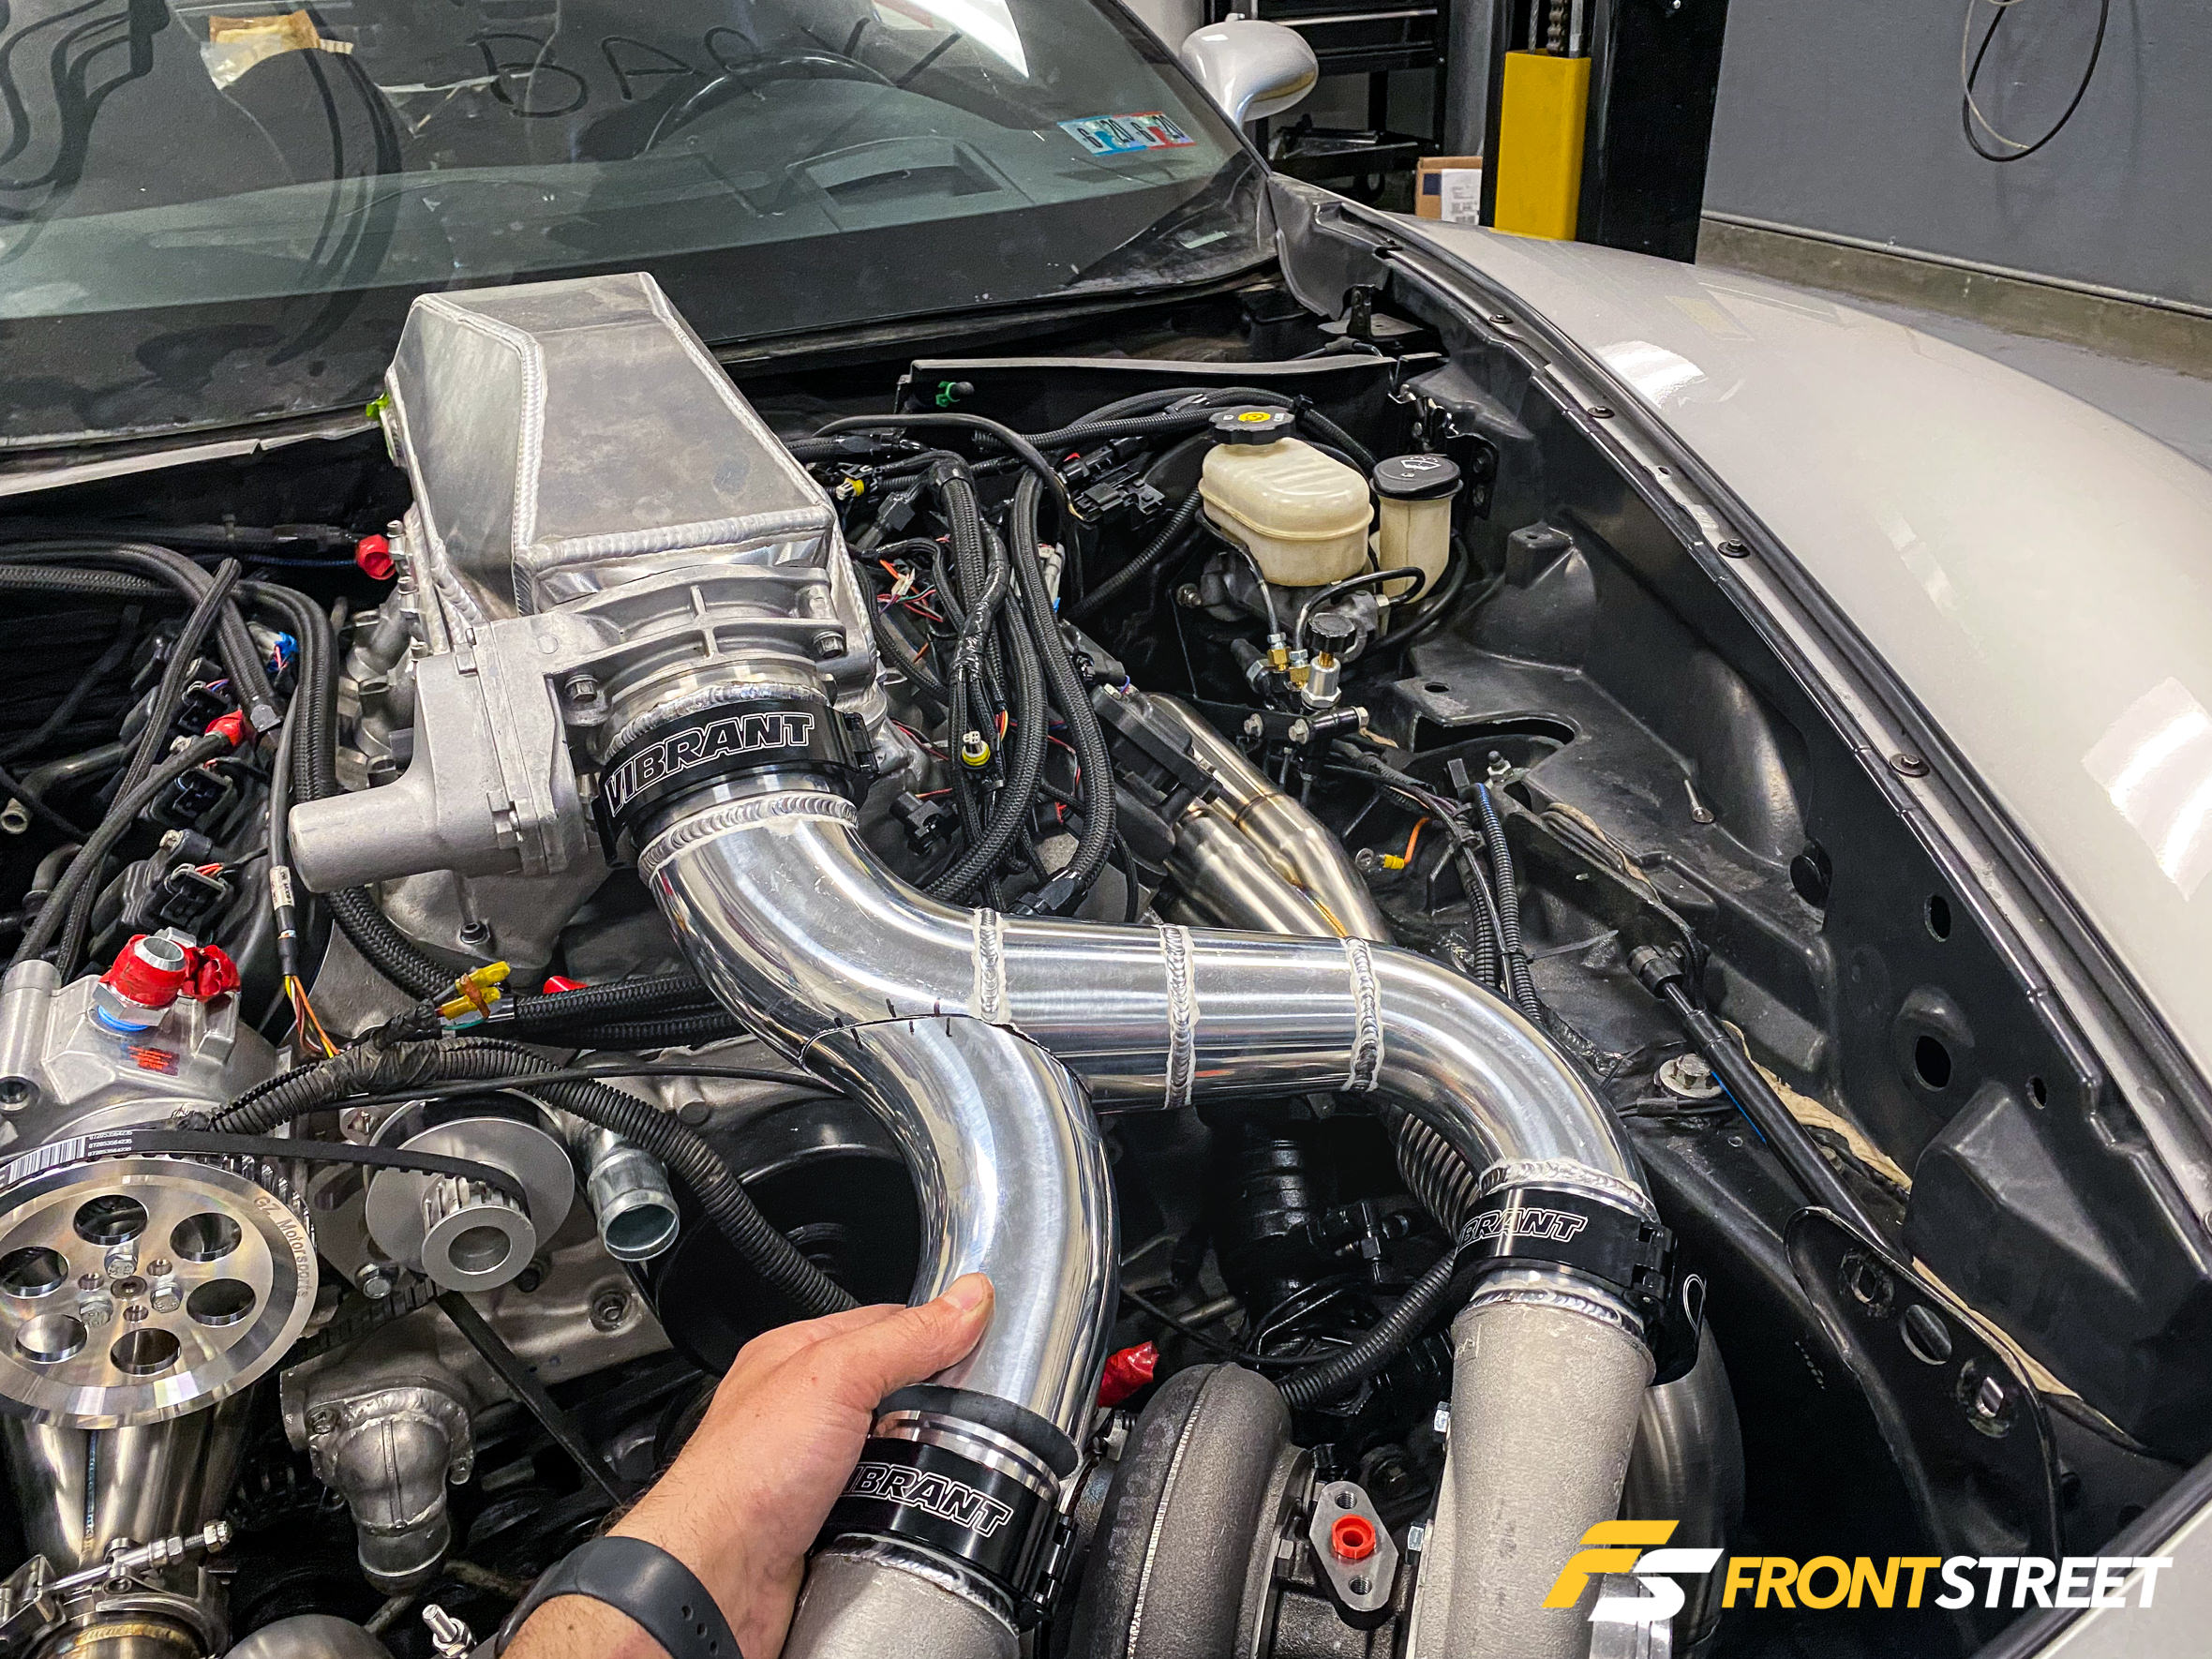
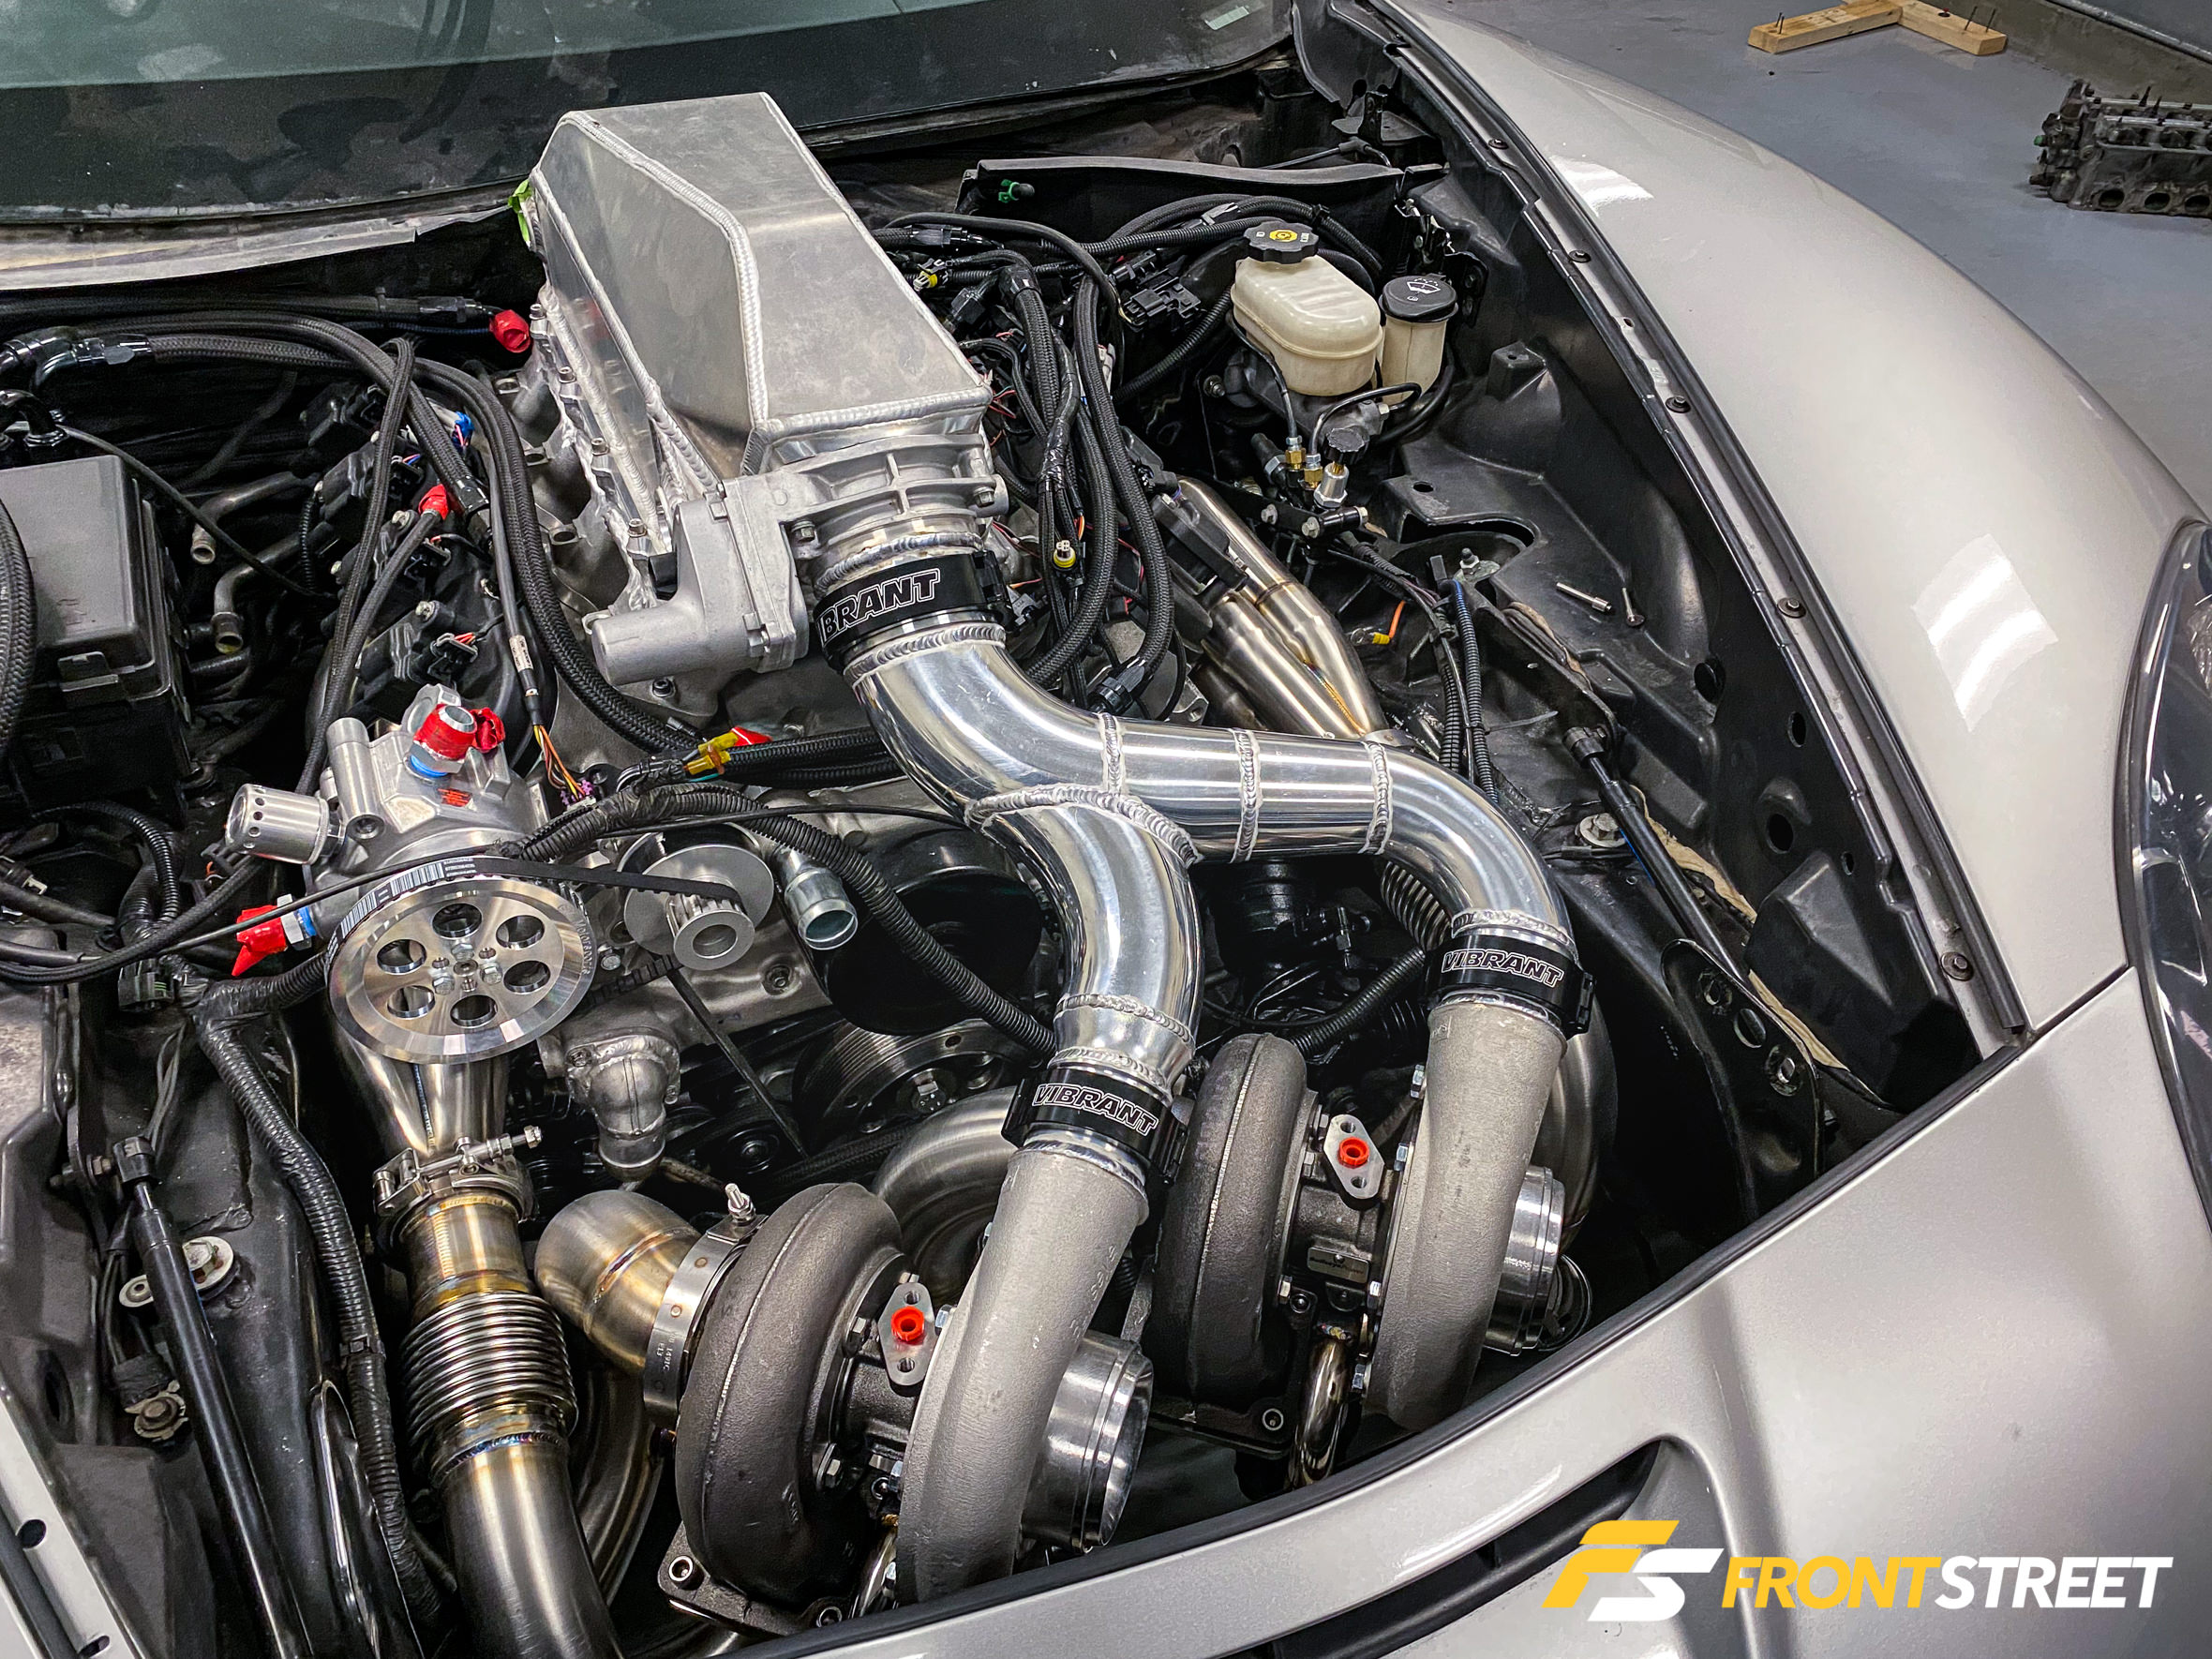
The innovative aluminum intake solution, although its construction came last, was one of Schmuck’s first ideas to complement the unique turbocharger orientation.
“I wanted to merge them on a sweeping angle. When I wanted to sit the turbos sideways, both facing toward the driver’s side, it was to get that intercooler pipe shape because I wanted something different,” says Schmuck.
It is undoubtedly unique, and the intricacy of its creation paid off in the end. The angle of the intake tubes merges to formulate an ideal mounting solution for more hardware from Turbosmart in the form of its PowerPort Blow-Off Valve. This piece is the largest and highest-flowing valve ever manufactured by the company and should suit the immense horsepower goals destined for this build quite well.
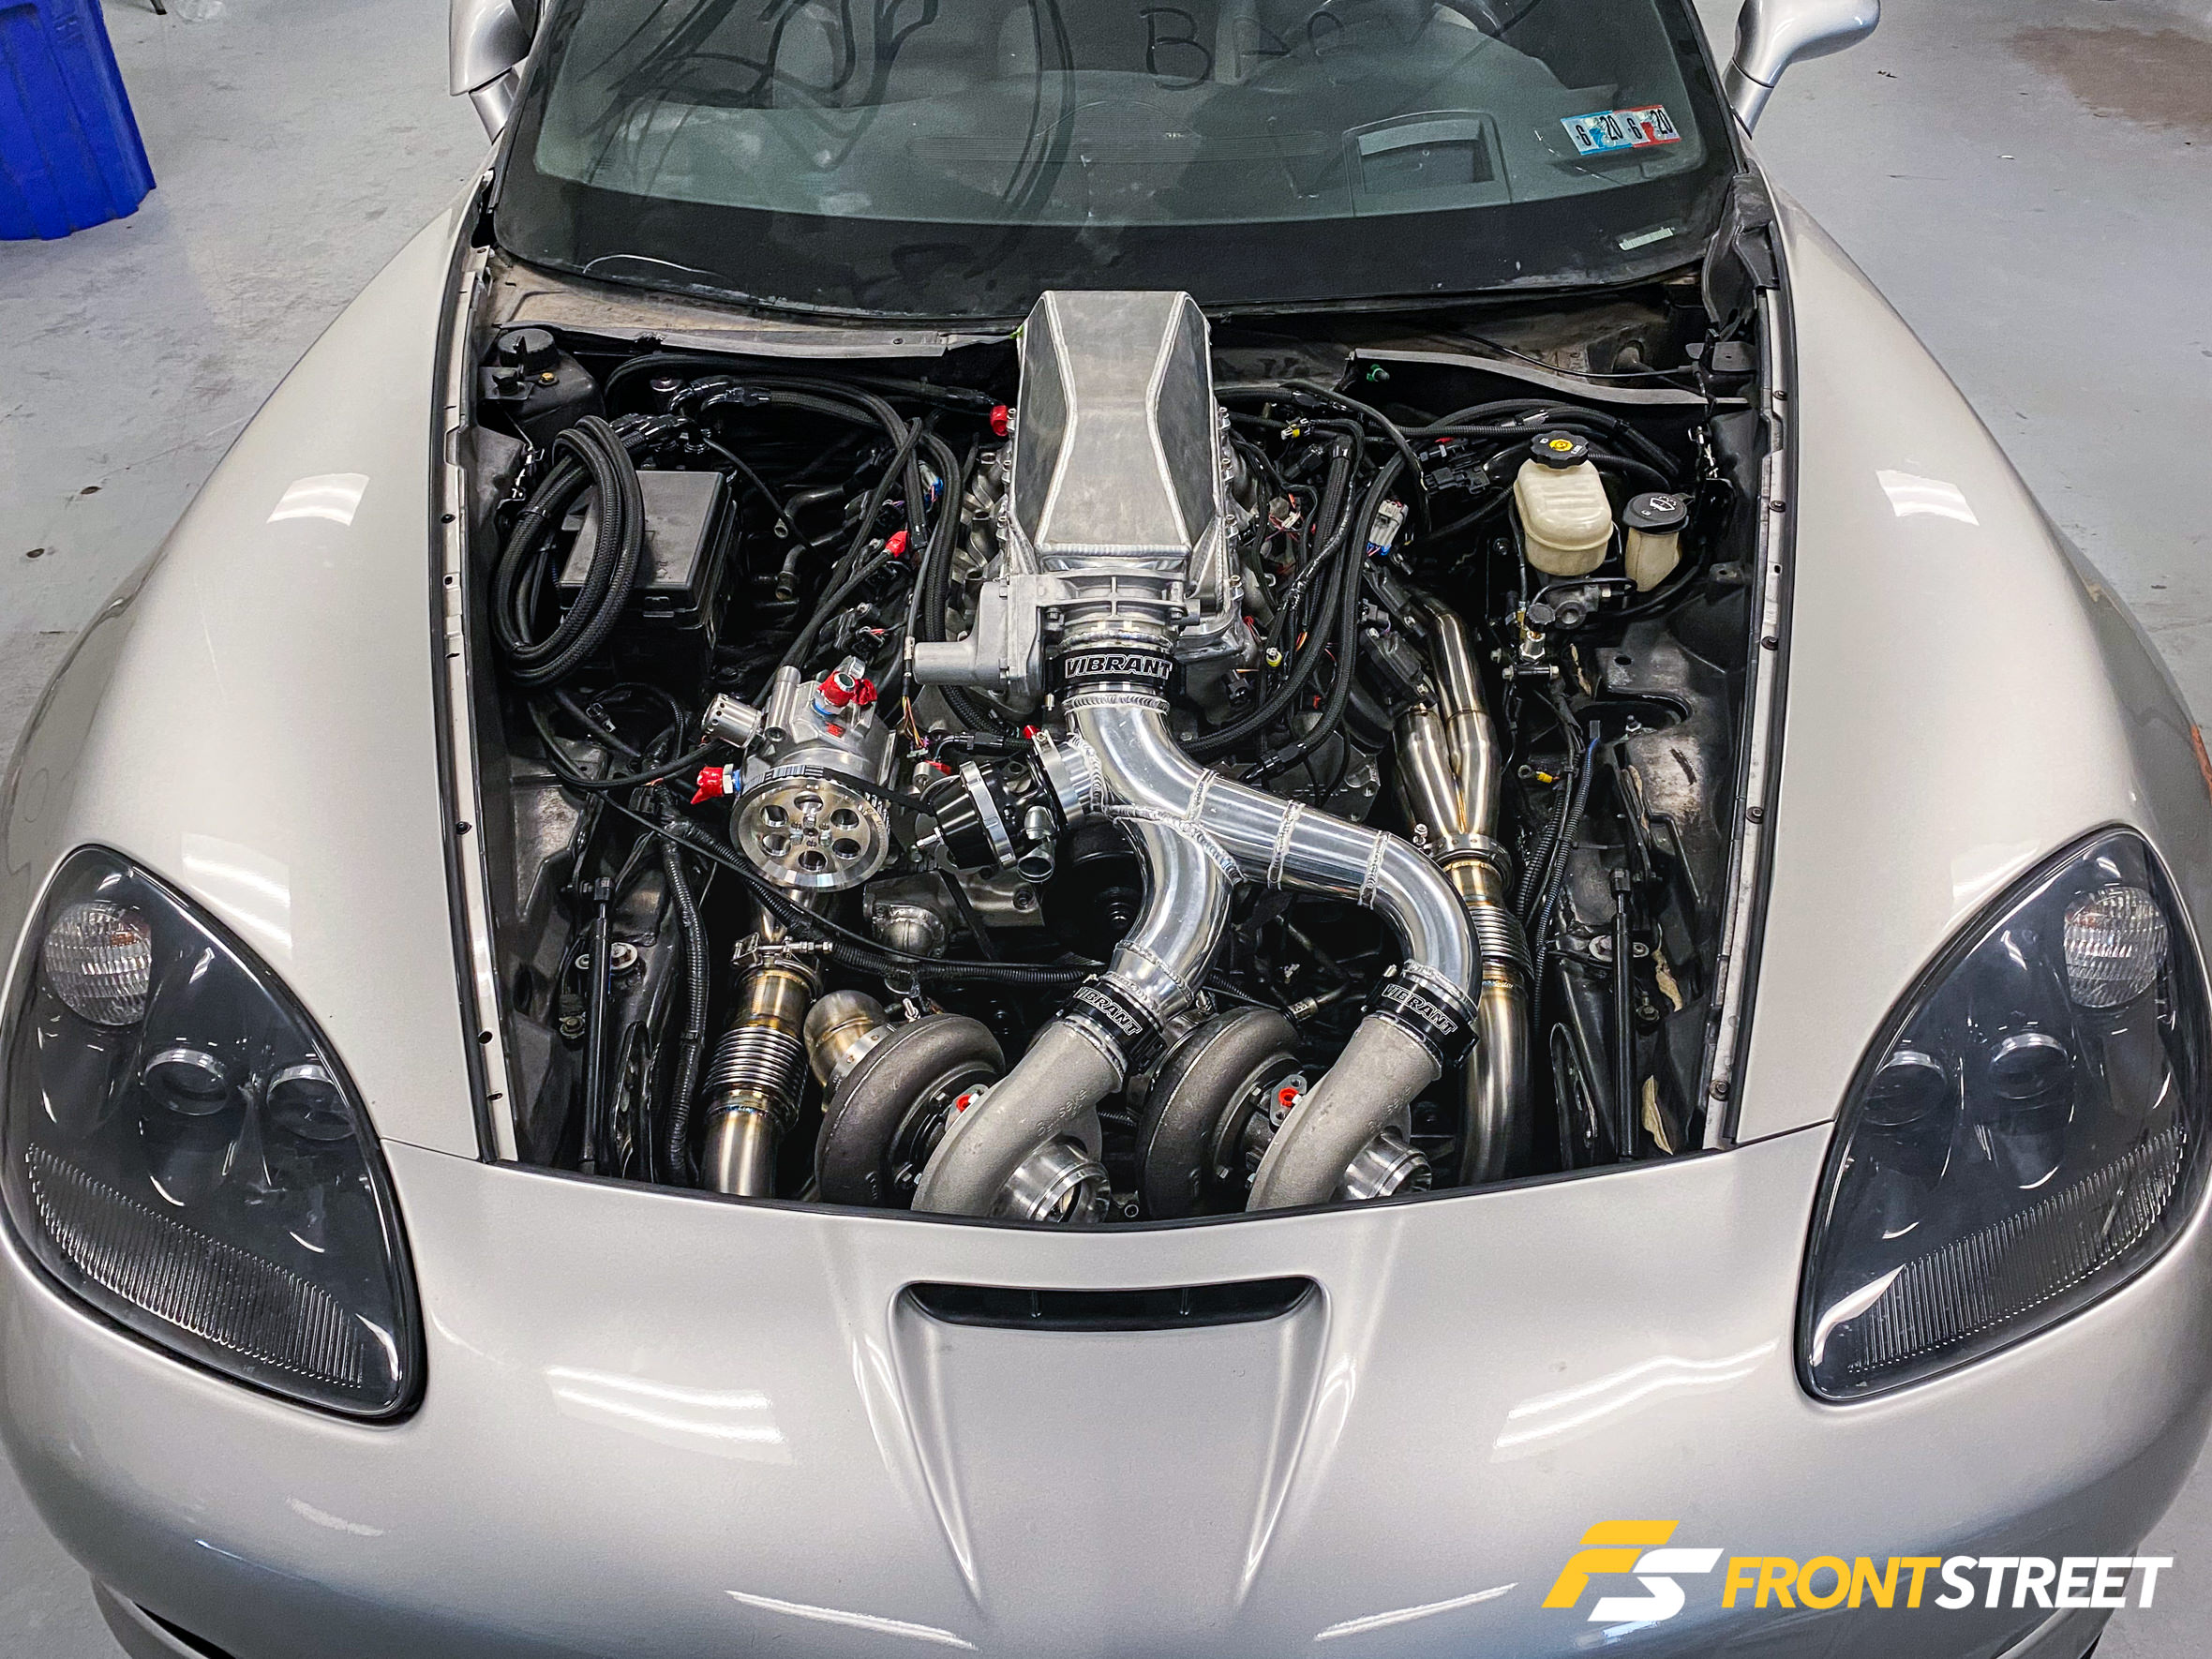
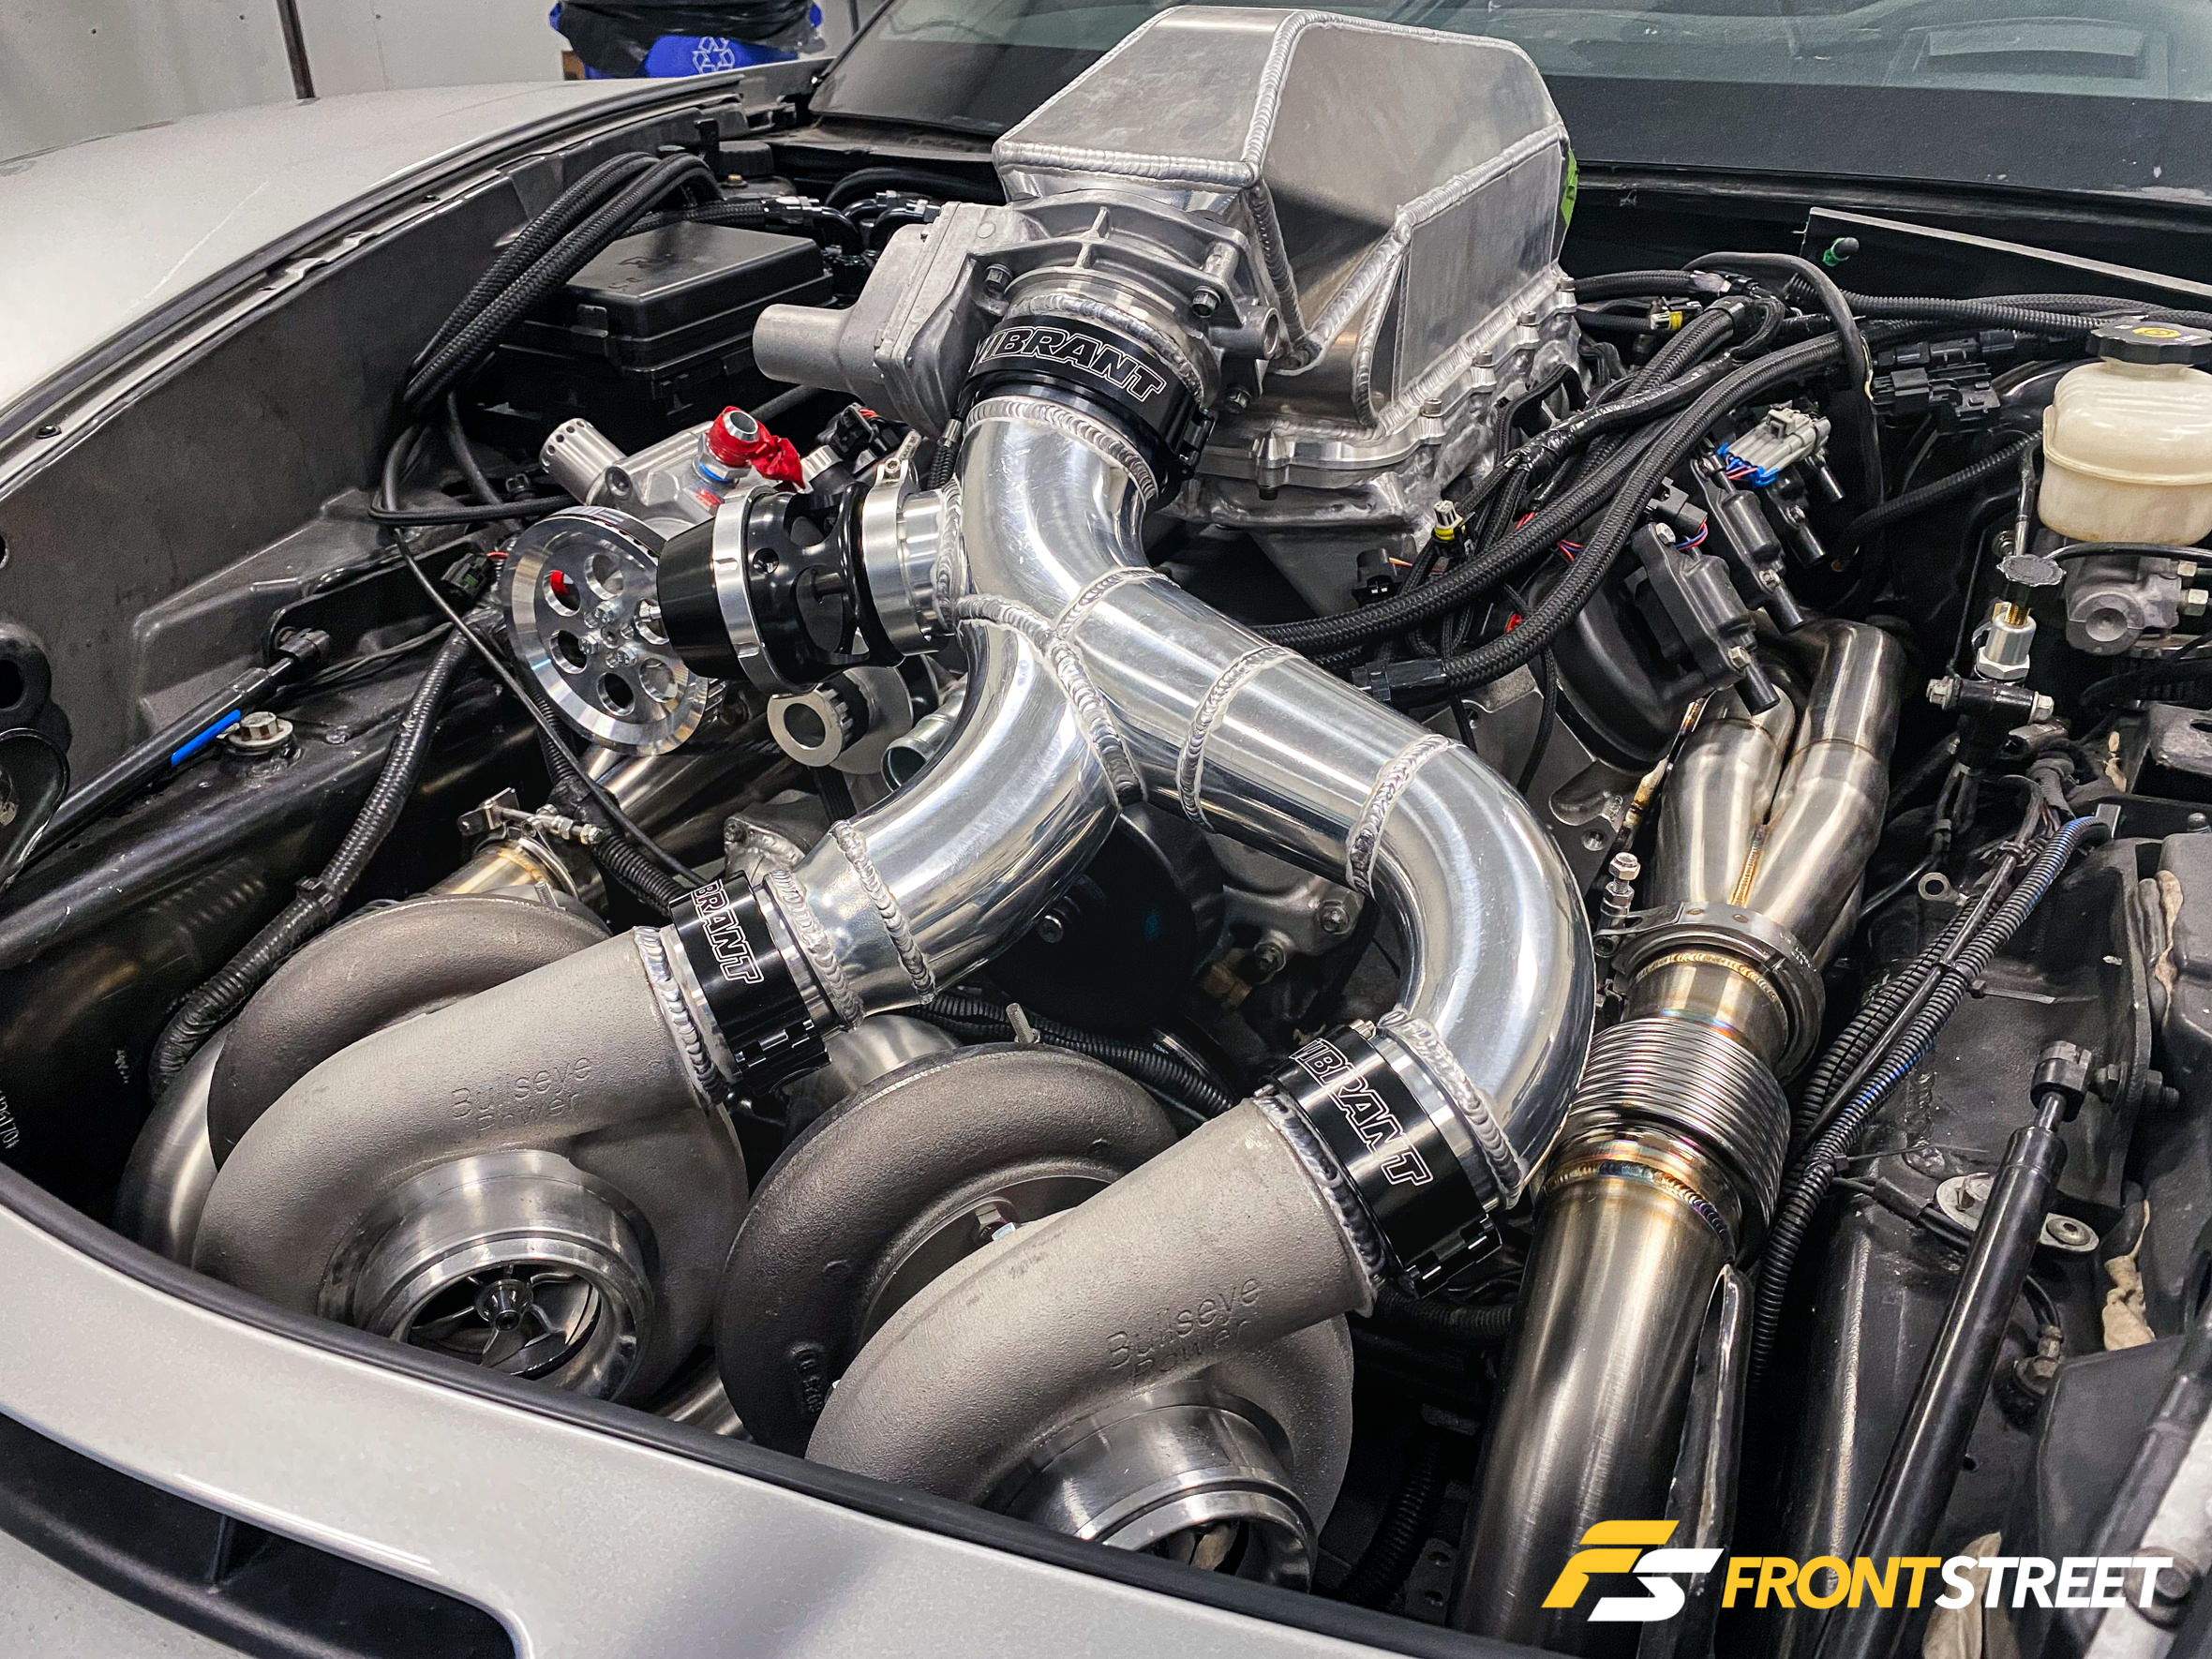
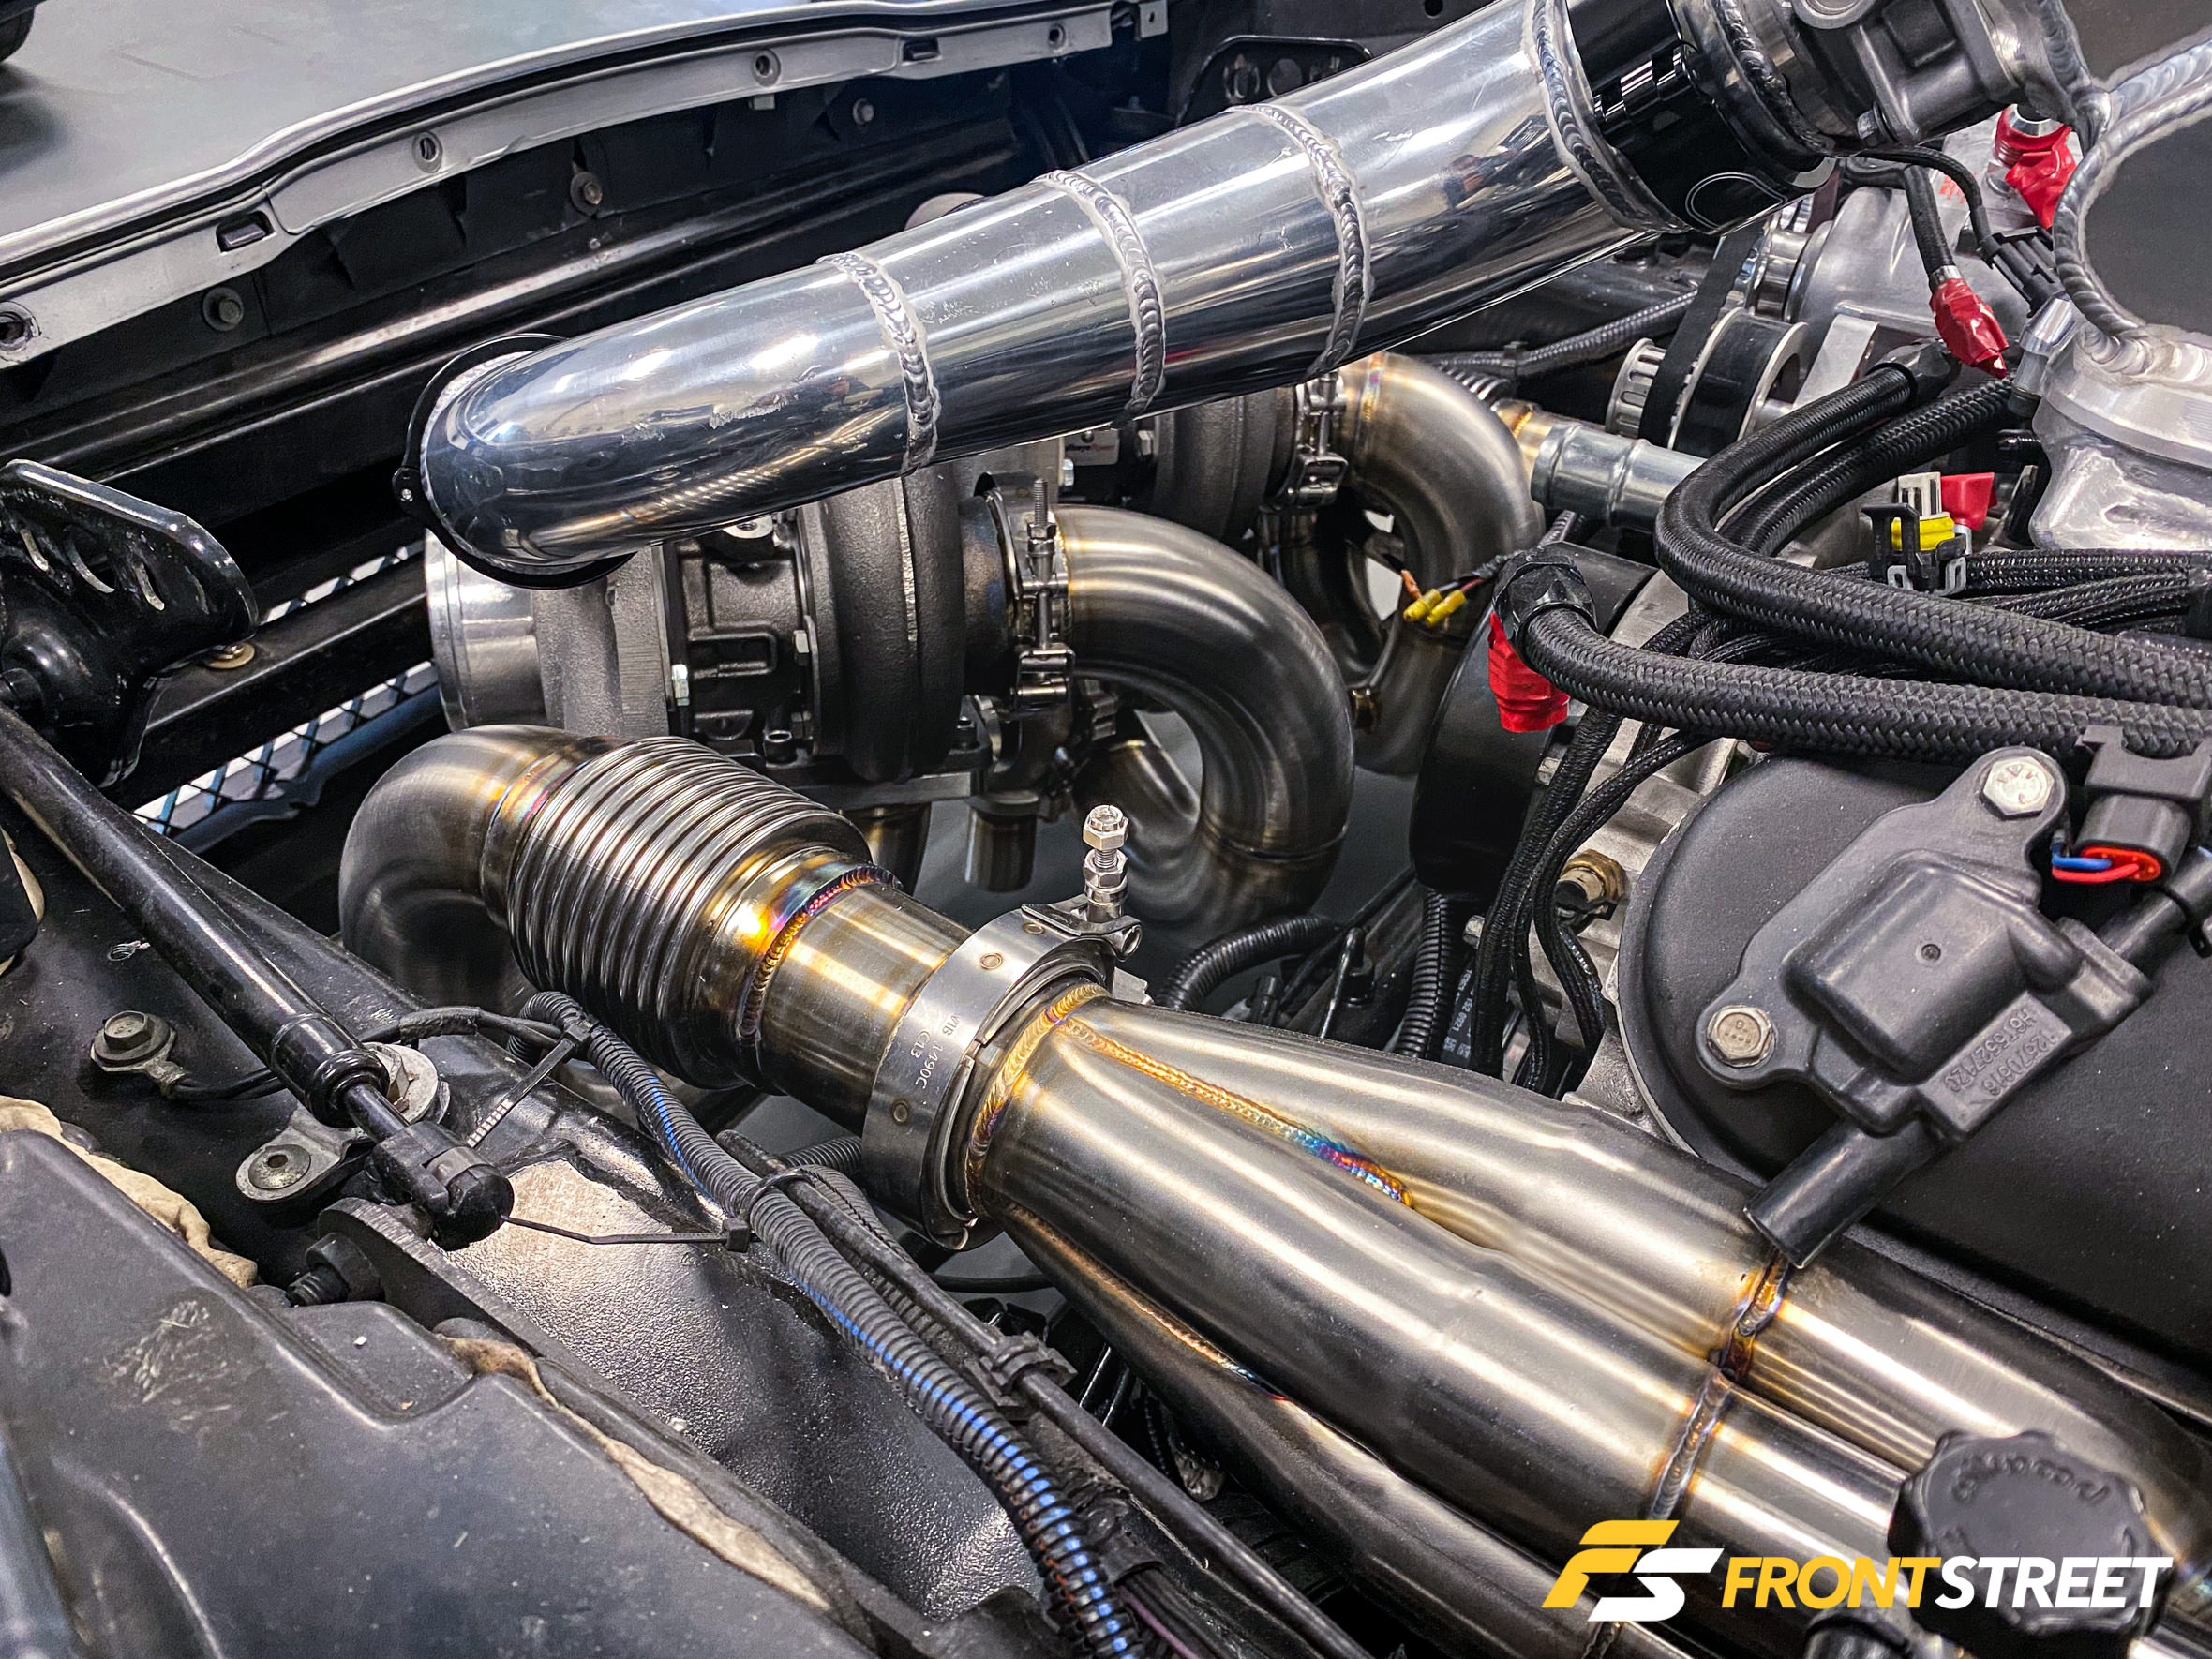
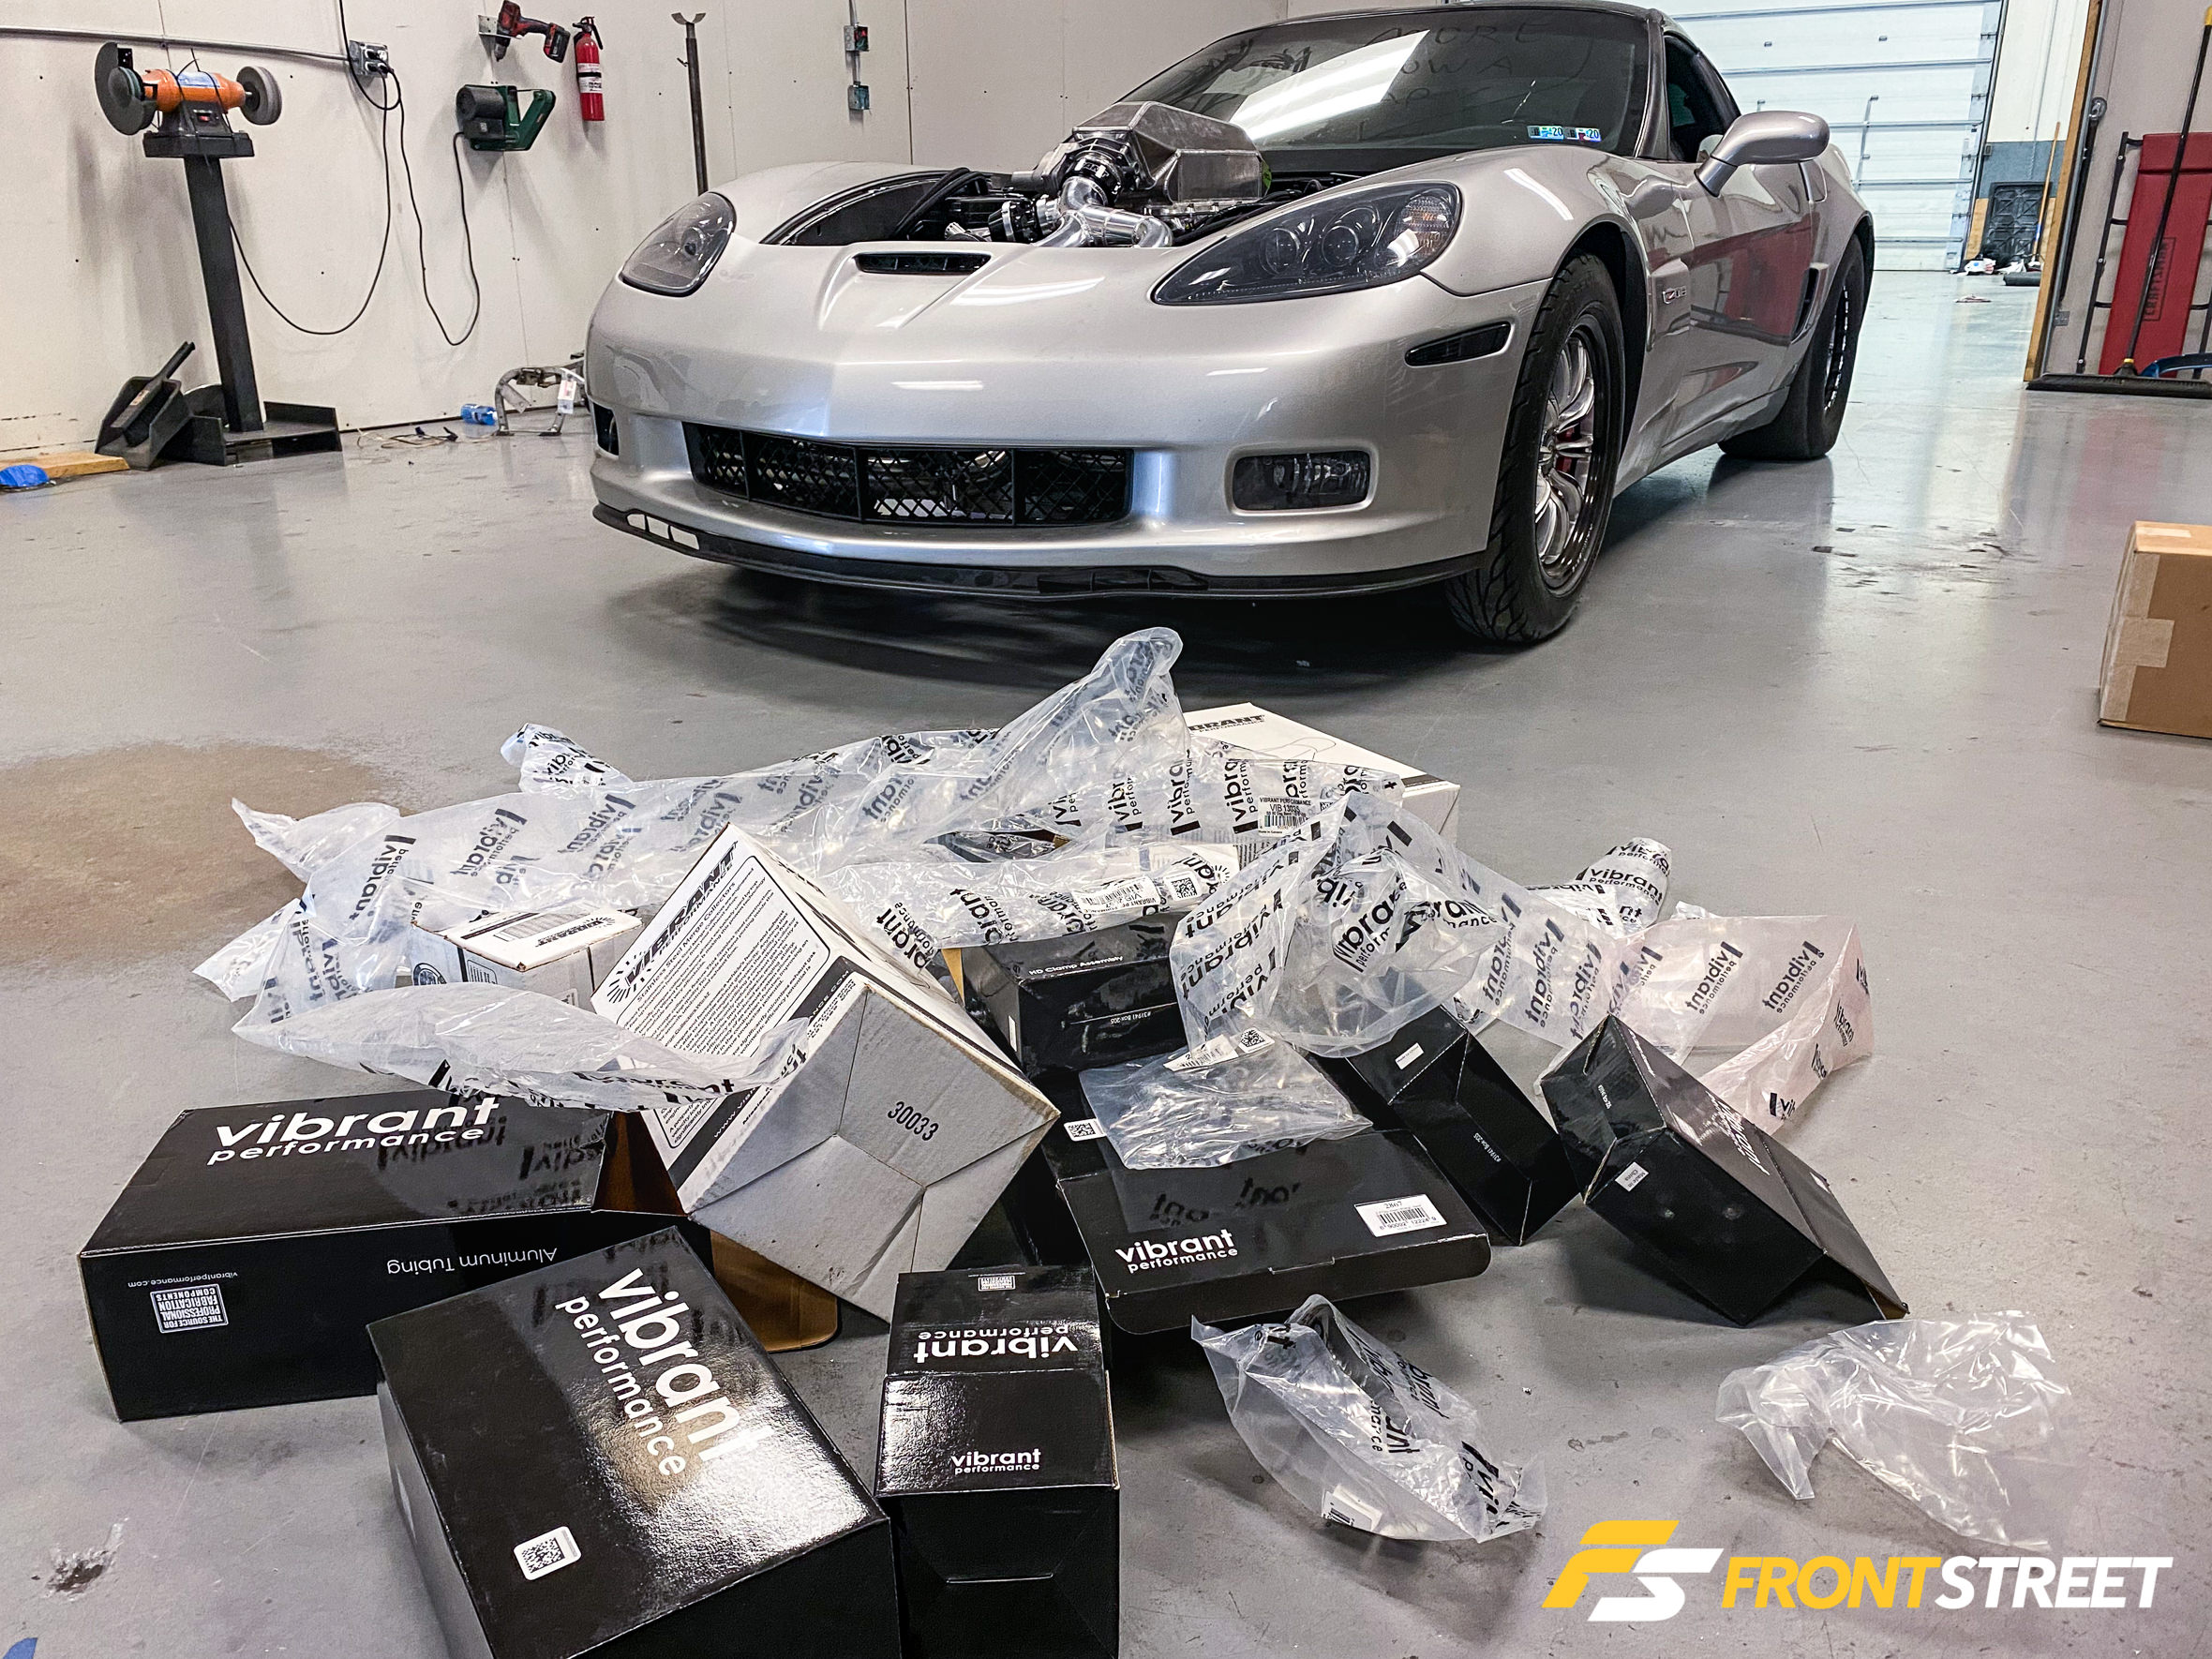
The final assembly with the V-band connections and Vibrant HD clamps comes together to create yet another work of art from the Schmuck Built camp. After more than a full week’s worth of hours into this whole assembly, the car left his shop, and transportation began to its next residence at the chassis shop where it will receive a host of other modifications fit for lifting those front wheels off the ground.

