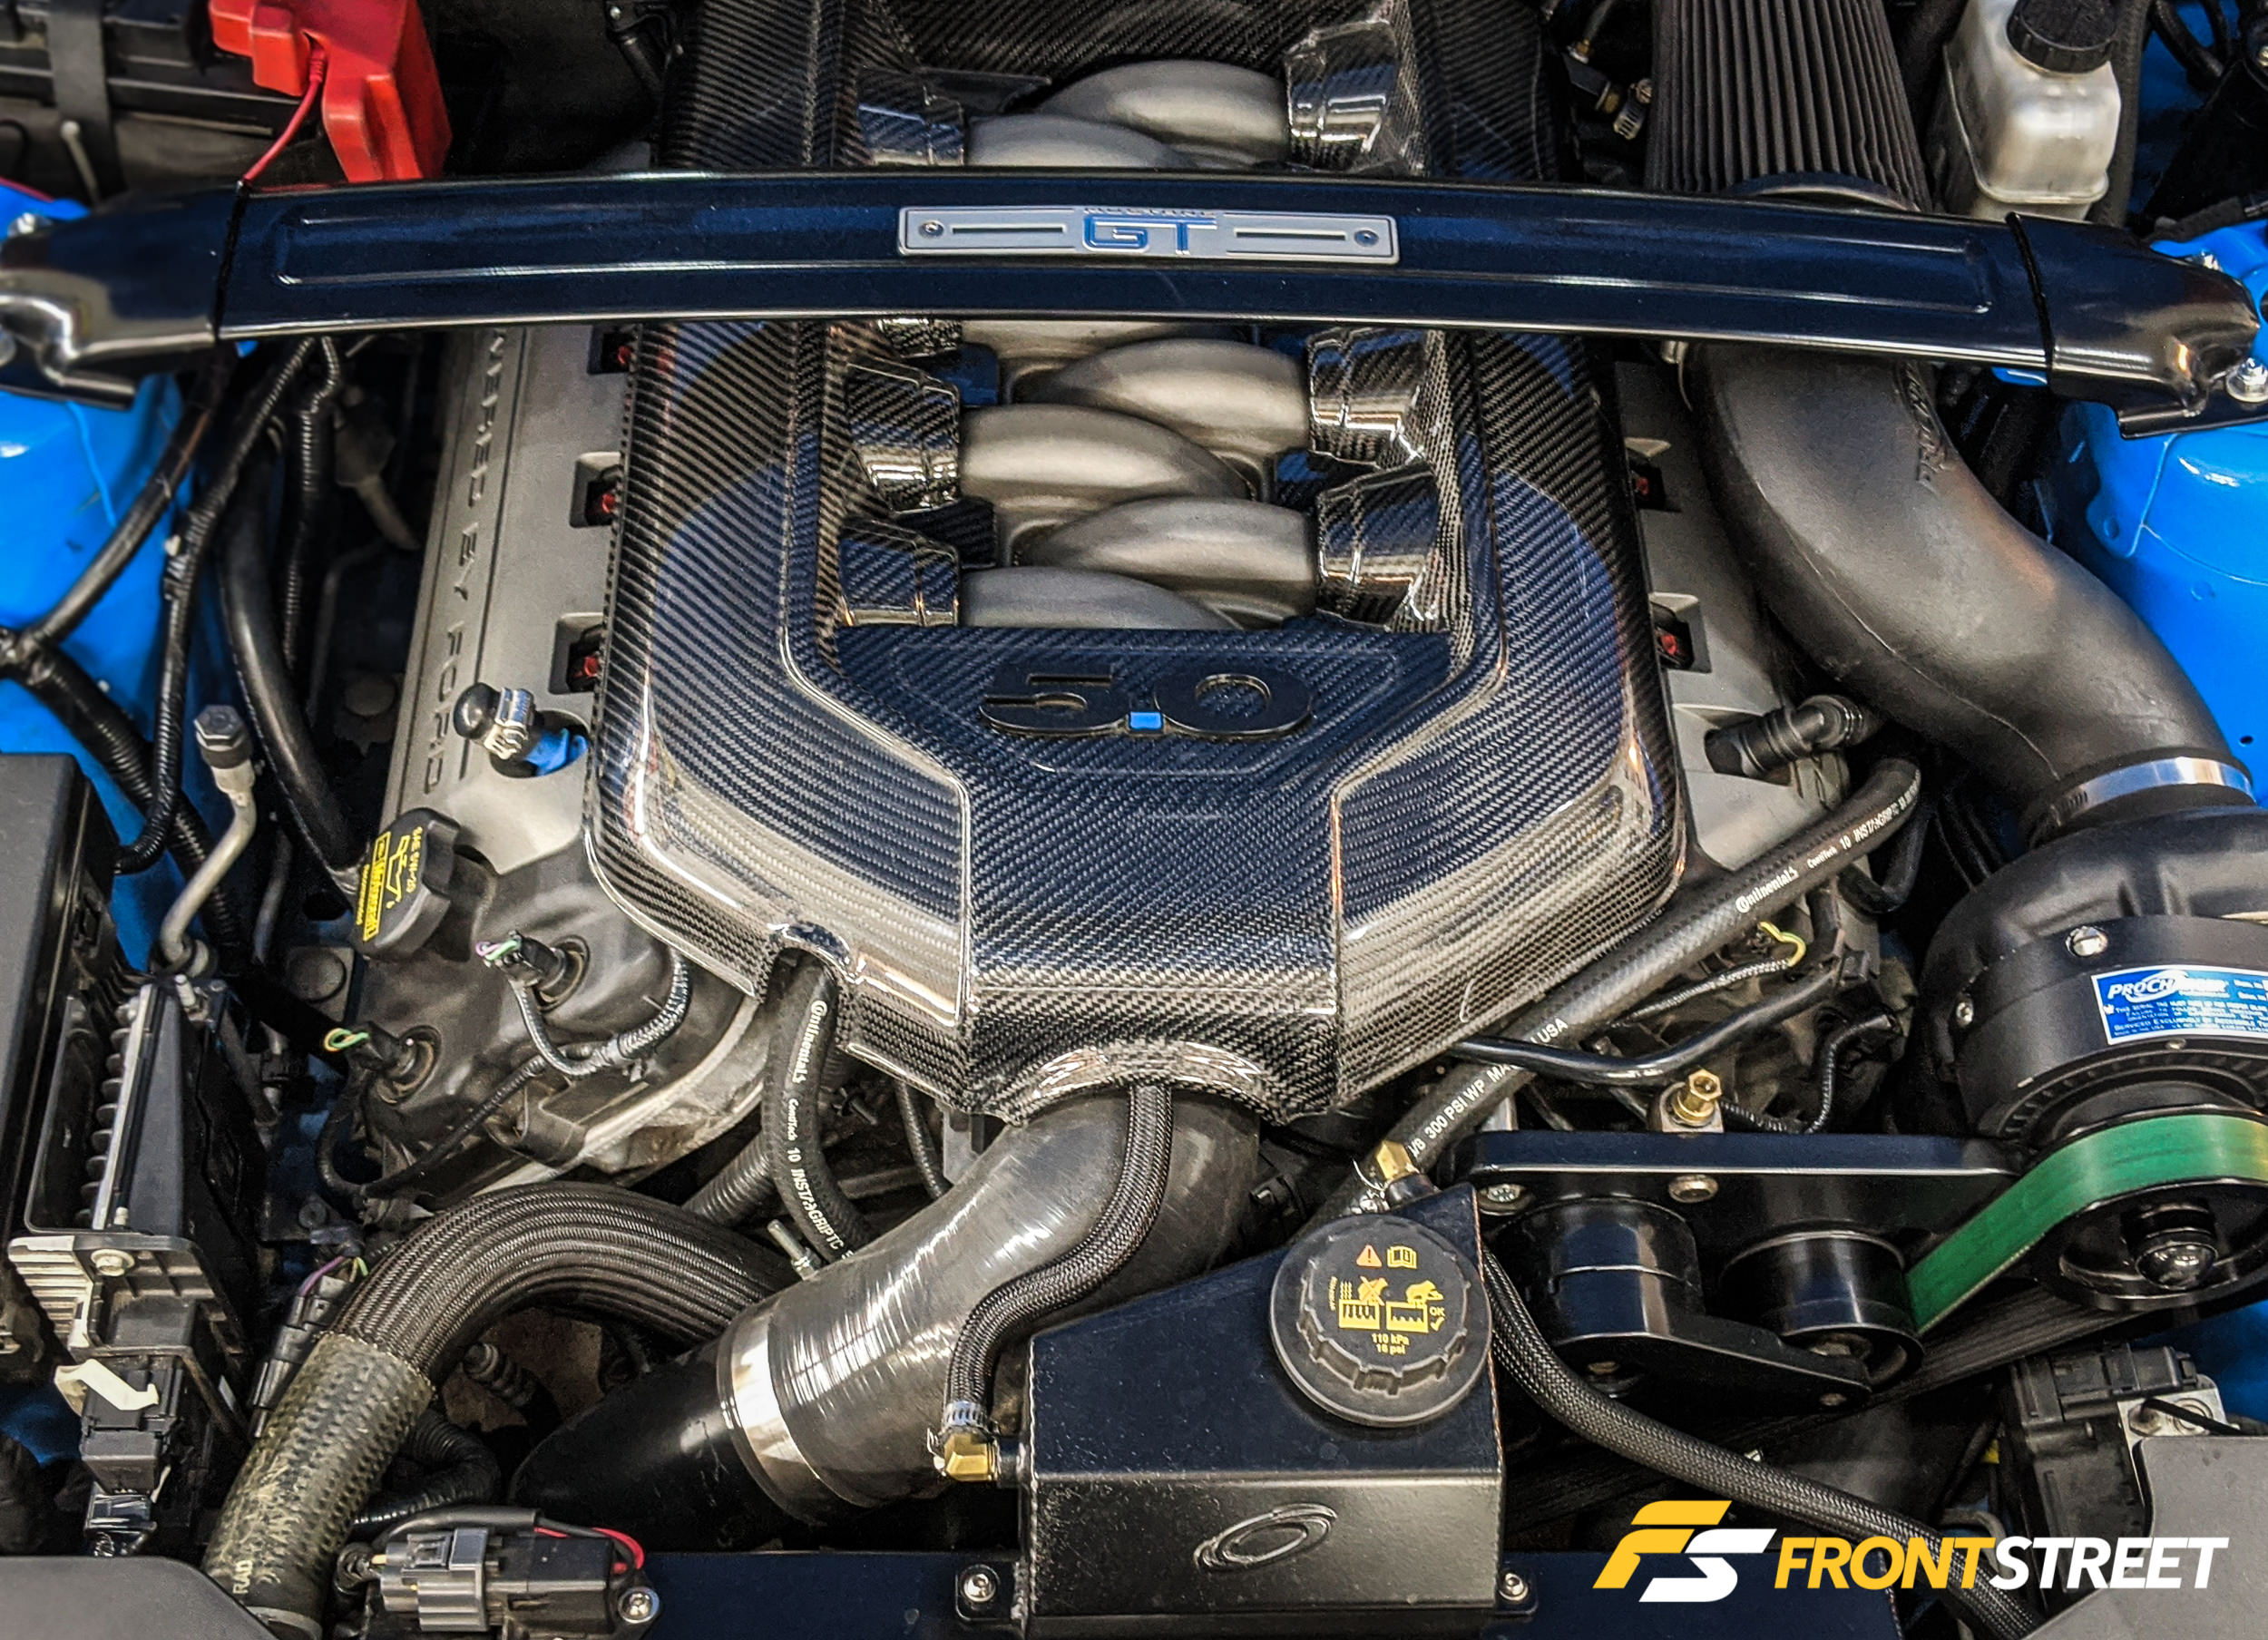
For over 50 years, the Ford Mustang has been synonymous with the manual-shifted transmission. From the TopLoader design used in the first-generation models to the BorgWarner T-5 used in the ‘79–’93 cars and, more recently, the Getrag MT-82 used in the S197, the Mustang has remained as one of the few vehicles that consistently delivers a self-shifter to the mass market. However, they are not without their issues, especially in the case of the MT-82; its poor performance and various shifting issues have sparked a group of owners to file a class-action lawsuit against Ford Motor Company. Even with these pitfalls, some people — including me — love the manual-transmission experience. So when I bought my 2011 Mustang GT in 2014, I searched high and low for a car with a manual transmission, eventually driving from Philadelphia to Lawrenceburg, Kentucky, to purchase the only Grabber Blue ’11 with an MT-82 available at that time. Initially, I was in love. I started to use the car more often and take it to the dragstrip from time to time, because who buys a Mustang and doesn’t do that? I quickly realized that the MT-82 was a hot mess of dumpster fire garbage. The combination of the remote body-mounted shifter and hydraulically-activated clutch combined to deliver an abysmal experience at the track. Then I added a ProCharger P1-SC-1 supercharger system. Ever since, I have been scheming to figure out how to swap the car over to an automatic transmission, specifically the 6R80 from the 2013-14 Mustang.
This transmission configuration offers what Ford calls SelectShift, a manual rocker button on the shifter’s side that permits shifting of the transmission. In my eyes, it’s the best of both worlds, as I’ll be able to shift the car myself when I’m cruising it around, but at the track, I can bang it into drive and let the trans do its thing. I hated the MT-82 so much and knew I needed to swap over to the 6R80 to be happy with the car, but the financial investment was daunting. But once I started to add up how much I had spent on shifters (bought three of them) and clutches (two of those) and a stainless-steel fluid line — among other attempted improvements in performance — I realized I just had to figure out a way to make it happen.
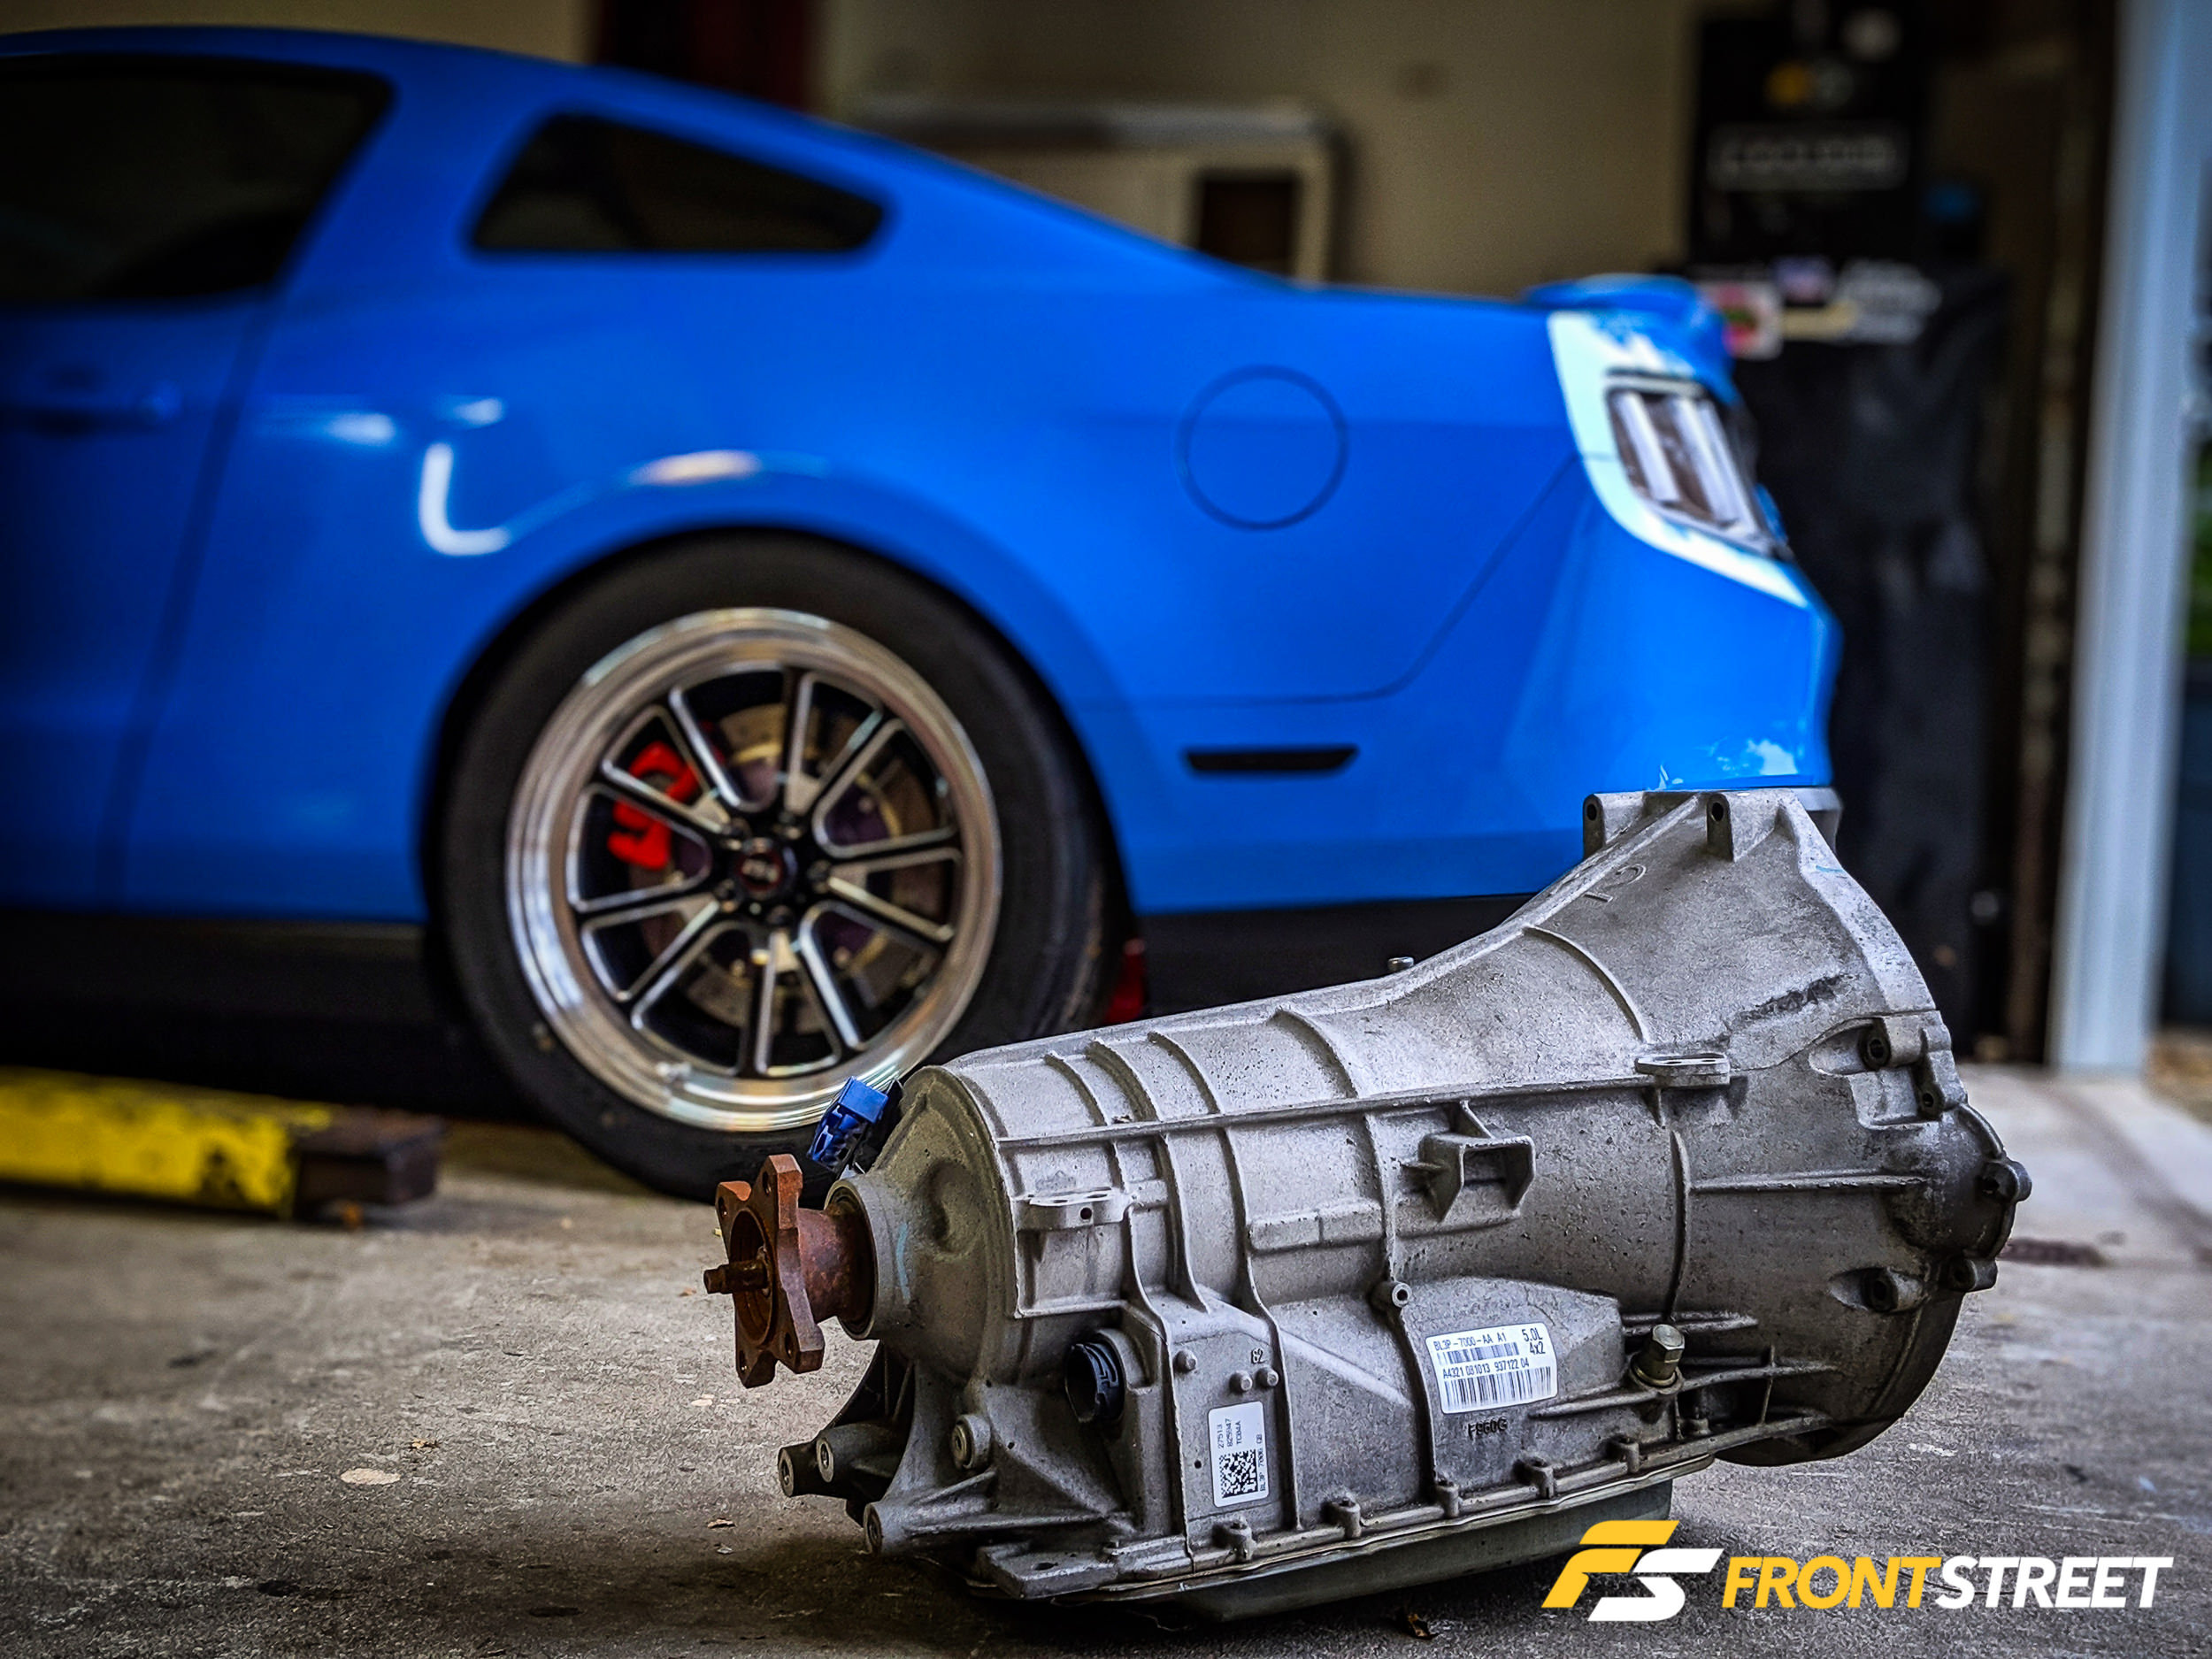
Enter Steve Schechterly, the lead technician at Evolution Performance. A while back, Steve had purchased a junkyard 6R80 out of a 2WD F-150, along with a billet intermediate shaft (the primary failure point in the 6R80) for a project car. He subsequently sold the car before ever using it and had this transmission and shaft sitting in his garage. I ran into him at the Yellowbullet Nationals last year, and during our conversation, he asked if I had ever done the 6R swap. Just a few minutes later, we had struck a deal for me to purchase the transmission and shaft from him for a ridiculously low price.
Over the winter of 2019-20, I managed to scrape up enough cash to buy the rest of the parts I needed to complete the project; by springtime, I was ready to have the transmission gone through, as I had no idea about its history or internal condition. I considered rebuilding it myself, as I had watched several videos on the process, but in the end, I wasn’t comfortable with that idea. I’ve built engines, rear ends, and changed just about every part on a car, but the voodoo contained in the 6R80 scared me, to be honest.
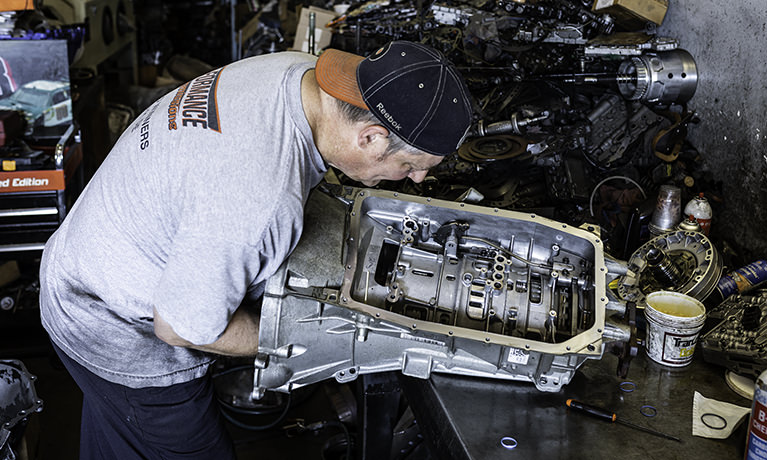
So I teamed up with longtime friend Sean Wiley of Frank Lupo’s Pro-Formance Transmissions in Newark, DE, to plan a shop day. We took this stock 6R80 and turned it into one filled with a performance rebuild kit from McLeod Racing; it has been developed in conjunction with Raybestos and includes a ton of upgraded parts designed to improve the 6R80 and will provide reliable performance for years to come. There are other improvements I could have made to the transmission, such as a billet front planetary gearset, billet one-way clutch, and billet forward shaft. After Sean and I discussed my goals for the car and expected power level, those items were deemed overkill for my application. For guys trying to get deep into the single-digits at the dragstrip, they are a concern and, in some cases, a necessity. Follow along with the photos; while this is not a how-to guide for building the transmission, what I will include are some of the things we discovered during the process that will be helpful to understand — especially if you’re more adventurous than I am and are doing this yourself.
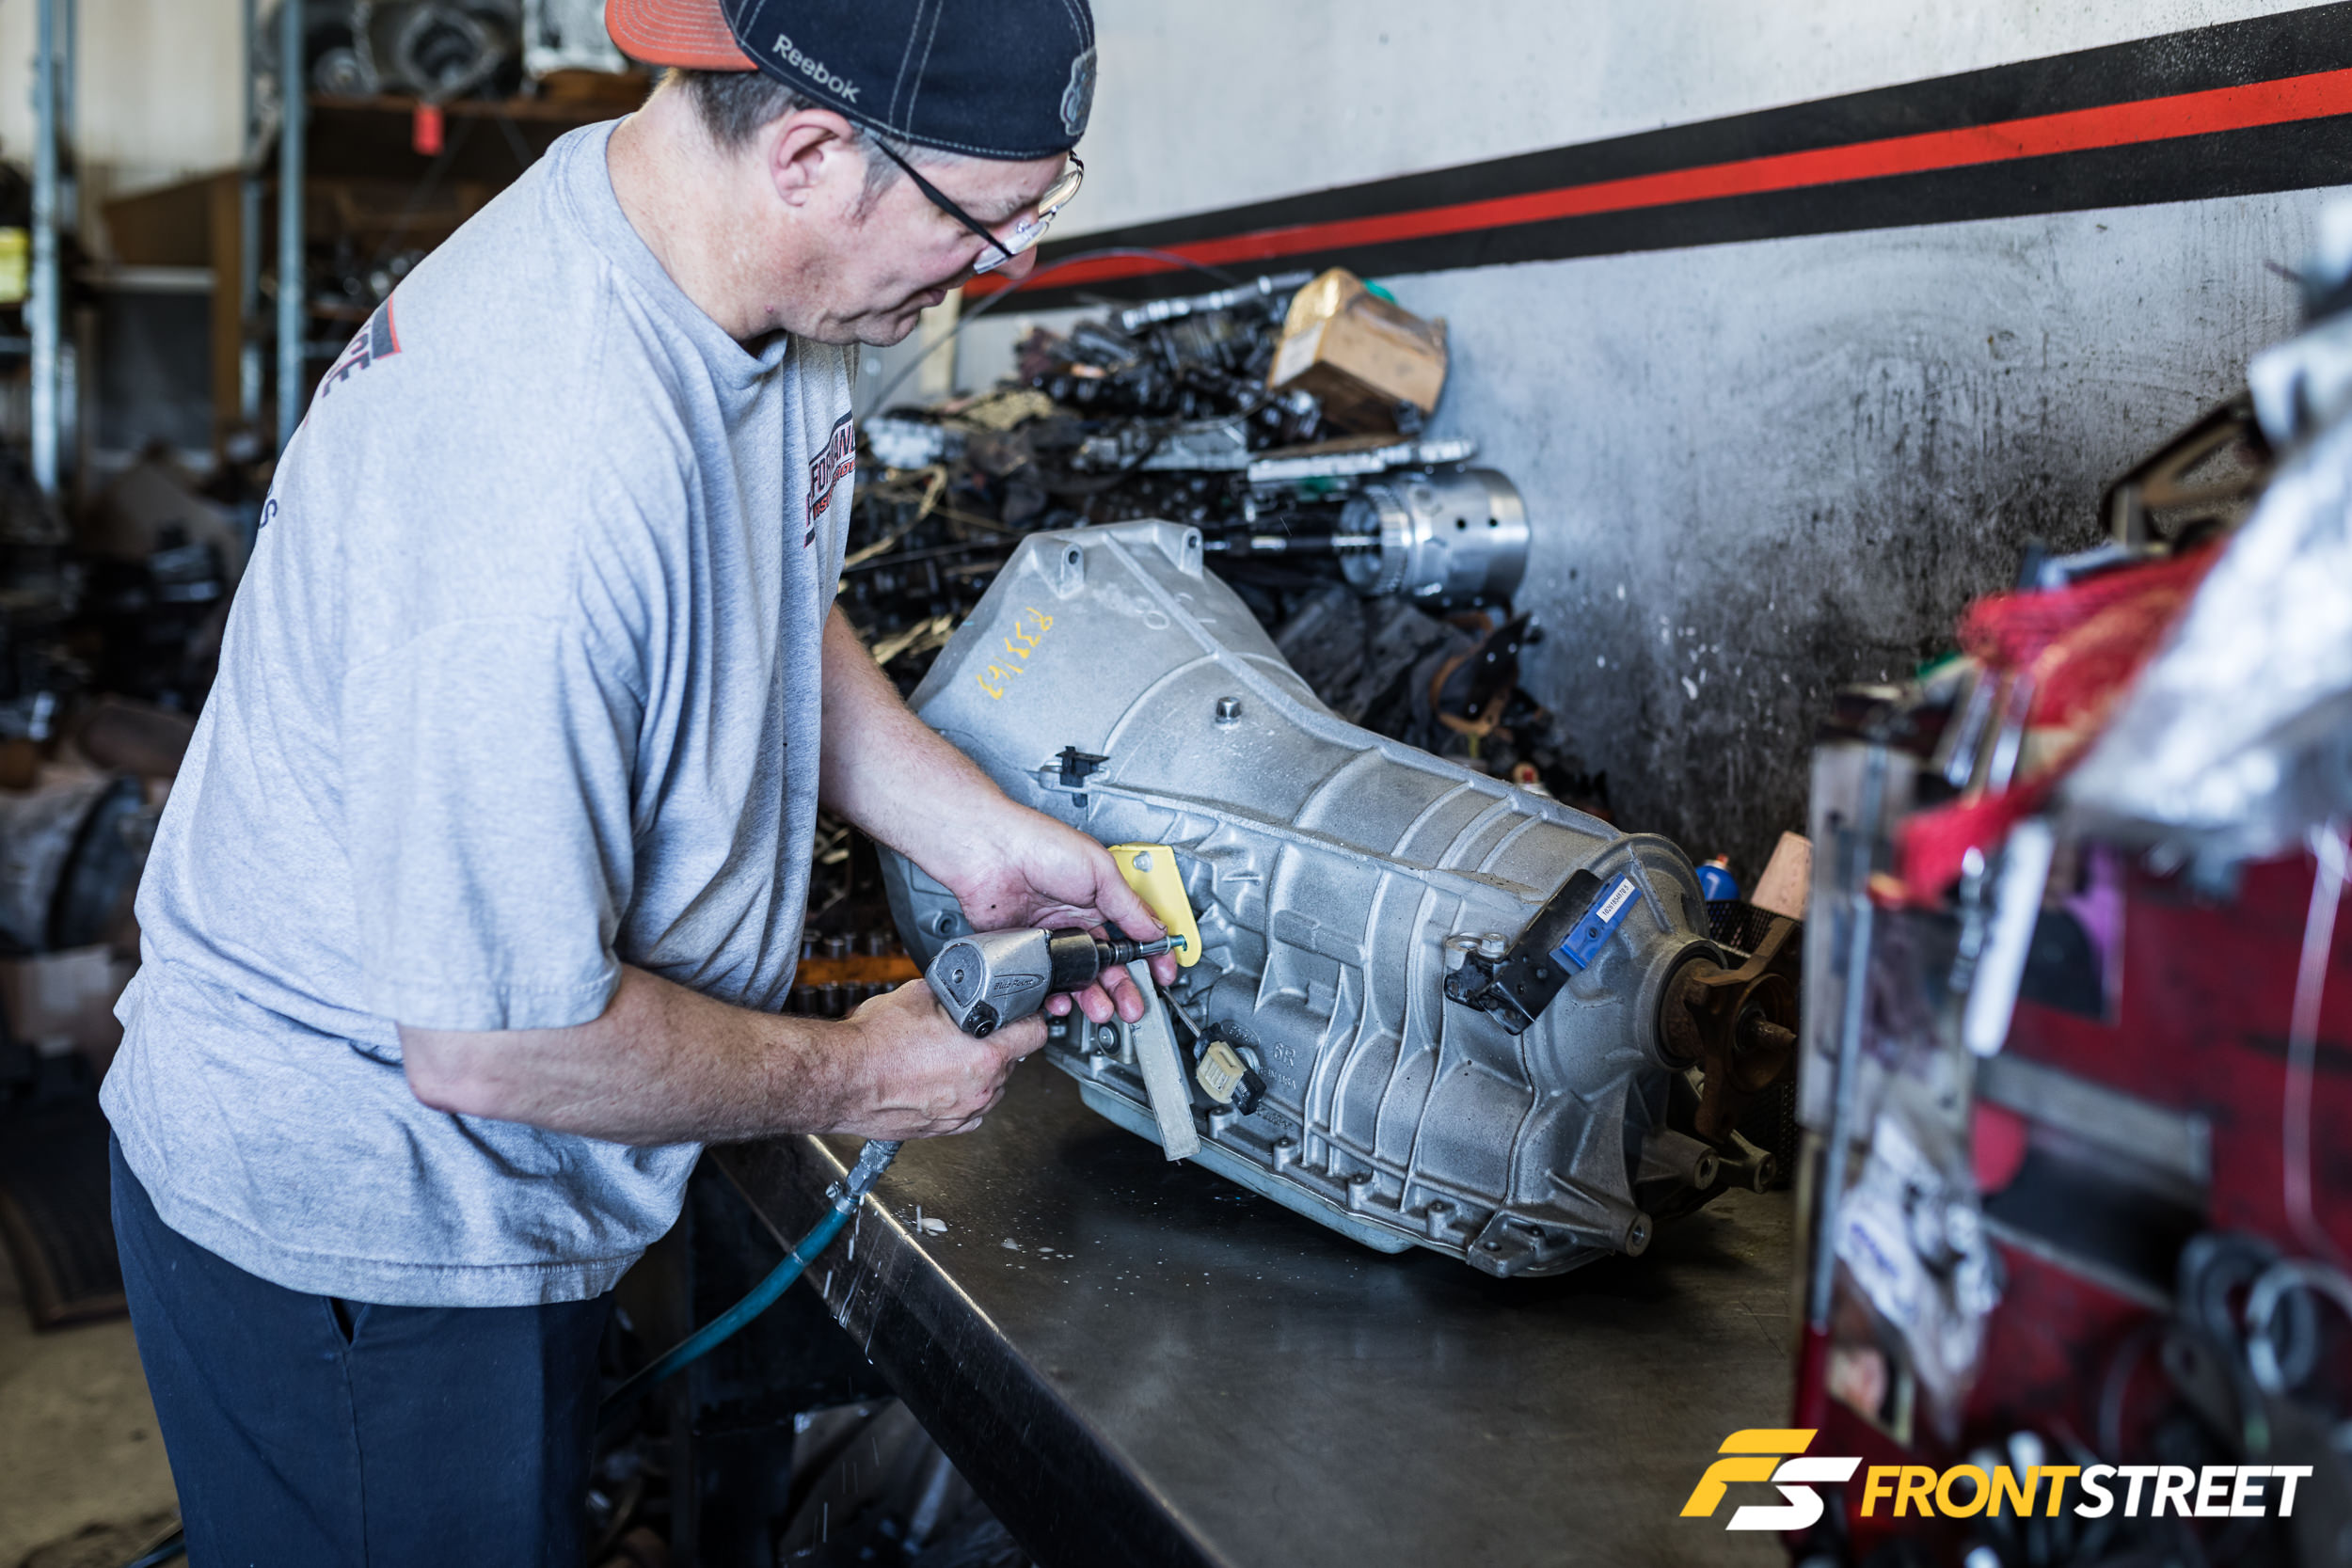
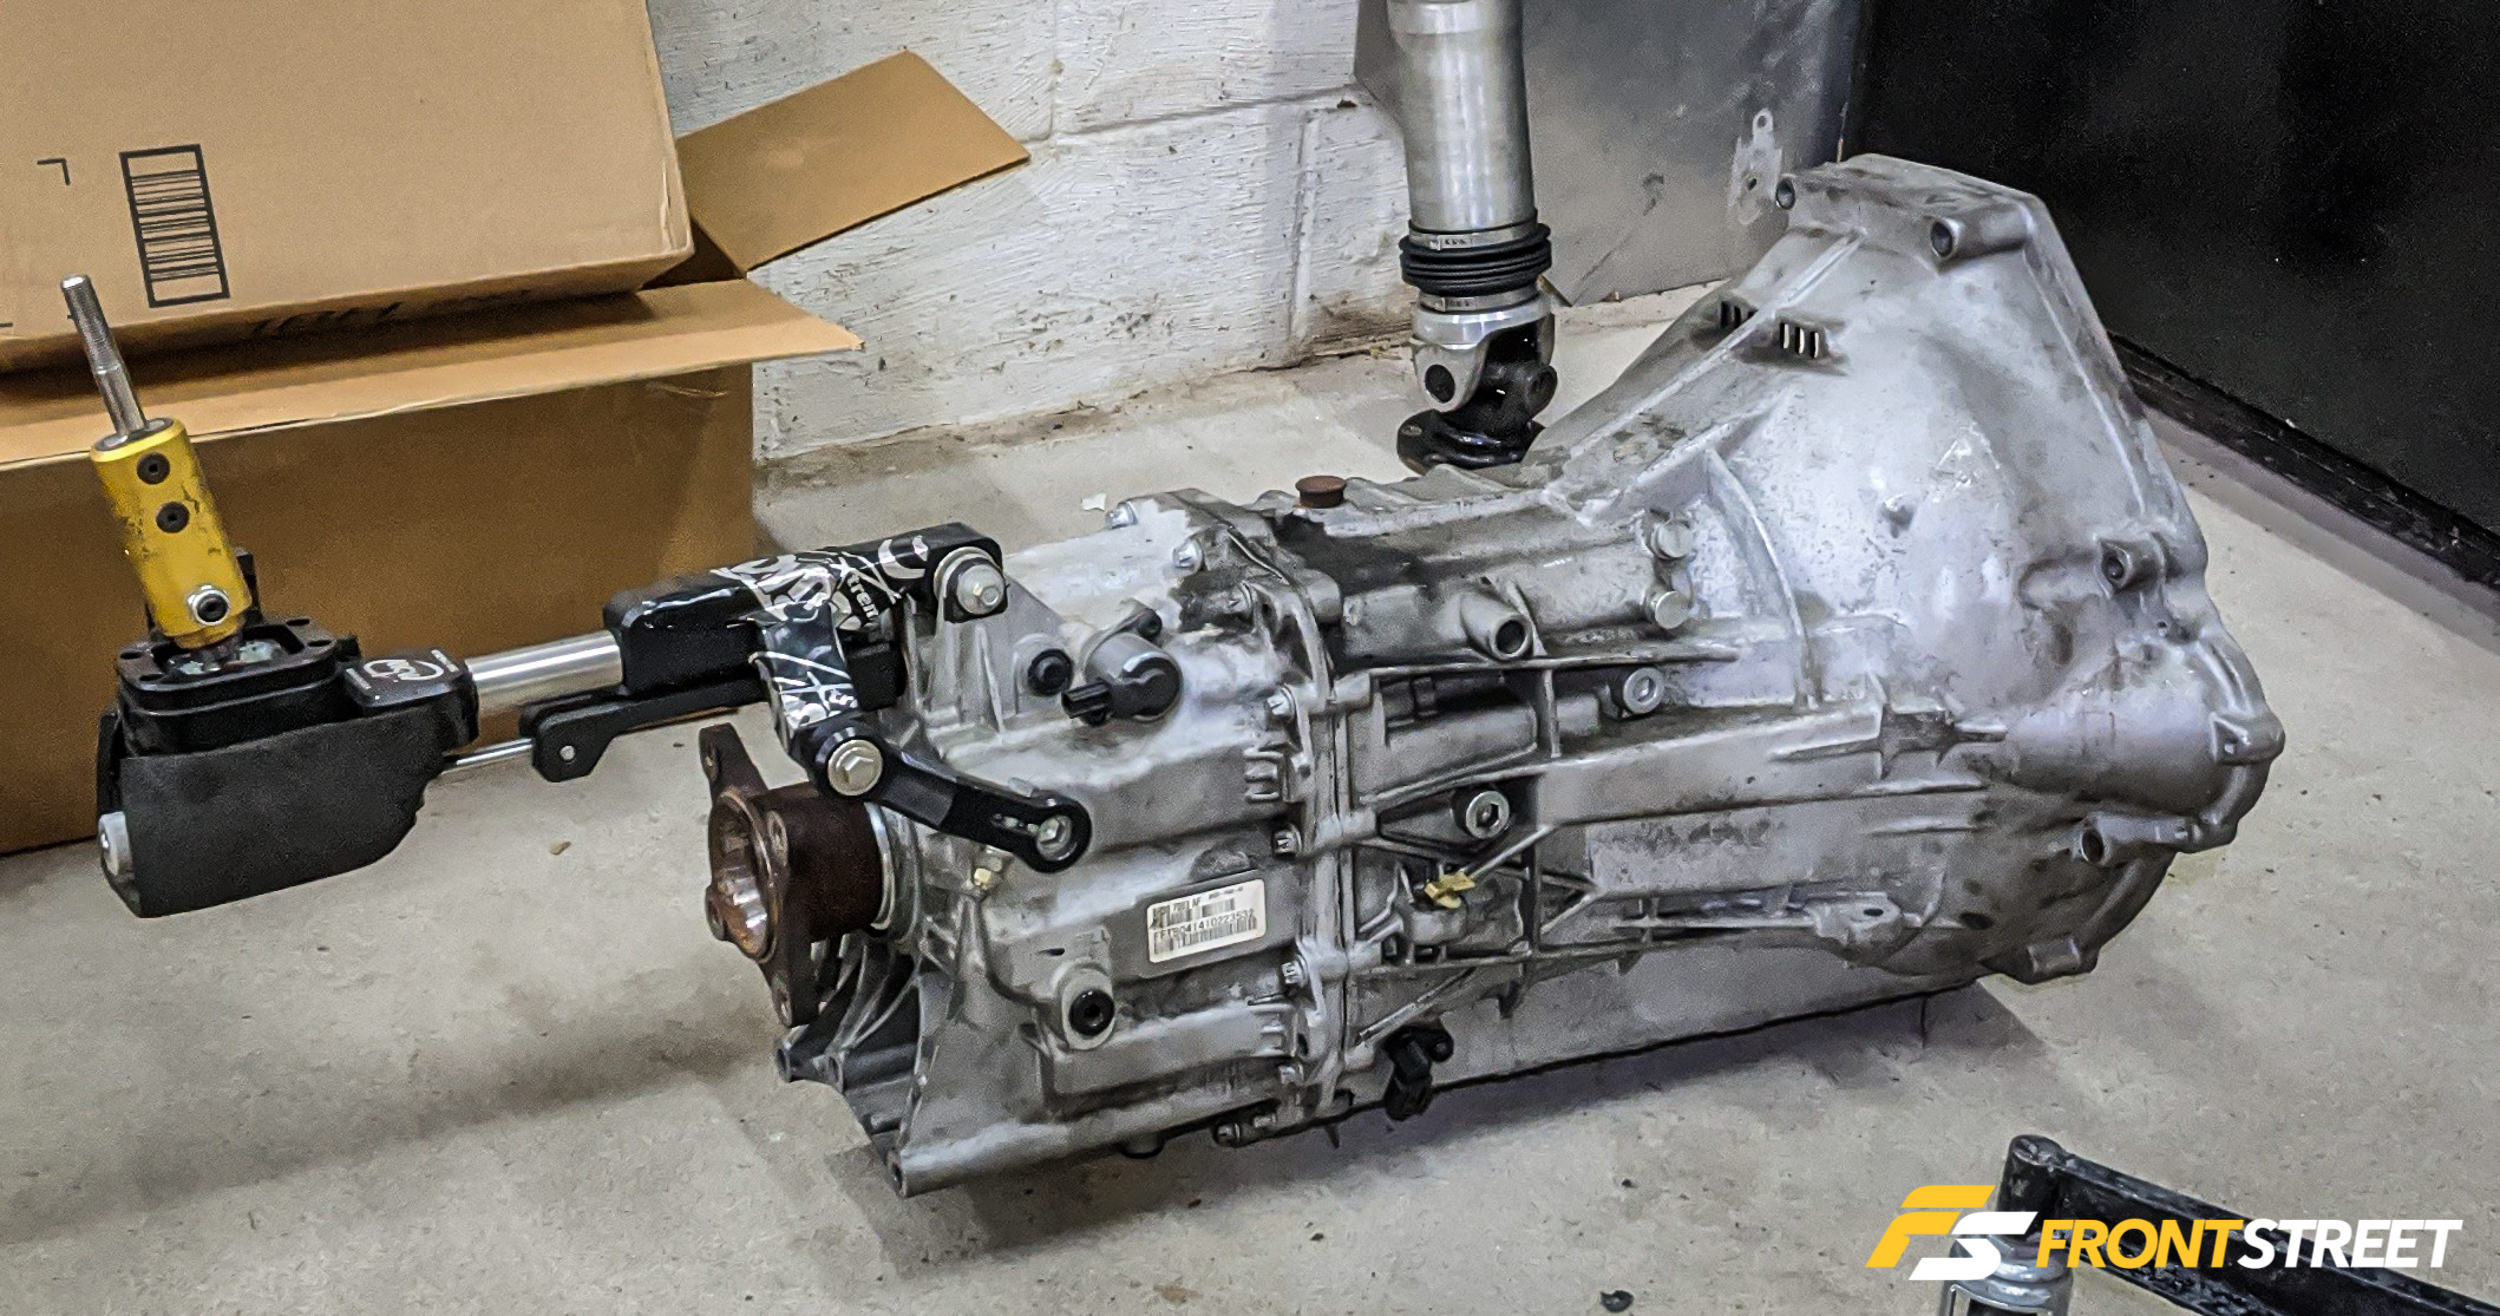
This transmission came out of a 2WD F-150. The shifter cable mounting bracket (in yellow) is different from the case used in a Mustang, which has bosses cast into the case for the cable mount. The F-150 uses a front-feed cable, while the Mustang cable approaches the shift lever from the rear. I purchased a shifter cable mount from Power By The Hour Performance that attaches using two of the rearmost pan bolts. More on that in the transmission install story, coming soon.
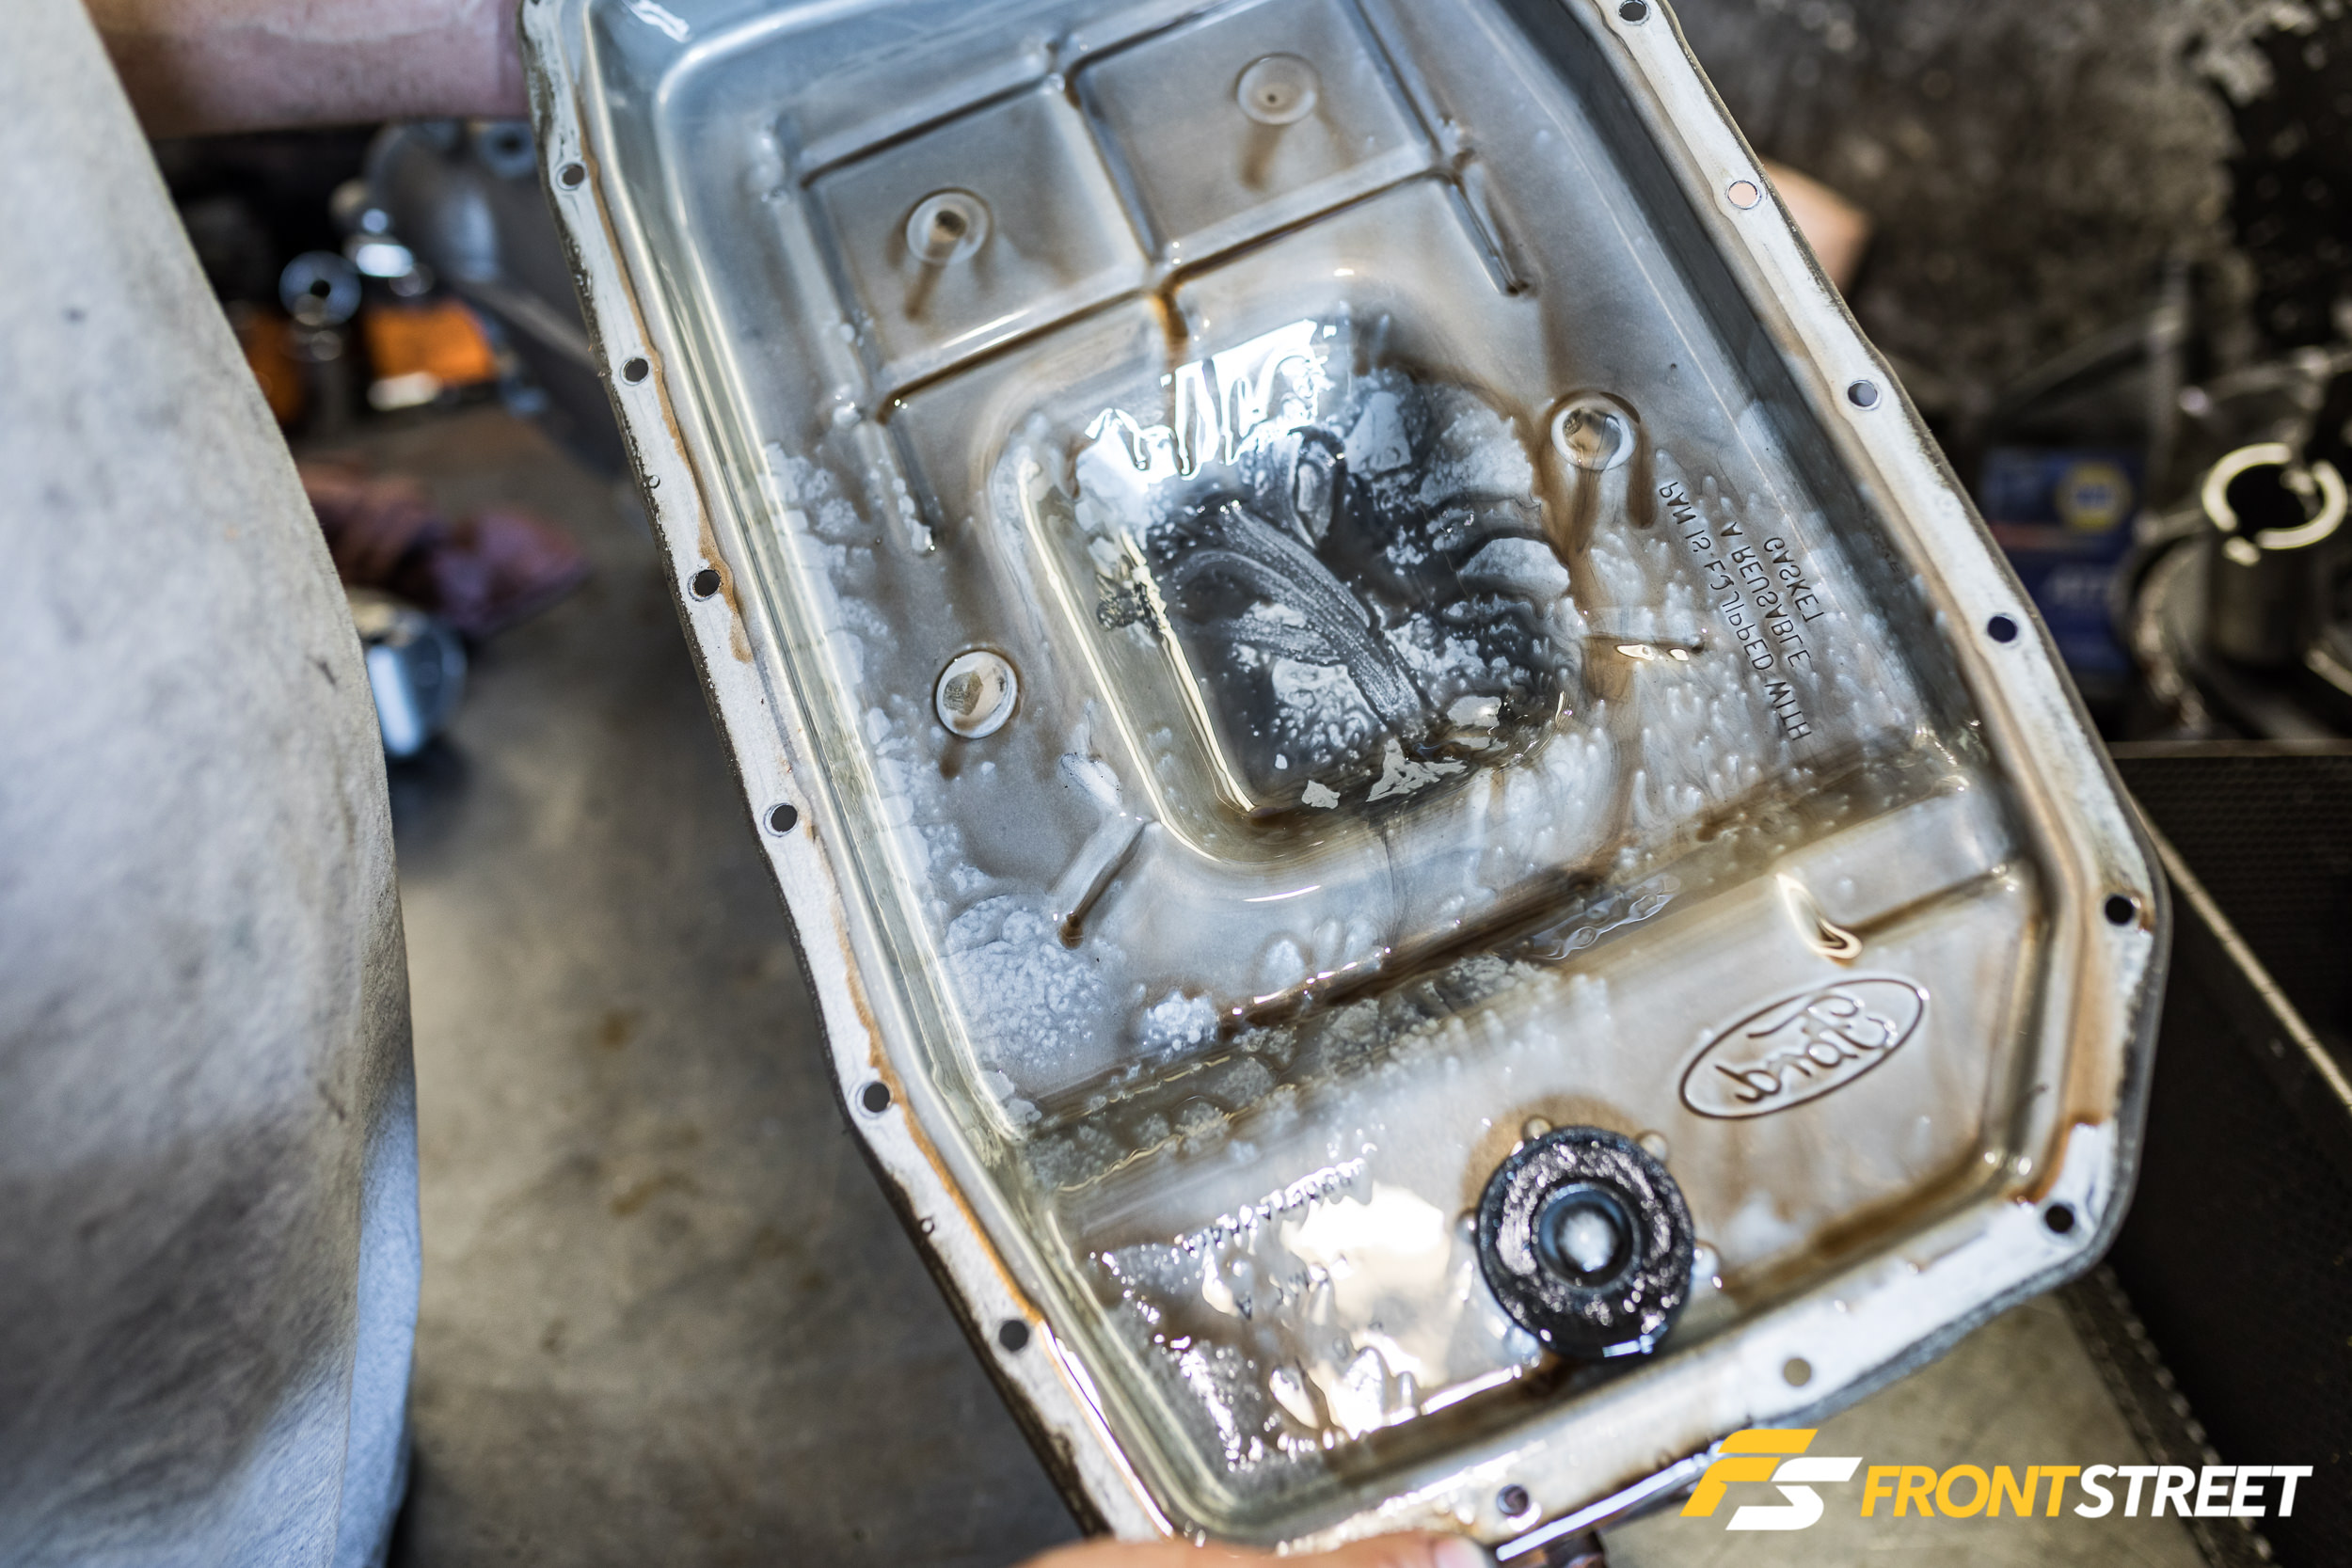
Upon removing the pan, Sean remarked that the transmission appeared to be extremely clean inside, with hardly anything stuck to the magnet at the rear of the pan. Later, I discovered that this transmission had around 100,000 miles on it before I acquired it, making its internal appearance more impressive.
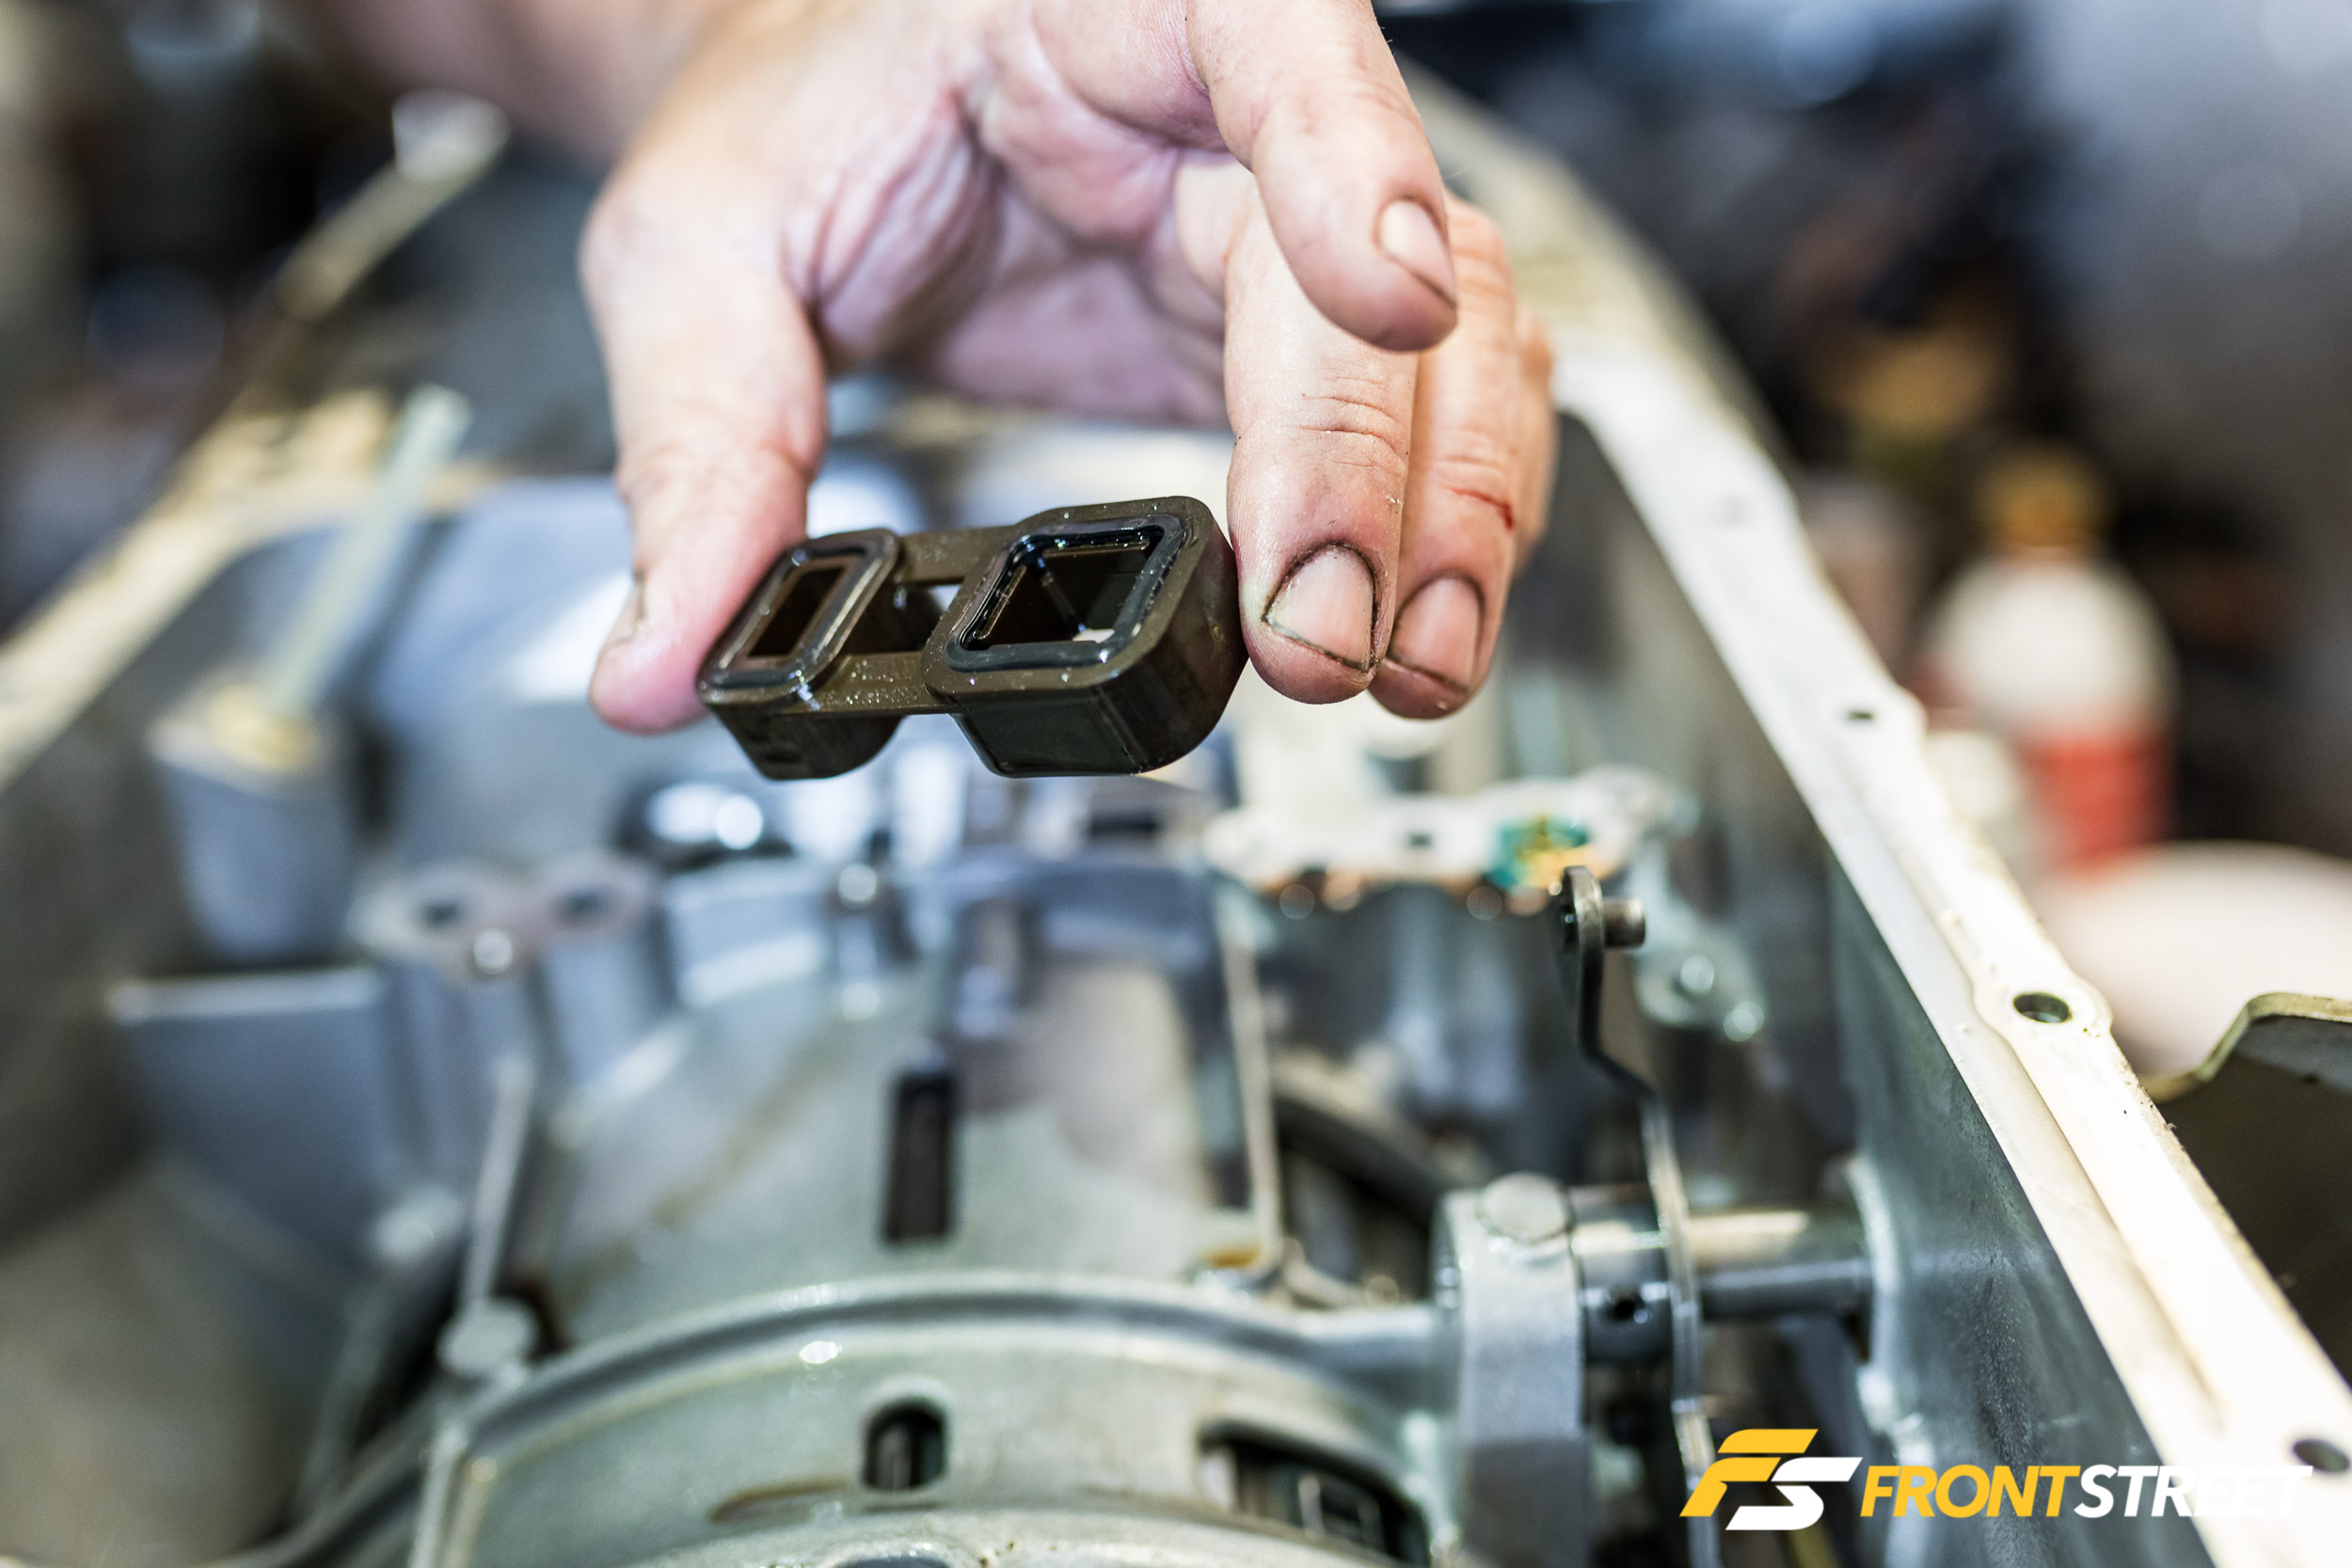
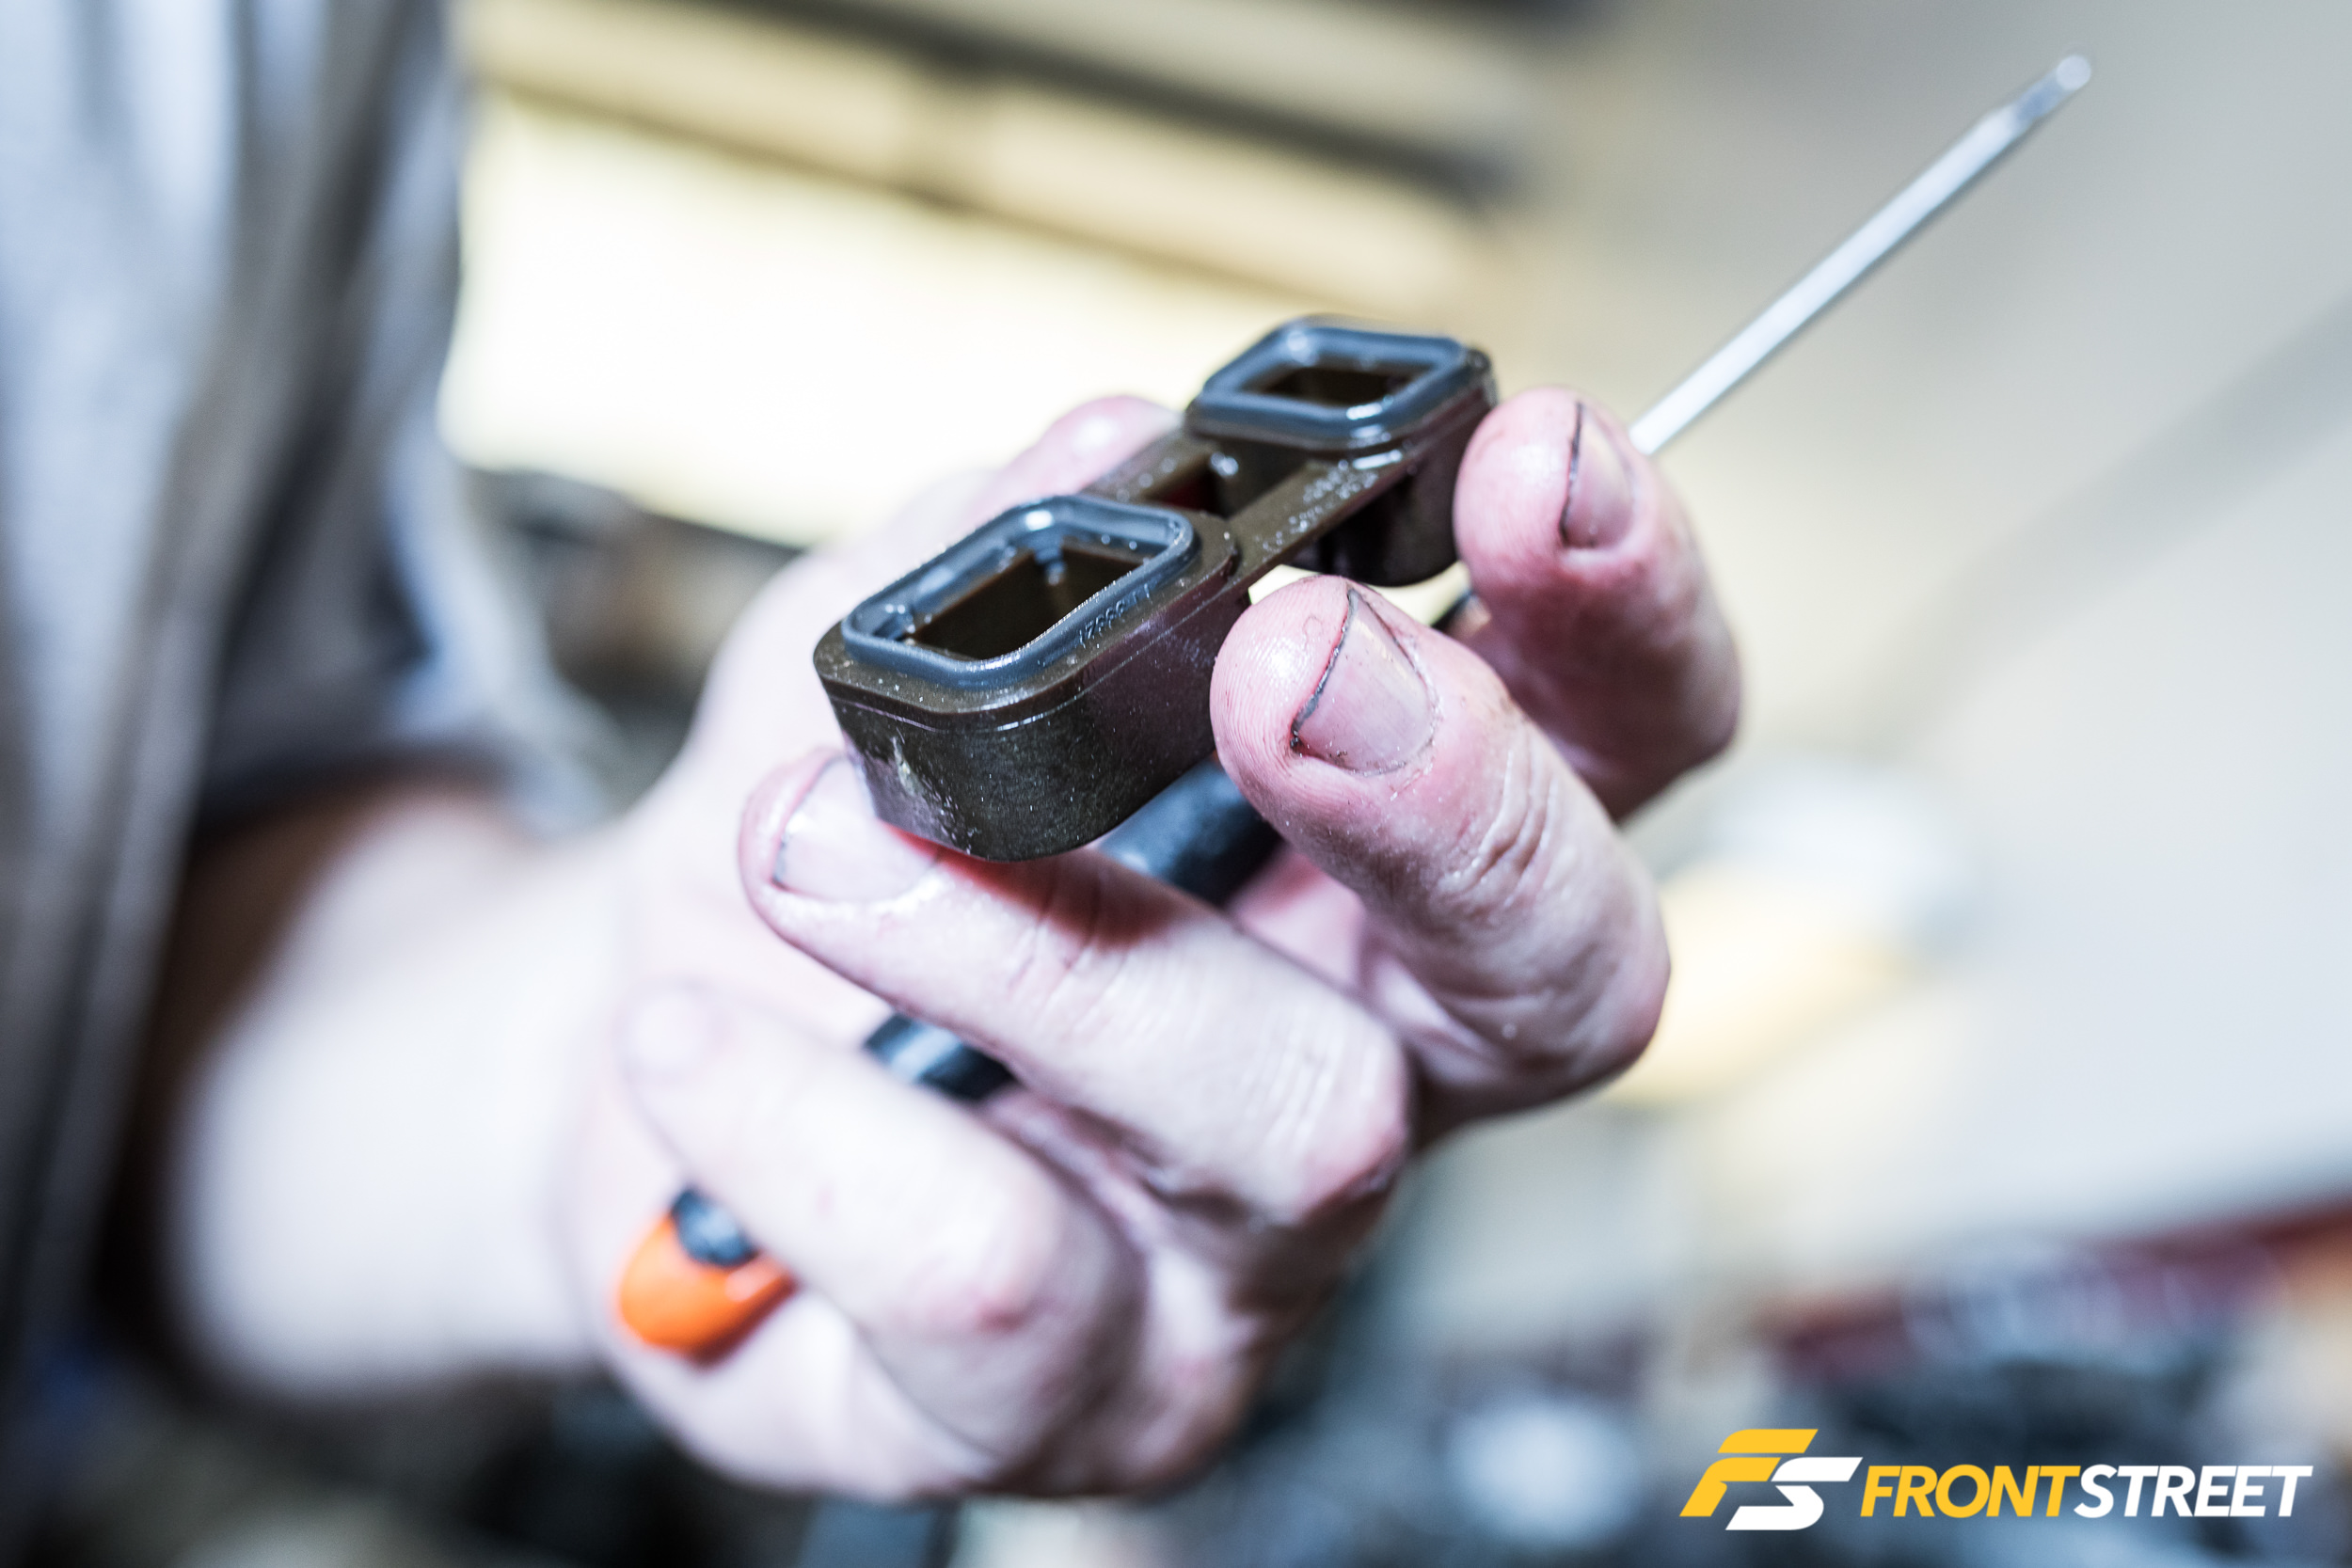
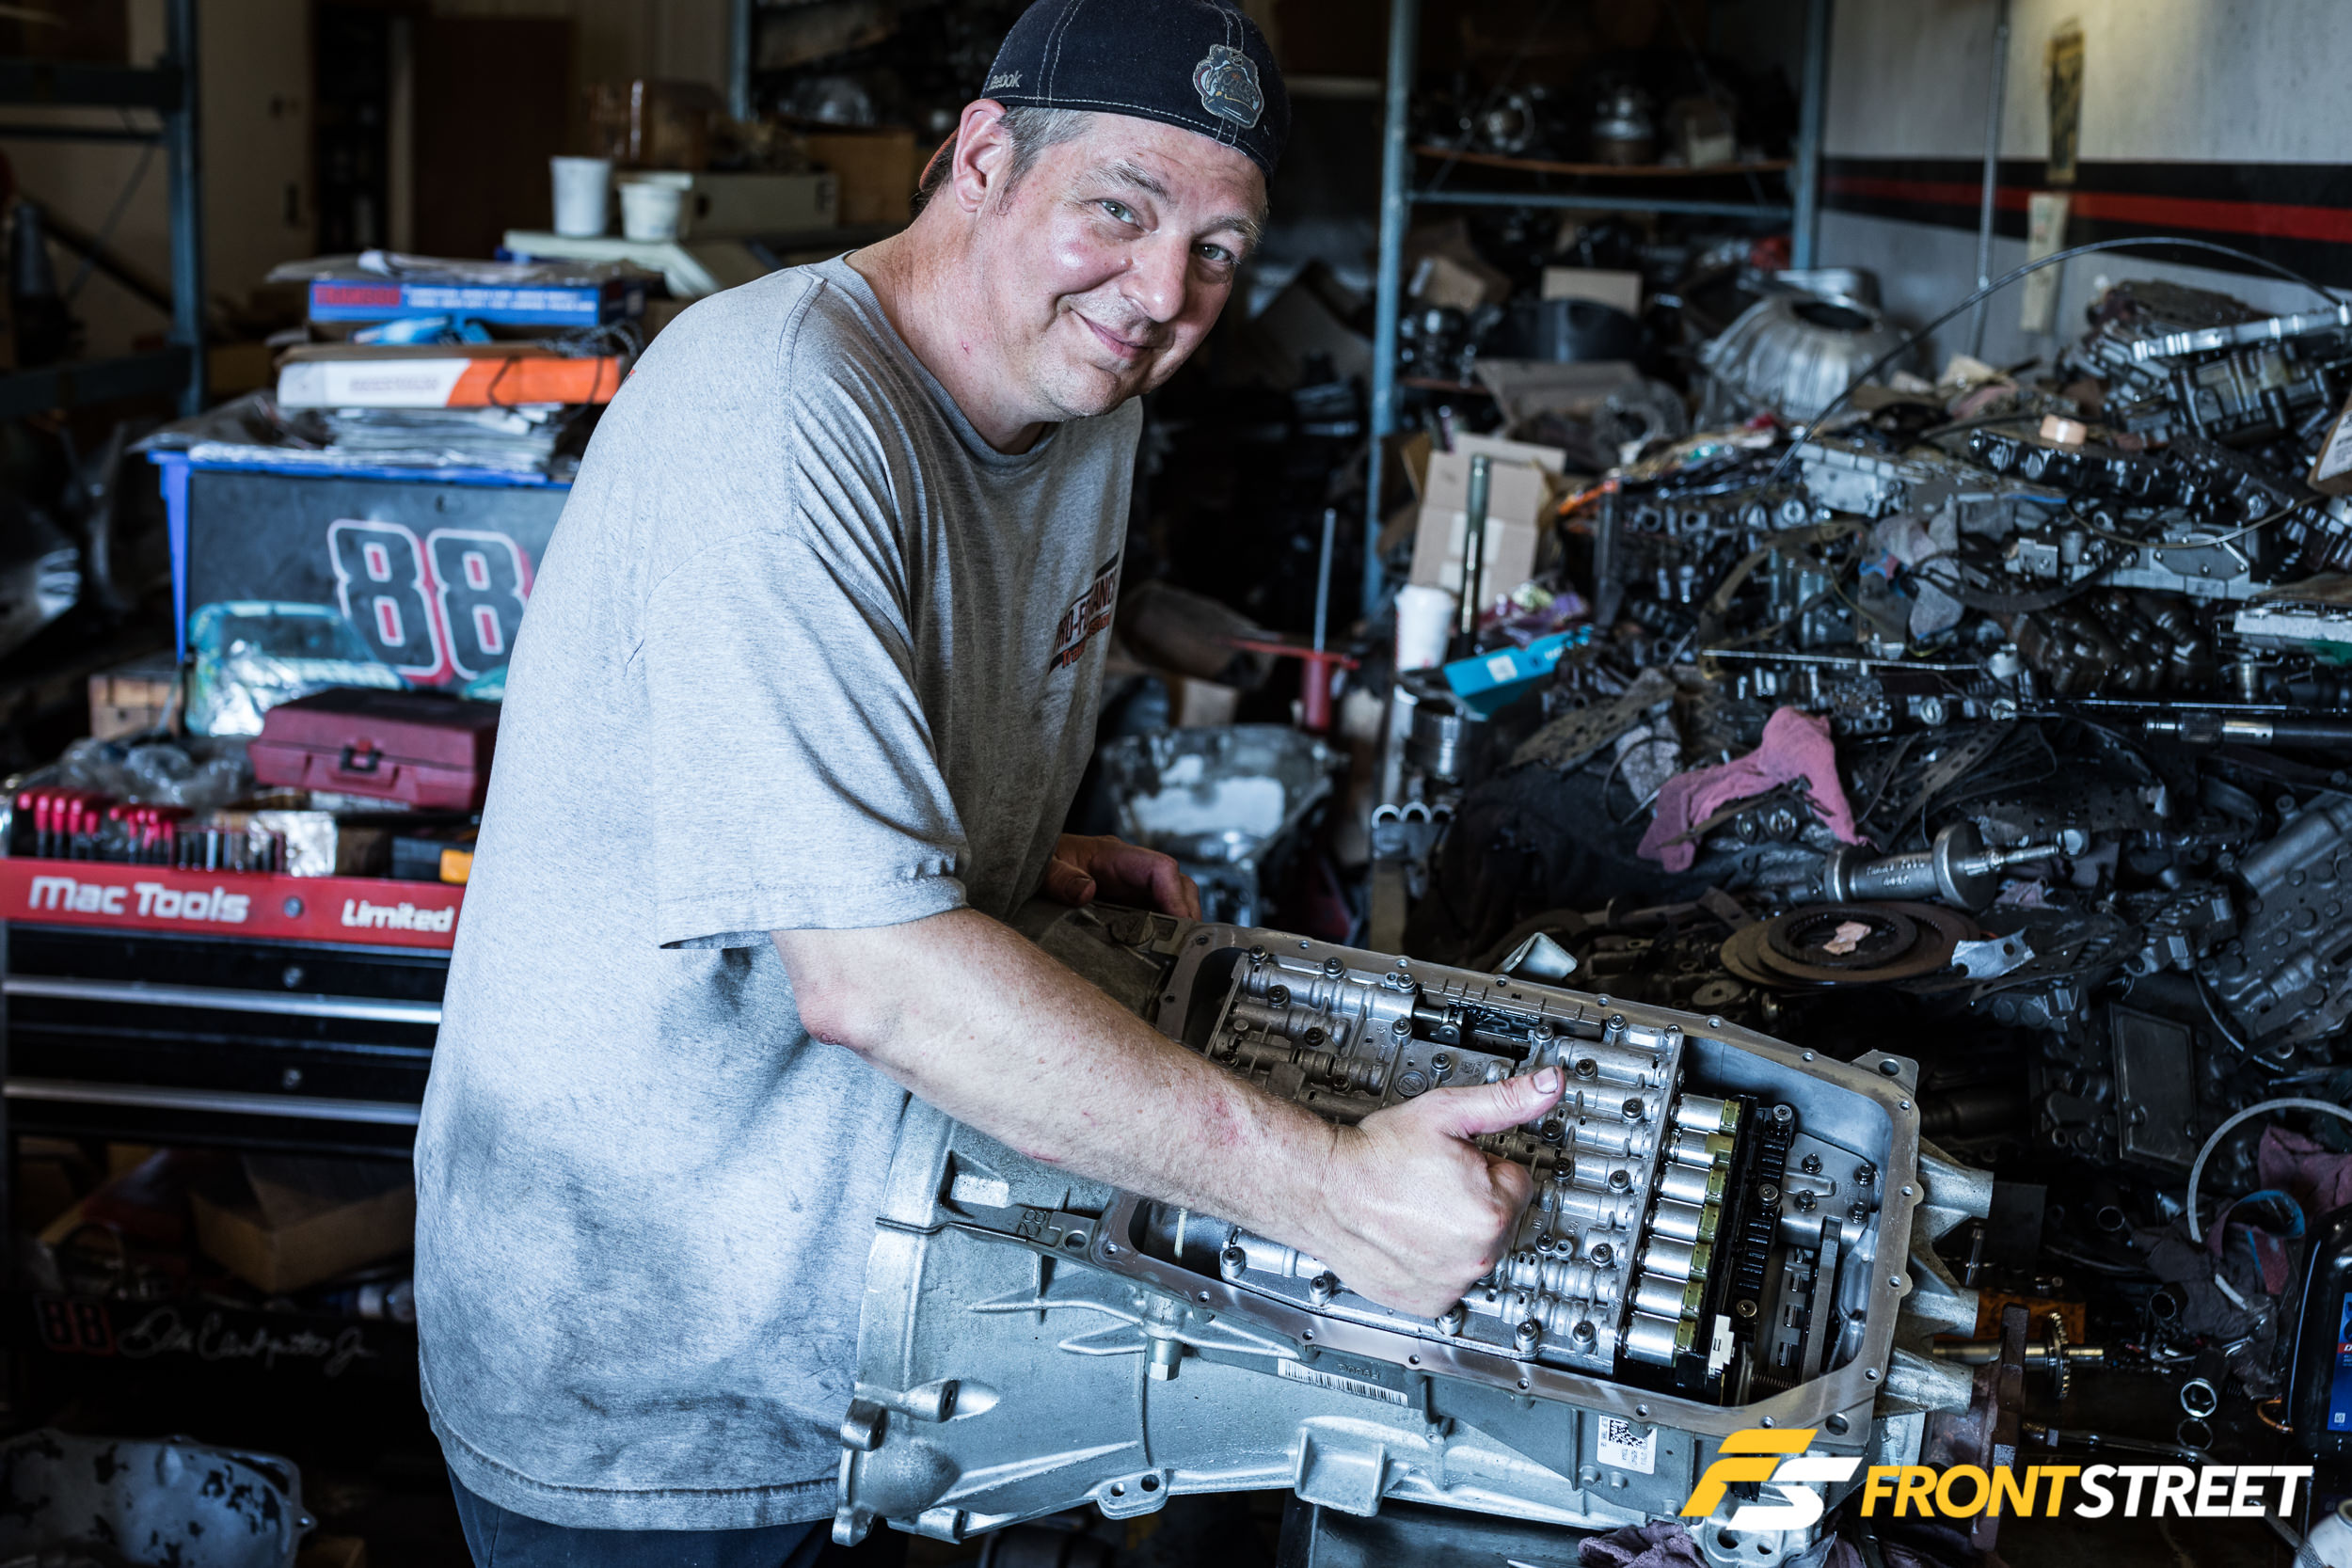
With the pan off, we were able to remove the valve body. Eleven bolts hold the valve body and molded lead frame (electronics) to the transmission case, so we removed that assembly and set it aside for later. This molded piece of plastic includes two rubber gaskets and transfers fluid from the valve body to the case. The gaskets are replaced as part of the McLeod kit as they get compressed during valve body installation. The material can remain in that state upon removal and cause a potential leak upon reassembly, so it’s best to change them. They pry out easily with a pick.
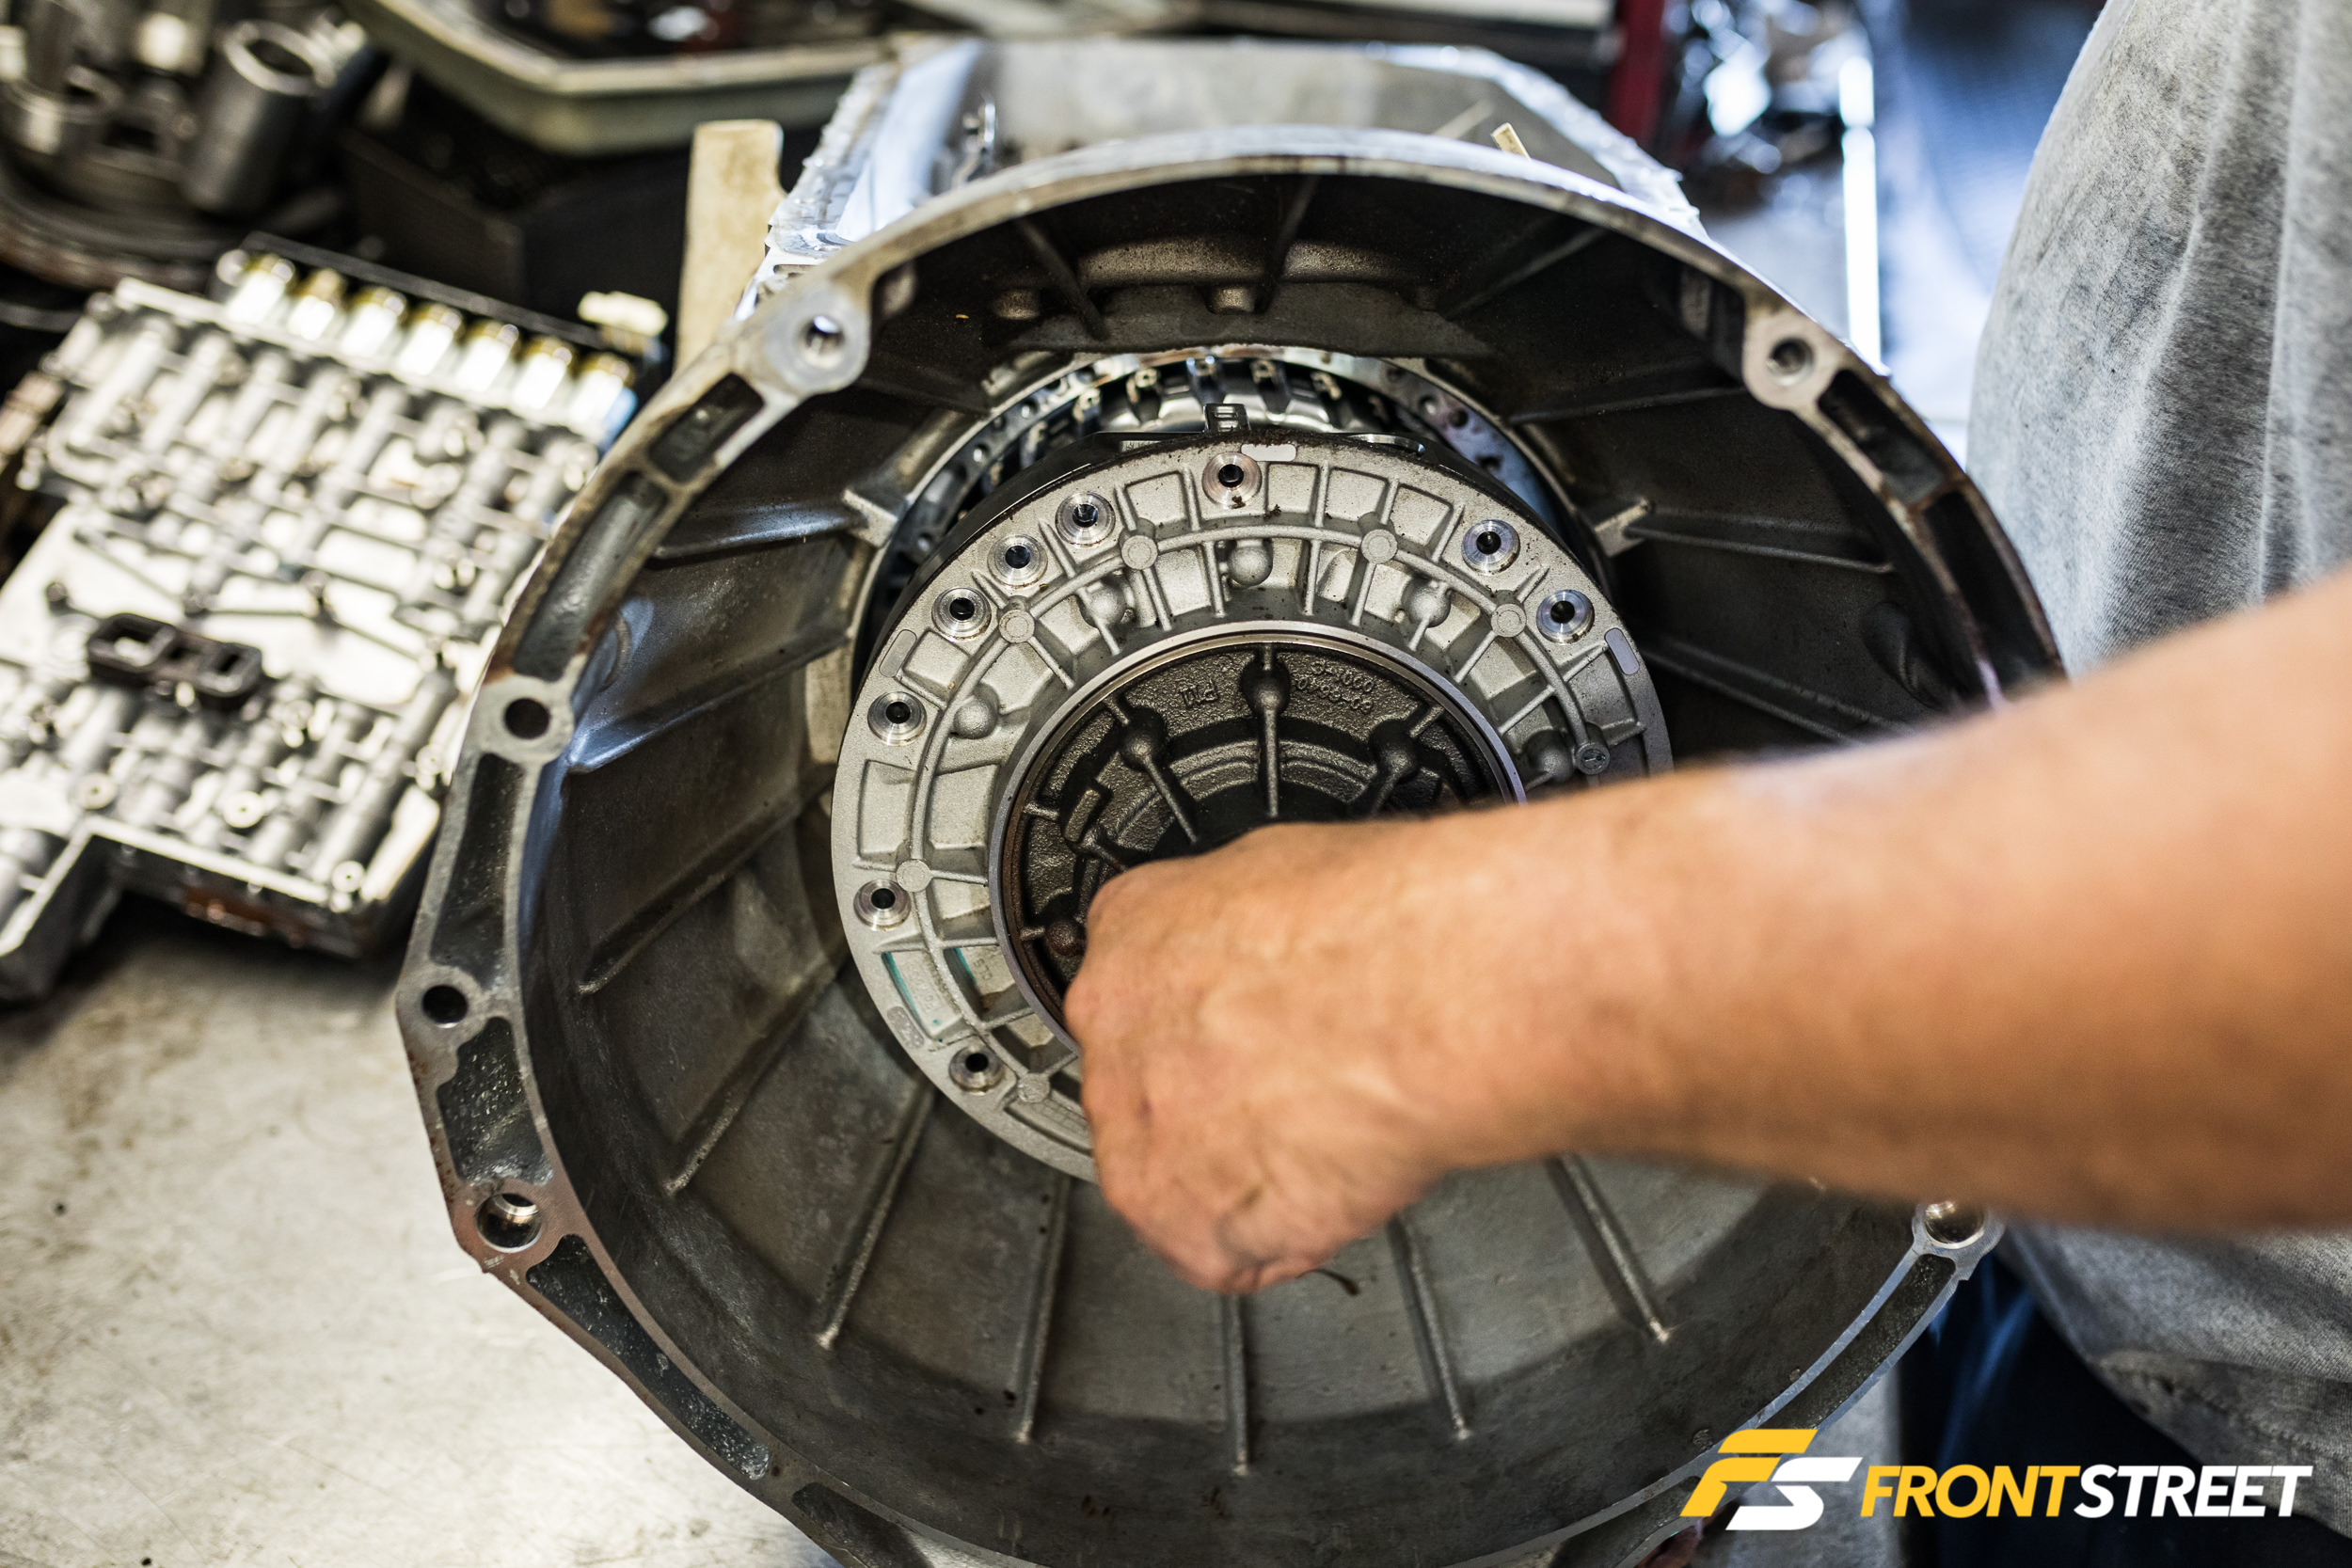
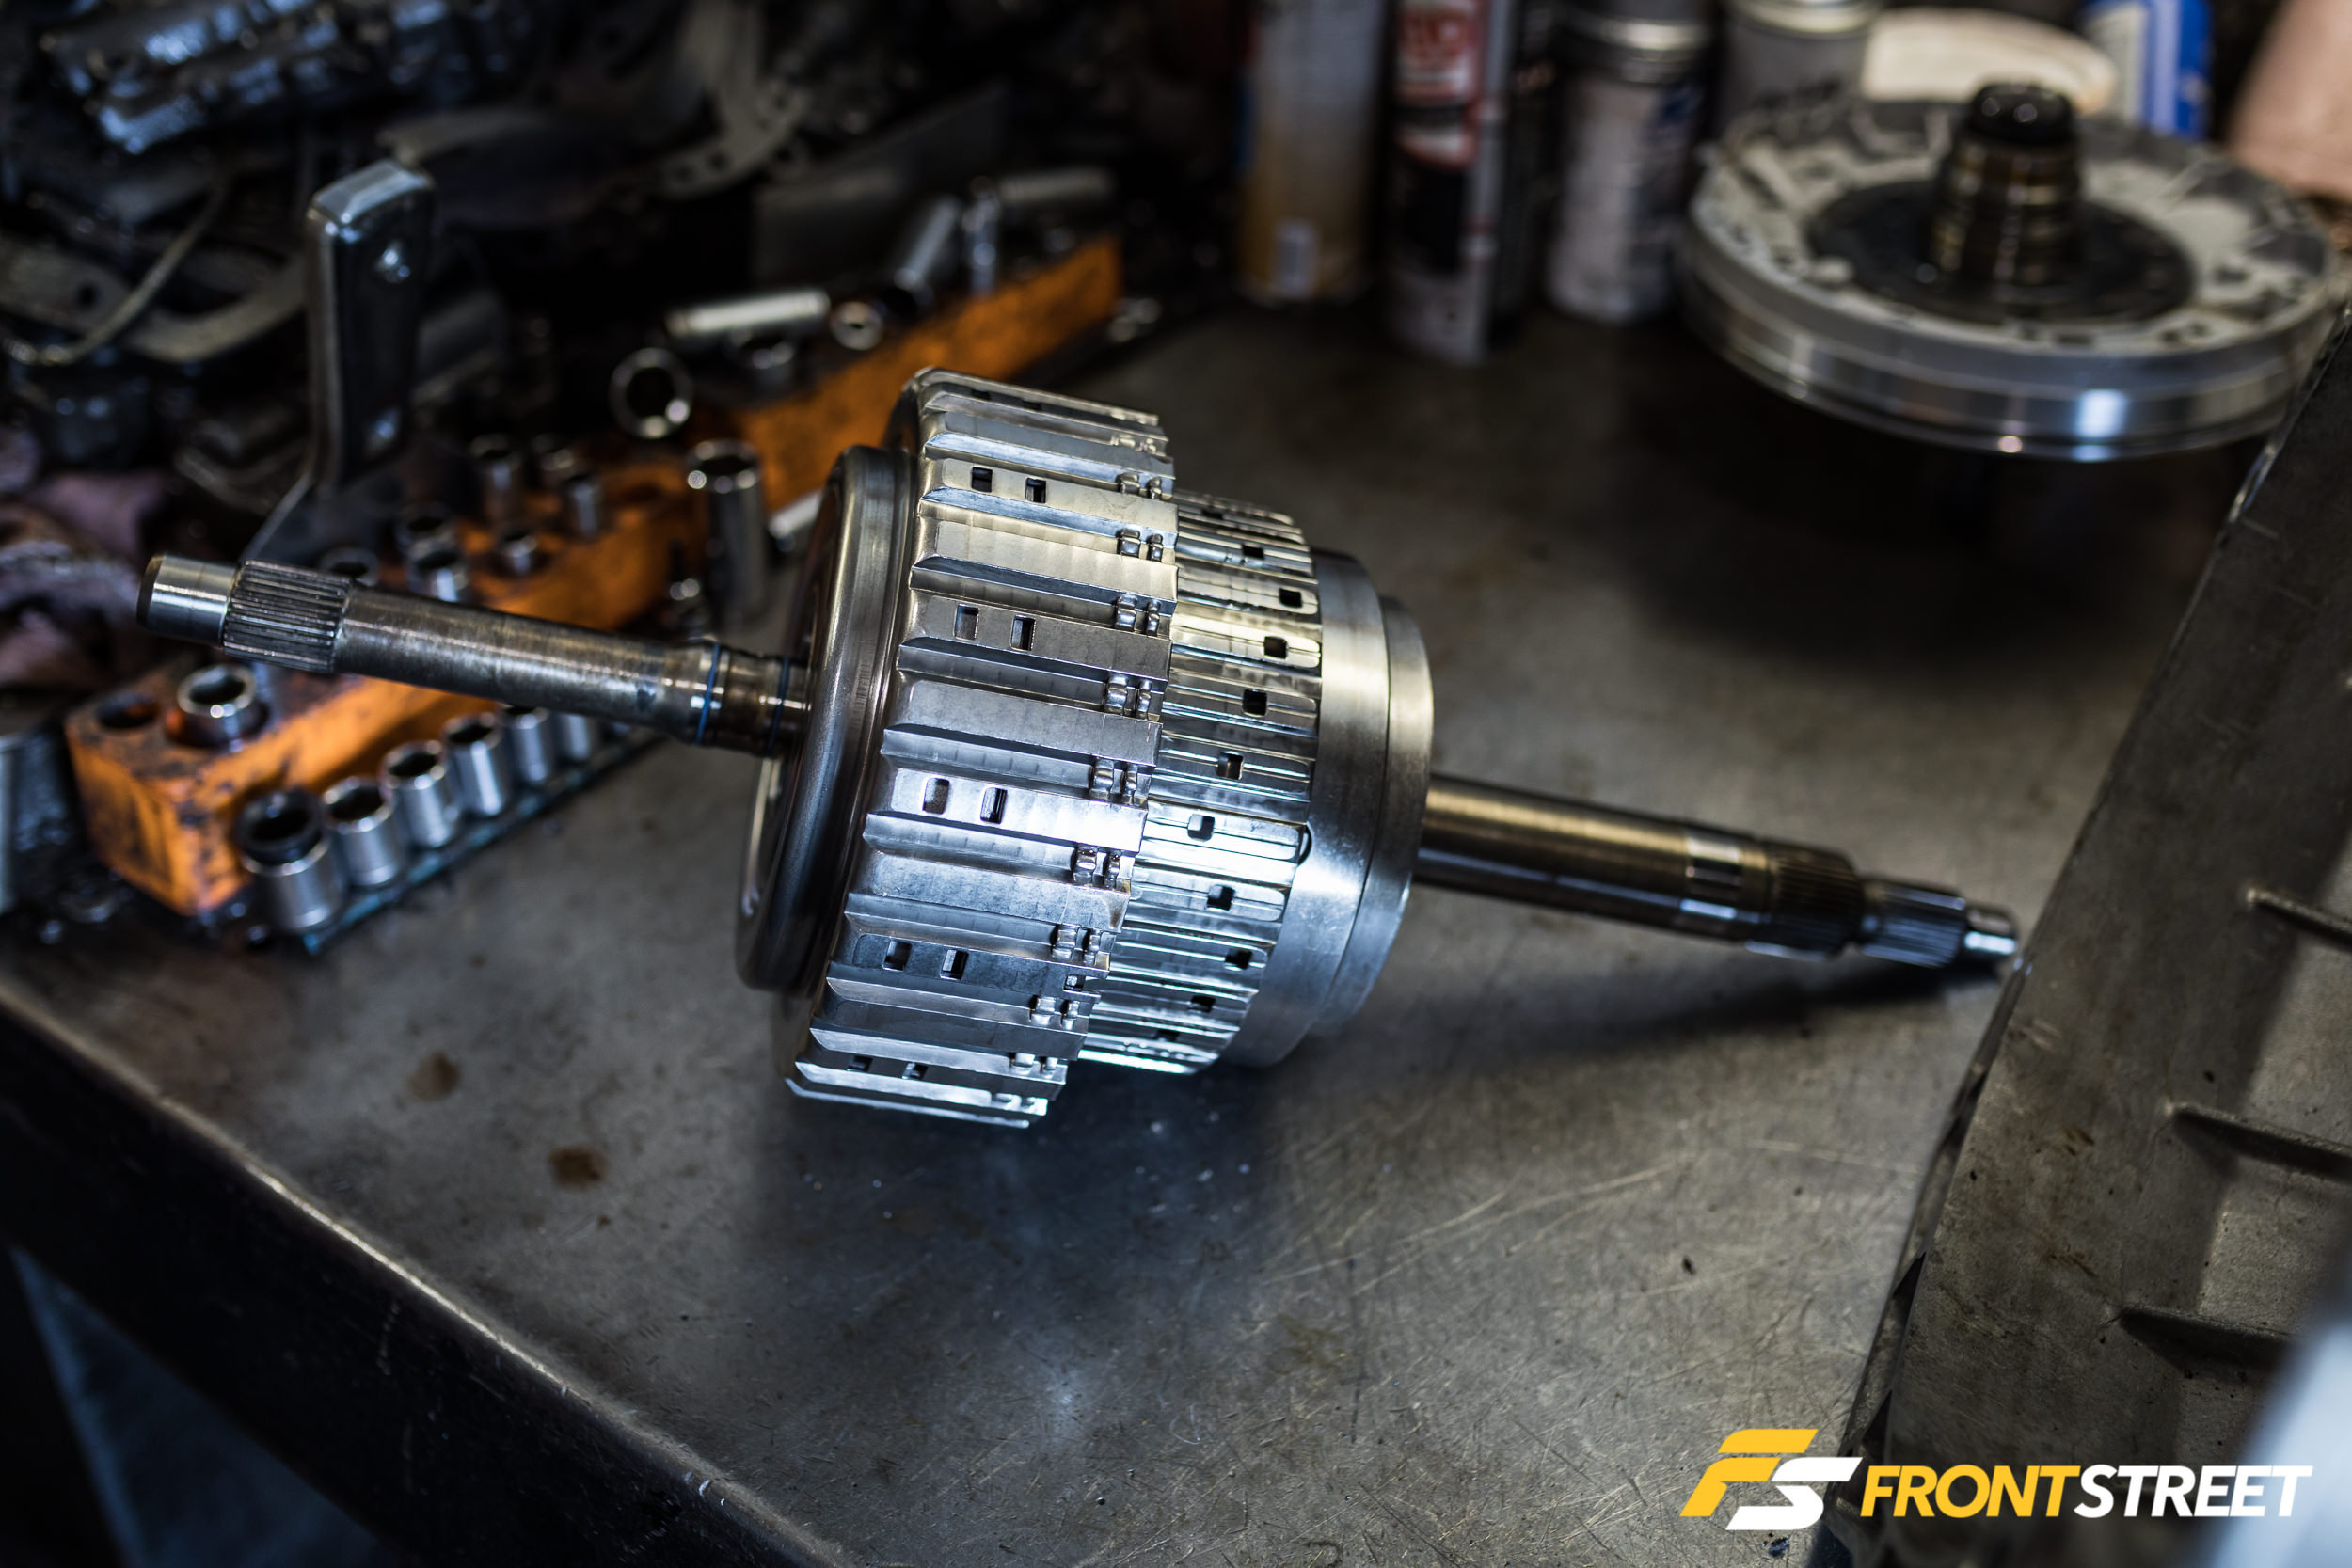
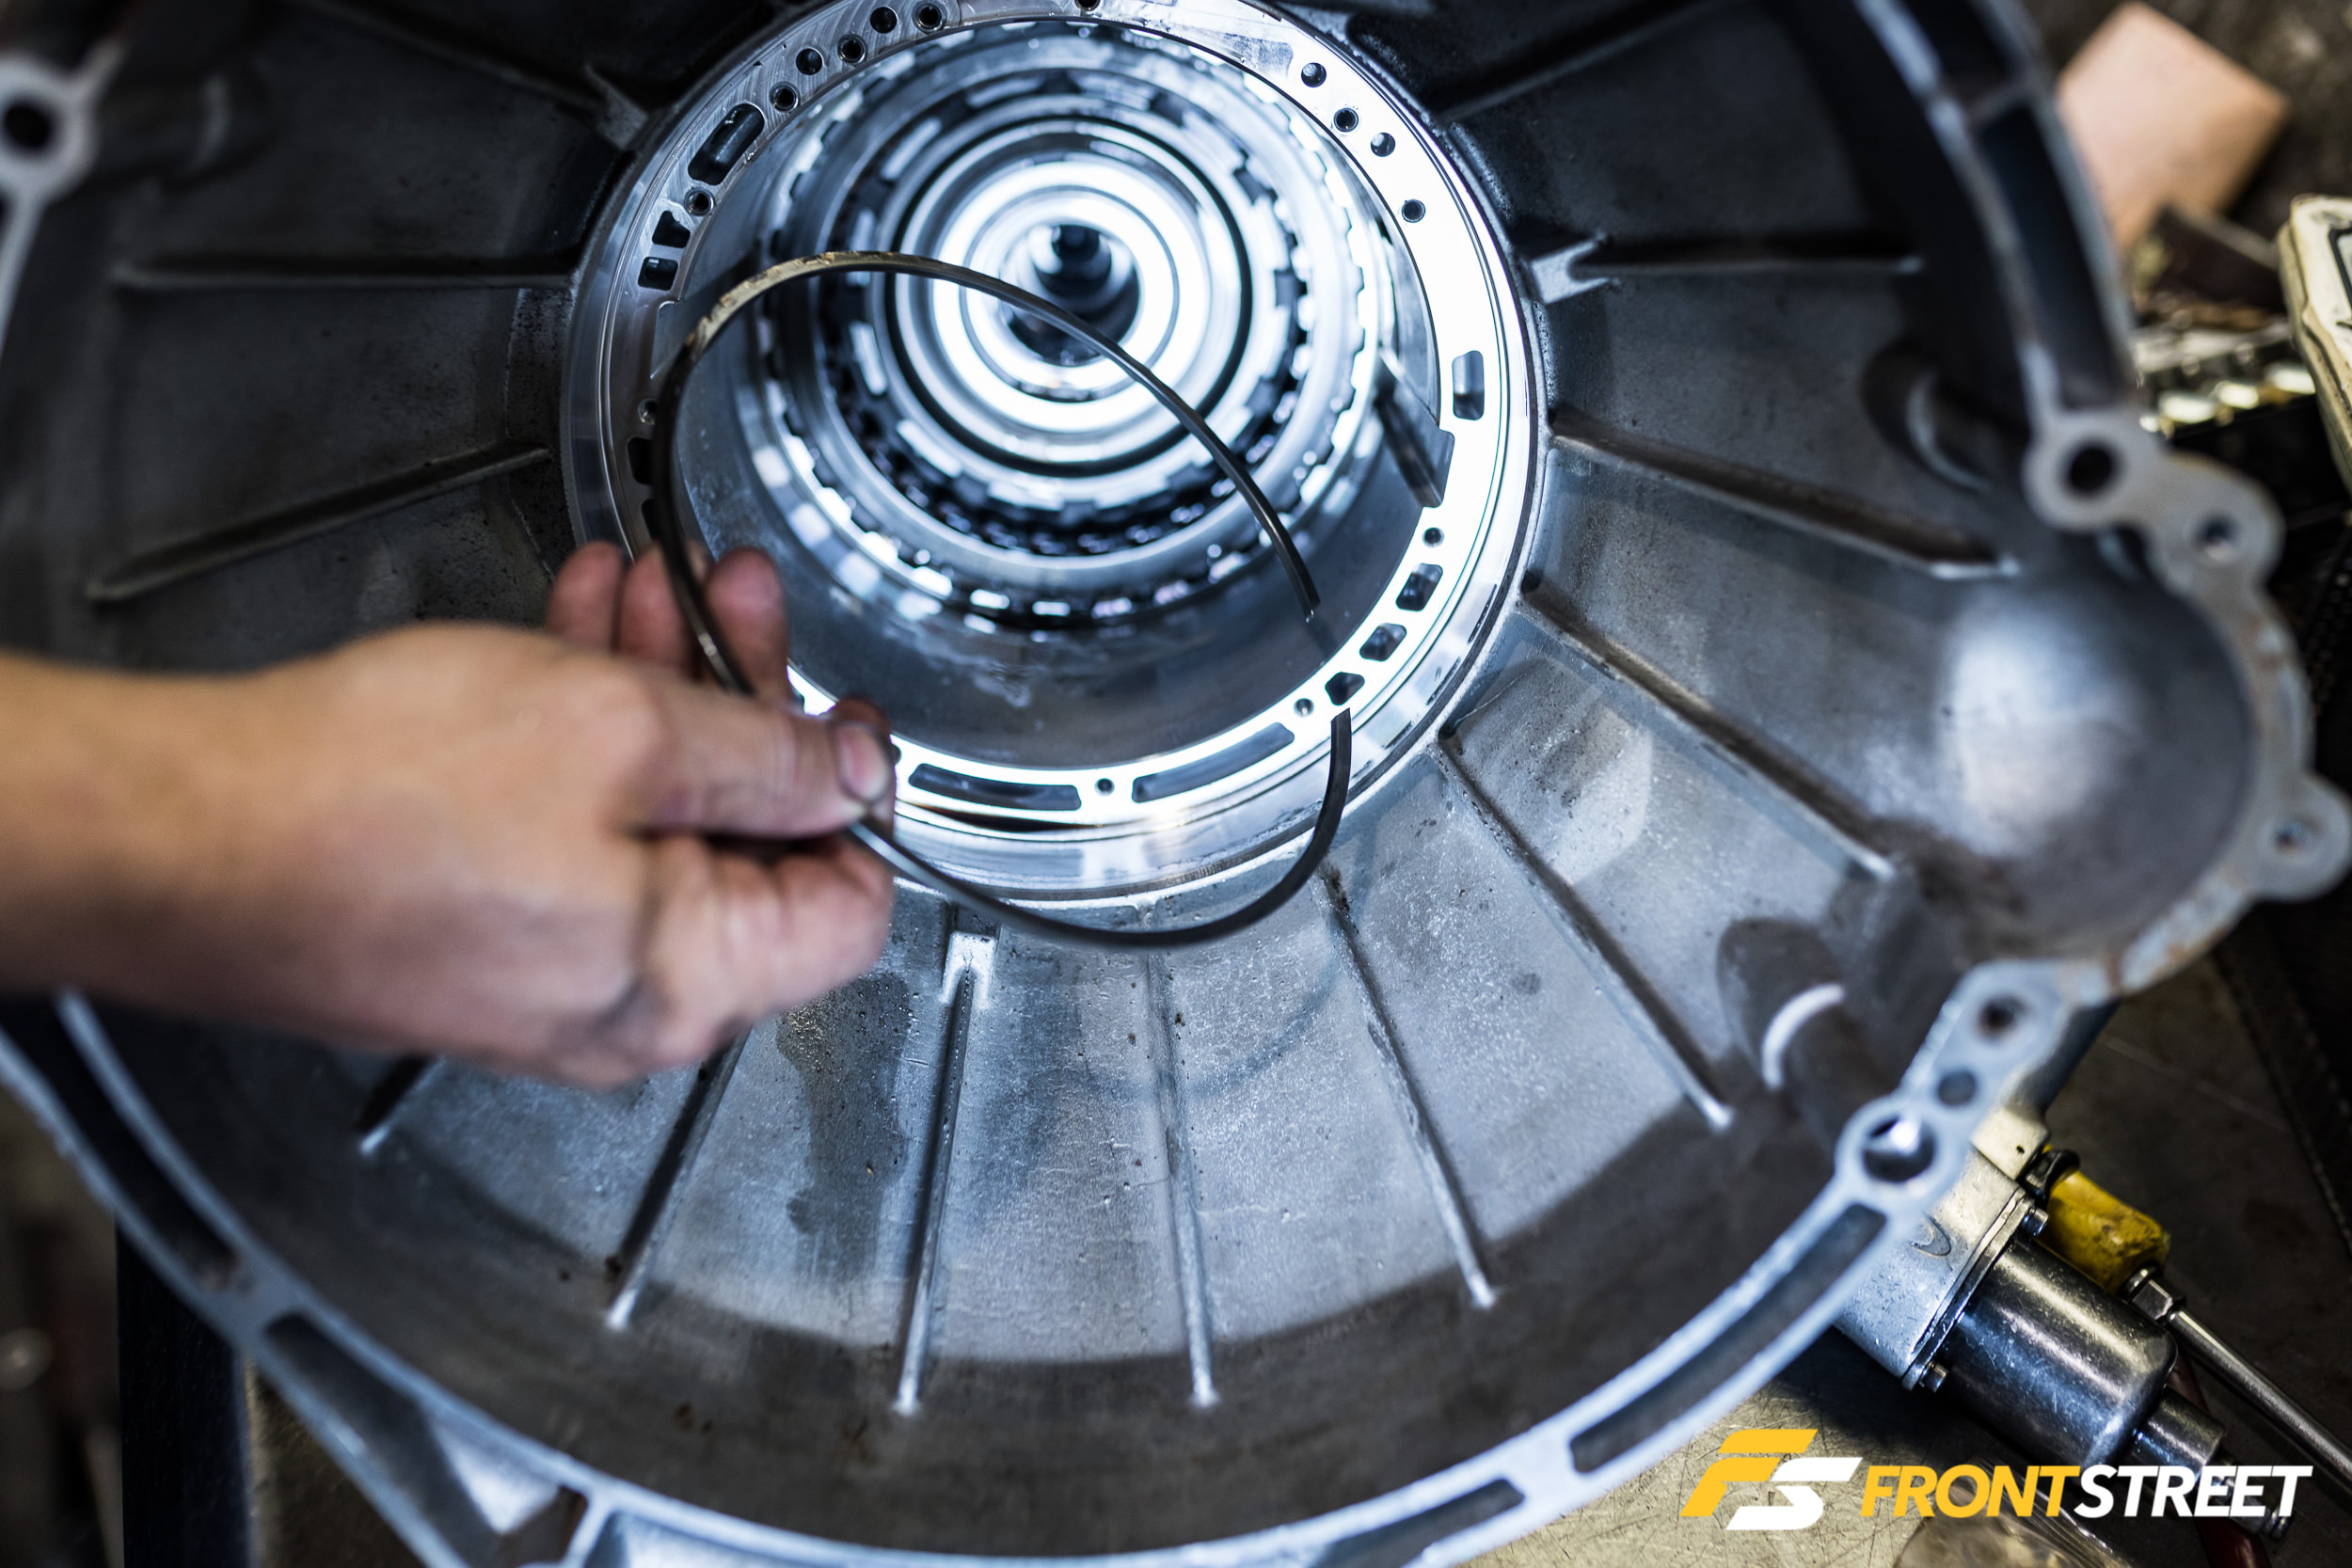
From here, it’s time to start pulling the hard parts out of the case. There are several groups of elements from front to rear in the case: the pump and stator assembly, forward clutch pack, front sun gear, front planetary, overdrive clutch pack, intermediate clutch shaft, forward hub and shaft, direct clutch hub, direct clutch, intermediate clutch, center support, low/reverse clutch, two more sun gears, the rear planetary, and the output ring gear. There are also snap rings, bushings, spacers, and other small parts in the list, but these are the major components of the transmission. Shown here is the removal of the front pump, then the forward clutch assembly, input shaft, and intermediate clutch shaft on the bench as one section. These parts contain two groups of clutch packs along with the front planetary and sun gear.
Sean carefully took everything apart, replacing the O-ring seal around the pump’s circumference with the new one in the package from McLeod Racing.
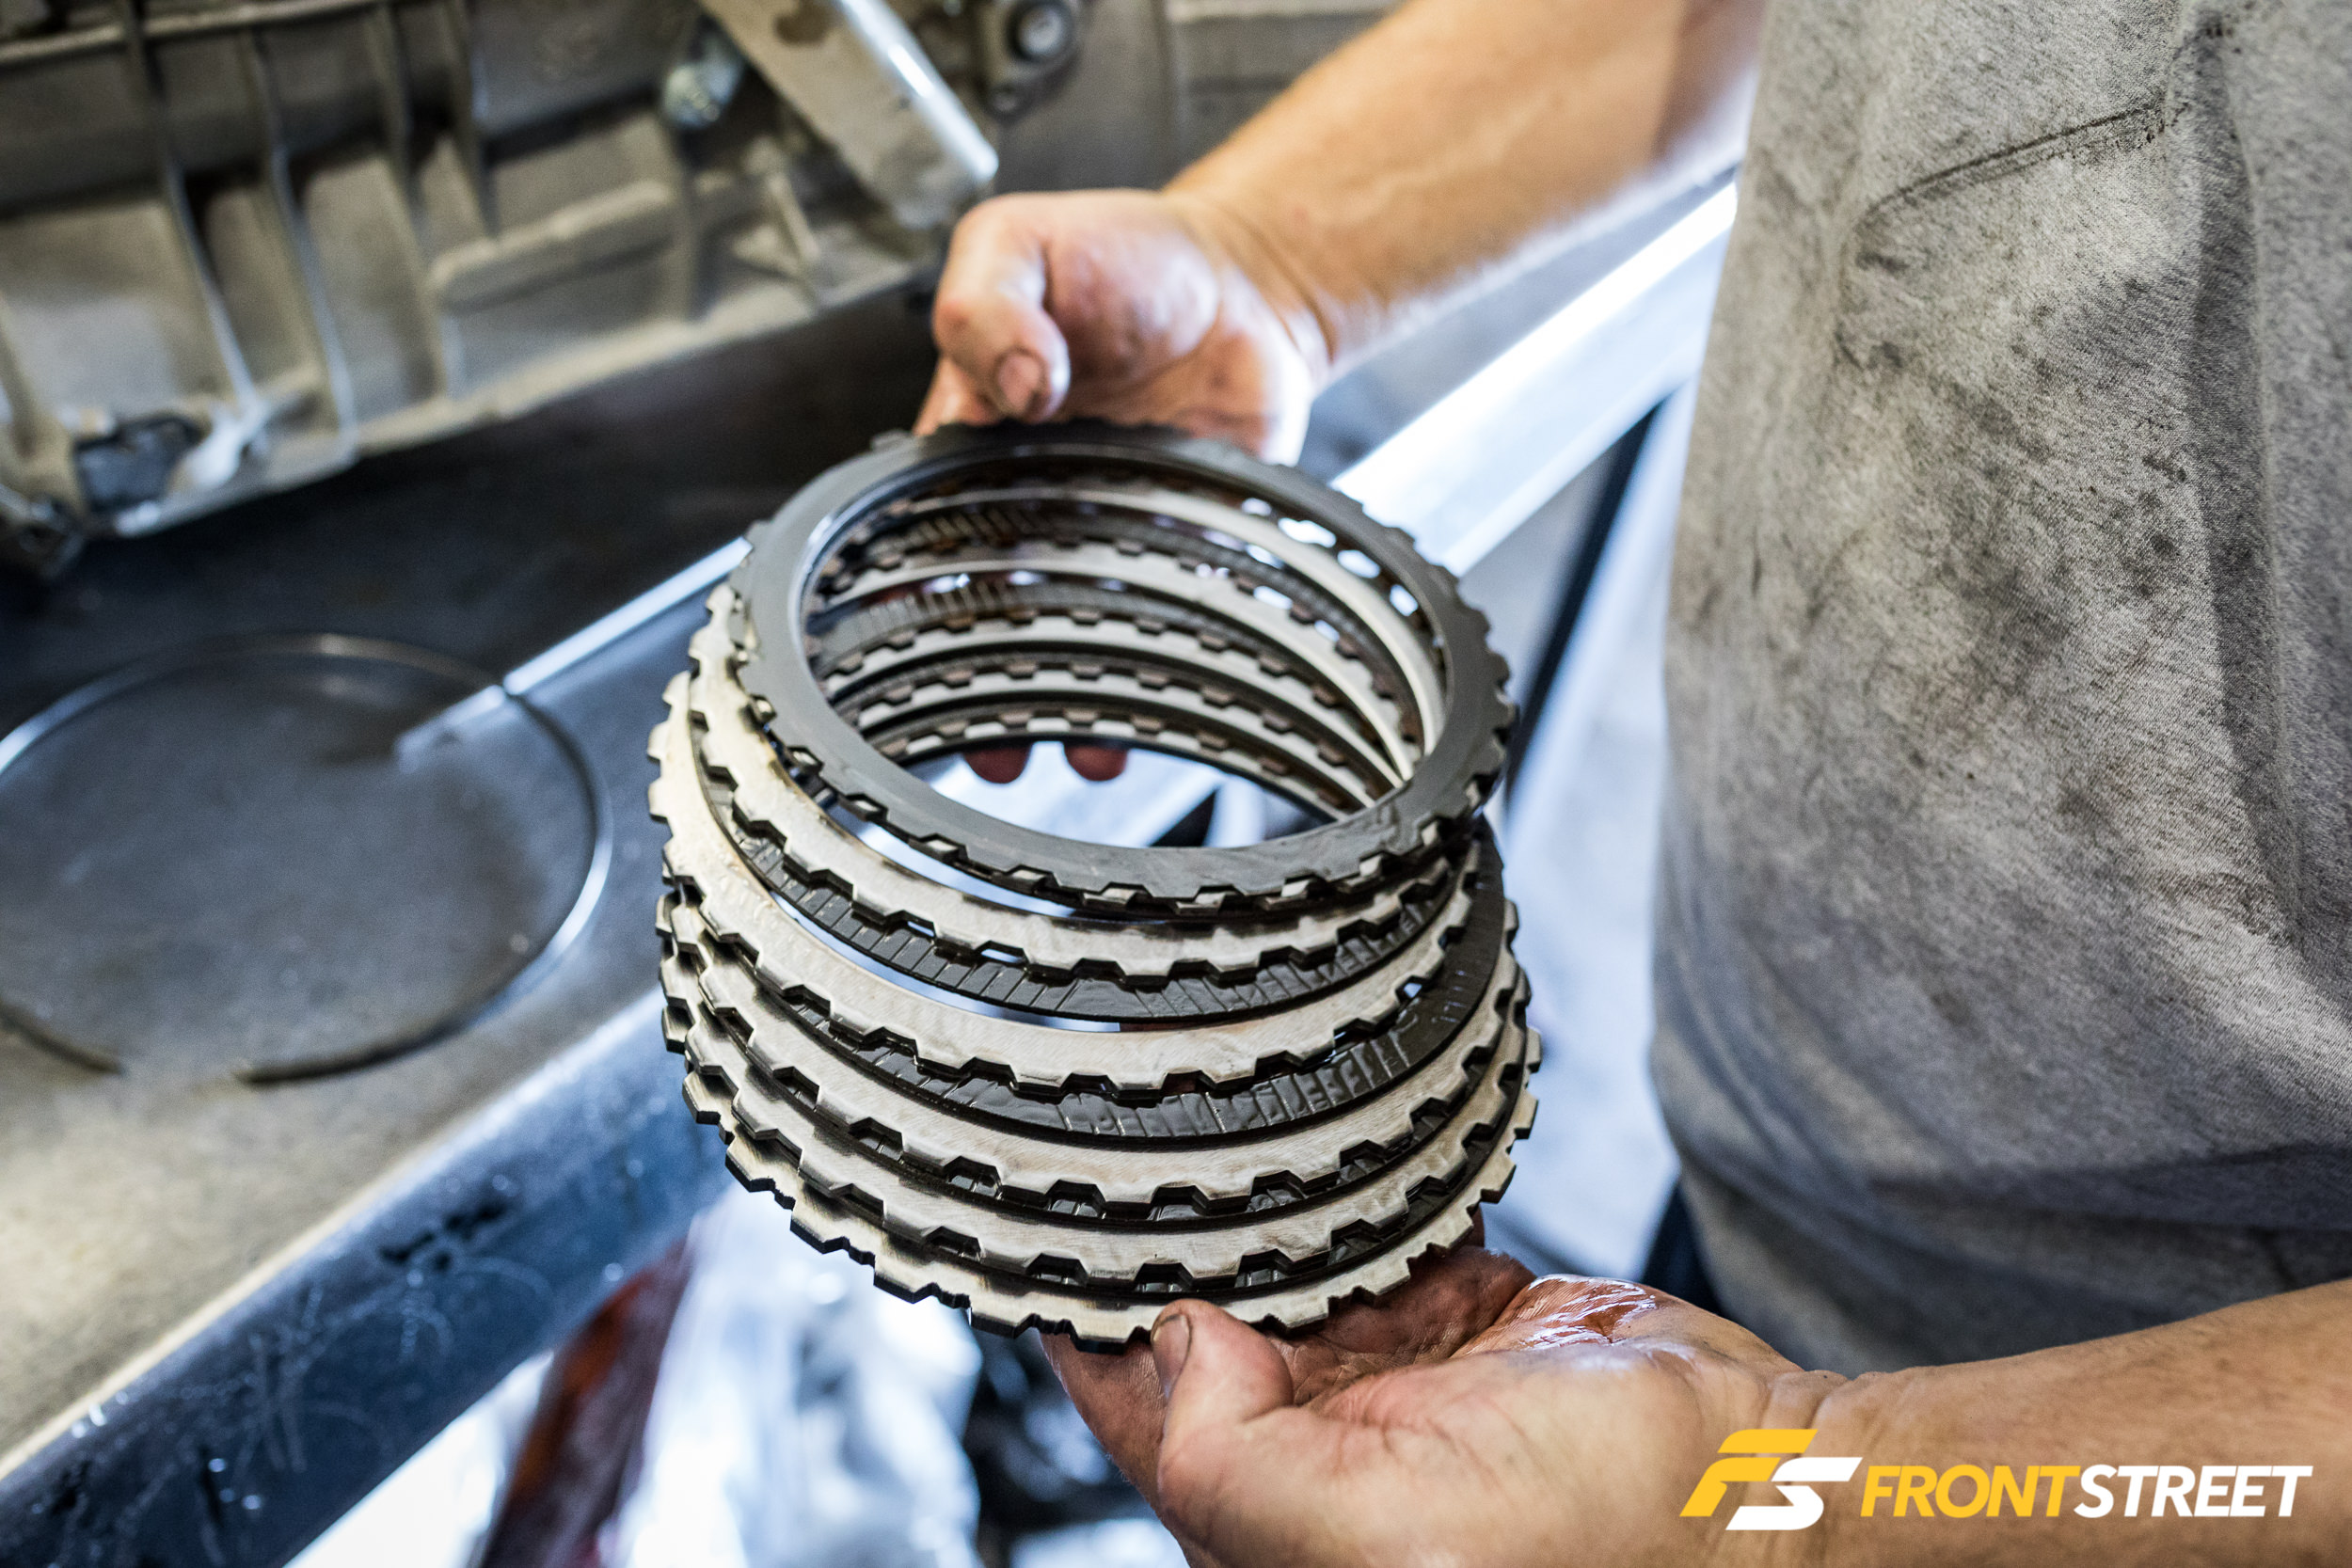
The stock 6R80 clutch and steel packs looked to be in stellar condition, reinforcing the concept in my mind that I got a killer deal on this transmission. The steels still showed their original machining marks on the face as well.
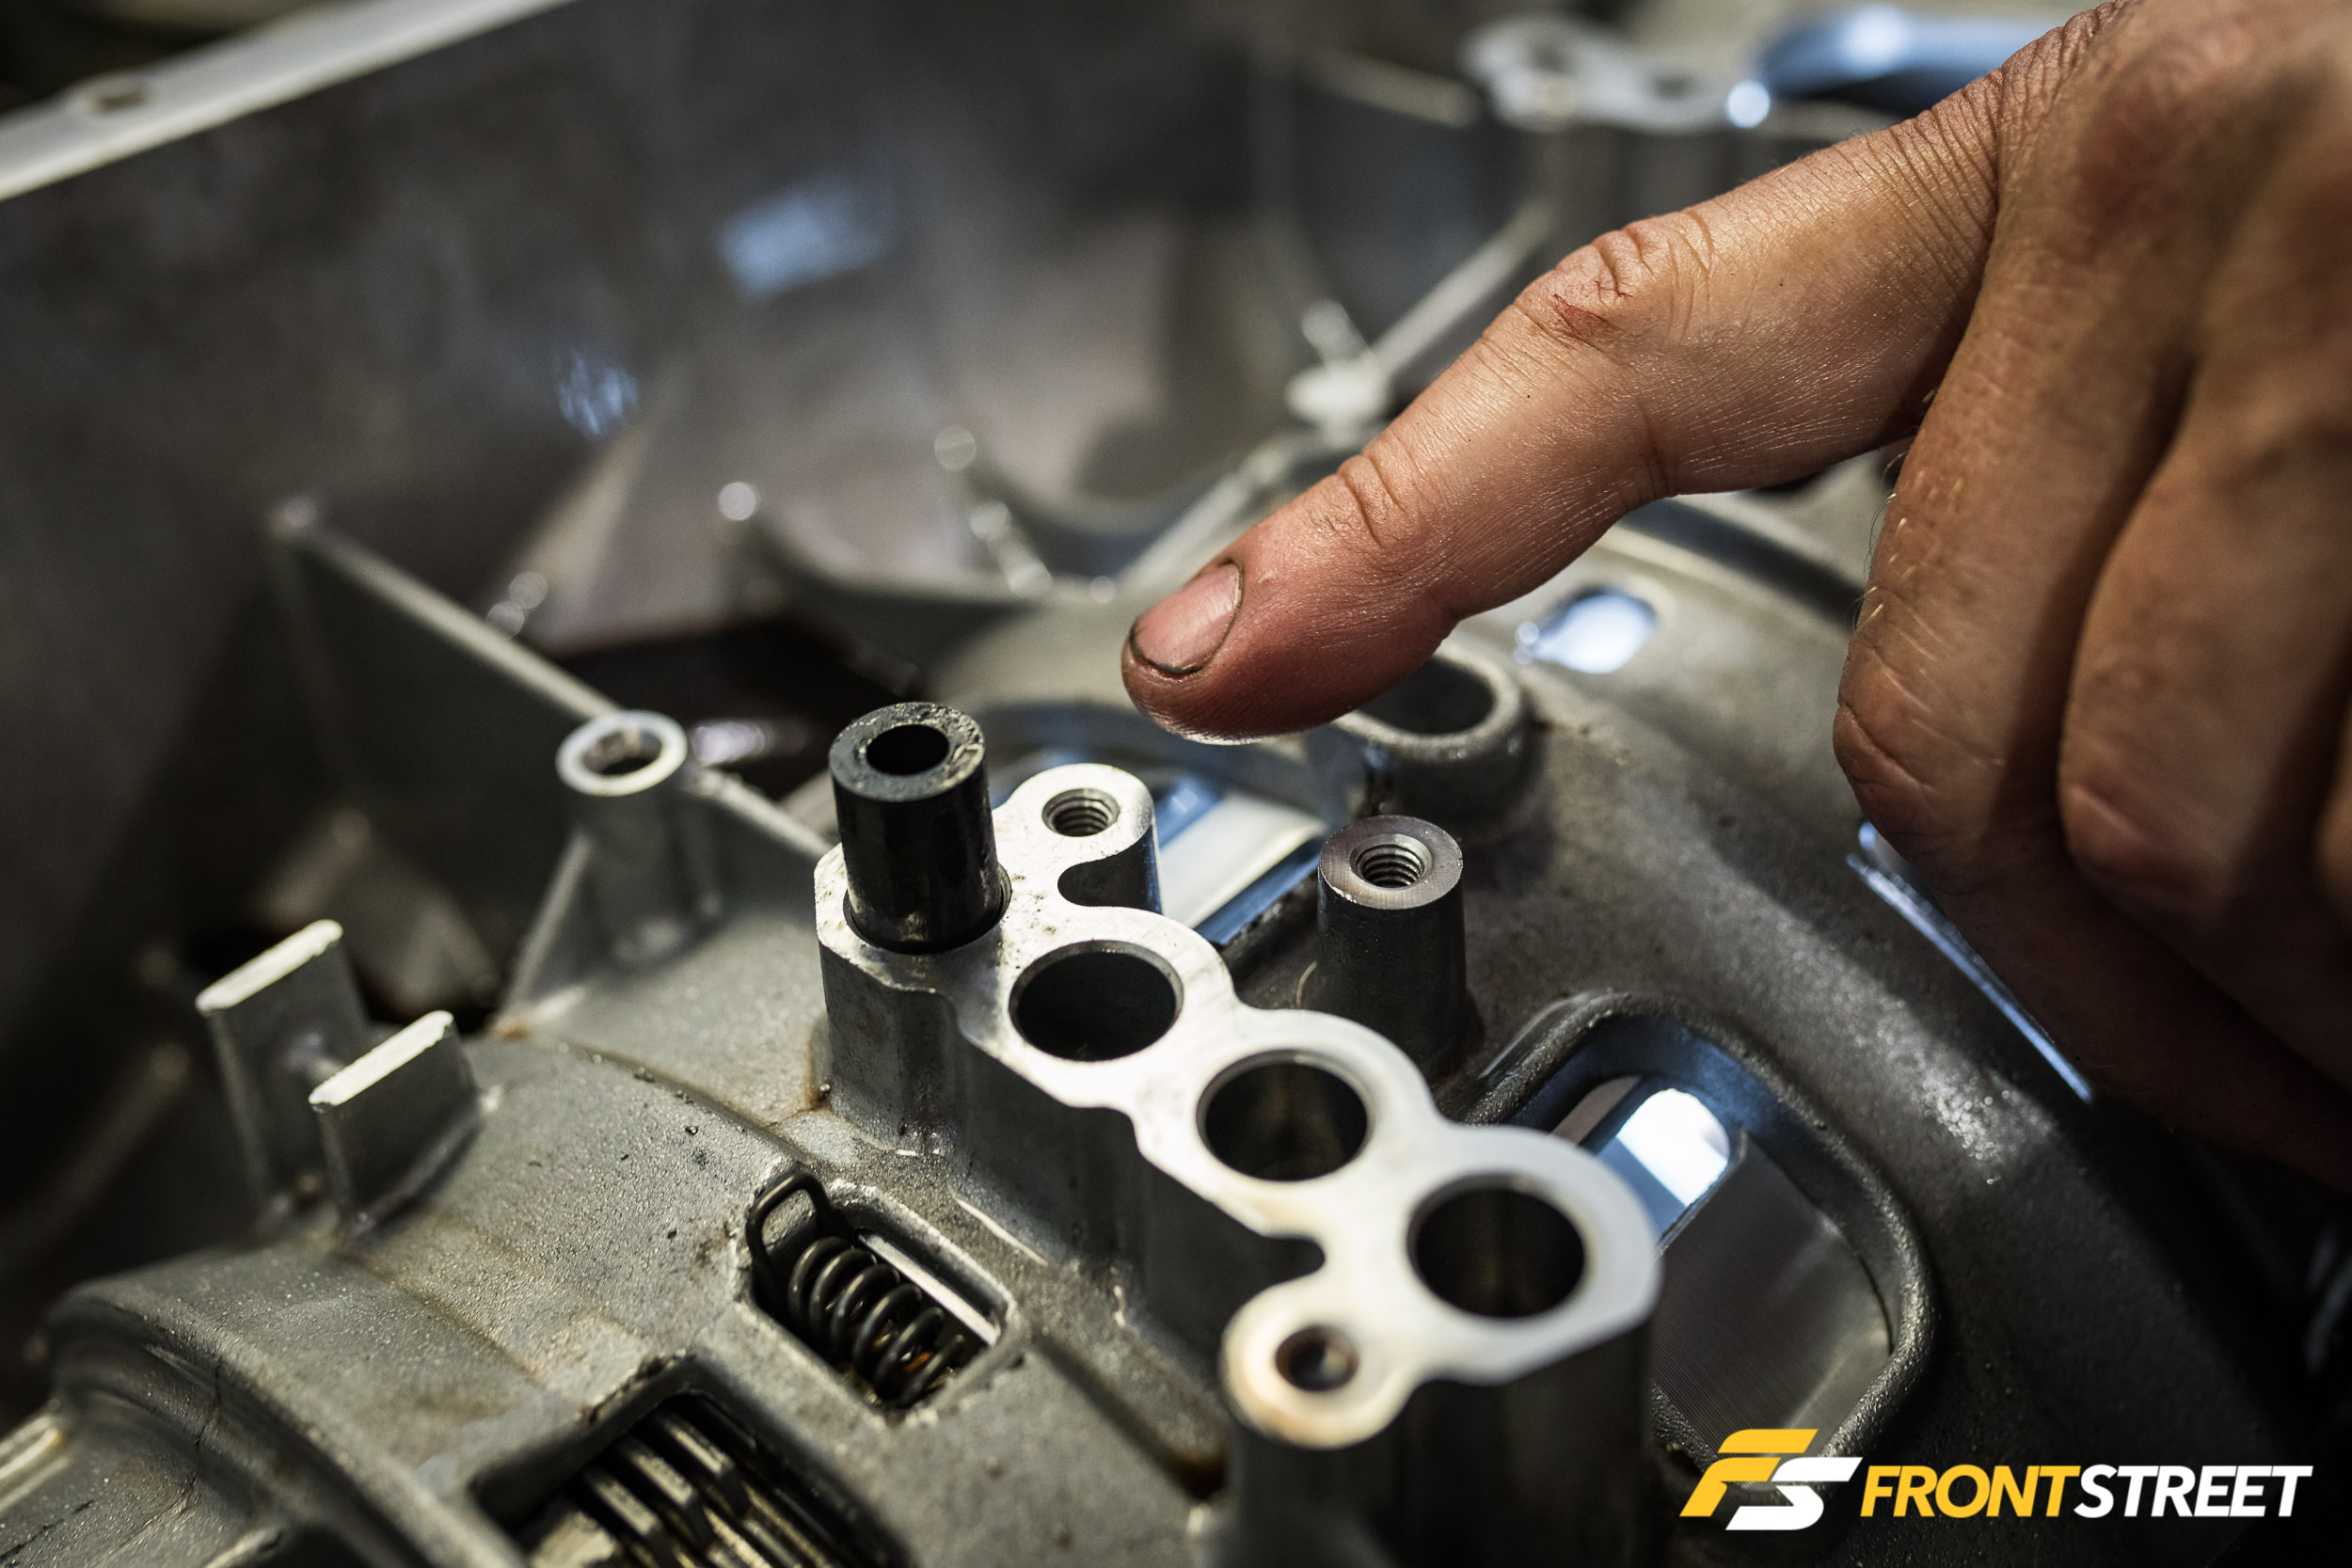
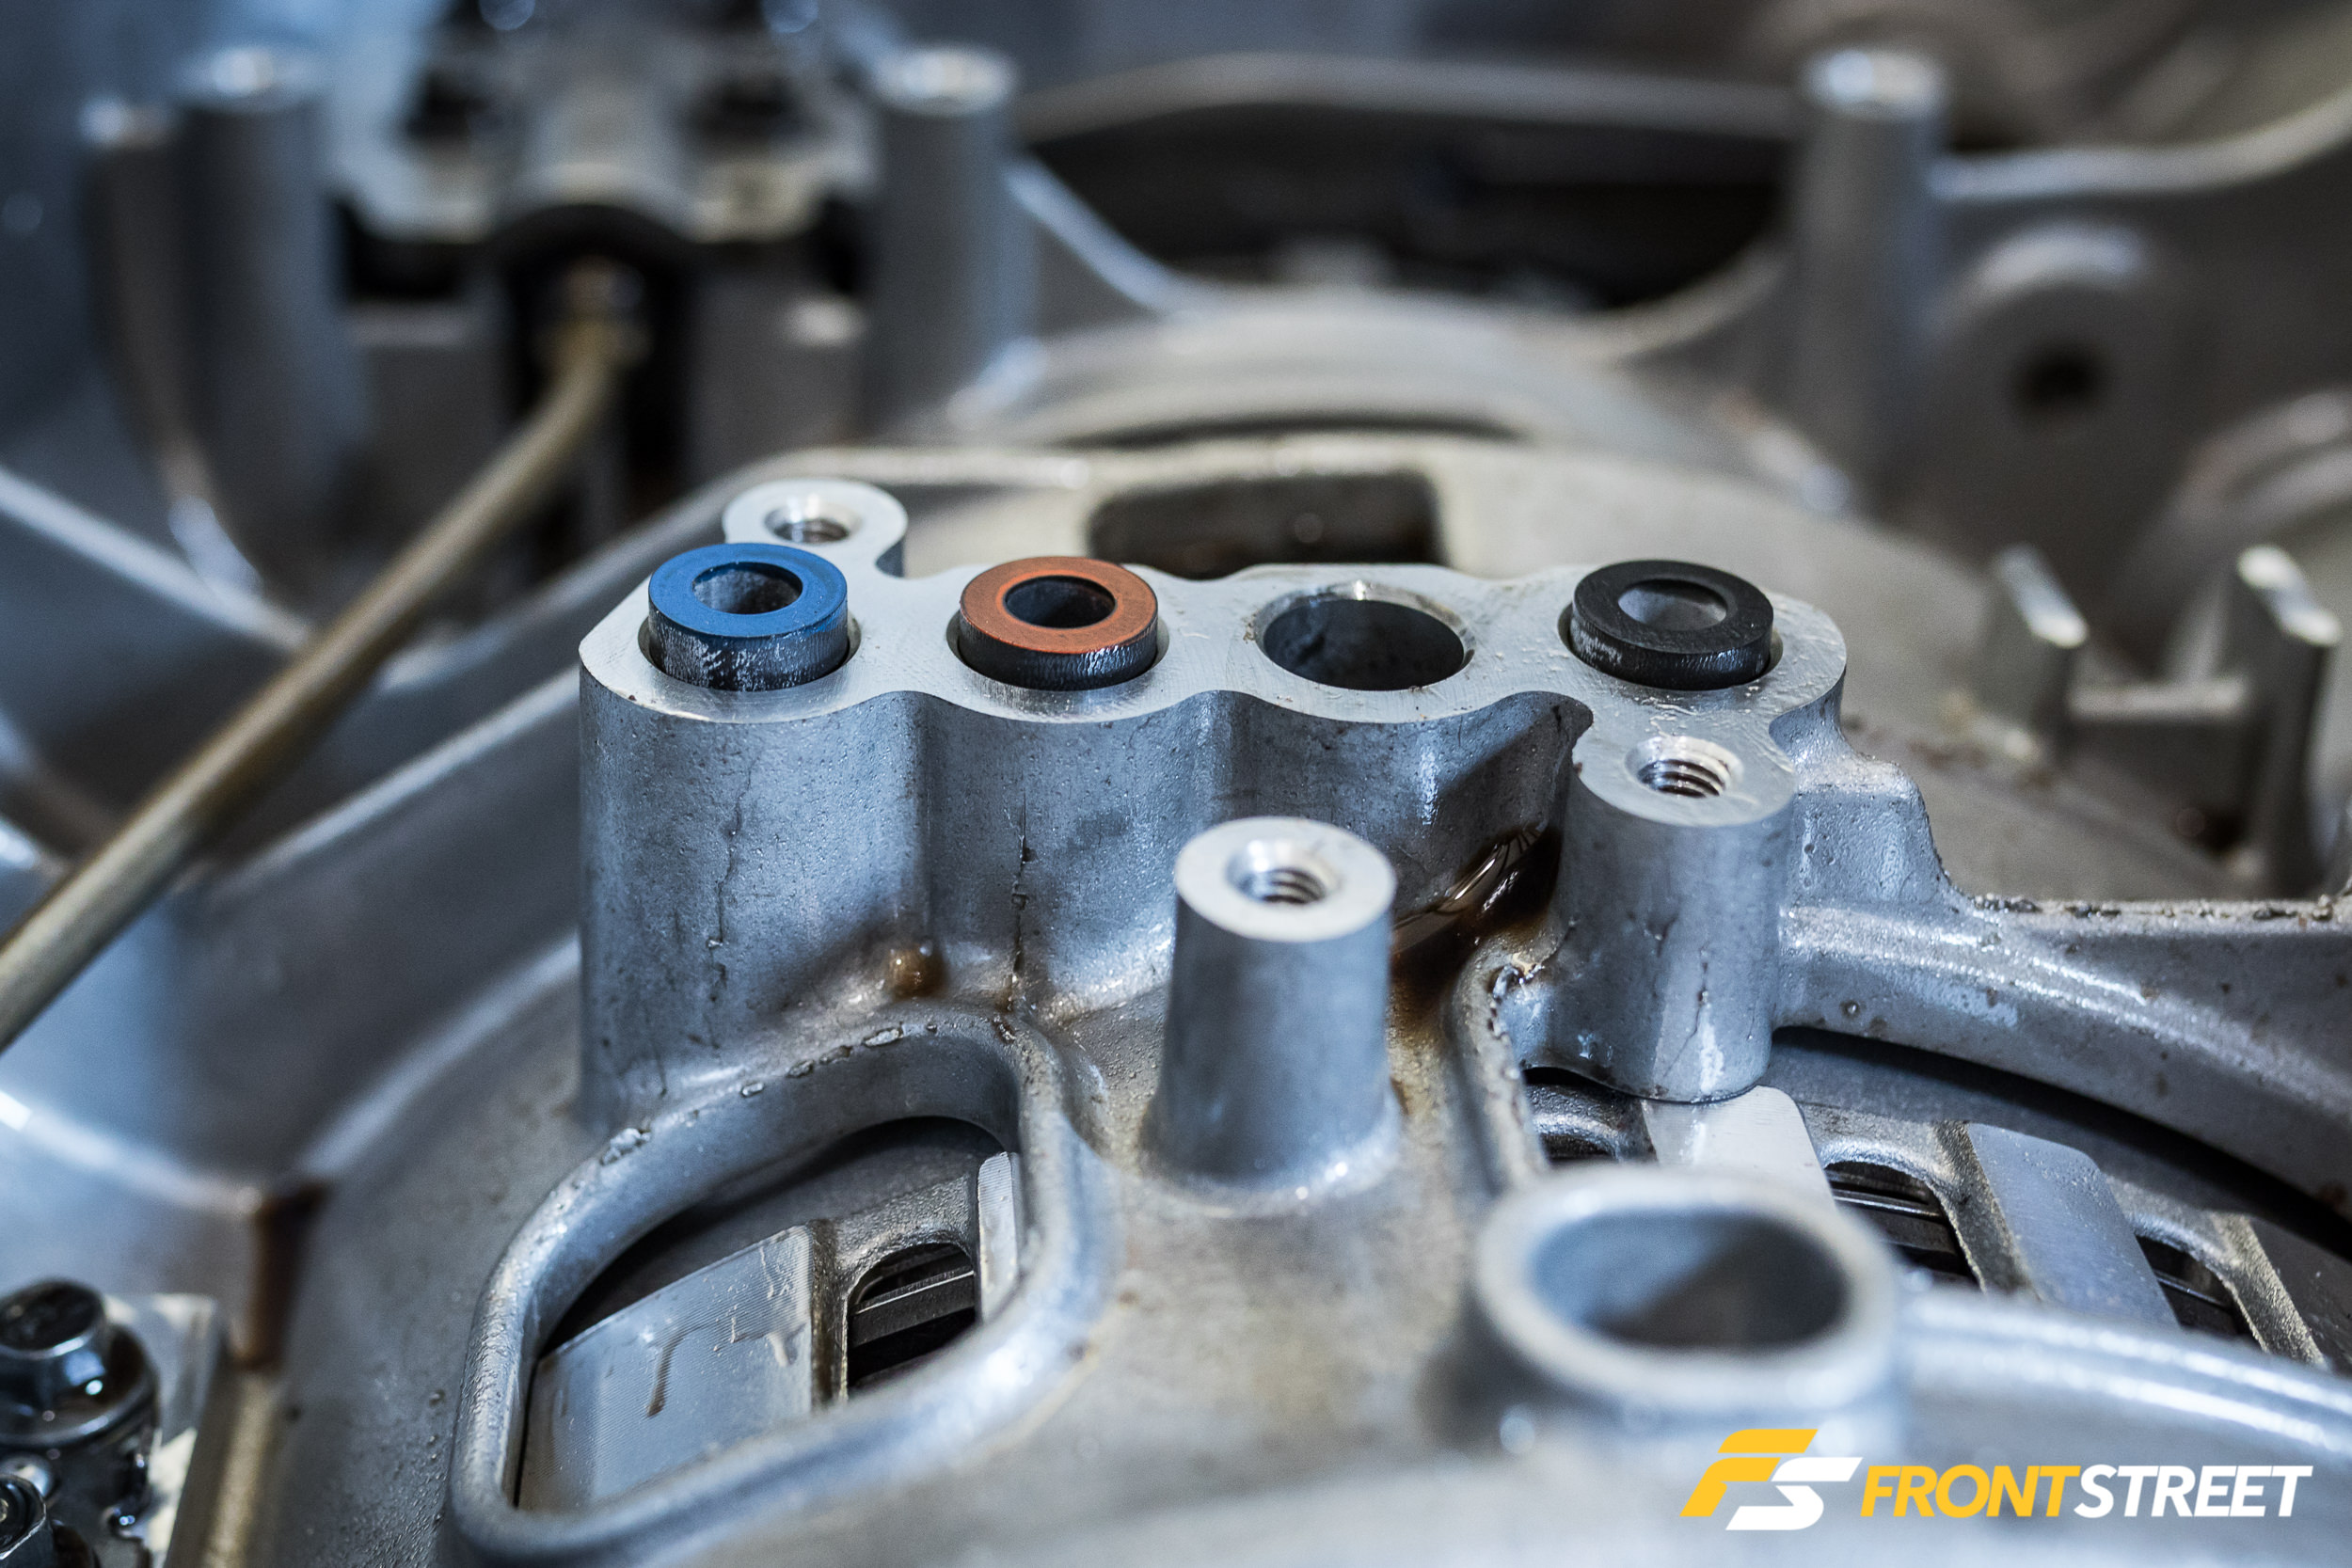
These transfer tubes are made of rubber and are specific to their bores concerning length; the McLeod kit came with new ones. They ensure fluid transfers properly in and out of the valve body to the case, like the rectangular tubes above. Sean uses a dab of grease to keep these in place during the reassembly process, along with a liberal application of grease on all O-rings during installation.
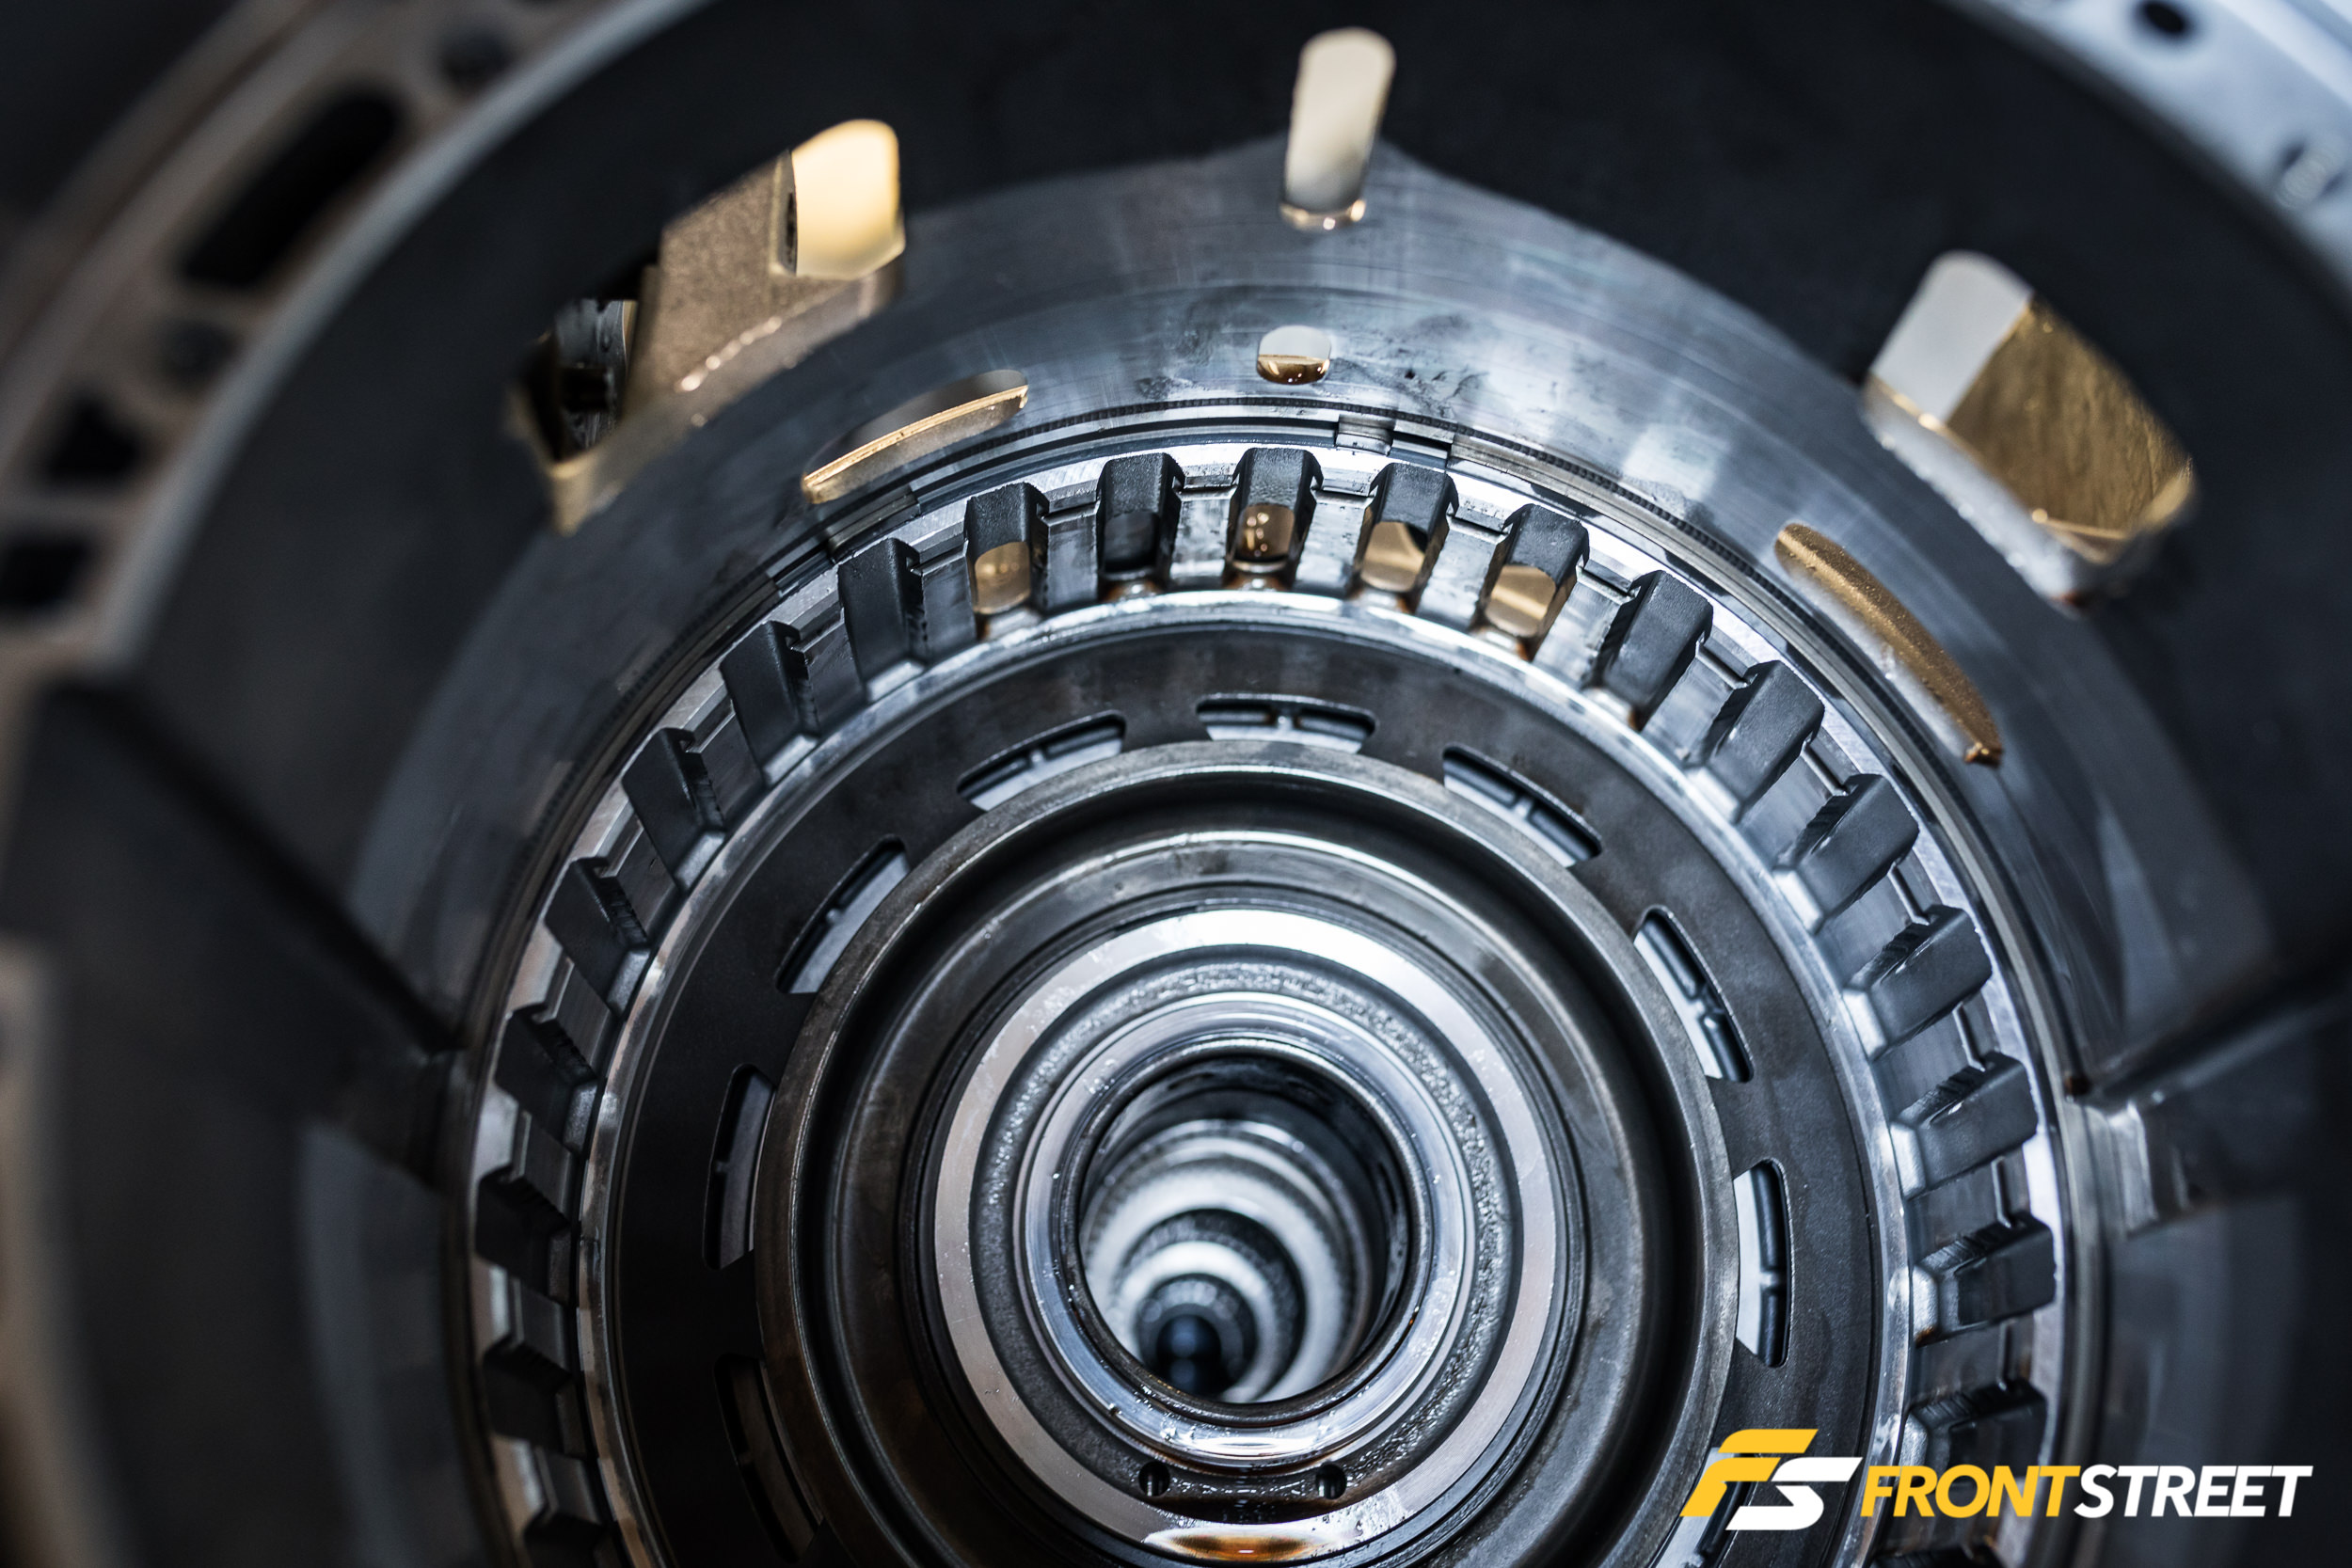
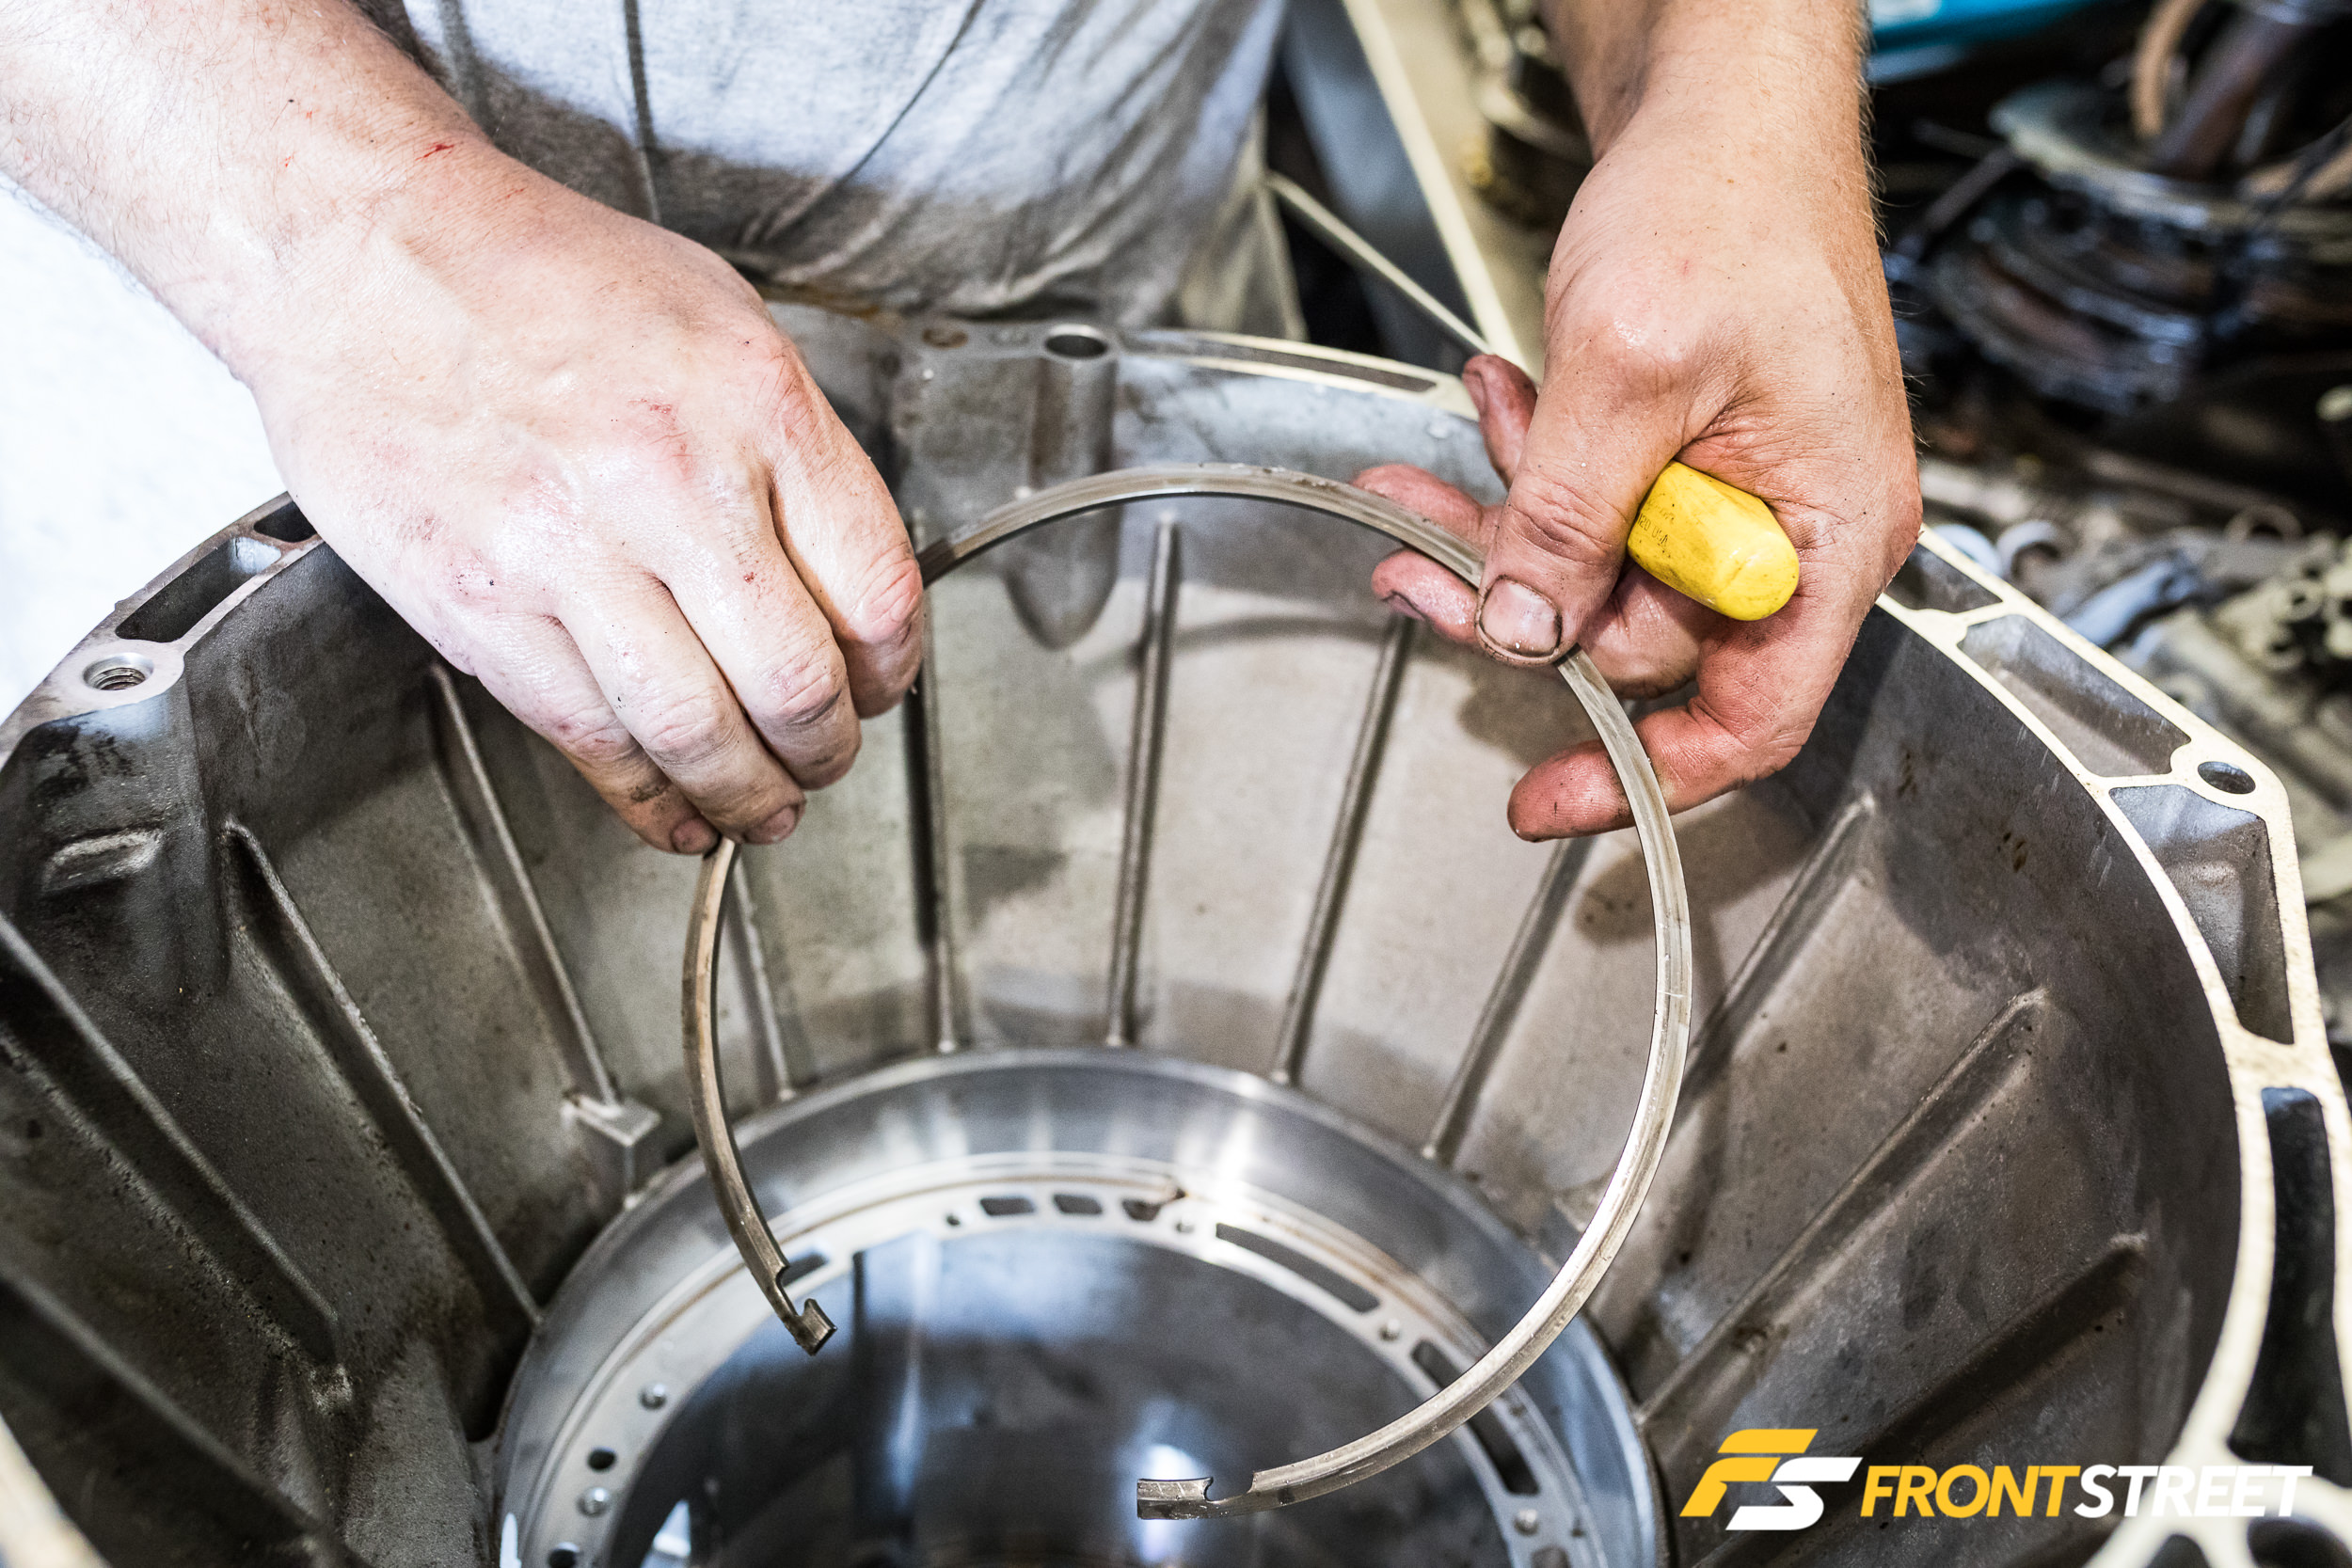
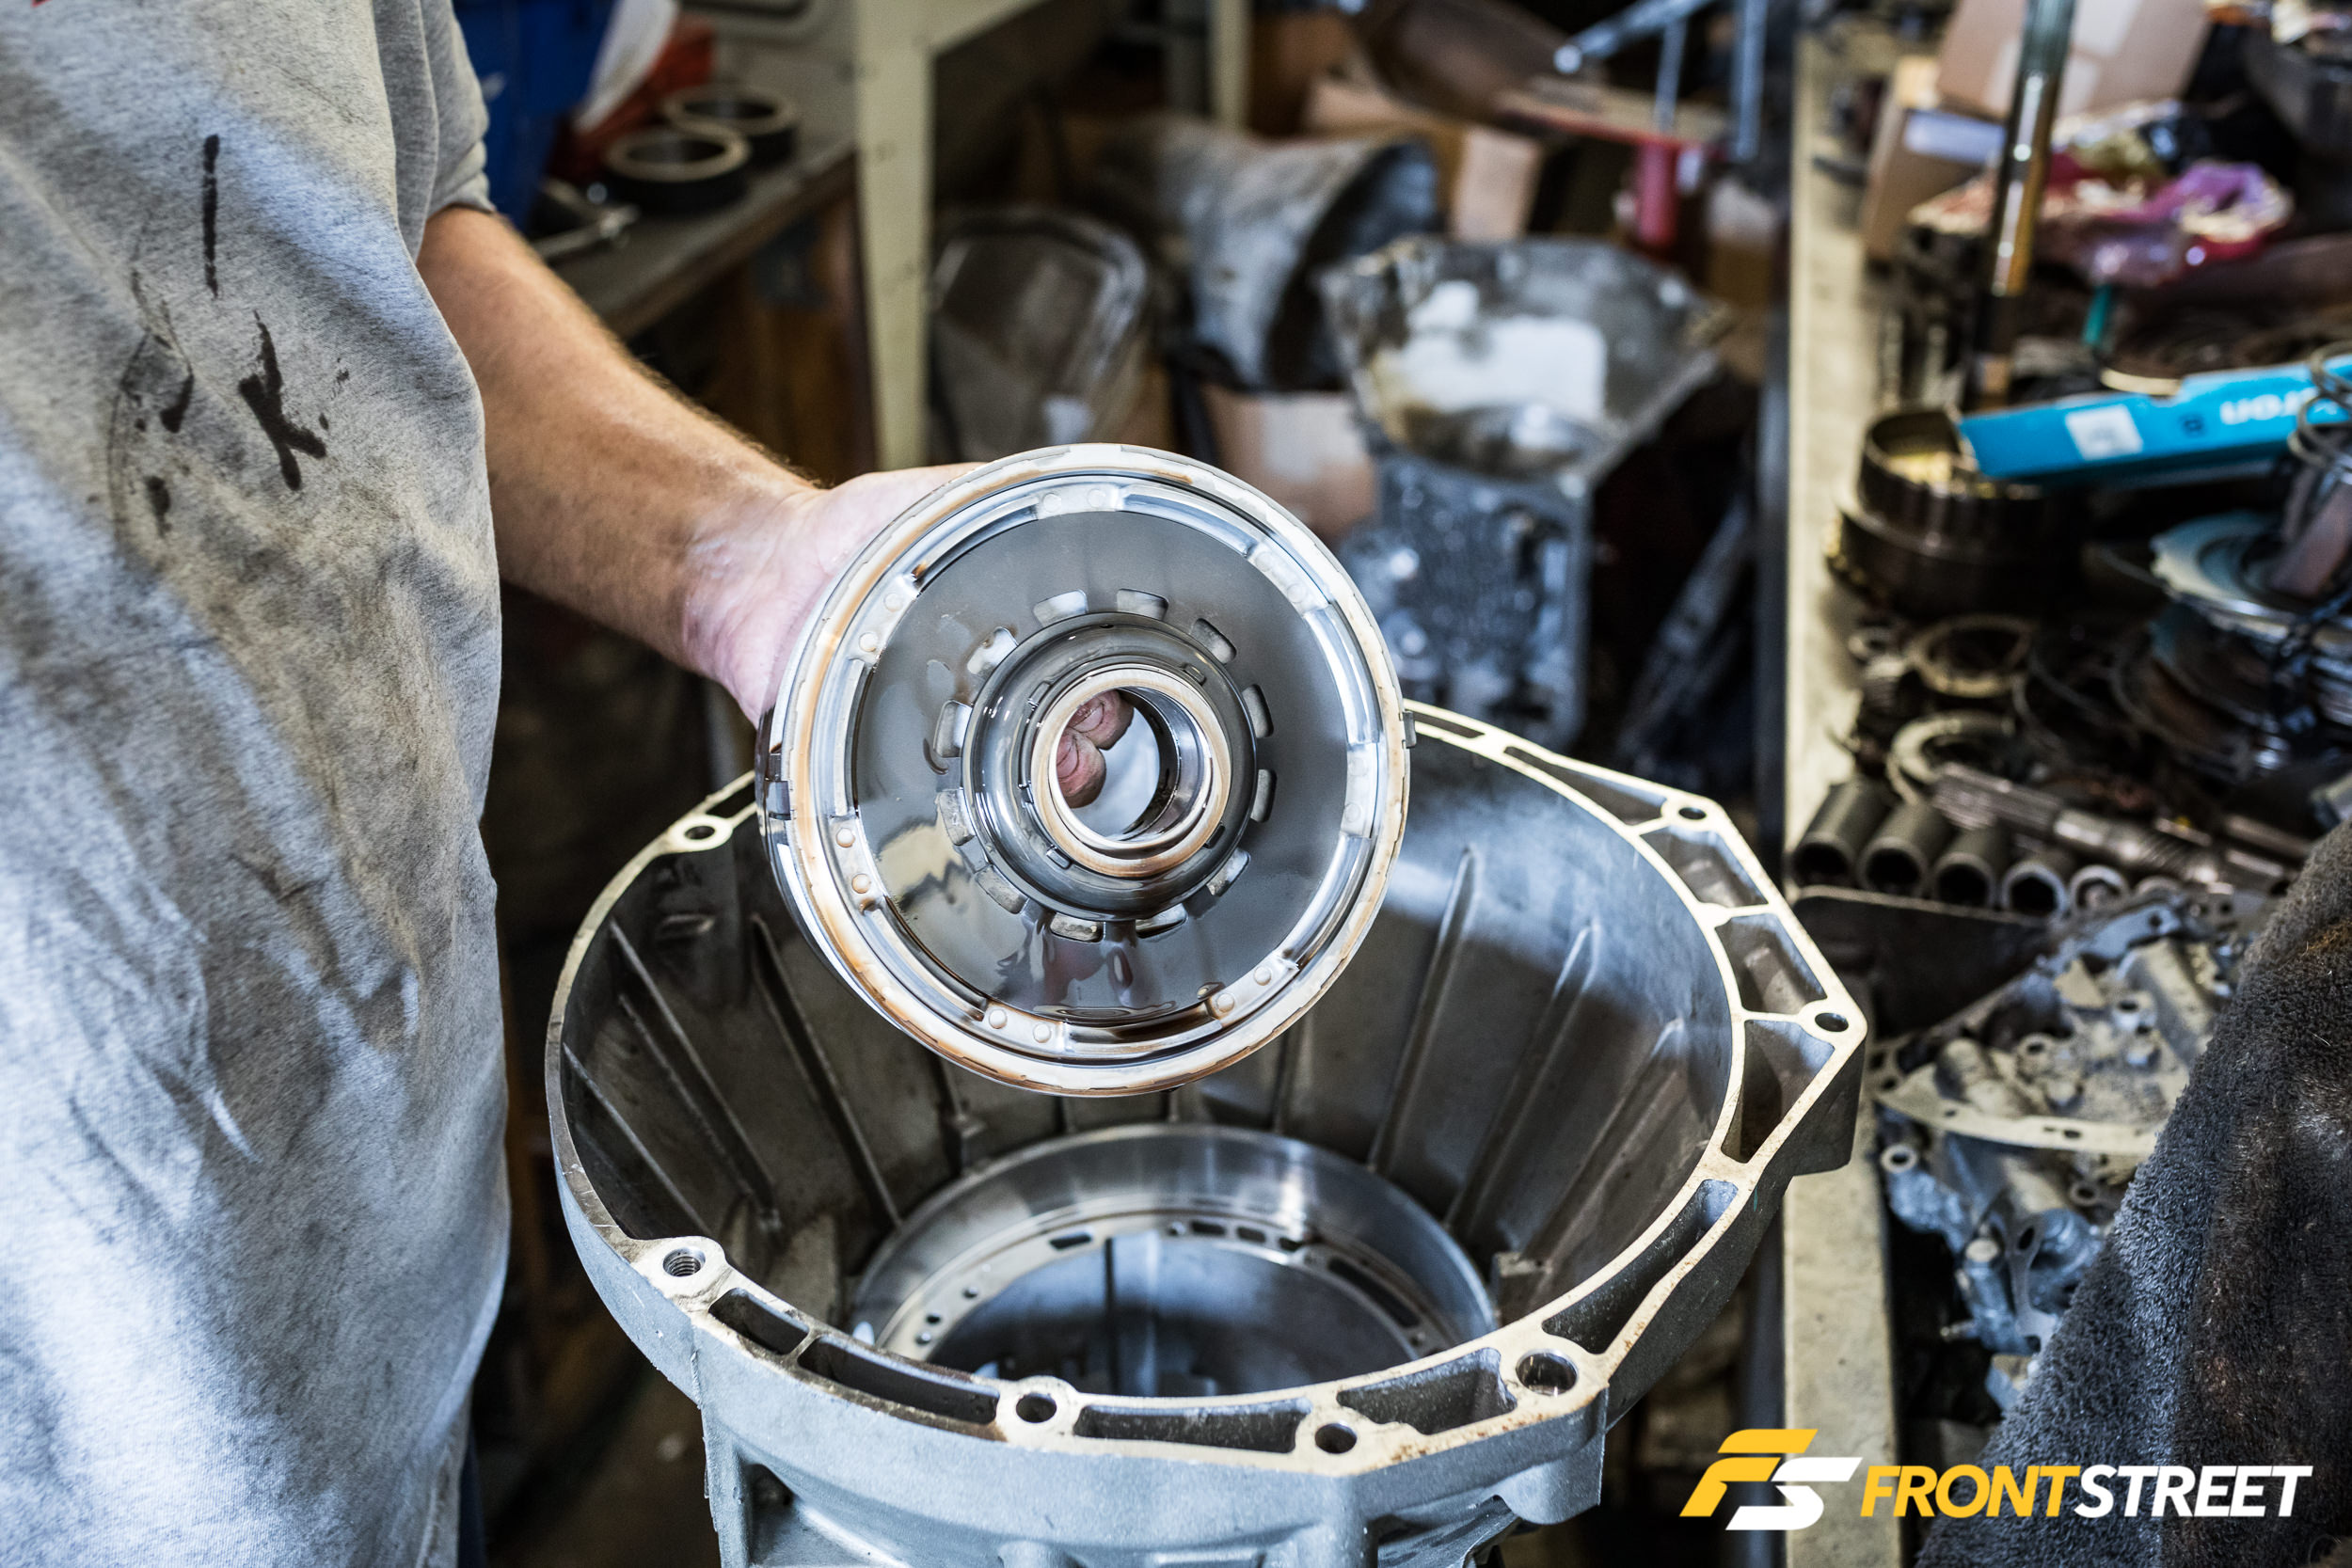
One of the neat features of the 6R80 is the method it uses to locate the components in the case. These machined-in lugs help to keep the stationary elements stationary while the rotating components rotate. Snap rings locate those segments of the transmission into their respective homes. As you can see from these photos, the internal components were in remarkably good condition.
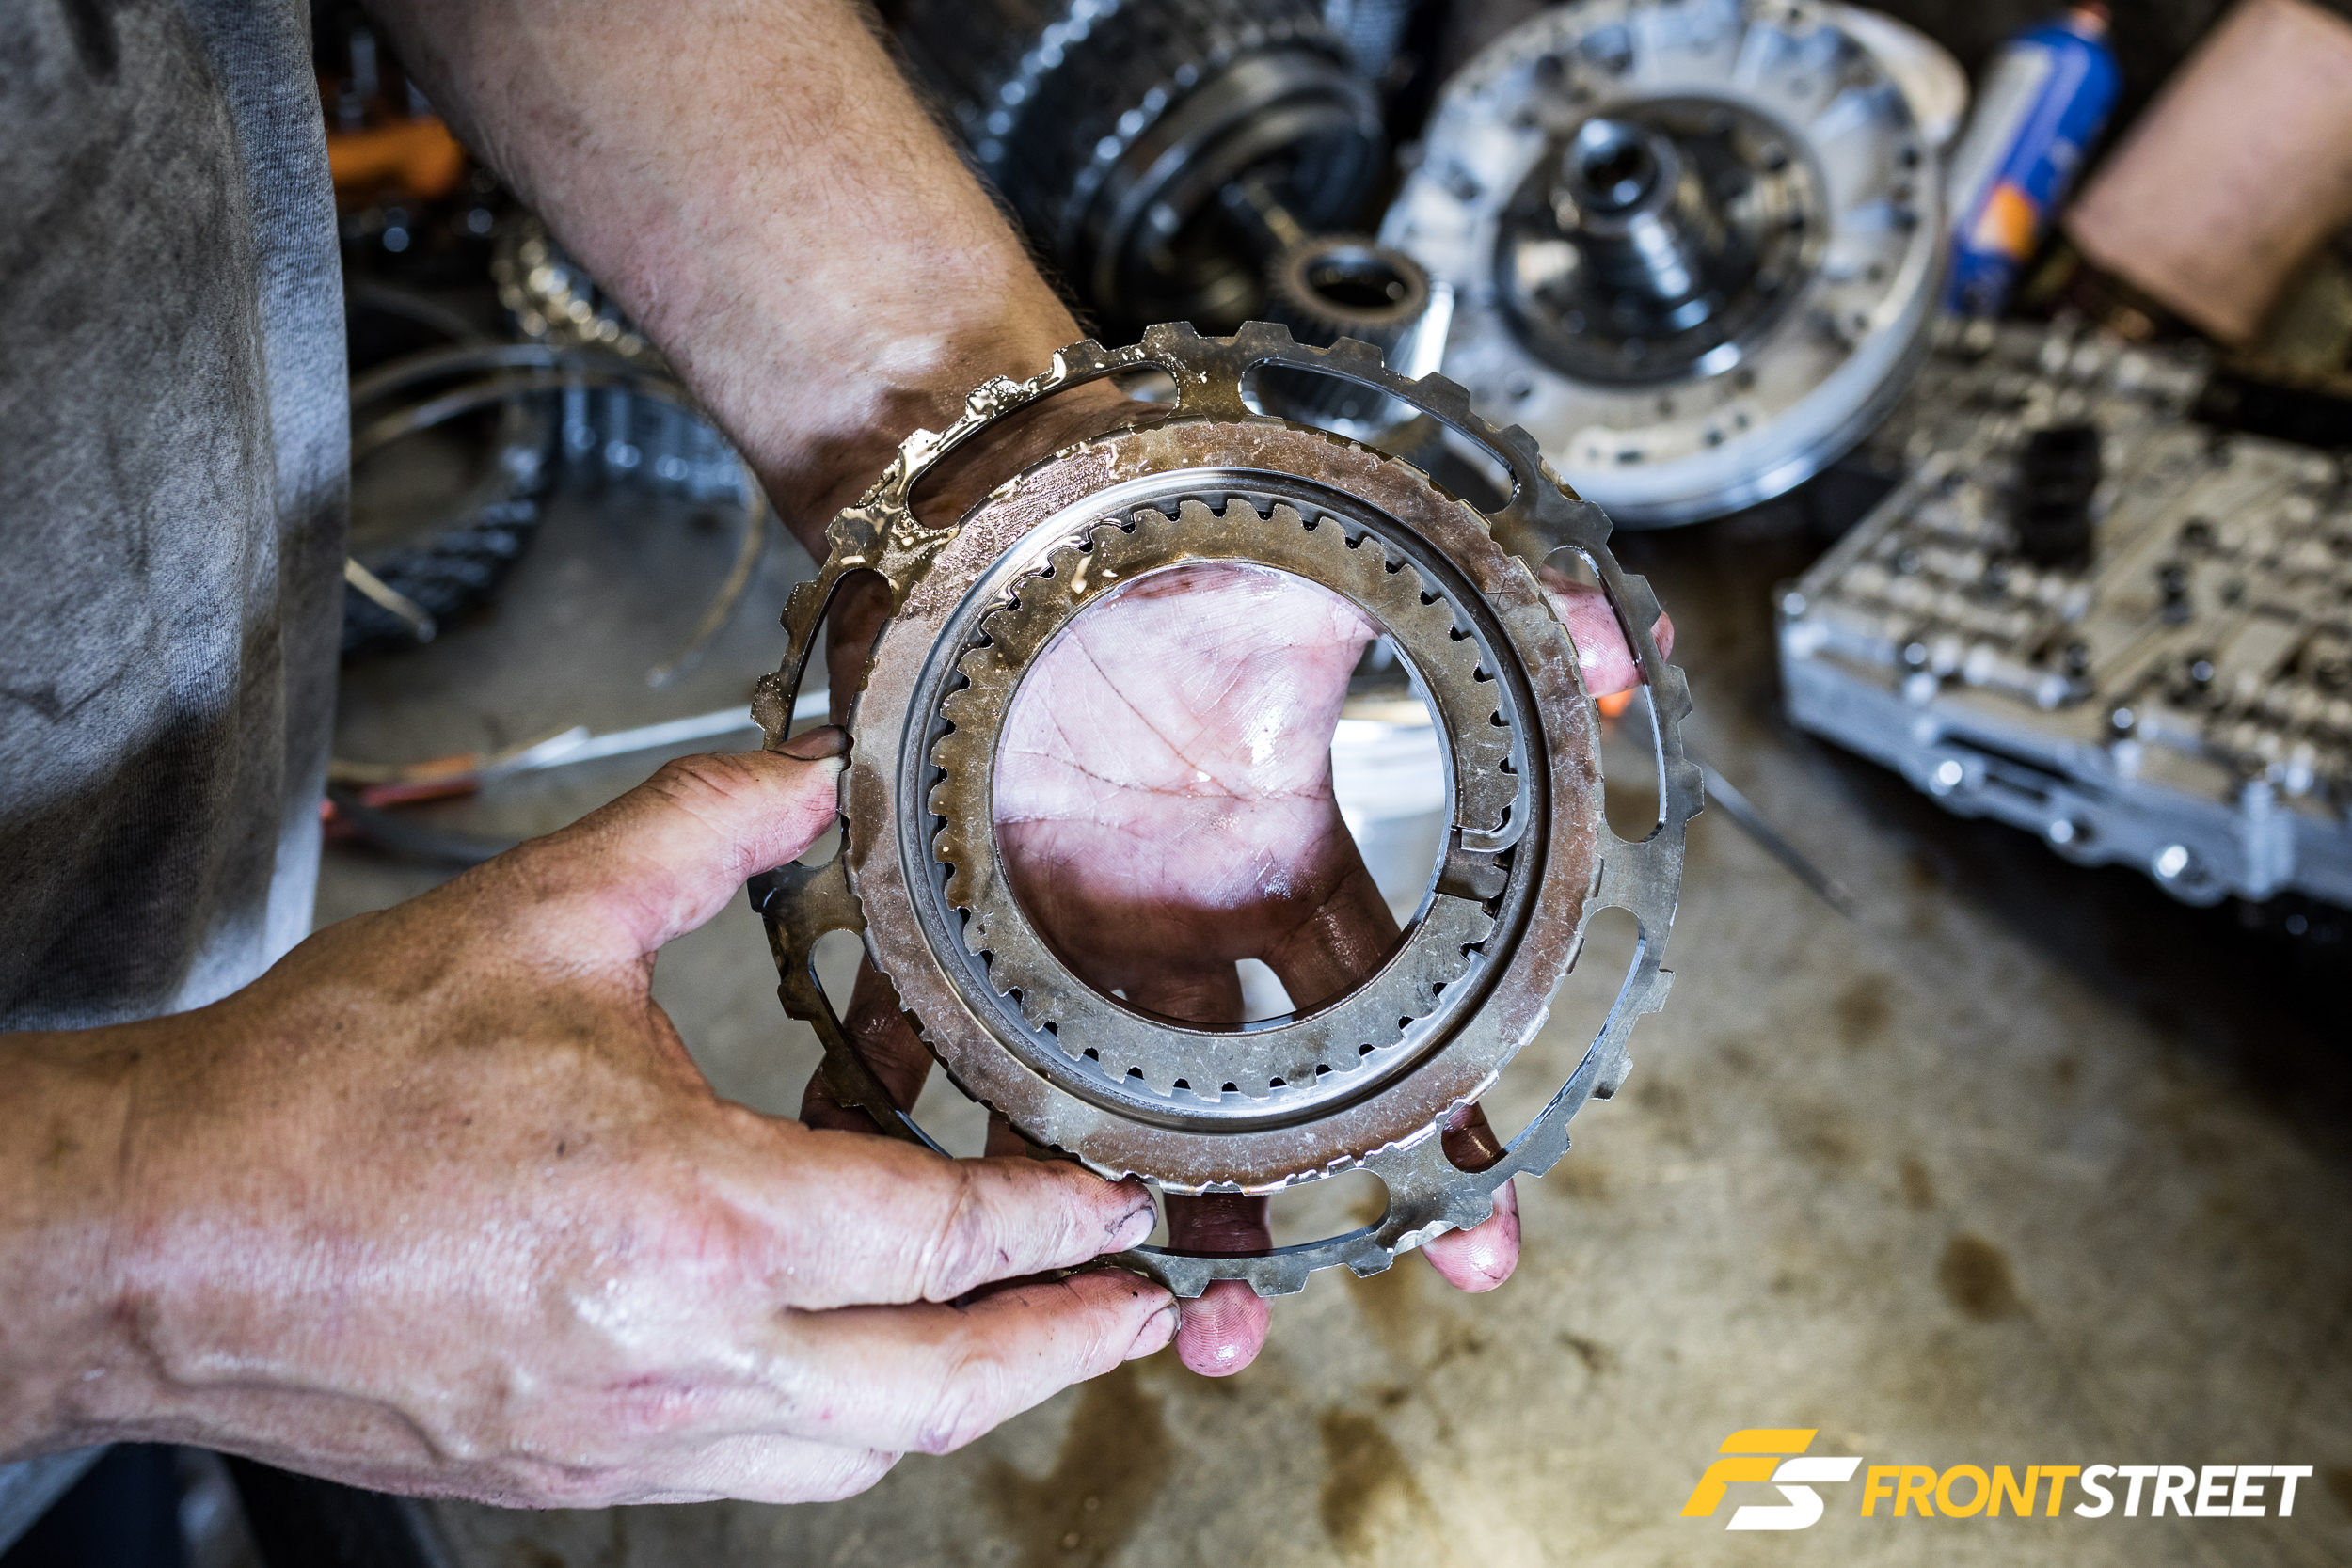
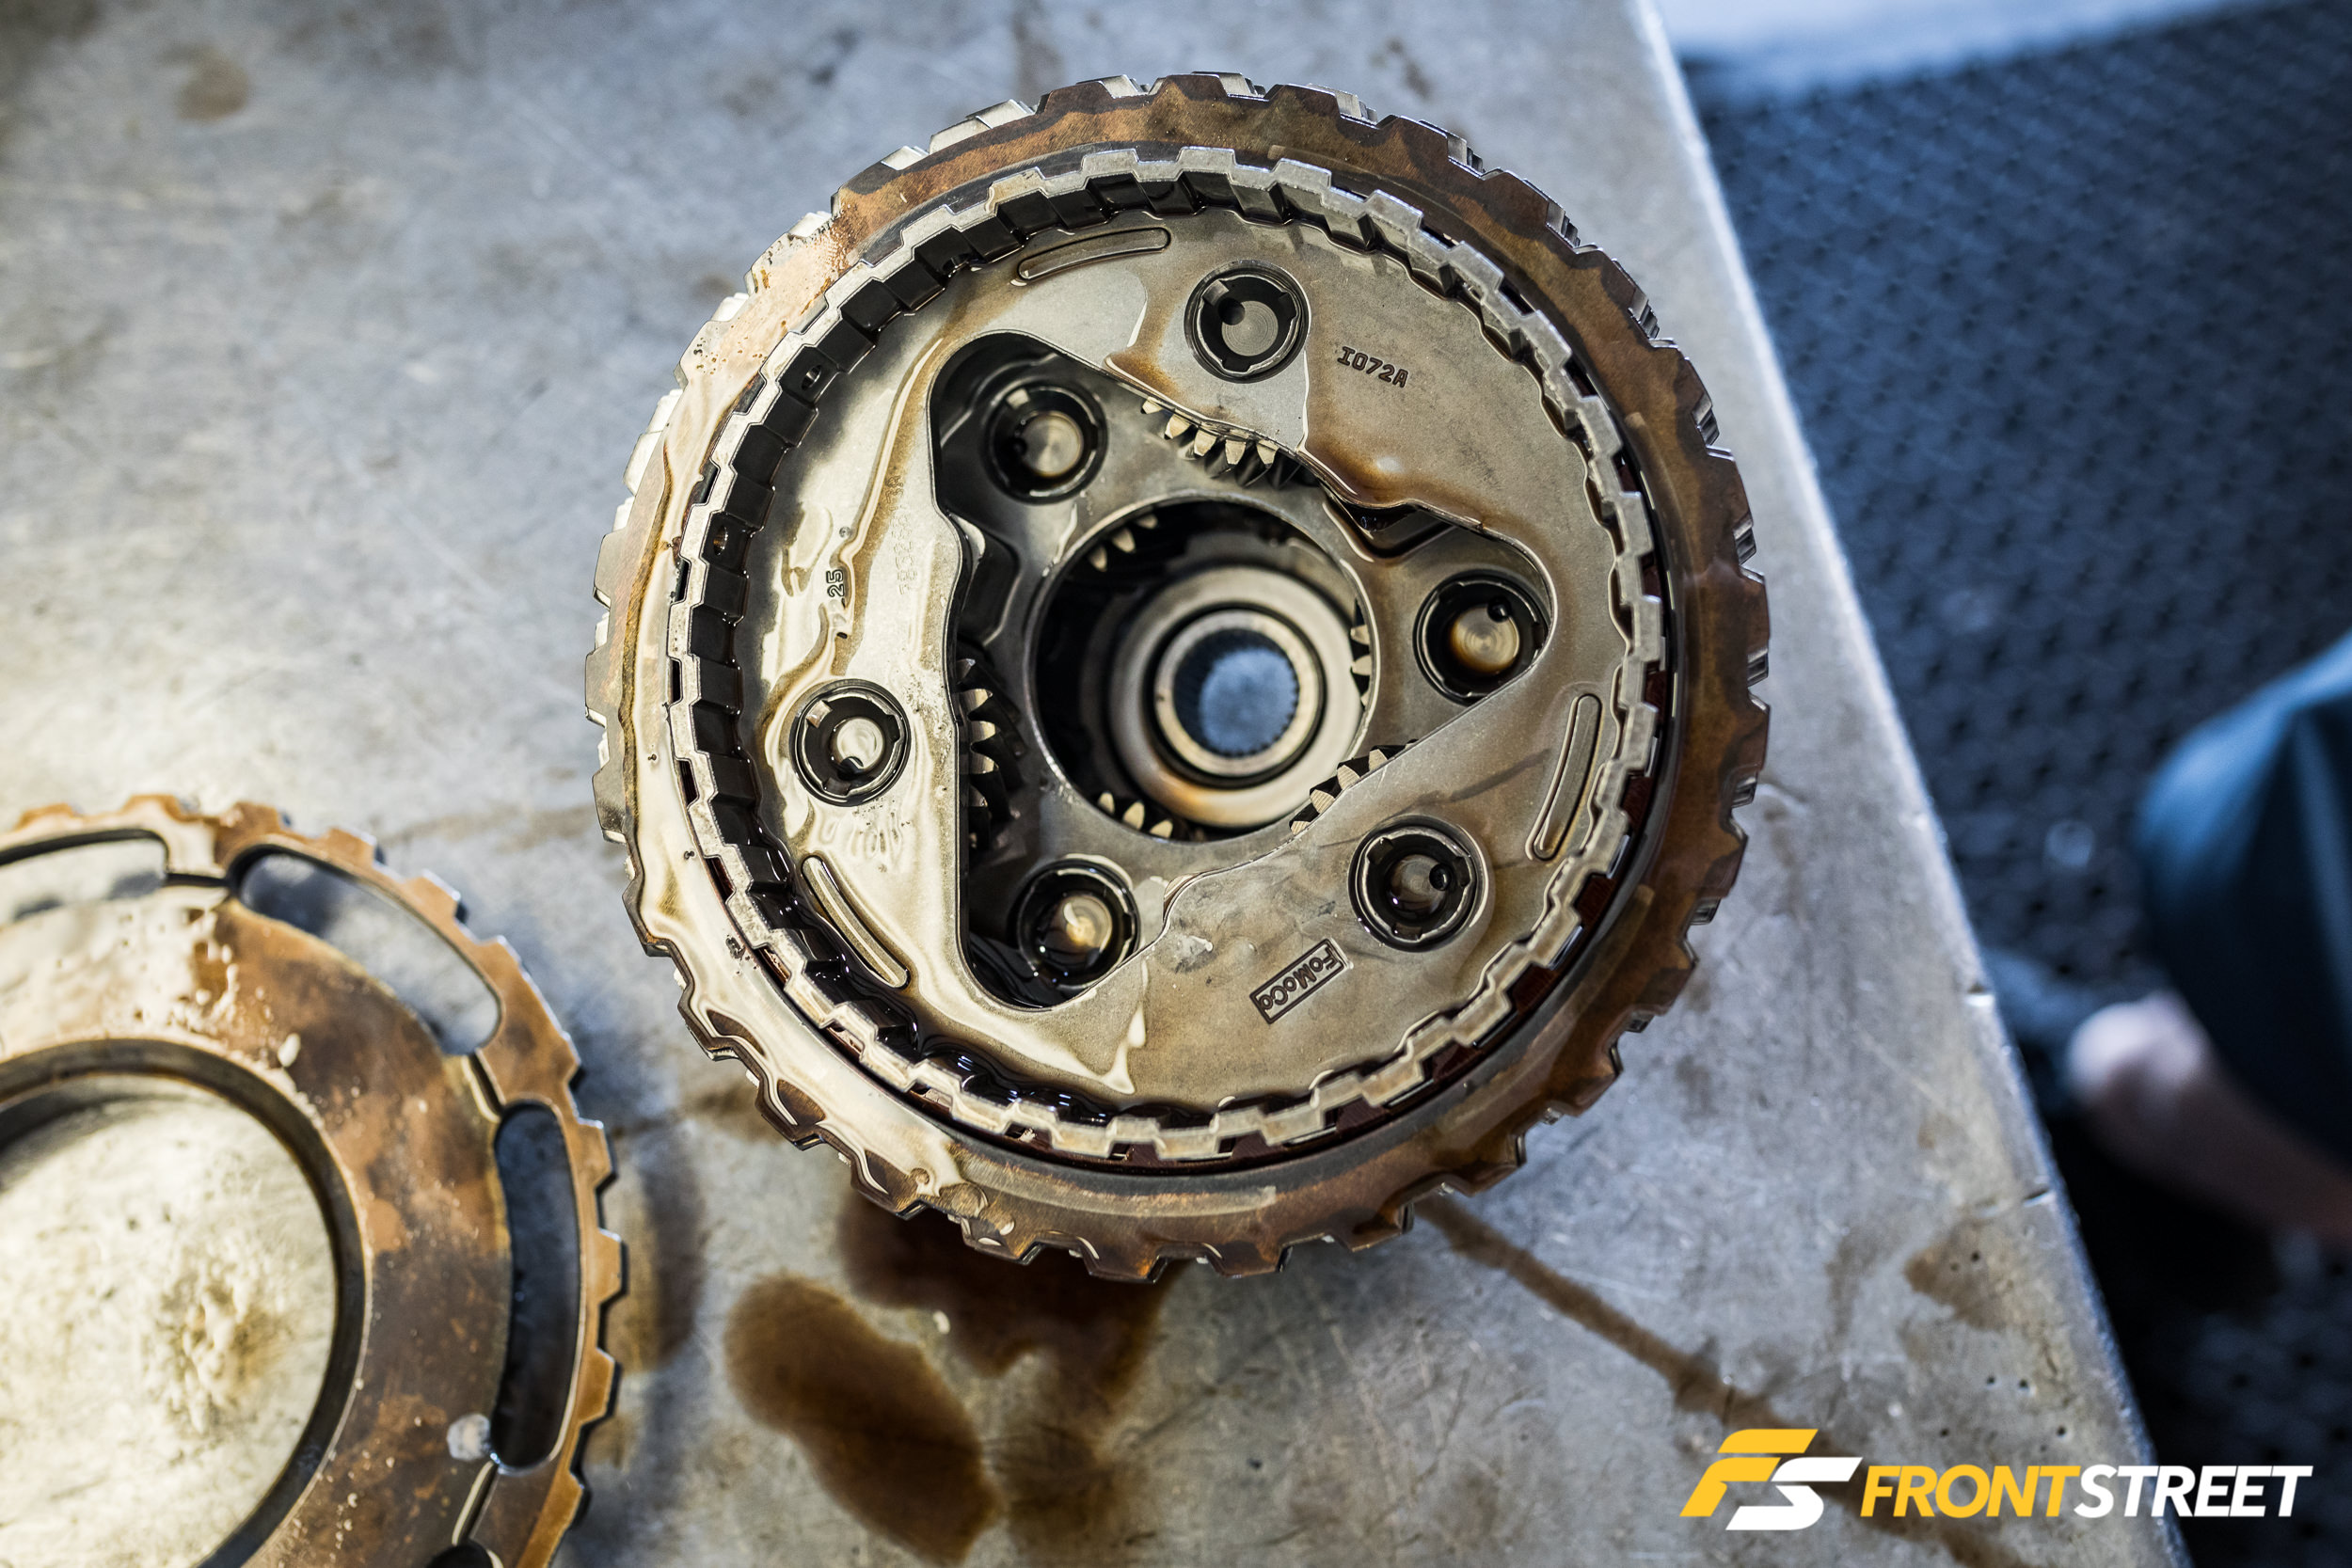
The sprag, or one-way mechanical clutch, does exactly what it sounds like: rotates in one direction only. It allows the transmission to change gears smoothly while under load.
The front planetary utilizes a sun gear to drive it. These items work as you’d expect given their names; the sun gear goes in the center (not shown) and rides on the input shaft. As the shaft rotates, the sun gear drives the planetary gears, which moves the power through the transmission.
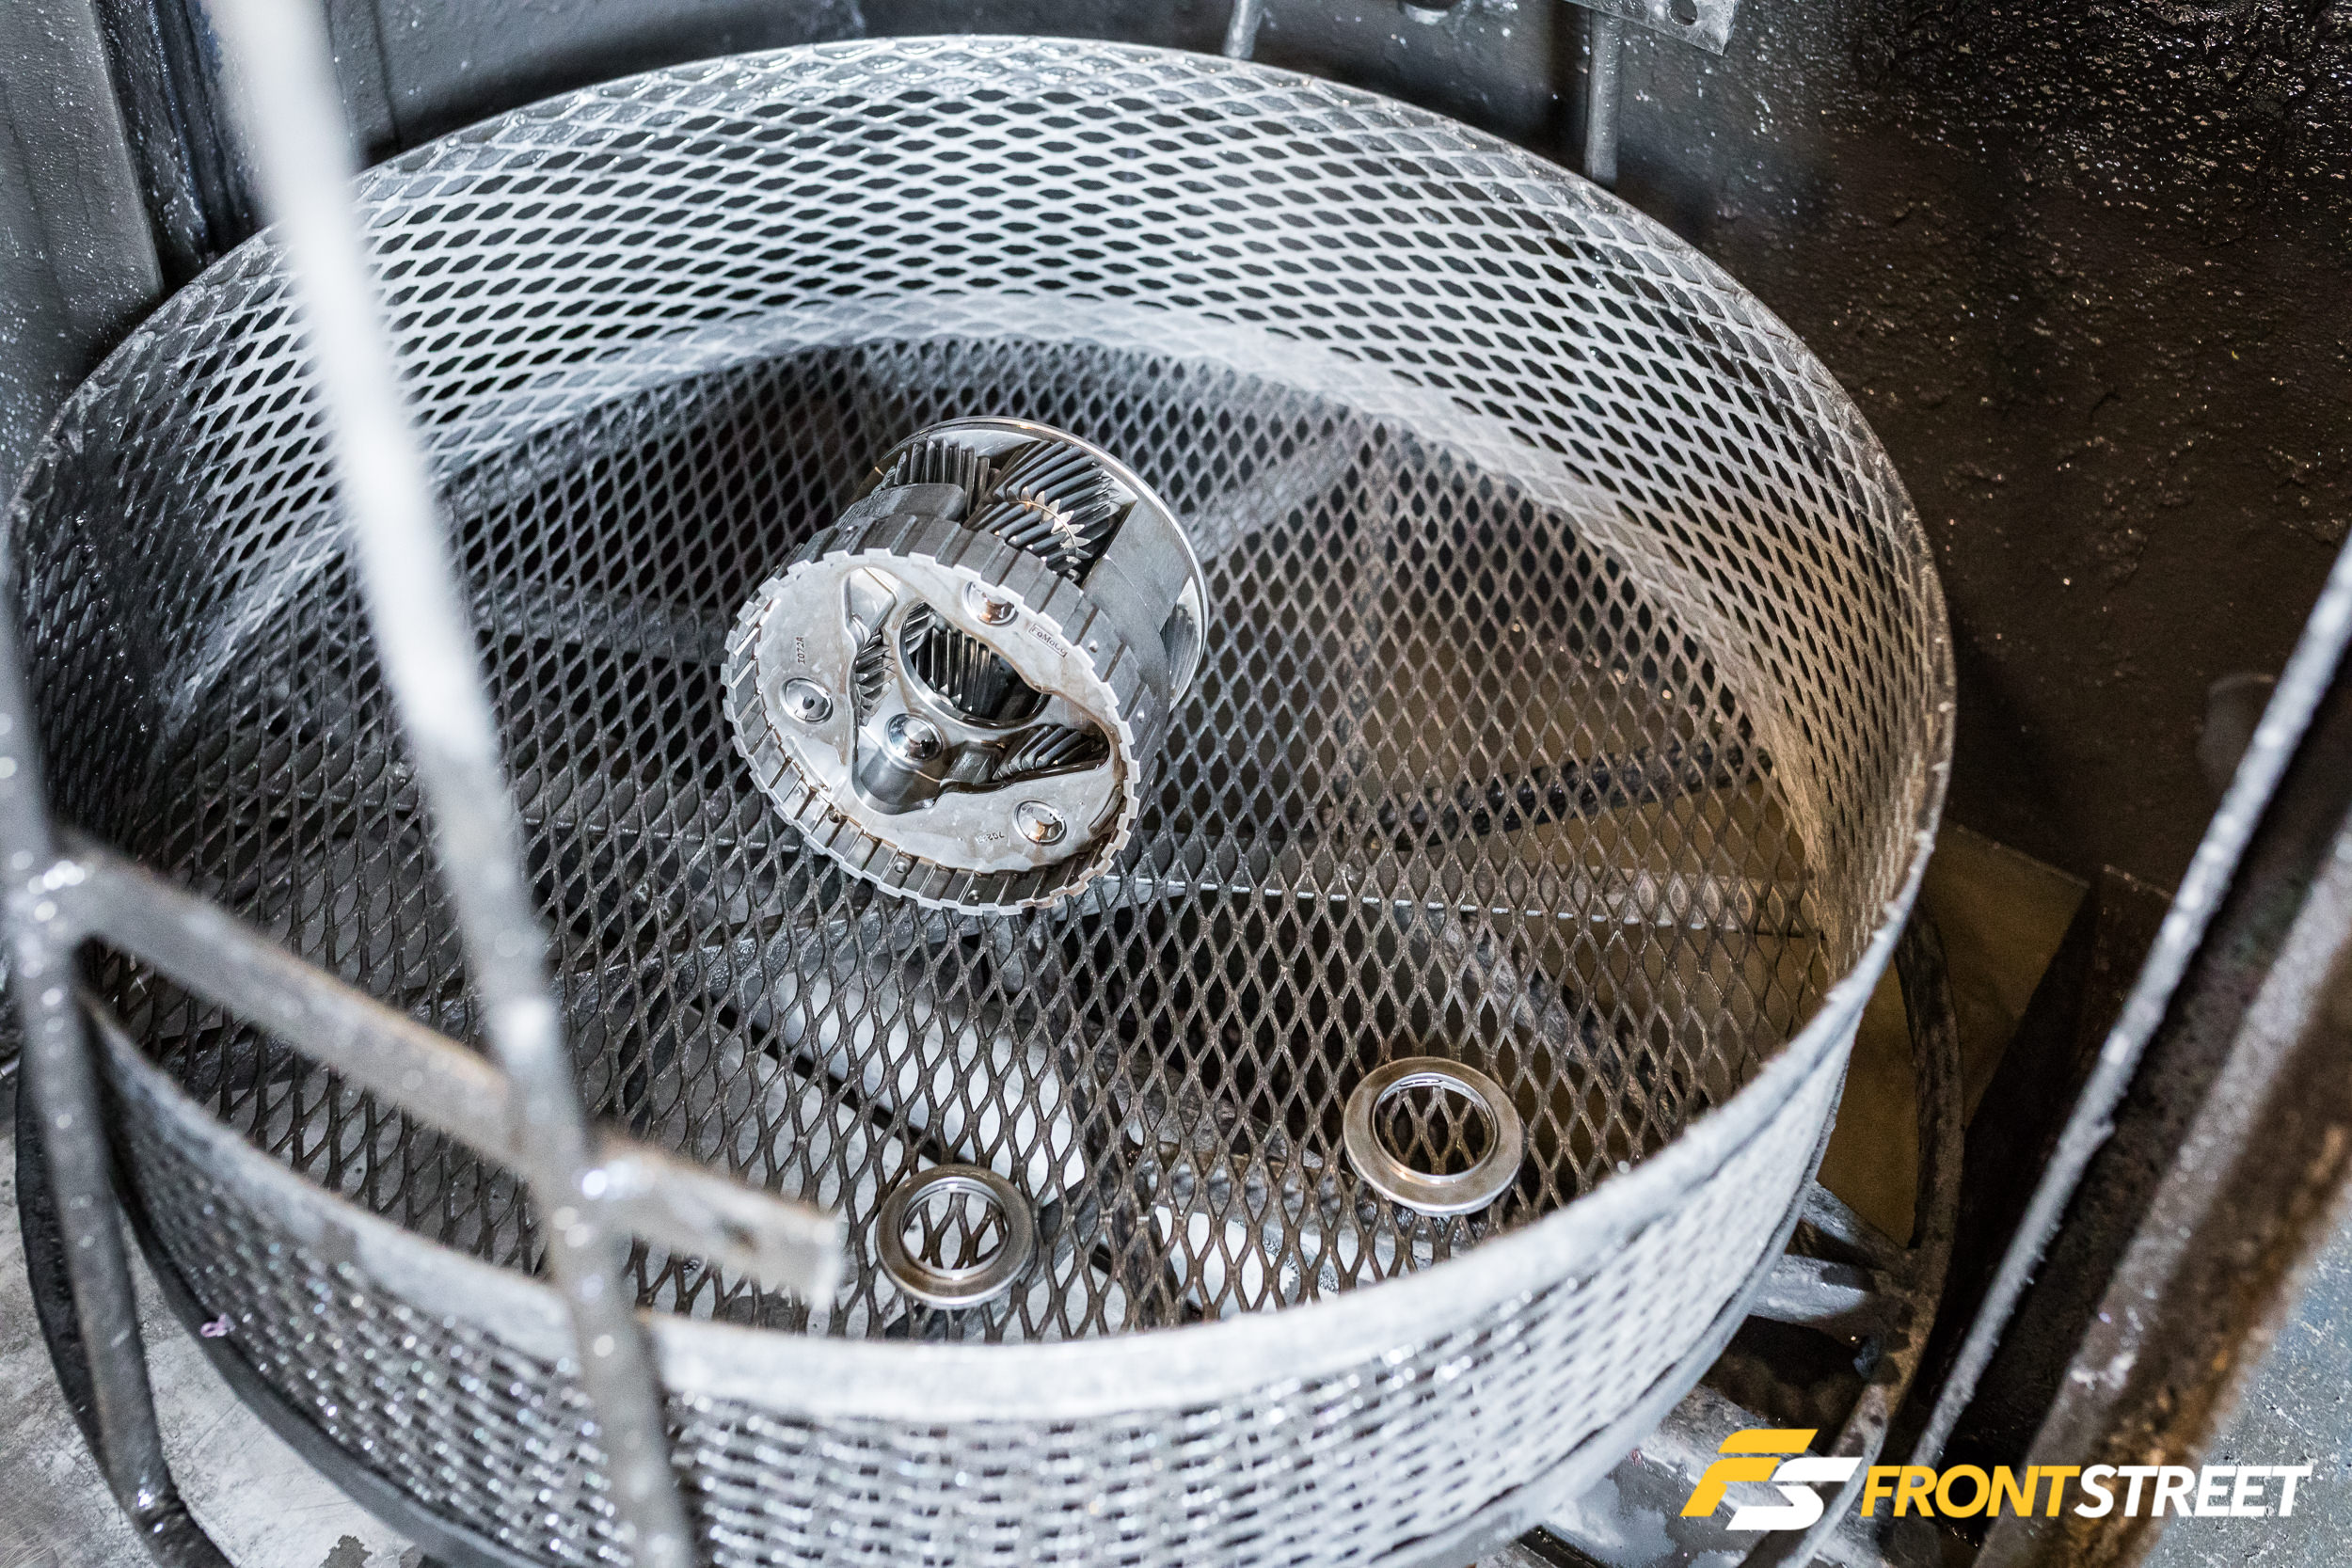
The hard parts found their way into this basket and through the parts cleaner, which removed all of the old transmission oil and any other potential contaminants.
If you look closely in the last photo of the group you can see how the first-gear one-way clutch operates; it’s the same concept as a ratchet wrench or freewheel hub on a bicycle, and rotates freely in one direction yet is locked solid in the other direction by teeth that engage the hub.
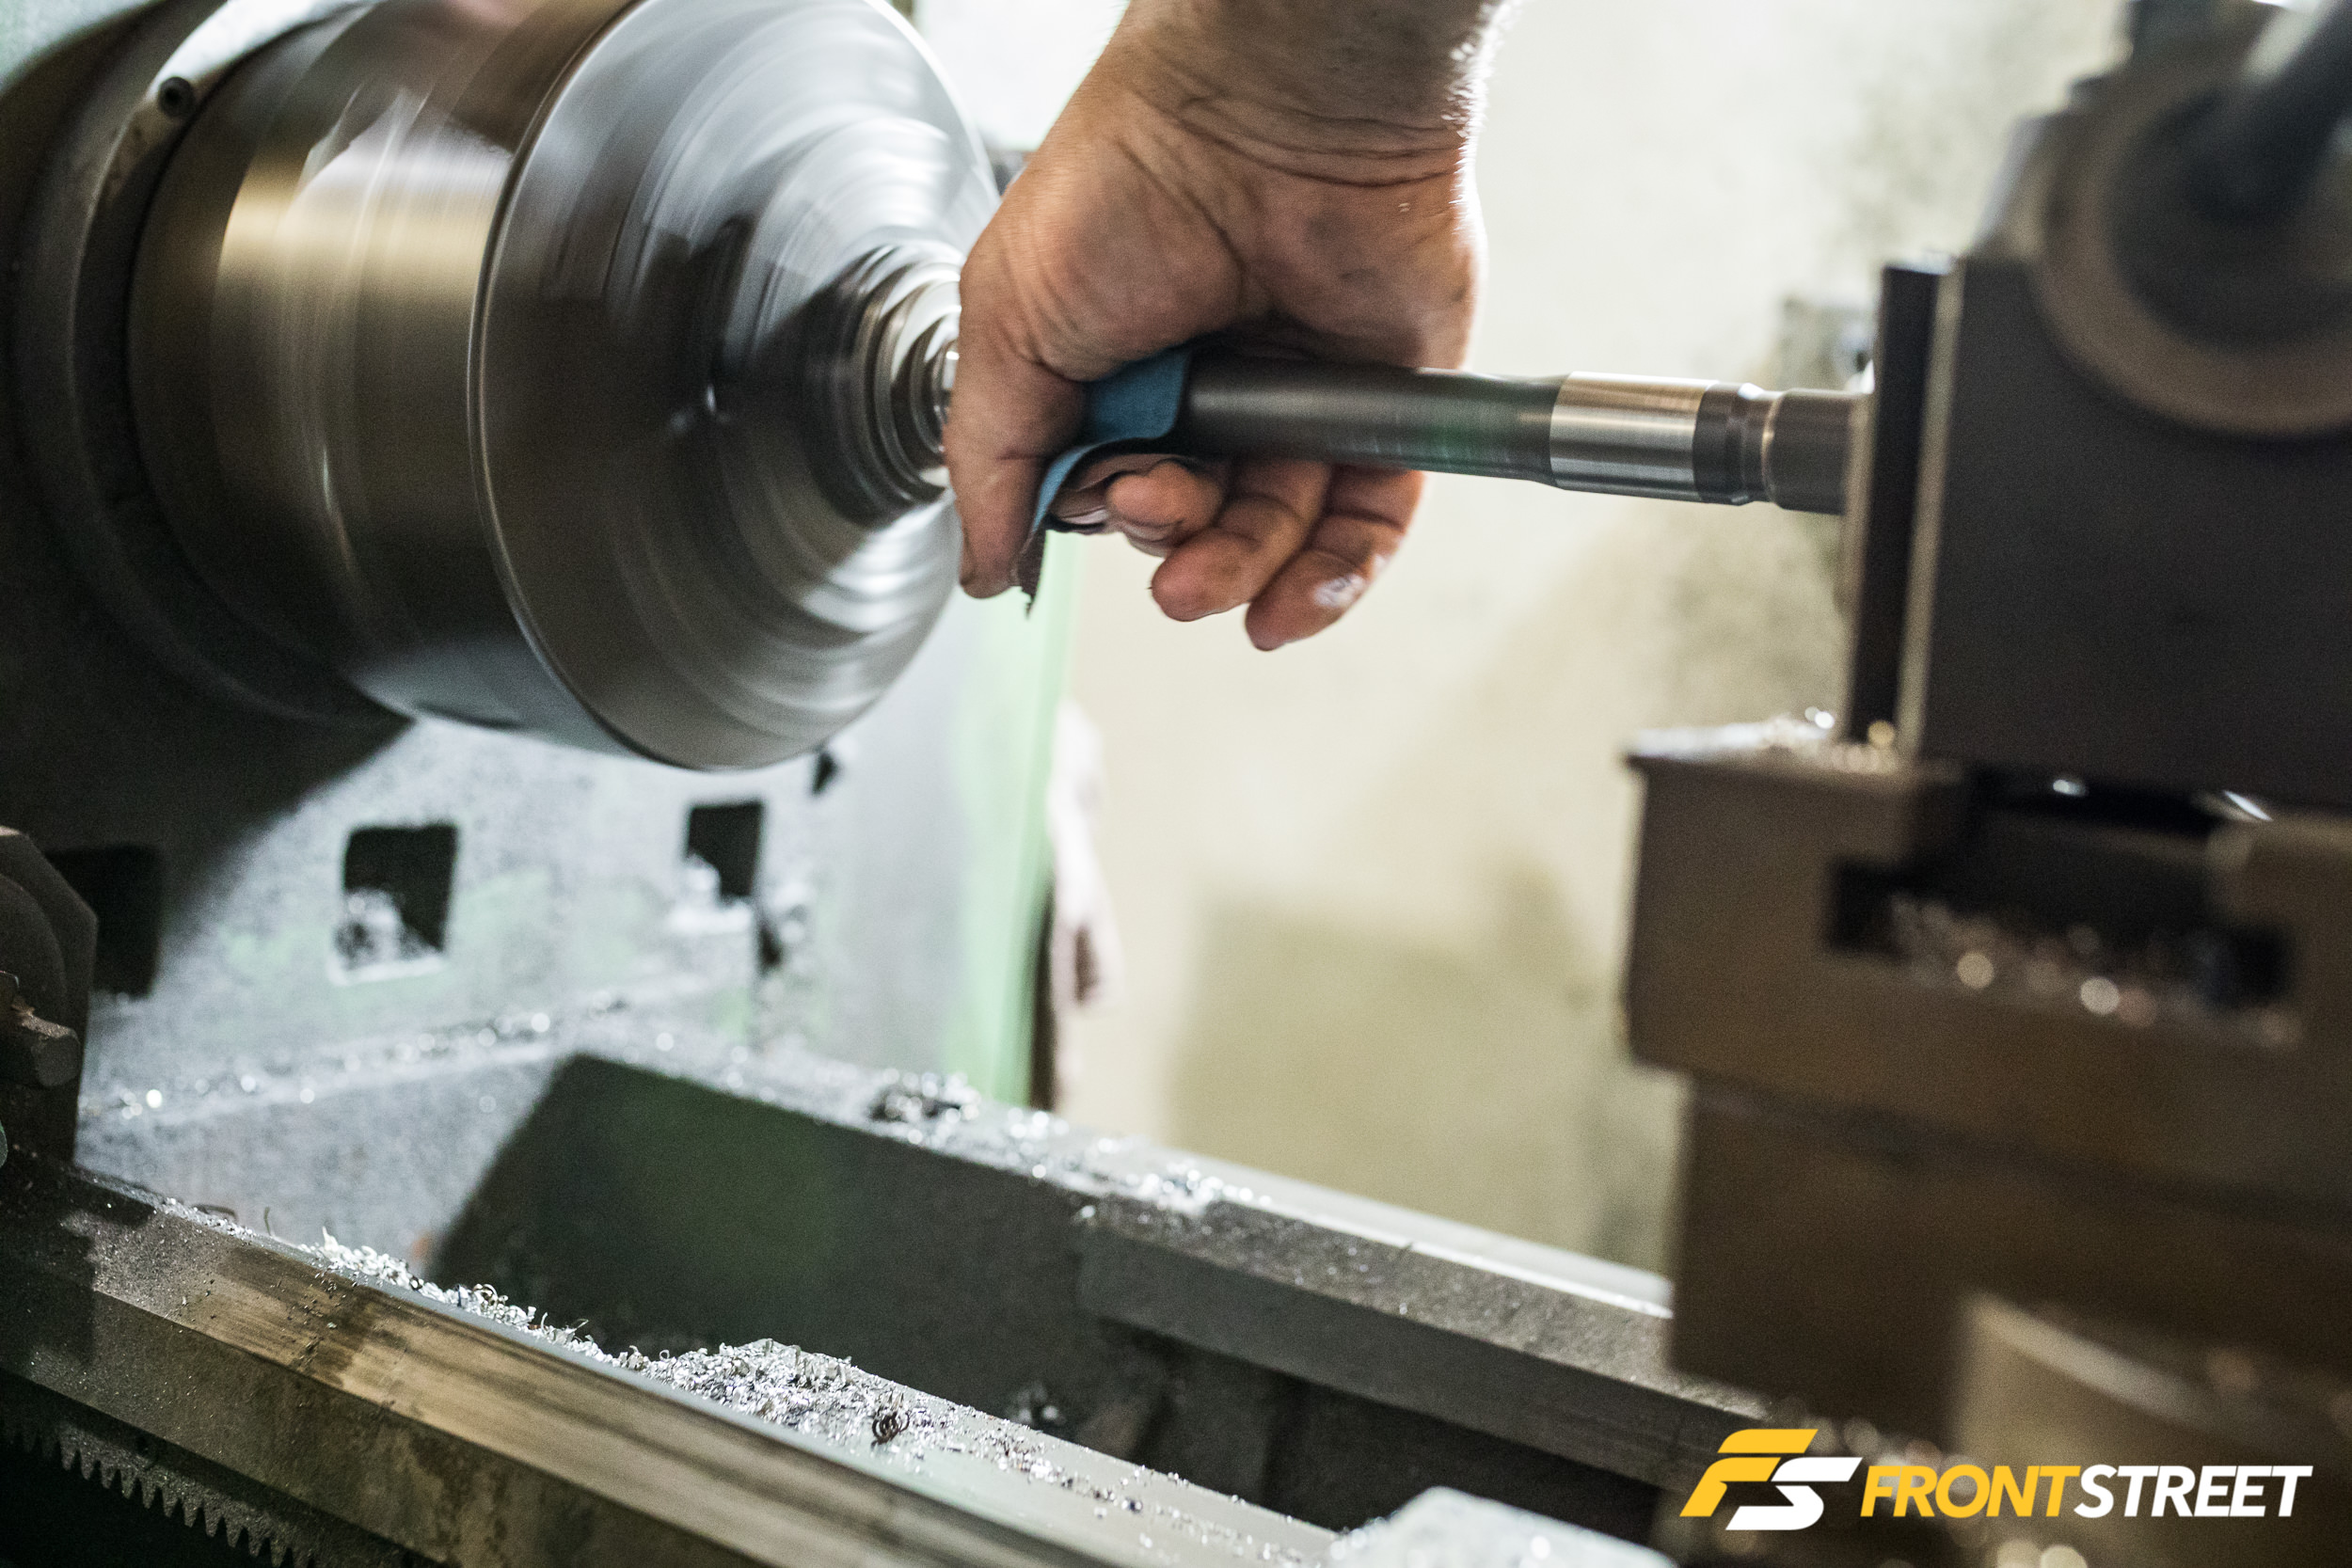
The intermediate shaft I bought with the transmission had a bit of surface rust on it, so Sean chucked it up in his lathe and cleaned it up with some emery cloth.
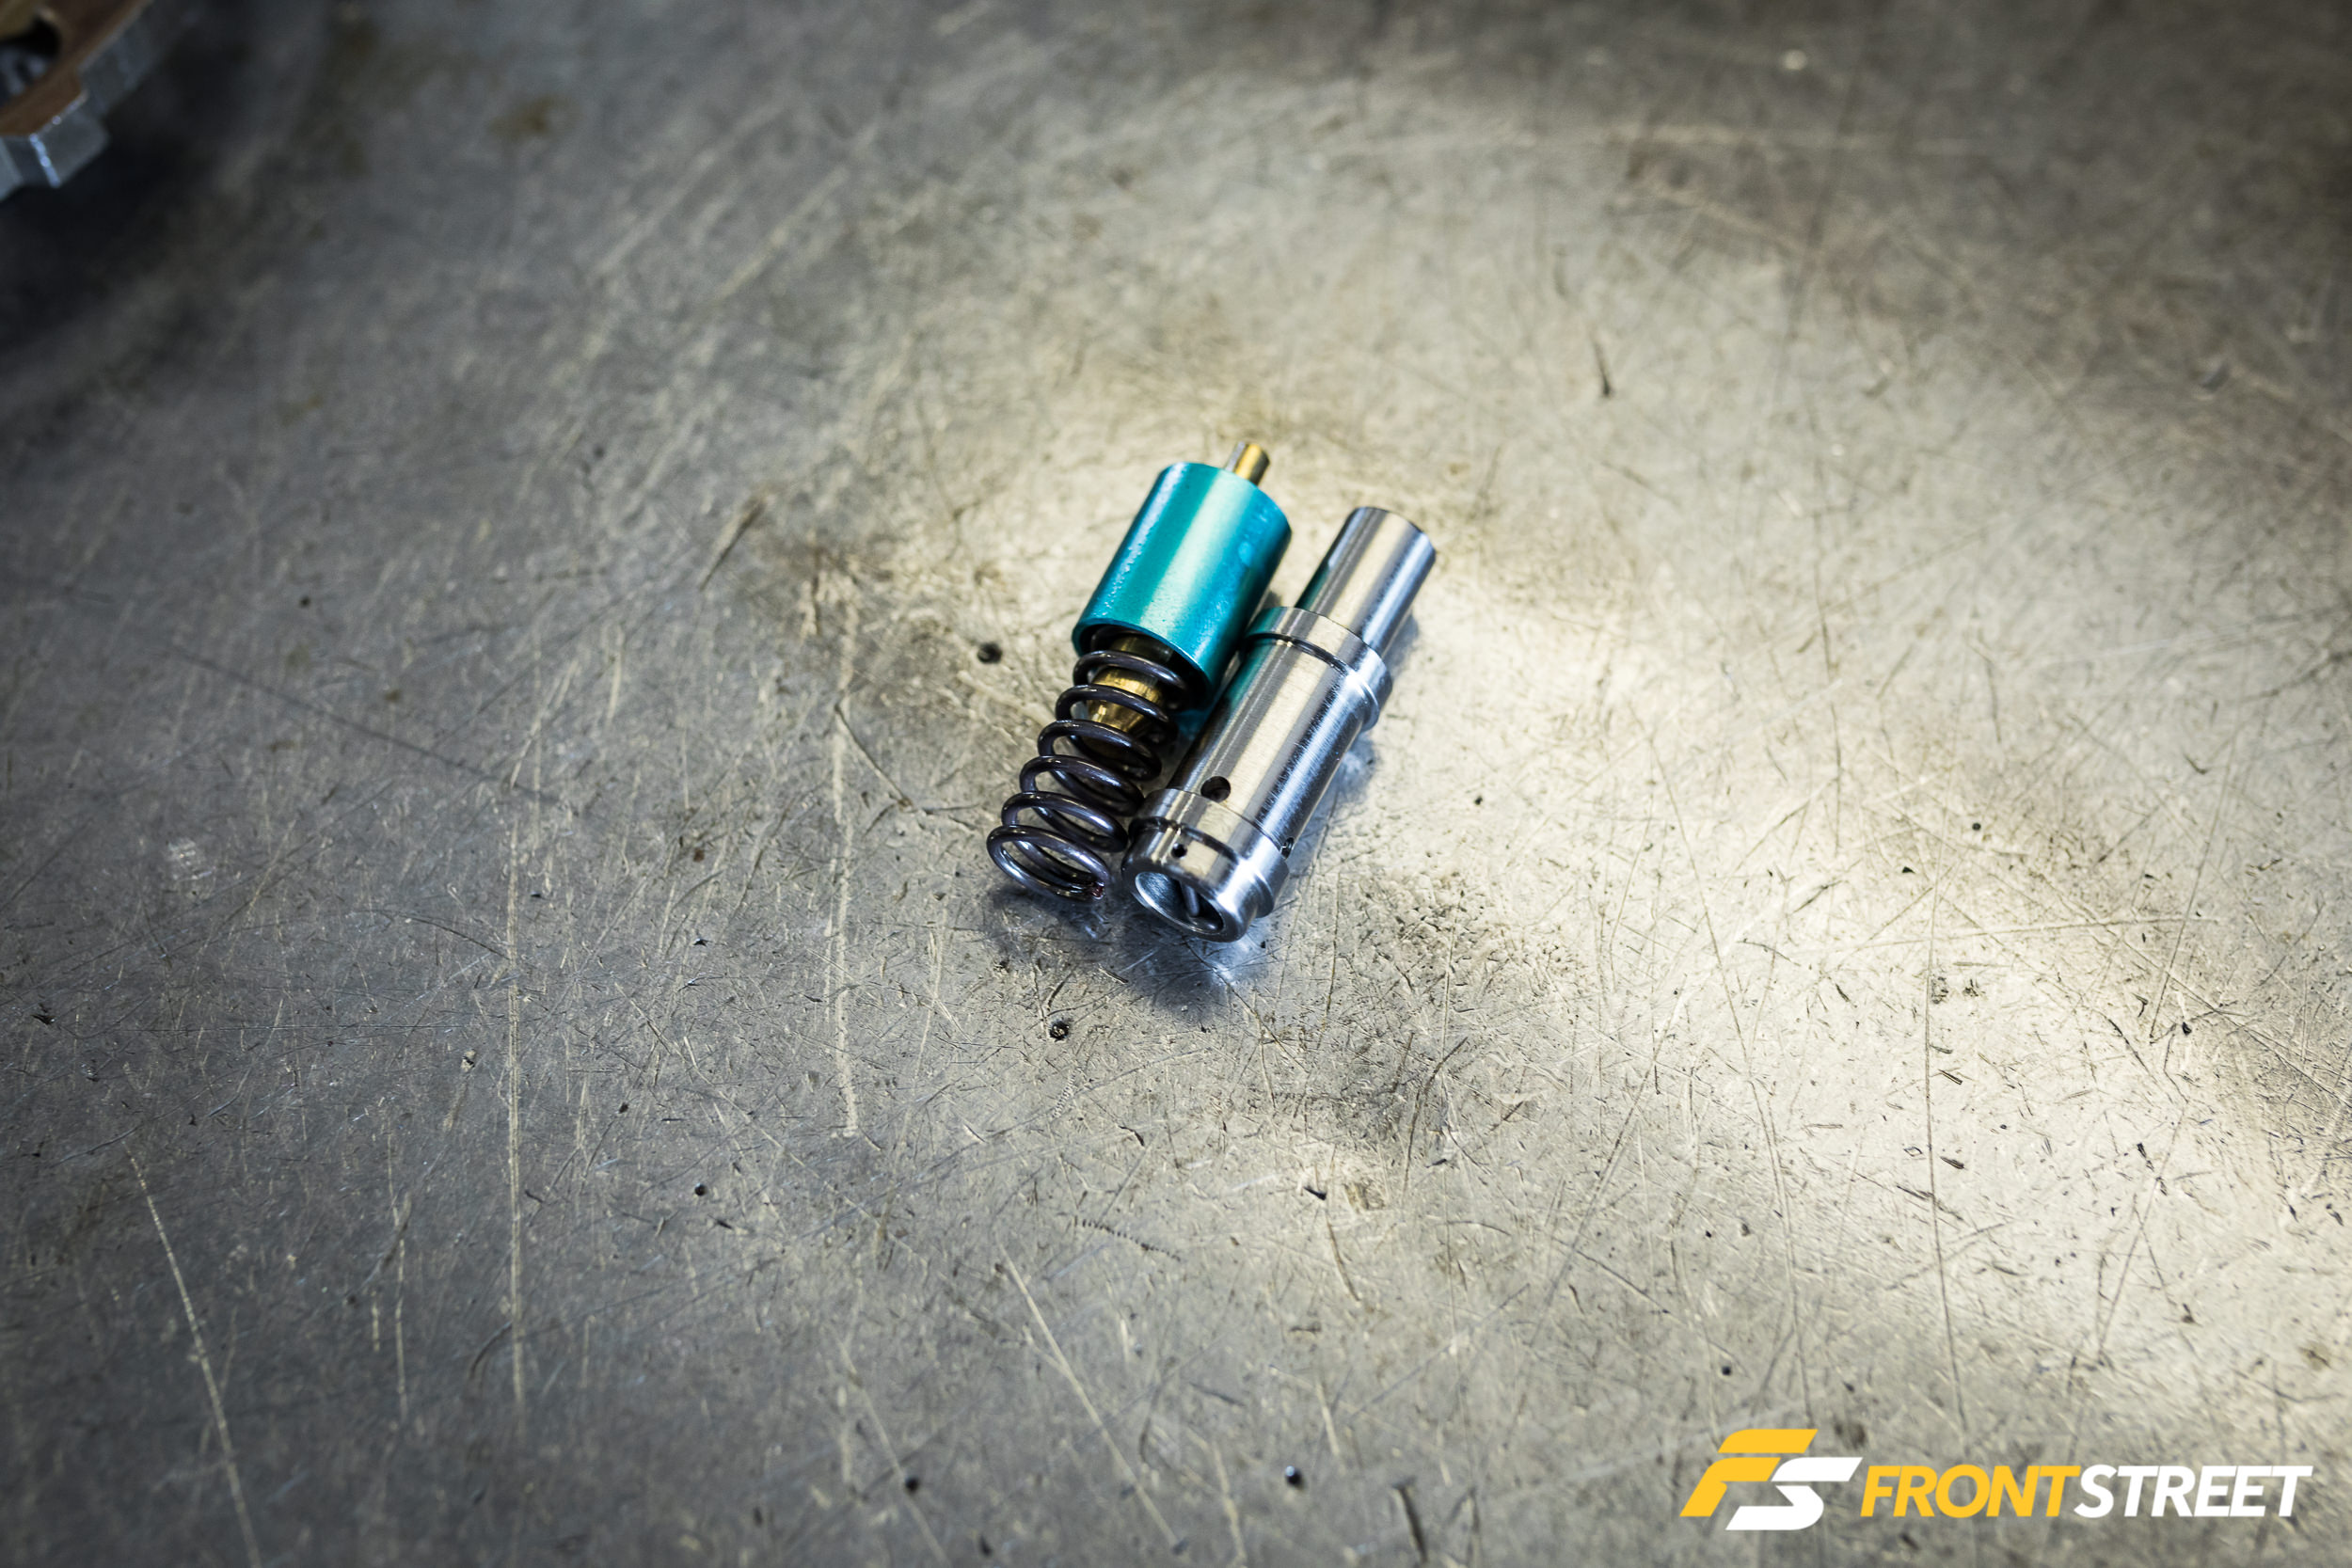
On the left is the factory transmission thermostat, on the right is the thermostat bypass that I purchased. Its function is simple: to keep the fluid flowing through the cooler and keep the transmission fluid temperature at a happy 160 degrees, which is the key to maintaining clean, accurate shifts.
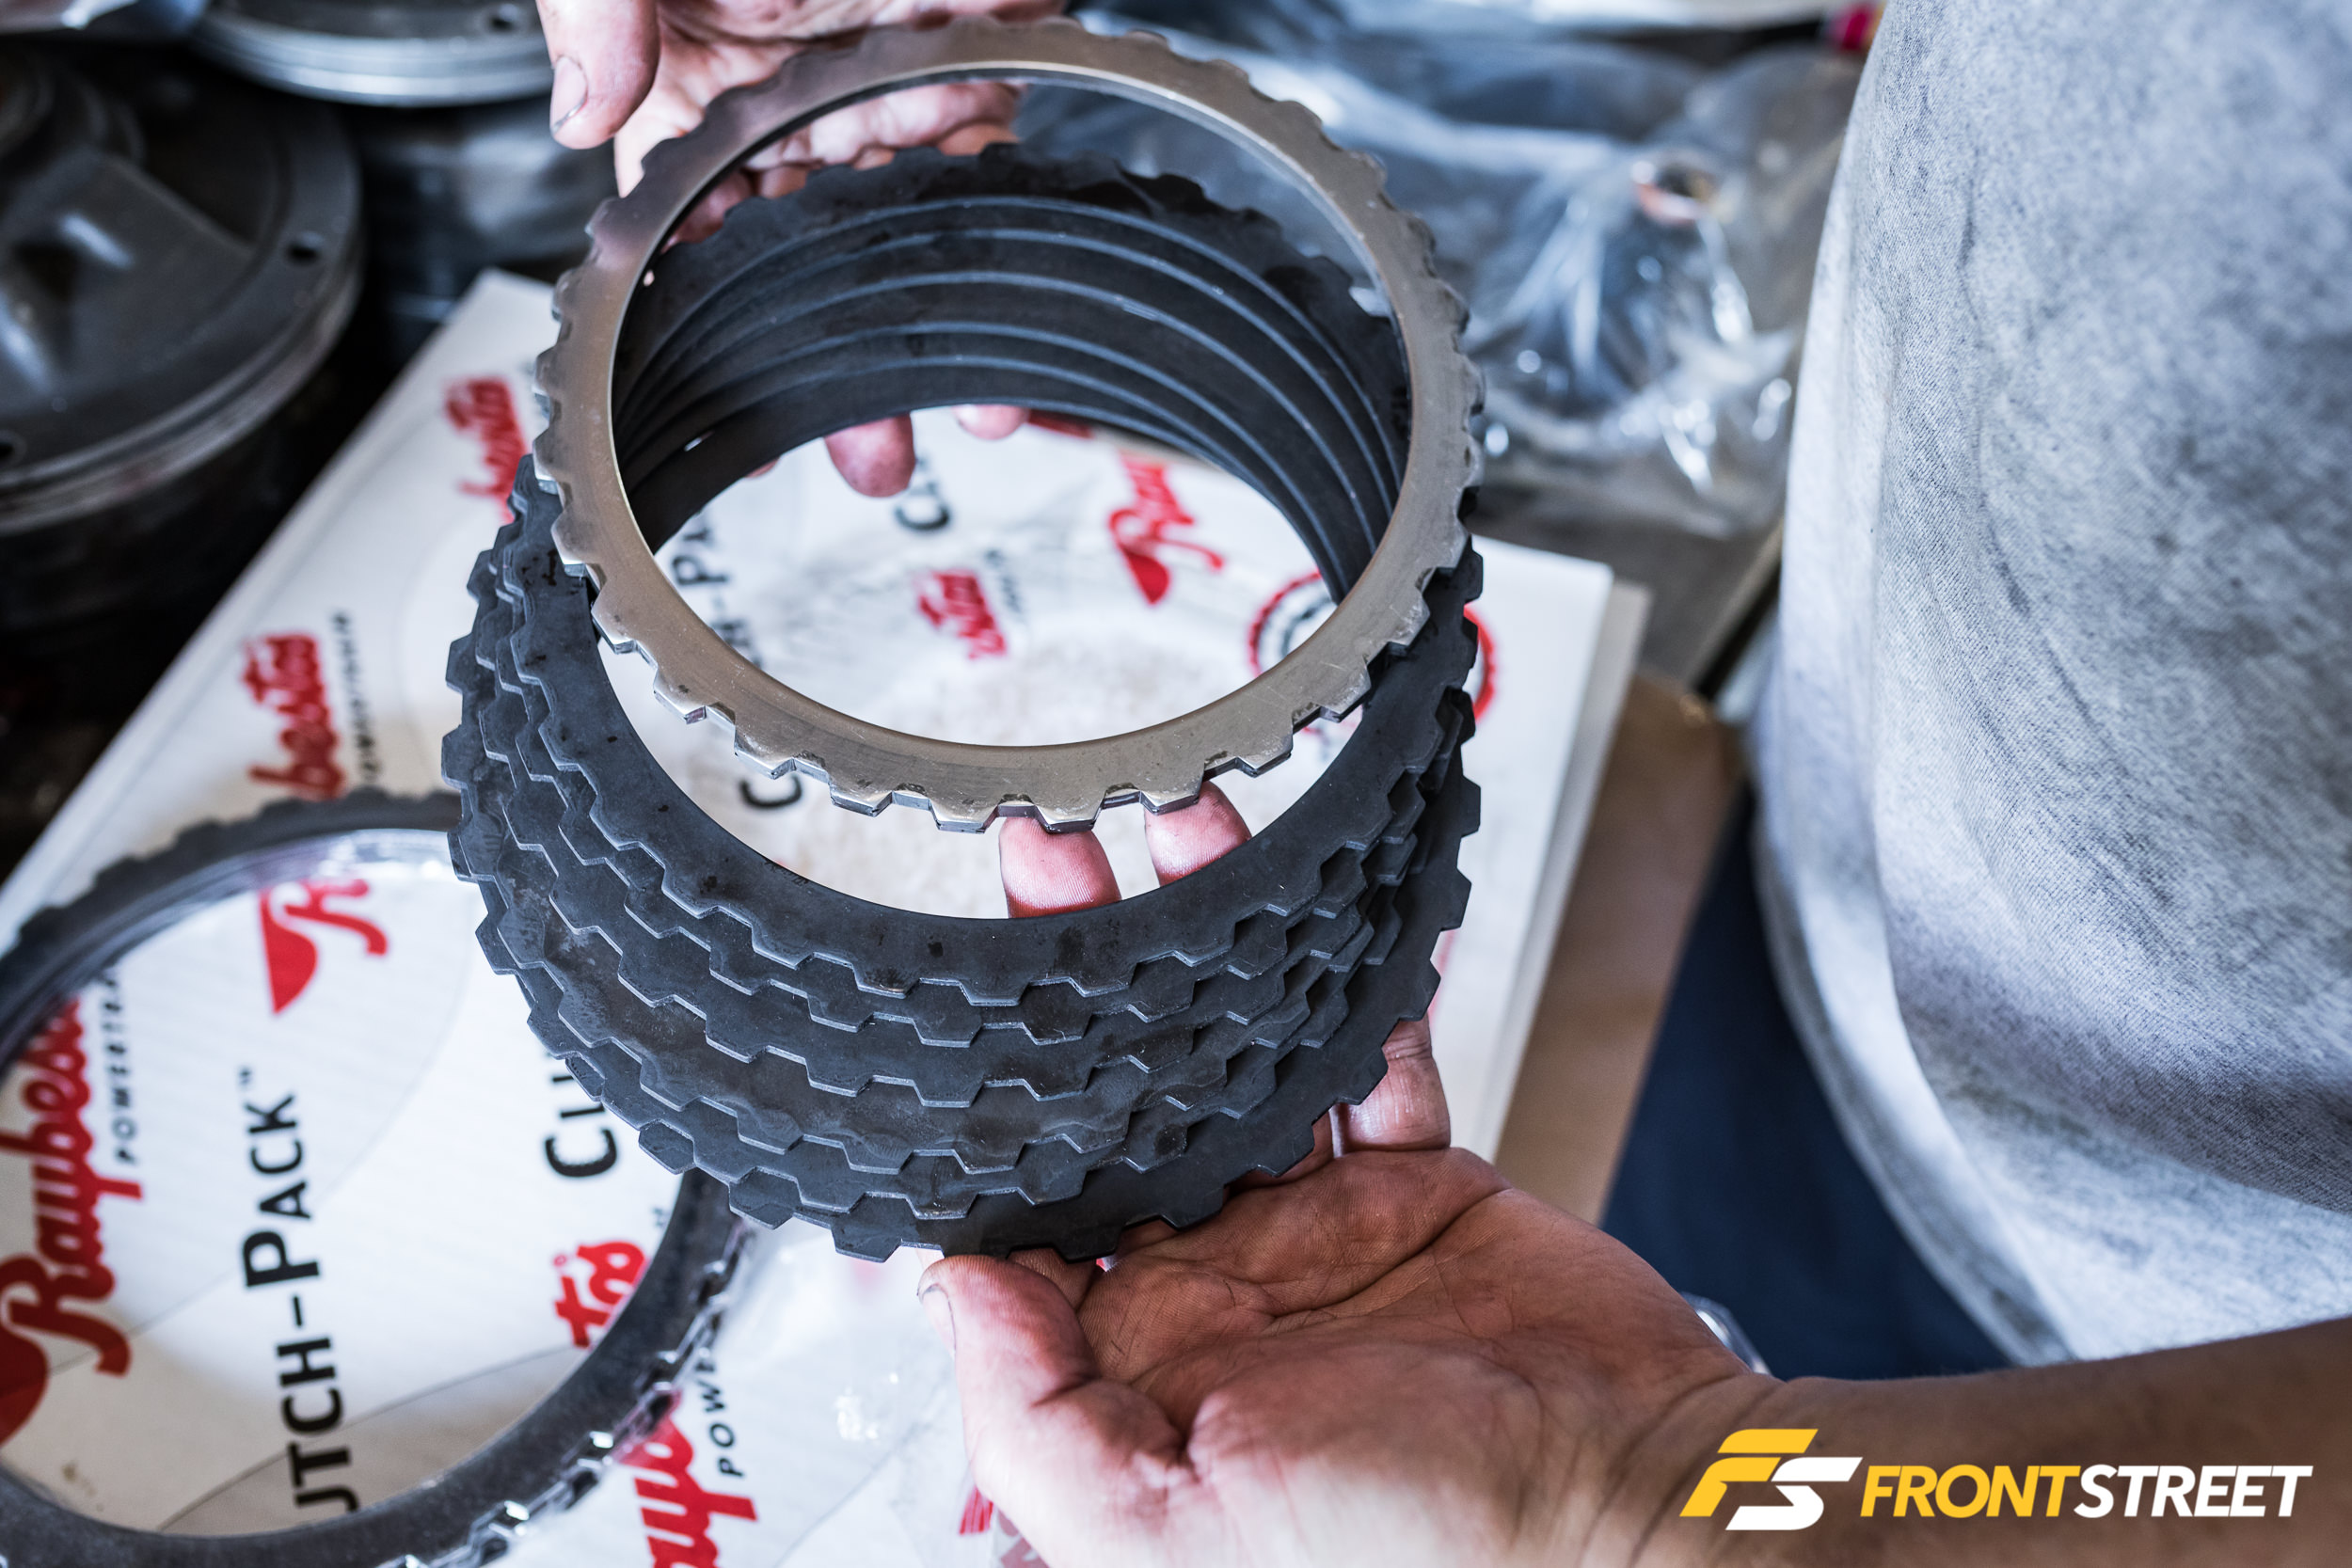
On the top is one of the original steels; the stack of black ones are the Kolene steels that come with the McLeod rebuild kit. According to Raybestos, Kolene is a salt bath nitriding process that enhances wear and fatigue resistance from 200 to 500 percent, while offering increased lubricity. These improvements help to provide extended clutch durability. Sean commented on how the factory steels still showed their machining marks, further impressing him with respect to the transmission’s capabilities.
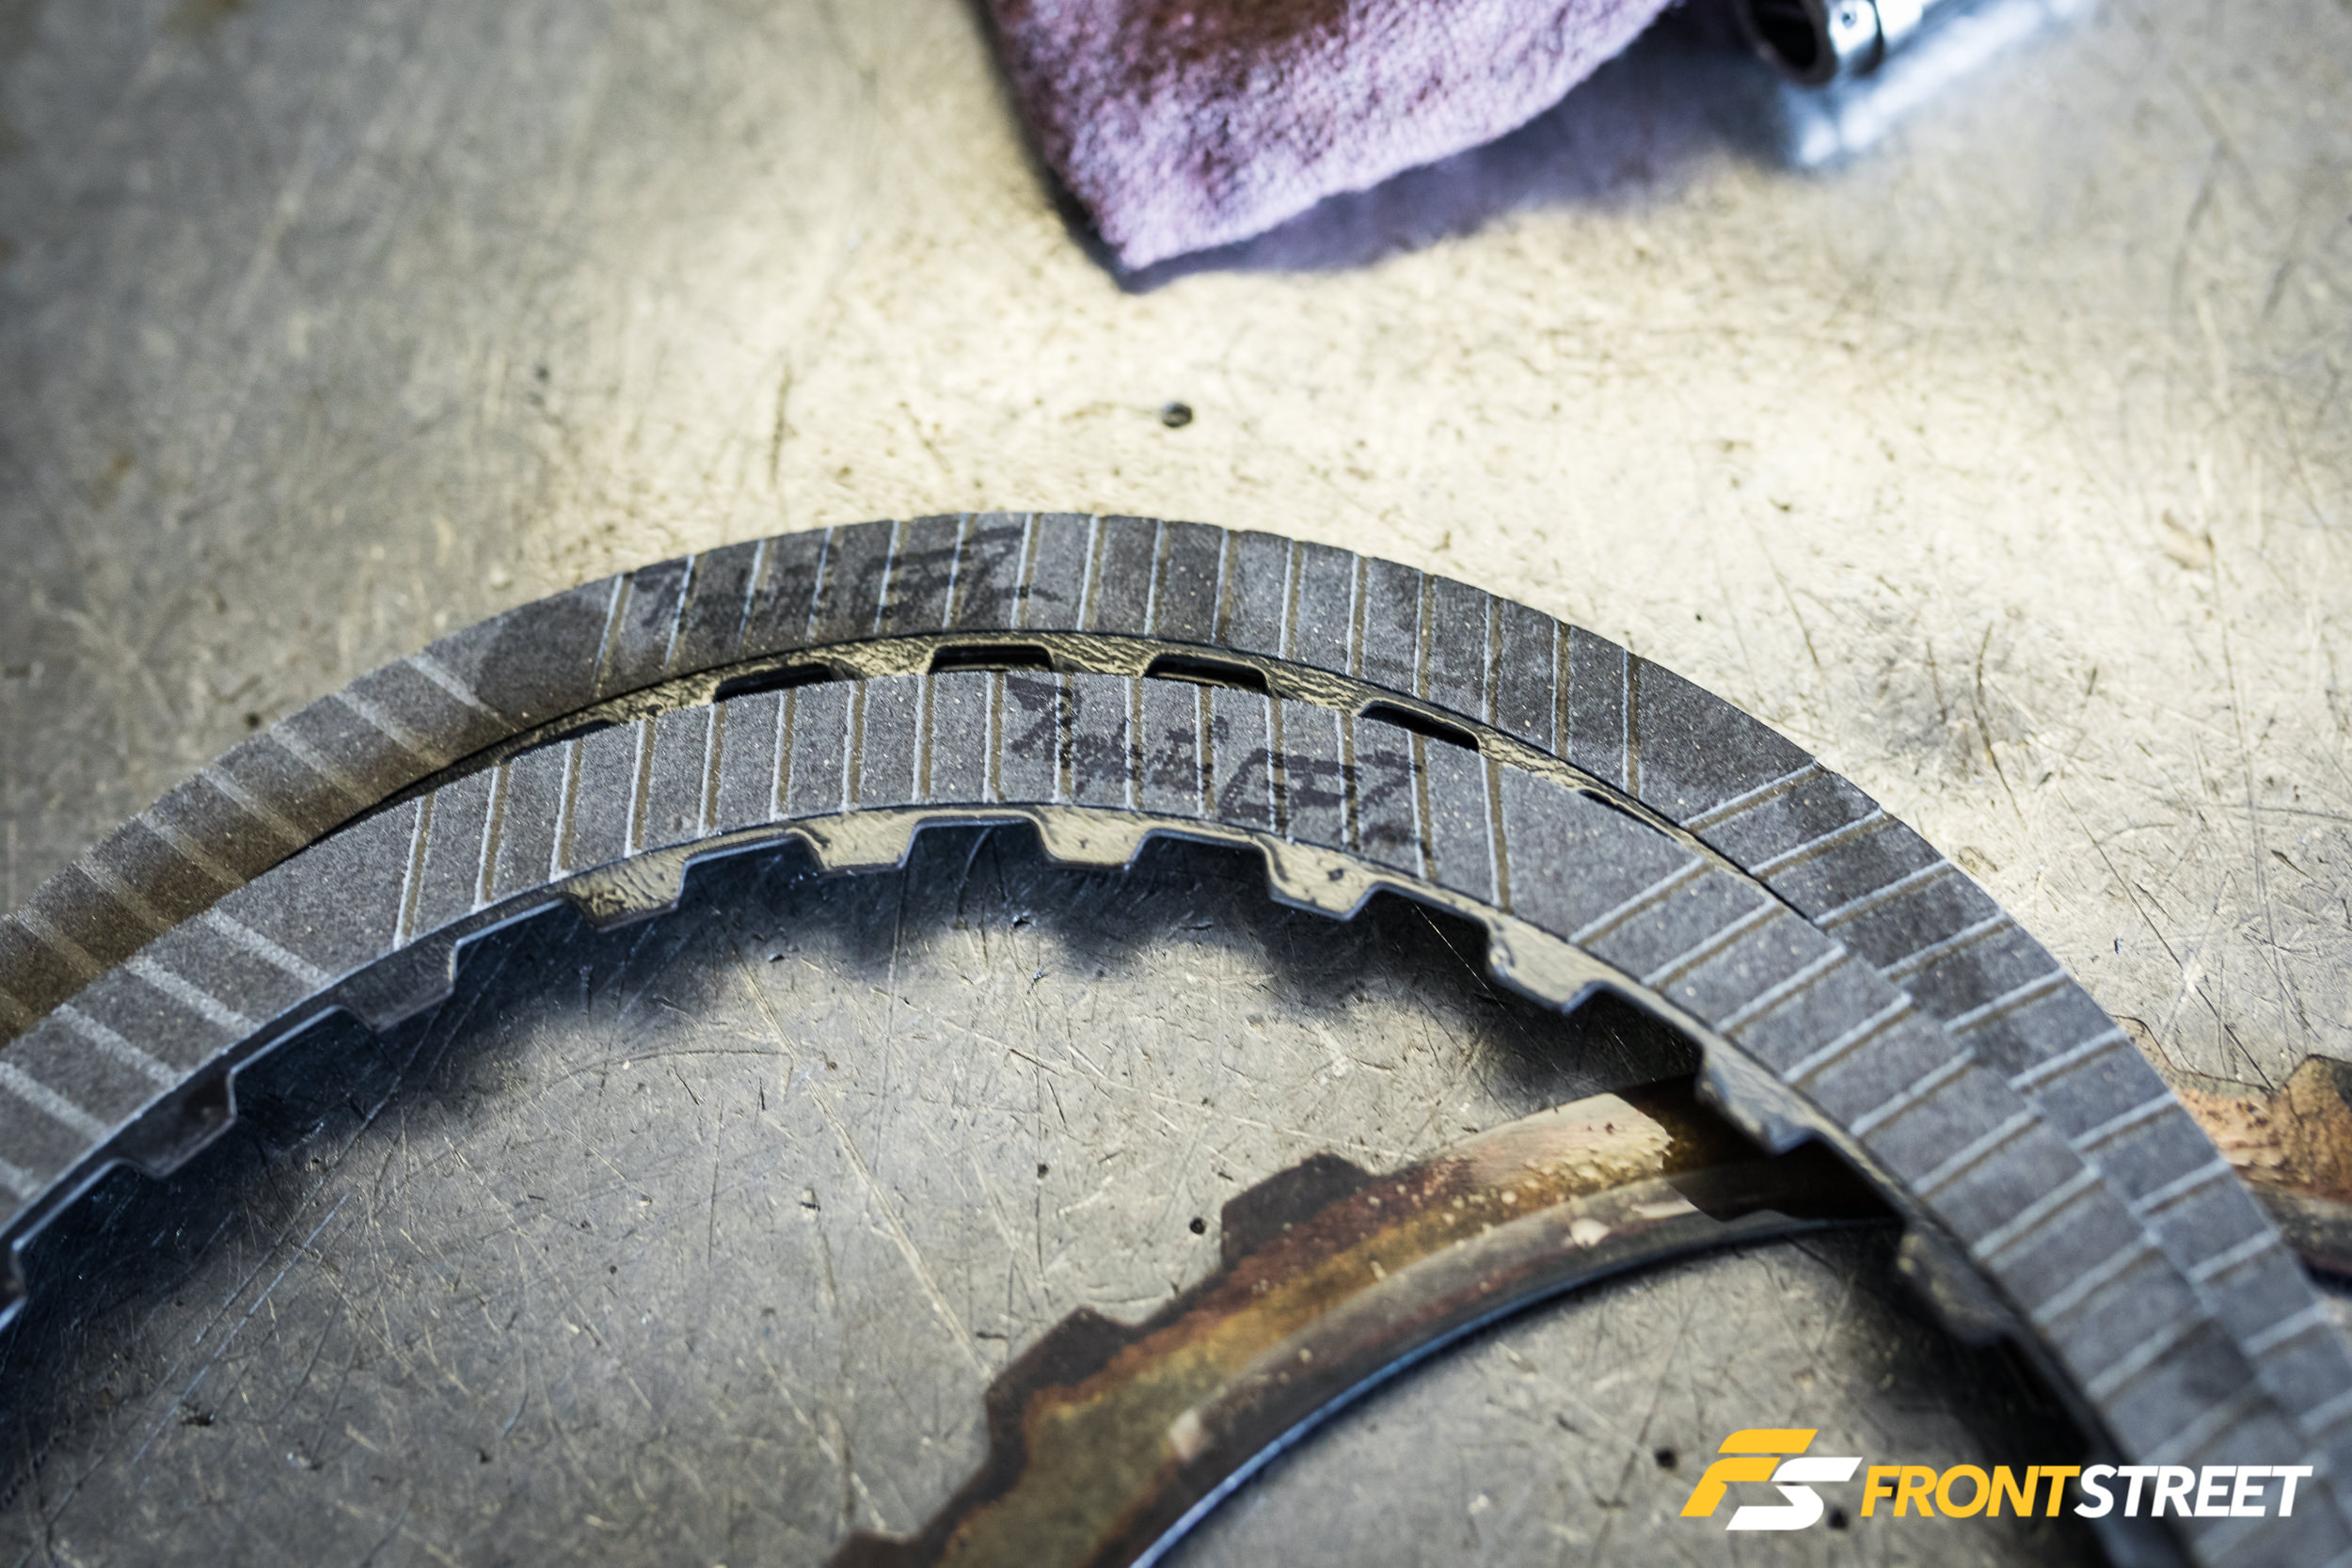
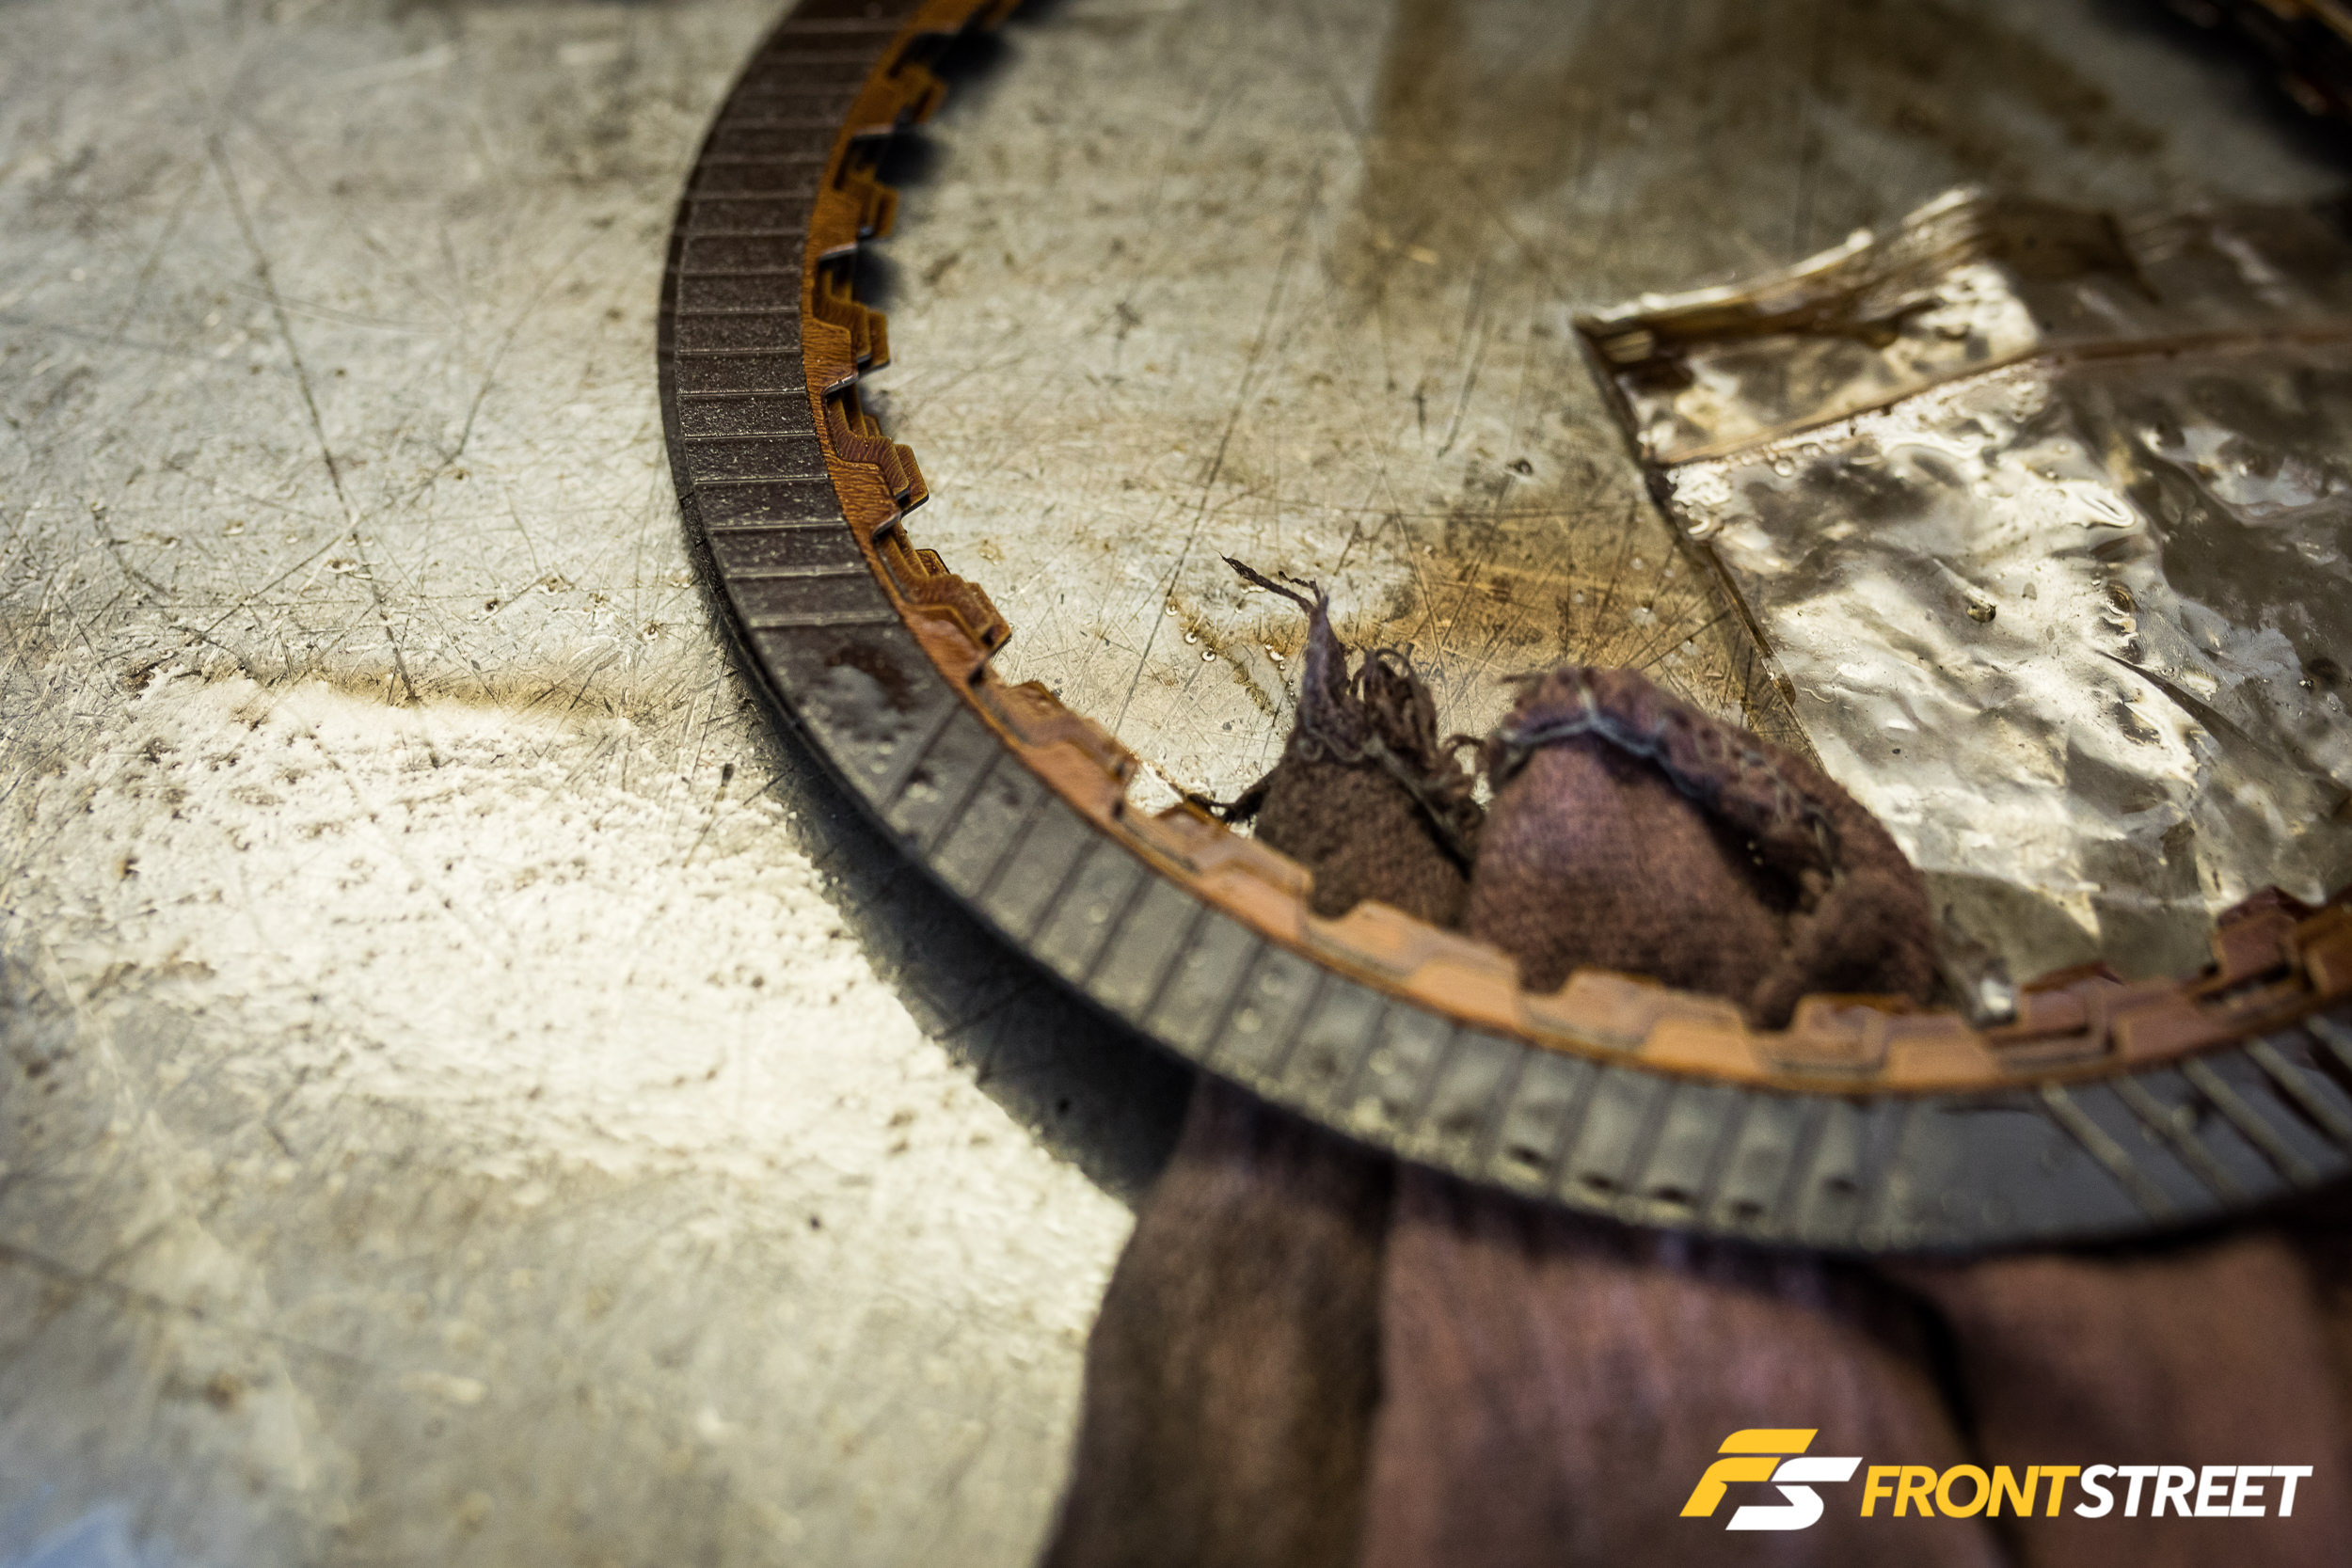
“The GPZ friction clutch plates greatly increase transmission performance and durability. This state-of-the-art friction material far exceeds OE material to withstand high stress, high temperatures, and repeated cycling. GPZ’s outstanding performance benefits are perfect for heavy-duty vehicles and high-stress driving. Testing of GPZ friction material shows that it outperforms OE materials by as much as 20 percent. Plus, its performance improves as the power increases,” says McLeod Racing’s Bob Scheid.
“Especially in vehicles with increased horsepower, the end-user will have a transmission that is equipped to take the heat and stress much better. It’s different than putting a better friction material on a clutch disc found in a manual transmission. As for feel, the car will drive with a virtually unnoticed change in the feel of the shifts. They may be slightly more aggressive, but the key word here is slightly.”
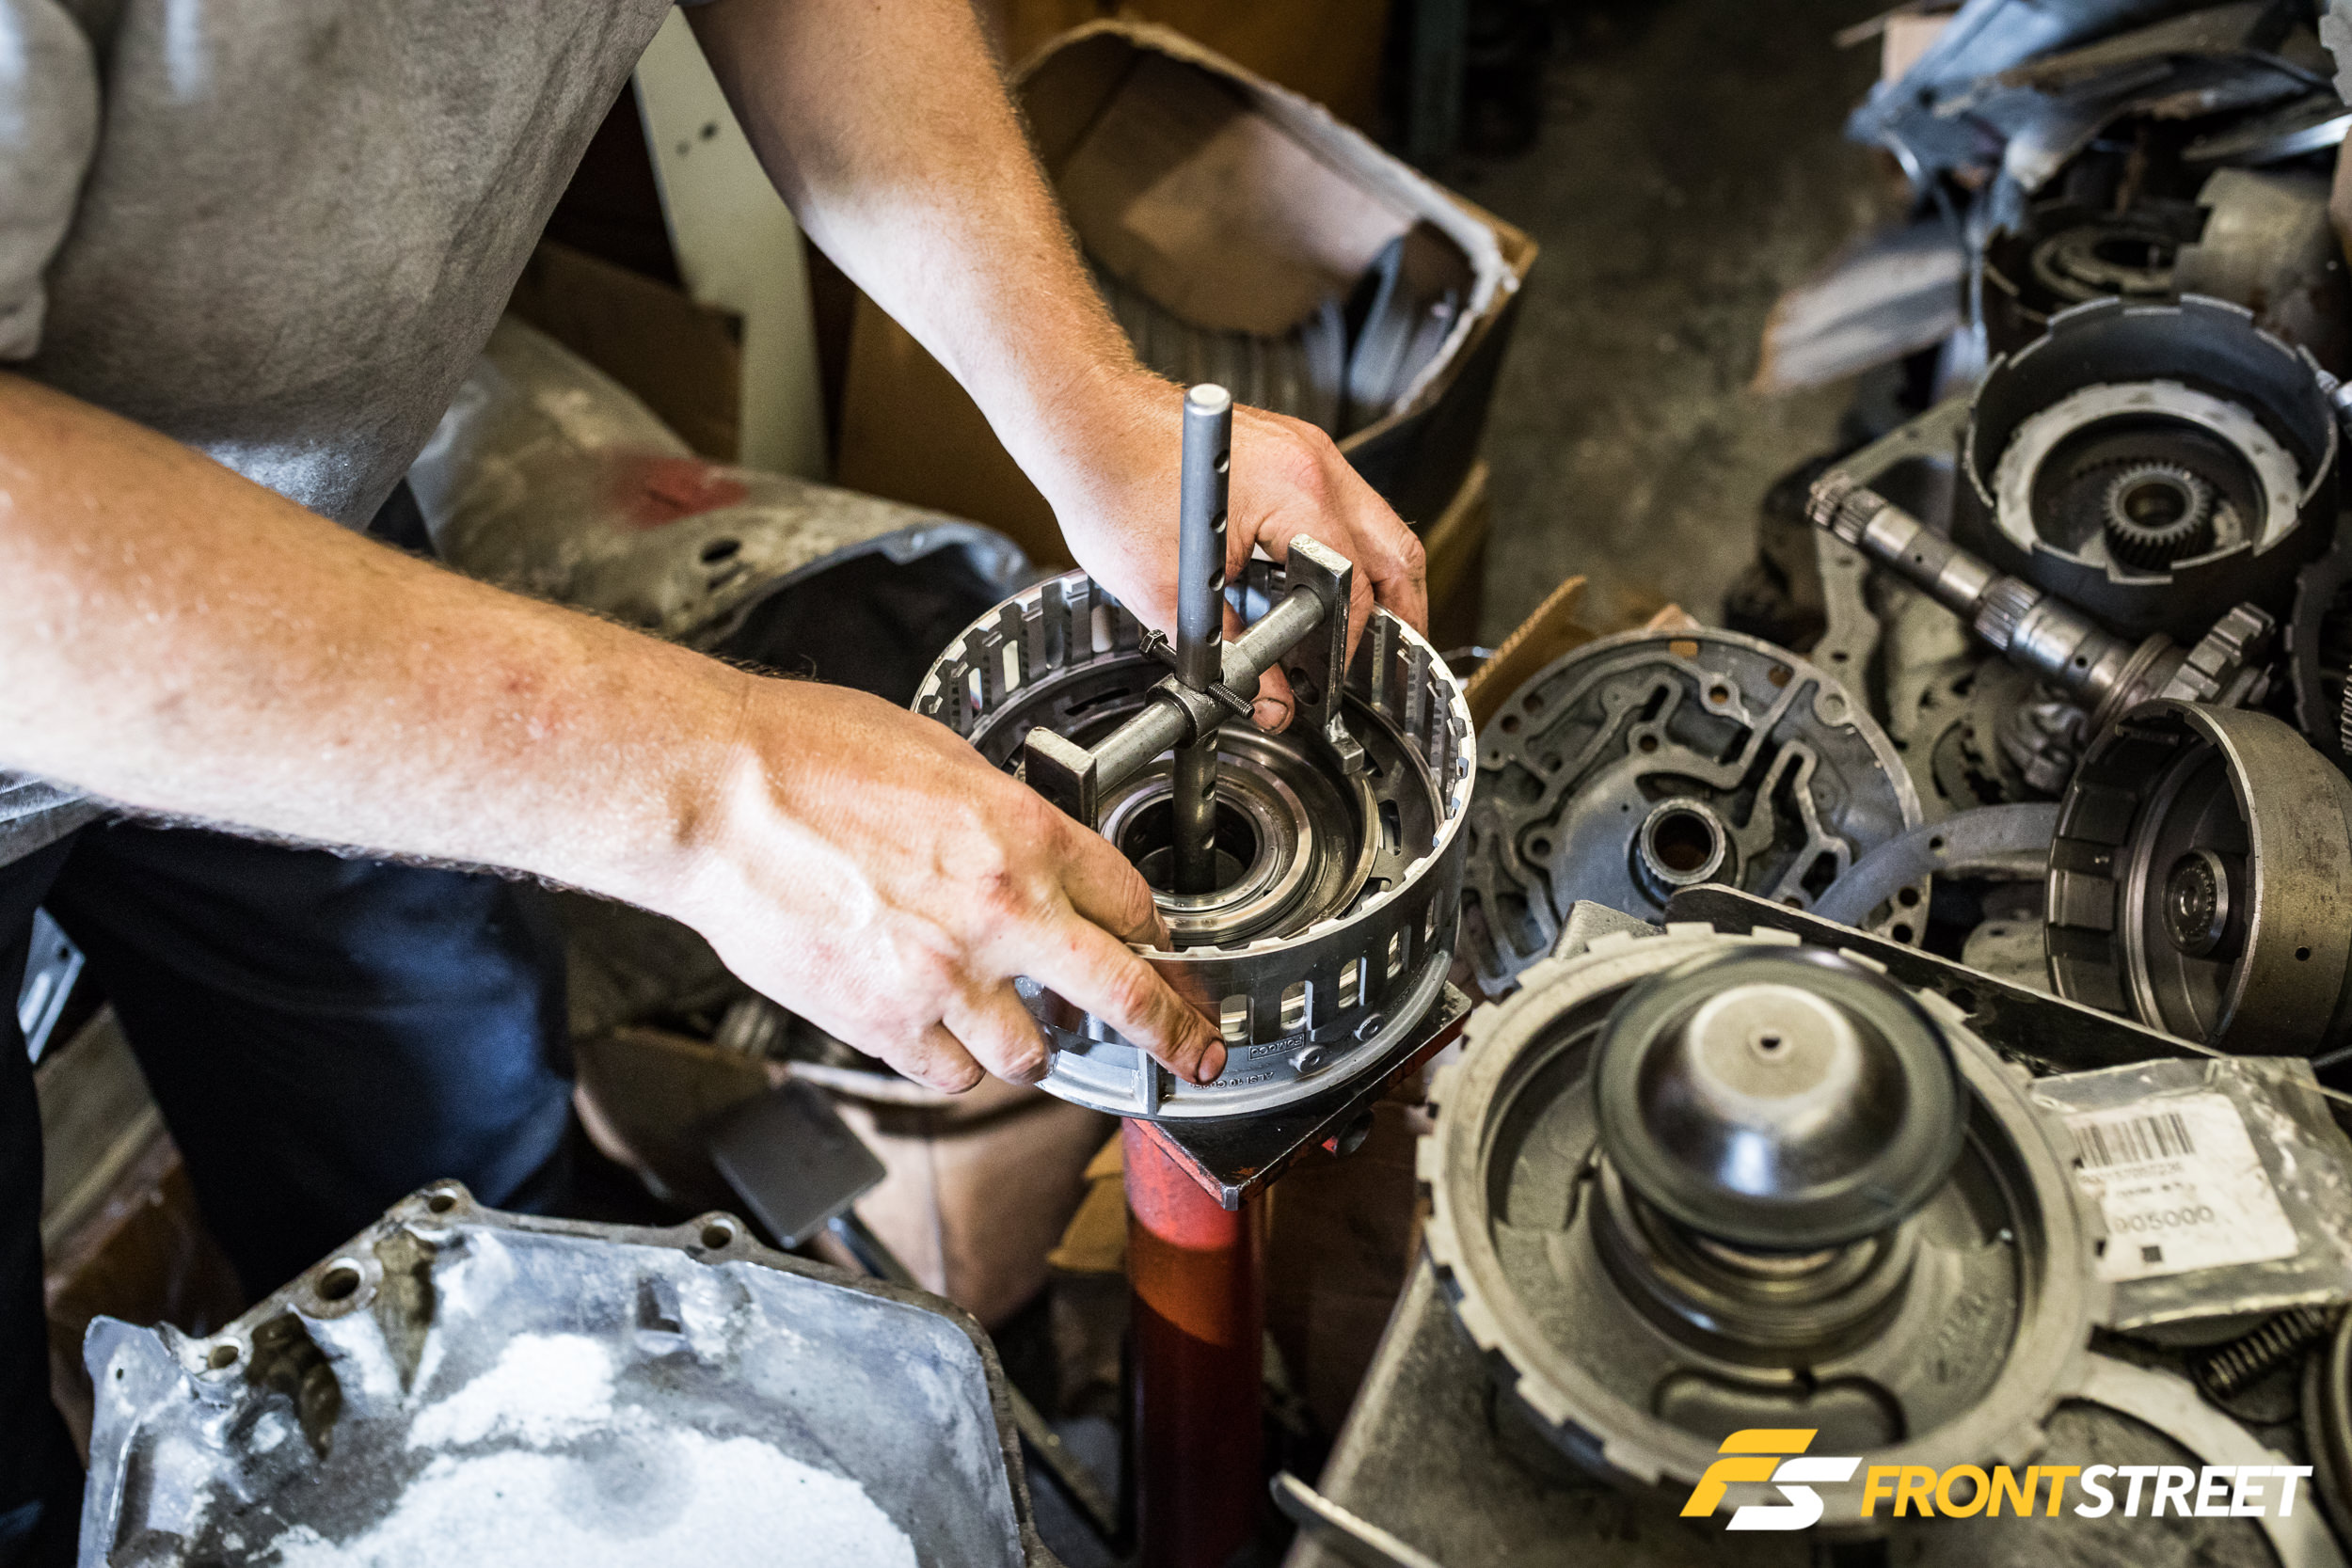
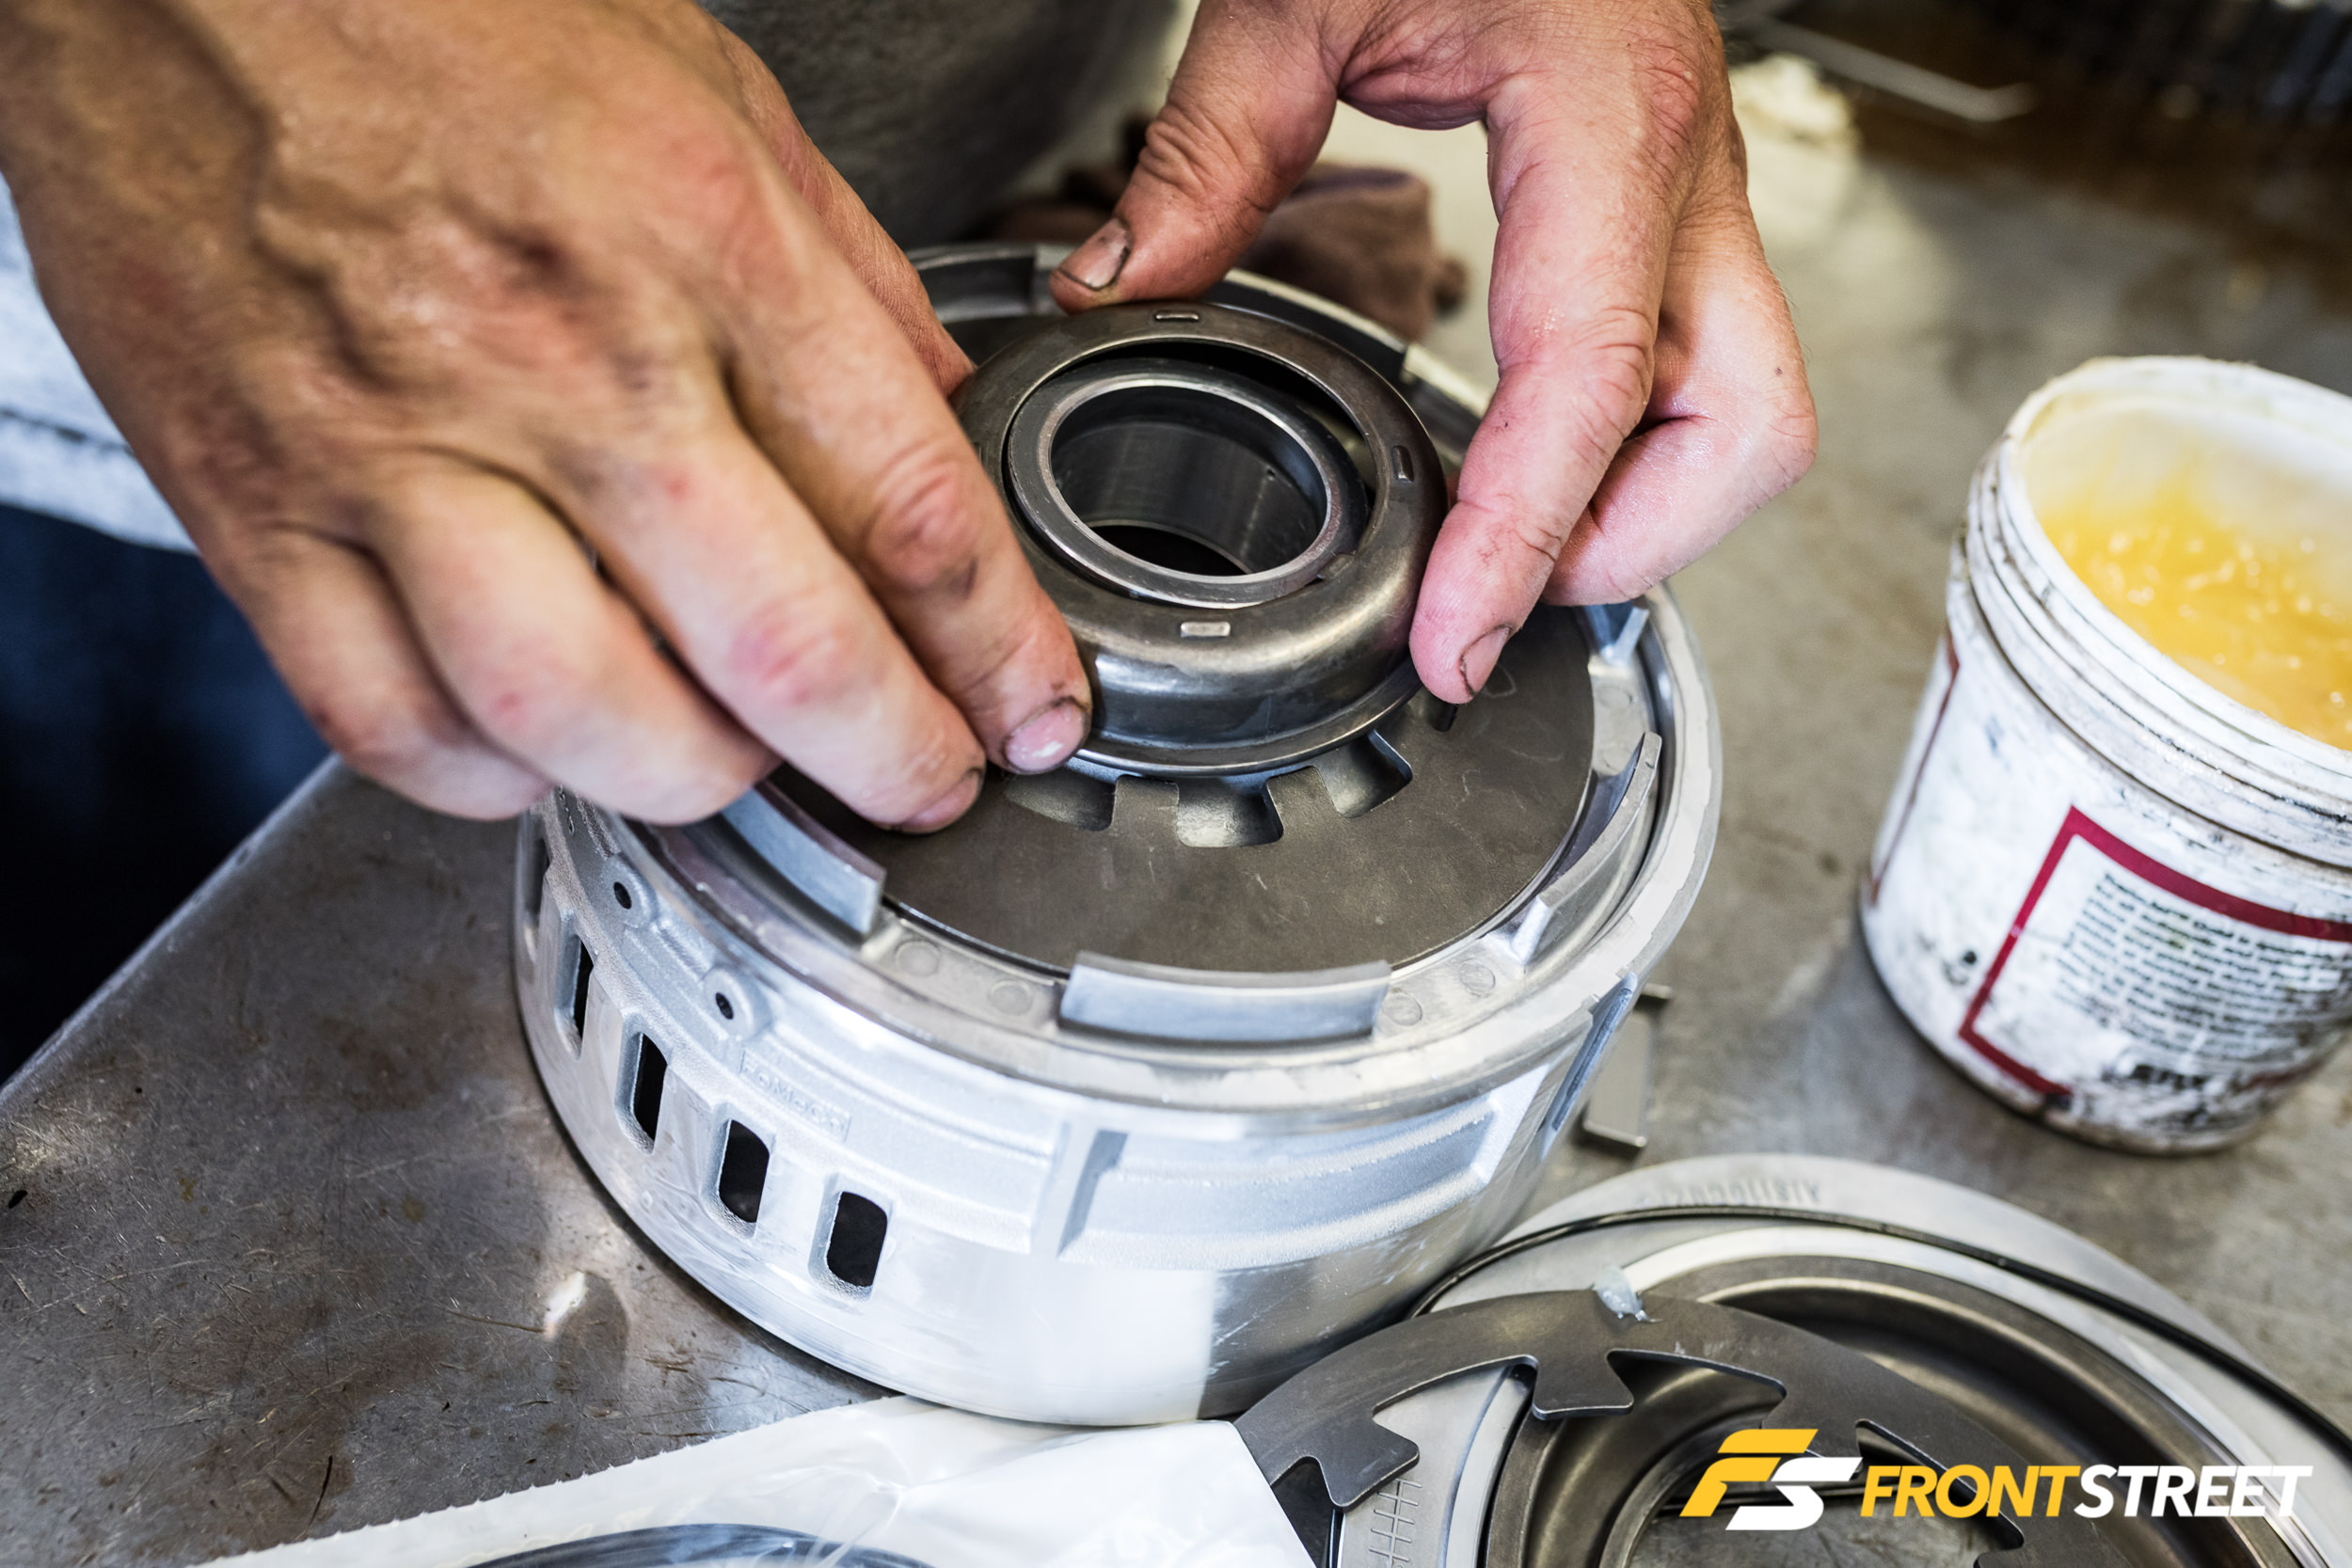
There are several Belleville springs in the transmission that help to keep everything together. The pressure is released using this tool to remove the snap rings and extract the clutch packs for replacement.
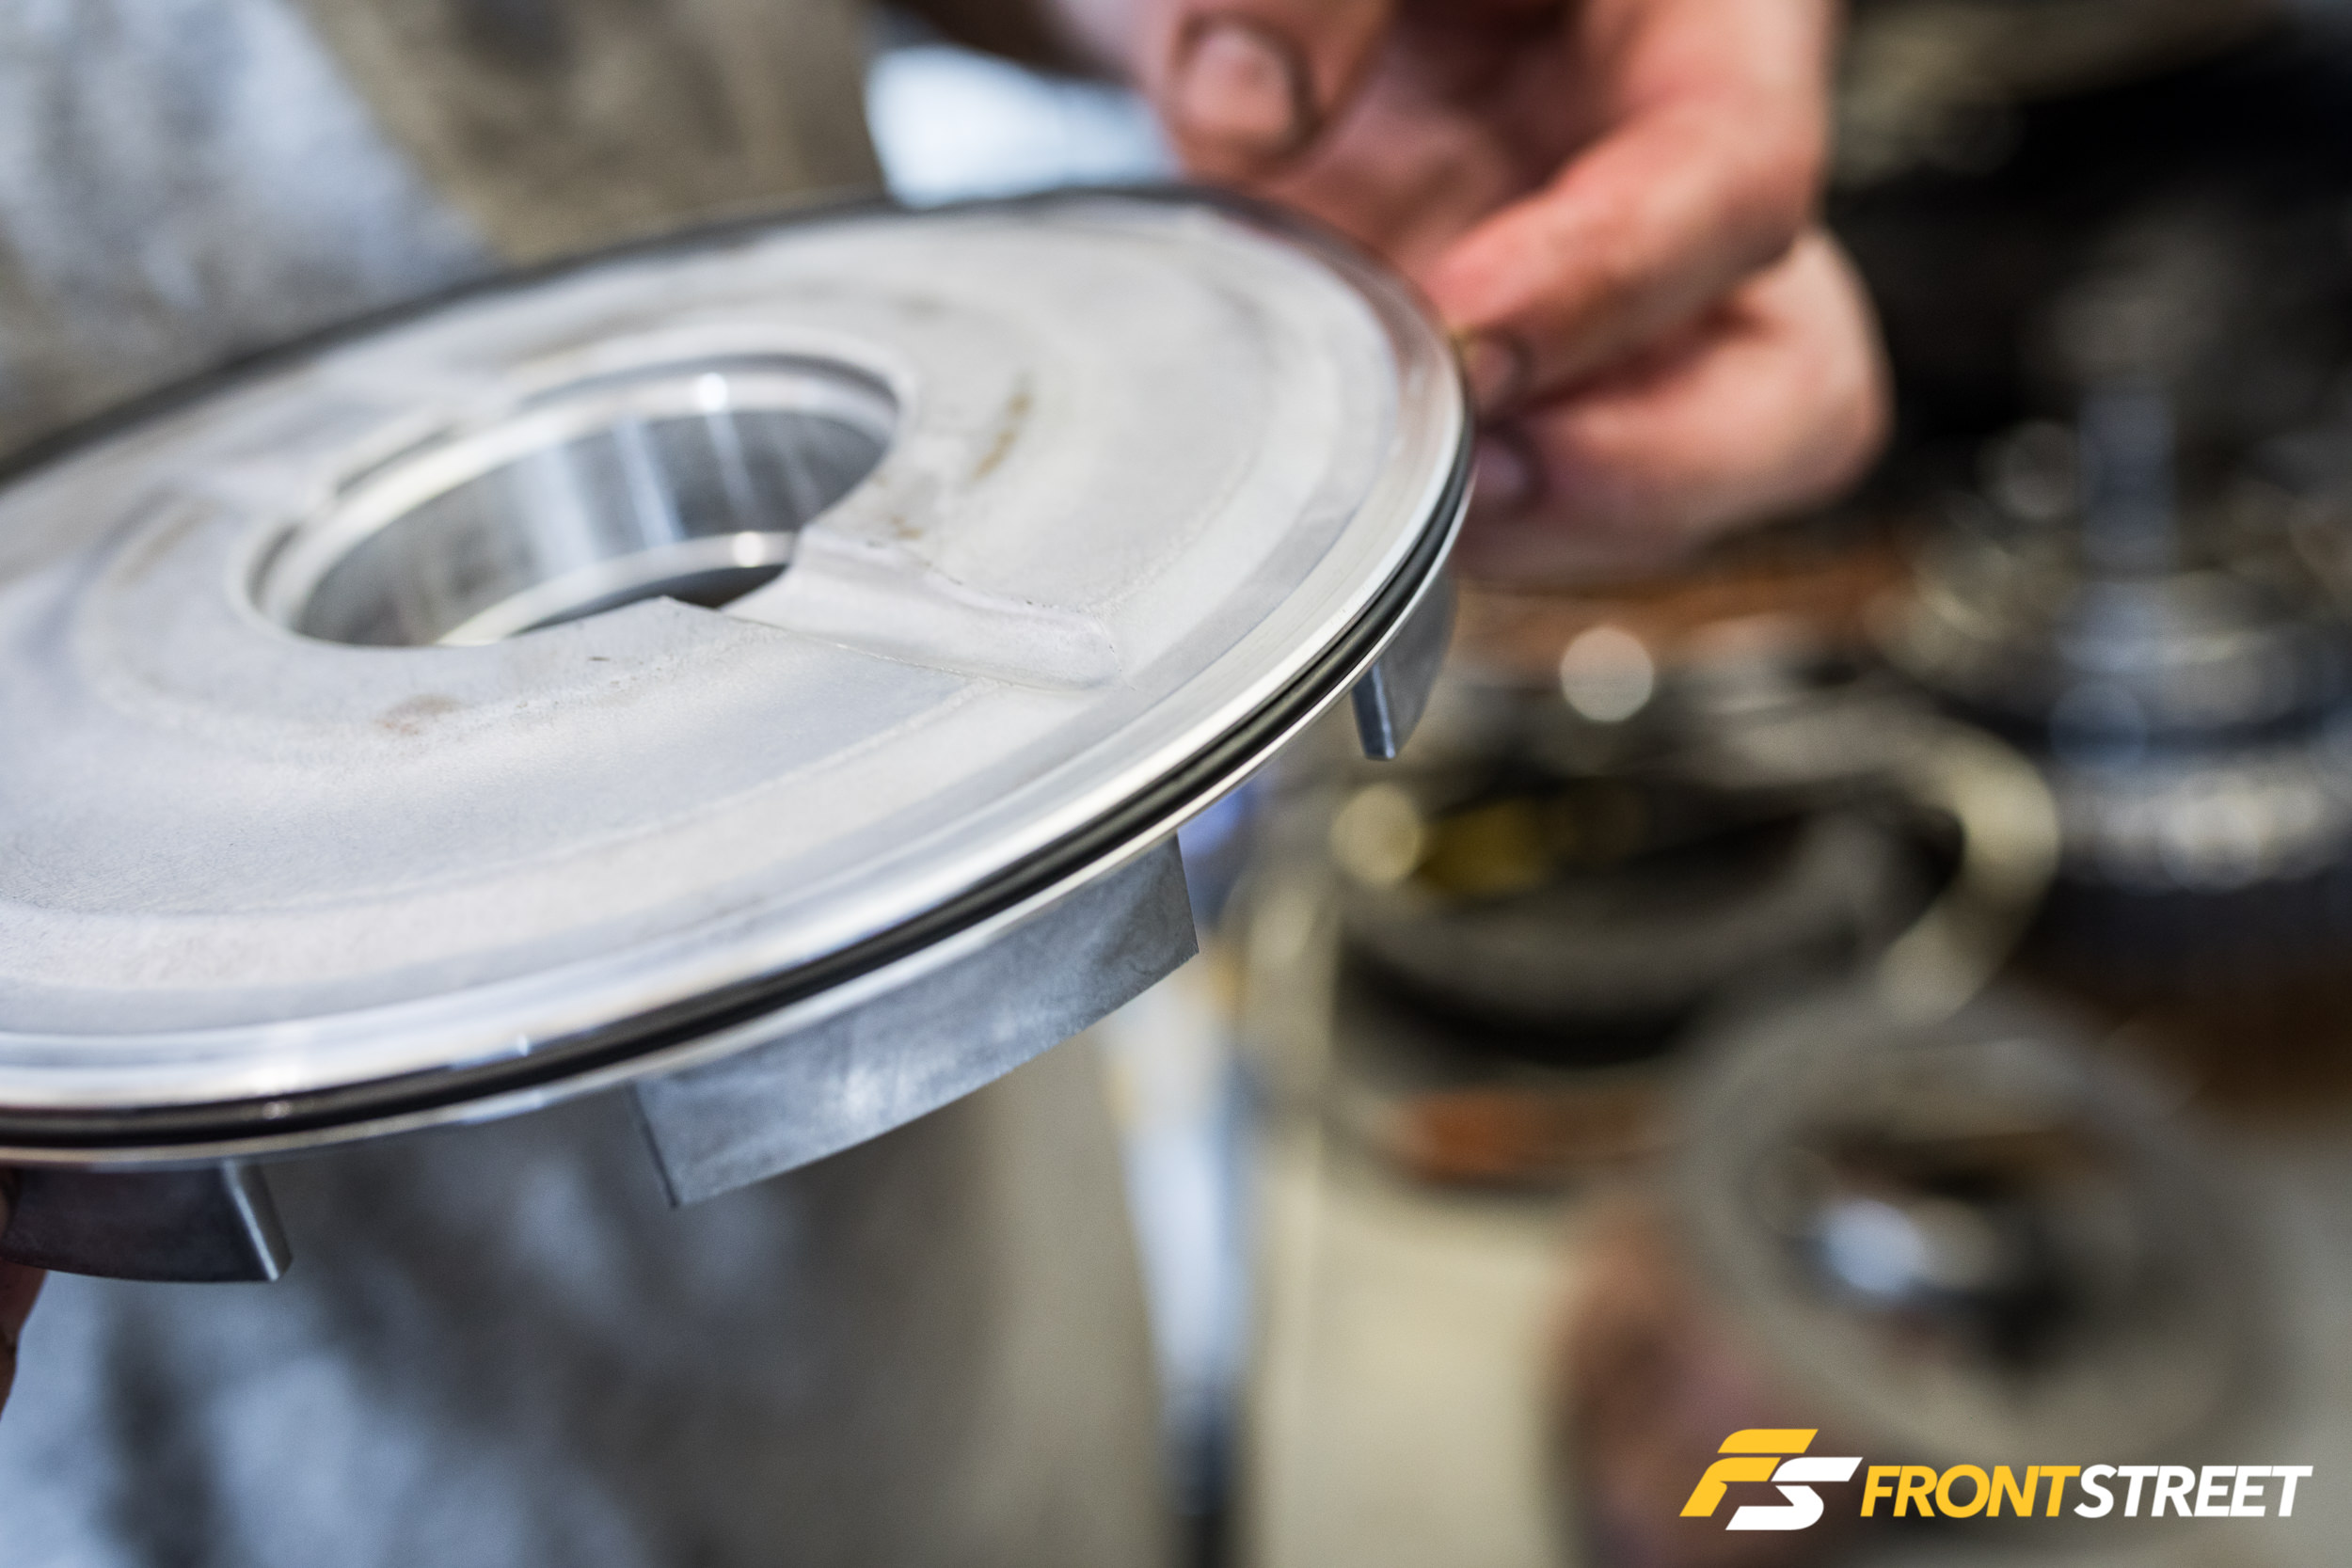
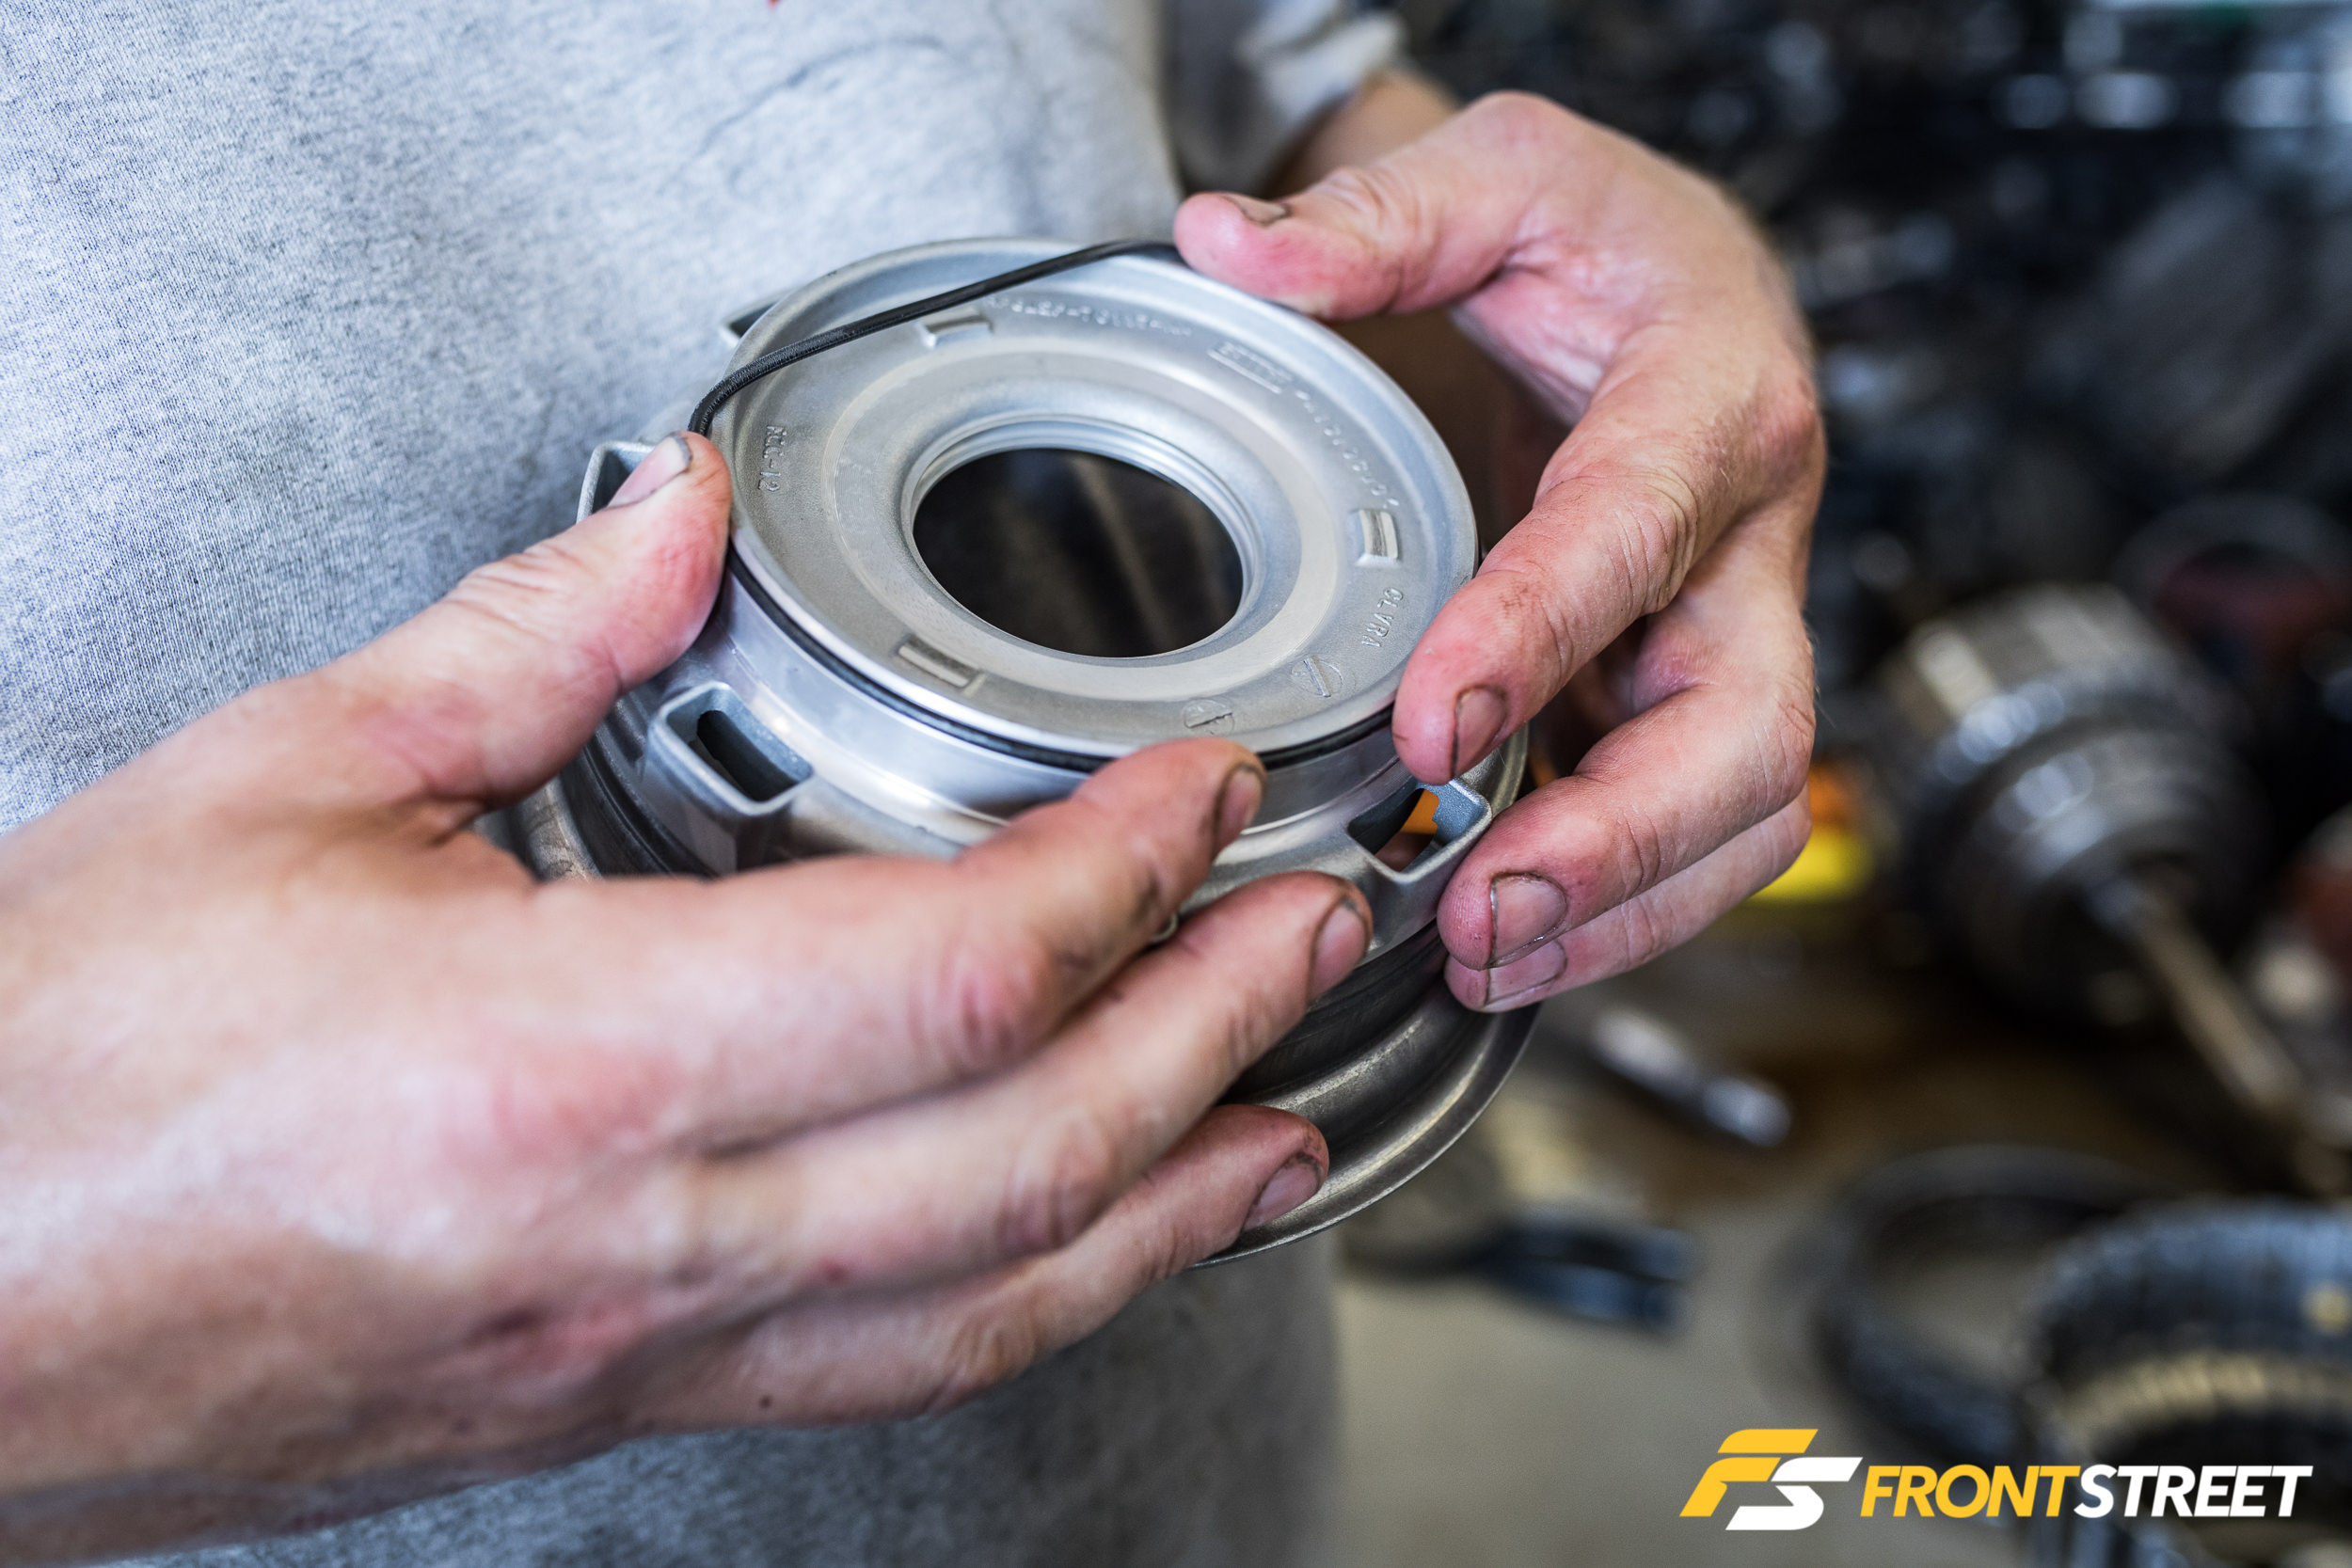
Fresh O-rings all around.
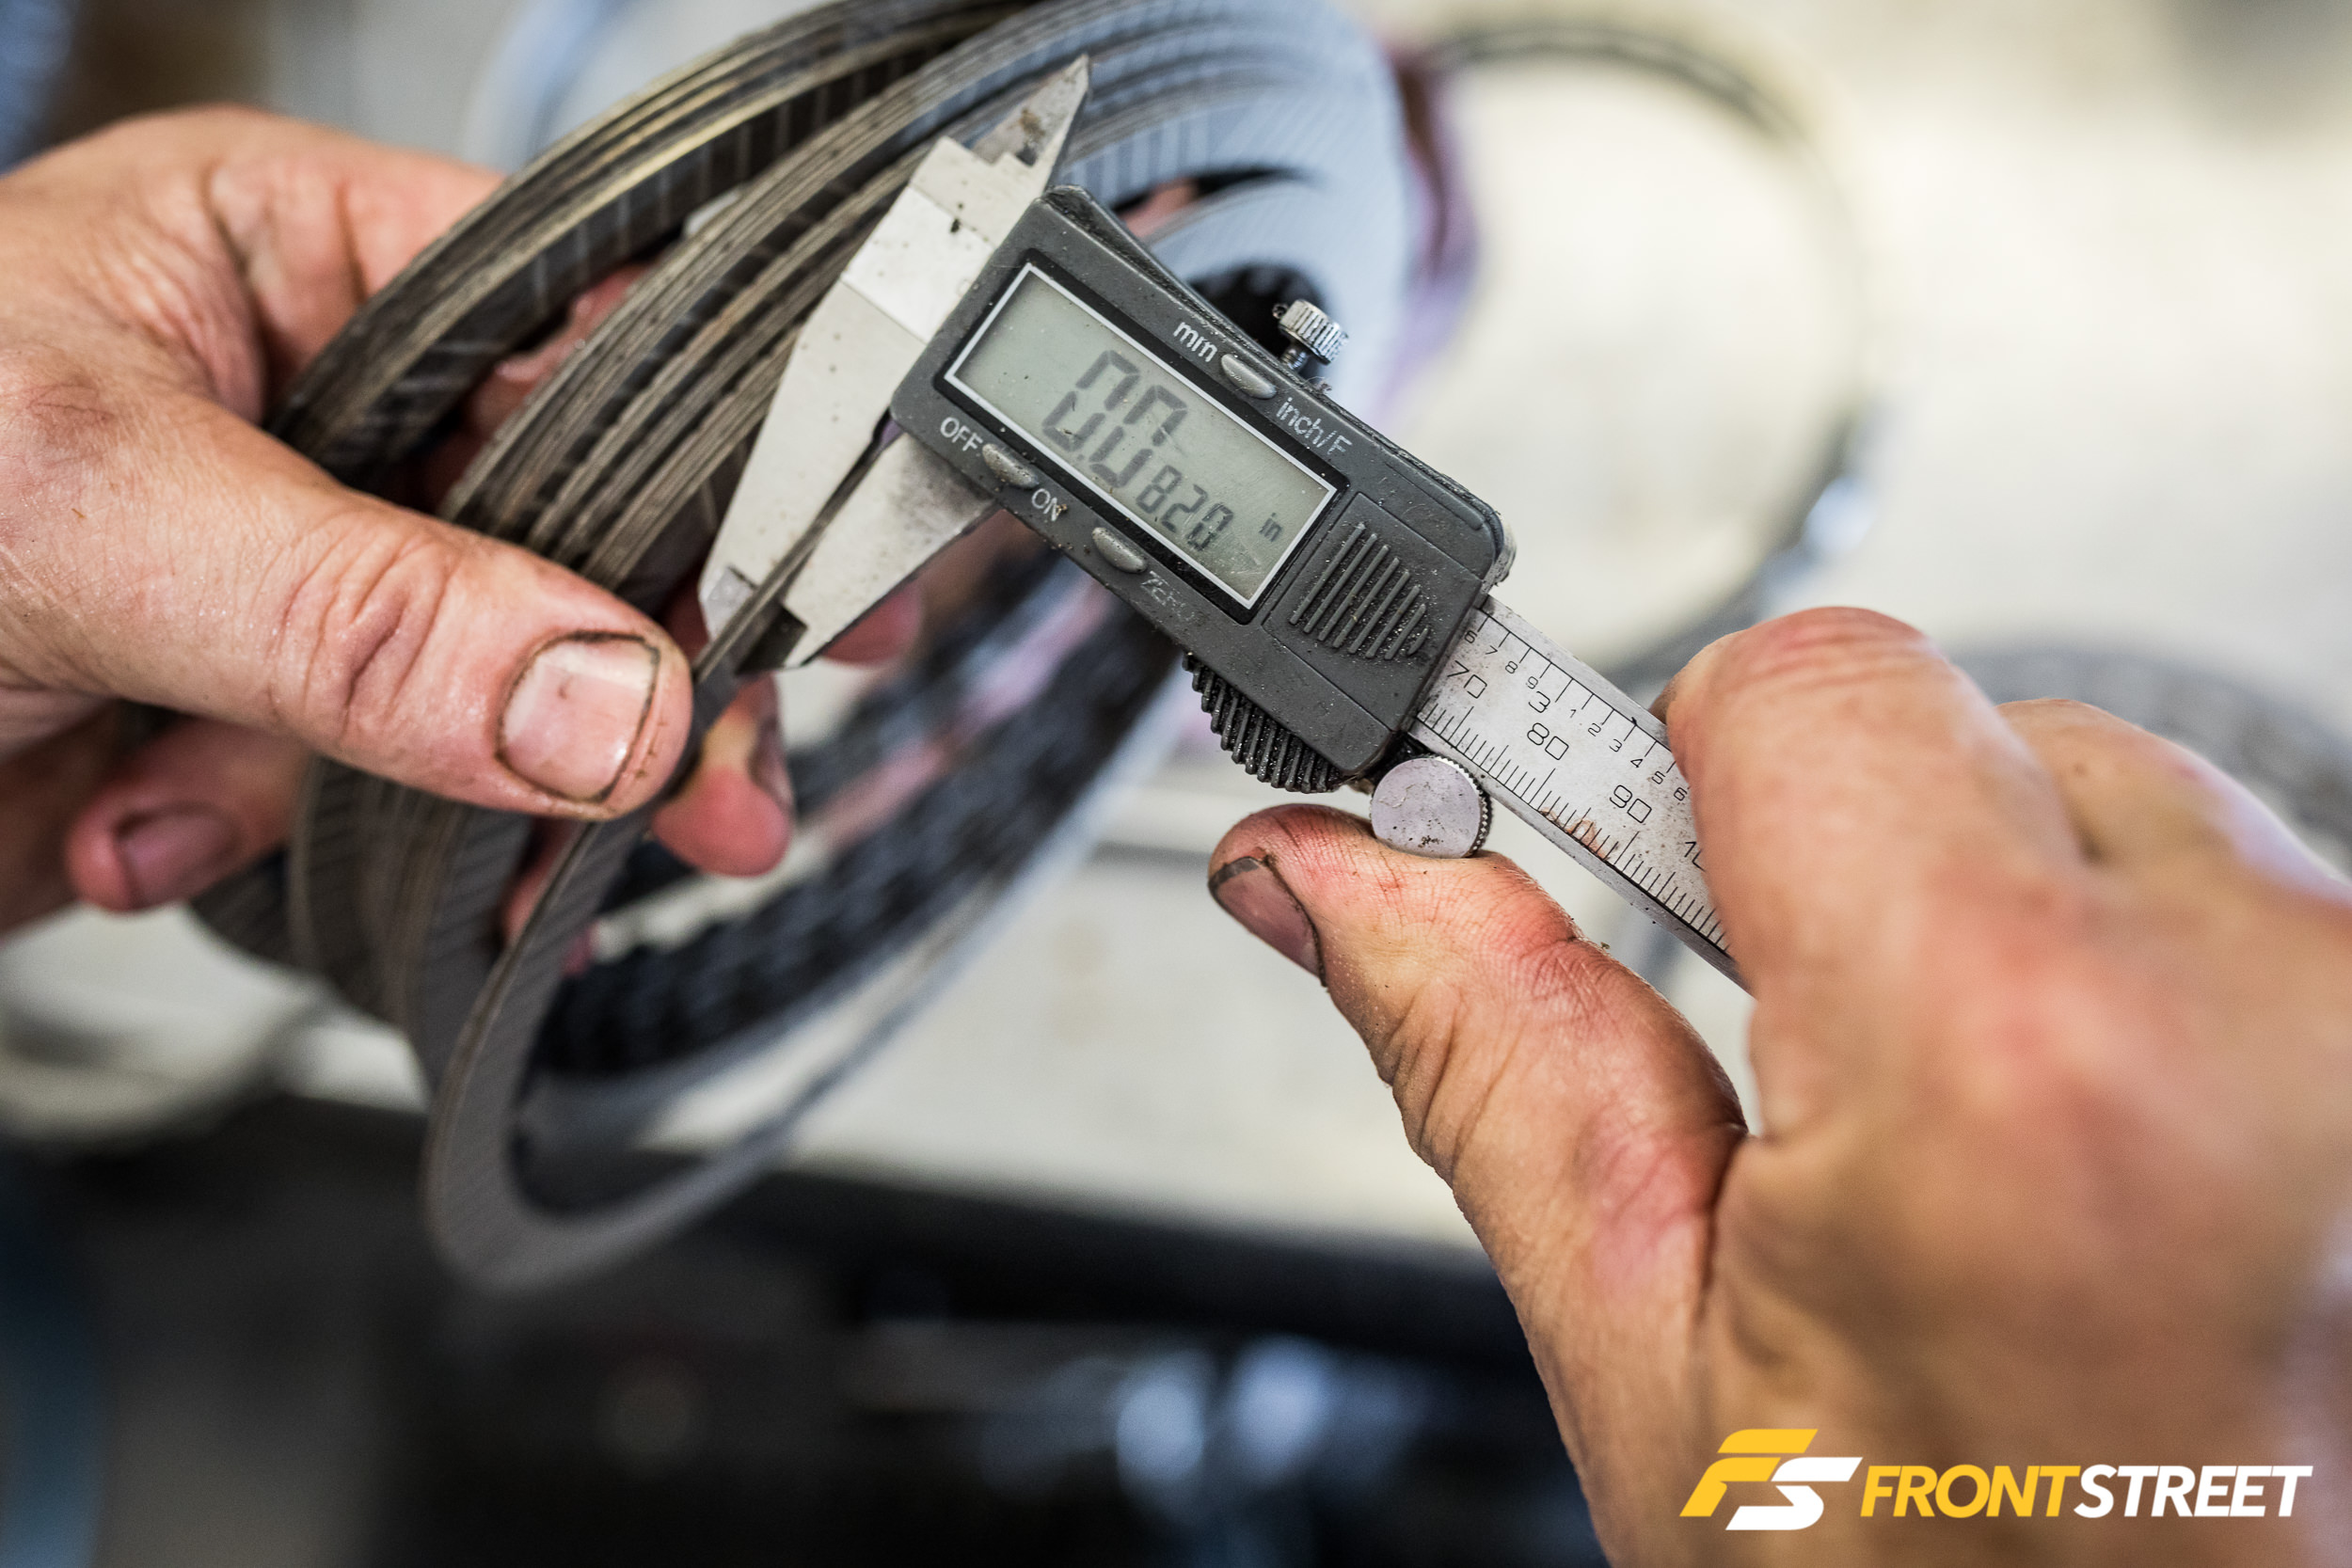
Since the McLeod Racing rebuild kit covers 2008-current 6R80 transmissions, there were a couple of extra pieces left over, which was a bit daunting until we realized why, since different models have slightly different requirements. Luckily Sean’s three decades of transmission-building experience took over and outweighed my neurotic nature. Measuring the clutch and steel sets to achieve optimum stack height was his job.
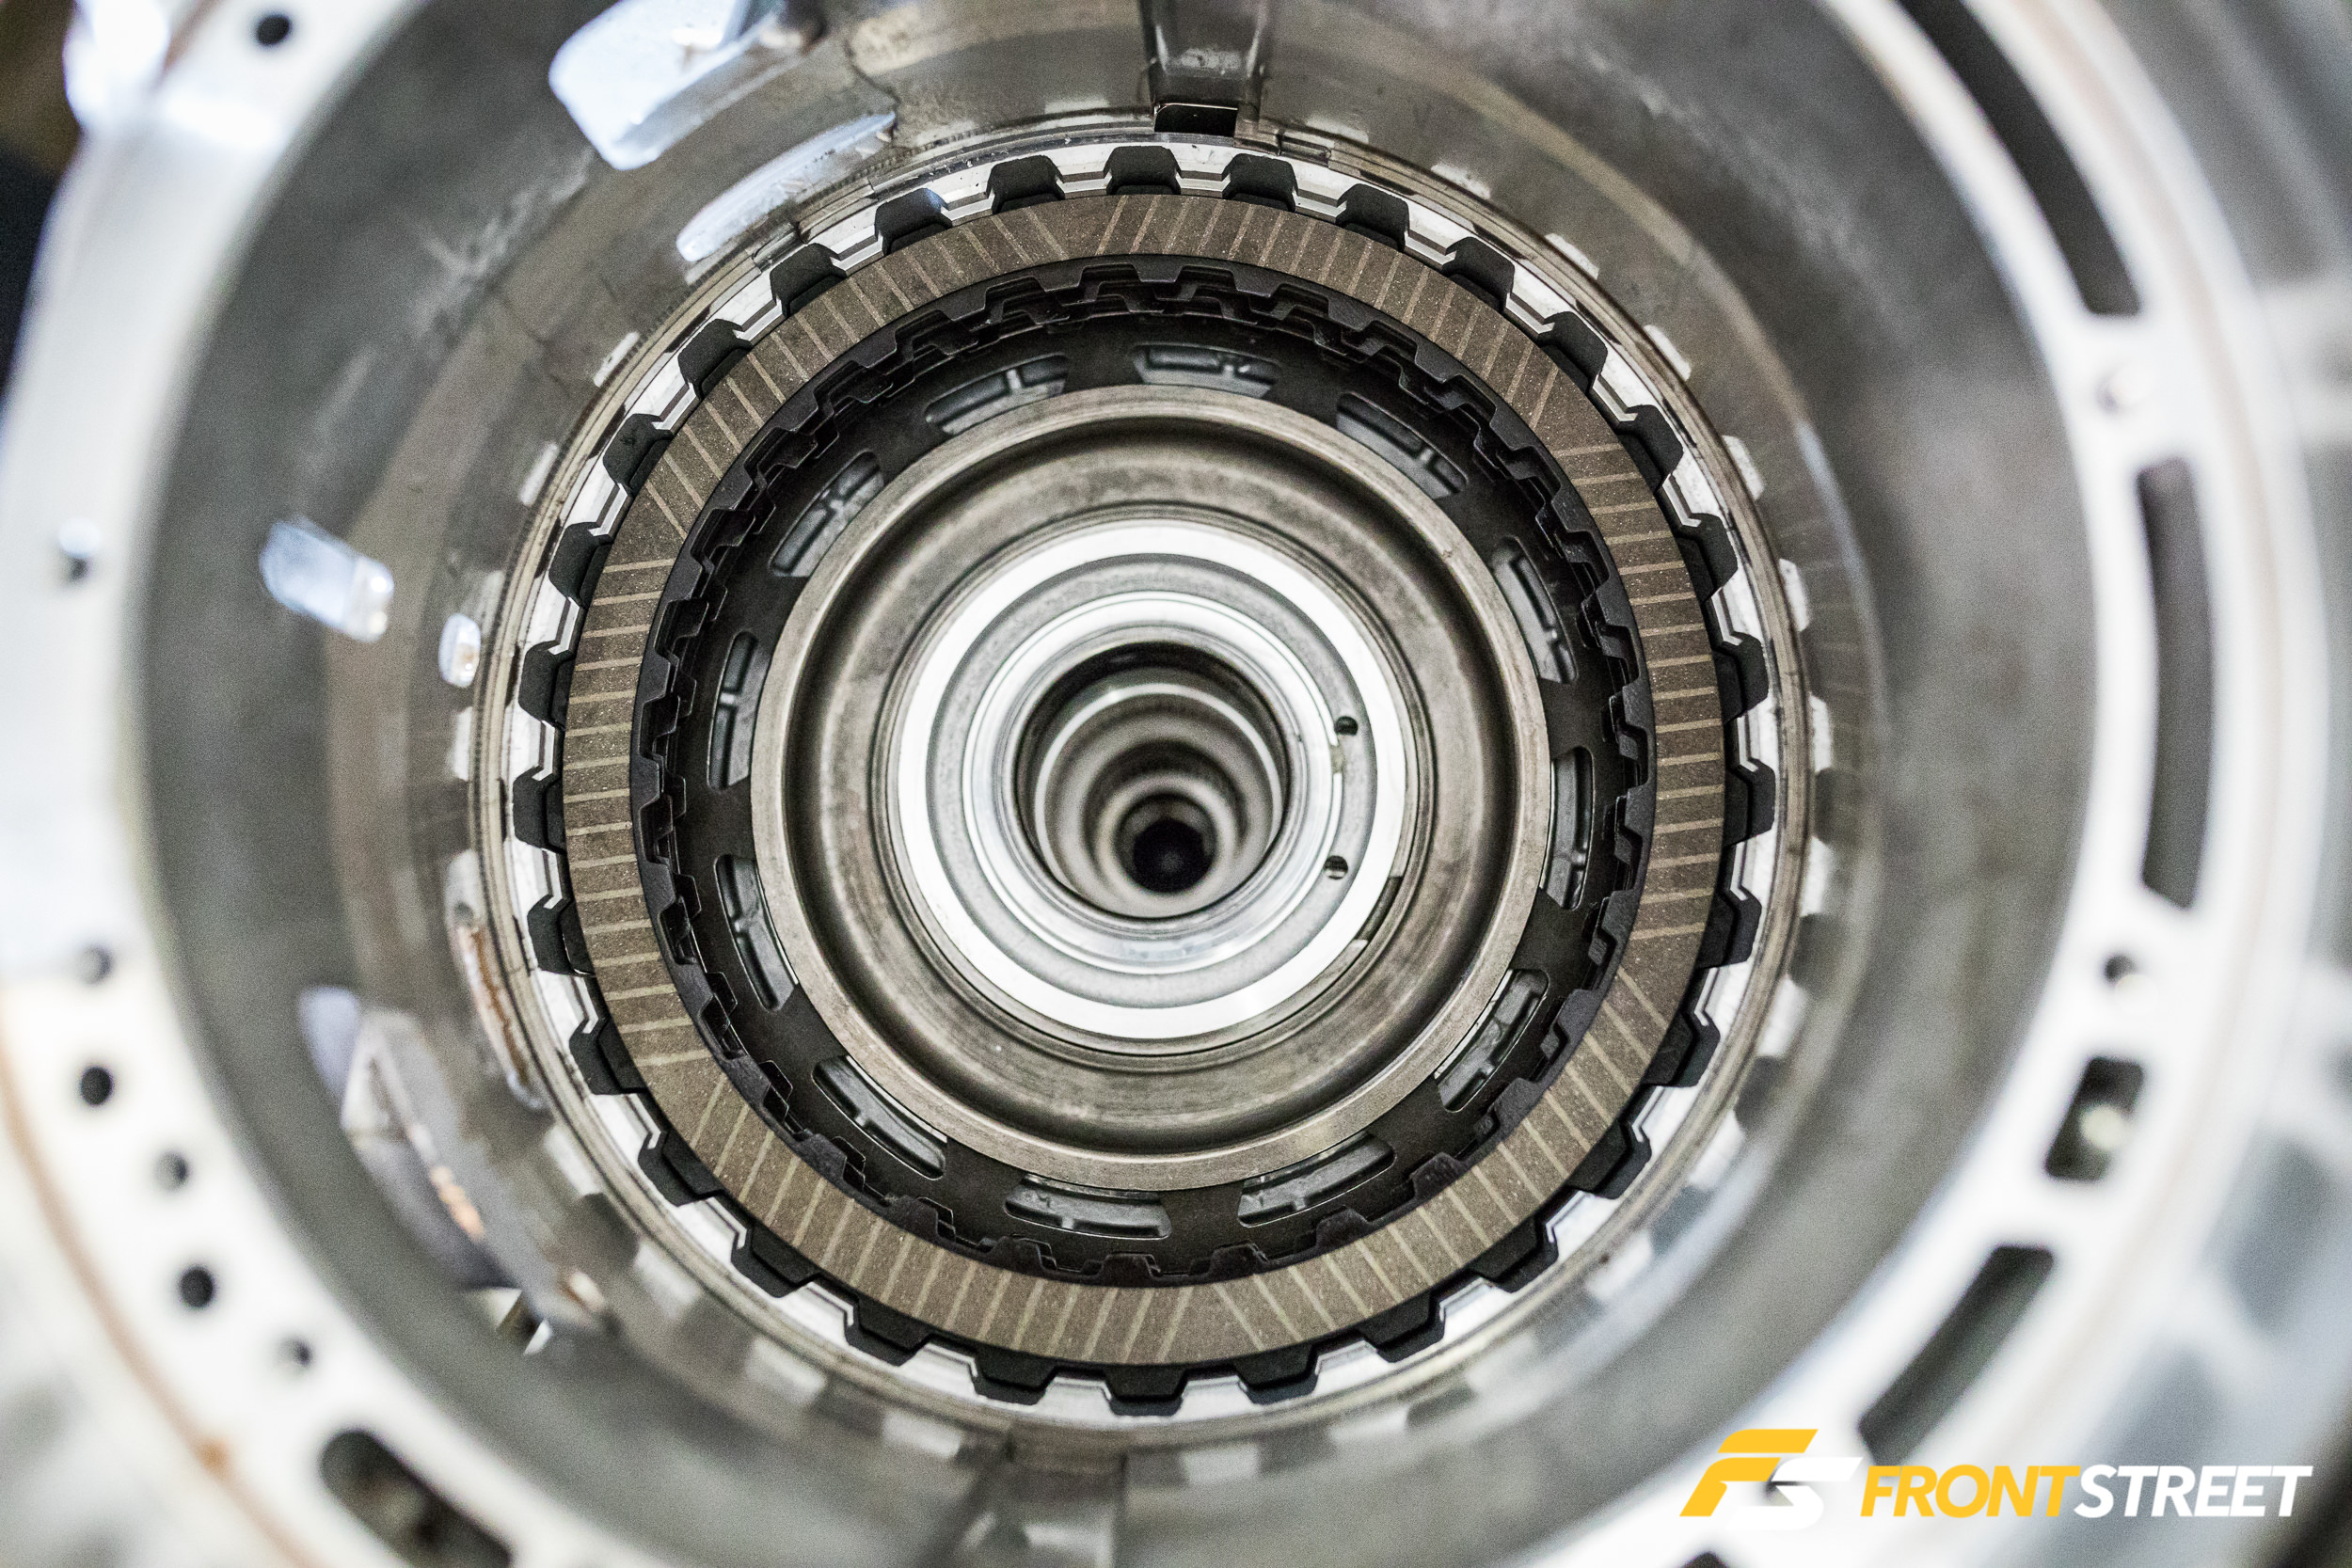
Here you can see how the clutches and tangs on the outer circumference of the steels sit into the center support.
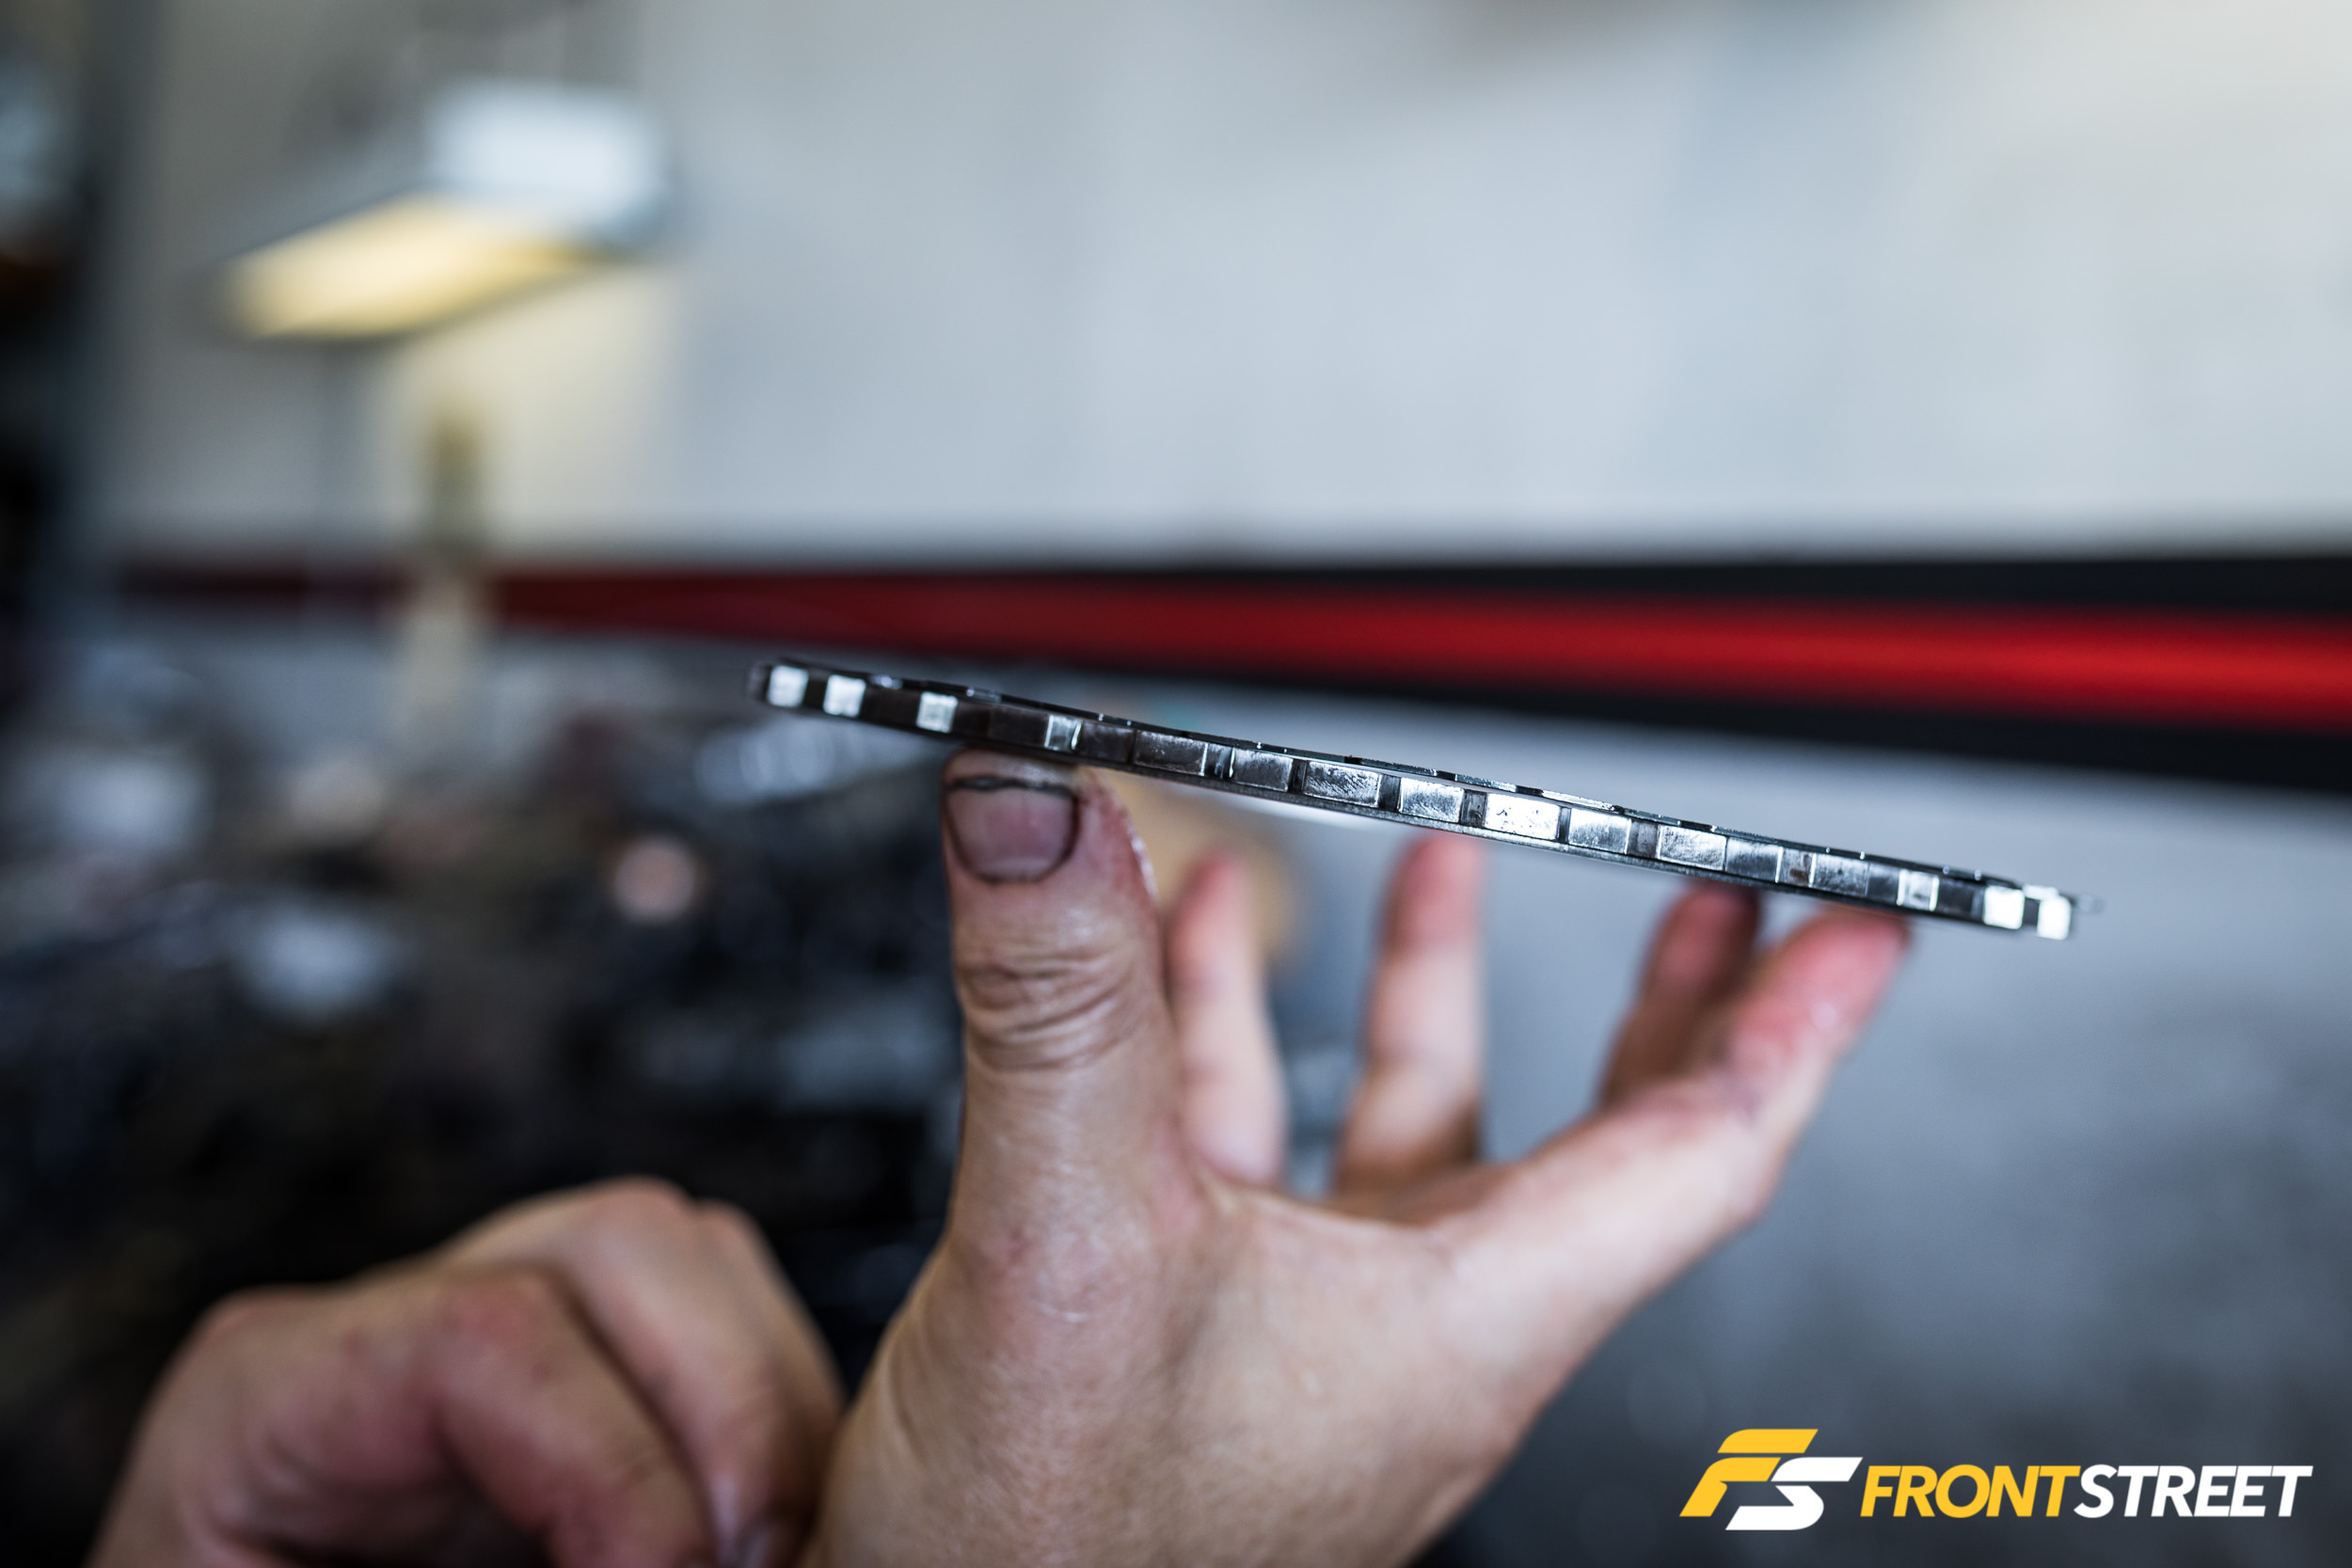
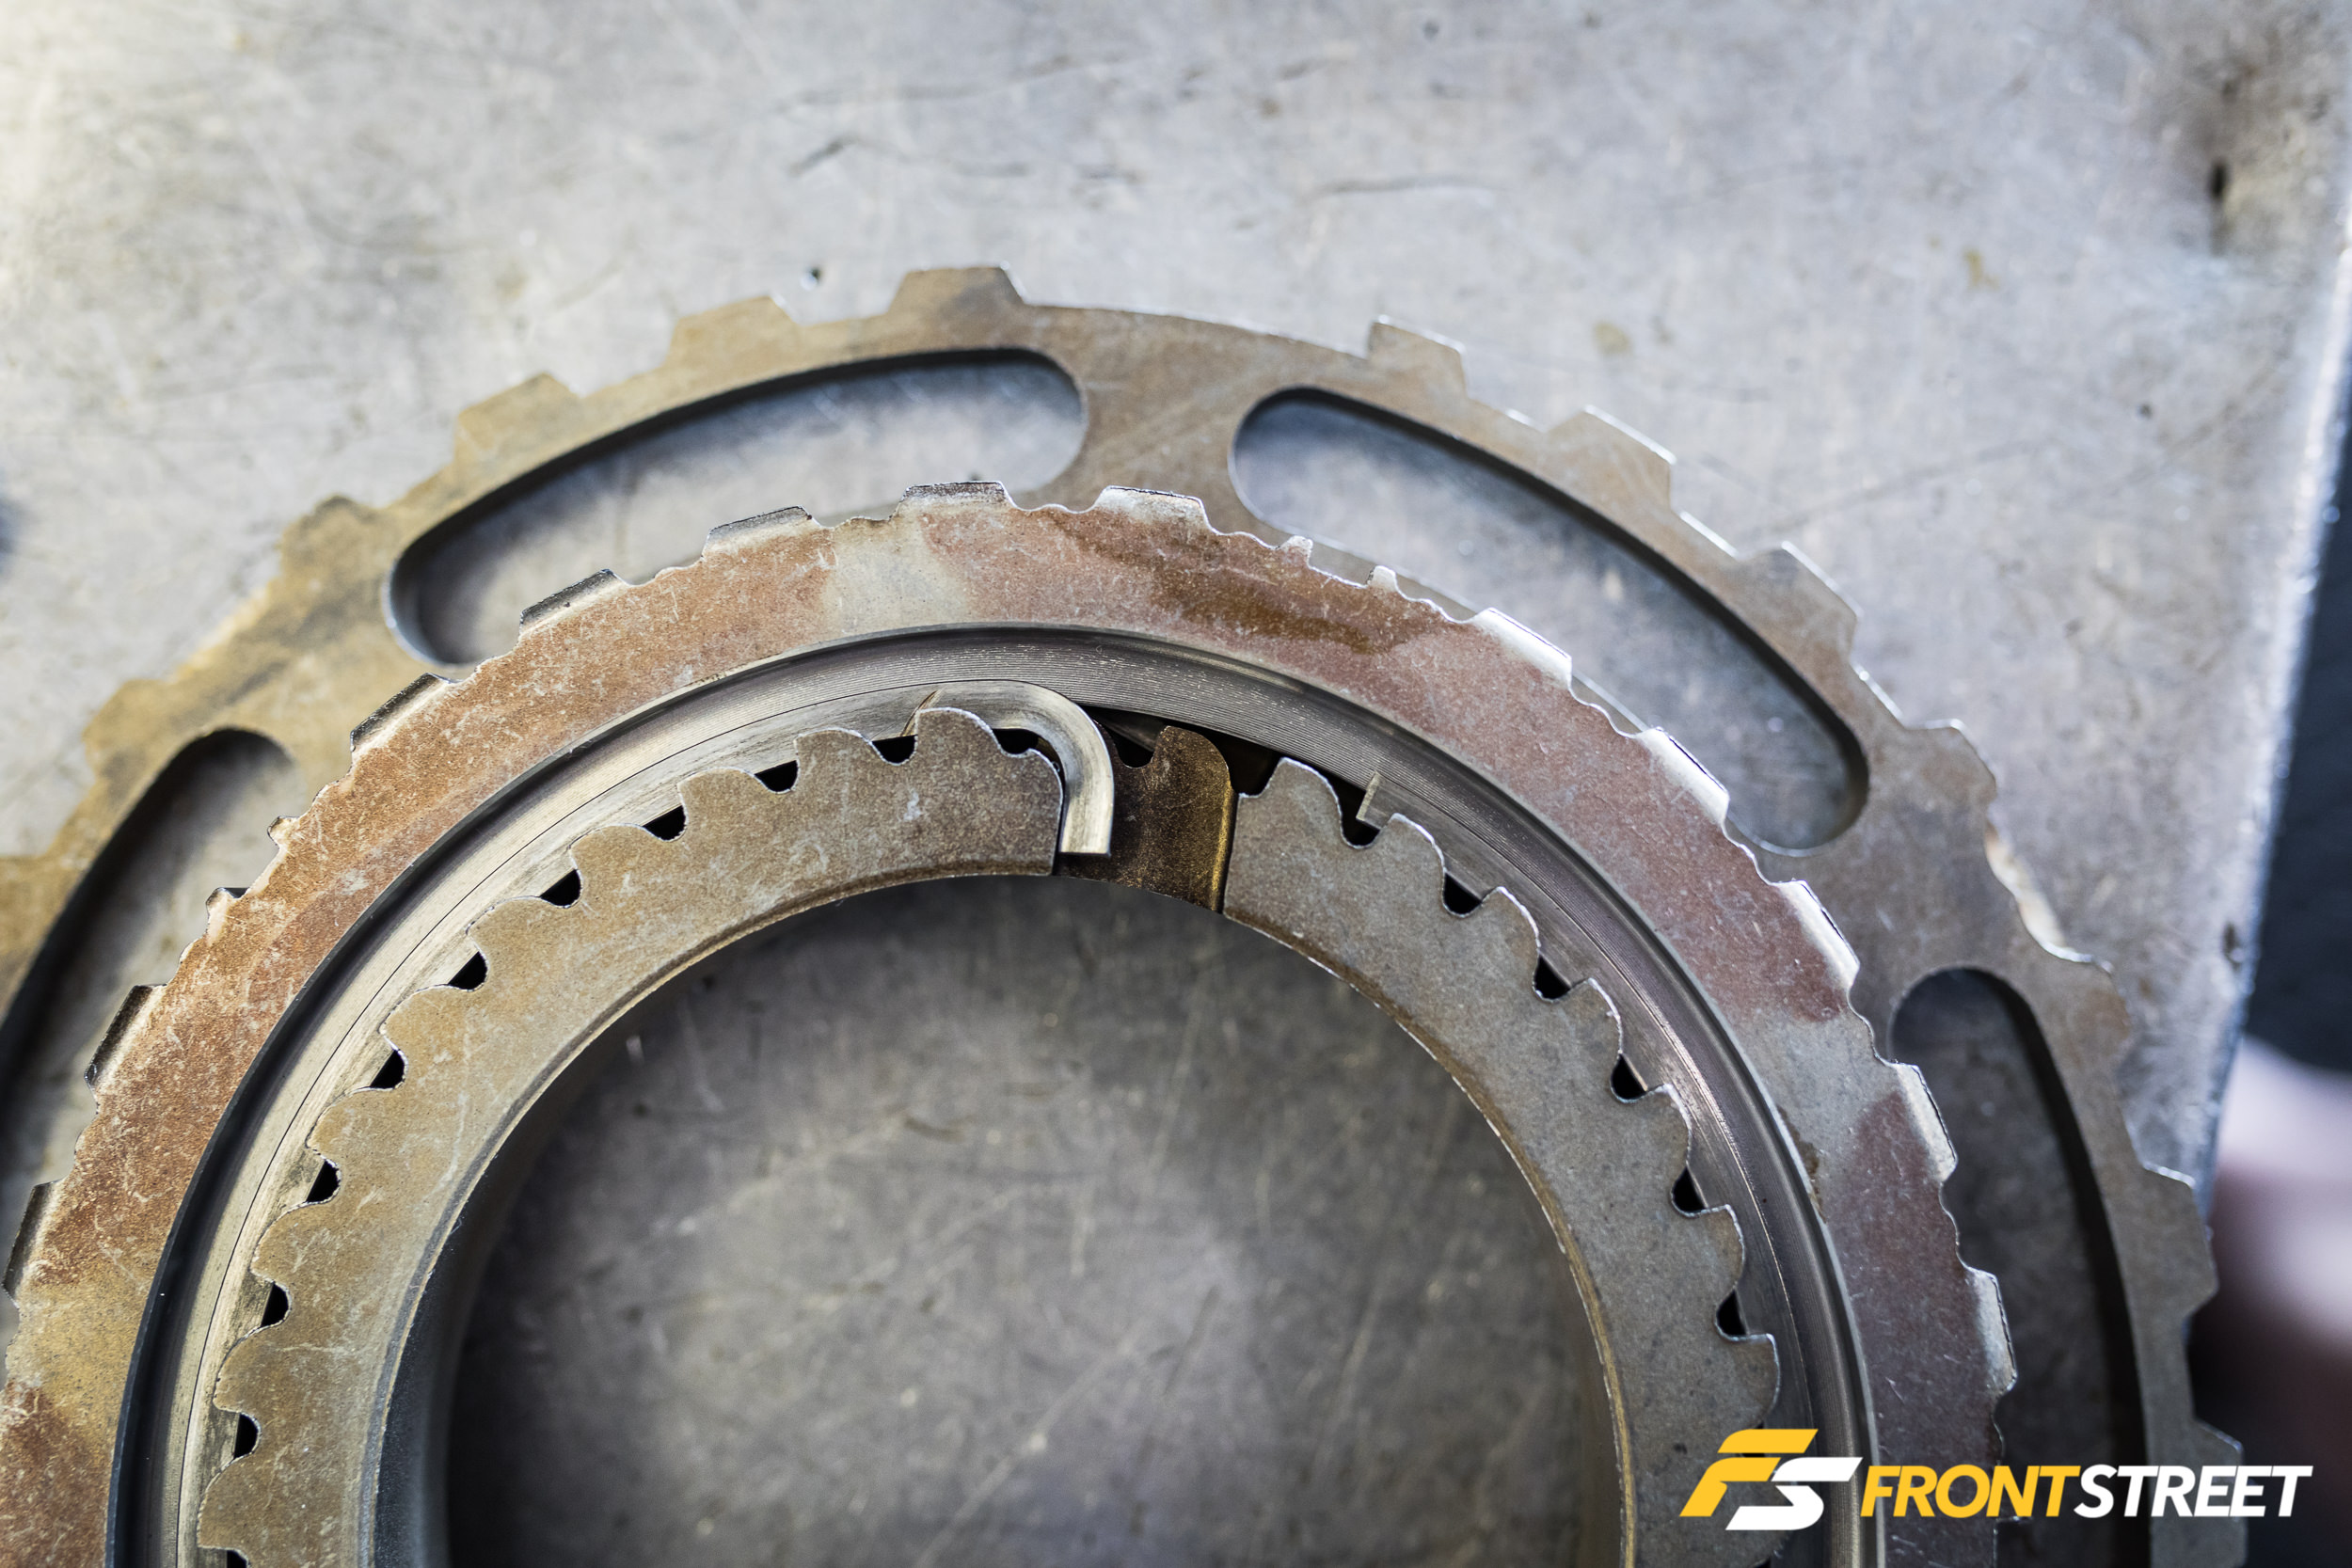
You can hardly see it even in this up-close photo, but notice how the wave spring has precisely that: a built-in wavy profile. This profile helps to keep a slight amount of pressure on the clutch and steel packs when they are installed so that they don’t make noise in operation.
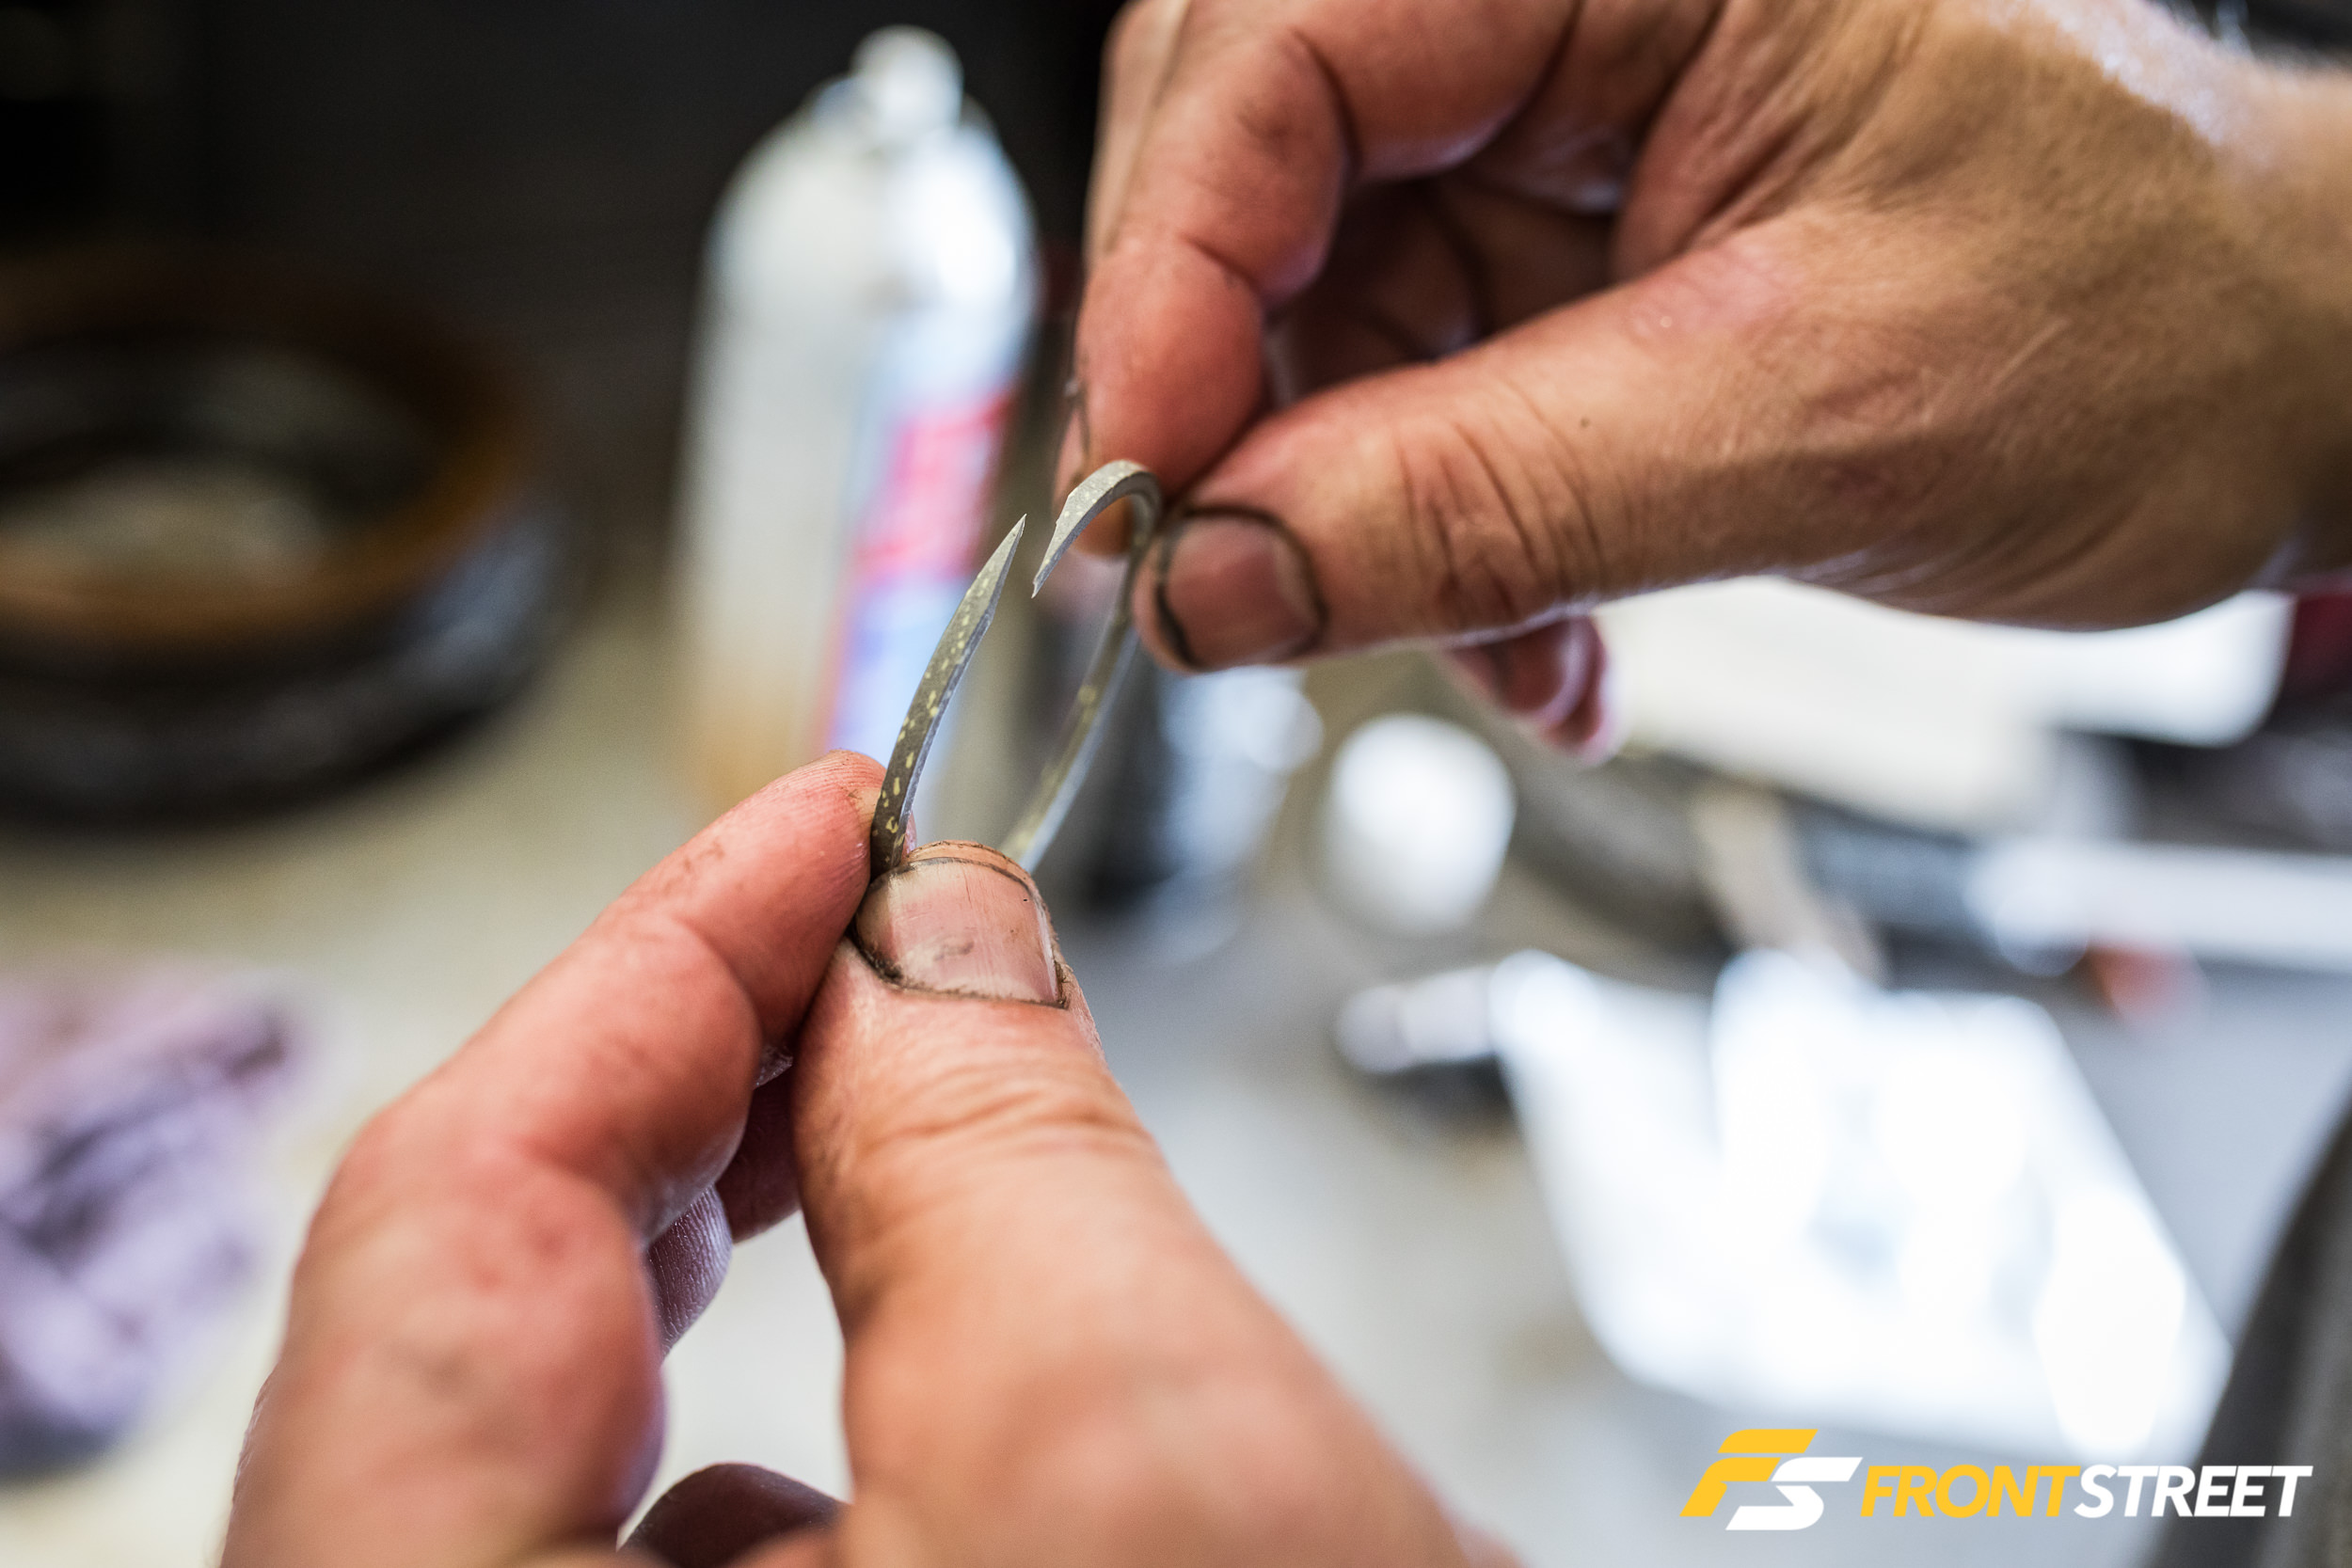
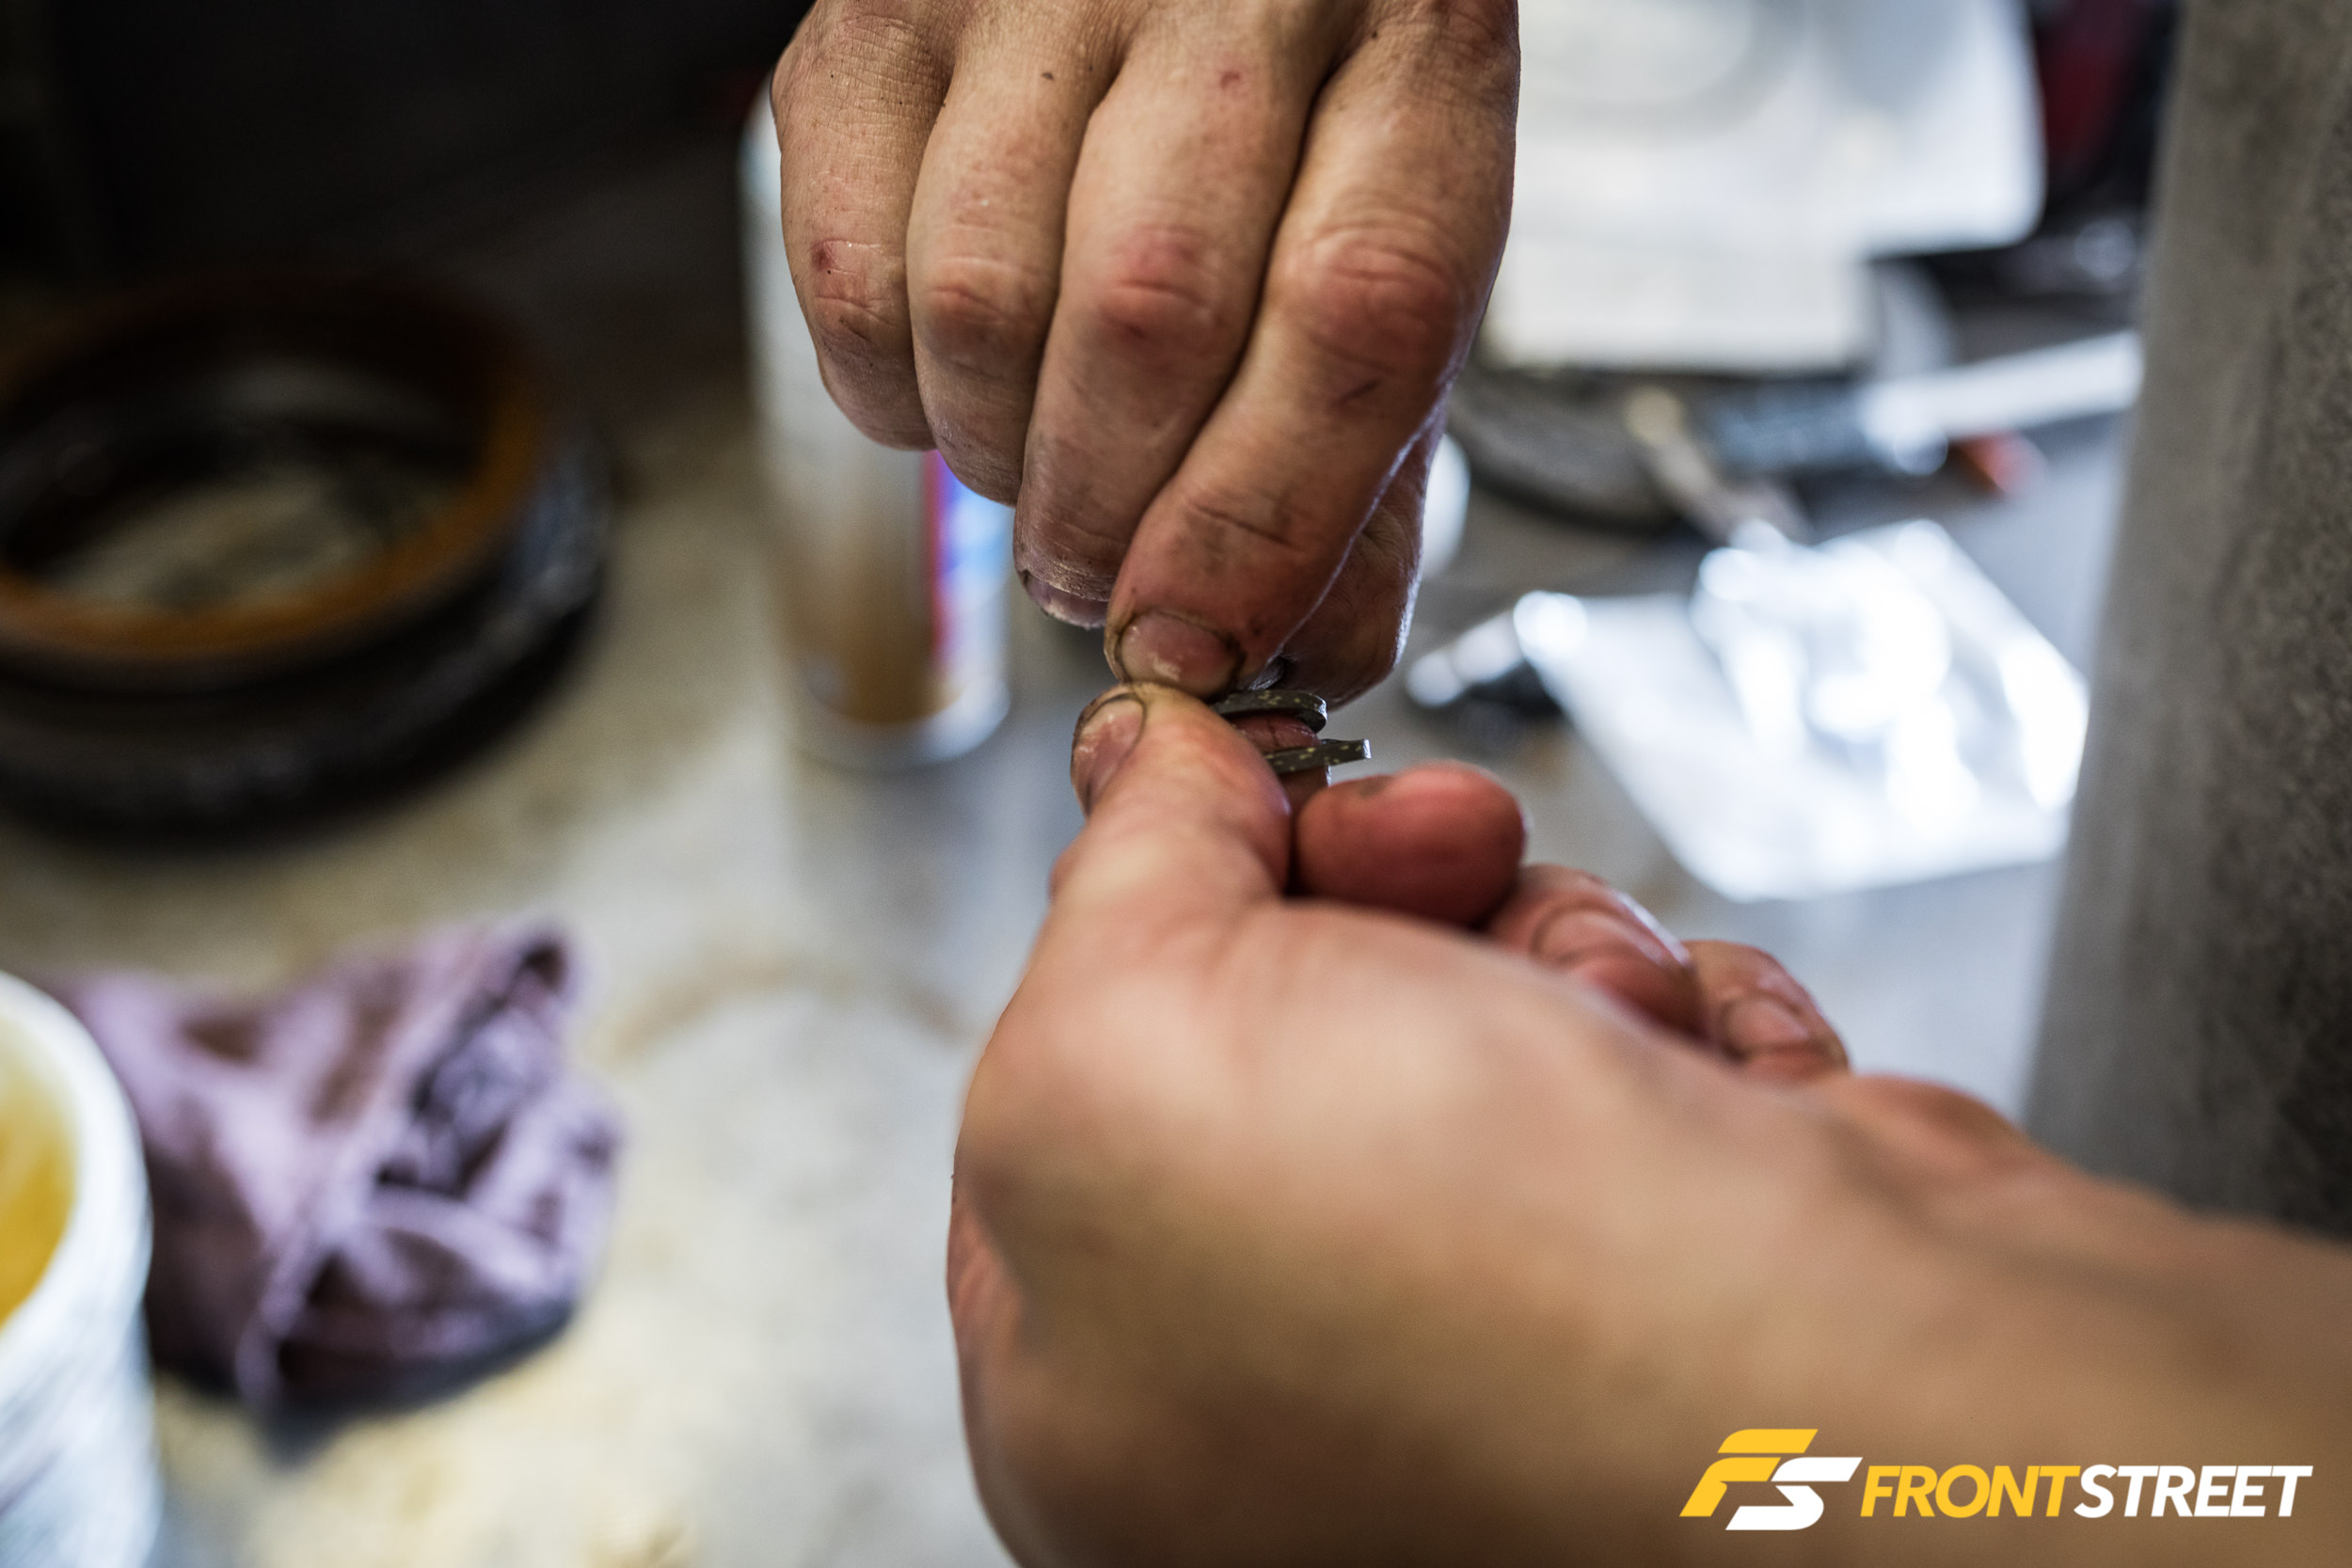
Throughout the transmission, these Teflon sealing rings help to seal off individual sections of the shafts. Sean says the real trick for installation is to twist them tighter than necessary, so when they are installed, the seals sit on the shaft properly and don’t lose tension.
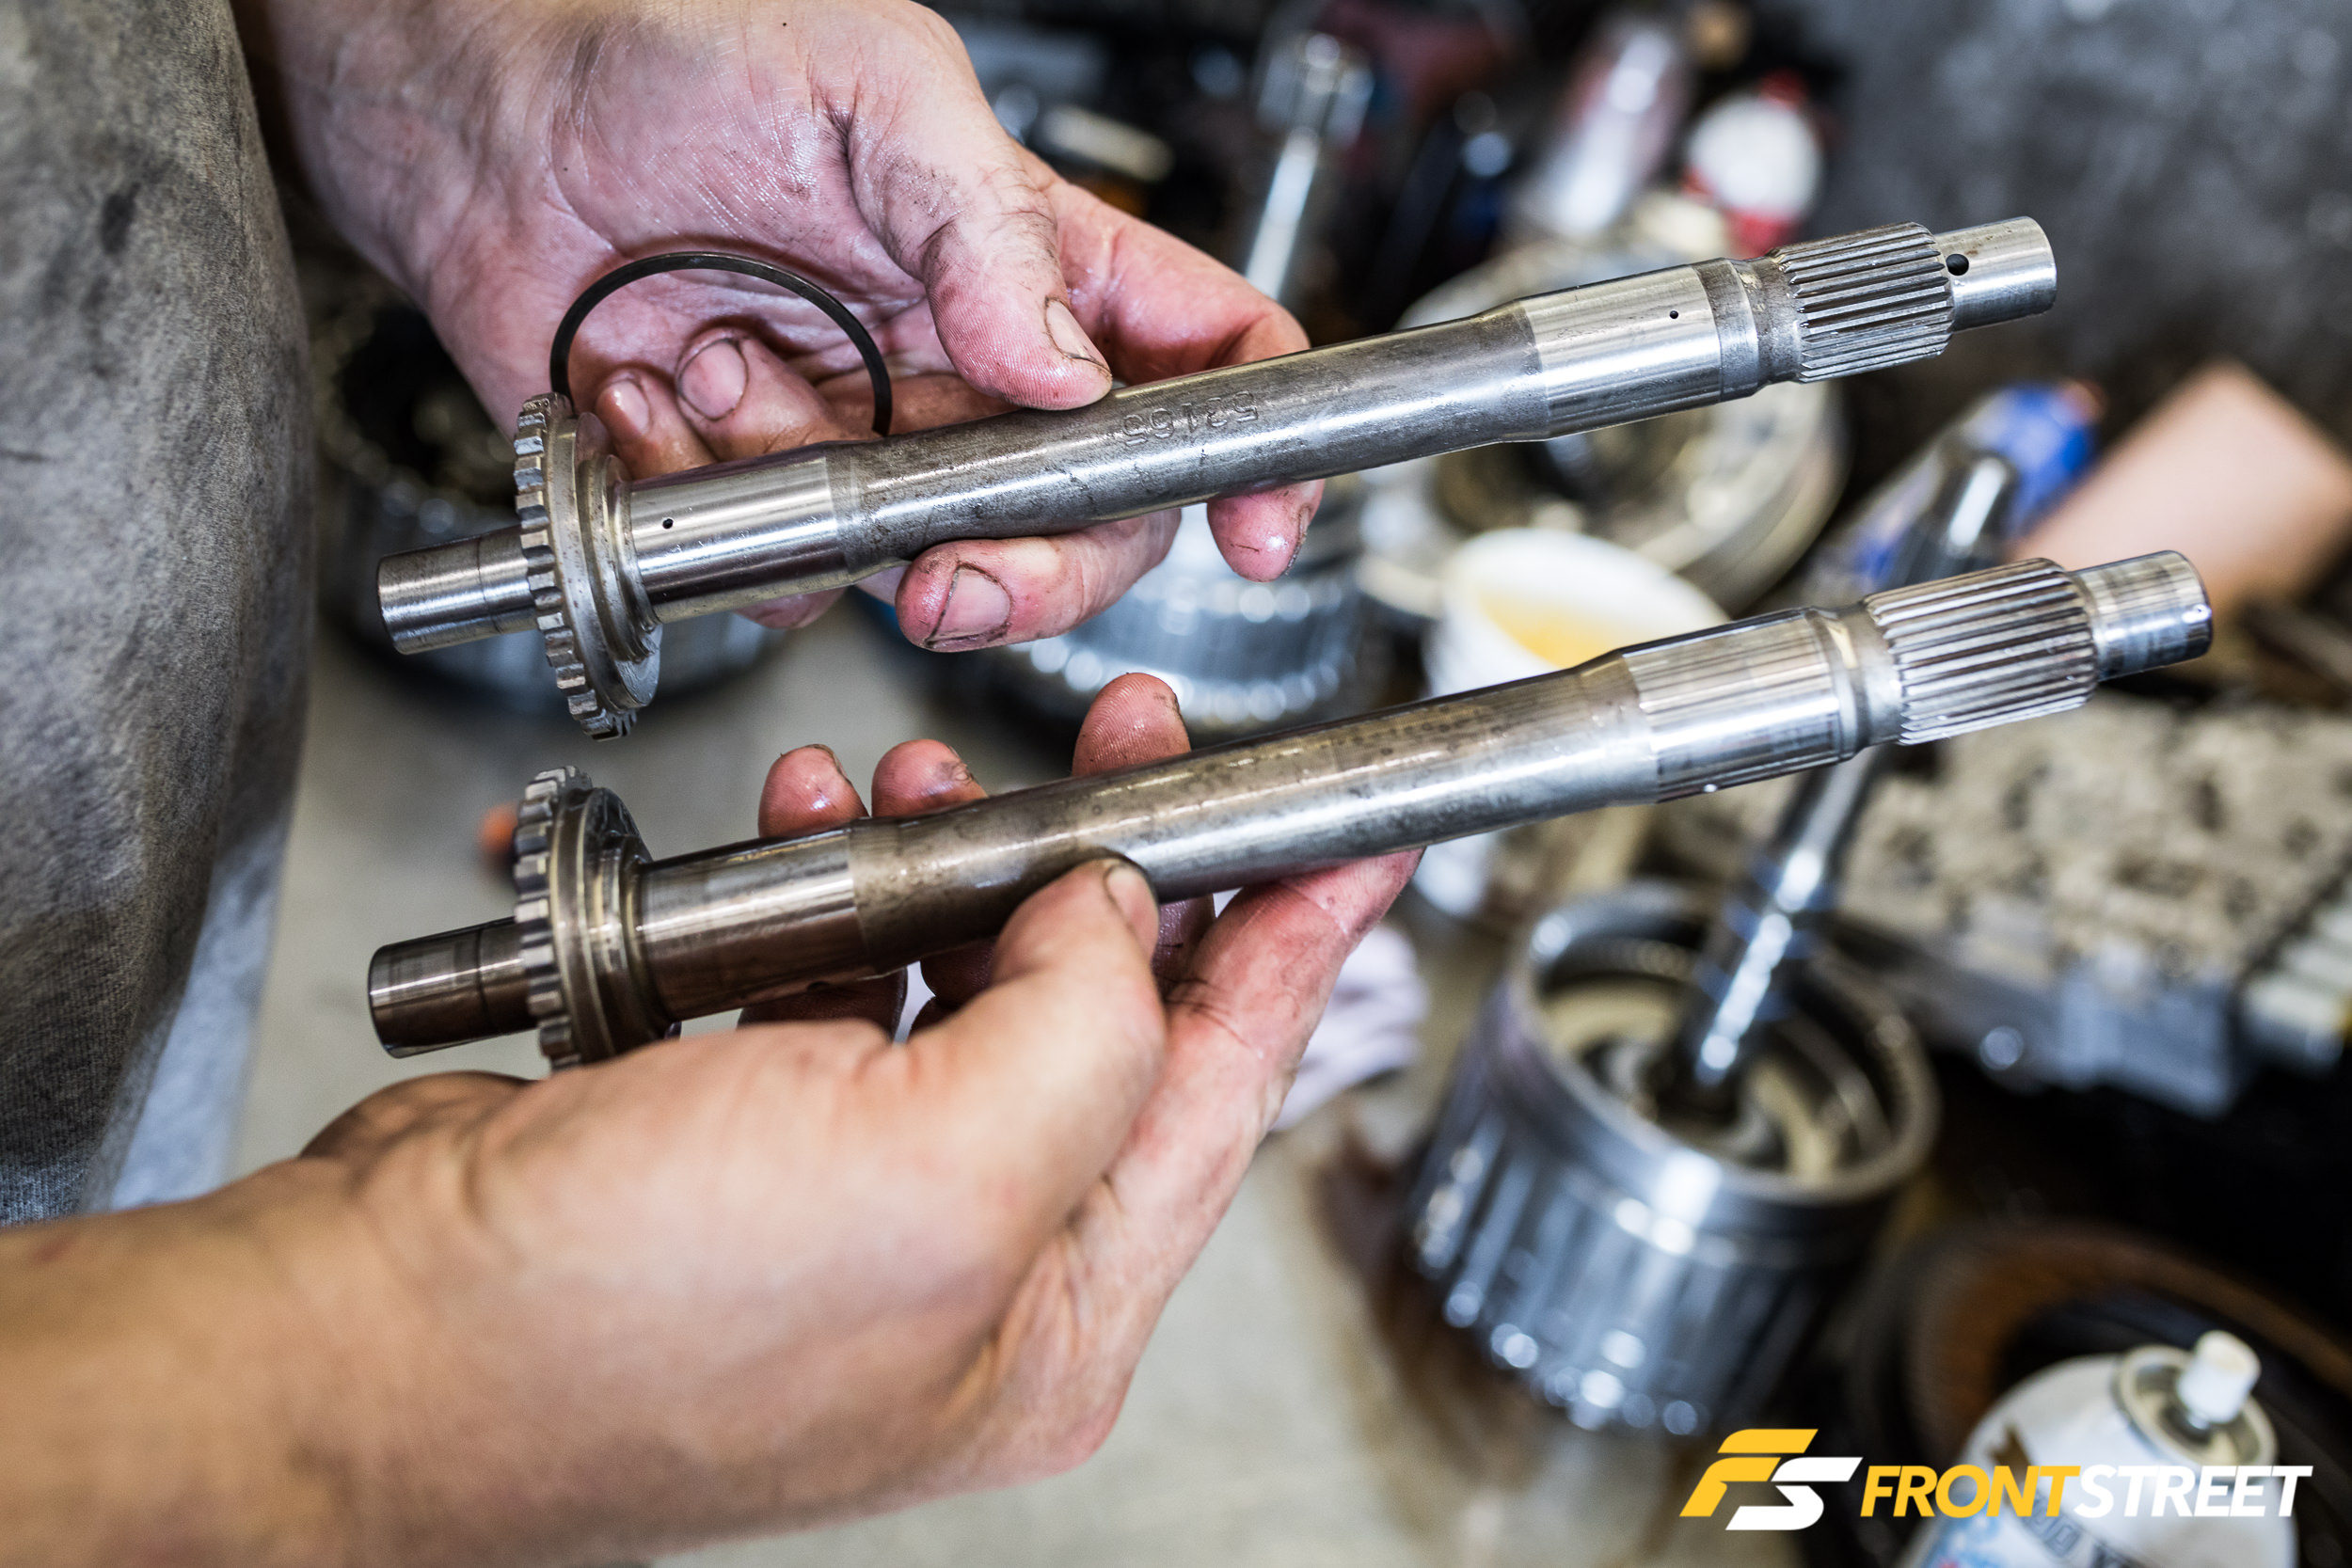
New billet intermediate shaft on top, stock unit on the bottom.
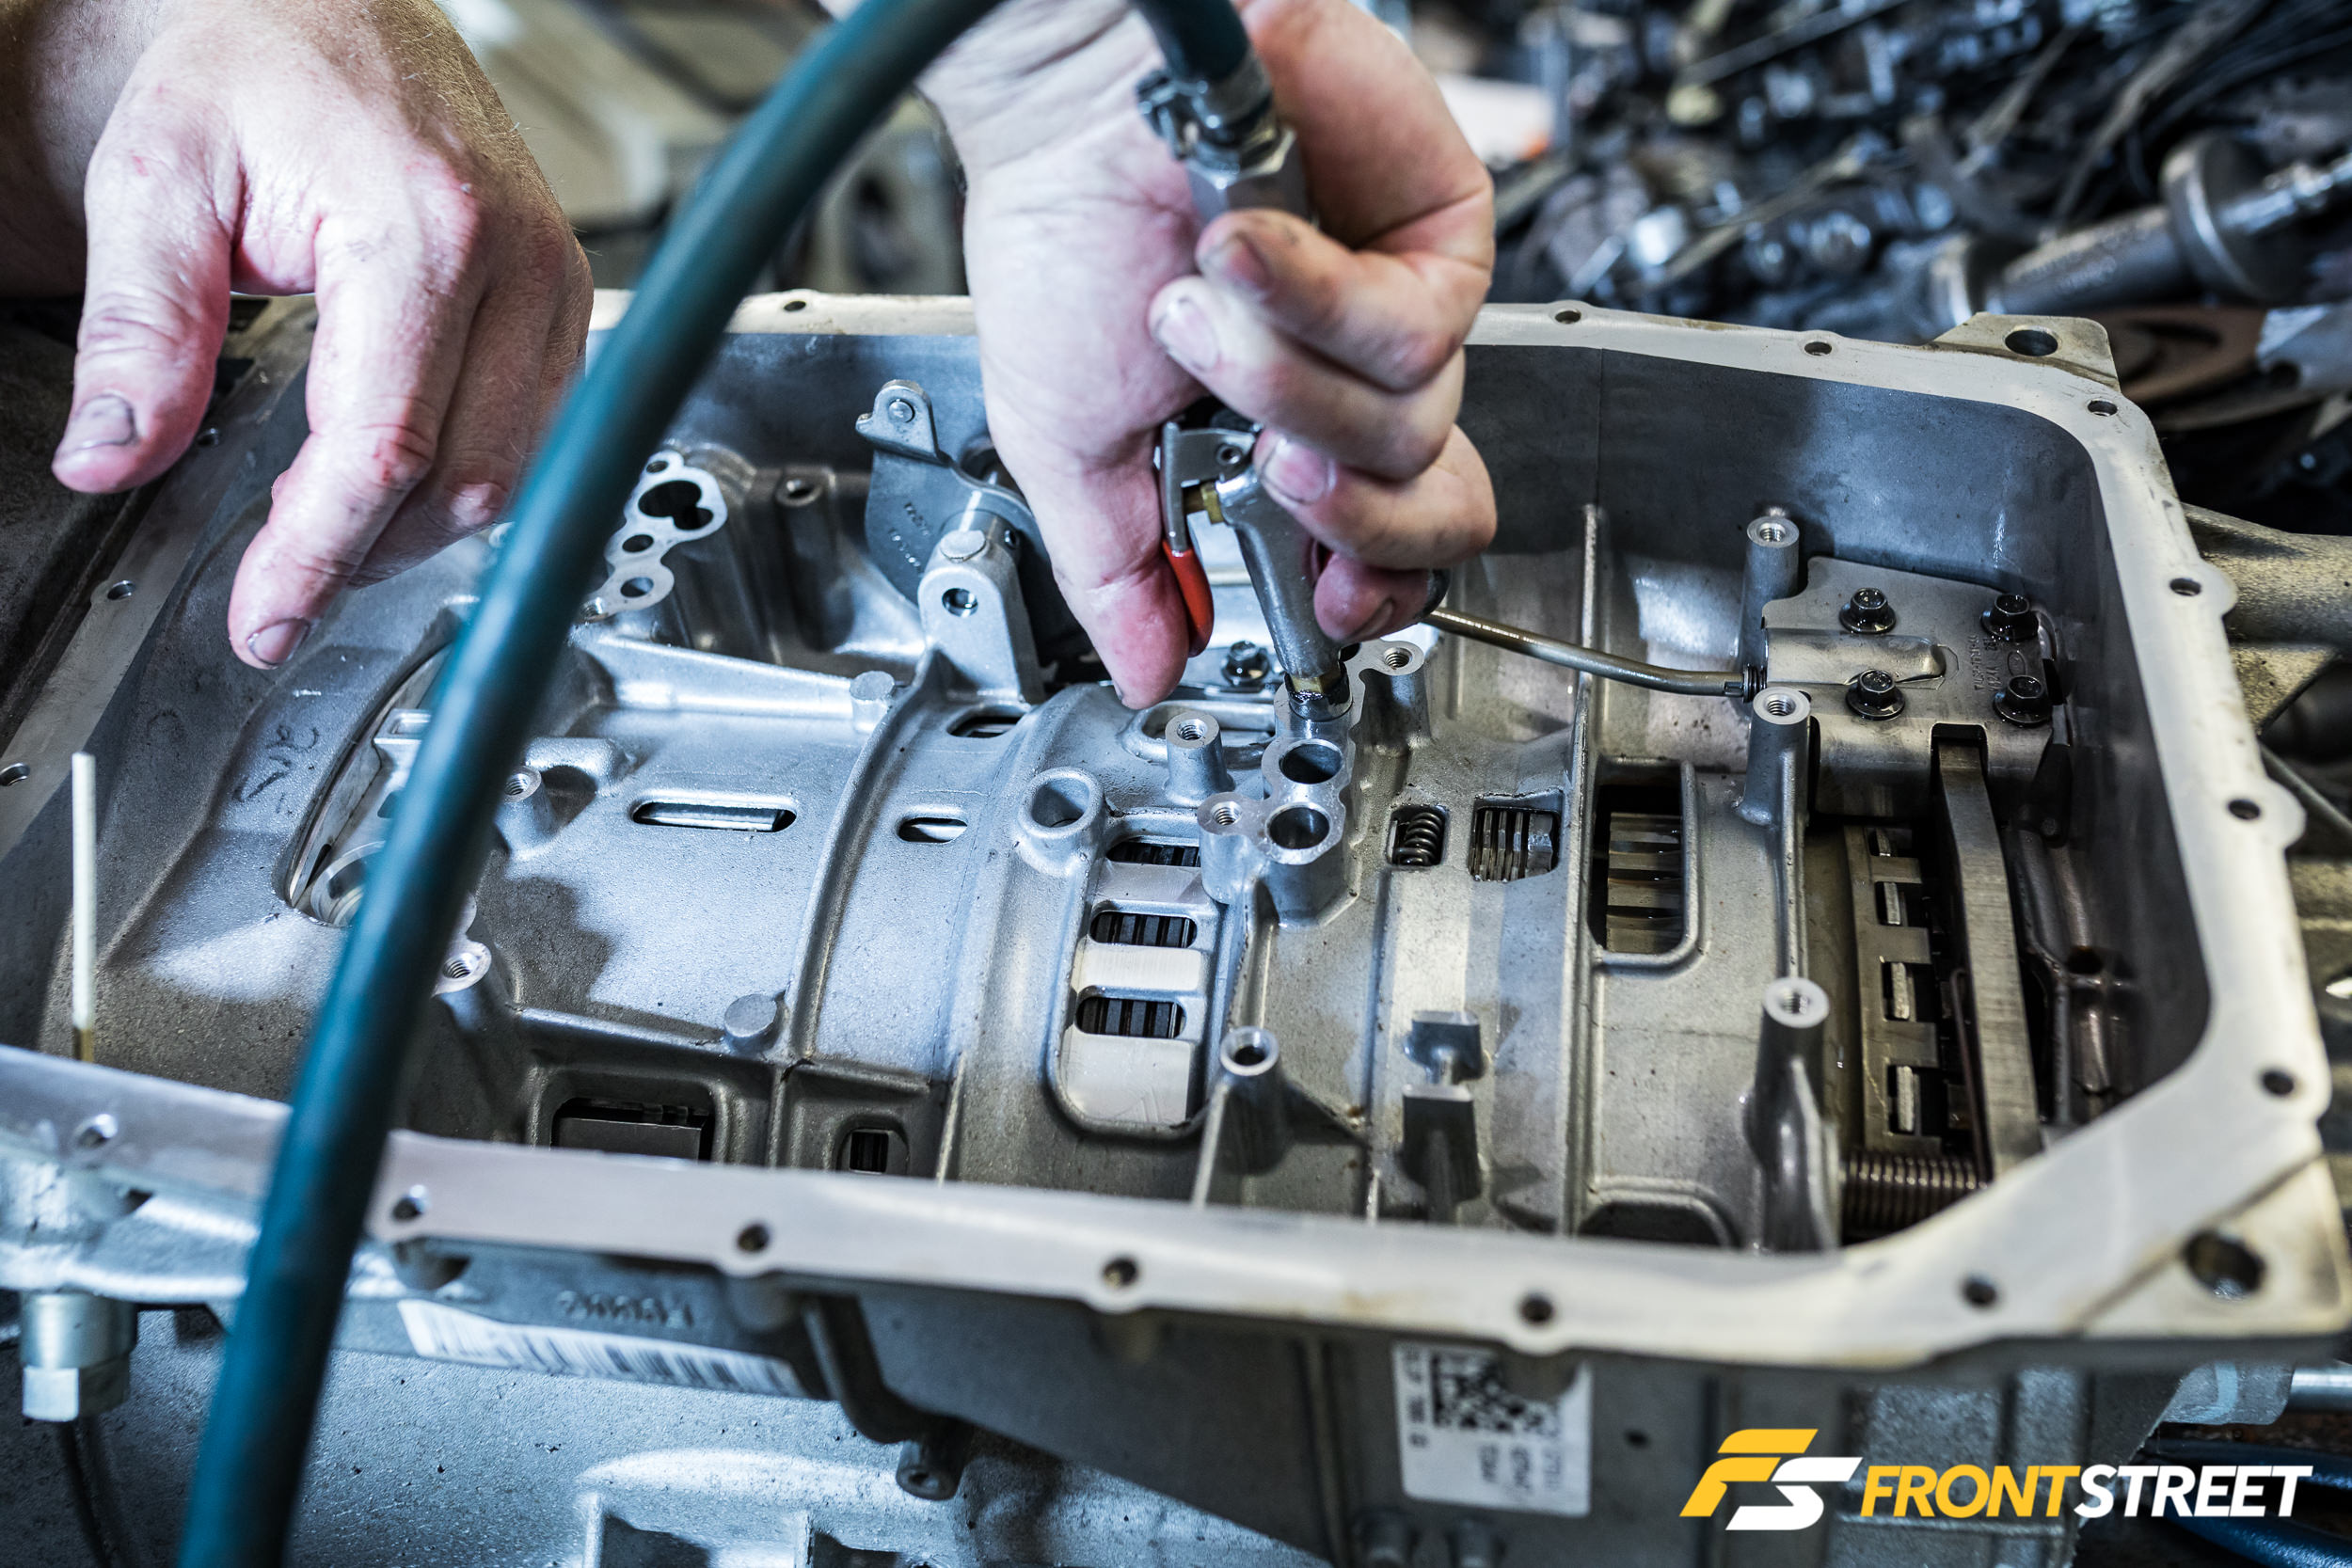
With the individual components reinstalled into the transmission, Sean was able to apply air to these ports (where the valve body transfer tubes go) to verify the clutches were activating correctly.
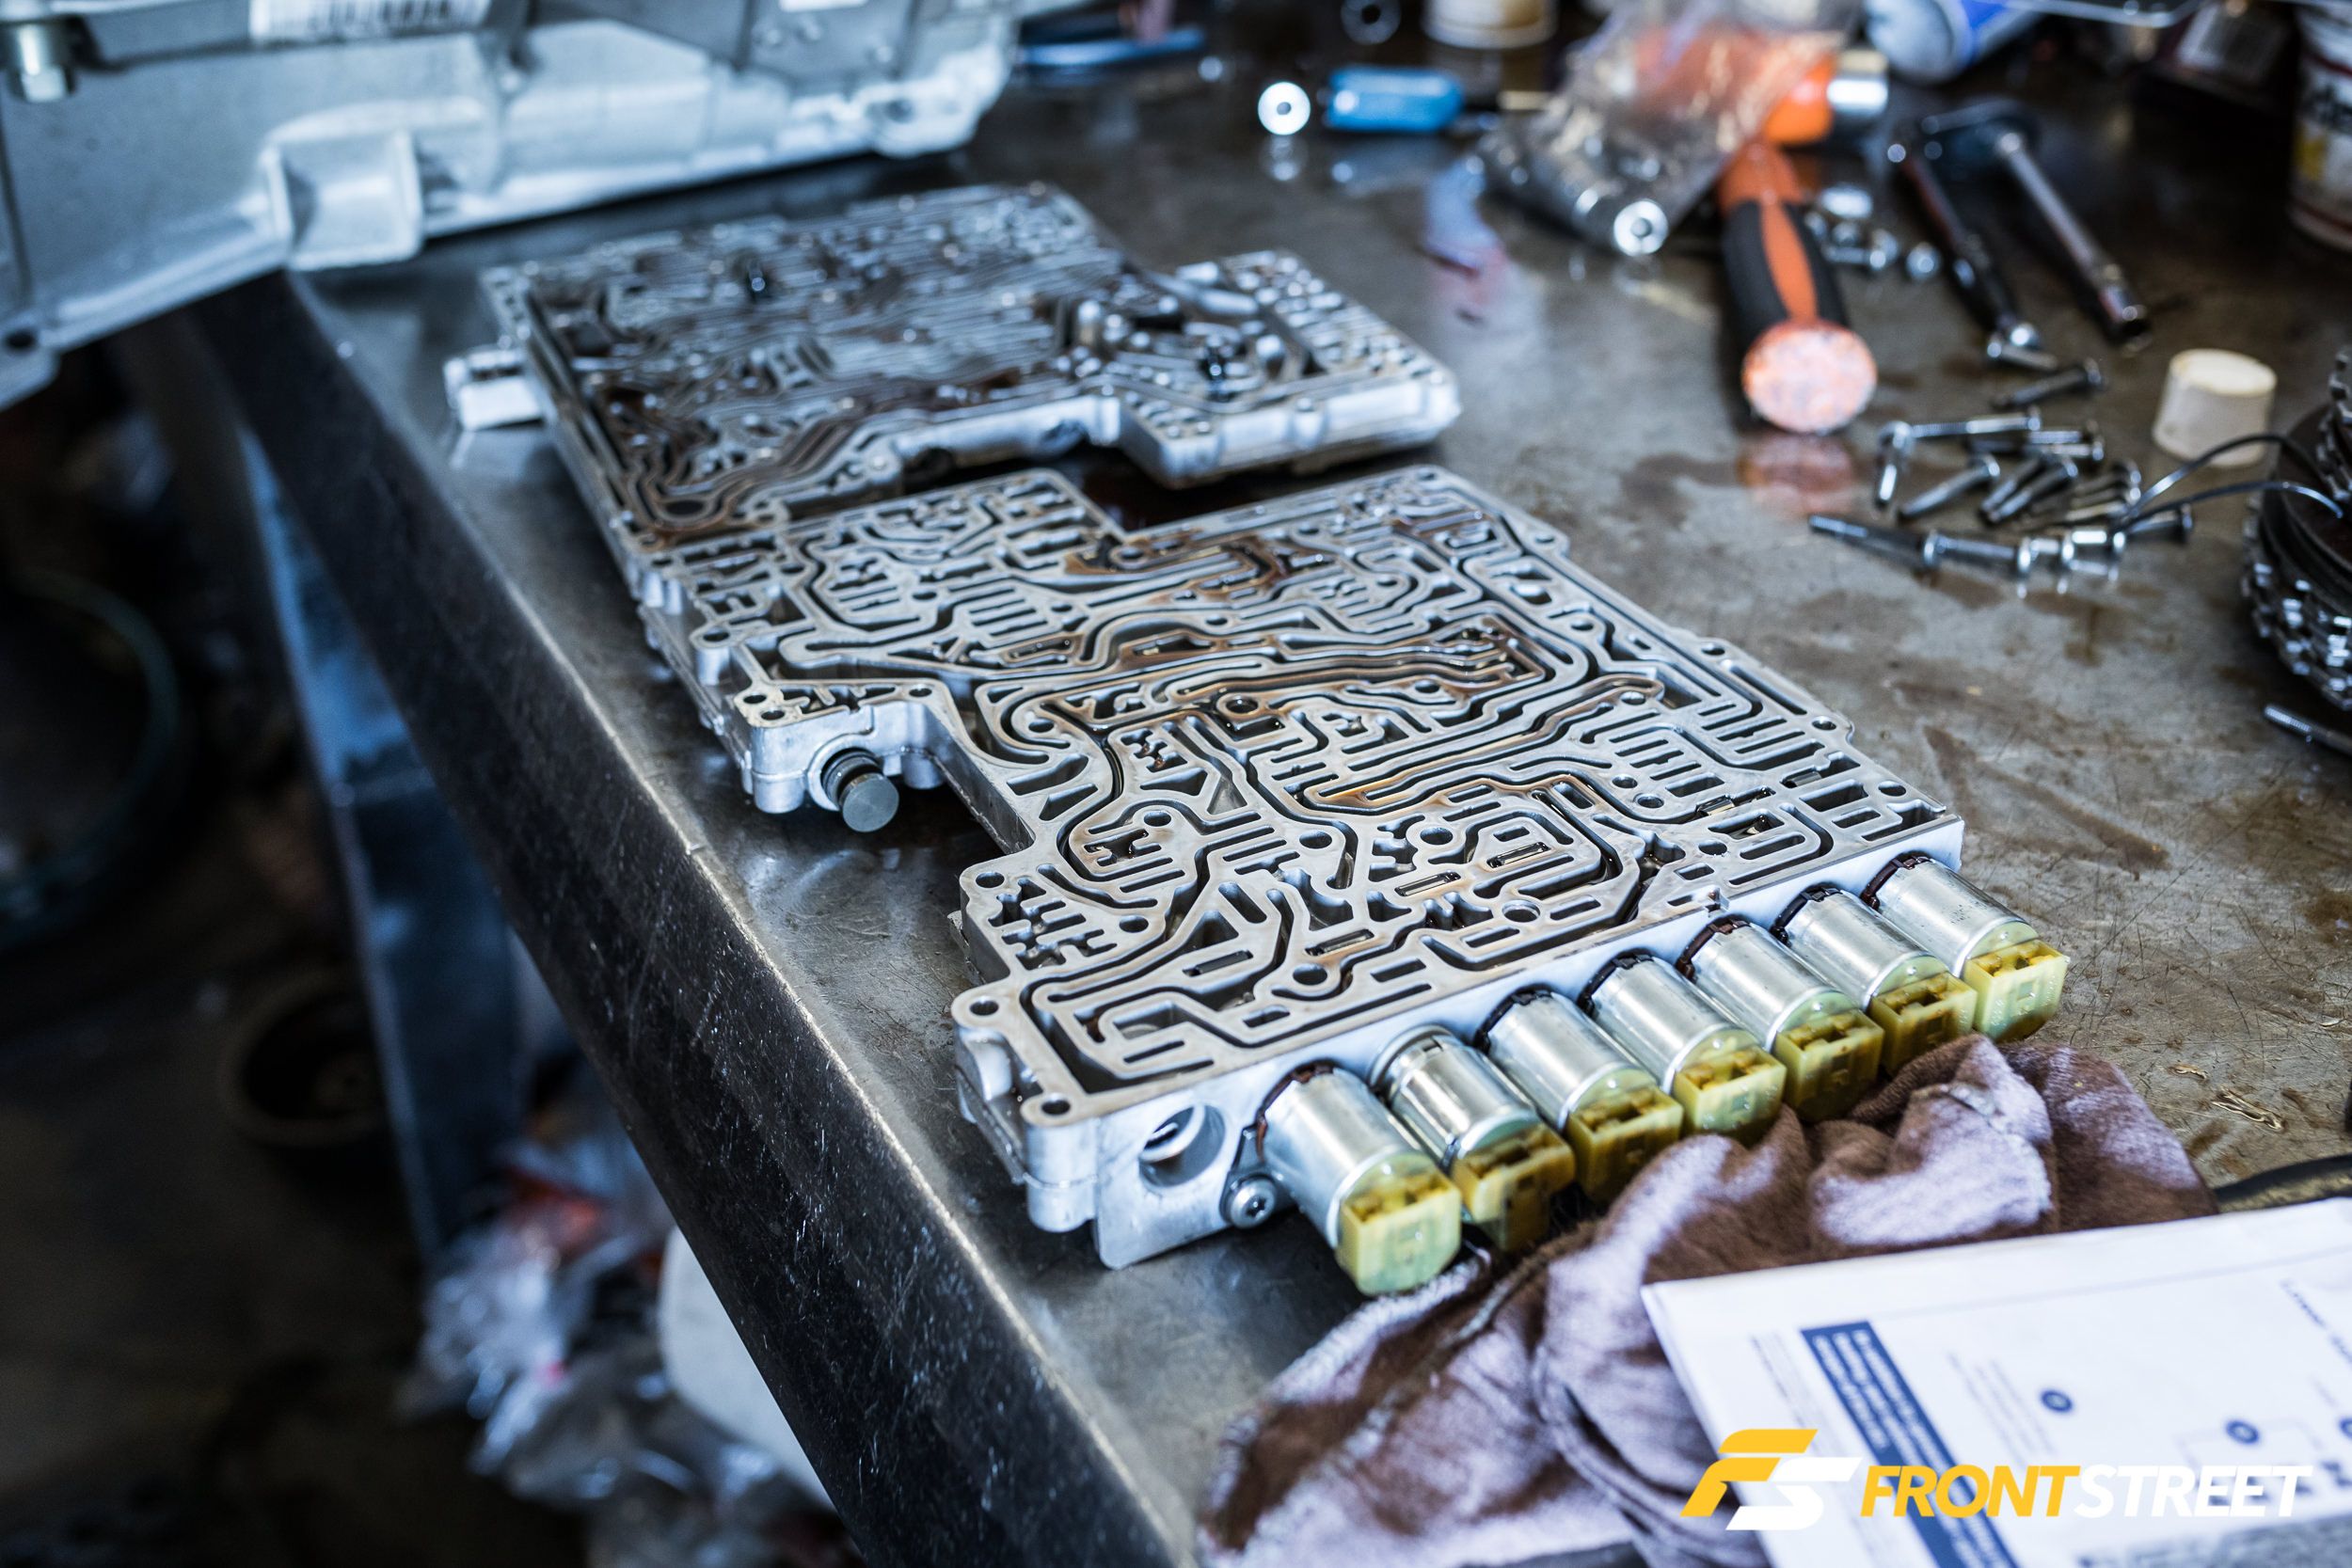
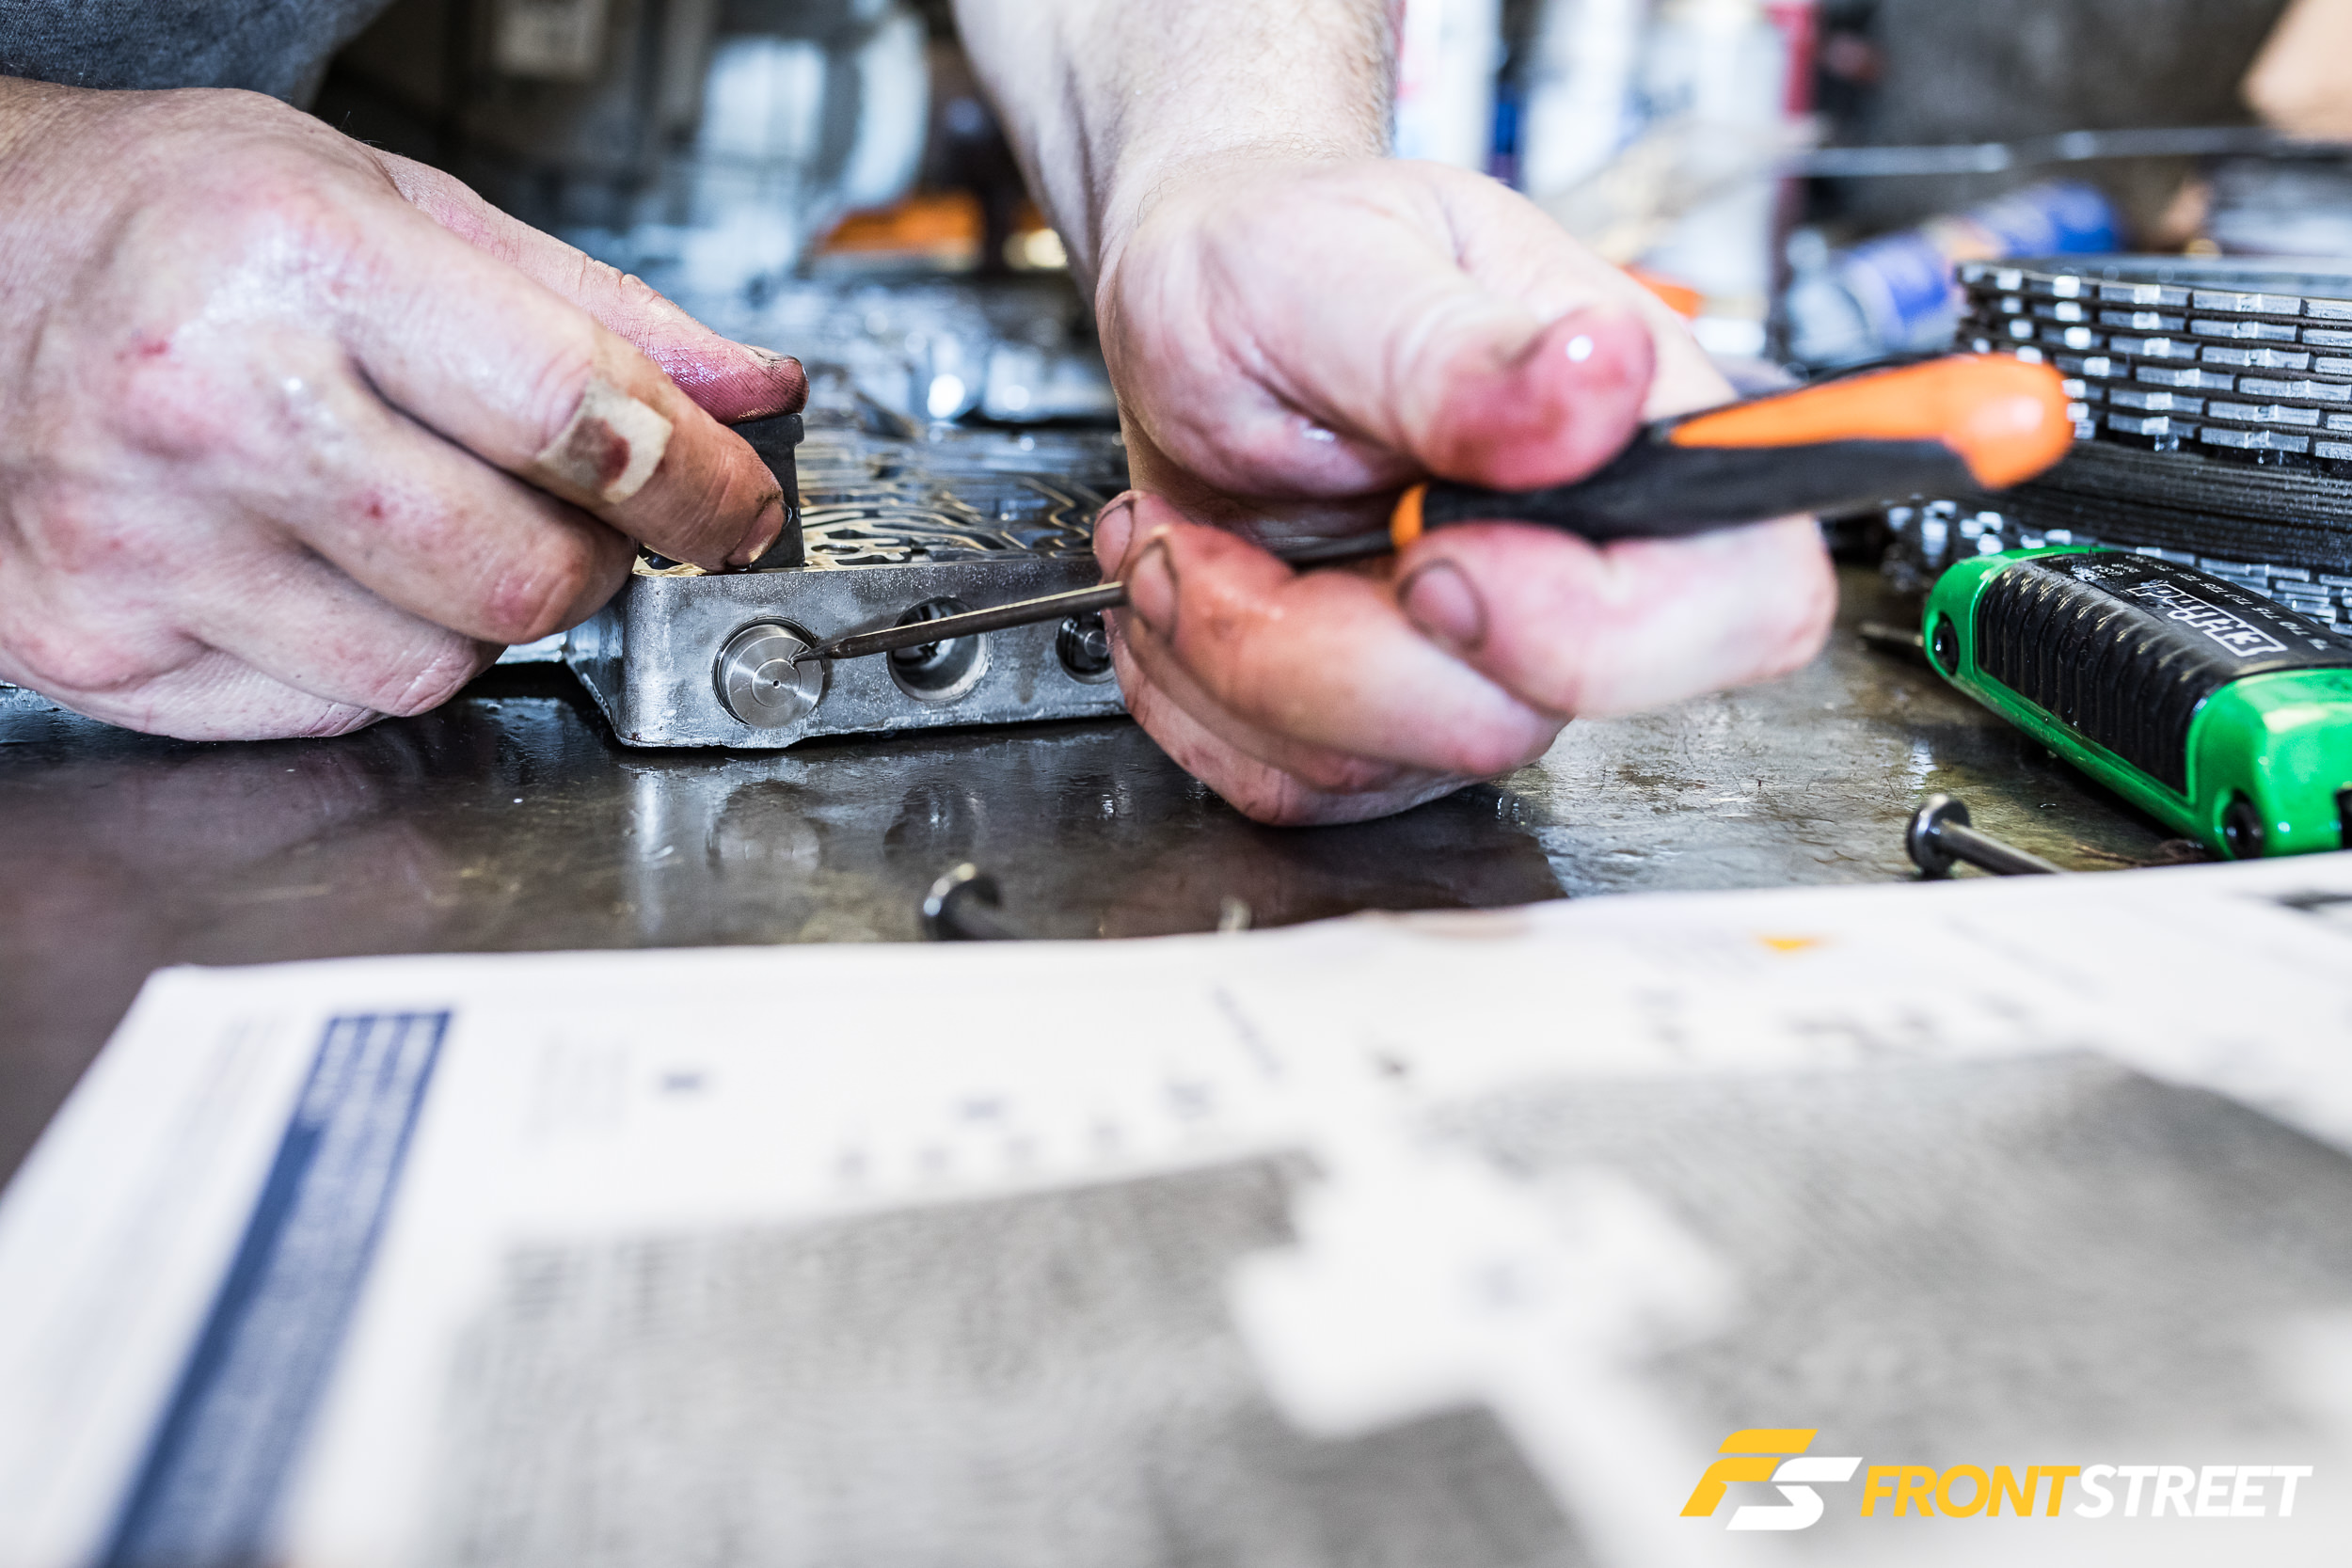
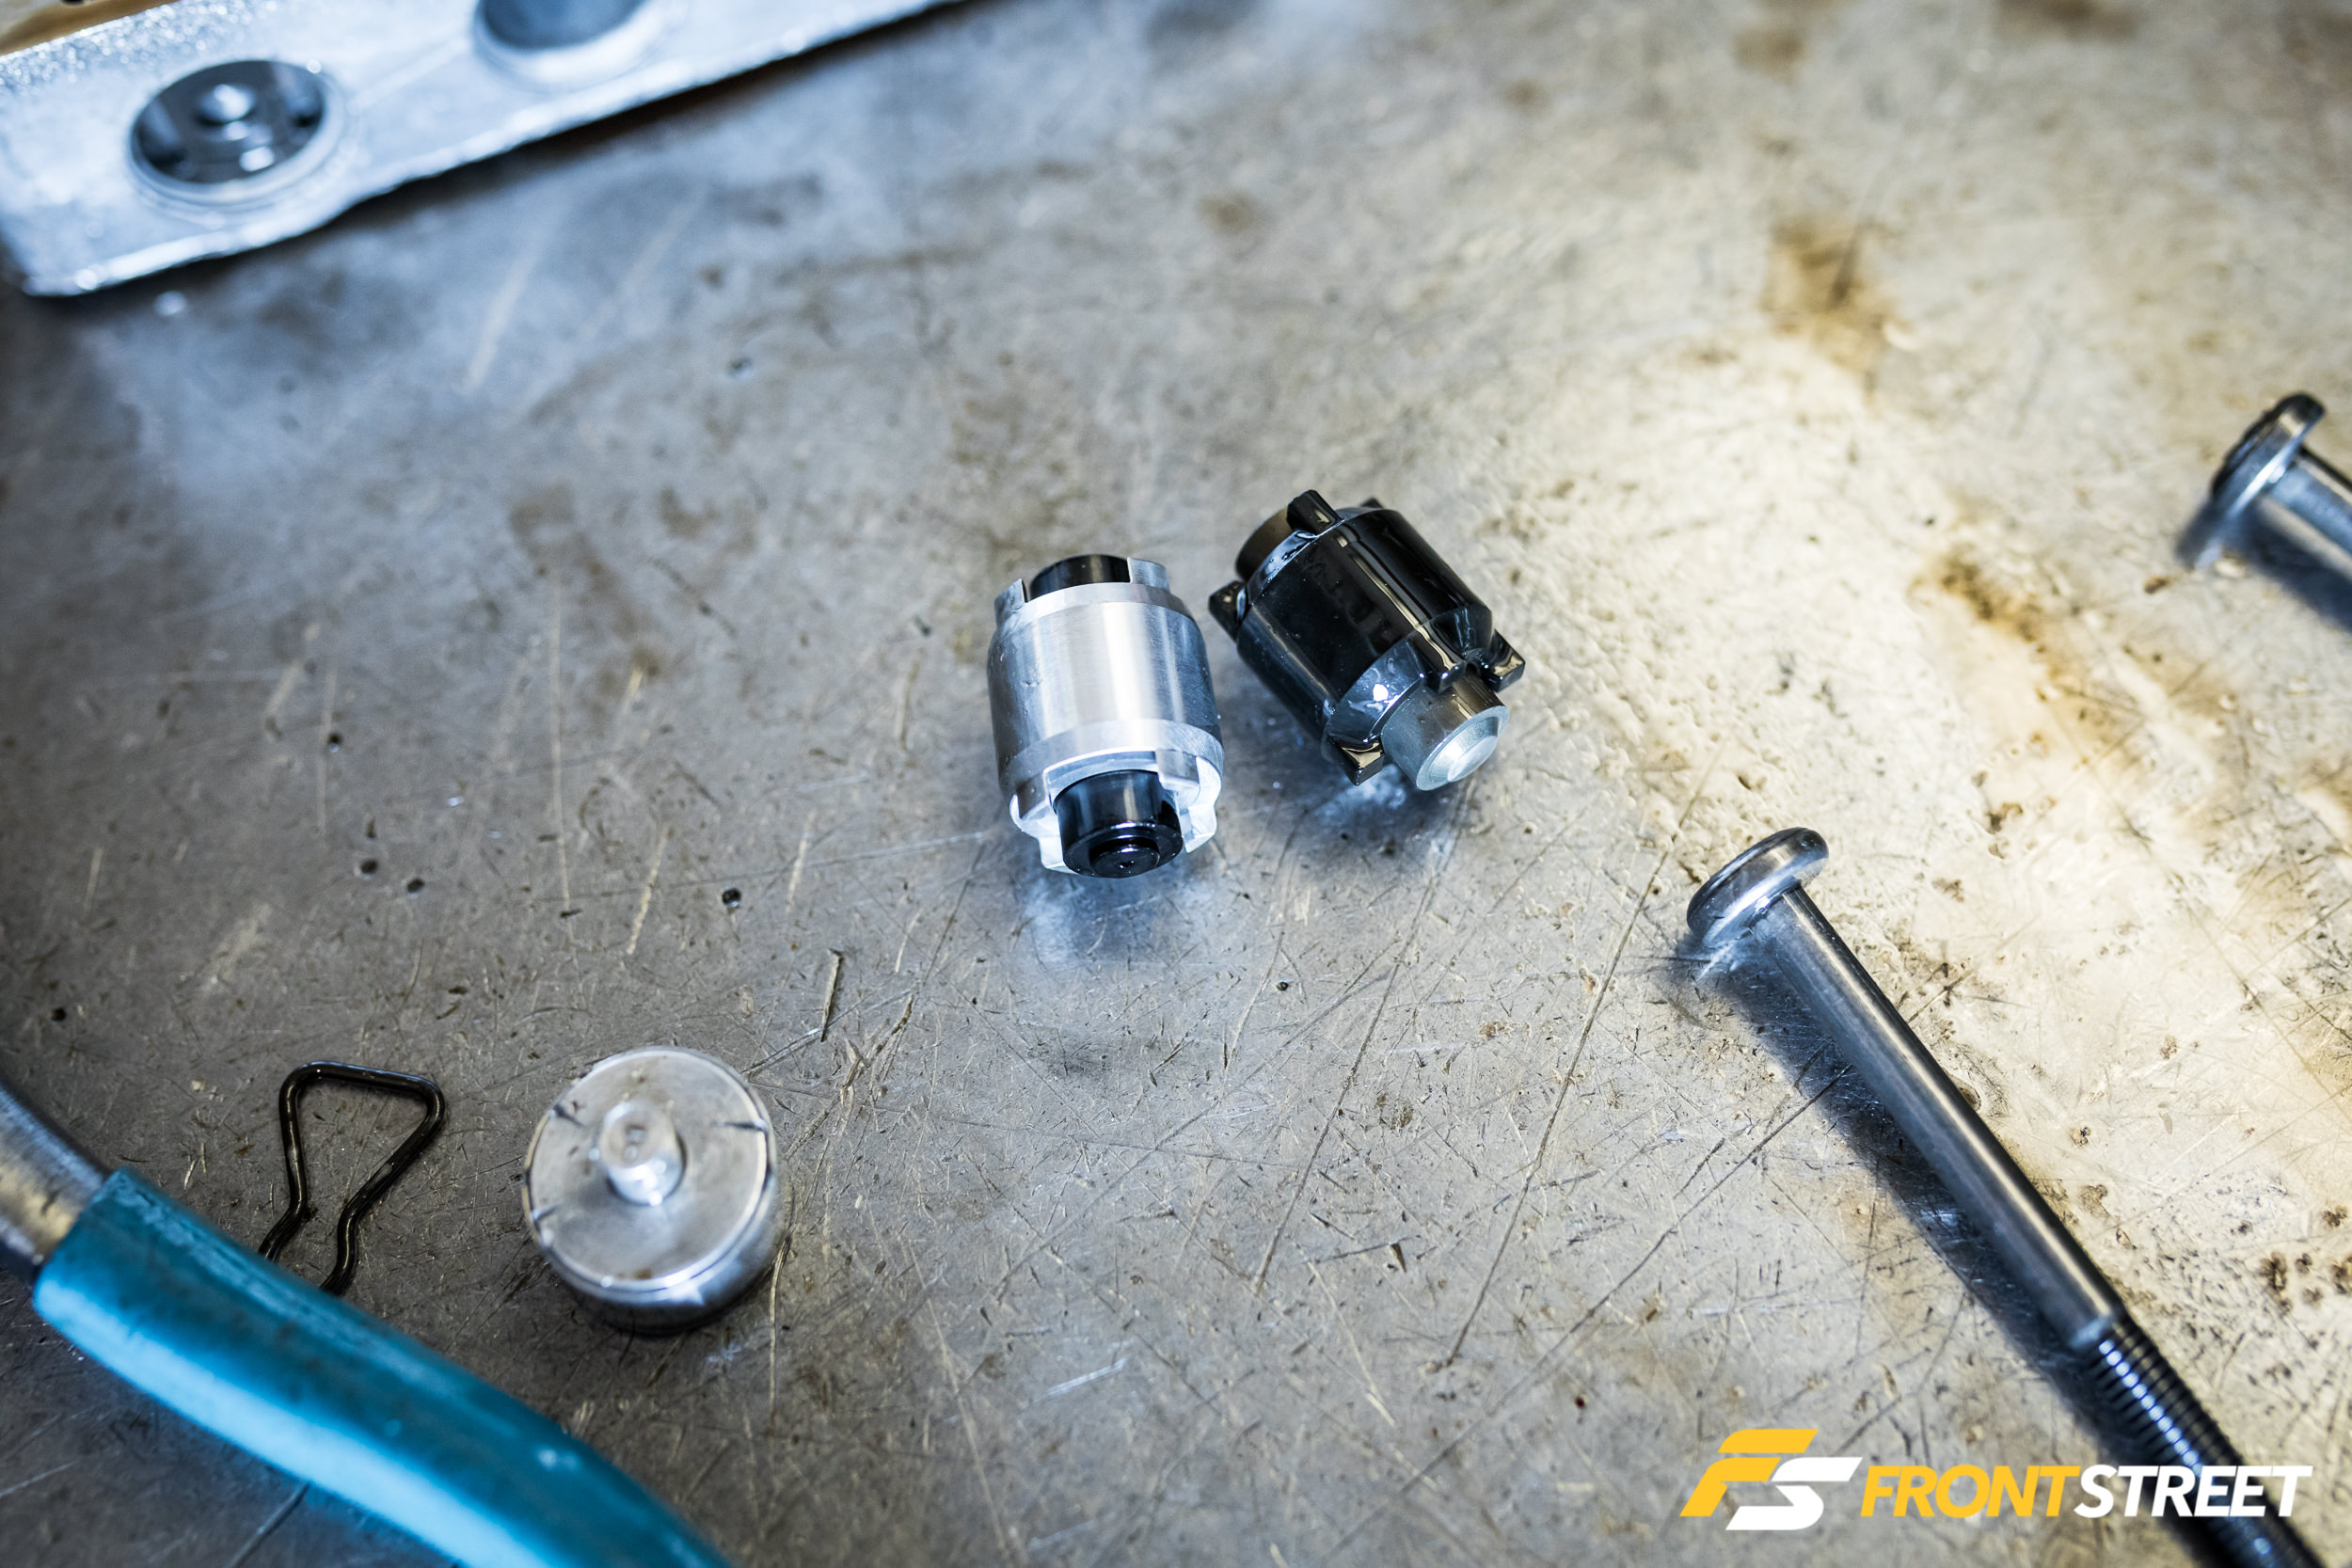
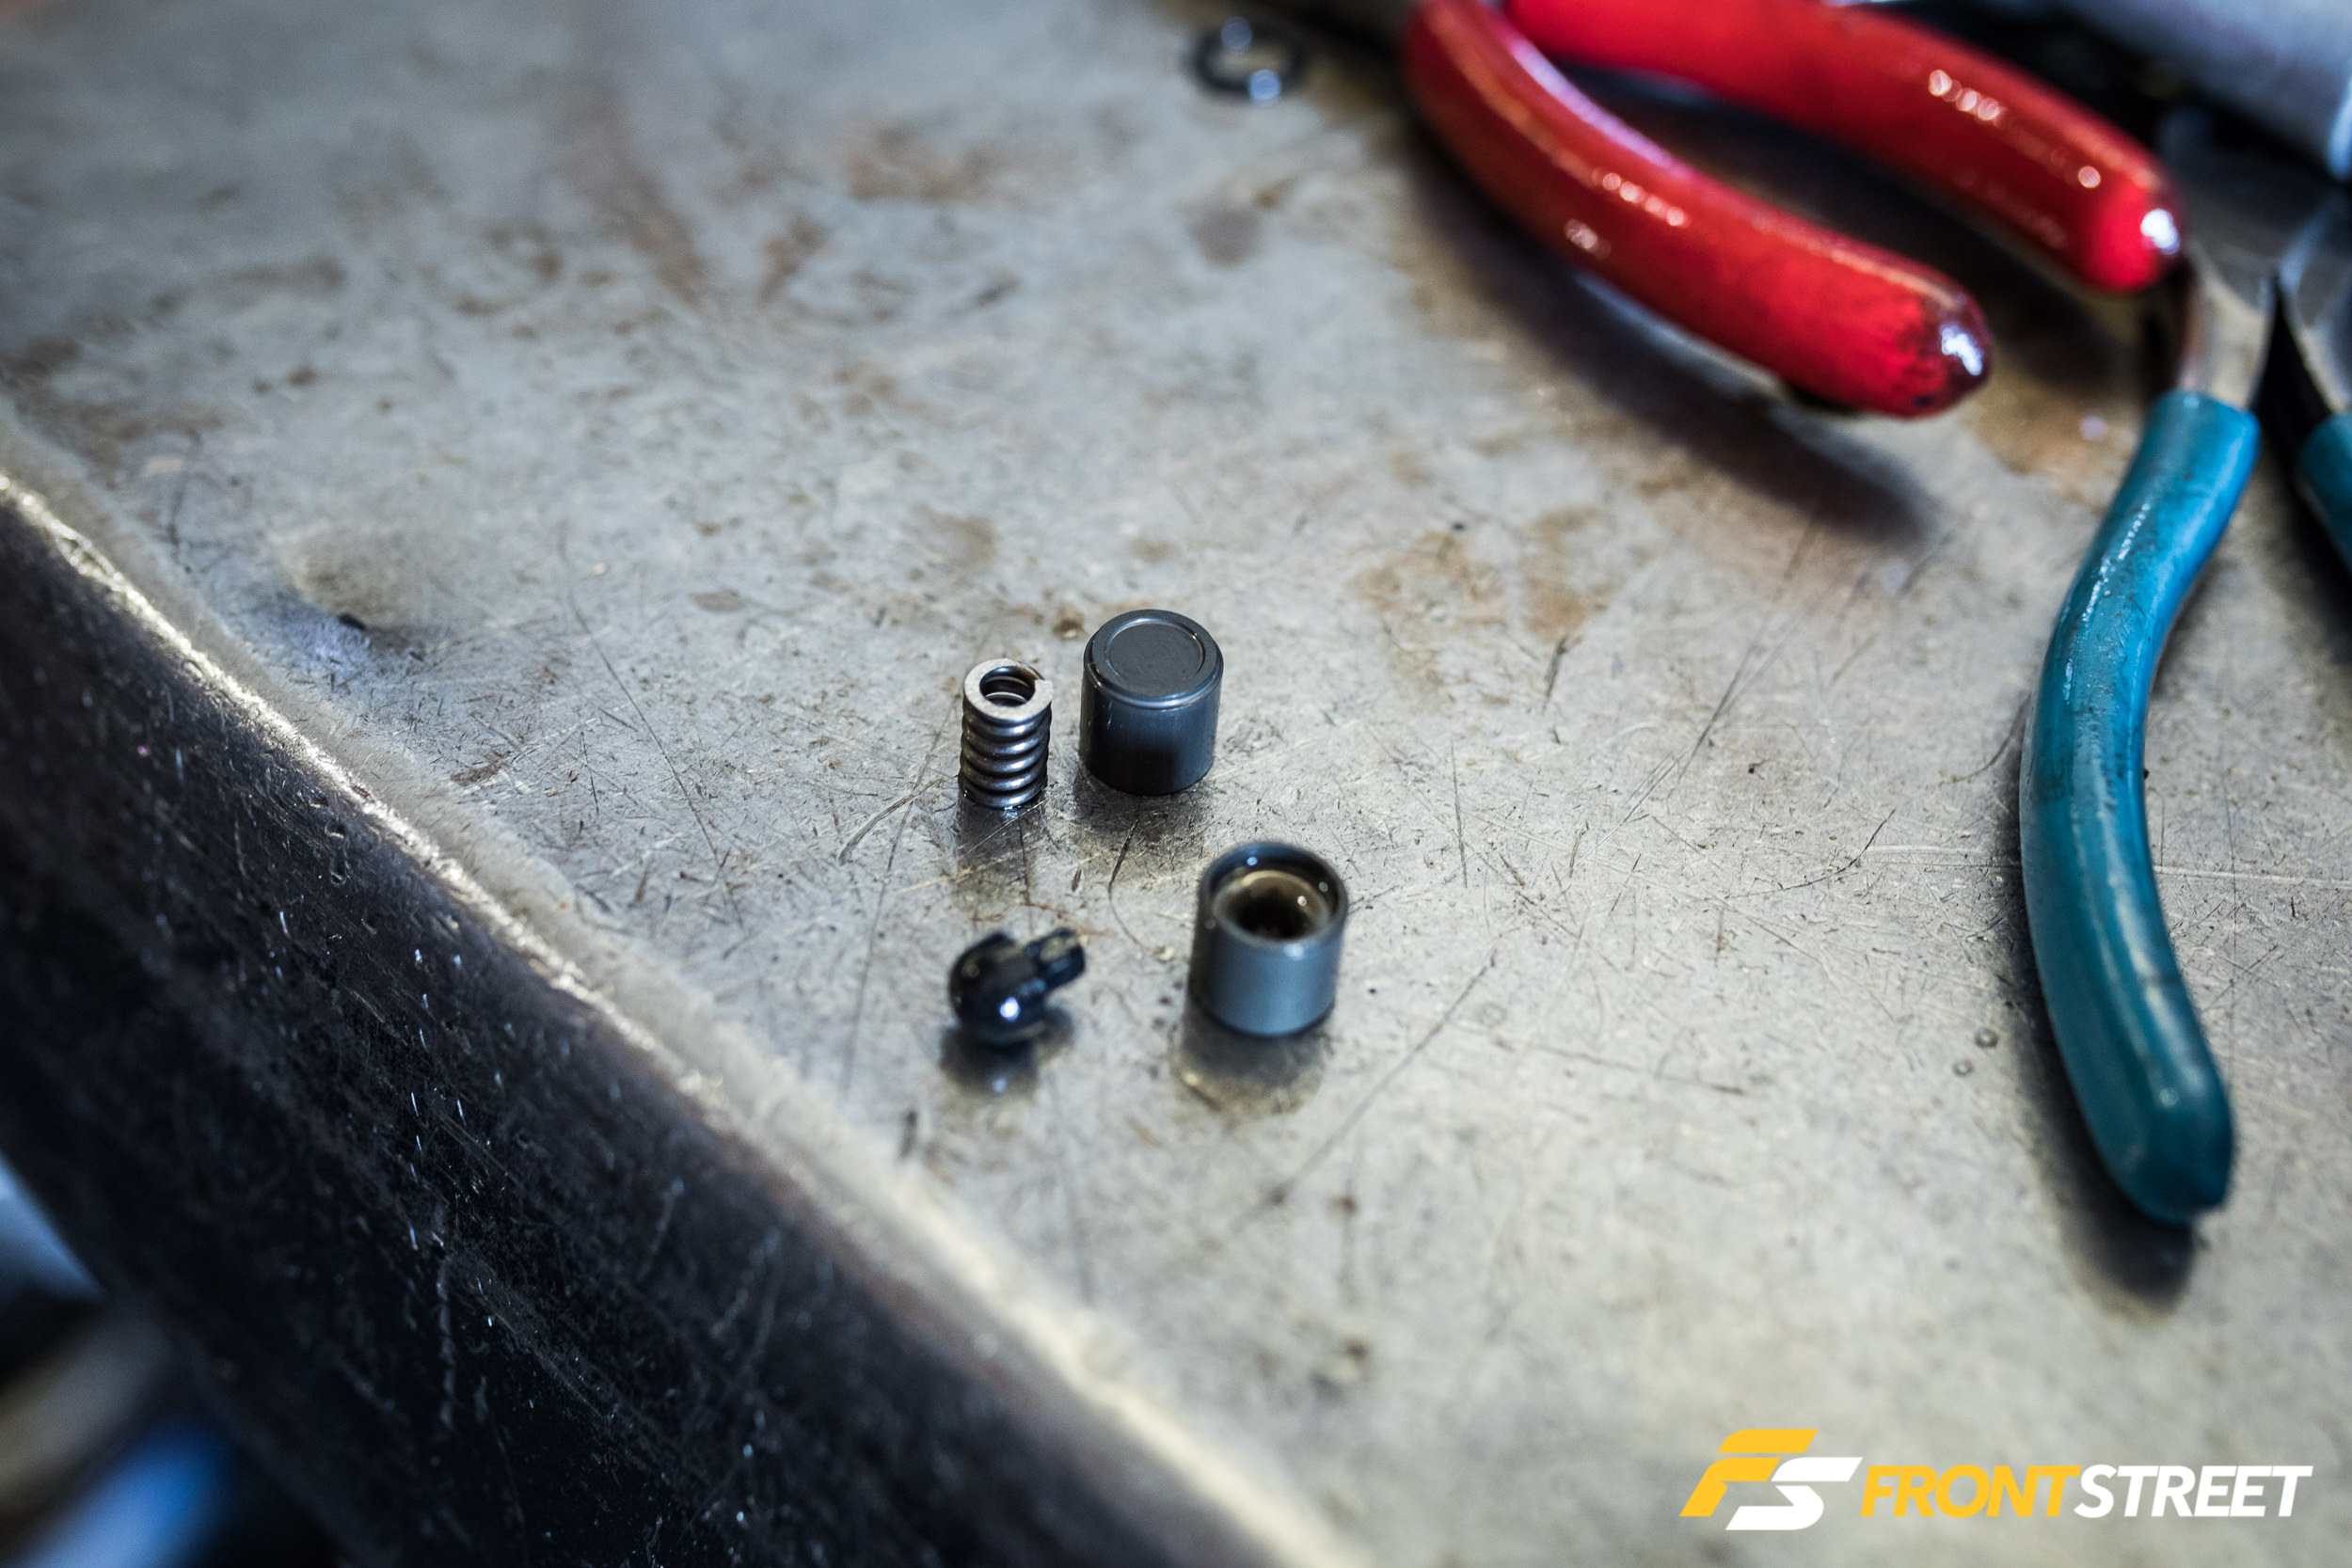
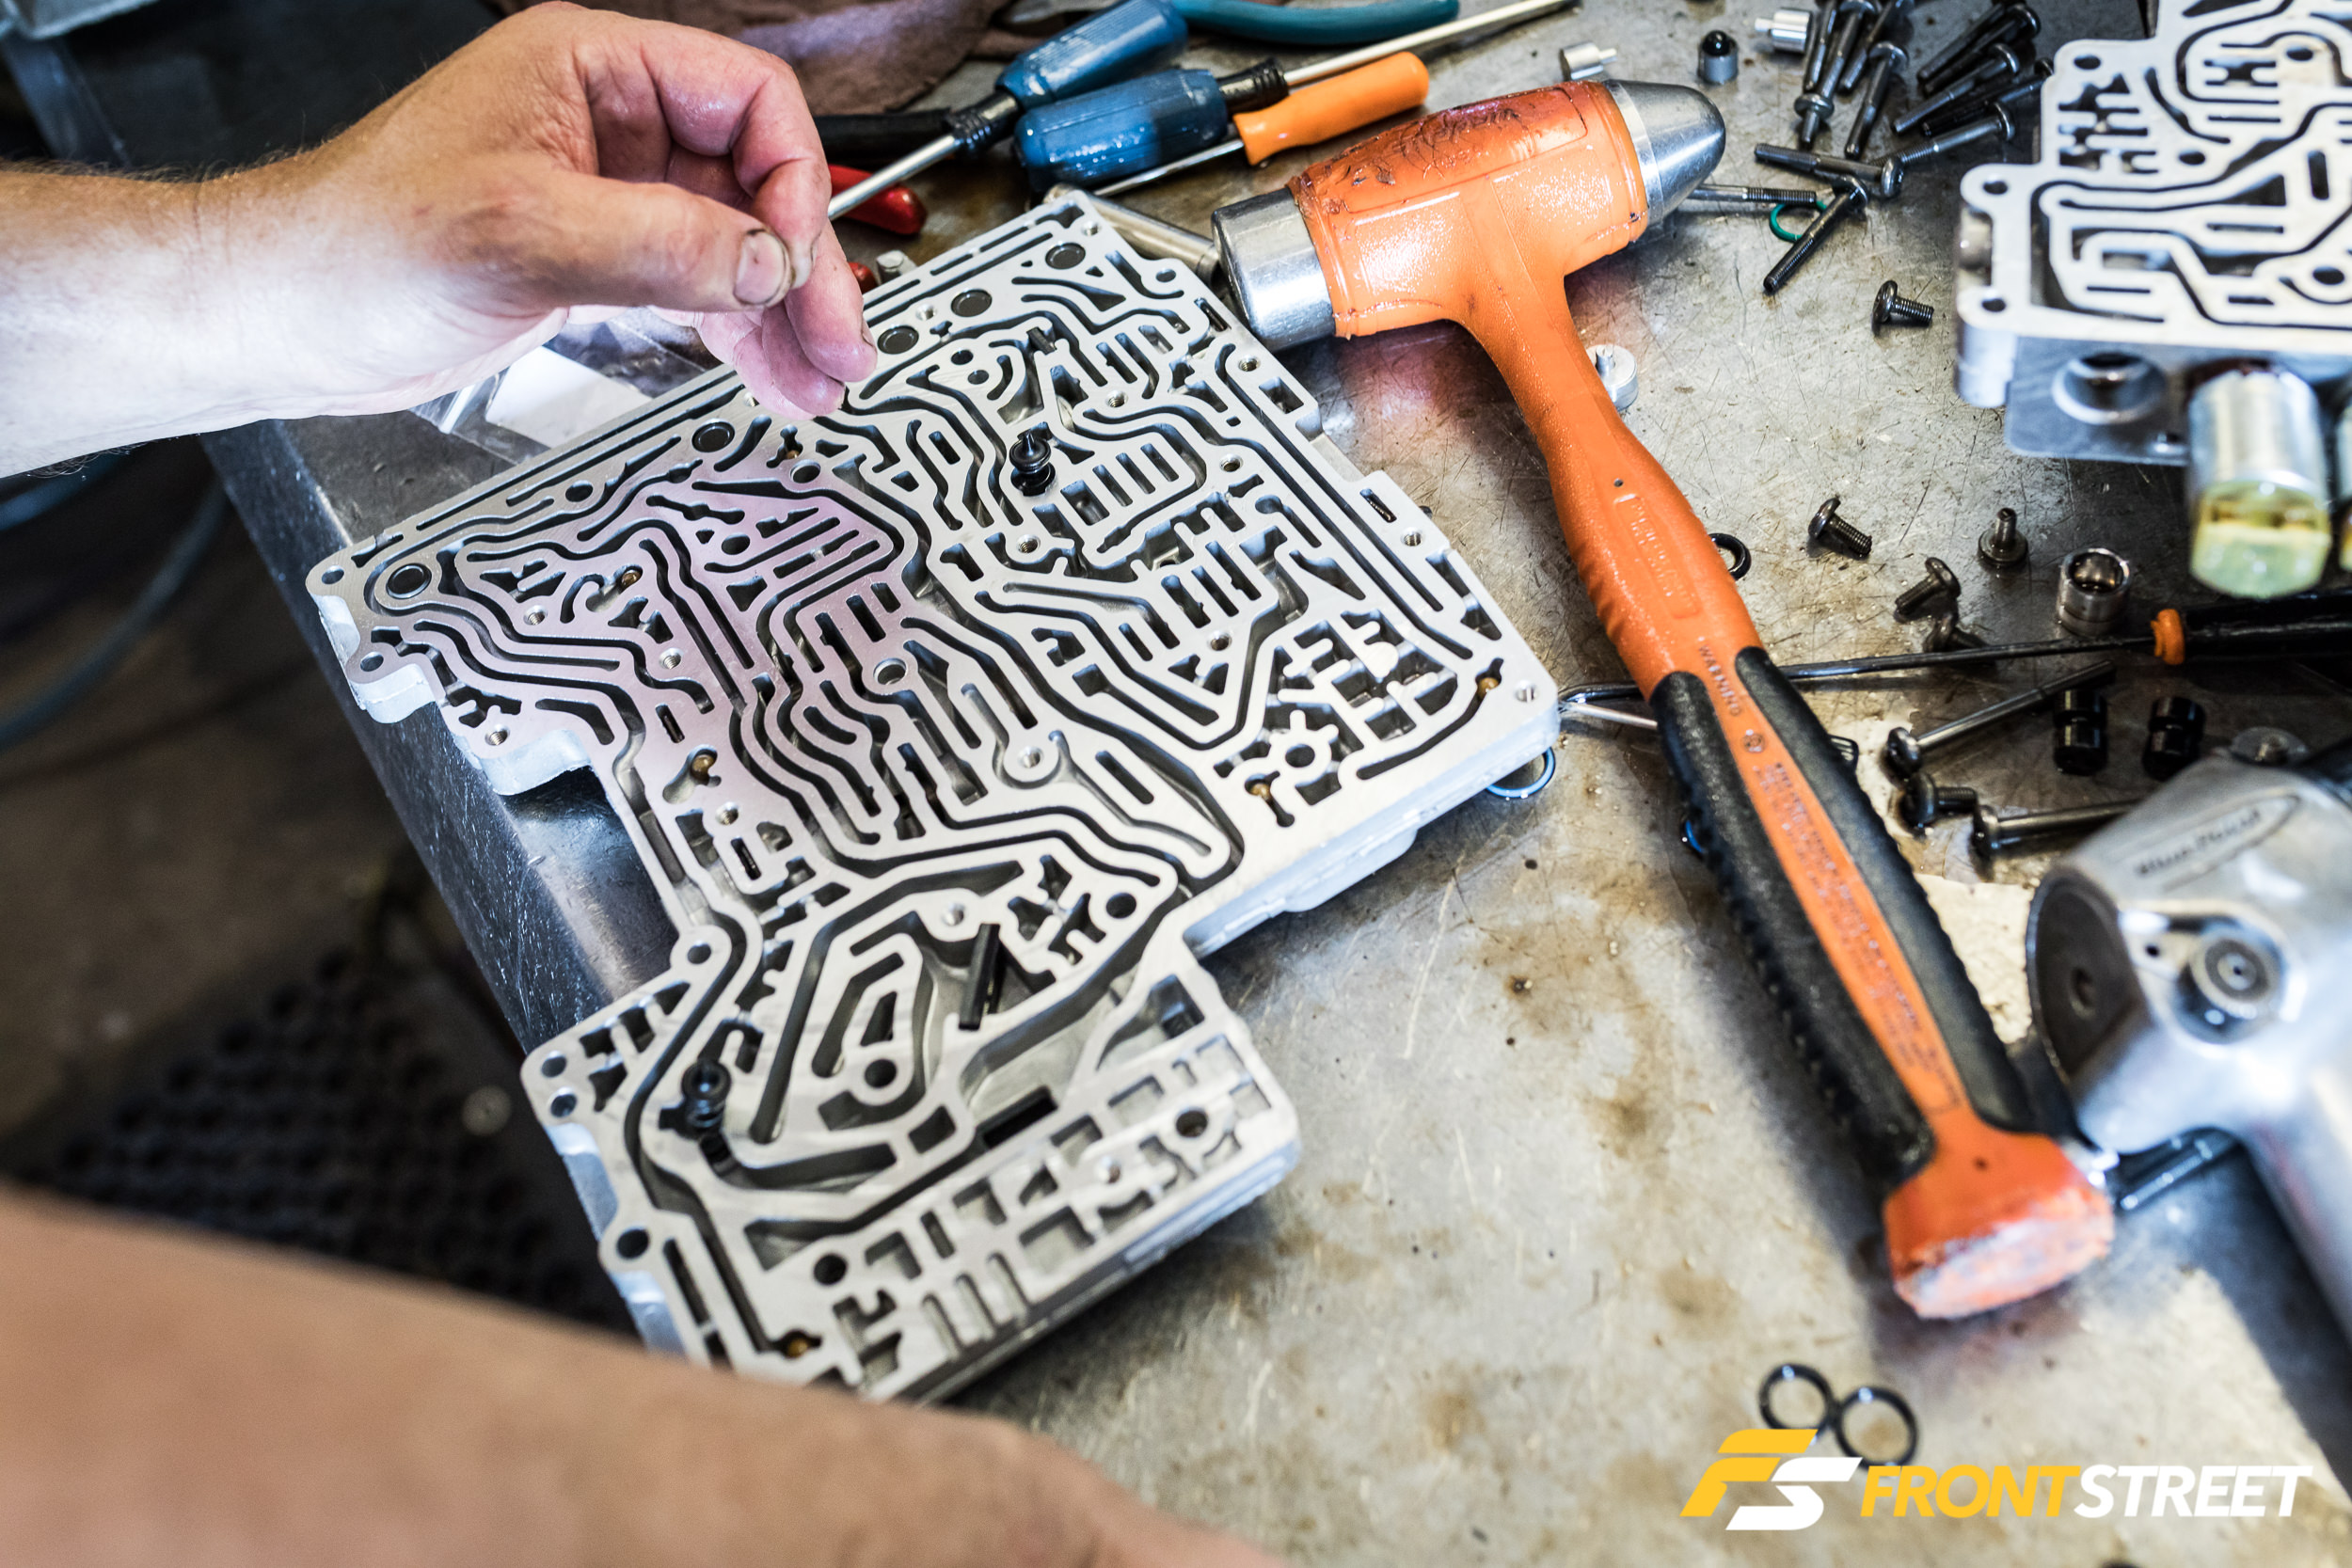
Once the transmission itself was all buttoned up, we turned to the valve body. After splitting it apart, we turned to the instructions for the Sonnax Zip Kit for the 6R80, which replaces many of the valve body parts and corrects pressure loss issues in several of the valve body’s circuits, with easy installation — or so we thought.
One special note from McLeod’s Scheid: “Enthusiasts should be sure to get expert advice on the torque converter and the components they should use during any build, as that will have a huge impact on the performance of the transmission overall.”
We’ll get deeper into this topic during the transmission install article in a couple of weeks, which will contain a ton of information, best practices, things to look out for, and the story of removing the valve body four times before the car ever backed out of the garage.

