Photography: Mike Maravilla
Additional Photography: Hawk Performance
@hawkperformance
- Hawk Performance has provided trusted brake solutions for the car enthusiast community since 1993.
- Whether it’s stopping power, pad life, or quiet, dustless performance you’re after, Hawk Performance has everything you need.
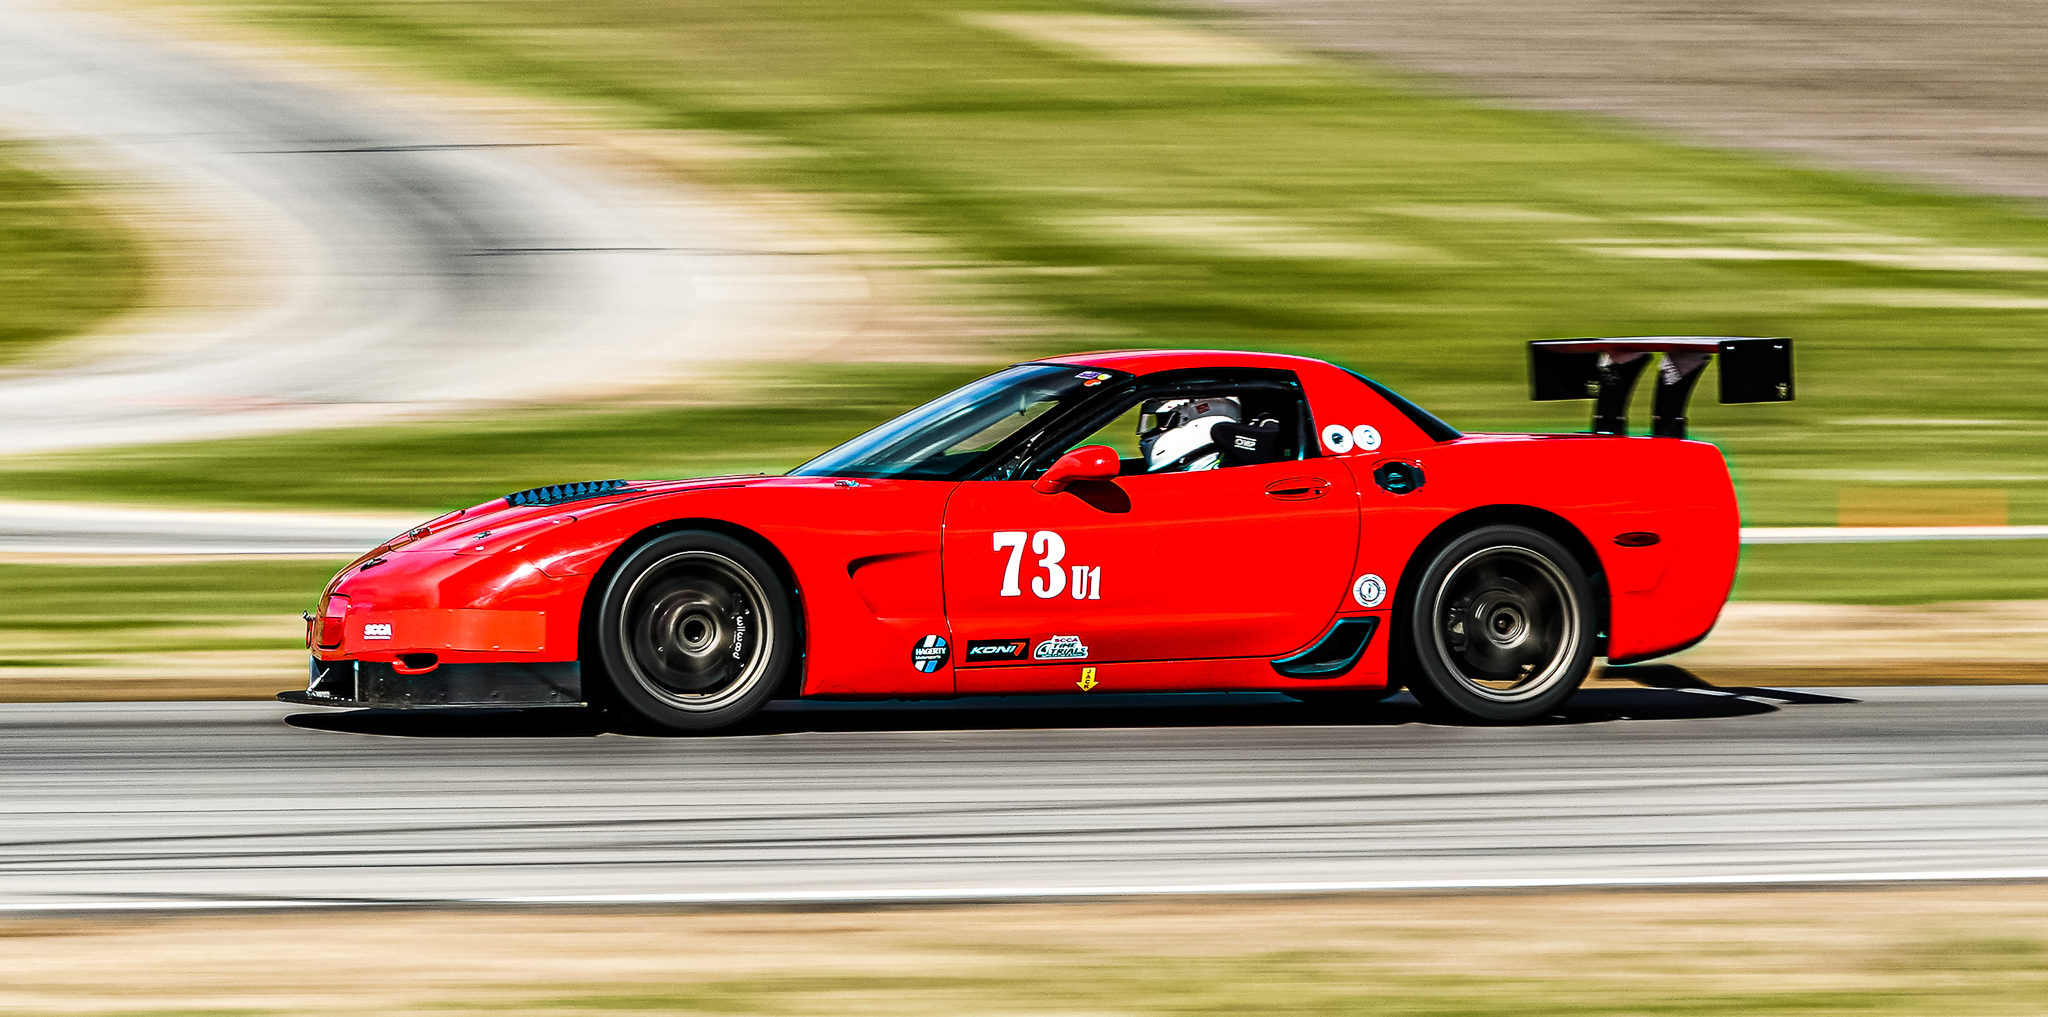
- For track enthusiasts, the Hawk Performance range offers several pads that cater to your driving style and demand (modulation, deceleration rates, initial bite, release characteristics, torque, etc.)
- Pad bedding is an important part of brake performance to ensure maximum effectiveness when you need them the most.
- This is the first part of Pit+Paddock’s “Track Prep” series where we will cover a multitude of motorsport-related topics to help lower the barrier to entry for newcomers and spread knowledge.
There are still two main camps for car enthusiasts who “run out” of mods: sell the car or do track days. It’s a crossroad that we will all face because, truthfully, there are only so many bits and bobs that can satiate your visual palette. But trust me, if you spend the time on track to understand just how little we’re extracting from our cars’ total performance, you’ll seldom get bored.
That journey can take years (for me, admittedly, a decade and ticking), but the rewards are plentiful. From the driver’s seat and beyond, you’ll learn so much more than you ever thought about the car, yourself, and the hundreds of other people going through the same emotional rollercoaster as you.
TRACK SEASON IS COMING
But I digress. For all the states that can proudly boast a four-season climate, track season is finally upon us. And we have a handful of helpful tech articles queued up to help all of us — whether we’re noobs or veterans of the game — learn a little more. The first of the series highlights something that I have to confess, have been apparently doing wrong this whole time: motorsport brake pad bedding. Our brake pad guru, Mitch Bloom from Hawk Performance, is here to help impart some wisdom on the process.
Mitch Bloom, Sales Manager at Hawk Performance: I’ve been a motorsports enthusiast and participant since high school. Not only have I been fortunate enough to go to various tracks all over the Eastern side of the US and the Midwest, but I’ve been able to meet some really smart people who have been gracious in sending knowledge, tips, and tricks my way.
So, what is bedding, and why is it important? How does bedding differ from street to motorsport pads? What does a proper bedding procedure look like on a typical road course?
Since I don’t have an Engineering background, I won’t pretend to be “Mr. Big Brain”; we’ll cover this quickly and using plain English terms.
WHAT IS BEDDING?
Bedding a pad to a rotor is essentially layering pad material onto a slippery iron disc, creating a “friction interface”. Why do we do this? Well, the brake pad can “grab” onto its own material much better than iron. Because…science. But basically, if we didn’t bed a pad to a rotor, braking performance would decrease, as well as pad life and various other factors.
Generally speaking, all we’re trying to do is get the pads up to temperature evenly, all the way through to the core. When this happens and a thin layer is laid on the rotor, the next layer is ready to rock. Pads essentially bed every time they are brought up to operating temperature with friction layers and the interface wearing and layering over and over. If we get the pads up to temperature too quickly, the initial layer will bed, but then be wiped off by the cold under-layer, essentially never bedding.
DOES BEDDING CHANGE WITH DIFFERENT PADS?
The braking world is like an ice cream truck. There are lots of flavors. This means the importance of bedding is going to vary per compound, and something like a DTC60, which is a higher friction compound with a broad temperature range, will bed easily in a matter of three or four laps. On the other hand, something that is lower friction might require some patience, like our endurance compound, ER-1. At the end of the day, following the manufacturer’s processes is the best option.
THE BEDDING PROCESS: STEP-BY-STEP
LAP 1: SLOW AND STEADY
This is the initial “shakedown” lap. Provided there are no weird sensations, vibrations, or noises, use this lap to get some heat into the tires and start to get heat into the brake system. Remember, cook them like a steak: slow heat over a long period of time. Soft pedal actuation and consistent pressure are your friends. This lap isn’t about outright pace, just build speed on the straights and gently slow the car down. Do this until the brakes start to “grab”.
LAP 2: BUILDING TEMPERATURE
This is the “up to temp” lap. This phase is when the pad surface is up to temp and we’re cranking up the heat to get the core up to temperature as well. Start to pick up your pace and drive as if you’re doing a standard “out lap”. Brake at normal braking zones, albeit earlier and at a slightly lower speed. You should really start to feel the brakes working at this point. I generally go about 80-90% speed on the straights and brake EARLY, then over-slow the car compared to a fast lap, with one consistent pedal pressure application.
LAP 3: THE BEDDING LAP
This is the true bedding lap. I do this lap very similarly to the previous one: 90% pace, braking early, BUT I use the brakes right up to the point of ABS/lockup. This is when you crush the pad against the rotor and put down a killer layer. I generally try to keep heat in the brakes as well, so I’ll accelerate and slow in the smaller brake zones.
LAP 4: SESSION END
Now you can do some cool-down laps. Here, it is important to get them as cool as possible. Again, don’t focus on speed as much as just turning laps. It is OK to use the brakes to slow down through certain corners, but as stated, average 50-70 mph and slow as little as possible.
INTO THE PITS
This might sound like a simple procedure, but there are still some important tidbits to consider. Once you’re in the pit area, park the car in first gear, with no e-brake, and with a wheel chalk or 2×4 for safe measure. Feel if there is any heat radiating off the brakes. There will probably be a little bit, but that’s OK. Every 5-10 minutes push the car forward/back and chalk it again, so the pad isn’t sitting on the same part of the rotor during cool down. Once this is complete and the friction layer cures, you’ll be good to go.
SOME HELPFUL NOTES
- DO NOT ENGAGE ABS. It’s OK if it happens a little bit but try hard not to. Better to not push the pedal too hard and slow slightly less than if you searched for the limit.
- Every pedal engagement should be smooth, consistent, and fluid. No need to drive like an ape. Land the brake pedal like a butterfly and progressively press firmer and firmer.
- Take your time. You might complete the Lap 1 process mid-way through your first lap. Move on to the next step.
- Cool the brakes as much as you can once you’re finished. You can’t get them “too cold” when doing your cool-down laps.
This is quite a bit to take in, so read, re-read, then print it out and take it with you. Additionally, feel free to contact Hawk Performance and our technical team for any further guidance.
We would like to thank Mitch Bloom at Hawk Performance for lending us his time and knowledge. If you’re interested in learning more about Hawk Performance or its wide array of friction products, visit the company’s website for more information.


